
The Cookbook Project

Peanut Soup
from Jubilee by Toni Tipton-Martin…
…and The Great Green Wall, USAID, Kendrick Lamar’s Super Bowl performance, and how to call your Congresspeople.
I was going to just compose a photo essay juxtaposing stills of Kendrick Lamar’s Super Bowl performance with an 11 part post I found on Threads giving advice from a former Congressional staffer for how to make 6 calls a day to actually get heard by the Senators and Representatives that “represent” you.
It wasn’t coming together.

If you haven’t watched it yet tho…
Advice from a former staffer: get heard by making 6 calls a day
Posted to Threads by kayleetee07 02/02/2025
Advice from a former congressional staffer.
Call BOTH offices every day. Don’t write. A thread.
FOR THOSE OF YOU LOOKING TO TURN YOUR ANGER INTO ACTION, here’s some advice from a high-level staffer for a Senator. Re-posting from a friend of mine:
There are two things that we should be doing all the time right now, and they’re by far the most important things.
You should NOT be bothering with online petitions or emailing. 1/11
1) The best thing you can do to be heard and get your congressperson to pay attention is to have face-to-face time – if they have town halls, go to them. Go to their local offices. If you’re in DC, try to find a way to go to an event of theirs. Go to the “mobile offices” that their staff hold periodically (all these times are on each congressperson’s website). When you go, ask questions. A lot of them. Push for answers. The louder and more vocal and present you can be at those the better. 2/11
2) But those in-person events don’t happen every day. So, the absolute most important thing that people should be doing every day is calling.
YOU SHOULD MAKE 6 CALLS A DAY: 2 each )DC office & your local office) to your 2 Senators & your 1 Representative.
The staffer was very clear that any sort of online contact gets ignored & letters get thrown in the trash (unless you have a particularly strong emotional story – but even then it’s not worth the time it took you to craft that letter). 3/11
Calls are what all the congresspeople pat attention to. Every single day, the Senior Staff and the Senator get a report of the 3 most-called-about topics for that day at each of their offices (in DC and local offices), and exactly how many people said what about each of those topics 4/11
They’re also sorted by zip code and area code. She said that Republican callers generally outnumber Democrat caller 4-1, and when it’s a particular issue that single-issue-voters pay attention to (like gun control, or Planned Parenthood funding, etc…), it’s often closer to 11-1, and that’s recently pushed Republican congressmen on the fence to vote with the Republicans. In the last 8 years, Republicans have called, and Democrats haven’t. 5/11
So, when you call:
A) When calling the DC office, ask for the Staff member in charge of whatever you’re calling about (“He, I’d like to speak with the staffer in charge of Healthcare, please”) – local offices won’t always have specific ones, but they might. IF you get transferred to that person, awesome. If you don’t, that’s ok – ask for that person’s name, and then just keep talking to whoever answered the phone. 6/11
Don’t leave a message (unless the office doesn’t pick up at all – then you can – but it’s better to talk to the staffer who first answered than leave a message for the specific staffer in charge of your topic).
B) Give them your zip code. They won’t always ask for it, but make sure you give it to them, so they can mark it down. Extra points if you live in a zip code that traditionally votes for them, since they’ll want to make sure they get/keep your vote. 7/11
C) If you can make it personal, make it personal. “I voted for you in the last election and I’m worried/happy/whatever” or “I’m a teacher, and I am appalled by Betsy DVos,” or “as a single mother” or “as a white, middle class woman,” or whatever.
D) Pick 1-2 specific things per day to focus on. Don’t rattle off everything you’re concerned about – they’re figuring out what 1-2 topics to mark you down for on their lists. So focus on 1-2 per day. 8/11
Ideally something that will be voted on/ taken up in the next few days, but it doesn’t really matter—even if there’s not a vote coming up in the next week, call anyway. It’s important that they just keep getting calls.
E) Be clear on what you want – “I’m disappointed that the Senator…” or “I want to thank the Senator for their vote on…” or “I want the Senator to know that voting in ____ way is the wrong decision for our state because…” Don’t leave any ambiguity. 9/11
F) They may get to know your voice/ get sick of you – it doesn’t matter. The people answering the phones generally turn over every 6 weeks anyway, so even if they’re really sick of you, they’ll be gone in 6 weeks.
From experience since the election: If you hate being on the phone & feel awkward (which is a lot of people) don’t worry about it – there are a bunch of scripts (Indivisible has some, there are lots of others floating around these days) 10/11
After a few days of calling, it starts to feel a lot more natural.
Put the 6 numbers in your phone (all under P – Politician.) An example is McCaskill MO, politician McCaskill DS. Politician Blunt MO, etc., which makes it really easy to click down the list each day. 11/11
Thanks kayleetee07 and the anonymous friend/former staffer.
I’m still not getting a Threads account. I’ll see if I can find you over on BlueSky.
USAID and the Great Green Wall of Africa
Do you know about The Great Green Wall of Africa?
The Great Green Wall of Africa is a project begun in 2007 across eleven African nations to combat the encroachment and expansion of the Sahara desert into the Sahal, the region’s semi-arid transition zone between the desert to the north and the savannas to the south.
These lands have suffered from climate change, overfarming, overgrazing, and extreme temperatures. As The National Geographic explains, “Nowhere is this issue more urgent than in sub-Saharan Africa, where an estimated 500 million people live on land undergoing desertification, the most extreme form of land degradation.”

Source: Schleeter, Ryan. “The Great Green Wall.” The National Geographic, Education Resources, 2023. https://education.nationalgeographic.org/resource/great-green-wall/
The goal is to interplant trees, grasses, shrubs and crops to restore 100 million hectares of land, creating jobs, teaching sustainable land practices for improved water usage, partnering with small family farms, tribes, and indigenous land stewards to build permaculture systems into an area that is slowly being lost to desertification.
These forests will also absorb CO2 to help combat climate change, ensure greater agricultural self-sufficiency, food security, and income opportunities across the continent, as well as improved biodiversity.
And the goal is to do this on lands that have been depleted for more than a generation, on lands that have been abandoned as unproductive for over 40 years in places.
Permaculture garden designer and Oregon State University Instructor Andrew Millison has an incredible video about this, actually a whole series of videos. Here’s “How The UN Is Holding Back The Sahara Desert.”
It’s a patchwork of thousands of mini food forests being installed in cooperation with local farmers and land stewards to create a fertile band across the continent. Bit by bit, the dry, cracked, depleted hydrophobic soil is slowly being planted in half circles and terraced rows that function as water capturing structures, utilizing natural slopes, holding and utilizing the water that falls there in the rainy season. All of the following images are from Andrew Millison’s video.

Biomass trenches, early stages.

Biomass trenches and half moons, planting begun.

Biomass trenches create compost rich soil with nitrogen-fixing tees and decaying plant matter to provide nutrients for future food crops

From above, a food forest in early stages

Digging in the half moons

Also called bunds, these half-moons are typically 5m across and situated to take advantage of natural slopes to collect rainwater.

Seriously, just watch the video. And if you’re a gardener, subscribe. But here Millison draws and describes the long term planting goals and how syntropic agriculture works to provide a sustainable system. In the early stages these half moon pits and biomass trenches are planted with grasses, nitrogen-fixing trees and plants that will eventually create a tree canopy, fruit trees for long-term food production, and other native species to first rejuvenate the soil thereby making it more fertile for heavier feeding food-producing crops to be planted later.
And then there’s teaching, training, and bringing jobs back into the region, bringing green jobs to young people who move to big cities for opportunities, or to local farmers who migrate away from the region during the dry season for work. In places where the dry season can last up to 9 months, locals turn to jobs as agricultural laborers in places like Spain to pay for food to be sent back home to their families in Africa.
And the thing is, not to put too fine a point on it or anything, but a combination of a lack of food and a lack of money to buy food means people go hungry and starve, and disease flourishes, and spreads. Also animals starve, both livestock and like giraffes and shit. And I don’t know, maybe you’re into that kind of thing. I don’t know what you’re into.
Once completed, The Great Green Wall of Africa would be the largest living structure on the planet. It’s funded by The World Bank, the African Development Bank, the European Union, the Green Climate Fund, the Government of France.
And, yes, the US has pledged something like 14 billion between 2021-2025. Or I should maybe say had.
Here’s what USAID’s resources about The Great Green Wall say now:

So I guess we don’t want to be a part of any of that anymore. Sigh.
Let’s make some fucking soup I guess, yeah?
Peanut Soup from Jubilee
(in photos — scroll down for recipe)
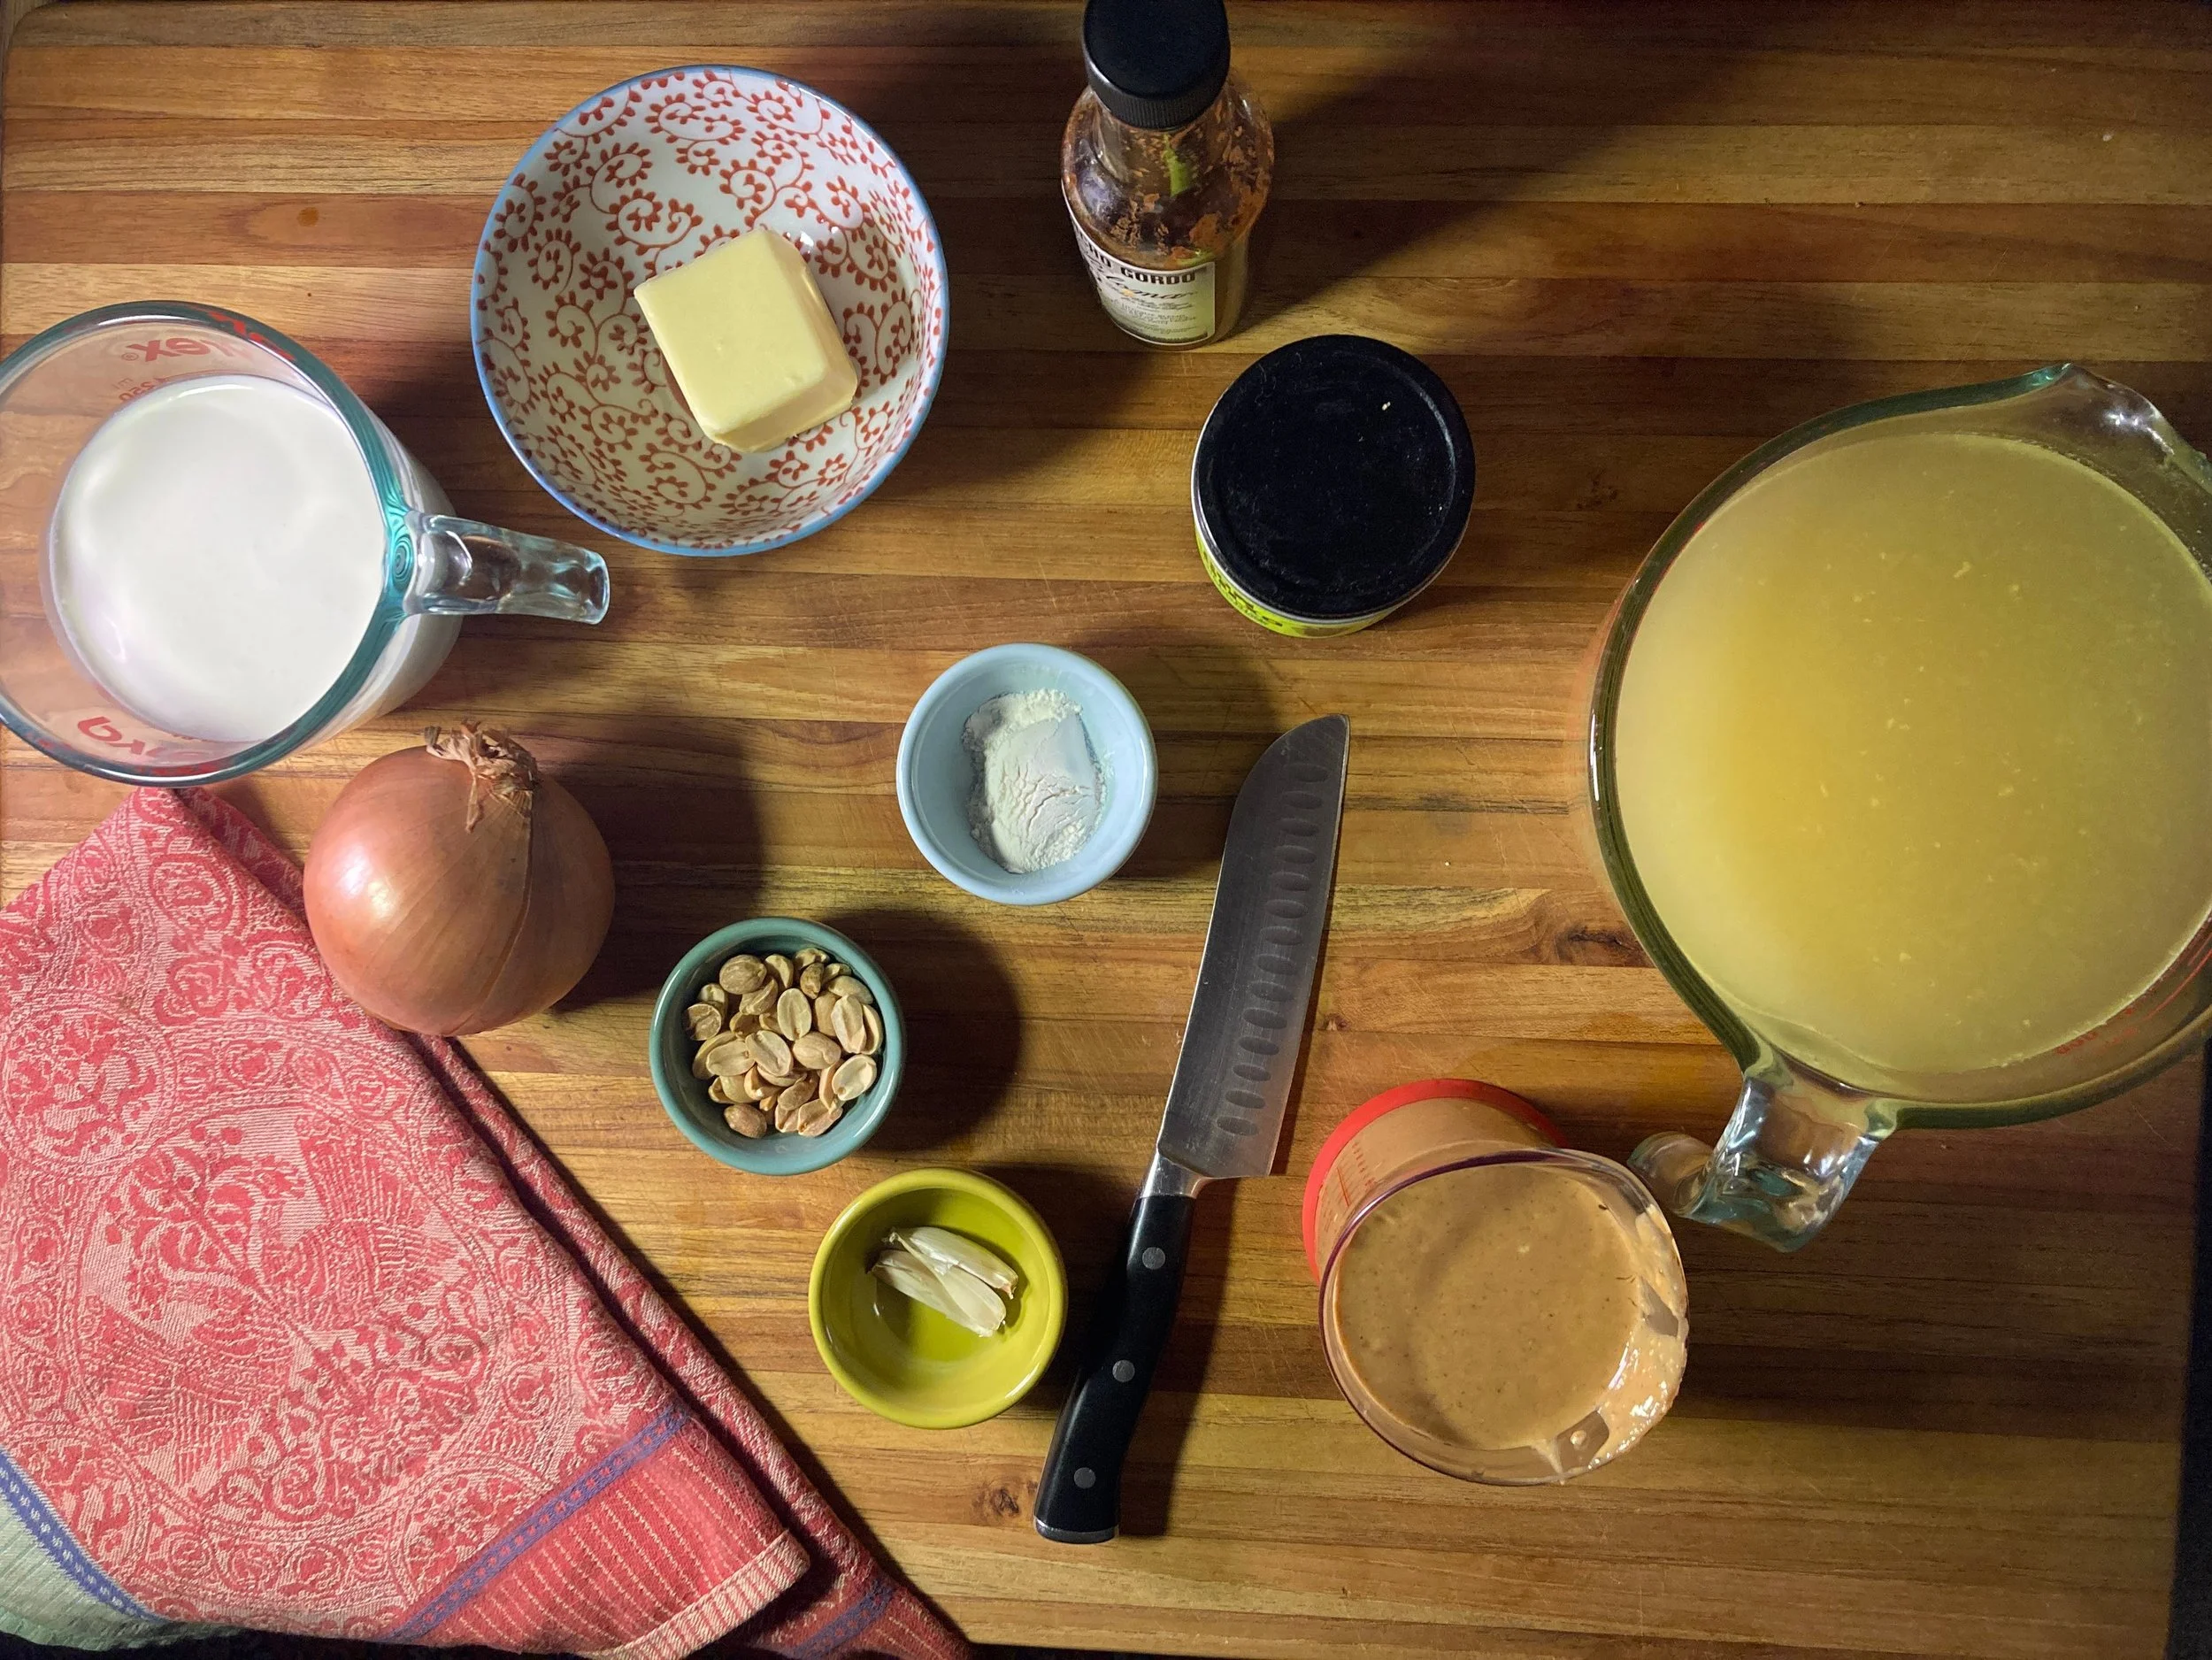
Gather your ingredients. Place that mise.

Chop your onion. That’s it, you’re ready to cook.

Melt butter in pot or skillet over medium heat.

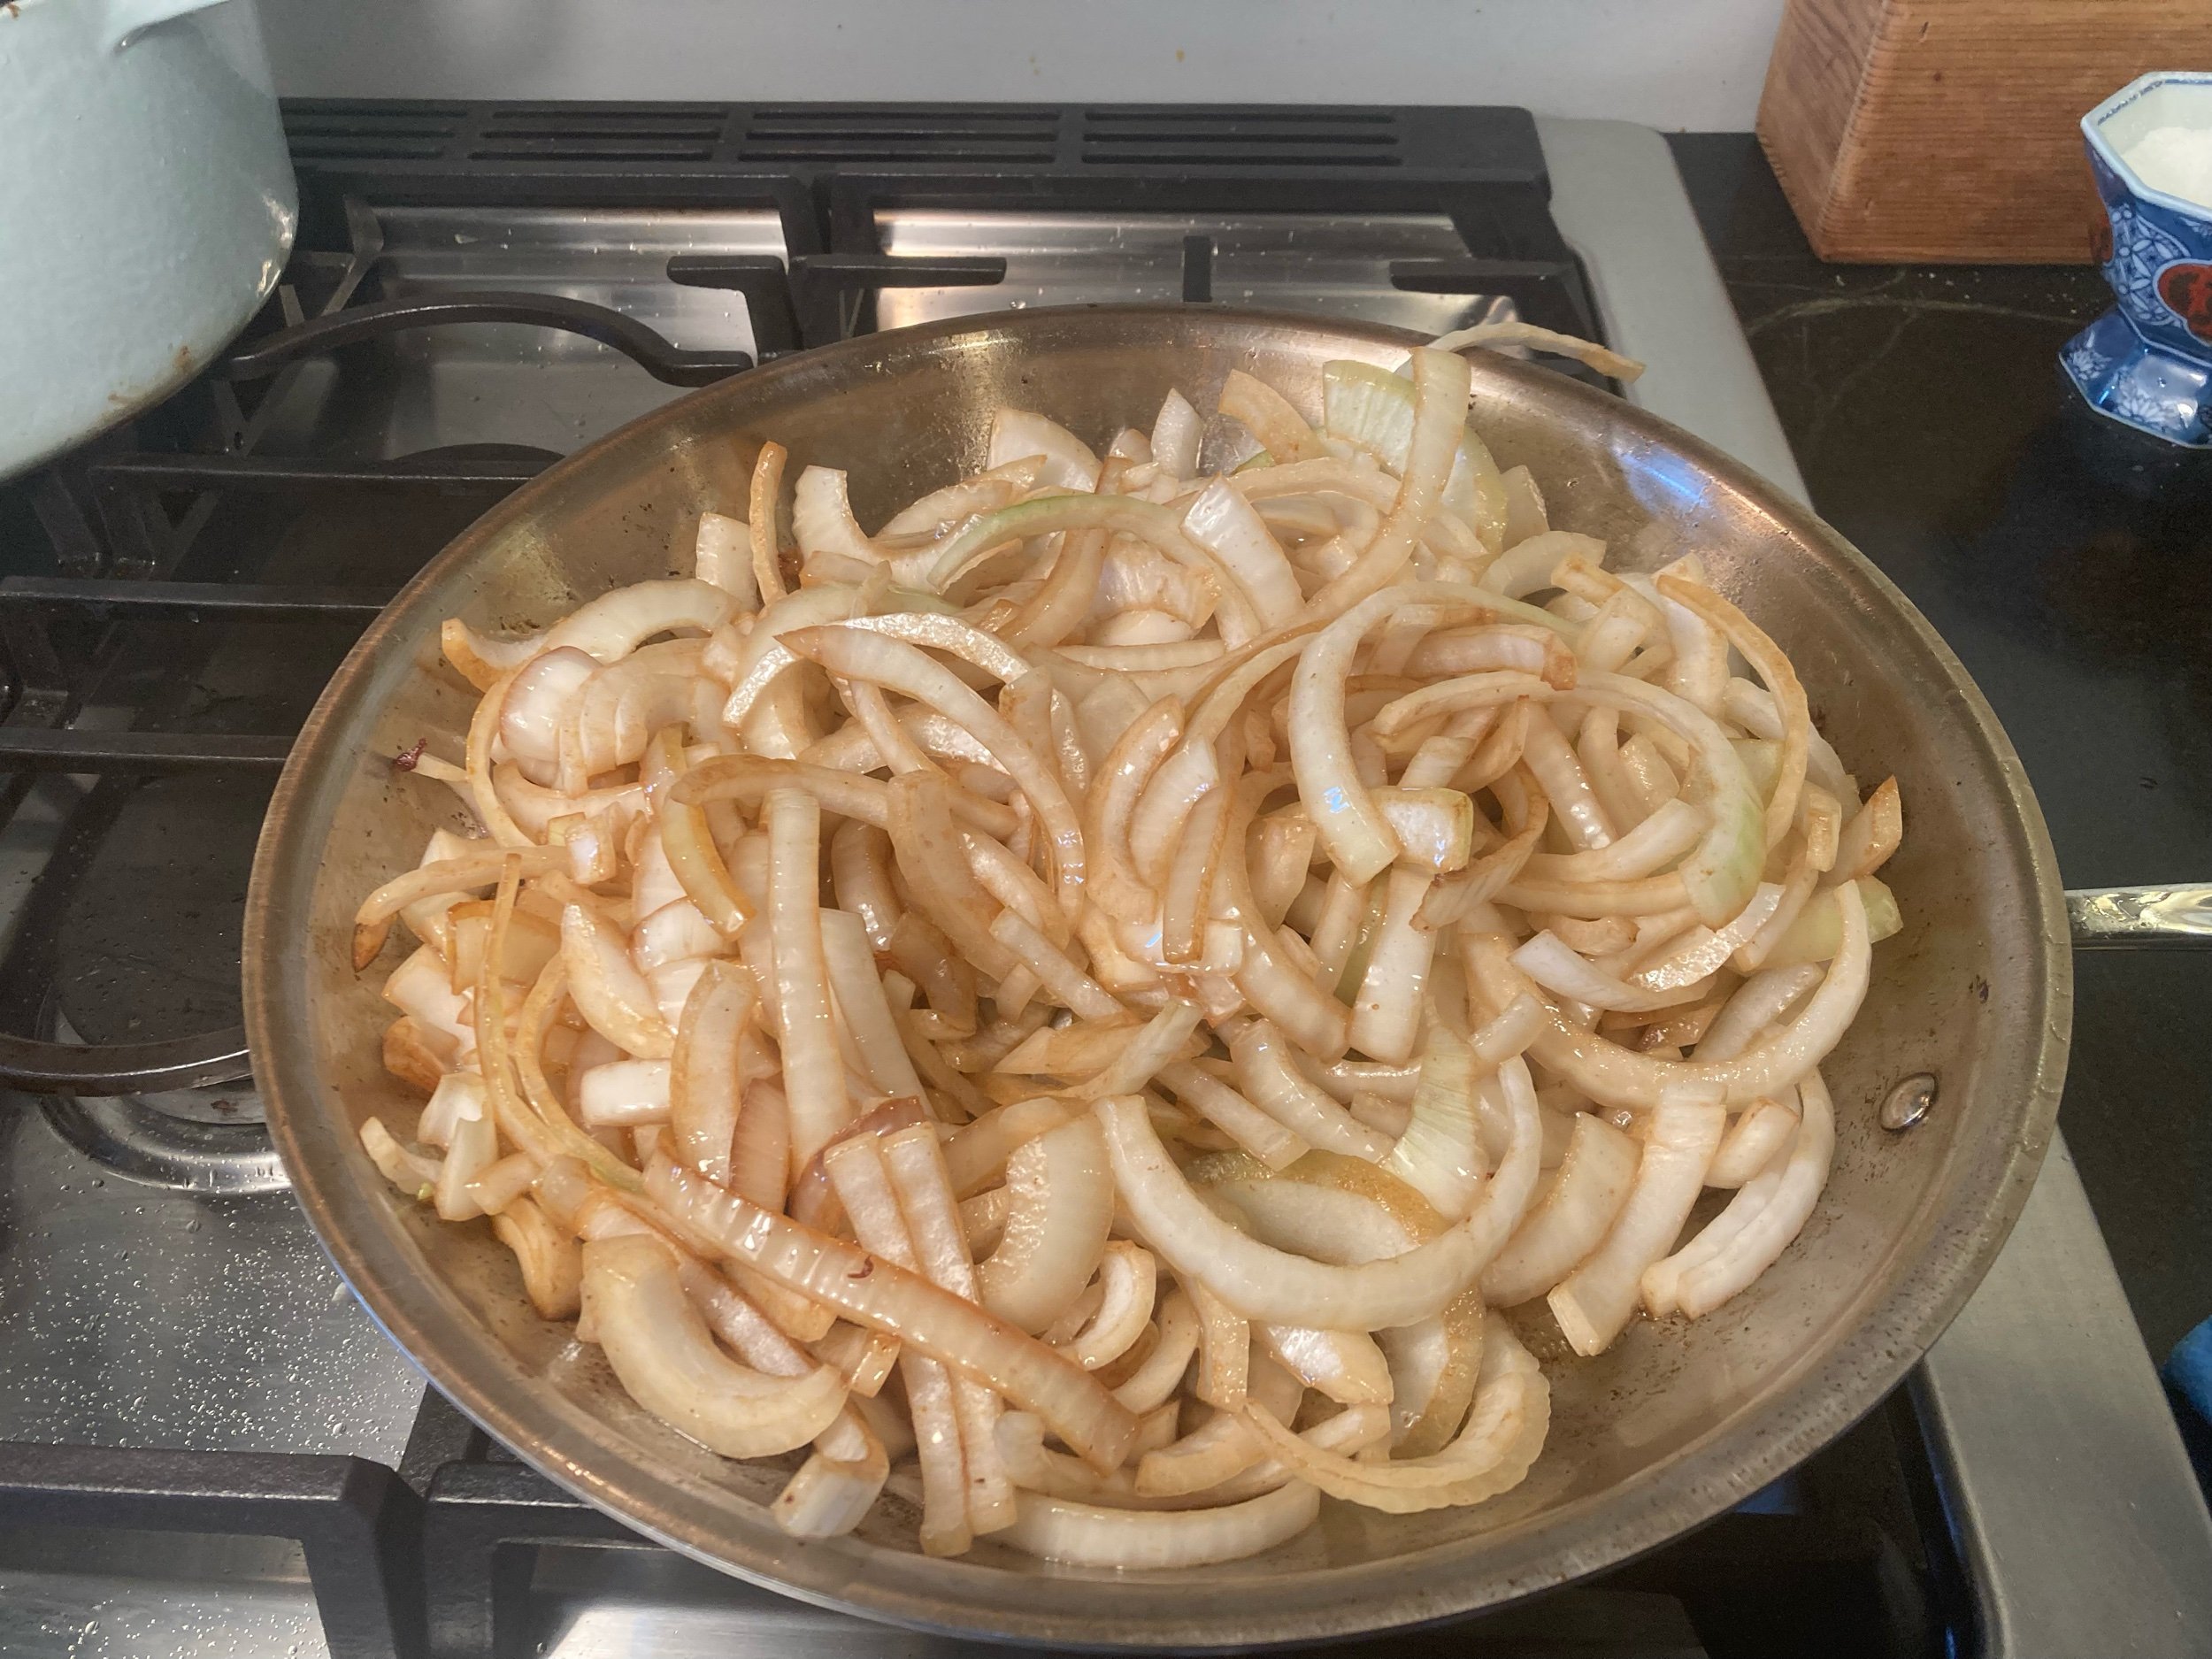
Once butter is melted, add your onion and saute until soft, about three minutes.

Stir until soft and translucent.

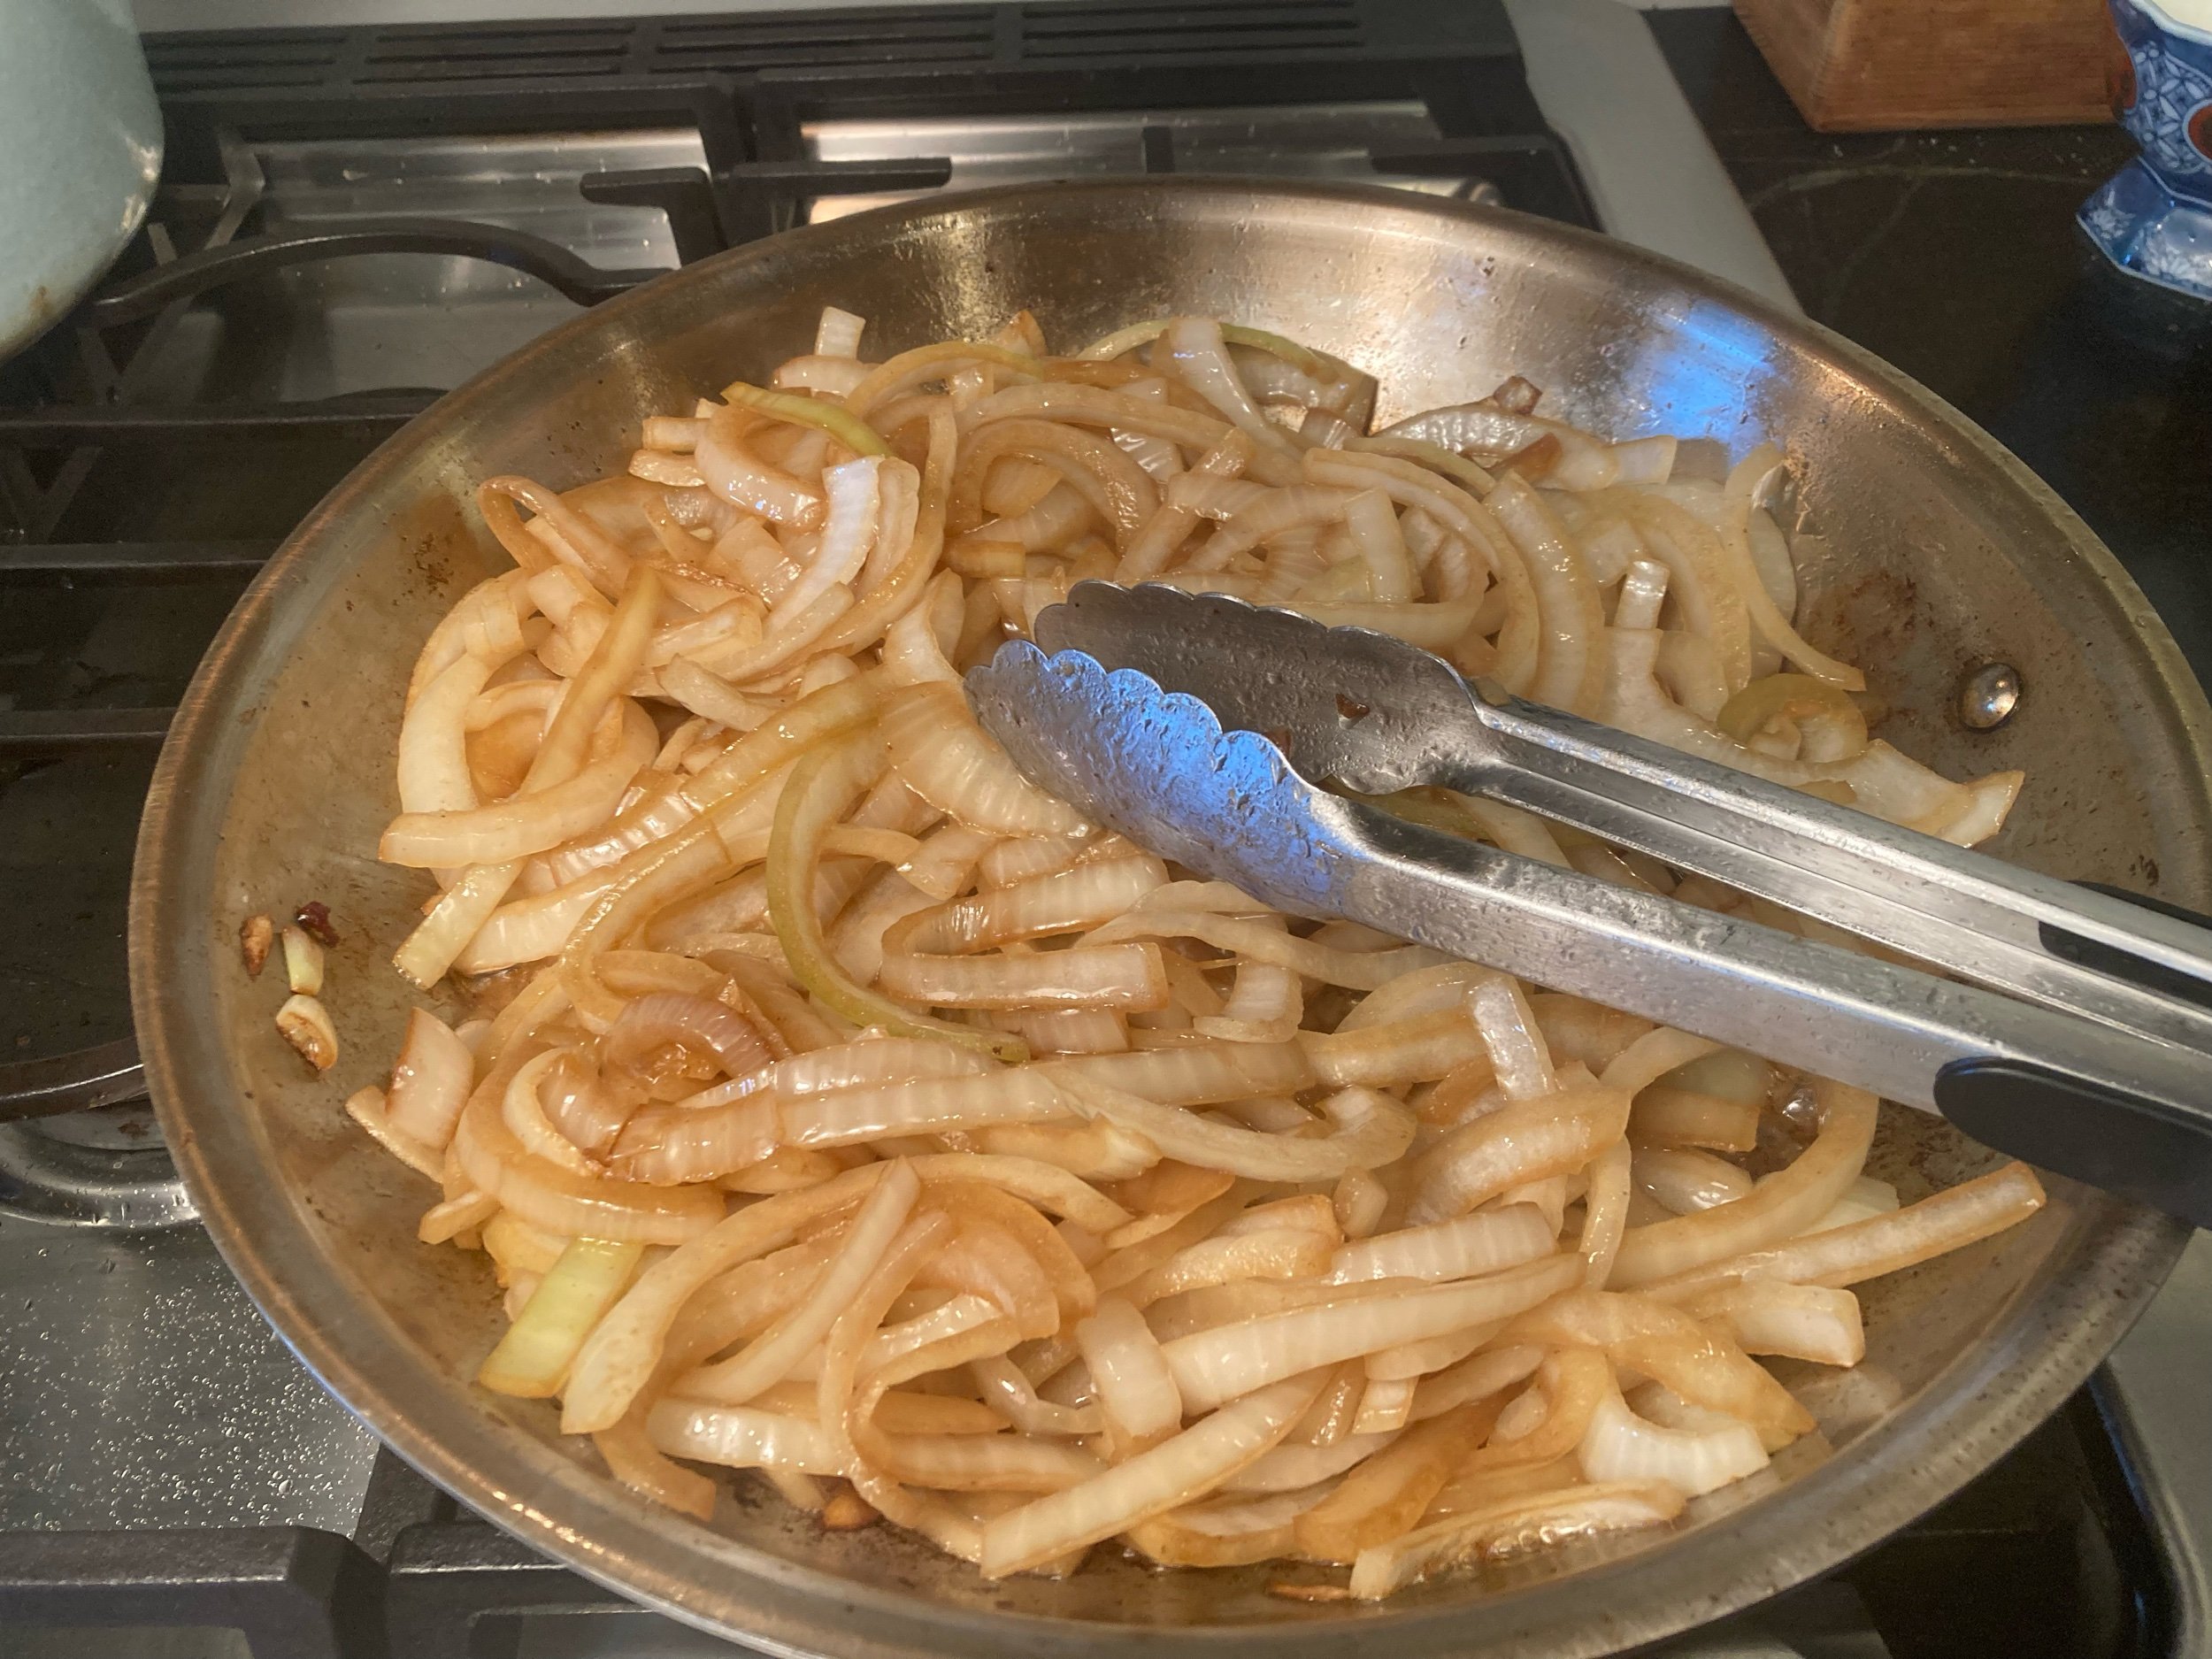
Sprinkle in flour and whisk to combine, about 30 seconds.
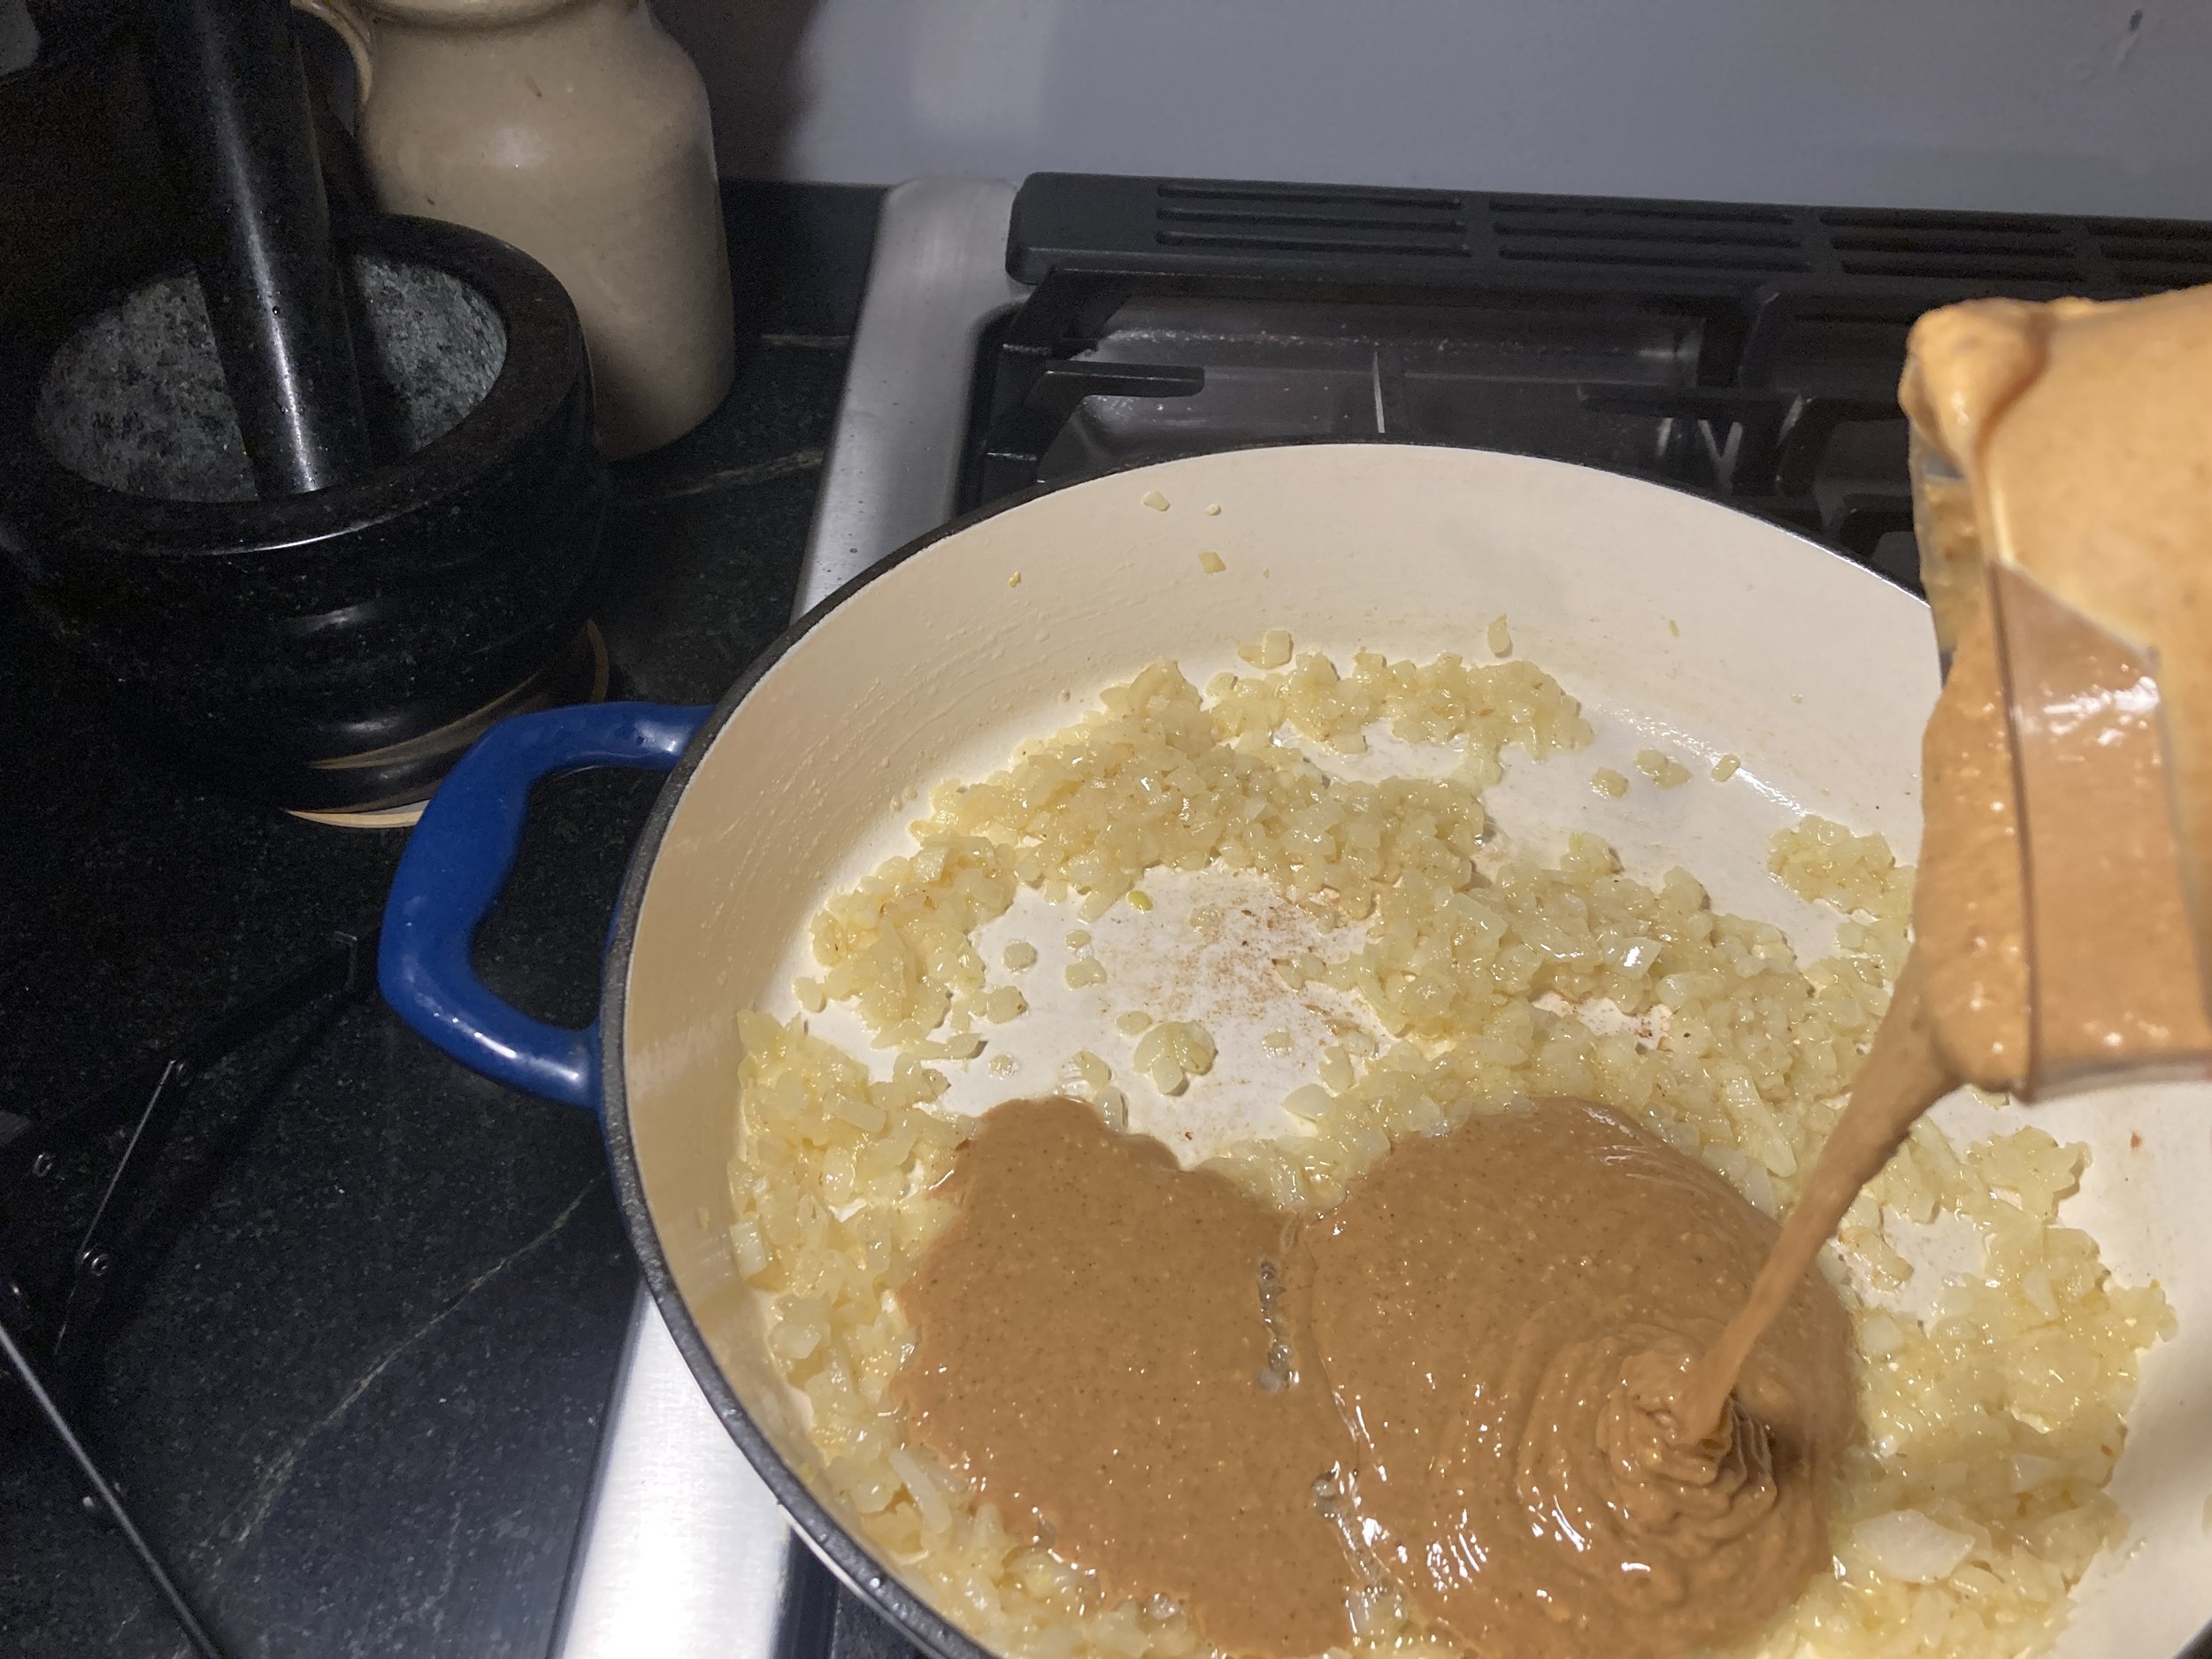
Add peanut butter.
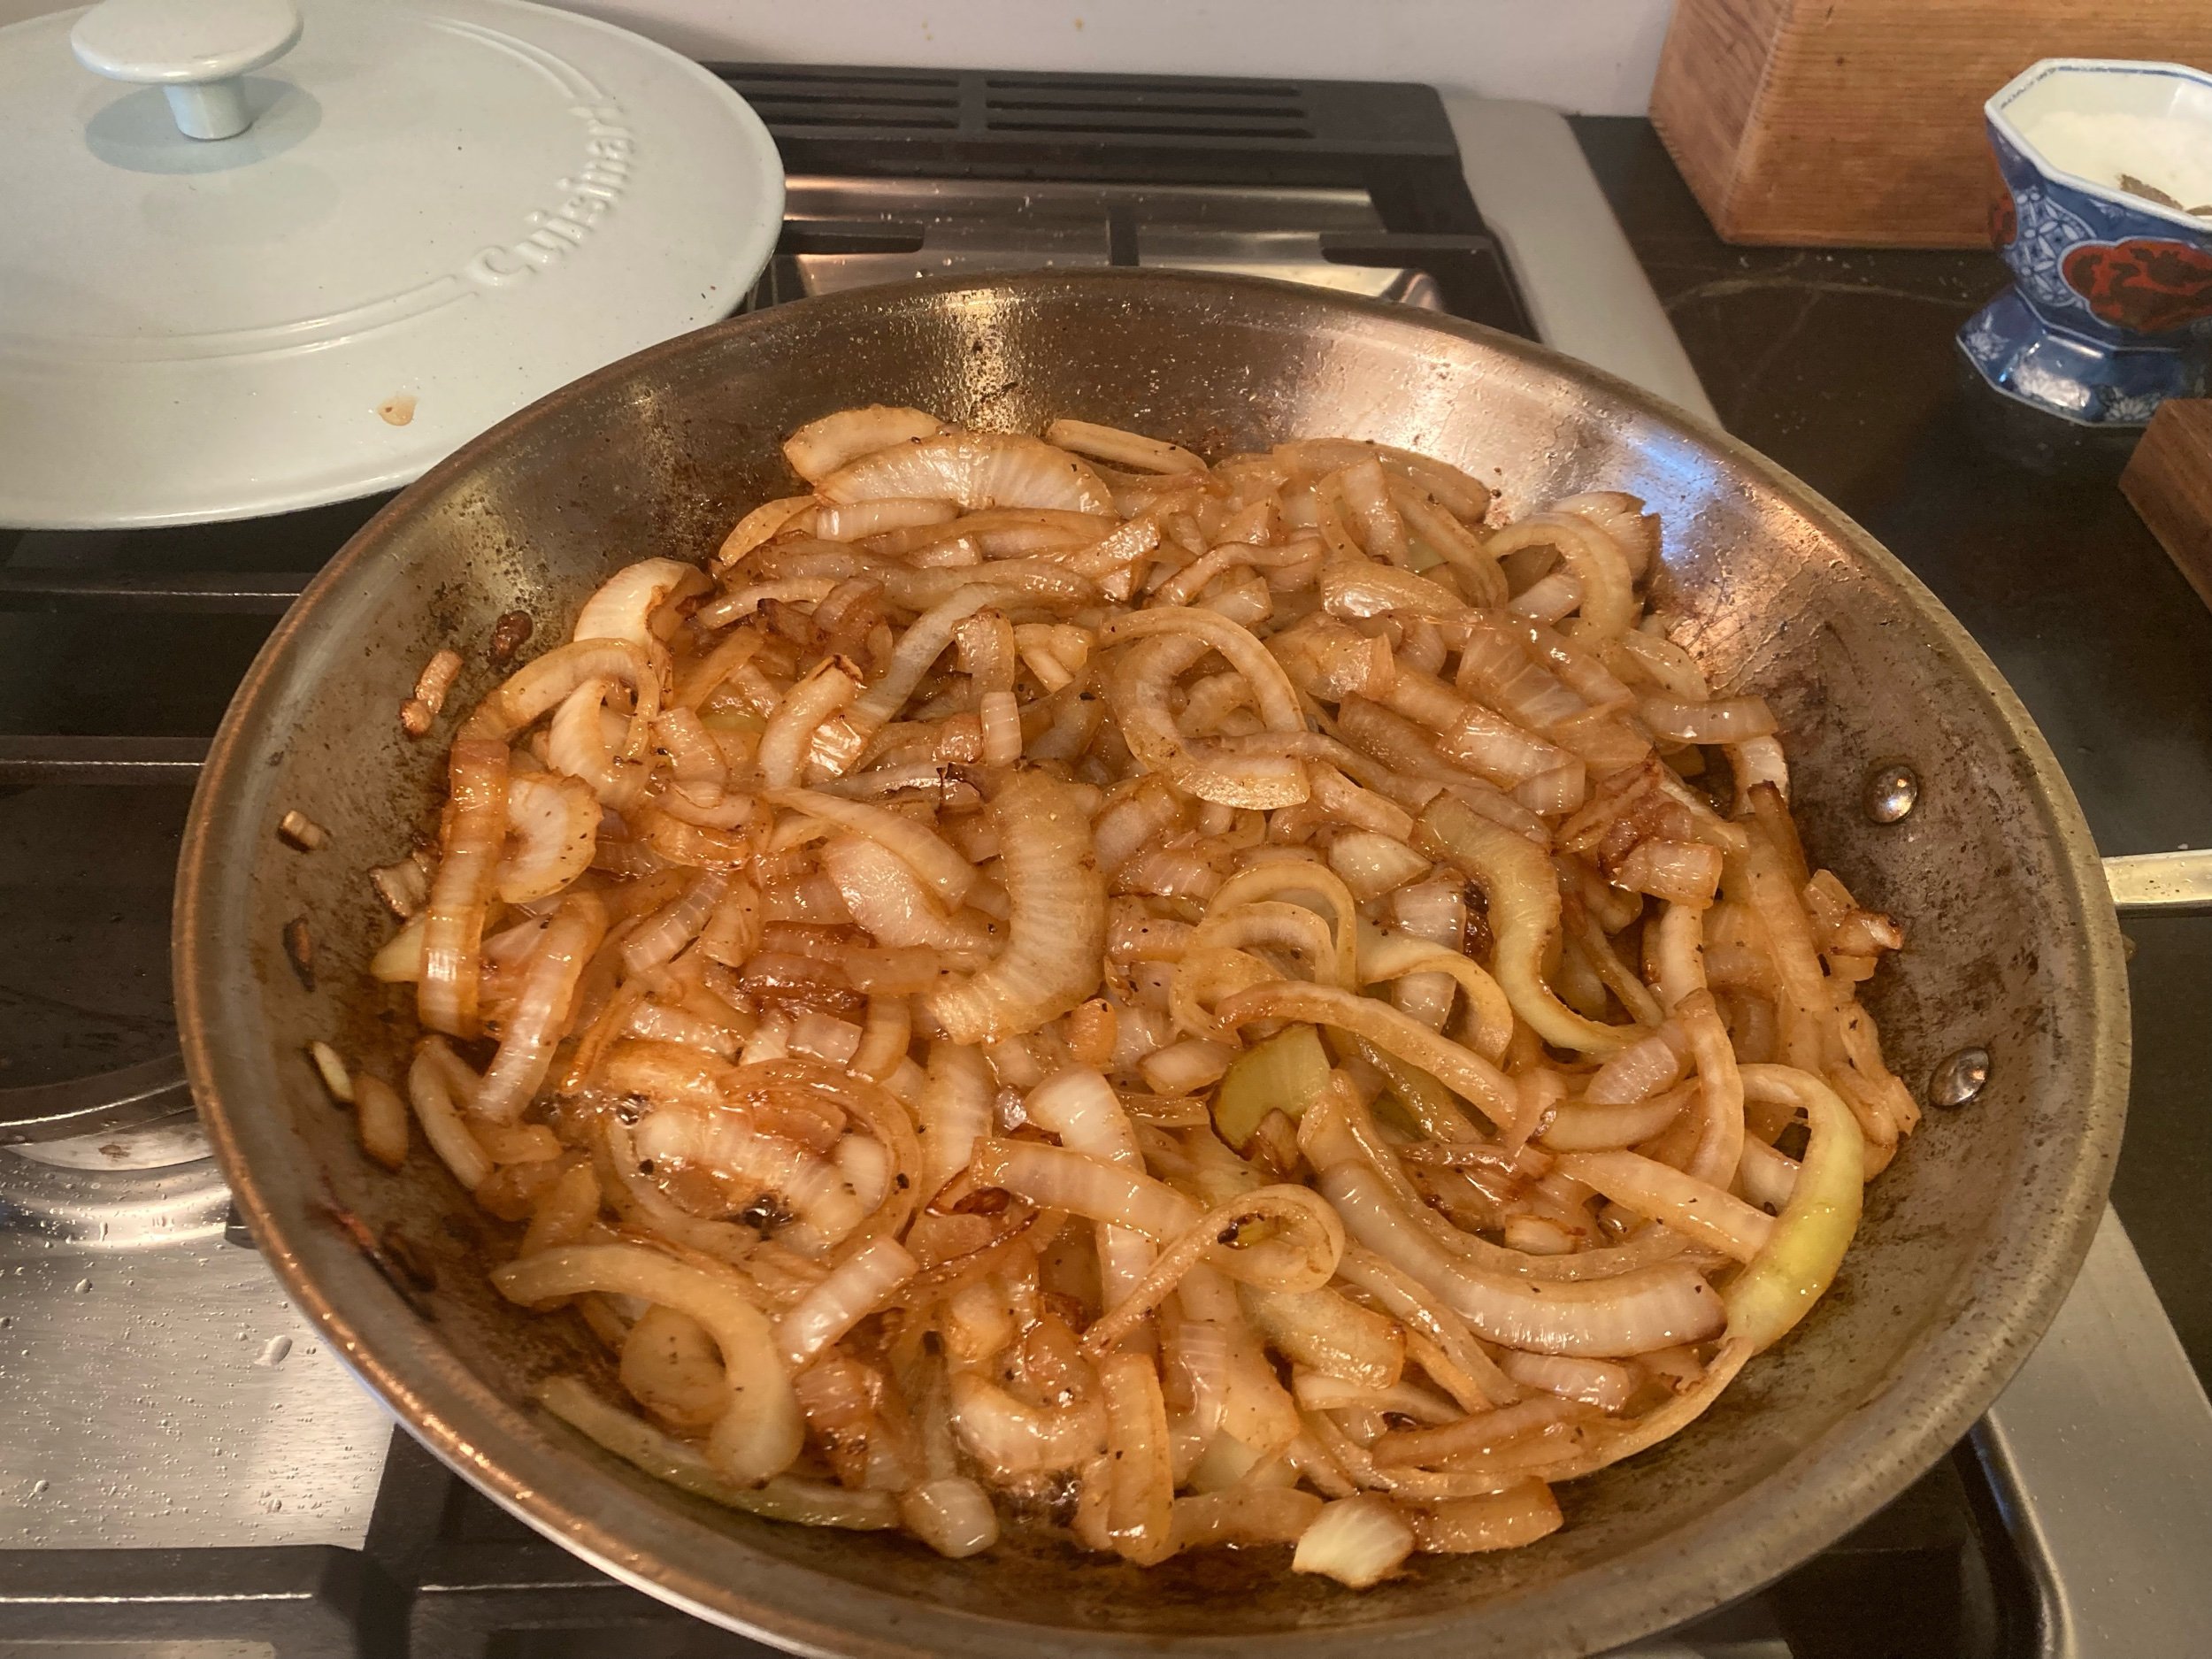
Stir until soft and melted.

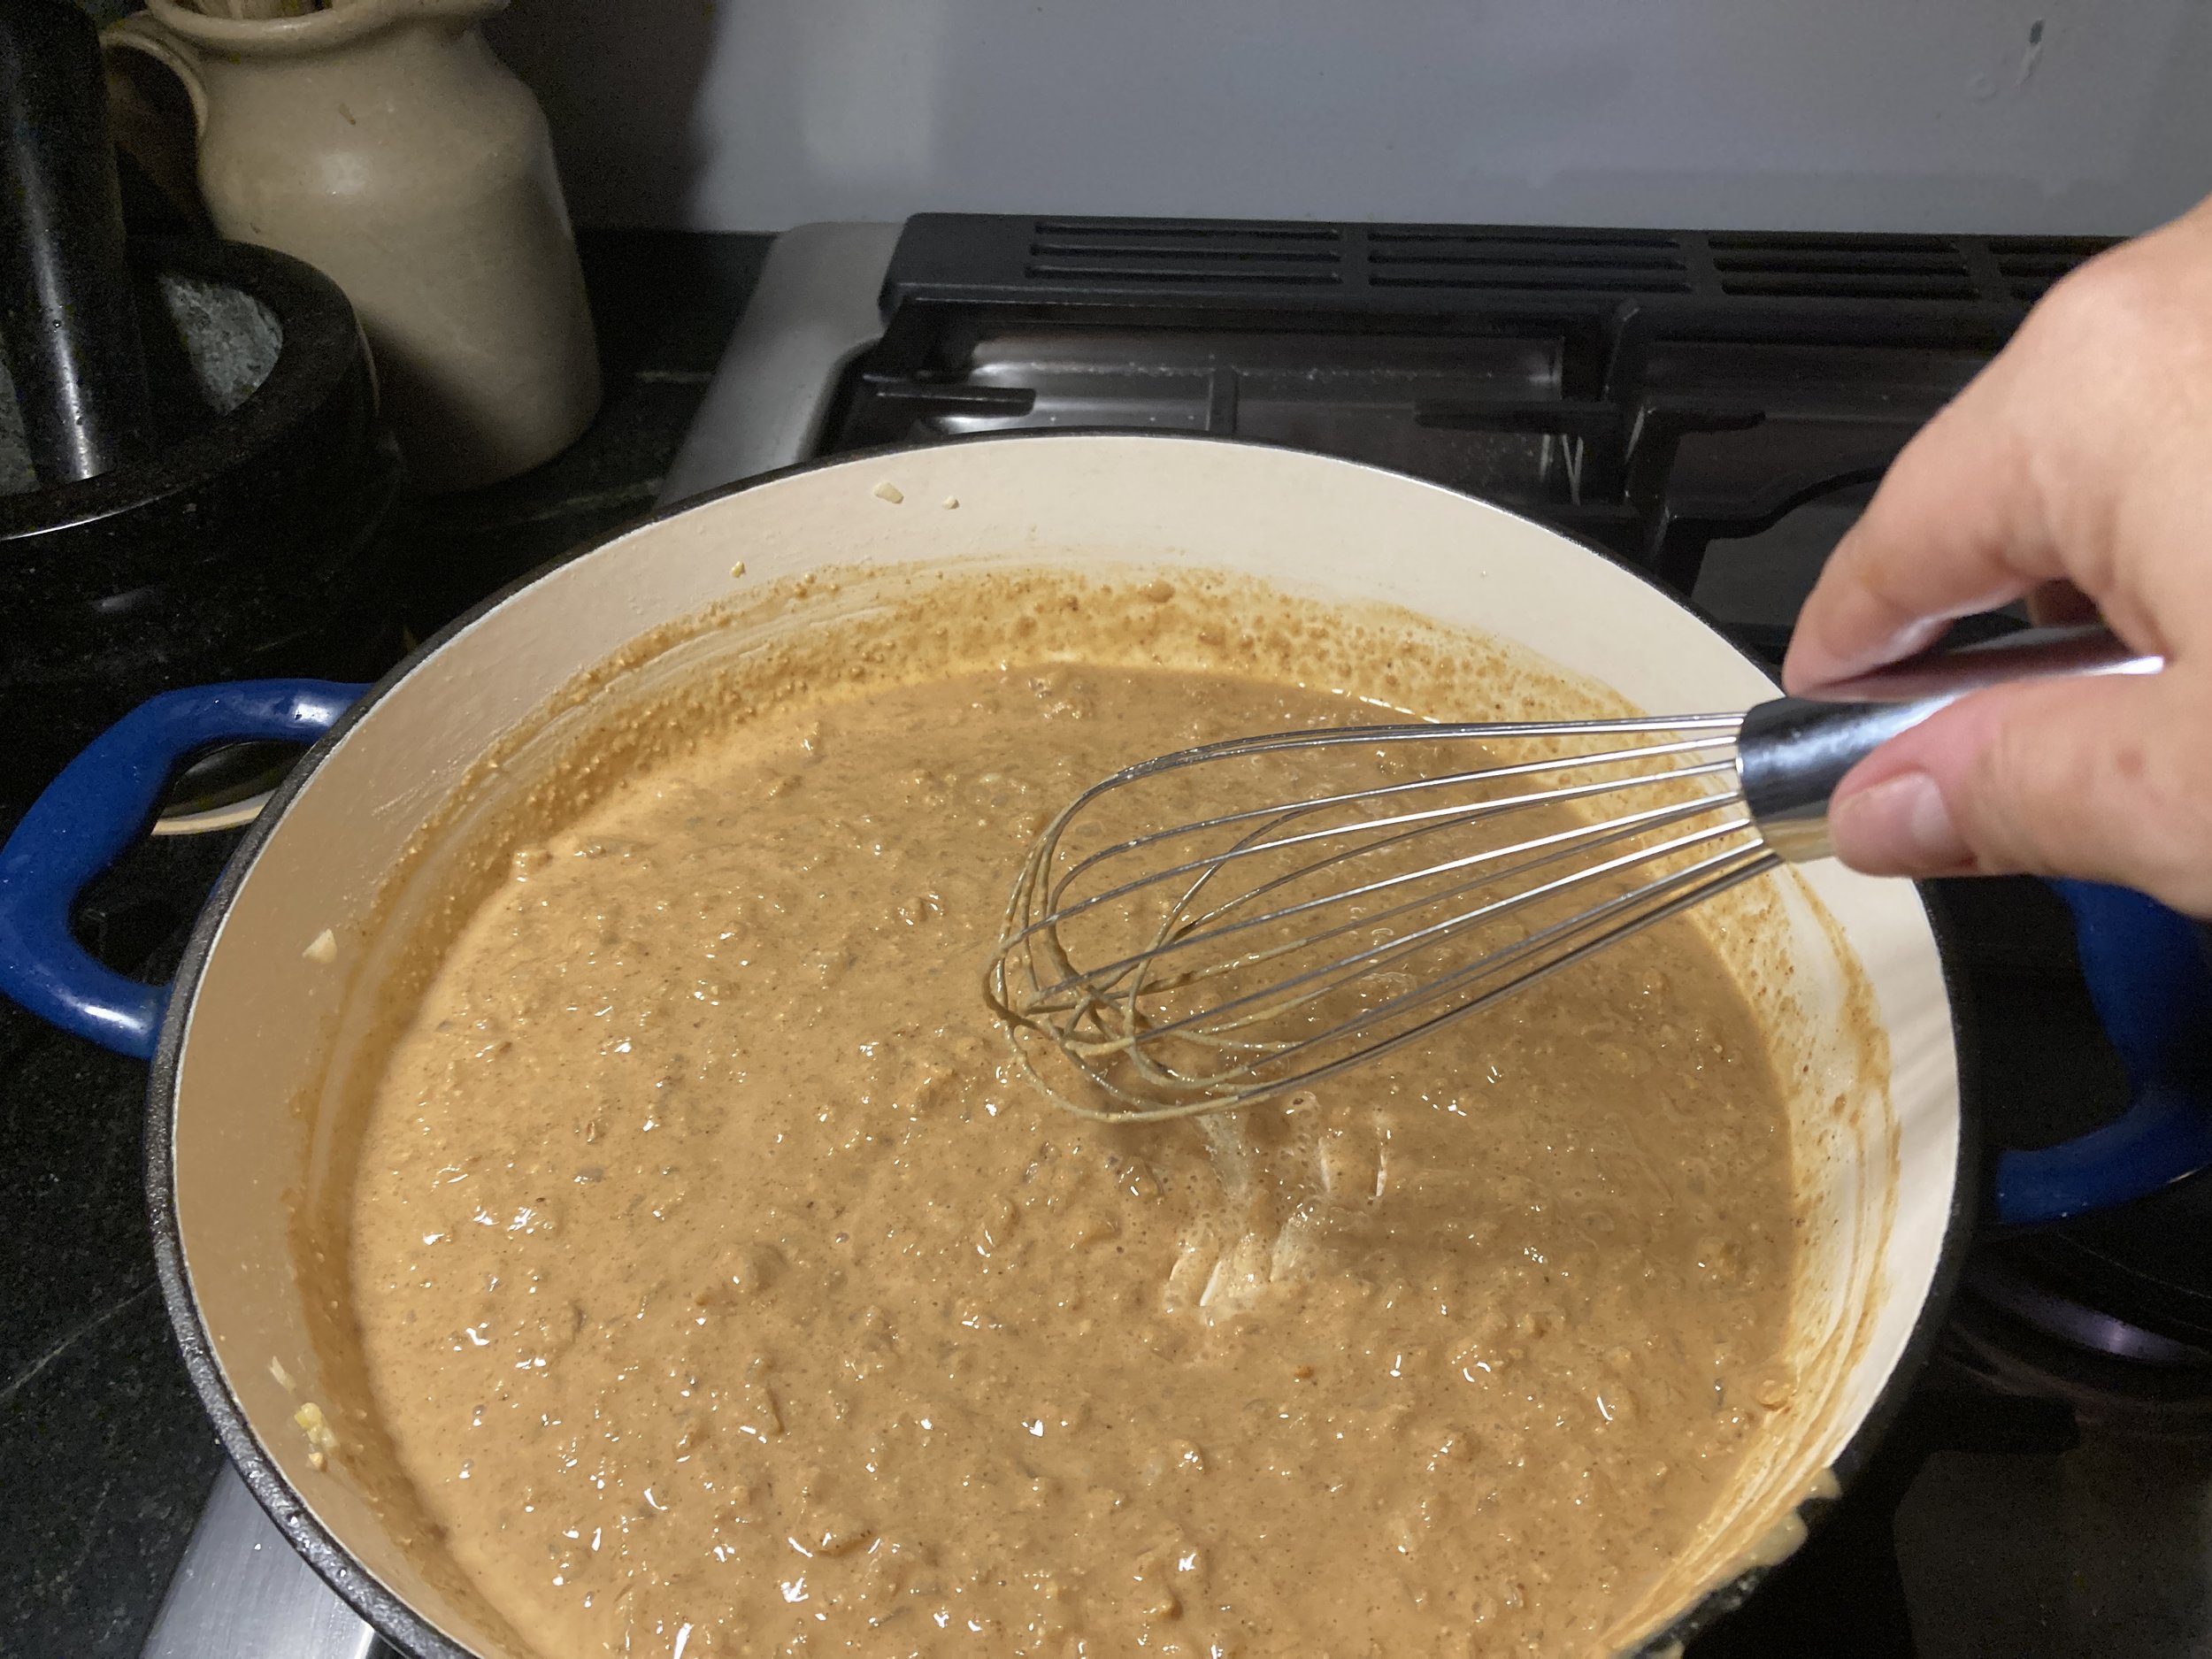
Add stock and stir to combine.
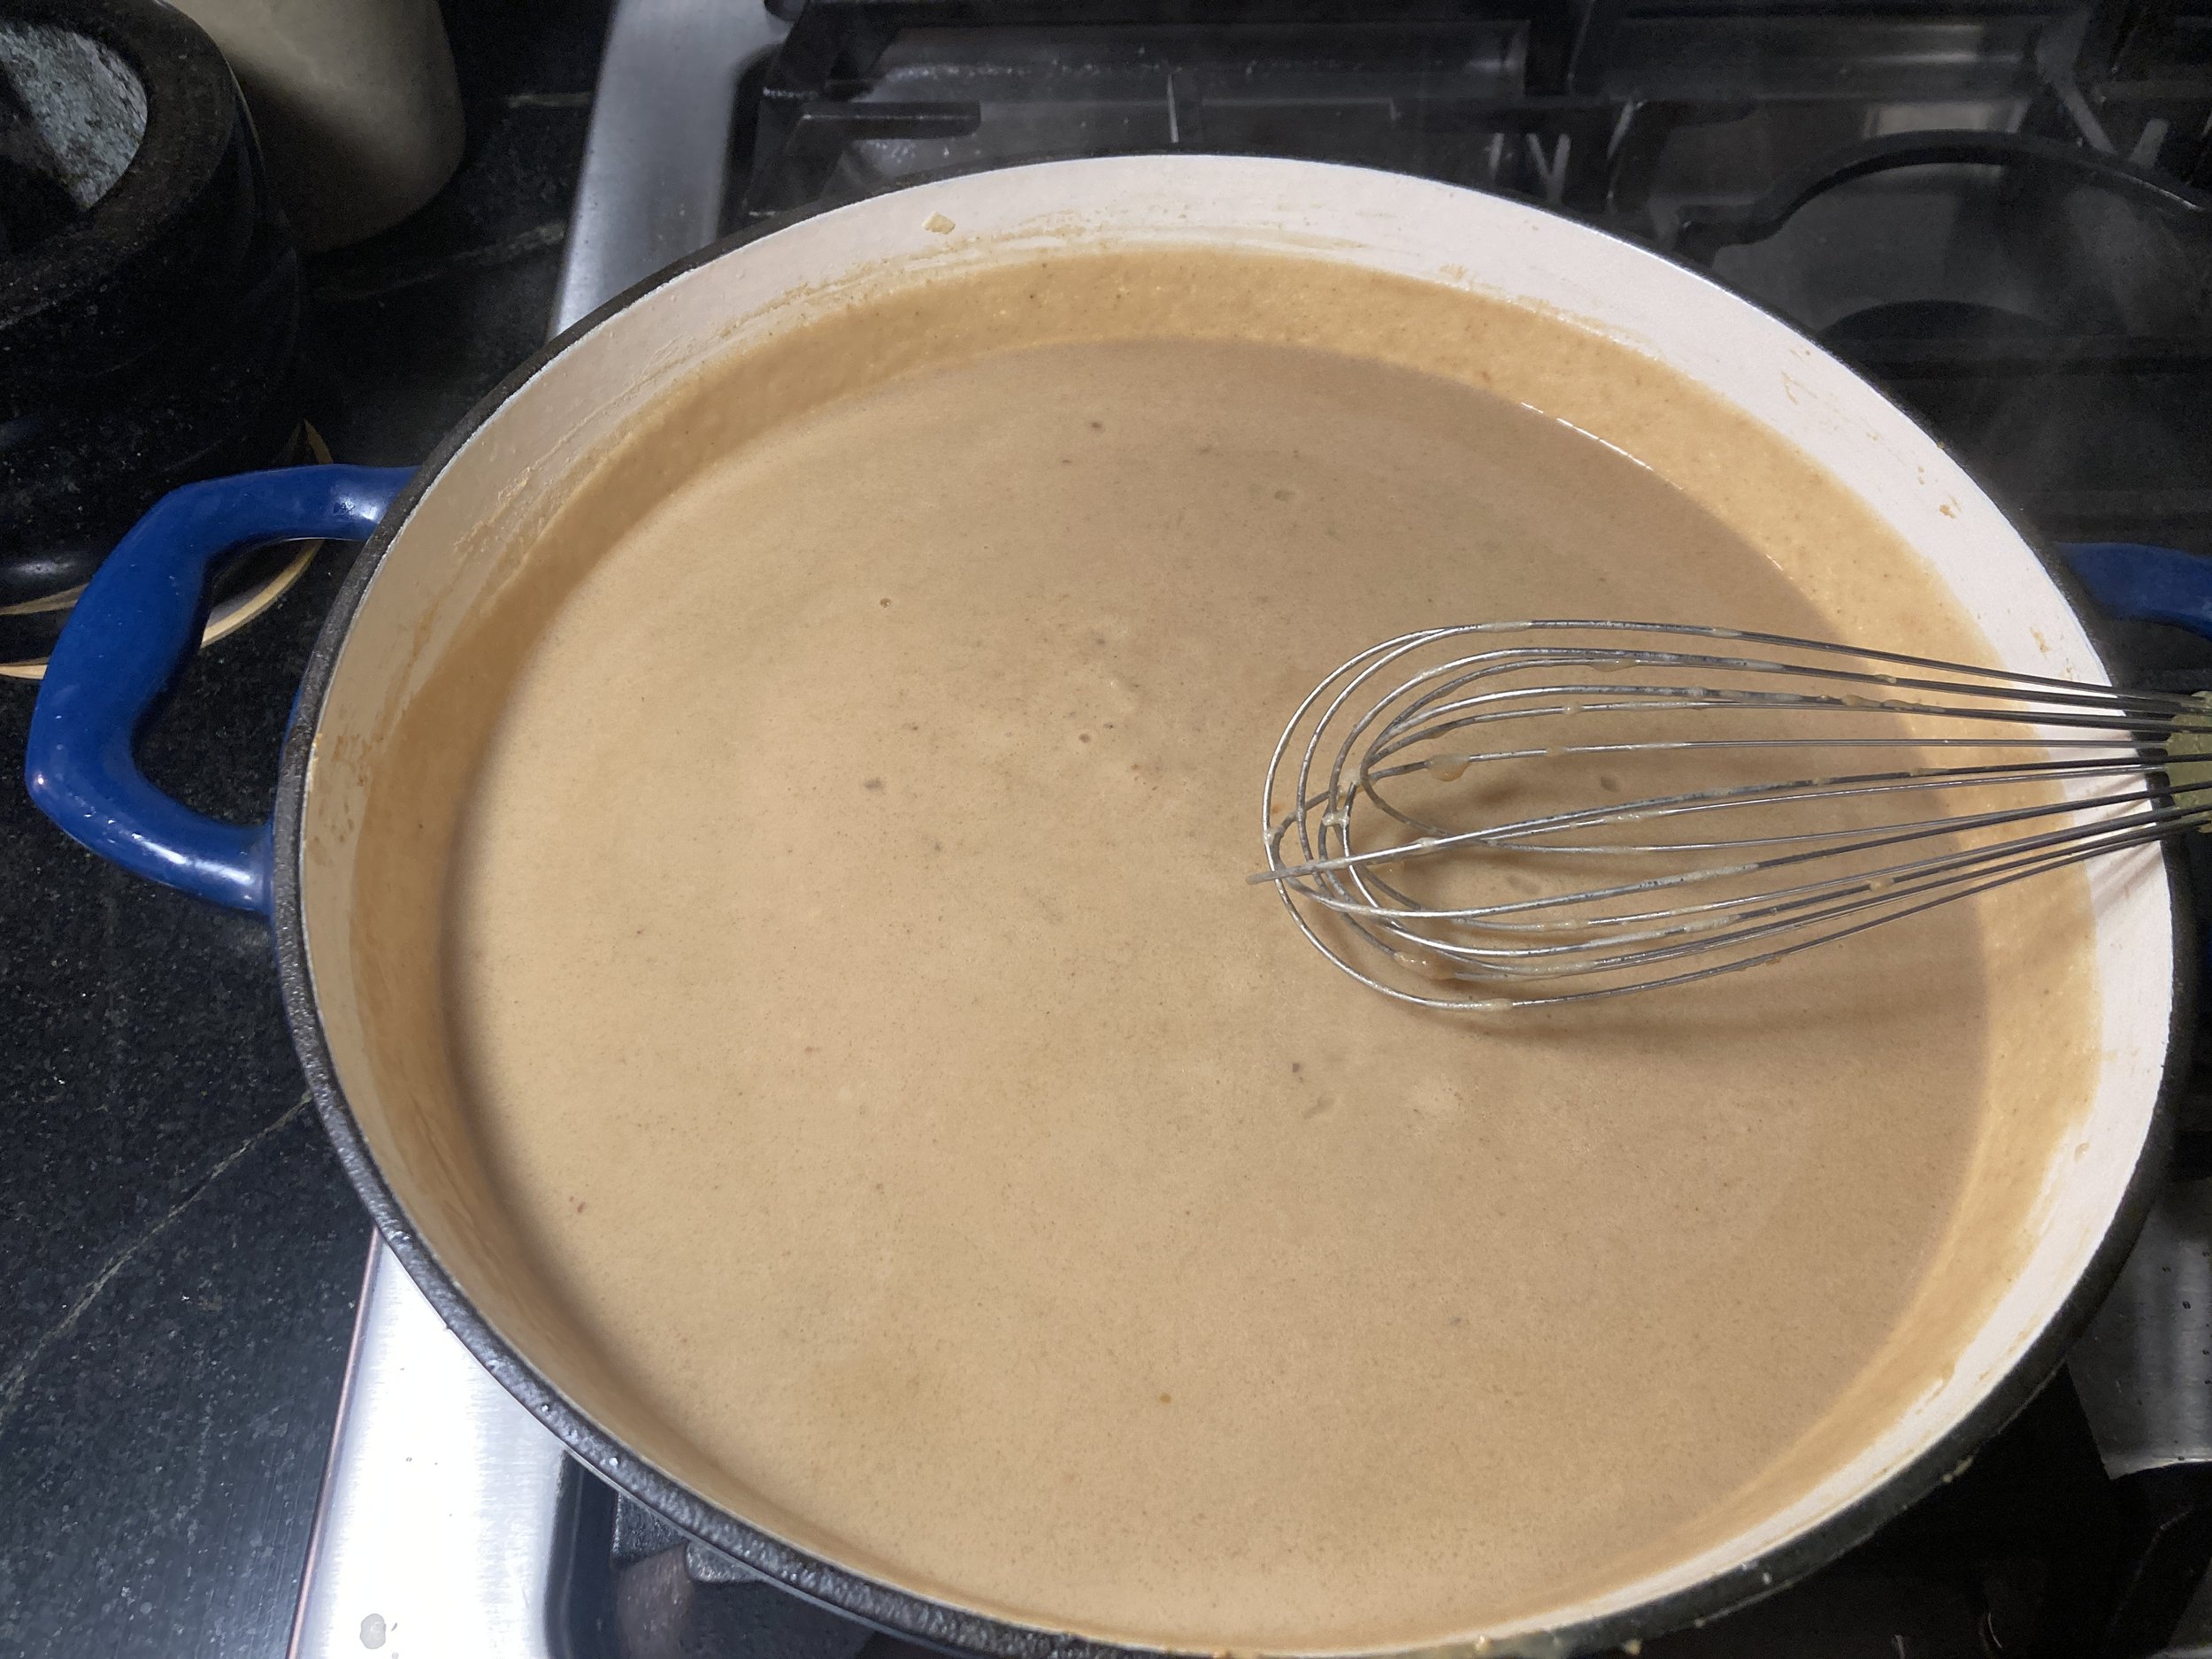
Simmer 20 minutes over very low heat.

Add heavy cream.

Stir to combine and warm through until soup temperature.

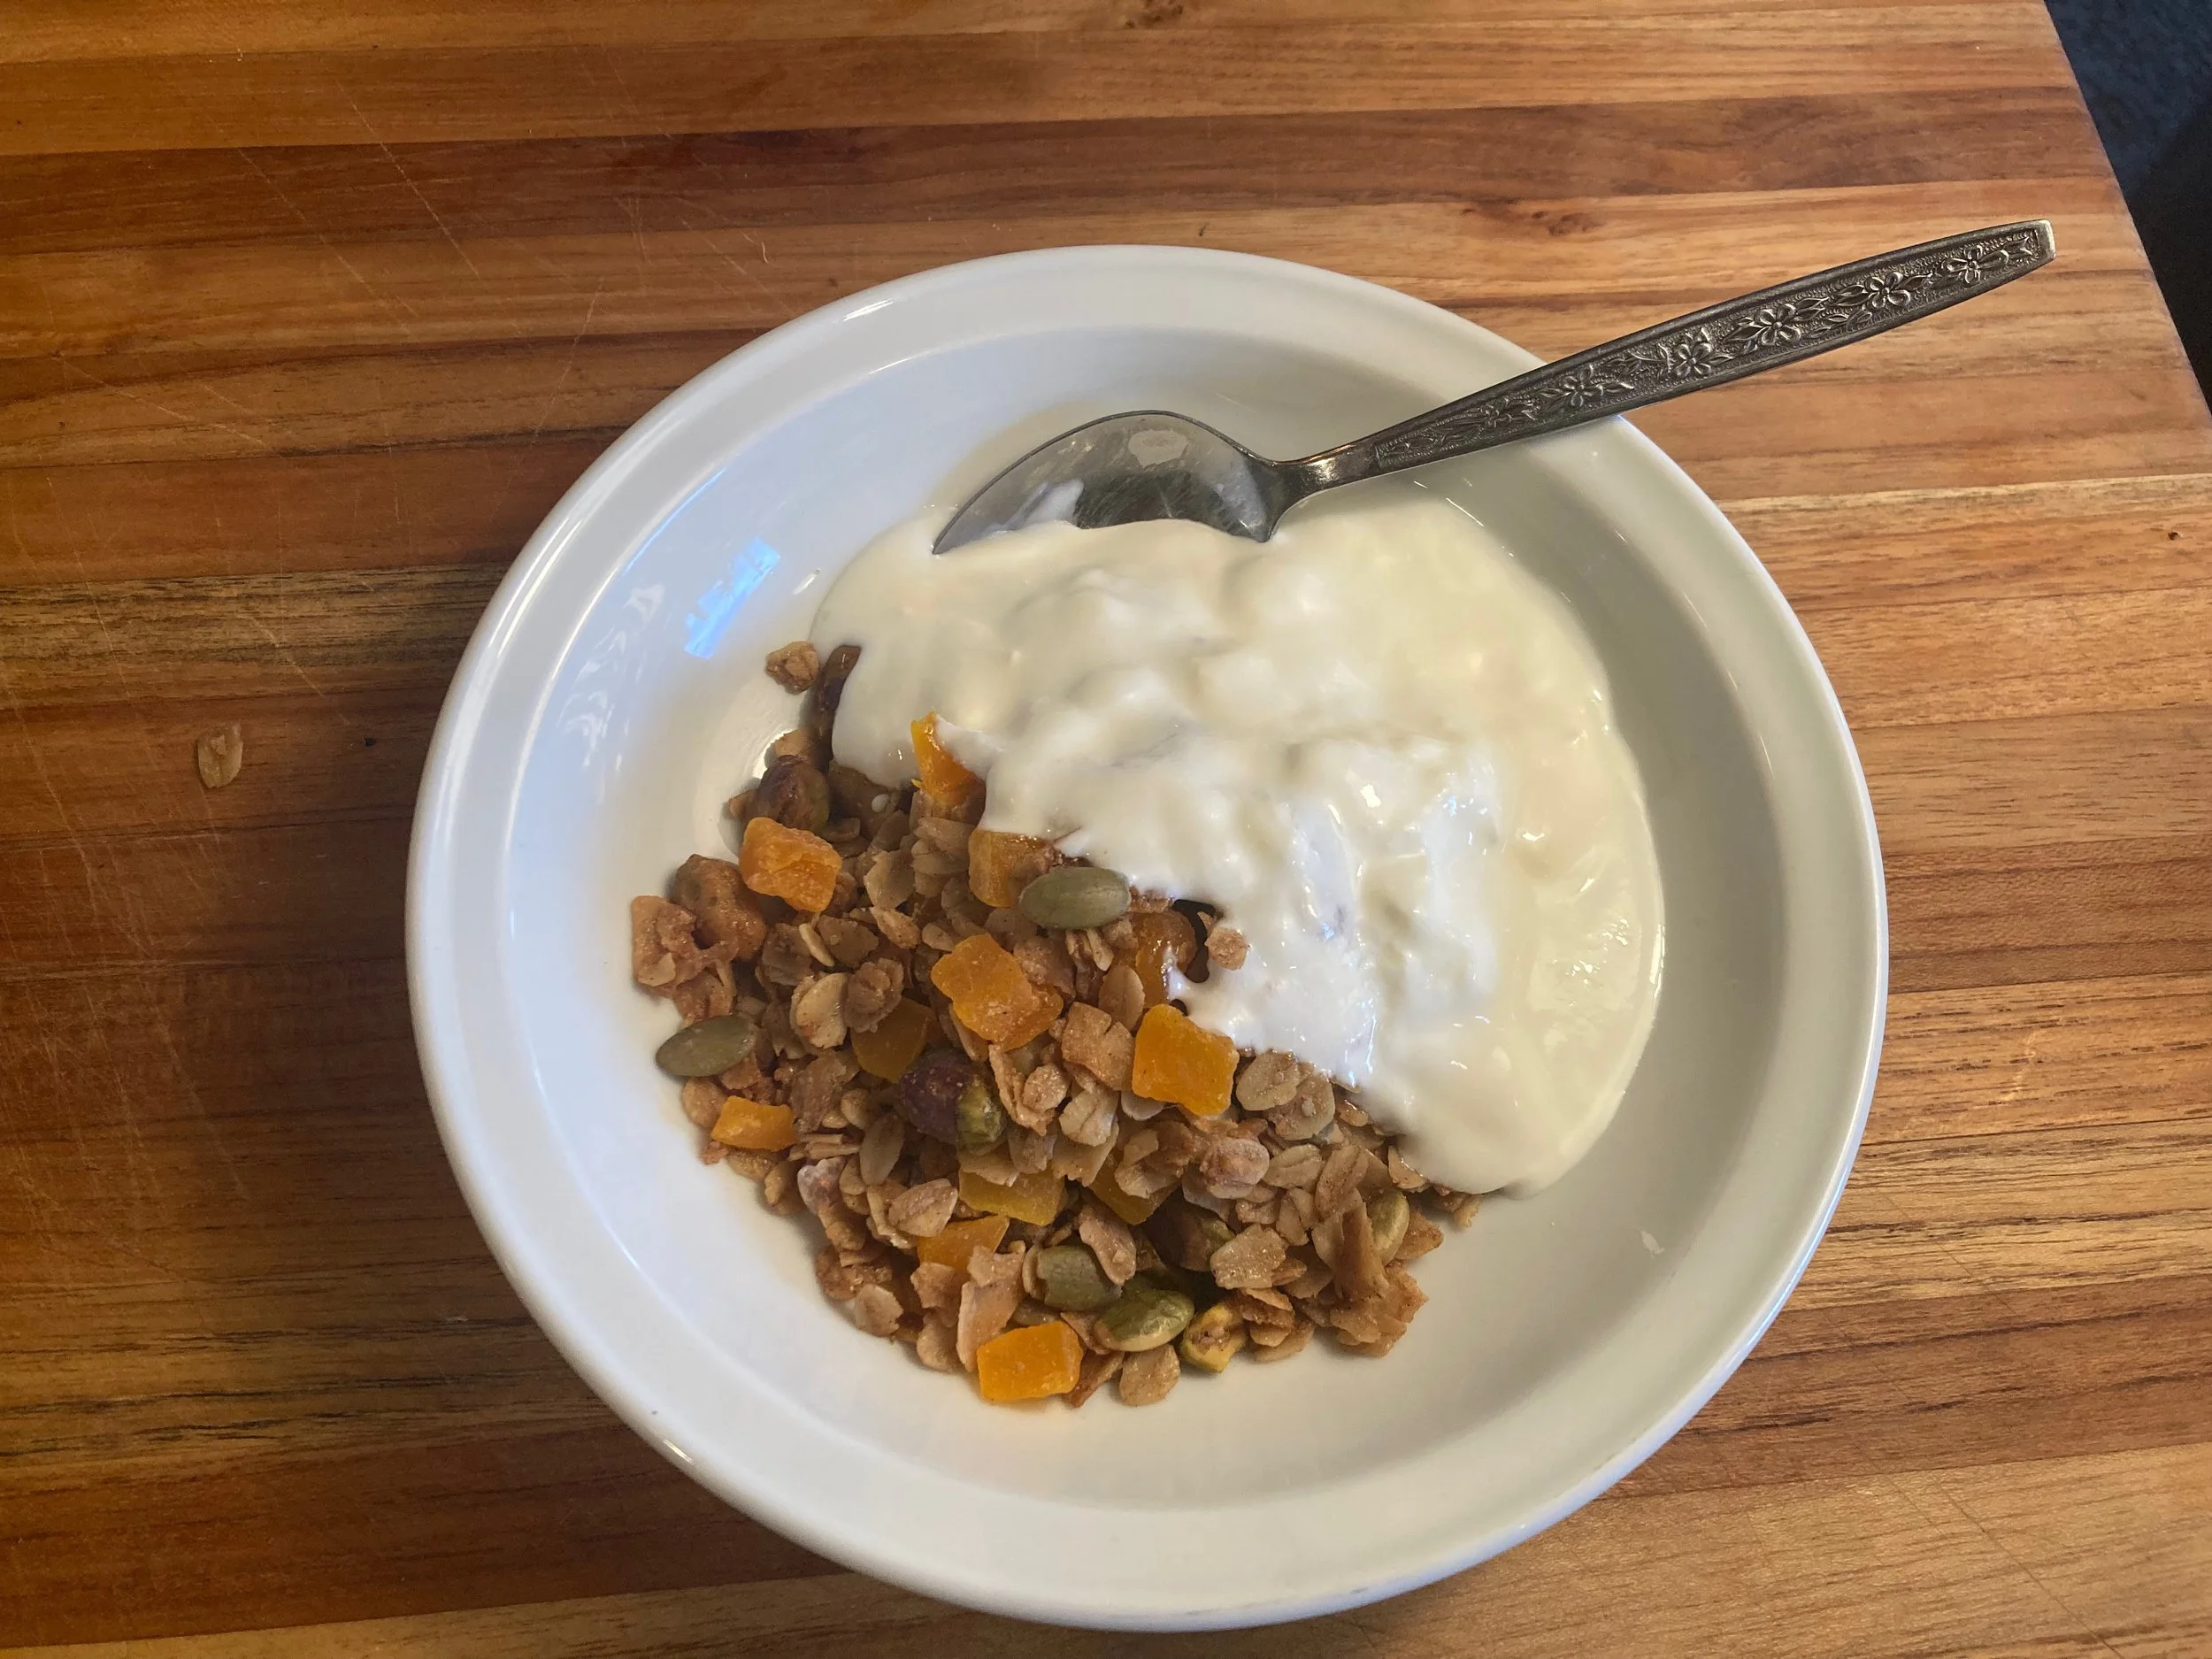
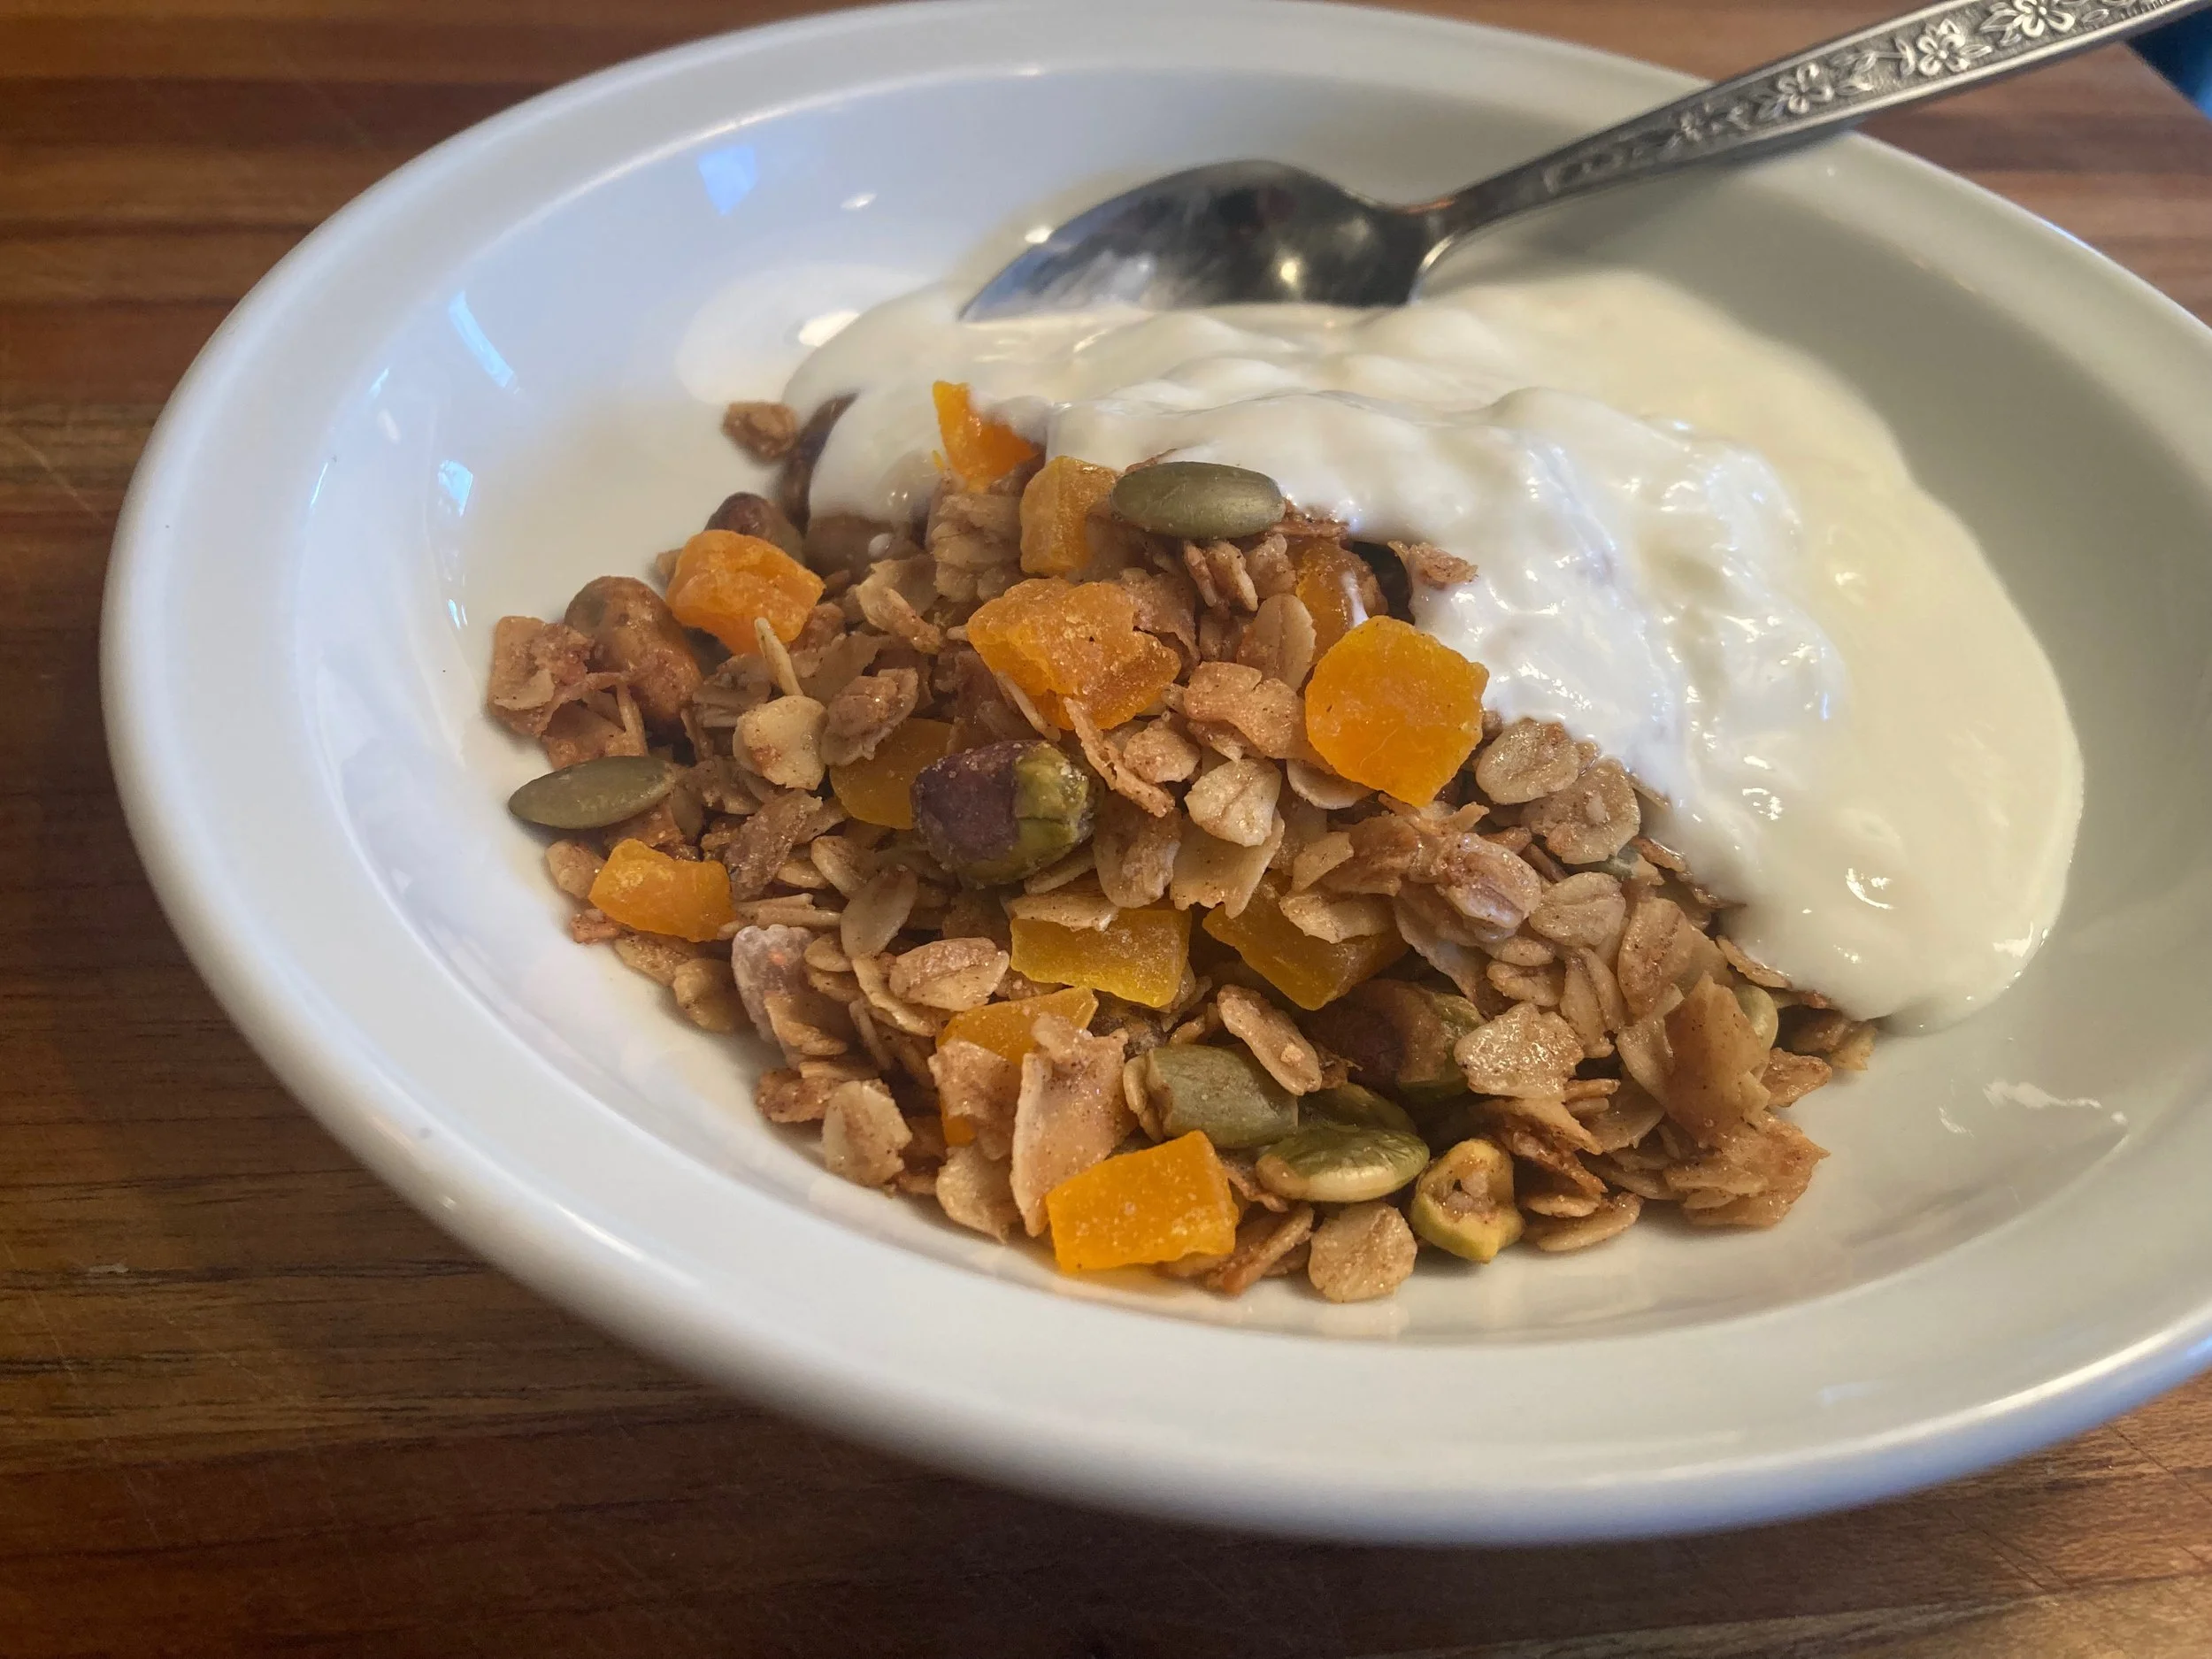
Put that soup in a bowl

Drizzle a bit of olive oil over the top

Drizzle with hot sauce and chili crisp and a bit of crushed peanut.

Eat that soup. Hug your loved ones. Update your LinkedIn profile. Keep Doom Scrolling.
Peanut Soup
adapted from Jubilee by Toni Tipton-Martin
I say don’t skimp on the chili sauce called for here. It doesn’t need to be spicy, but you at least the acidity. Even better, if you have some Chili Crisp, it’s great! I had some Don Chilio Jalapeno Chili Crisp. Really wonderful.
Leftovers are also great thickened a bit more and served as a sauce with rice and some scallions.
4 Tablespoons (1/2 stick) butter
1/2 cup minced onion
1 teaspoon minced garlic (1-2 cloves)
1 Tablespoon all-purpose flour
1 cup natural peanut butter (unsweetened)
1 quart Chicken Stock (I use Better Than Bouillon)
1 cup heavy whipping cream
salt and black pepper
Hot pepper sauce
Chili Crisp!
Crushed roasted peanuts (for garnish)
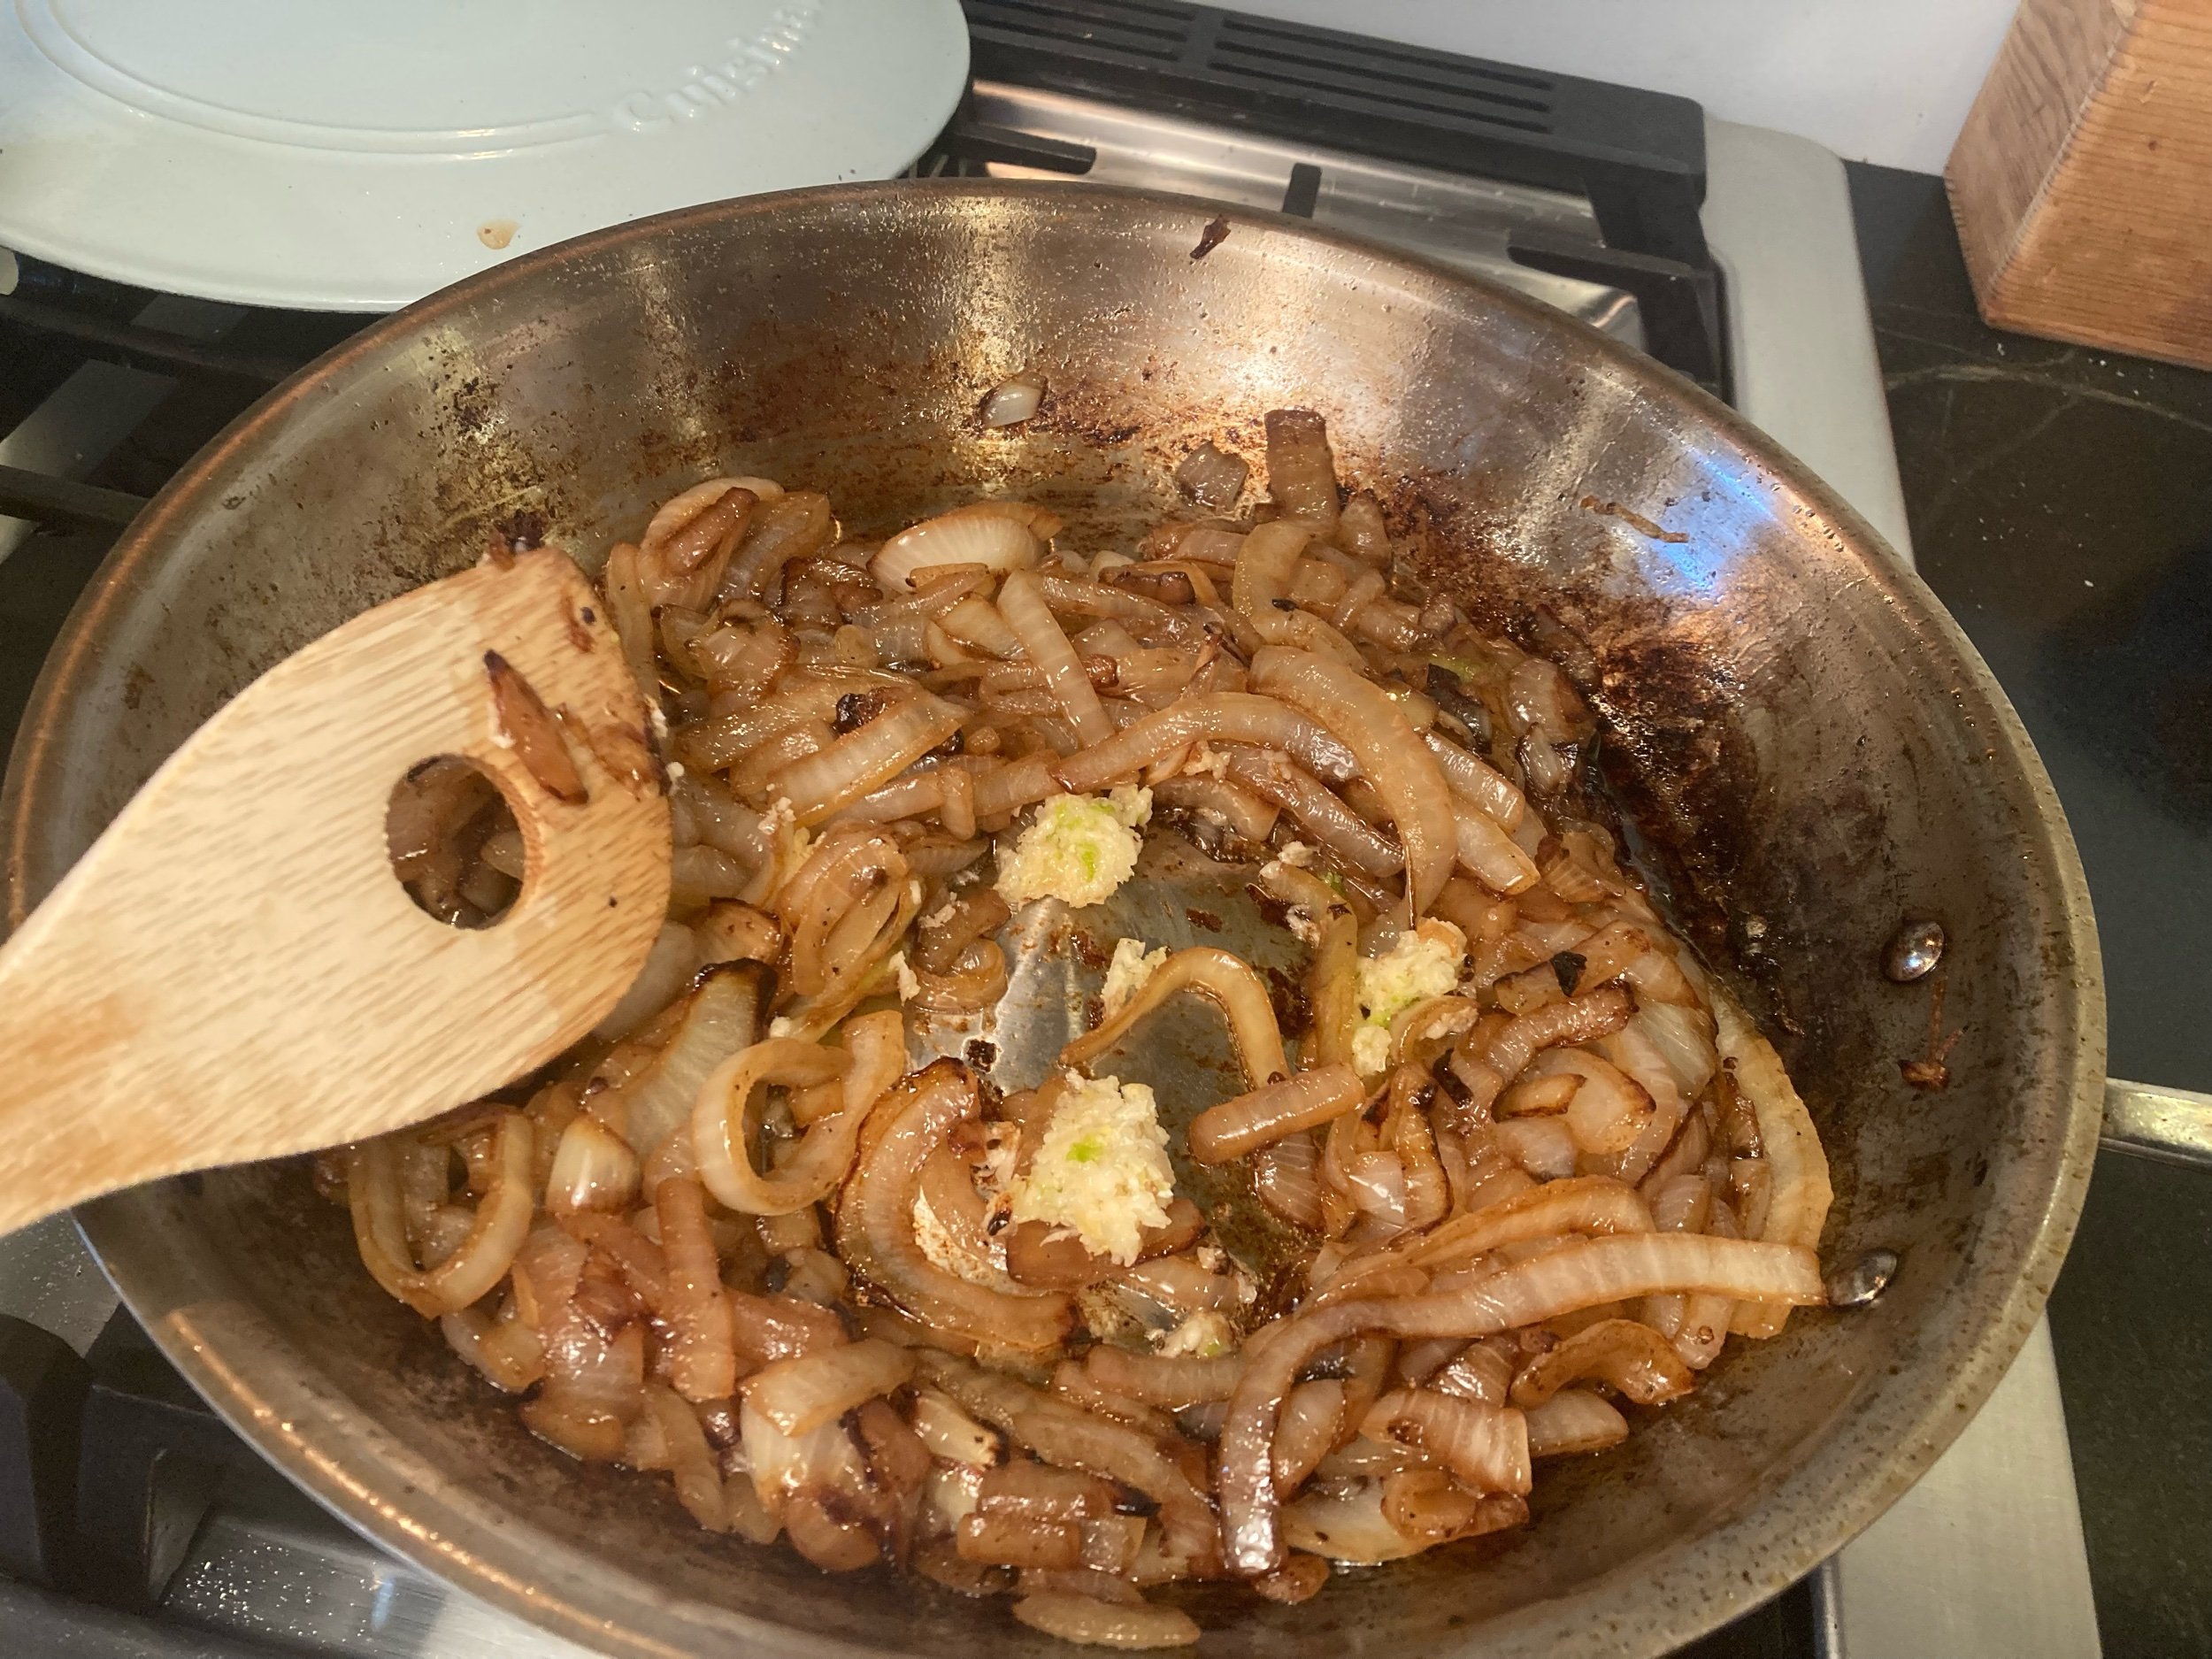
In a medium saucepan or deep skillet, heat the butter over medium heat until sizzling. Add the onion and garlic, and stir until translucent and soft, but not browned. Sprinkle the flour over this and dmix together with a whisk for about 30 seconds. Mix in the peanut butter and stir with your whisk until softened and smooth.
Gradually whisk in your stock/ broth, and and bring to a very gentle simmer. Lower your temp to a very gentle simmer for 20 minutes, stirring occasionally, and modifying the heat if needed.
Slowly stir in the cream and gradually heat through until soup is soup temperature. Don’t try to speed this step up or you might cause the fats to separate. Season to taste with salt and plenty of black pepper, to taste. Add dashes of hot sauce and some sprinklings of chili crisp to the top. Add a sprinkling of crushed peanuts on top as well.


Ok today imma make some calls, I guess. Maybe tomorrow.

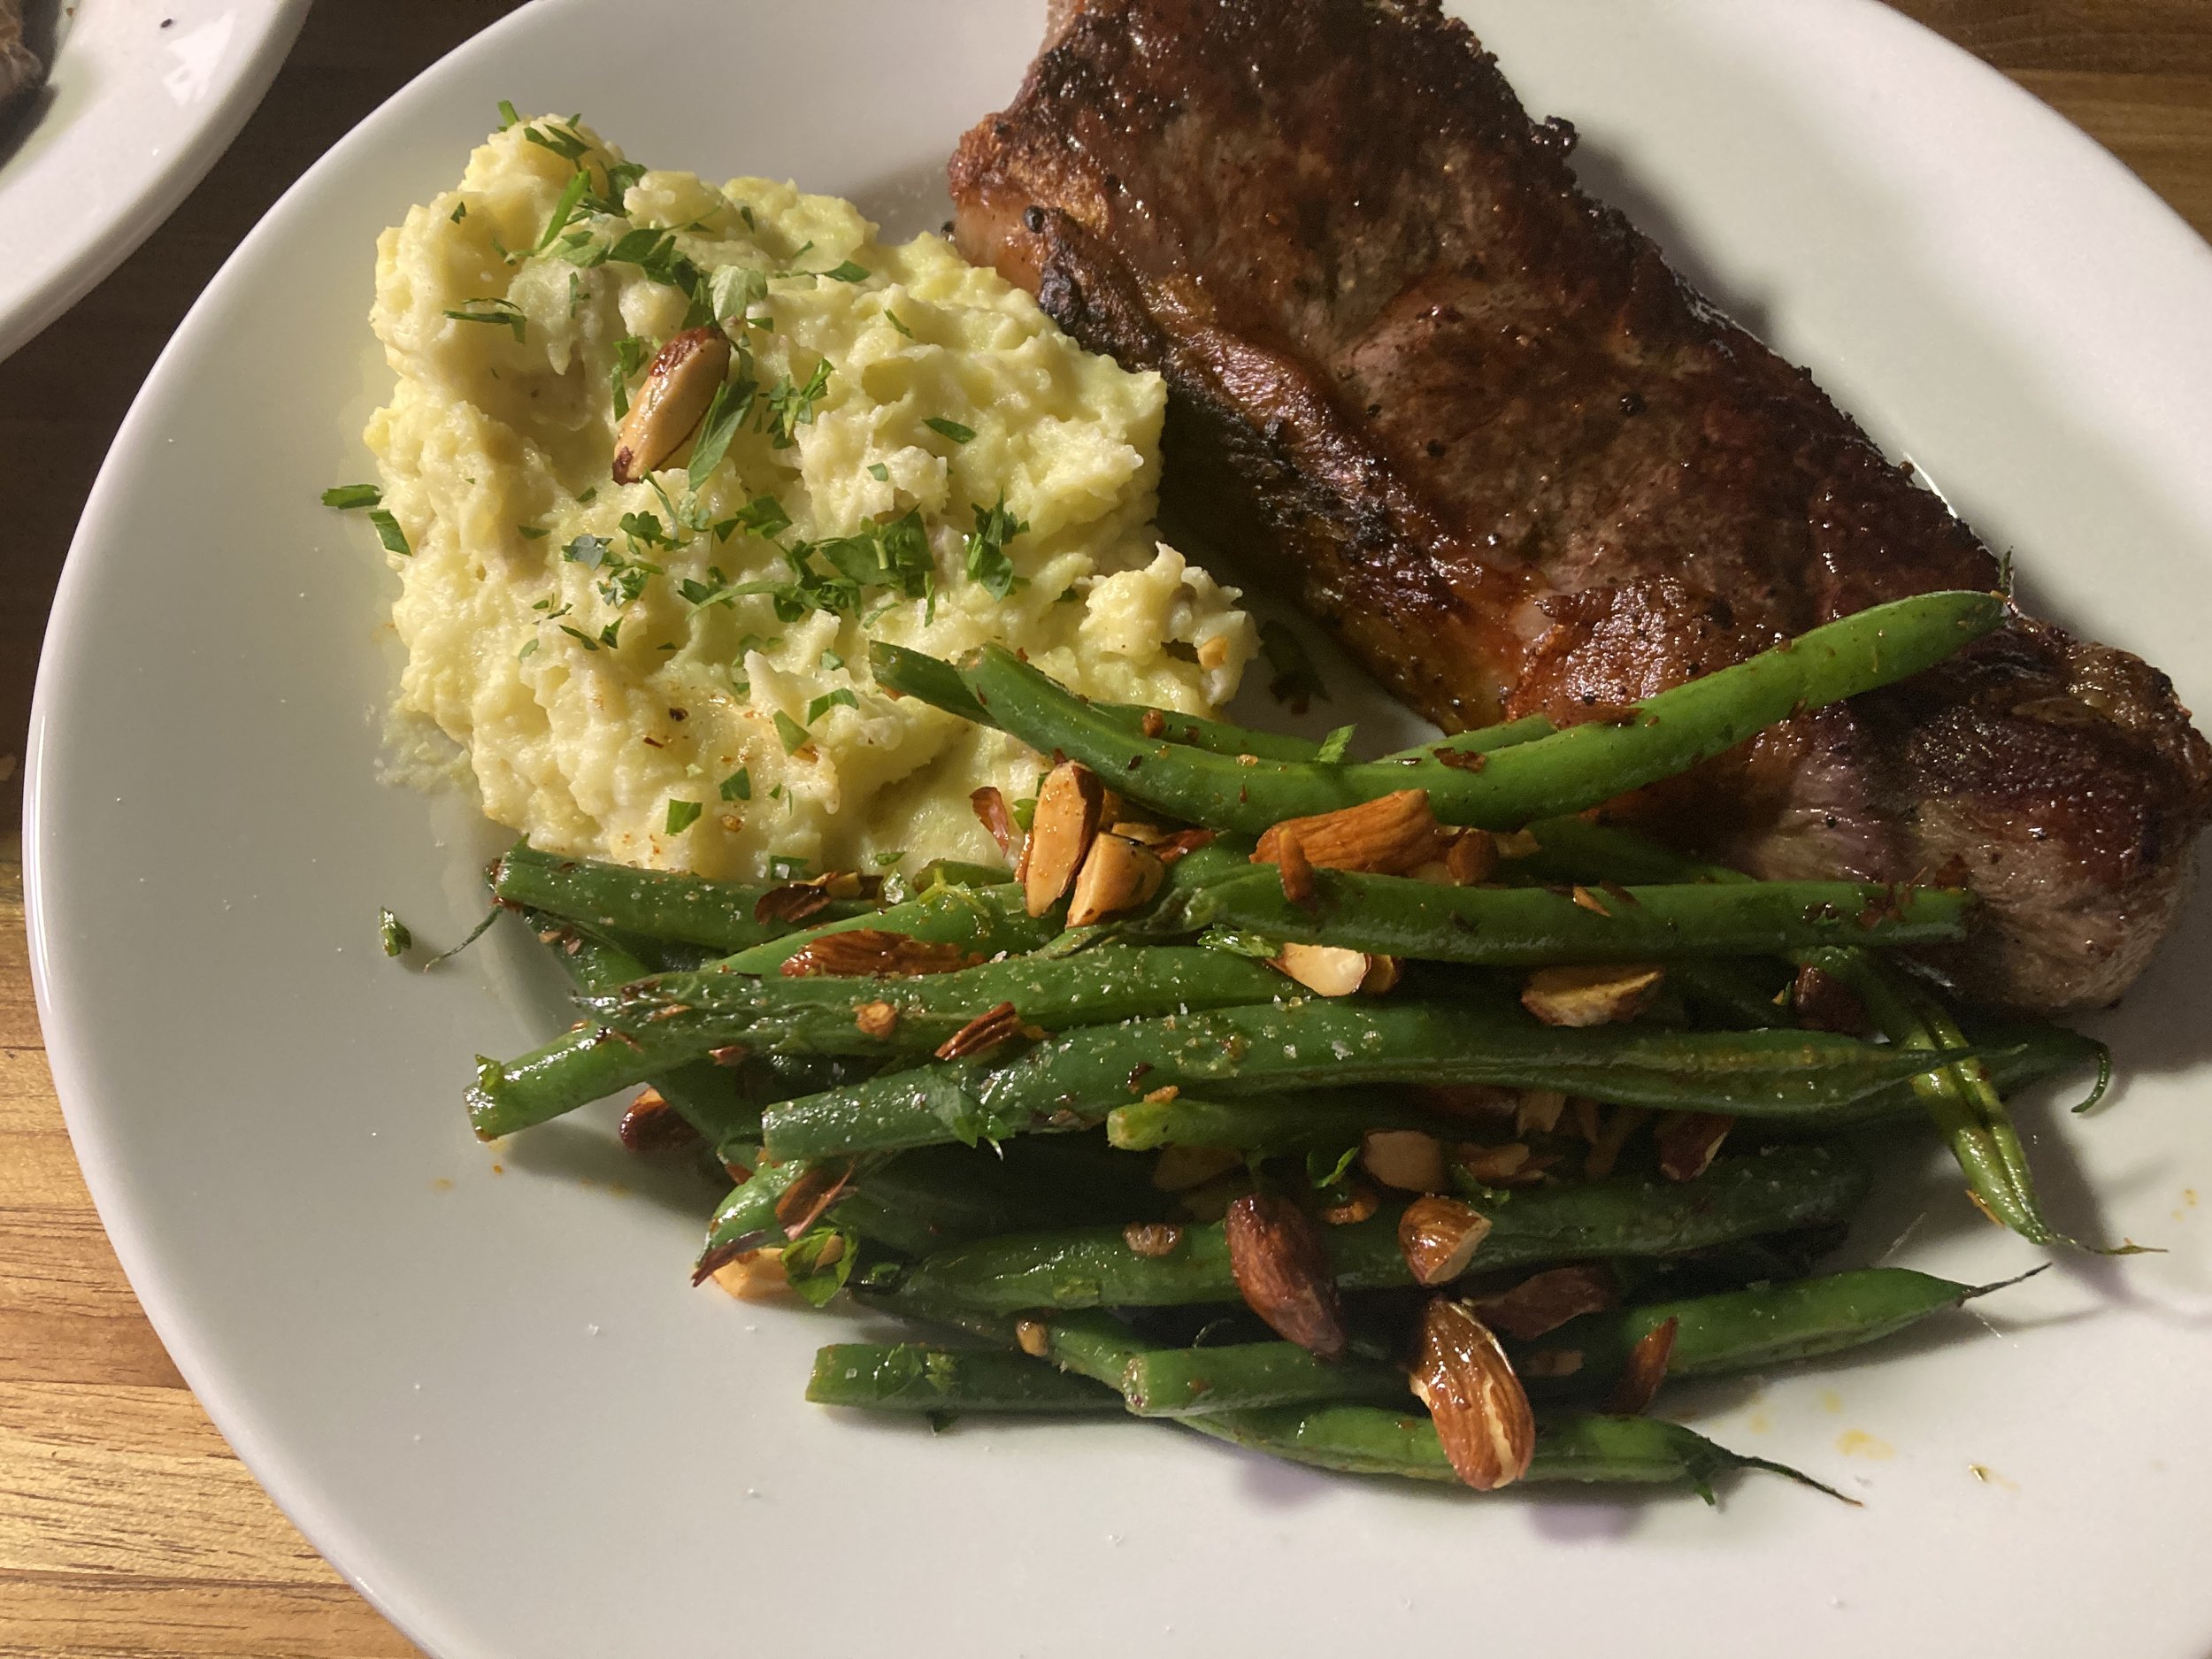
Green Beans Amandine
Adapted from Jubilee by Toni Tipton-Martin
But first, some musings…
There’s this tallish Dutch fella named Carel Struycken. You may have seen his work in spherical panoramas. A spherical panorama is a photograph that allows the viewer to see a vantage point with full 360 degree vertical and horizontal view. Imagine the most magnificent view you’ve ever seen, that space you tried to capture in photographs, but they only flattened that which your eyes pivoting around you and from the ground to the sky could embrace as grand. The sunsets you took on your iPhone that never looked worth sending. All those snaps you grabbed of the Grand Canyon that could be shown only with the disclaimer that you have to see it for yourself.
Well the spherical panorama captures what you see if you spin all around in a circle, recording as you go, as well as from your feet to the sky and back around the other way, the whole image visible and made able to spin in a dizzying array, as if the space you view could be projected onto the inside of a giant snow globe, with the viewer placed at the center of your experience, gyroscopically spinning endlessly, directing and redirecting where their eyes fall, spinning all the while in your experience as they go.
Here's Struycken’s spherical panorama of the Sheets-Goldstein house.
You may know the house as Jackie Treehorn’s from The Big Lebowski.
Here’s one of the Canyon de Chelly. Move your cursor skyward and remember the lazy afternoons of childhood lying on your back, gazing at the sky, and feeling the rotation of the earth in the movement of the clouds.
On his website, Struycken describes his fascination with spherical panoramas:
“Normally, the photographer decides what part of a scene will be viewed. To a large extent, this point of view represents the art and craft of the photographer. In spherical panoramas, it is up to the viewer to decide what to focus on and it becomes the task of the photographer to offer up something interesting, no matter where the viewer decides to look. When successful, it becomes an immersive experience, an act of seduction even” (https://www.sphericalpanoramas.com/about/).
Imagine the host of human experience then, but only ever seeing one small part of it. The 360 degree panorama is there, but you are permitted only one small isolated part, constrained and limited to that view. I imagine it would feel like a prison. Now imagine it’s not external forces, but rather a choice. The spherical panorama is available, but you, the viewer, choose to see only one section. Why would you do that, do you think?
Anyway, the metaphor is starting to get away from me, and I told myself I’d write today. We’re isolated in information silos is the point, because we choose to limit our access to the entire human experience, and a few years ago I would have said that’s a bad thing, and it’s a big reason we’re in the mess we are, but when faced this morning with a YouTube news feed of the news of the world (of injunctions over treasury data, and the pillaging of USAID, and the threatened Rivierafication of Gaza, and an incoming report from PC Gamer about how CAPTCHA has always been a for-profit tracking cookie to make Google money), or videos of a tiny rescued miniature horse having an even tinier miniature baby horse, I chose the horse. Because the spherical panorama of tragedy and chaos is hard to look at right now. And I think it is for most of us. I need to find a spot on the sphere, and hold myself there, for fear of spinning off the globe entirely.
If you don’t know Carel Struycken from his work on spherical panoramas, you may know him from his work on Twin Peaks as The Giant, or The Addams Family movies as Lurch, or as Mr. Homn, the manservant of Deanna Troy’s mother on Star Trek: TNG. Or that dude that hung out with the I Heart NY Pug in Men in Black. Perhaps my describing him as a tall fella was an understatement. Carel Struycken is 7 feet tall. And on January 7 he and his wife Tracey lost their home of 12 years to the Eaton fire.
The fires are concrete, real tragedies, not metaphors at all, of course. But sometimes when the panoramic sphere of an event is overwhelming, it helps to focus on one smaller frame. So imagine you’re a 78 year-old, 7 foot-tall man, and your home burns down with all of your very specific clothes in it. Imagine you’ve lost your film equipment for your very specific art of taking spherical panoramas. Imagine your memorabilia of your very specific film career went up with your home. And then imagine the director that you worked with in maybe your most iconic role dies a week later.
So what’s the point?
We miss a lot of the breadth of human experience when we draw a little box around what we see, and silo our experience inside of that. But when the big picture is overwhelming, we draw the box to connect--not to shut out feeling, but to enable it. That compassion fatigue we heard so much about during the pandemic is always a risk. And allowing compassion fatigue to creep in means turning away from what is hard to watch, and toward, yes, more videos of miniature horses, but it’s also a way of shutting out the range of human emotions when we feel overwhelmed by tragedy. I’m finding that I function better when I don’t allow the miniature horses to take me. Rather I try to find a small frame of the panorama to focus on, and to feel something about. This week, that was Carel Struycken. He and his family are safe. And many more people are not.
Green Beans Amandine
Adapted from Jubilee by Toni Tipton-Martin

This recipe is really loose. Amp up the garlic and paprika if you like, add some chili flakes, or replace lemon zest with a squeeze of lemon. Or leave it out entirely (it’s not in Tipton-Martin’s recipe; I added it). Just a simple green bean side preparation.
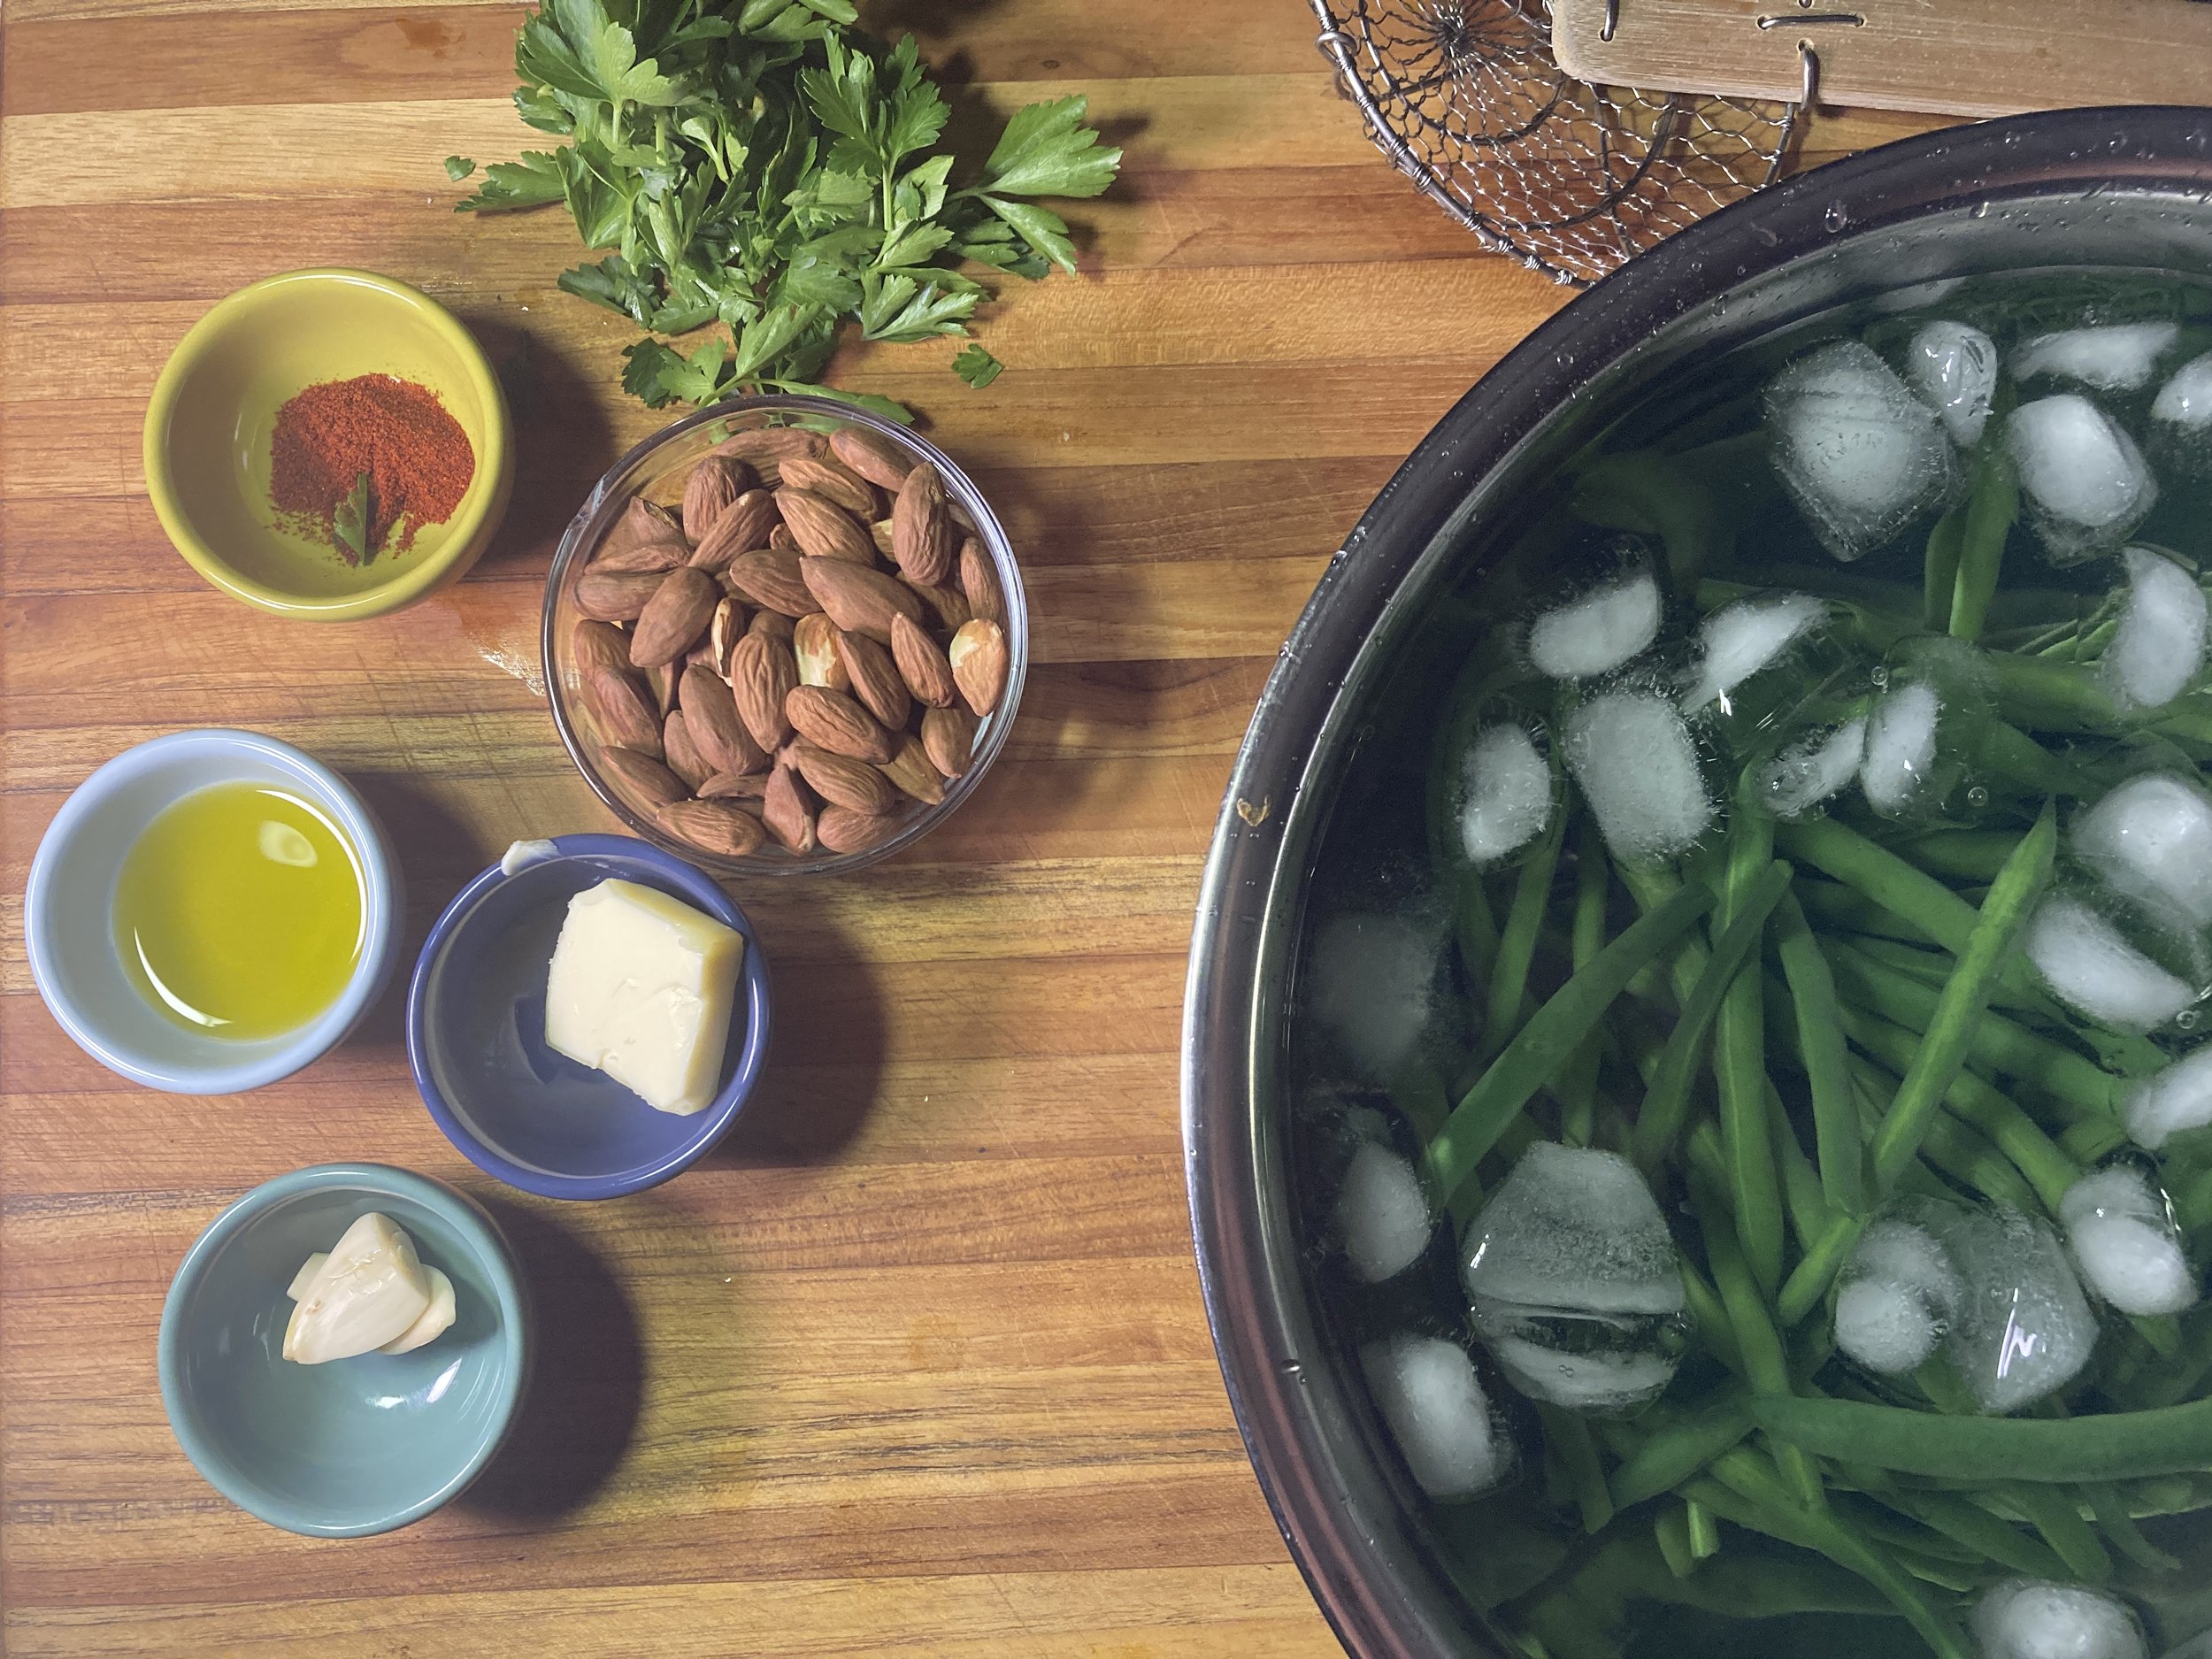
Ingredients
1 – 1 ½ lb green beans, ends trimmed
2-3 cups water heavily salted water
1 Tablespoon olive oil
1 Tablespoon butter
3 garlic cloves, crushed
½ teaspoon smoked paprika
½ cup almonds, slivered traditionally, but sliced, or chopped will work
½ teaspoon lemon zest
1 Tablespoon chopped parsley


Directions
Over medium heat, in a dry pan, toast your almonds until fragrant and slightly tanned. Be careful not to burn!


Remove almonds and set aside. Clean out your pan.
Fill a large bowl with ice water, and set aside.
Add salted water to a skillet or pan large enough to hold all of your green beans over high heat. When boiling, add your green beans, and blanche for 3-4 minutes.
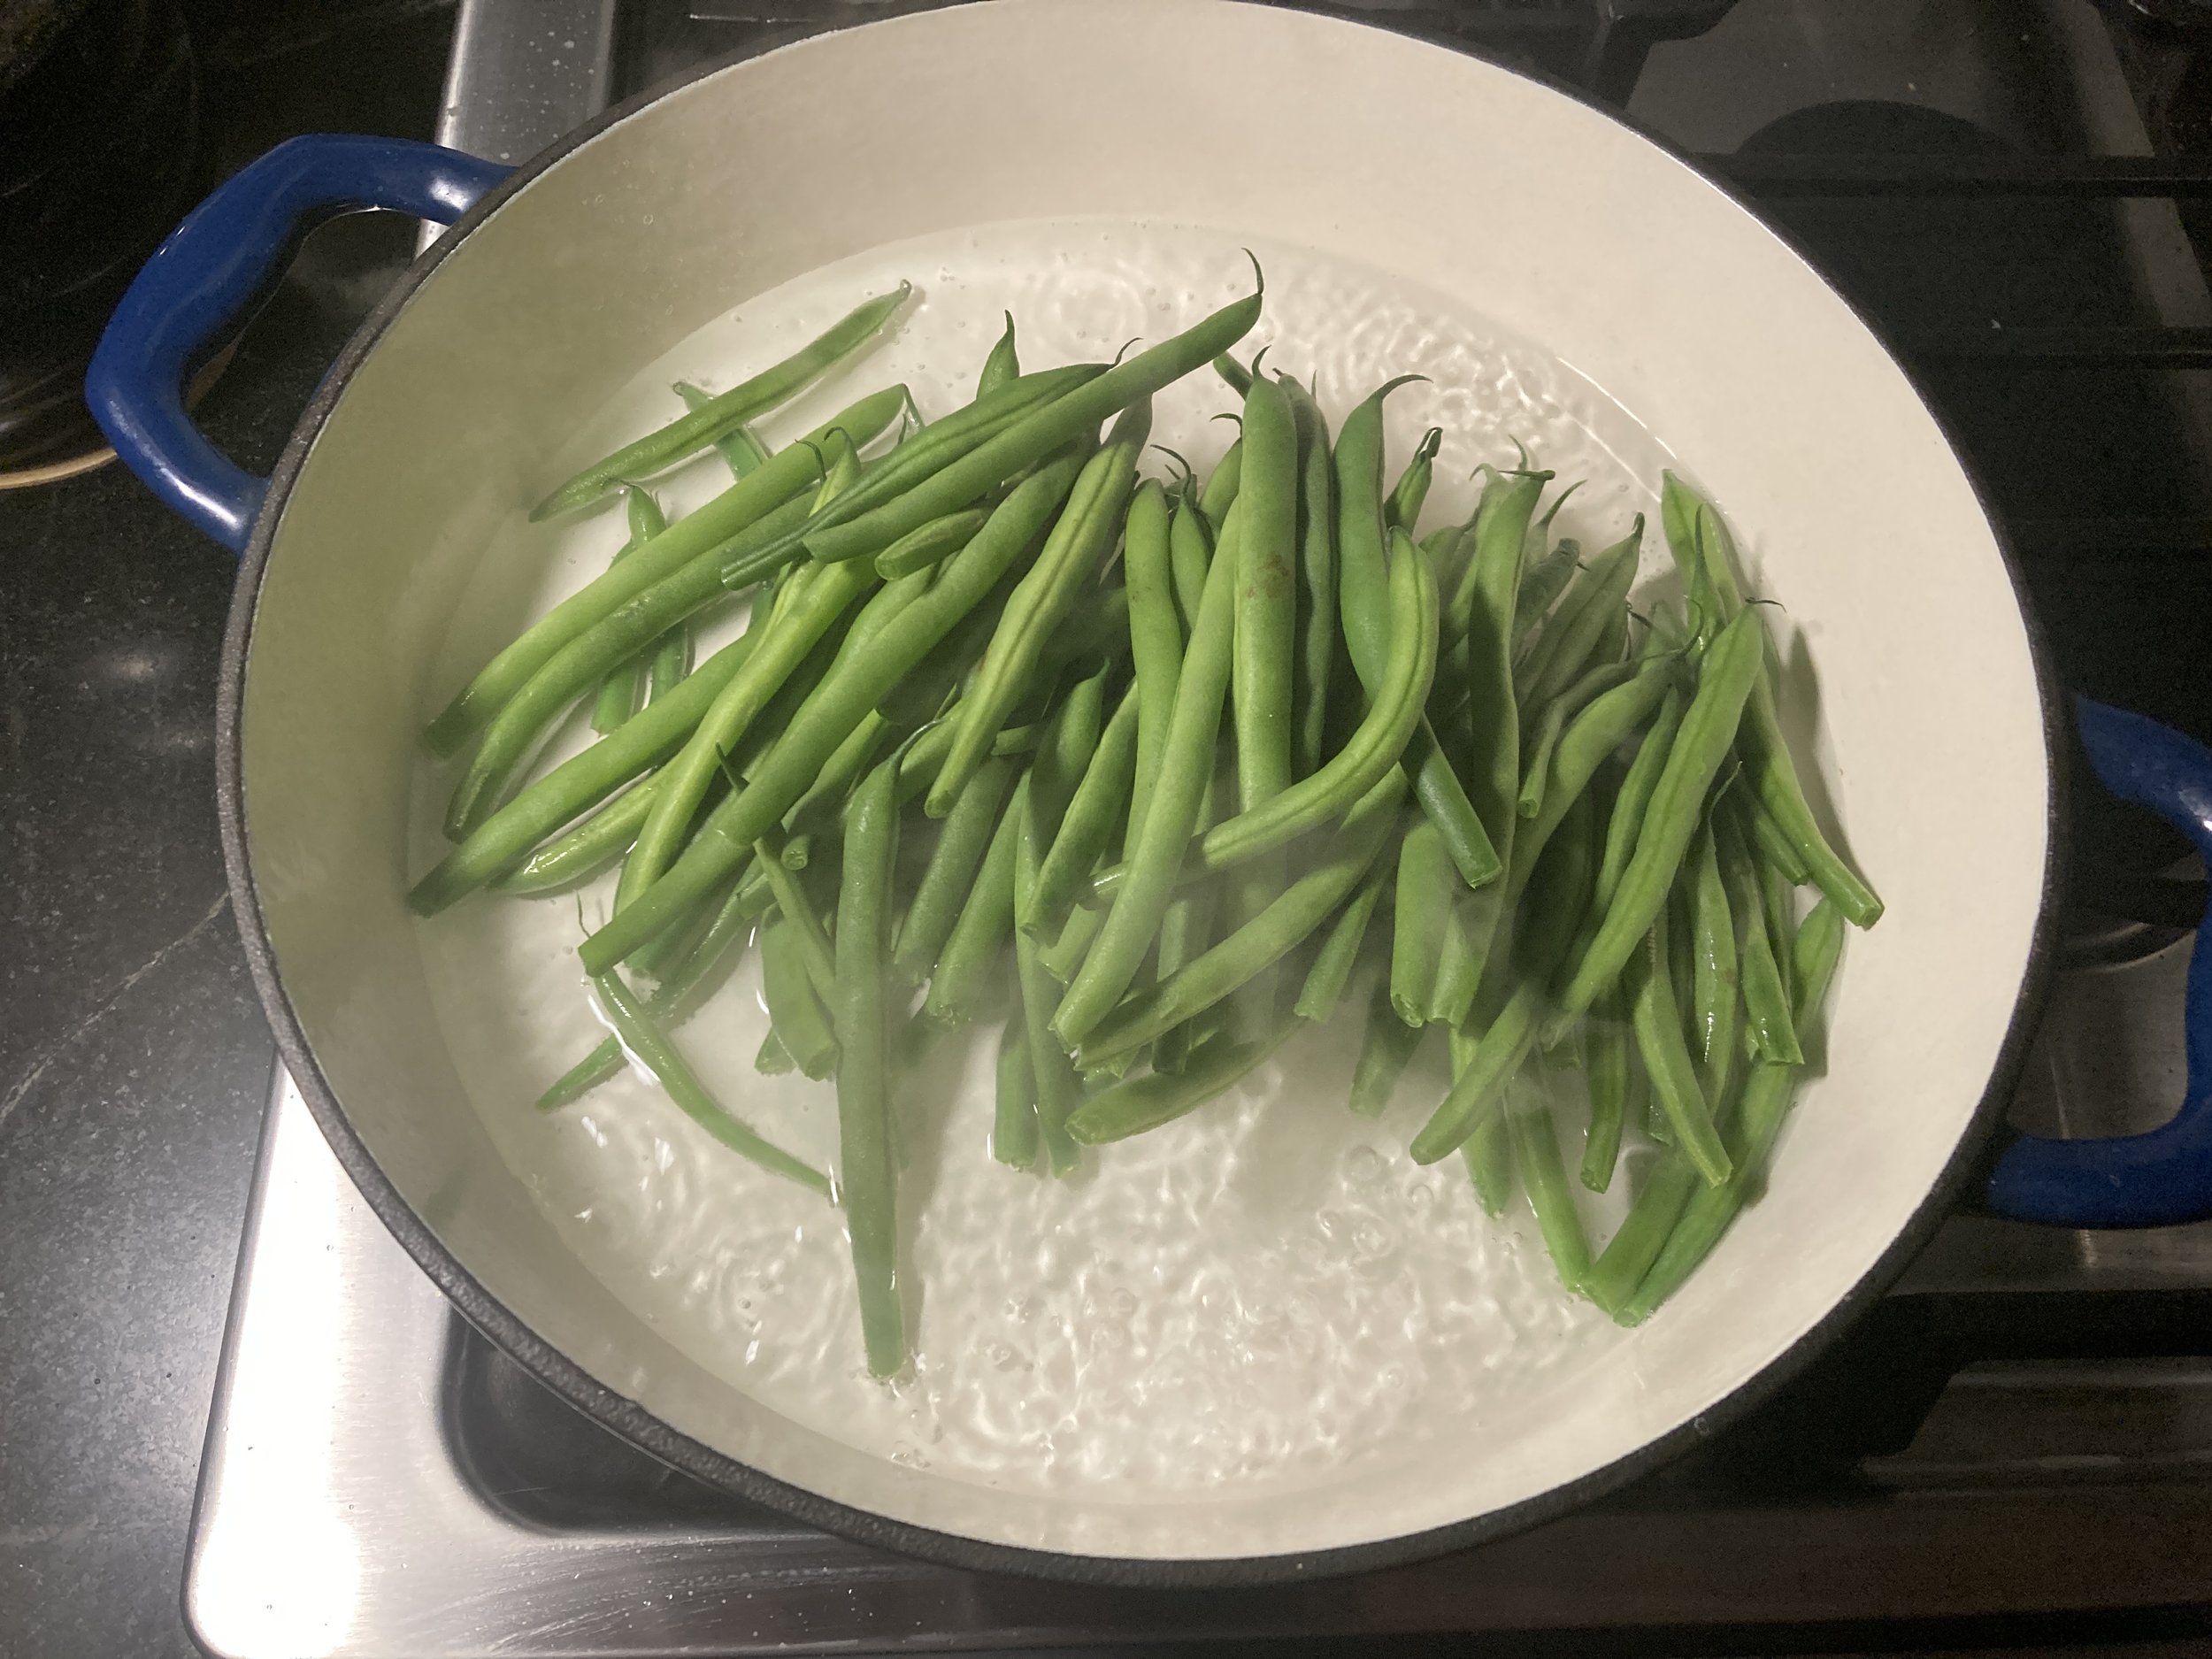

Then remove from pan and place in ice bath. When cold, drain and set aside until ready to cook, in the fridge if it’s going to be while.
Recipe can be done ahead until this point. The rest of this goes fast, so preferably complete right before serving.
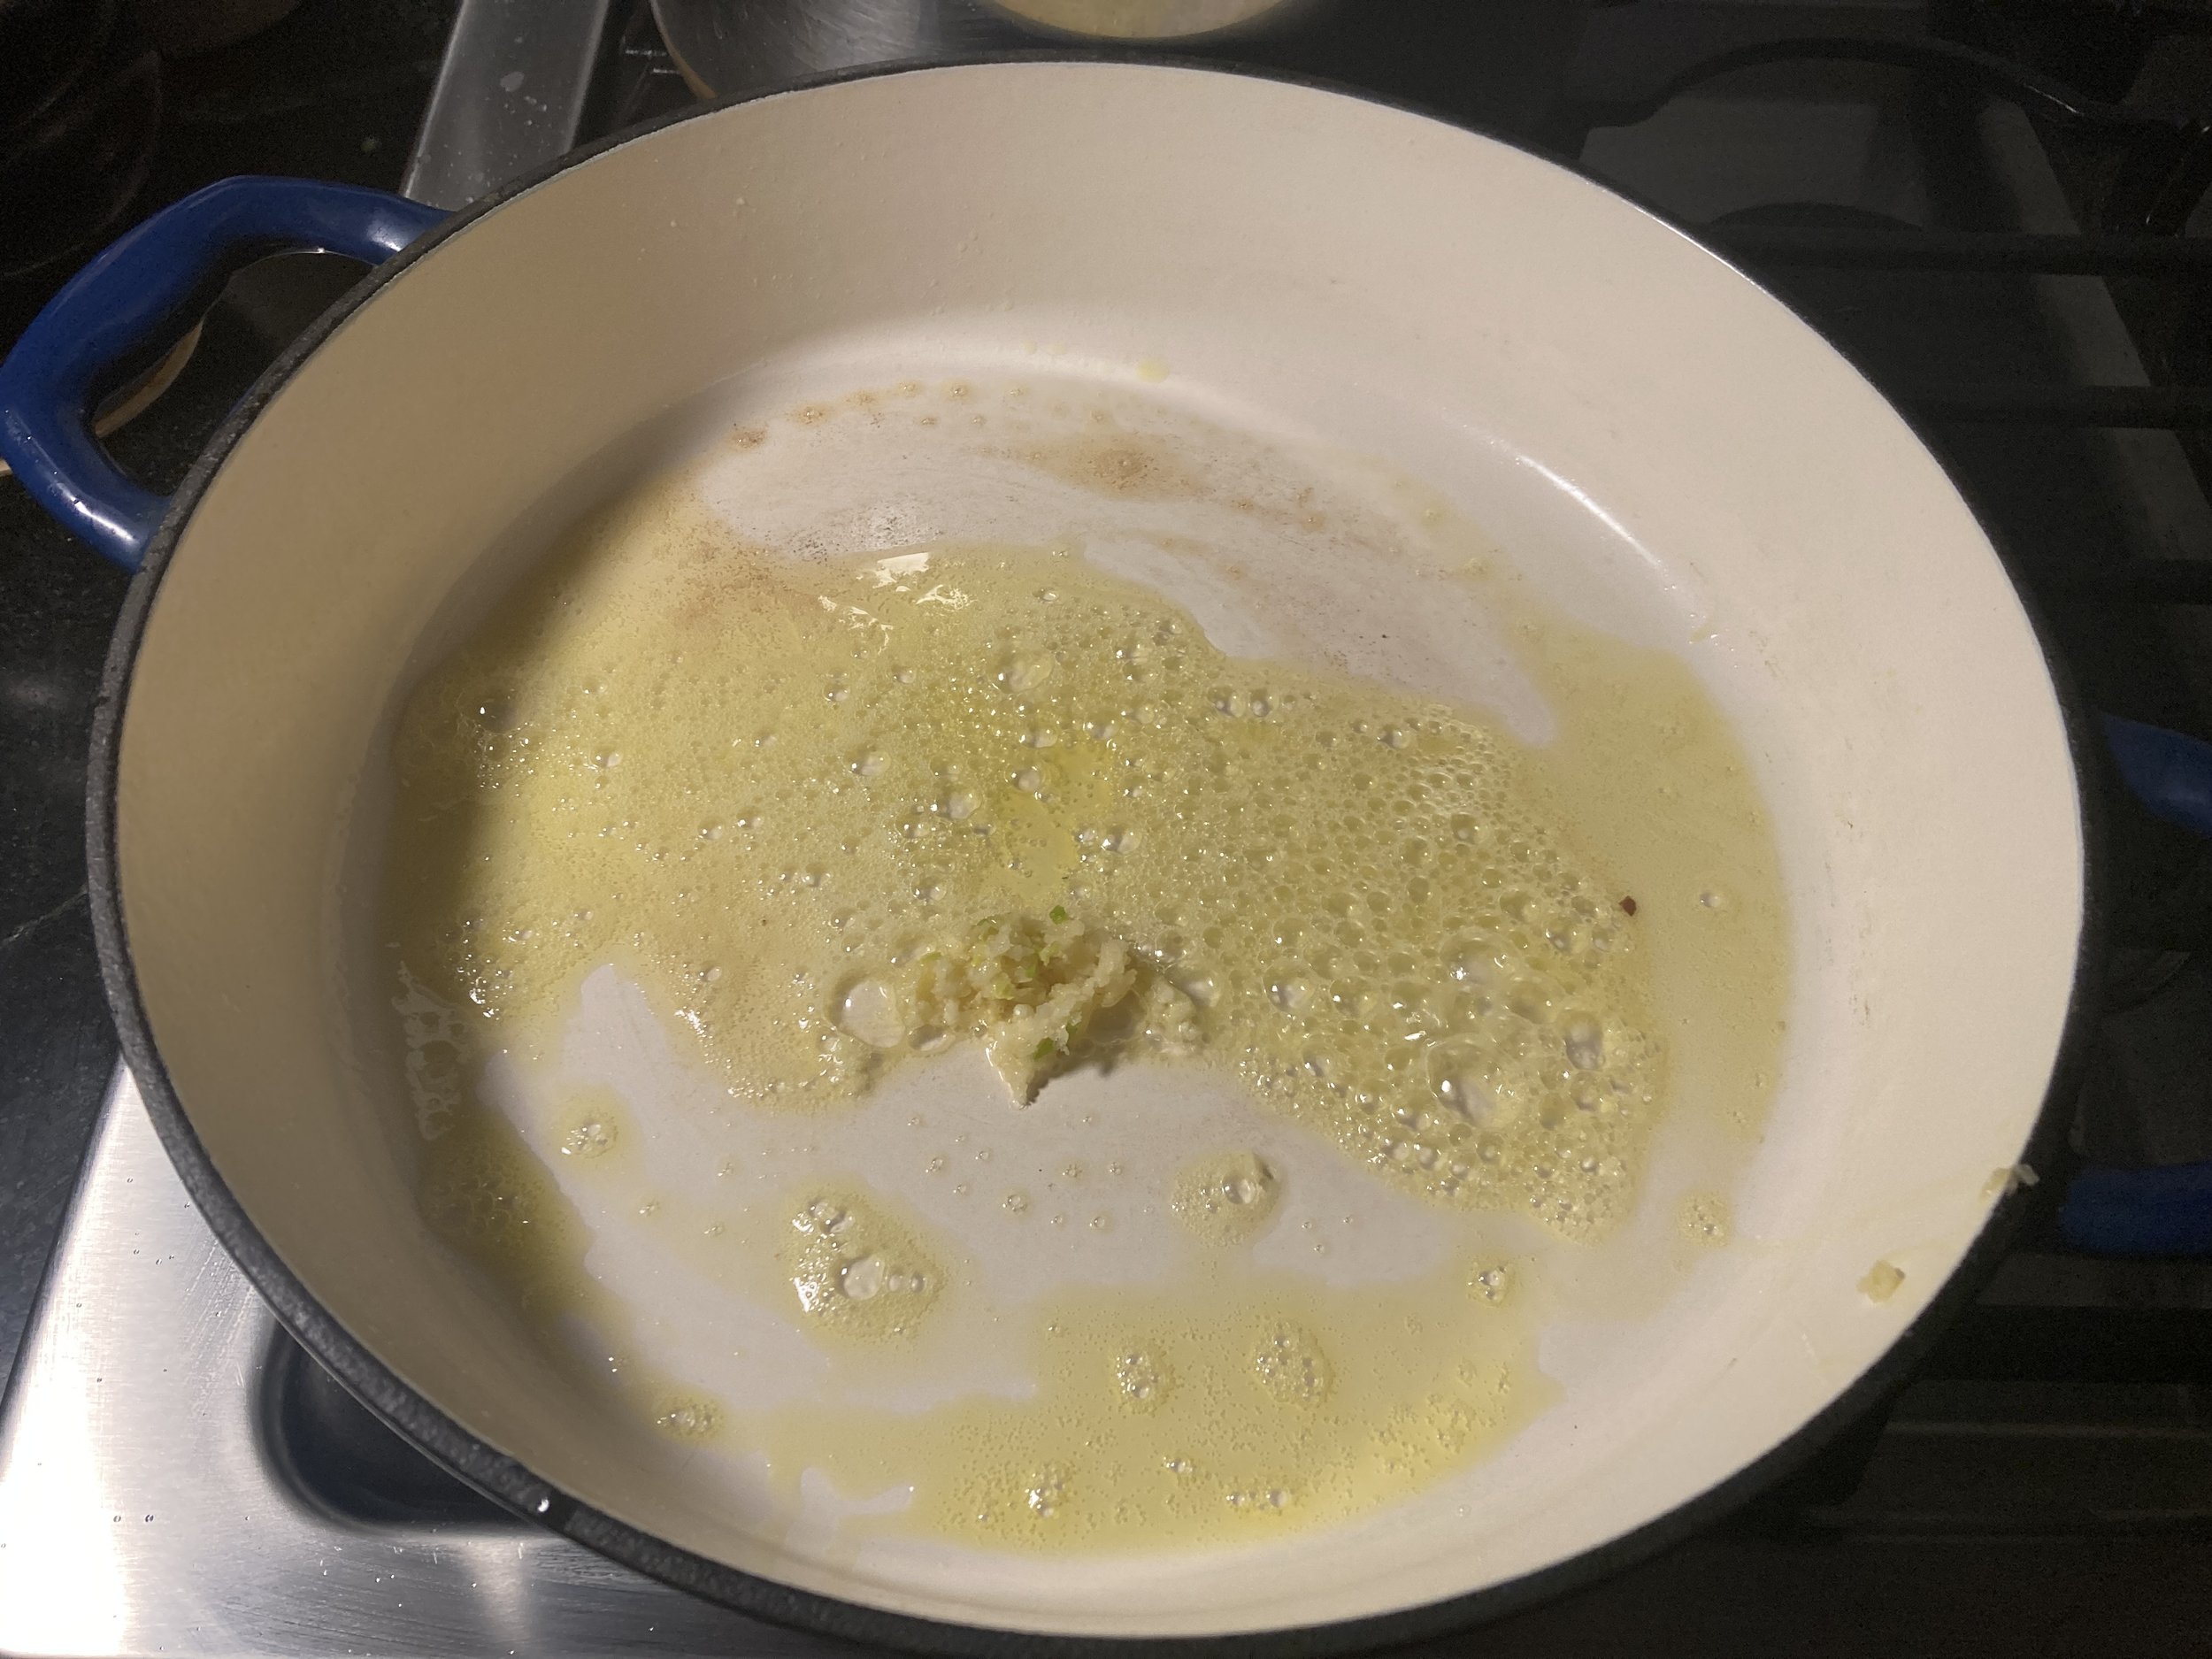
Dry out your pan. Put back over medium heat, add olive oil and butter. When bubbling, add garlic and stir for 30 seconds.


Add green beans, paprika, lemon zest, and more salt and pepper to taste. Toss for about 2 minutes, or until done to your liking.


paprika, salt, and pepper in pan
Remove to serving bowl, and top with almonds, and parsley. I add a little drizzle of additional olive oil as well.


Super simple side that can be completed while a meat is resting.
Have a week, and try to hold it together.
Finding it too overwhelming to look at the whole spherical panorama of human suffering right now? Maybe find one real person who’s been hit especially hard by it, and tap into your ability to empathize again. Or, if you’re struggling the other way, overwhelmed by too much connecting, take that break for miniature horses. I know we’ve all heard it. But…
It is happening again.
Carl Struycken in Twin Peaks
Citation:
Tipton-Martin, Toni. Jubilee: Recipes from Two Centuries of African American Cooking. Clarkson-Potter, 2019.

Intro to Jubilee, a cookbook by Toni Tipton-Martin
Did you know The Jeffersons just celebrated its 50th anniversary? The original episode premiered on CBS on January 18, 1975, and ran for 11 seasons between 1975 and 1985.
Unrelated, I’ve been rewatching Buffy lately, a show from the late 90s, early 2000s, so that’s 25-30 years ago. There is almost no outfit worn in that show that would look out of place on someone today, but when someone shows up dressed like it’s the mid 1970s, 25 years before that, they’re OBVIOUSLY A VAMPIRE. Why did fashion stop changing? Like if a character on Buffy were to wear a suit like Sherman Hemsley’s in The Jeffersons, they must be the undead for no living breathing person would wear something so out of date.
Also rewatching Twin Peaks. I would wear every single outfit in that show (minus the shoulder pads) right now, today—and can we please have real wool sweaters back please? If I buy my own sheep, can I have real wool sweaters again? Or can I sponsor one at least?—Look at Cooper’s suits (25 years ago) and look at George Jefferson’s suits (25 years before that). How can Cooper not have a cell phone, but his suit looks exactly the same as it would now. But if George Jefferson showed up in Twin Peaks he’d be taken for a vampire. I mean Sunnydale. Actually, maybe both. I haven’t finished Twin Peaks yet. Maybe they have vampires.
I feel like I’m taking crazy pills. And for that reason only.
Also please stop donating the vintage wool sweaters you ran through the drier to charity. They’re garbage now. Felted XL women’s sweaters that can only be worn by a Build-a-Bear are fun for no one.
Anyway. The Jeffersons.

I spent a few hours trying to find a good picture online of the kitchen from George and Weezy’s Deluxe Apartment in the Sky to start talking about Jubilee, and a curious thing happened. About 50/50 the photos were from the TV show or were photos of the preserved-in-time kitchen in Thomas Jefferson’s Monticello museum. And I thought about using those instead. But one of the interesting things about Jubilee is Tipton-Martin’s focus on celebrating the meals and cooking of the black middle-class and of black celebrations. It is after all Jefferson’s cooks, she reminds us, that brought French cuisine to the American South. And Jubilee is about celebrating the contributions of Black Excellence rather than simply contributions derived from of poverty, despair, and making-do.
Tipton-Martin describes in her youth her family moving to a part of LA that became known as “Black Beverly Hills” because of its affluent families in entertainment and white-collar professionals. It was a place where Berry Gordy’s limo was known to roll through, and the children of Ike and Tina Turner would ride around on the family Great Dane. Moving there, she says, was like “movin’ on up.” She writes”
“For more than two hundred years, black cookbook authors have tried to tell a multifaceted story of African American food that includes, but also looks beyond, what people call “soul food” today…. Previously when thinking about African American, Southern, and soul food, my angle of vision had always been through race; but discovering their lost legacy opened the view to an unexpected characteristic: class. This book broadens the African American food story. It celebrates the enslaved and the free, the working class, the middle class, and the elite. It honors cooking with intentionality and skill, for a purpose and with pleasure.… At its core, African American cuisine reflects the blending of two distinct culinary styles. One was crafted by ingenious and industrious field hands in the slave cabin, from meager ingredients, informed by African techniques. The other signifies the lavish cooking—in the plantation kitchen or in kitchens staffed or owned by people educated formally or informally in culinary arts” (12).
So The Jeffersons of the Eastside rather than Jefferson’s kitchen of Monticello. Or at least both.
Here’s Jennifer Hudson singing the theme song for ABC’s Live in Front of a Studio Audience performance of an episode from The Jeffersons in 2019. Good walk through of the live set, including the kitchen recreated from the original show.
So come join me this month as we cook from Jubilee, and celebrate black excellence, and learn with me, and hope with me that things get better.
Citation:
Tipton-Martin, Toni. Jubilee: Recipes from Two Centuries of African American Cooking. Clarkson-Potter, 2019.

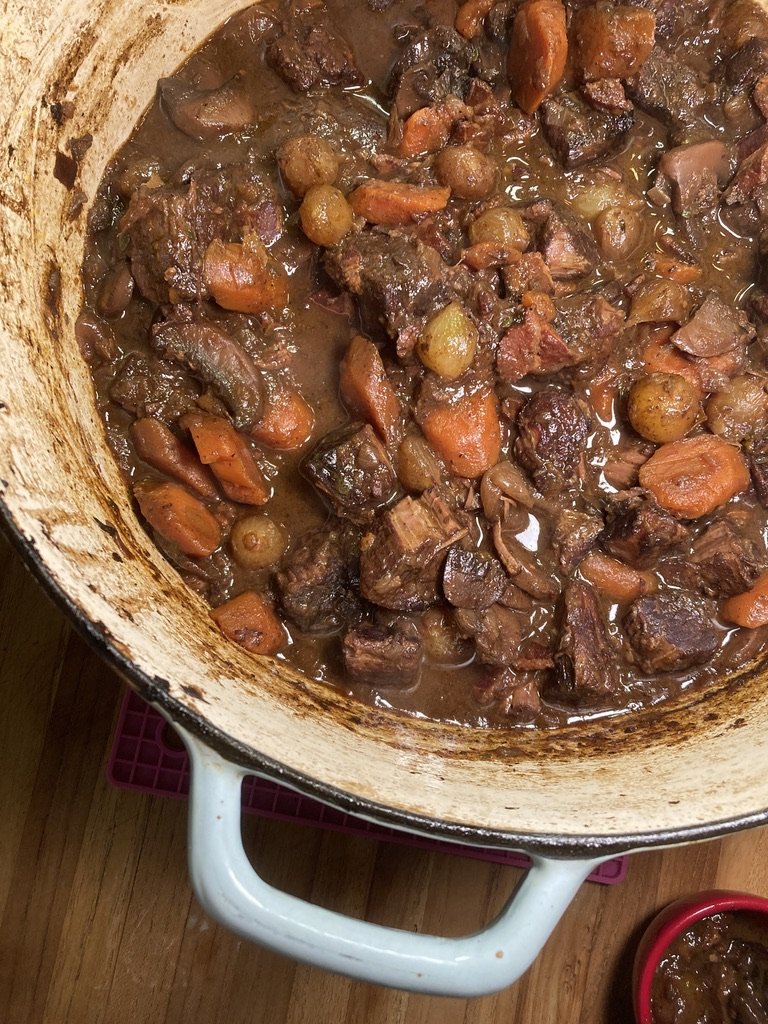
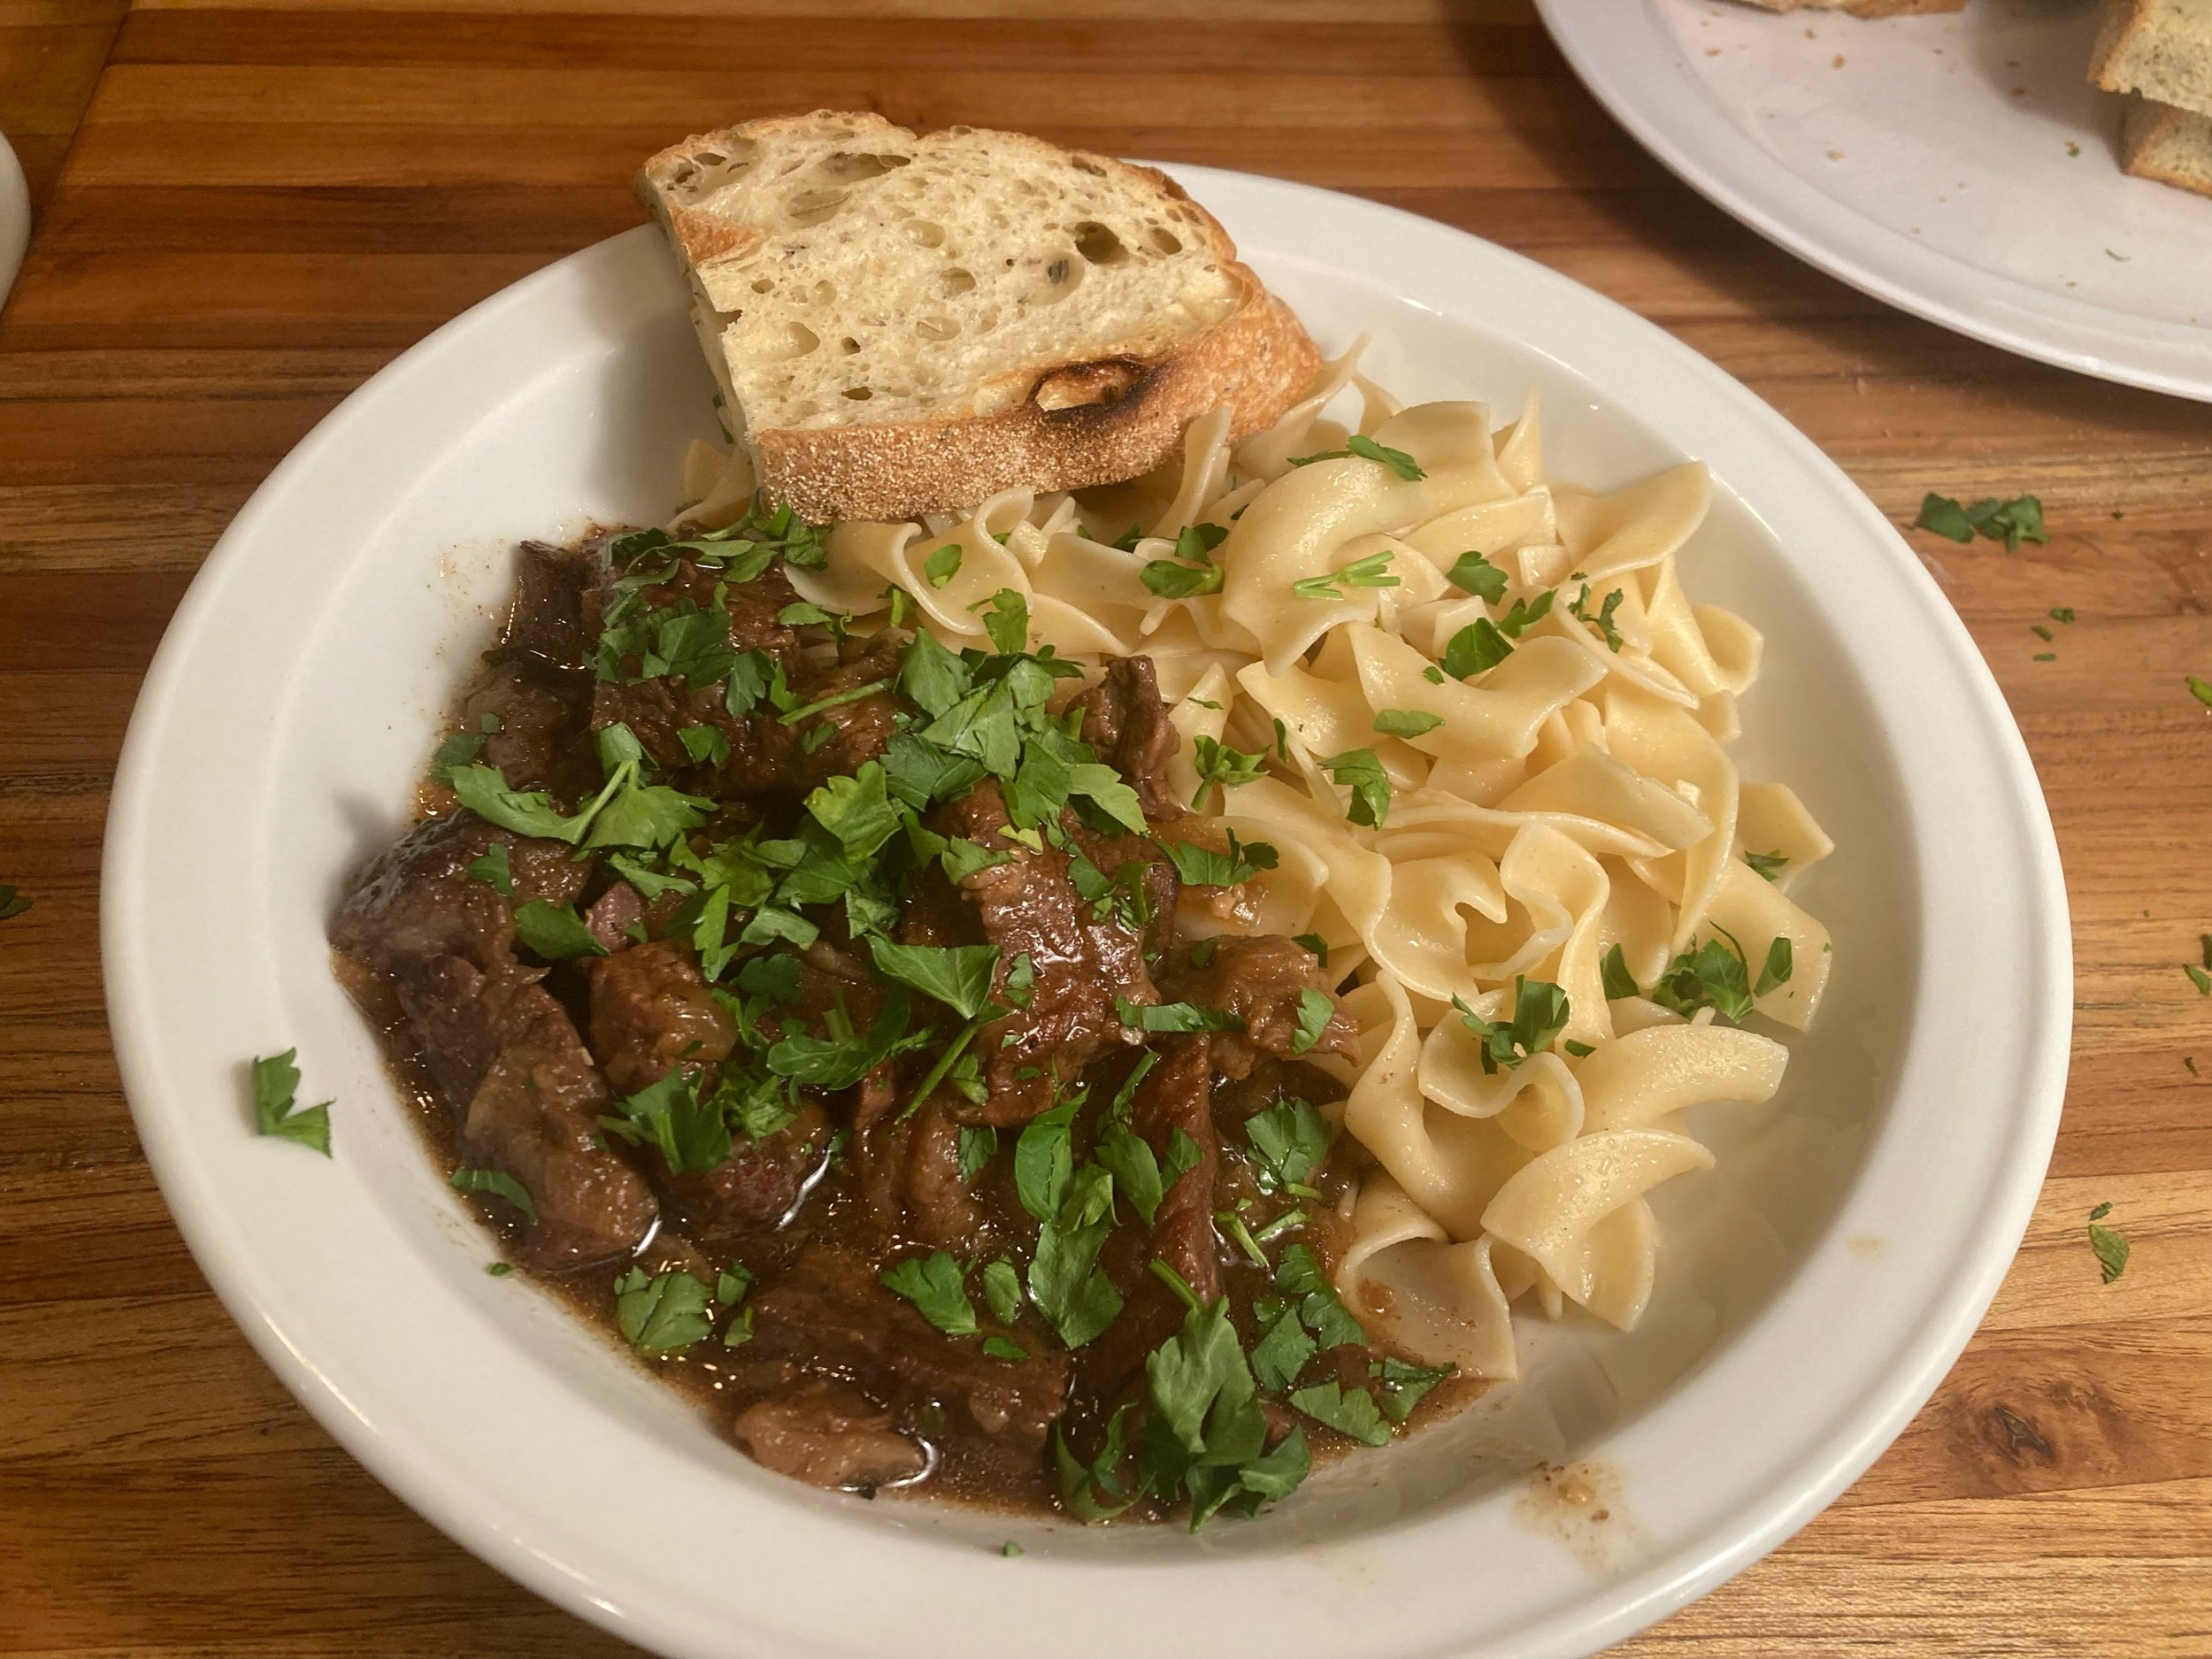
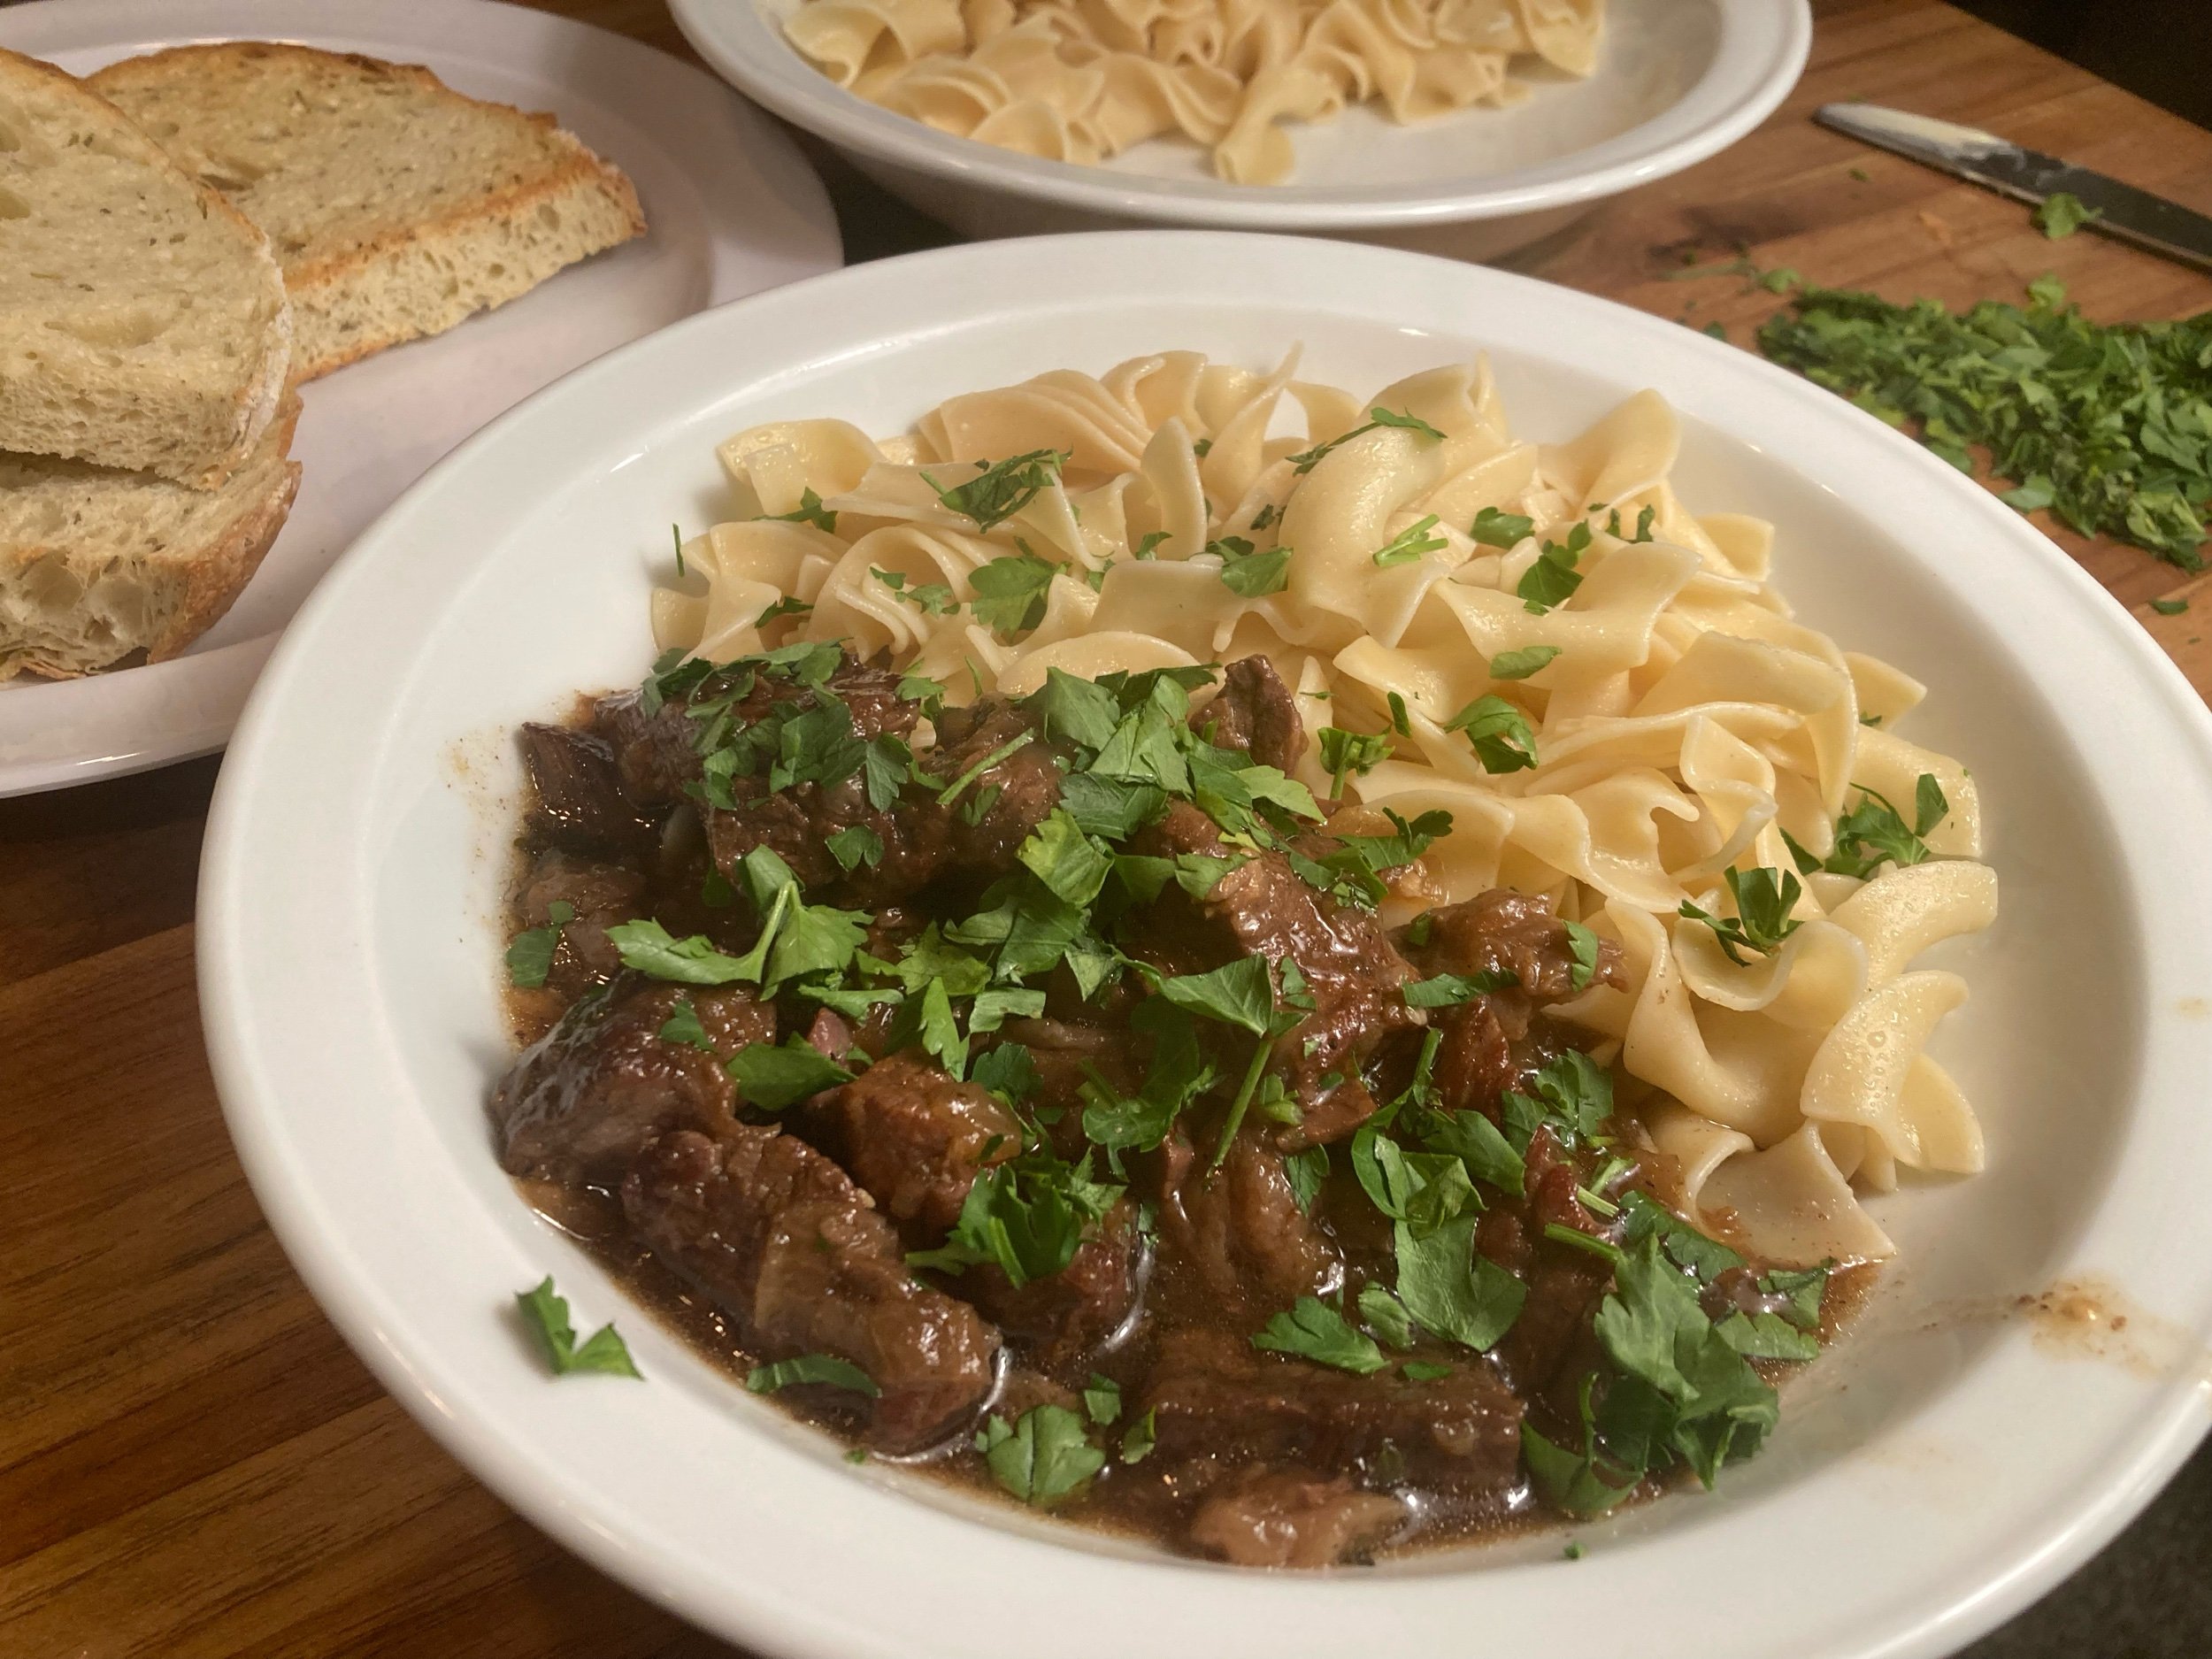
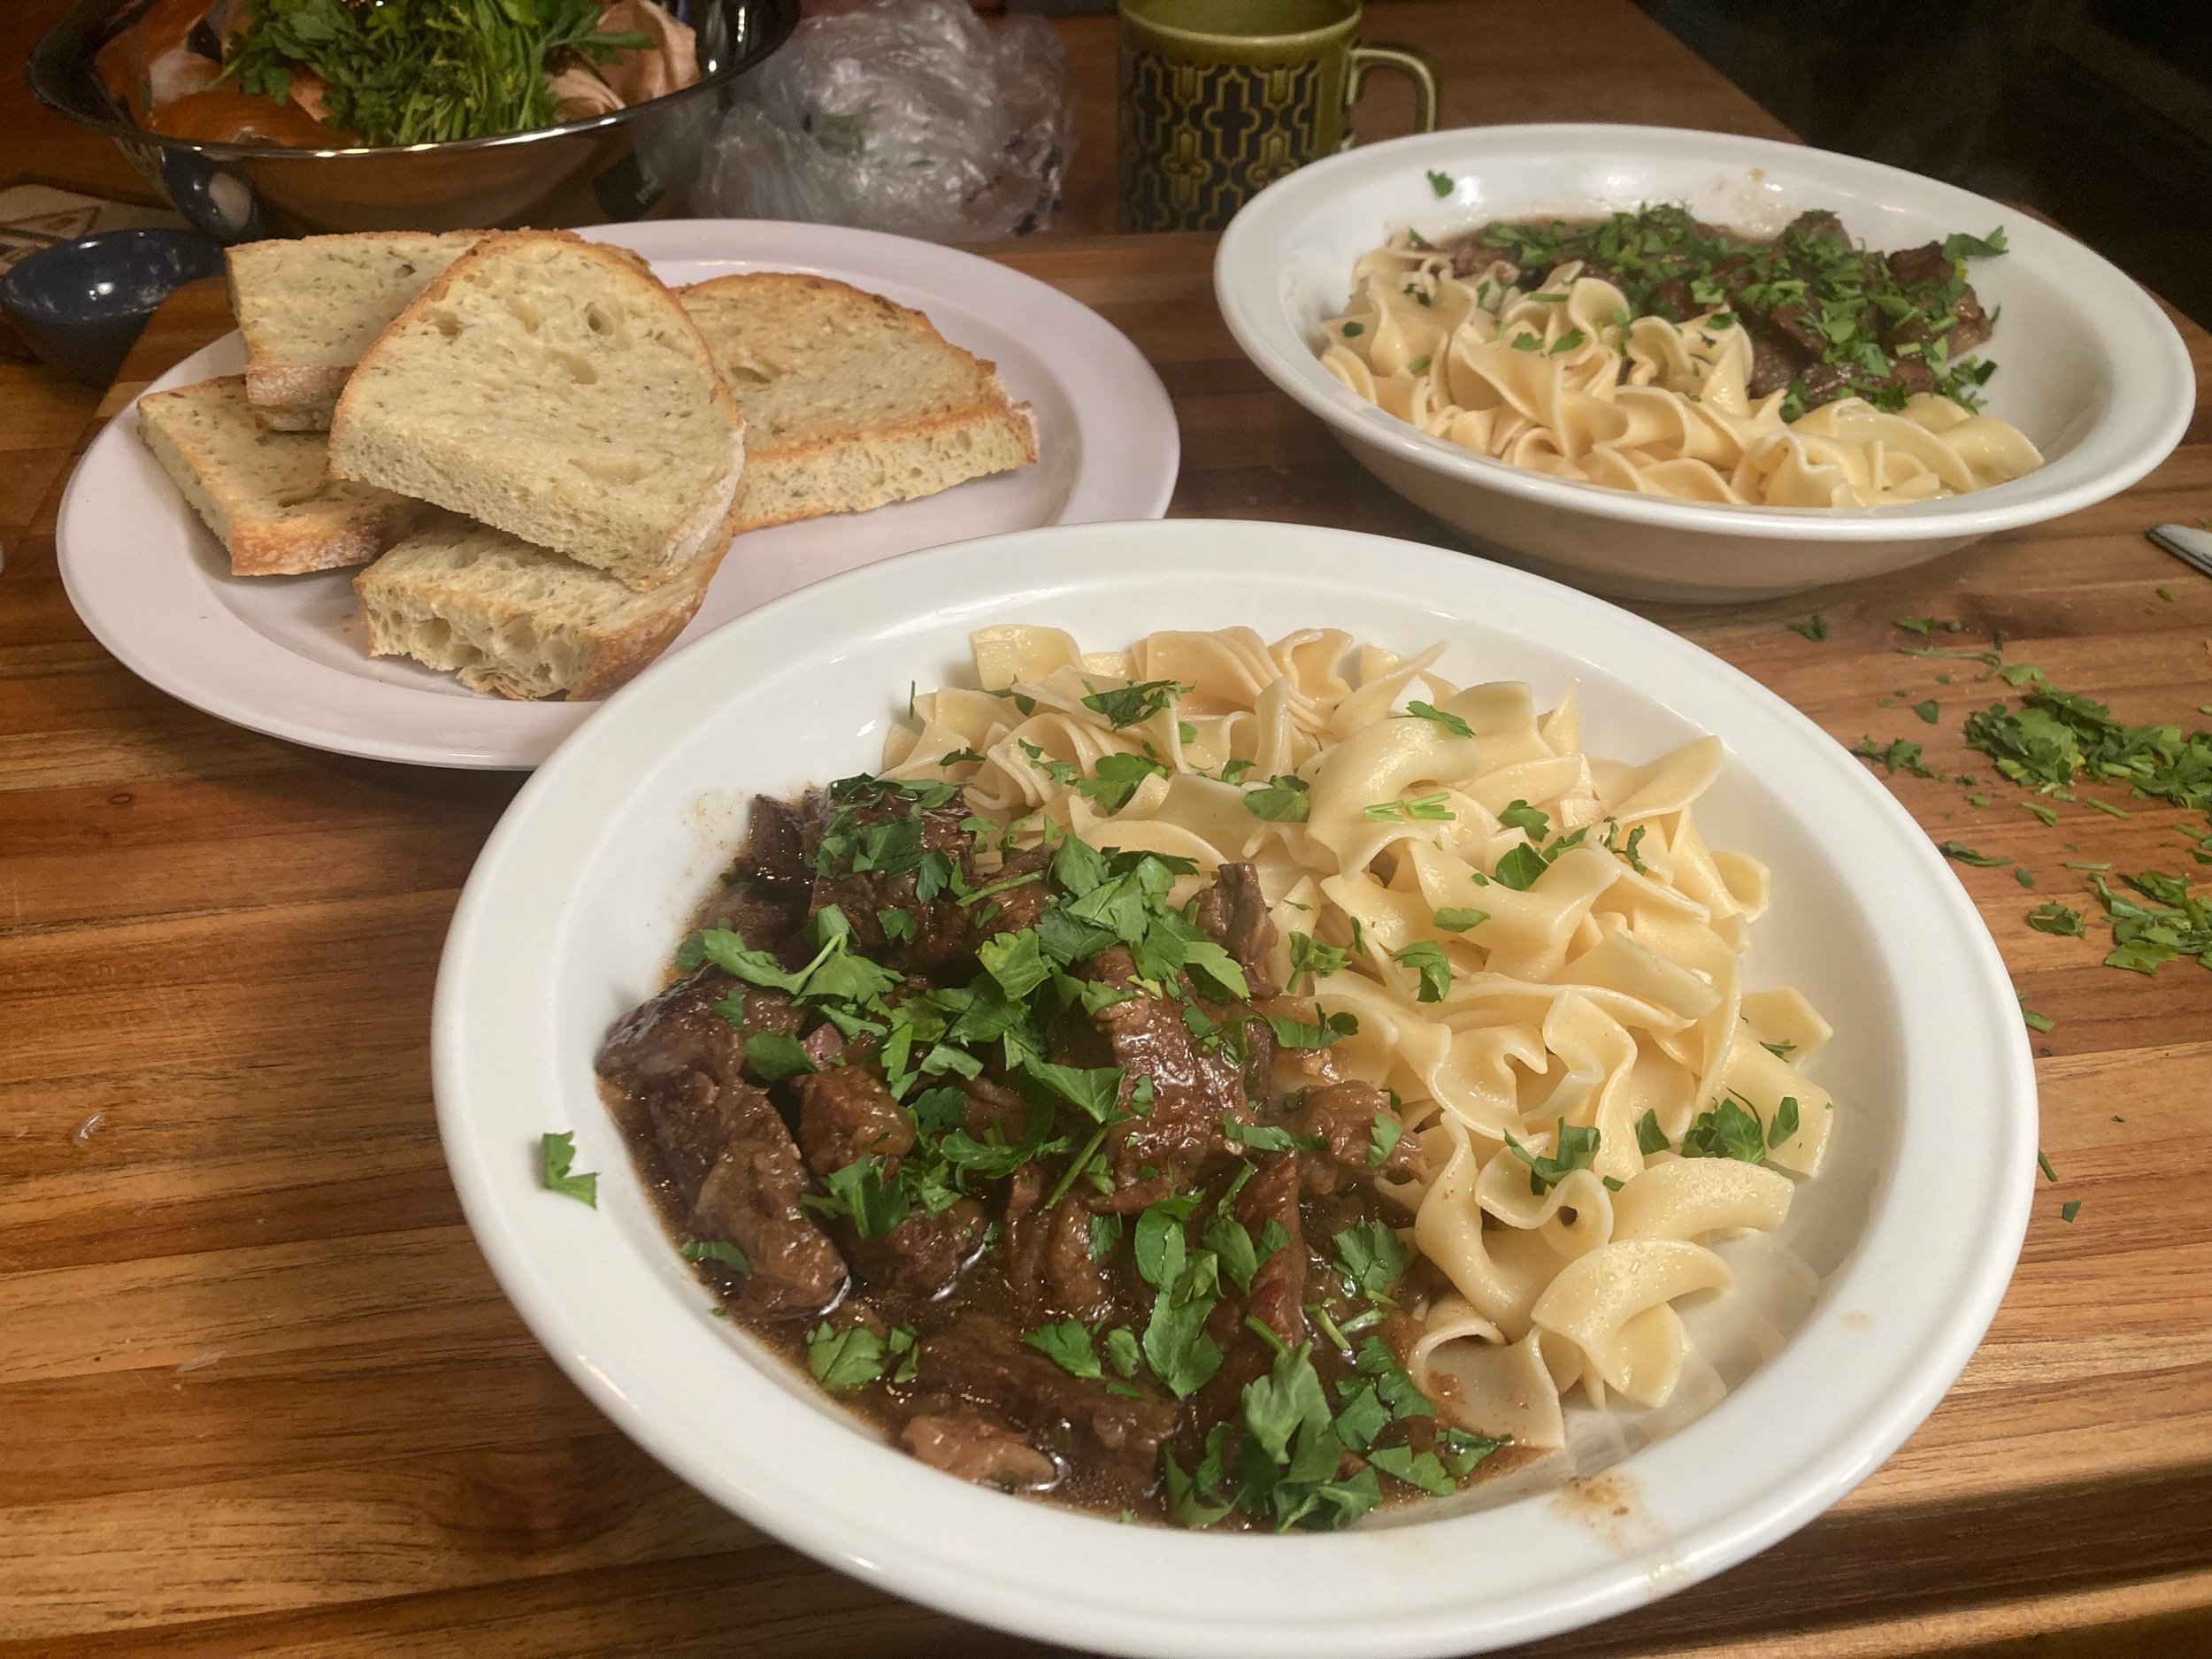
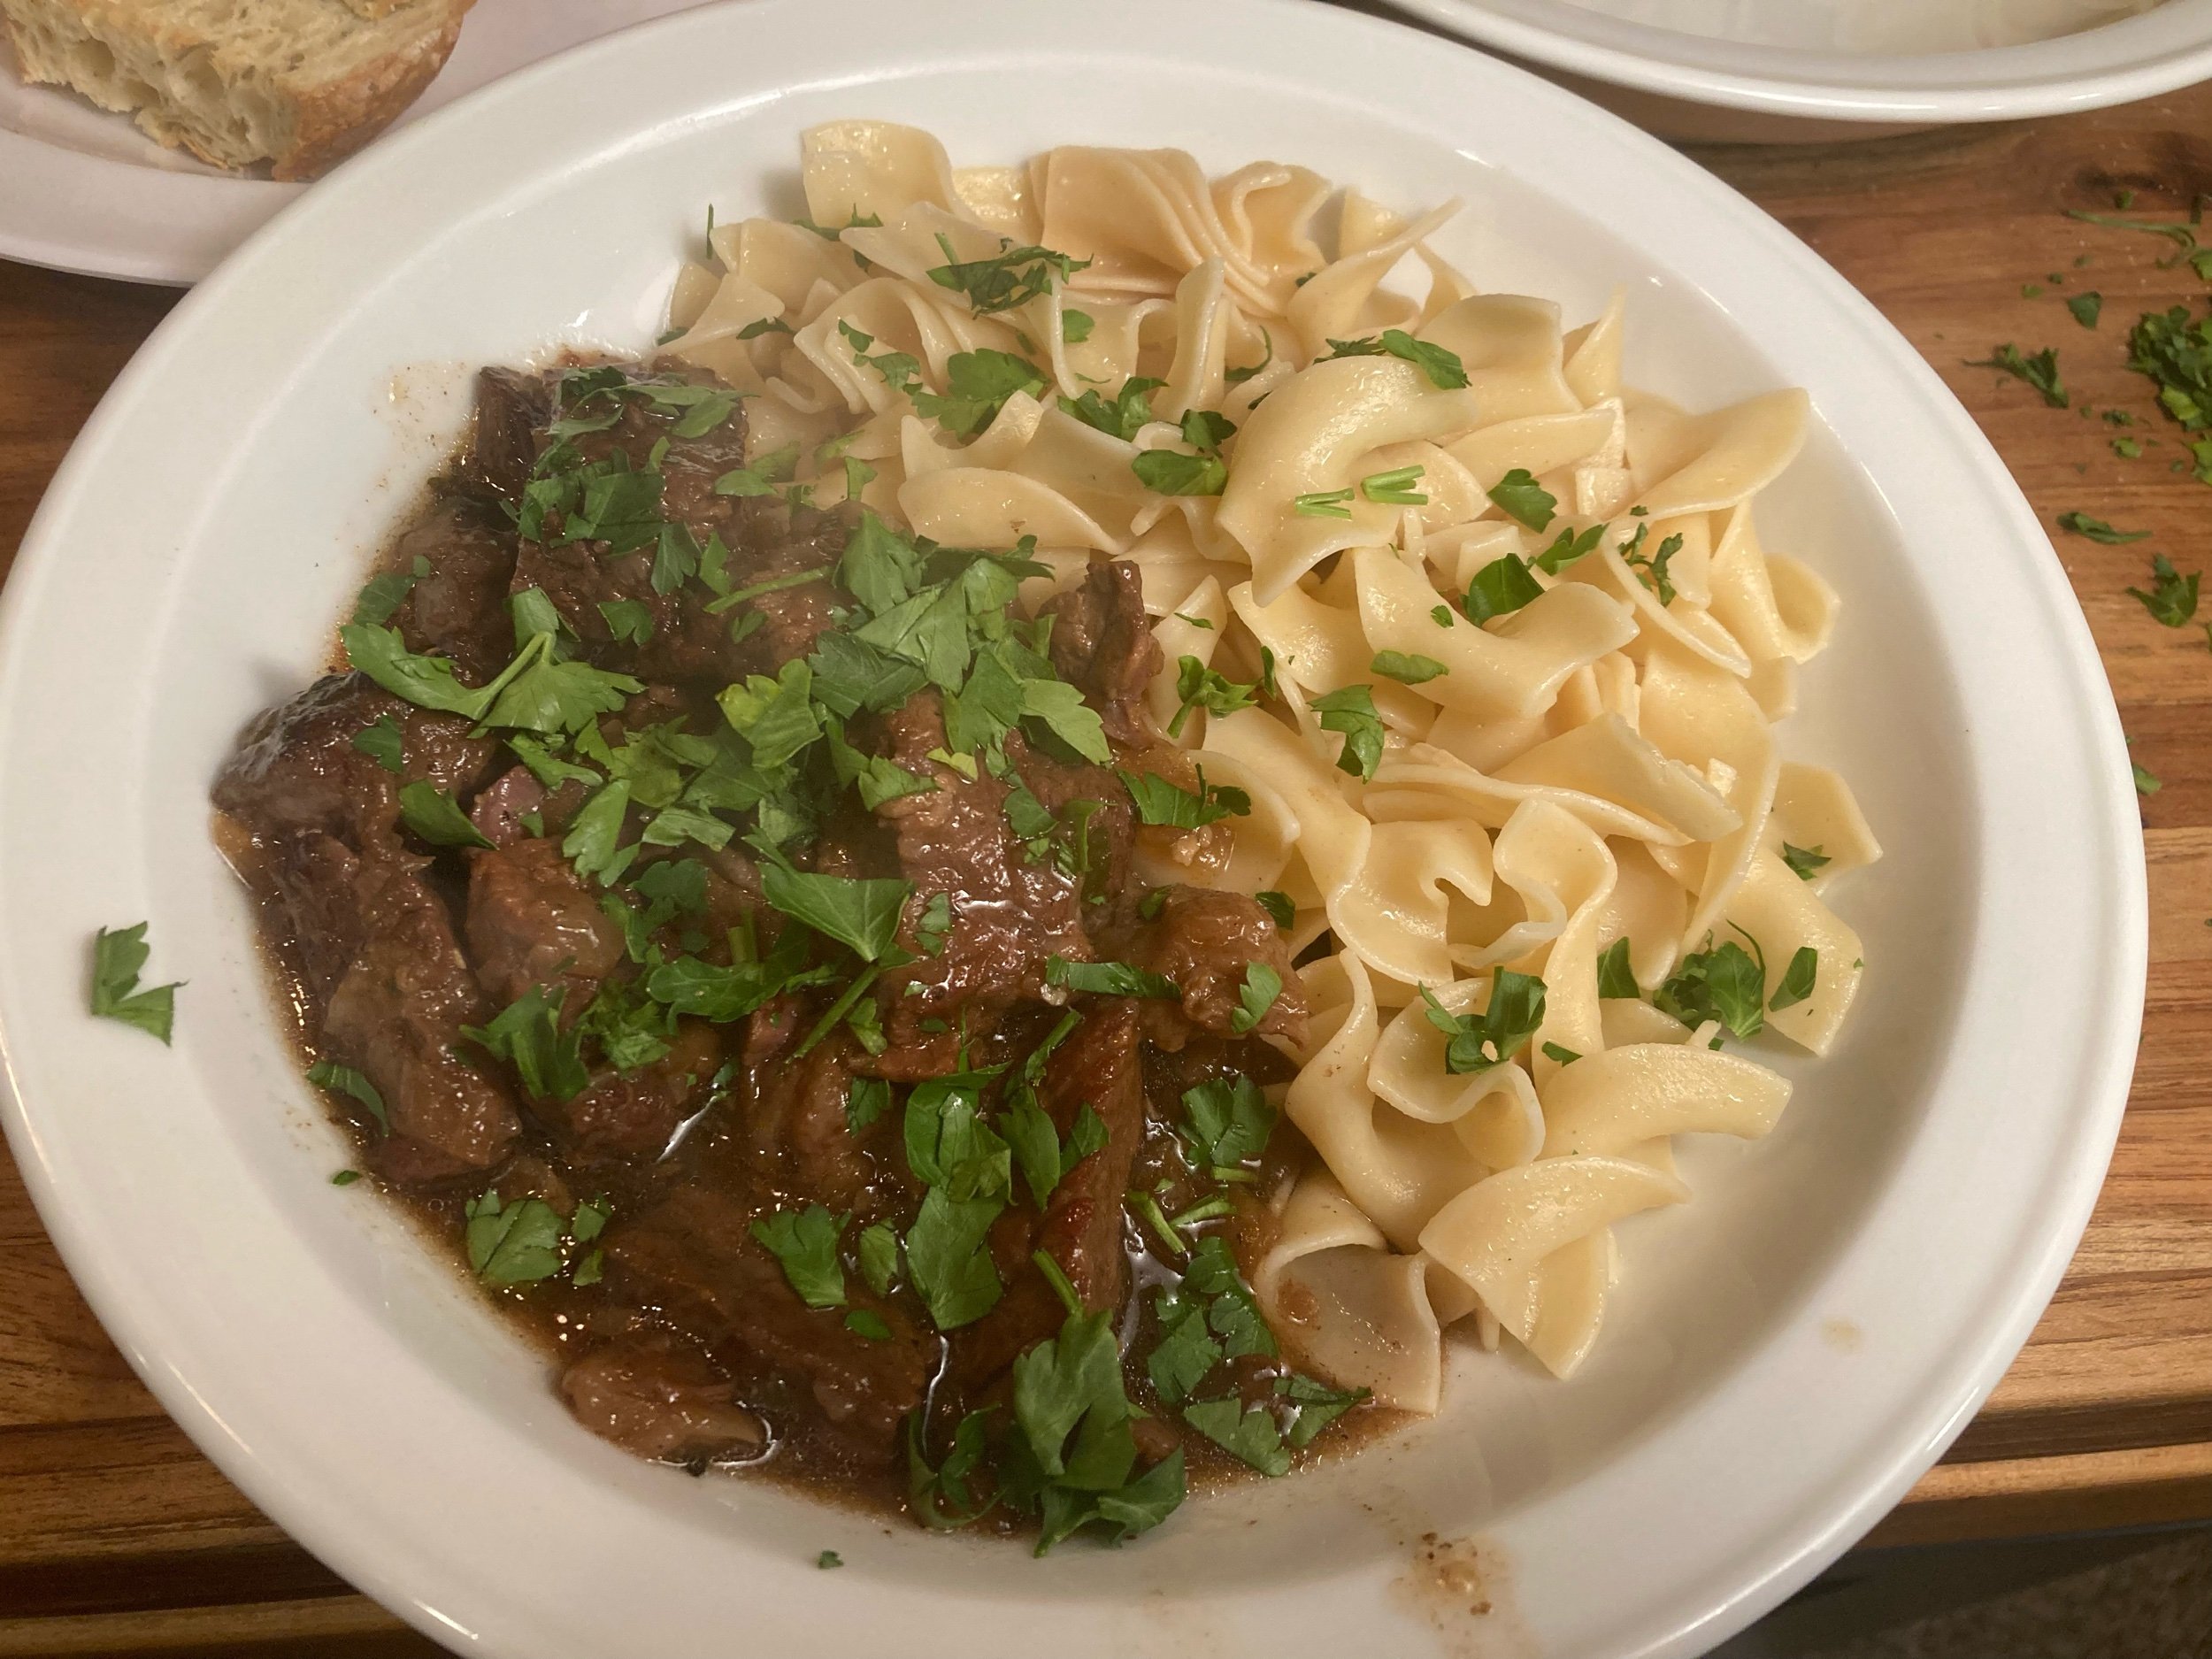
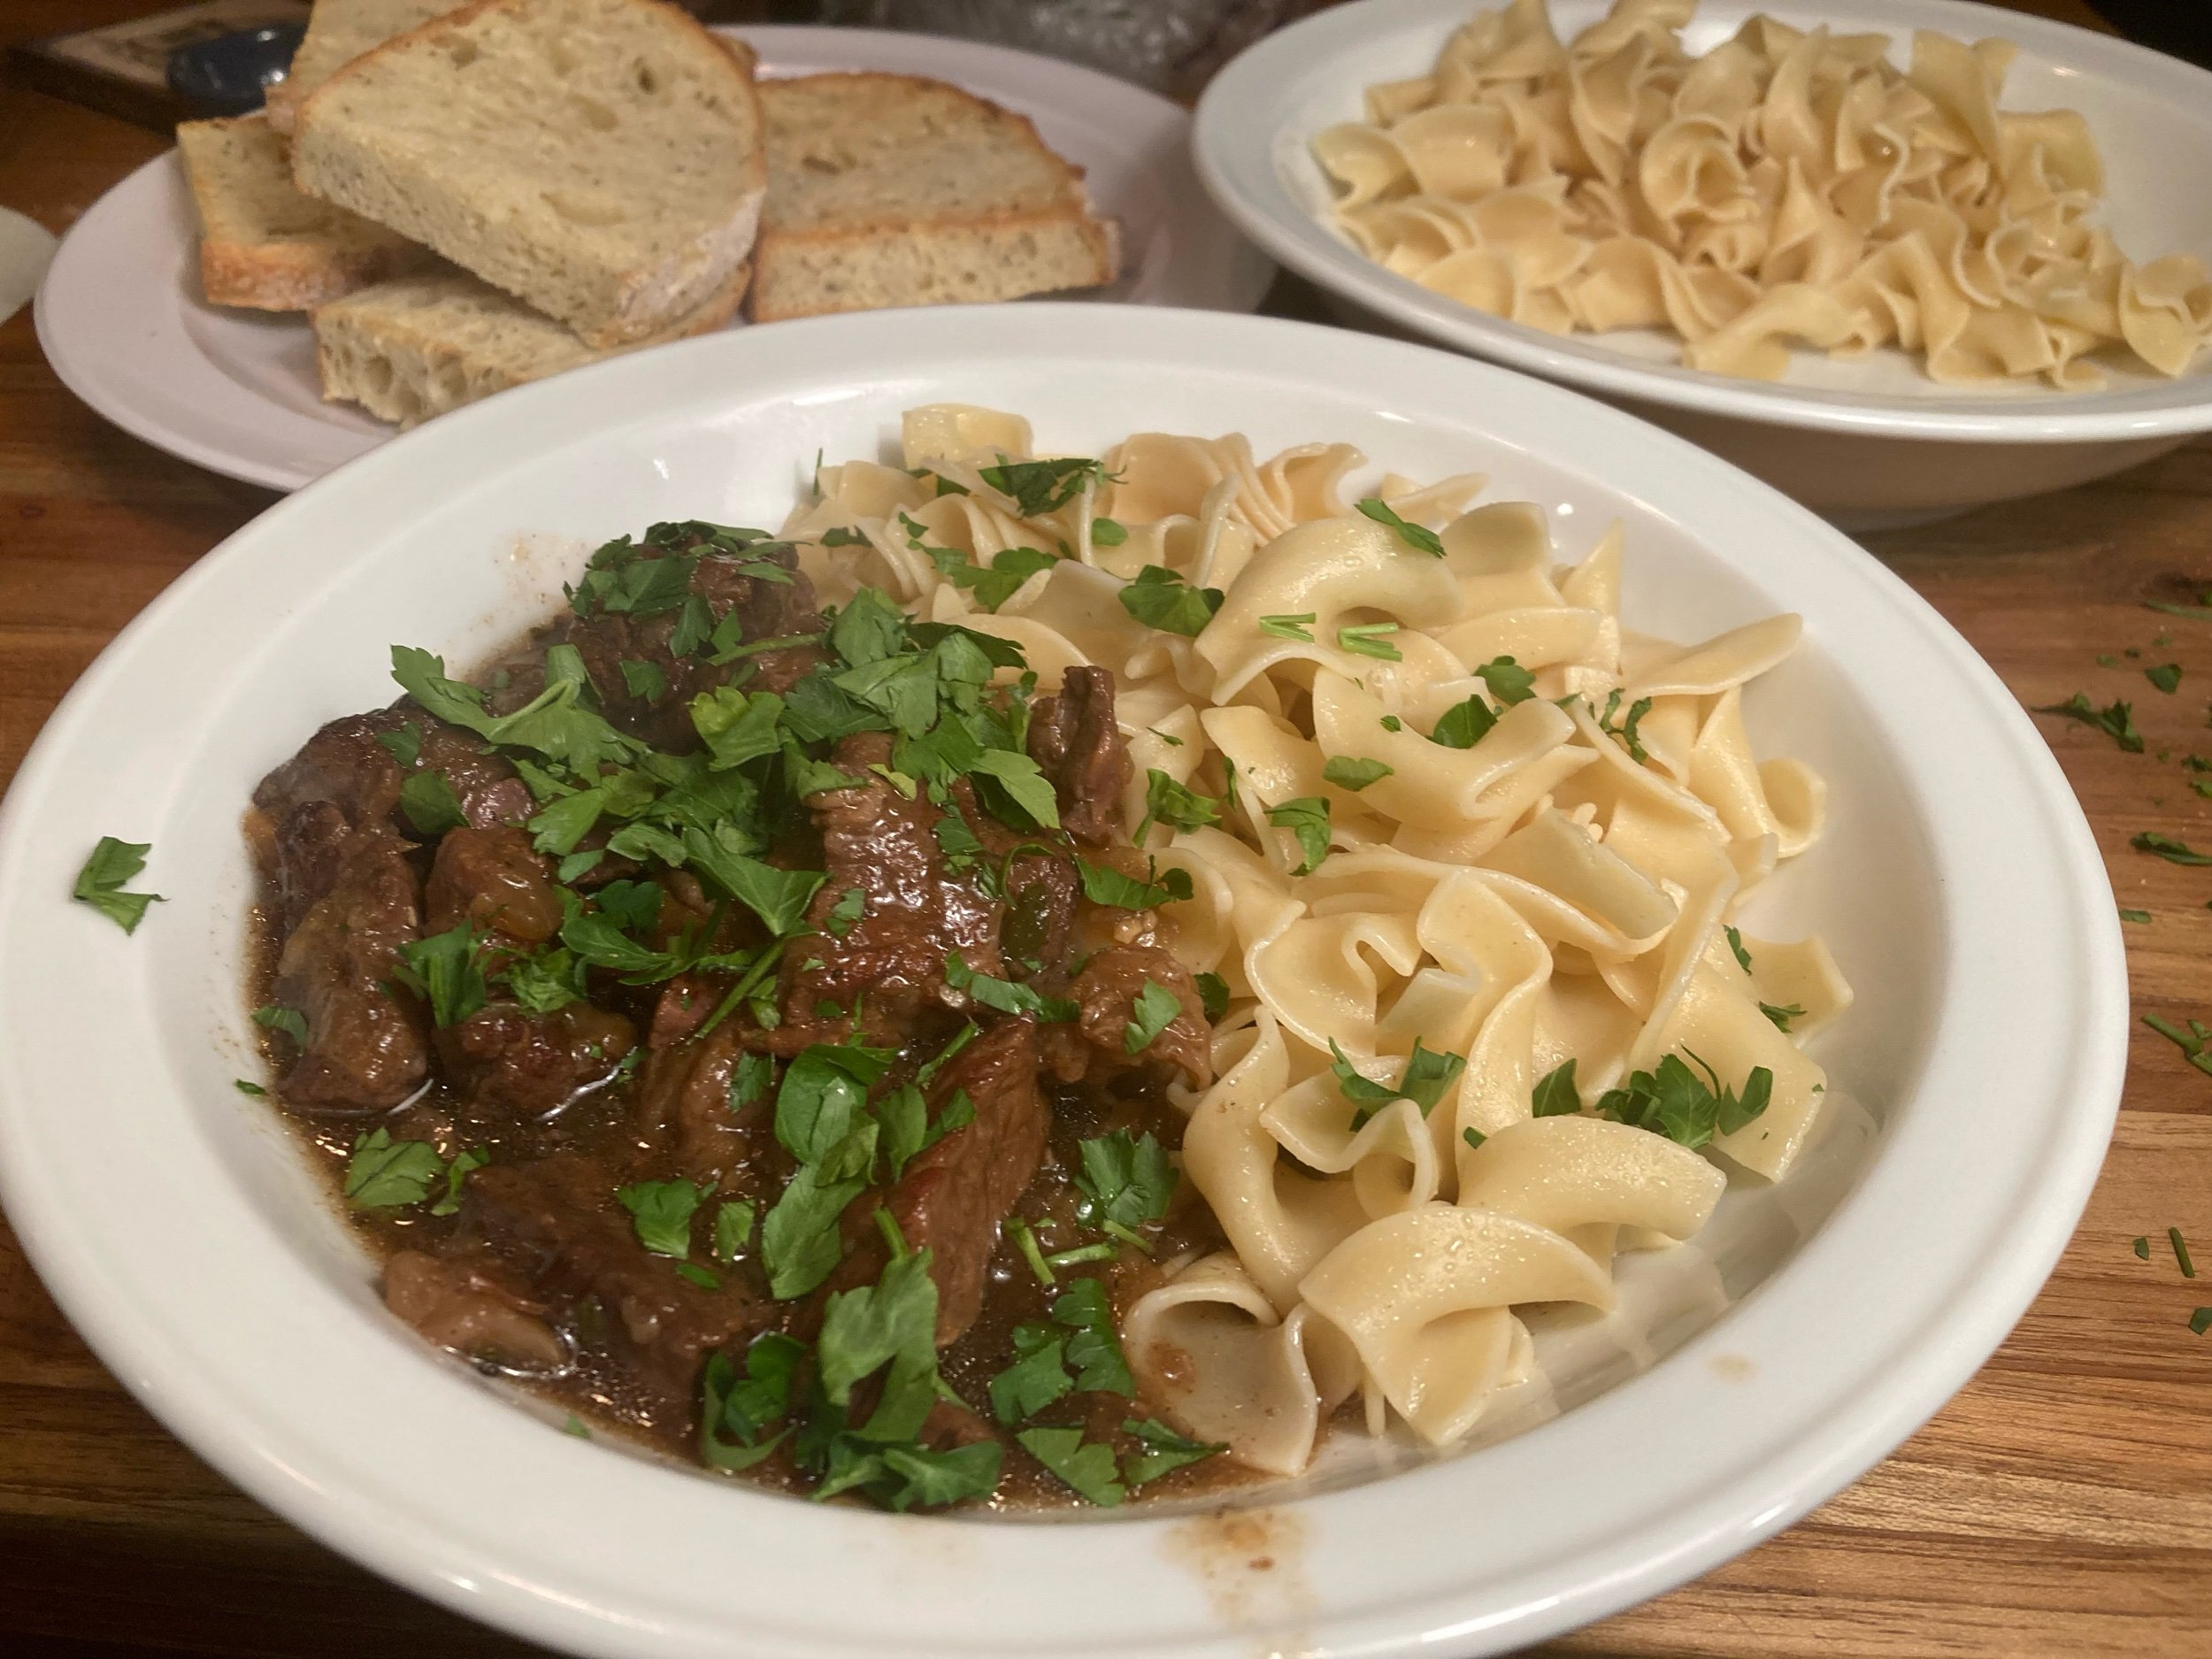
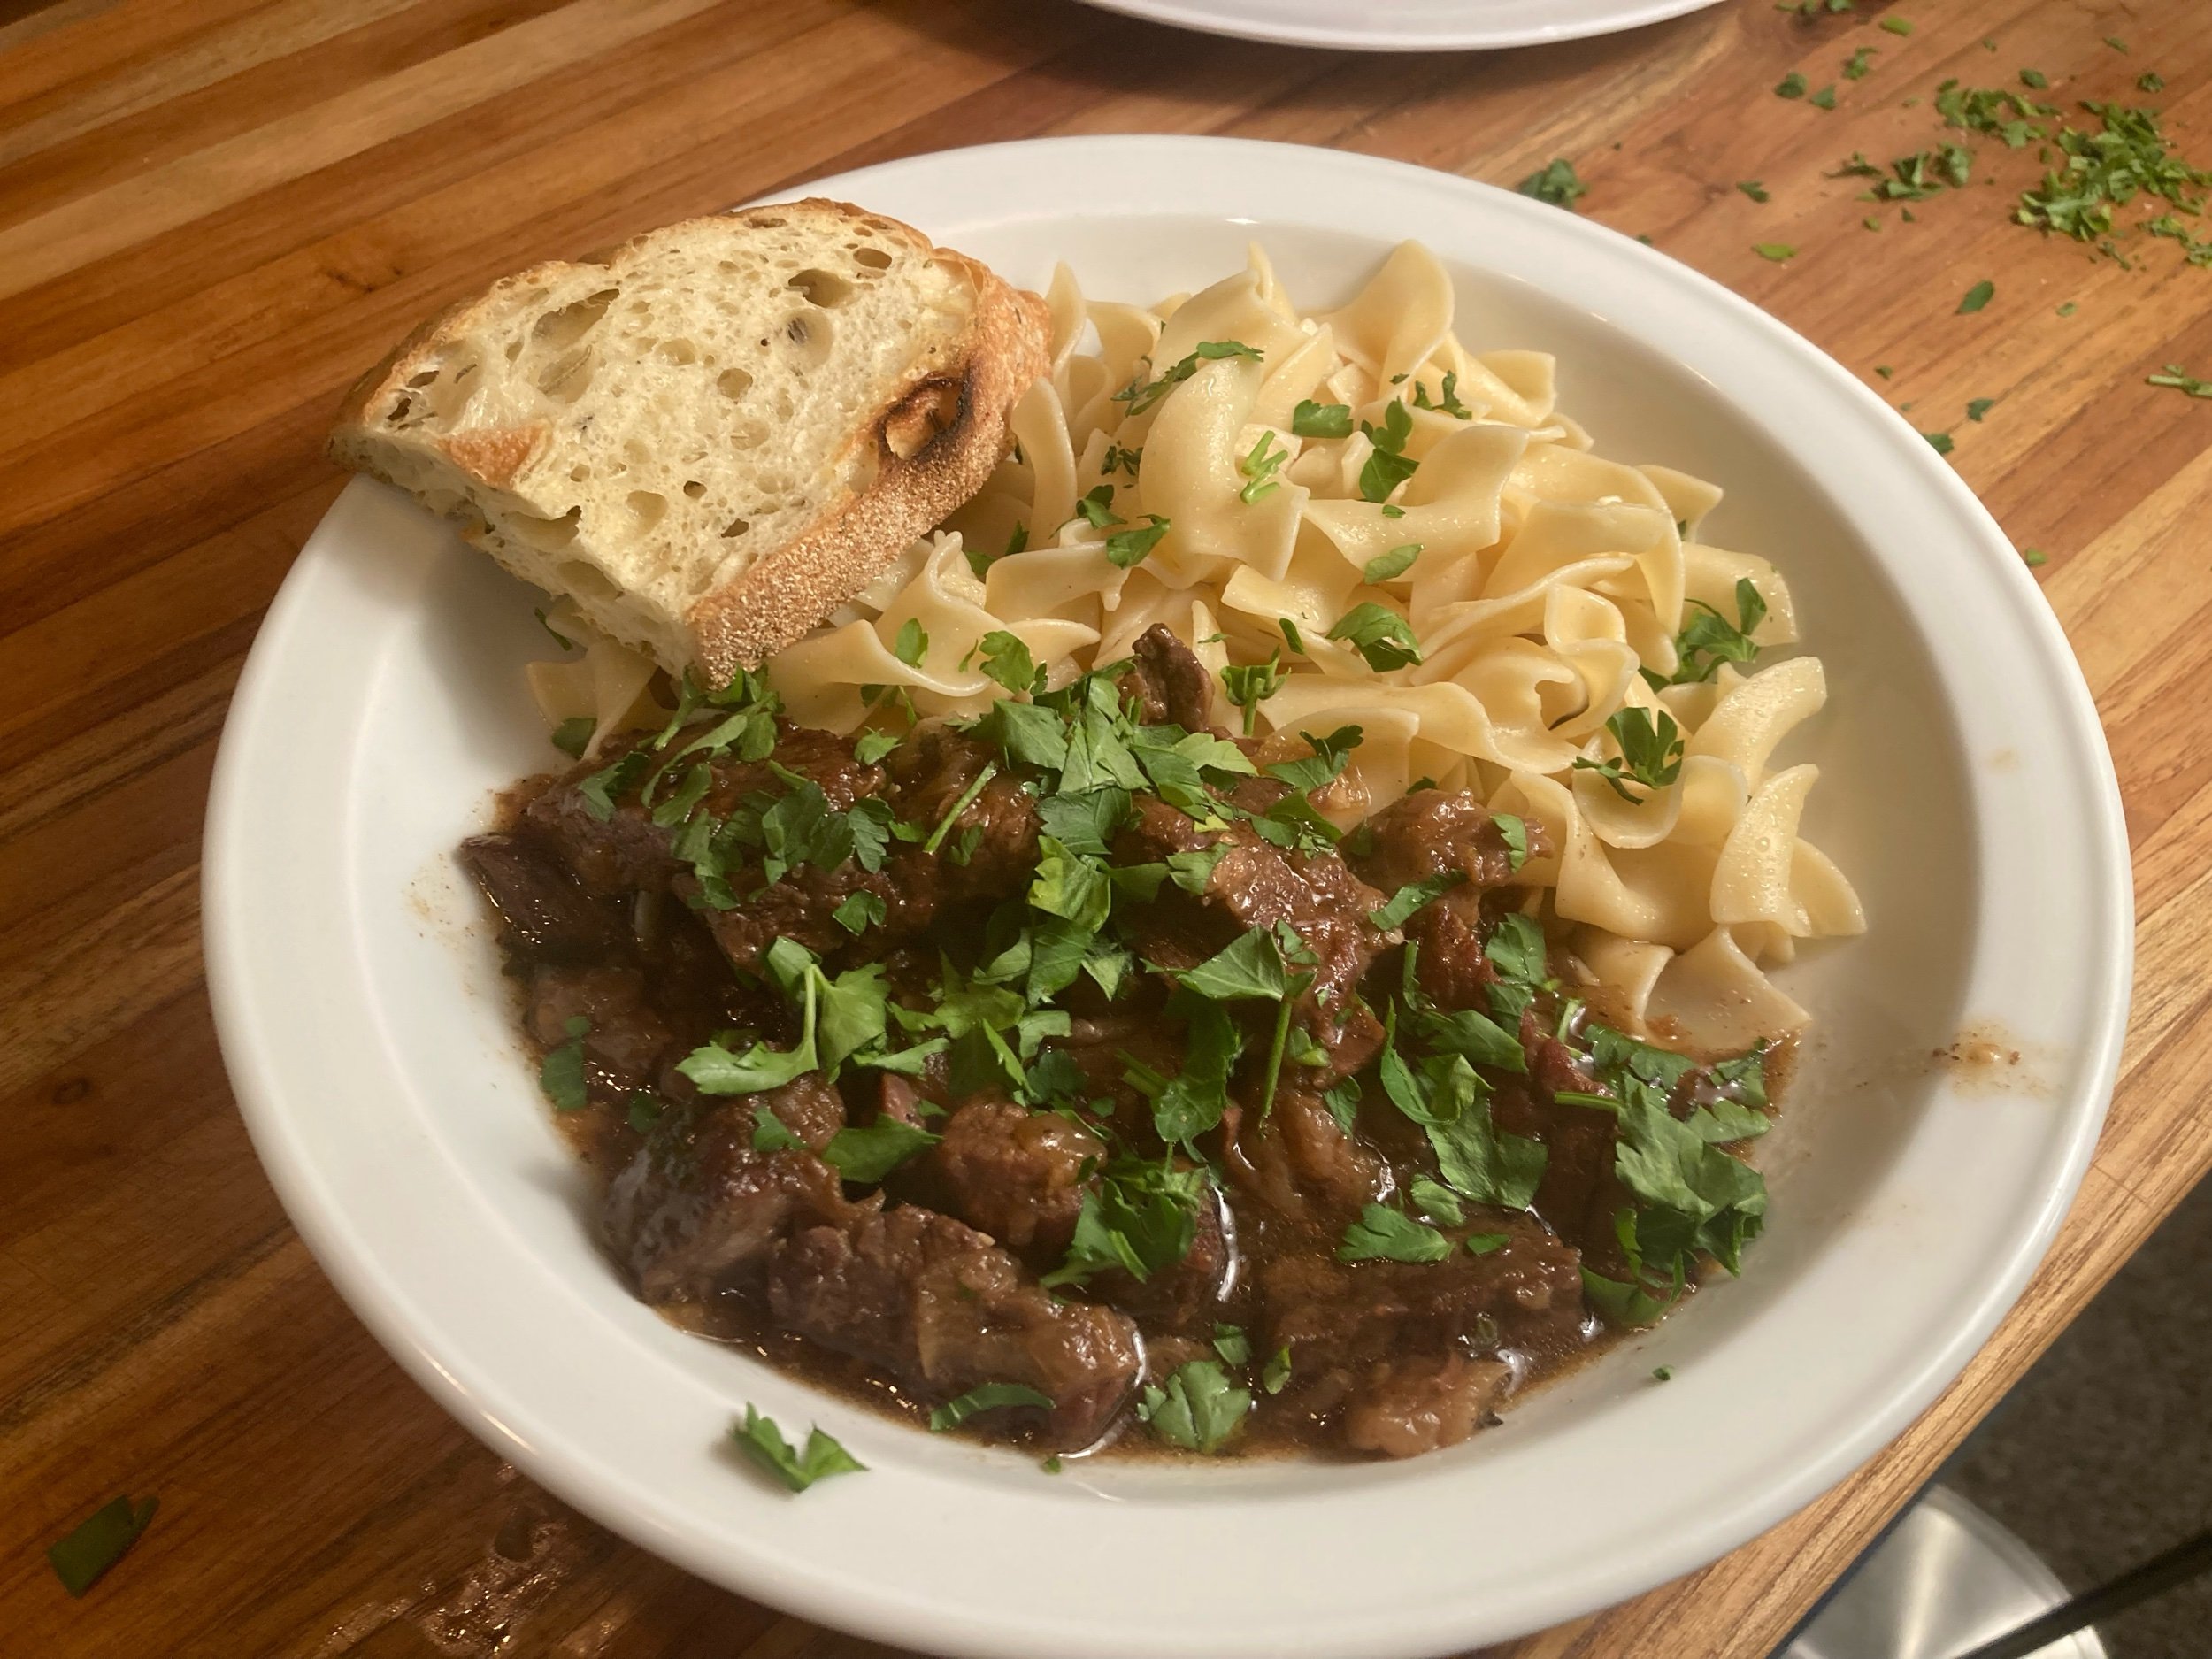
Braised Beef with Onions and Wine
from Toni Tipton-Martin’s Jubilee: Recipes from Two Centuries of African American Cooking
New year.
It’s taken me a minute to figure out what I’m doing this year. I think I’m still in shock. Or maybe it is trauma. I’m trying not to be too radical on the internet, and I guess I’ve been taught to stay small. Scroll down for a delicious stew from Toni Tipton-Martin’s Jubilee if you don’t want to hear it, and feel free to skip leaving a comment if this isn’t for you.
New resolutions. And some holdovers.
Try to write more and update the blog more.
Try to use my purchasing power to support local farmers and agriculture.
Try to grow more food we can eat.
Try not to support the consolidation of power in our food supply.
Try not to support businesses that do not support their employees’ rights to unionize and fight for fair wages and contracts.
Try not to support tyrants and tyranny.
Try to support and promote the works of others who attempt same.
Protect as many as you can.
Do not write his name.
Let’s talk about food supply consolidation (#4) a moment.
Not shopping at any store owned by K**ger or a child of Albert is really hard. And once I go down the thought experiment path of how not to shop at them, then I have to ask myself if the alternatives are any better. Used to be we up here in the Pac NW had this store called QFC, and it used to be great, but now K**ger bought it, and also it sucks now. Fred Meyer is out now too, same two reasons. I’m looking into WinCo and Grocery Outlet (venture capital?) and Trader Joe’s (suppressing unionization efforts?), trying to see how I feel about those folks. Let me know in the comments if you have any thoughts or personal experience to share.
I’m going to reward myself with a custom t-shirt when I manage to go a month without giving my money to K**ger or A**zon.
Oh and Albertsons and Safeway are pretty awful, at least the ones near me are.
So Costco, farm store, co-op, Town and Country Market, and I’ll keep exploring other options.

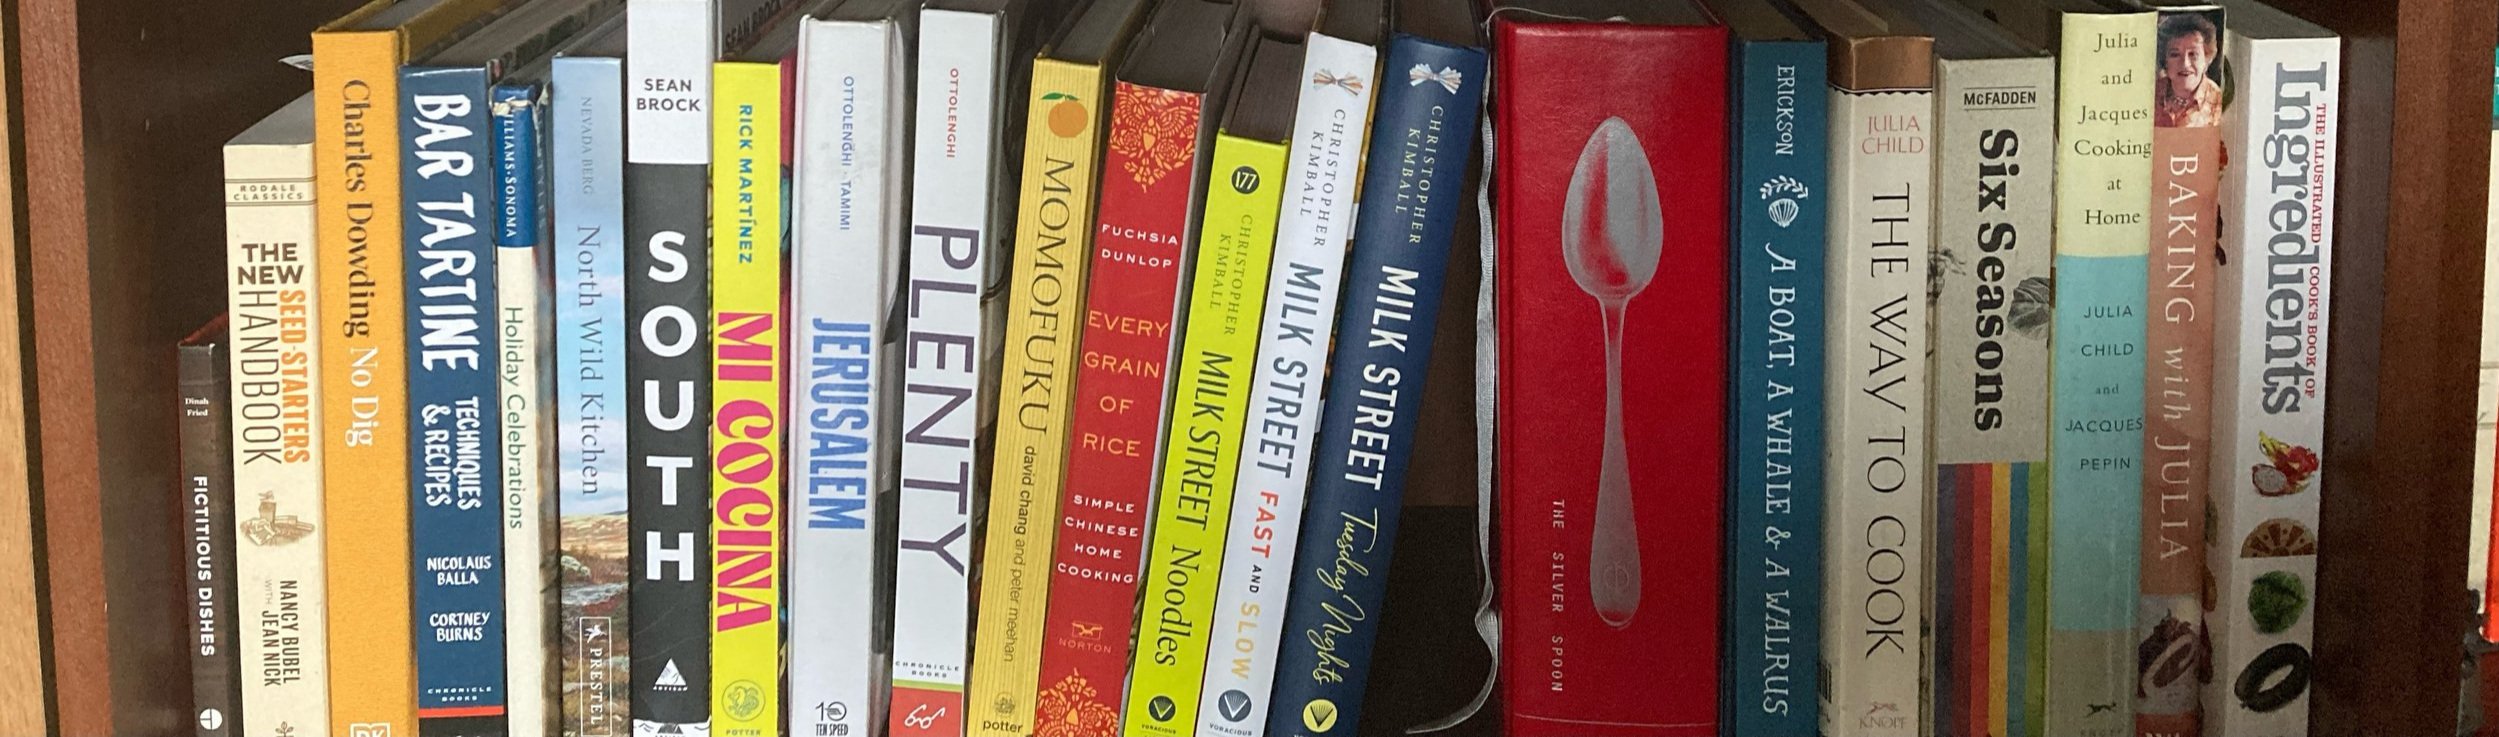
Let’s talk cookbooks.
Jubilee: Recipes from Two Centuries of African American Cooking: A Cookbook by
Toni Tipton-Martin, cookbook author, two-time James Beard Award Winner, Editor in Chief of Cook’s Country magazine, and I’ll be cooking with her for the next month.
Jubilee is a blend of history lessons, old recipes, and recipes adapted from history. Perfect for the home cook who likes to dabble in anthropology, or for all of us who may need a brush up on how rich the heritage of this country really is. And who built it.
Recipes range from Southern Soul, Creole, Afro-Caribbean, and African American.
Let’s make something.
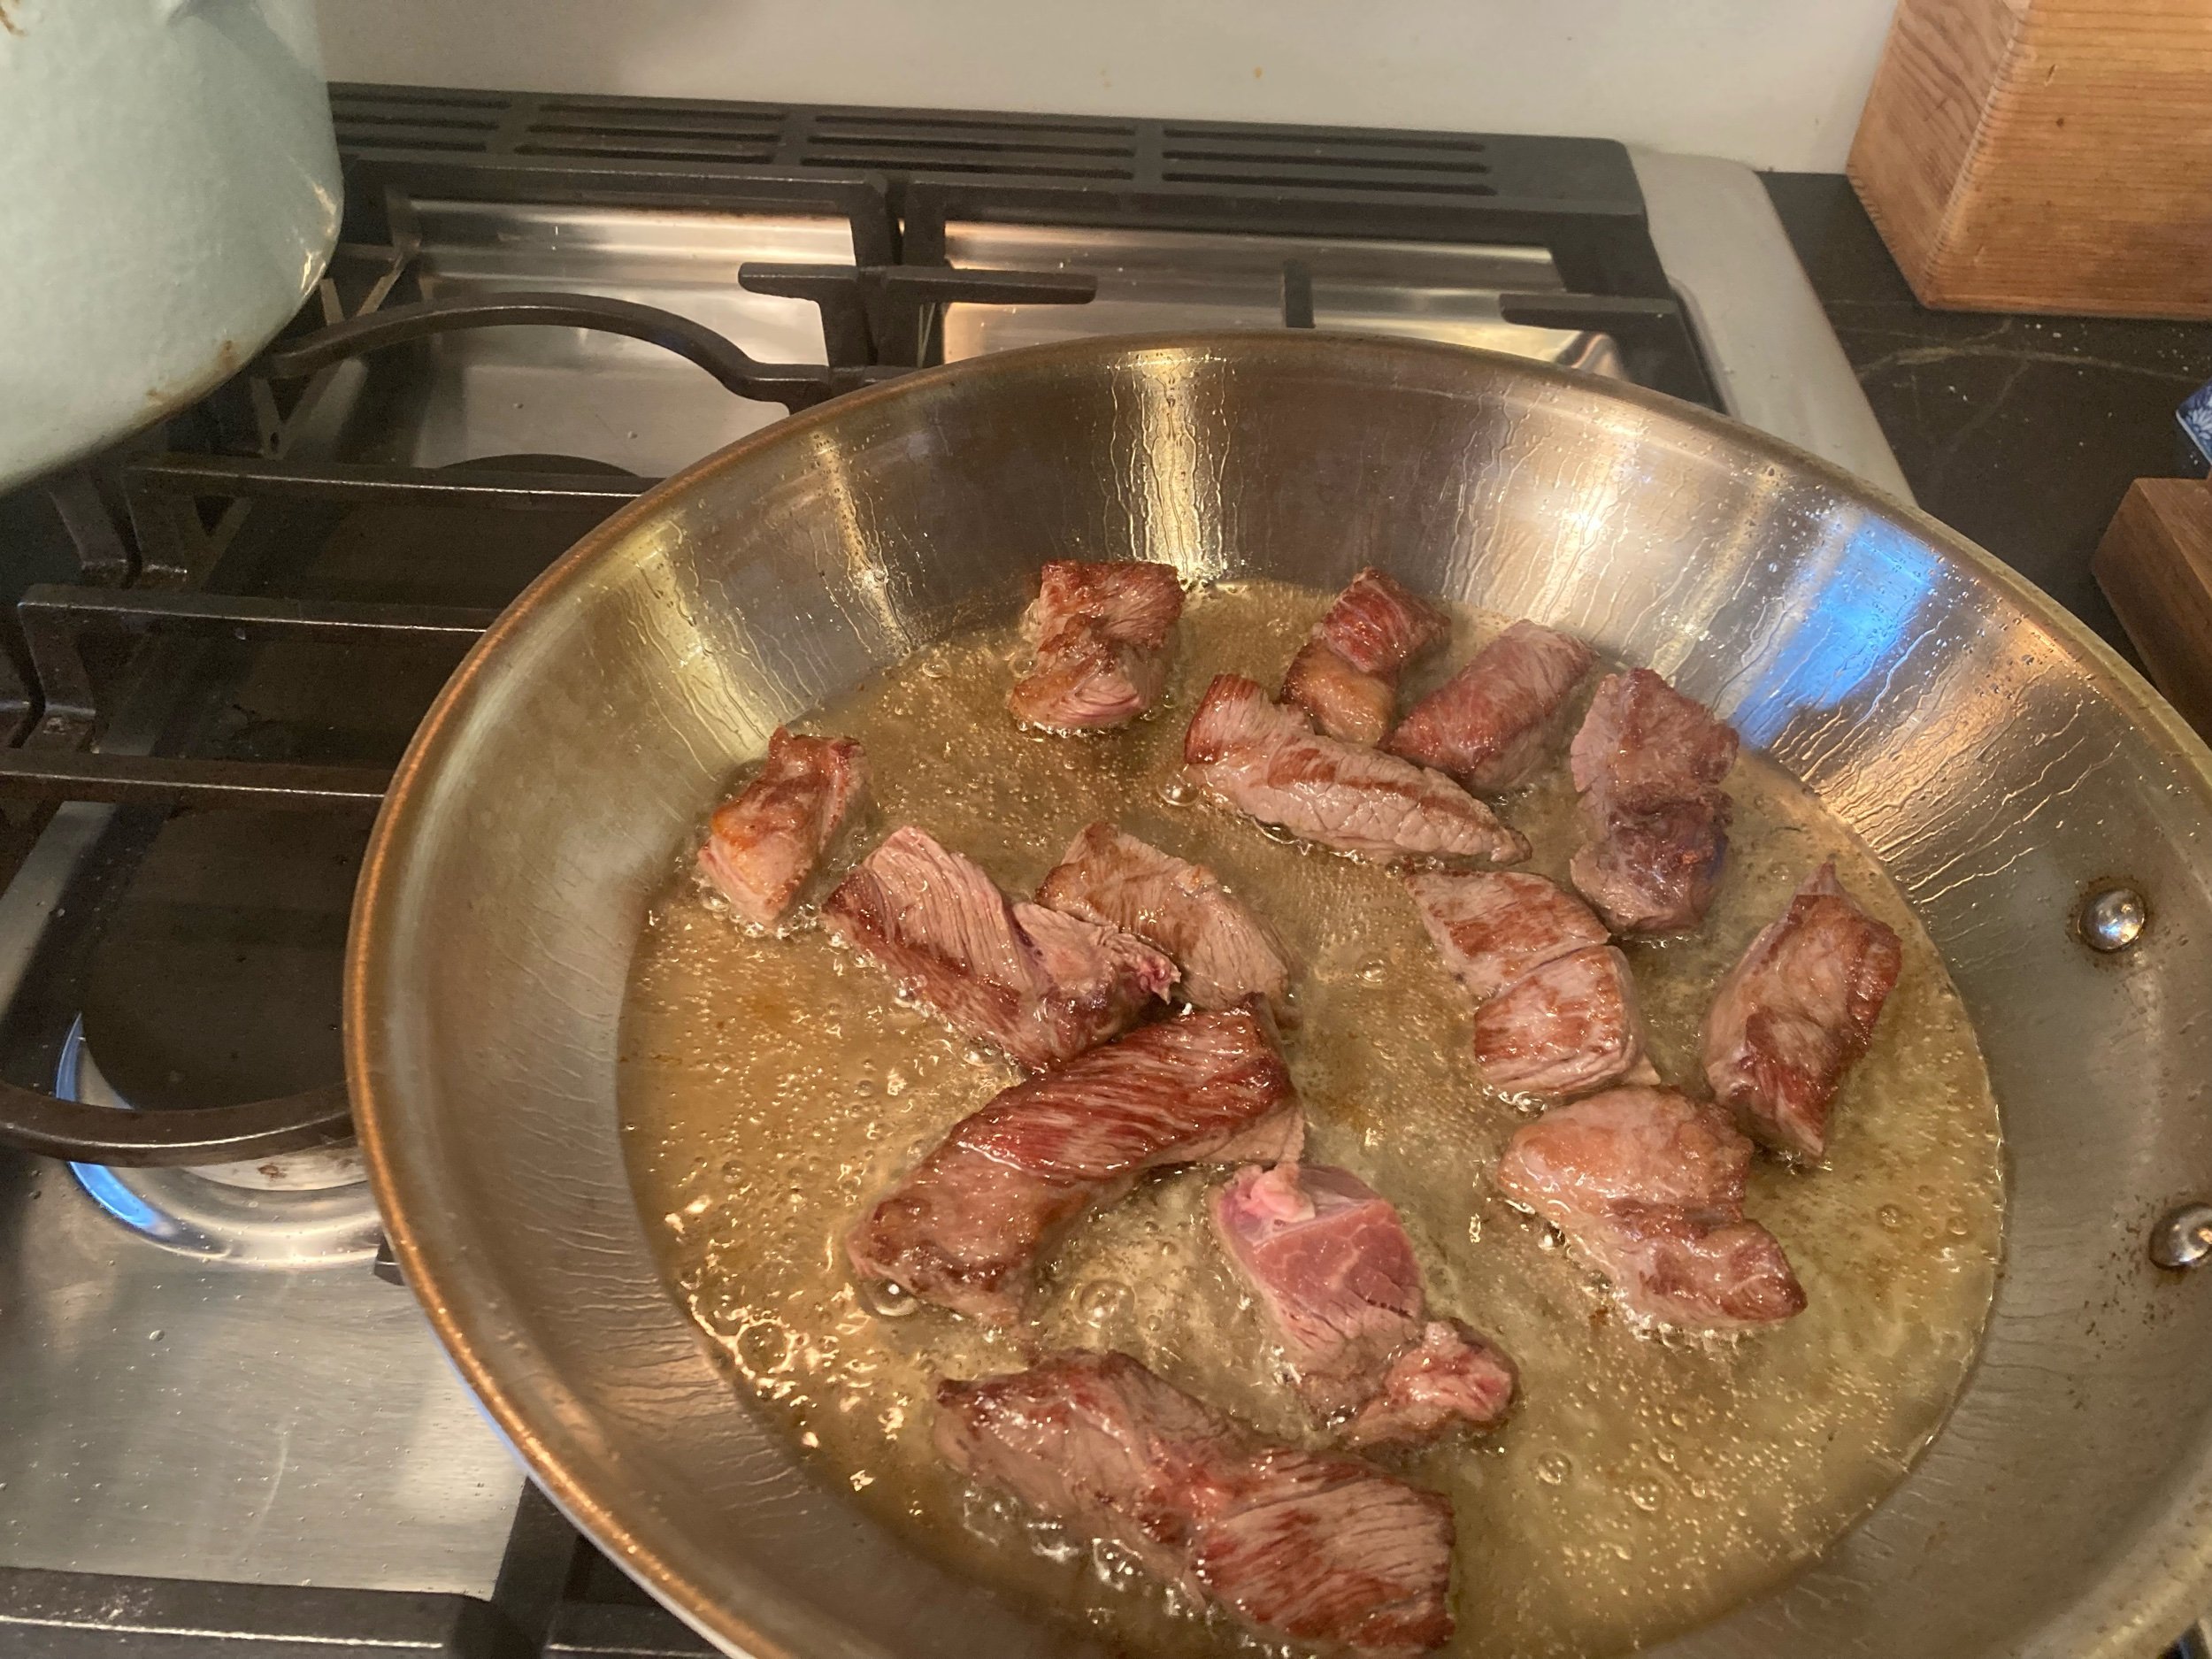
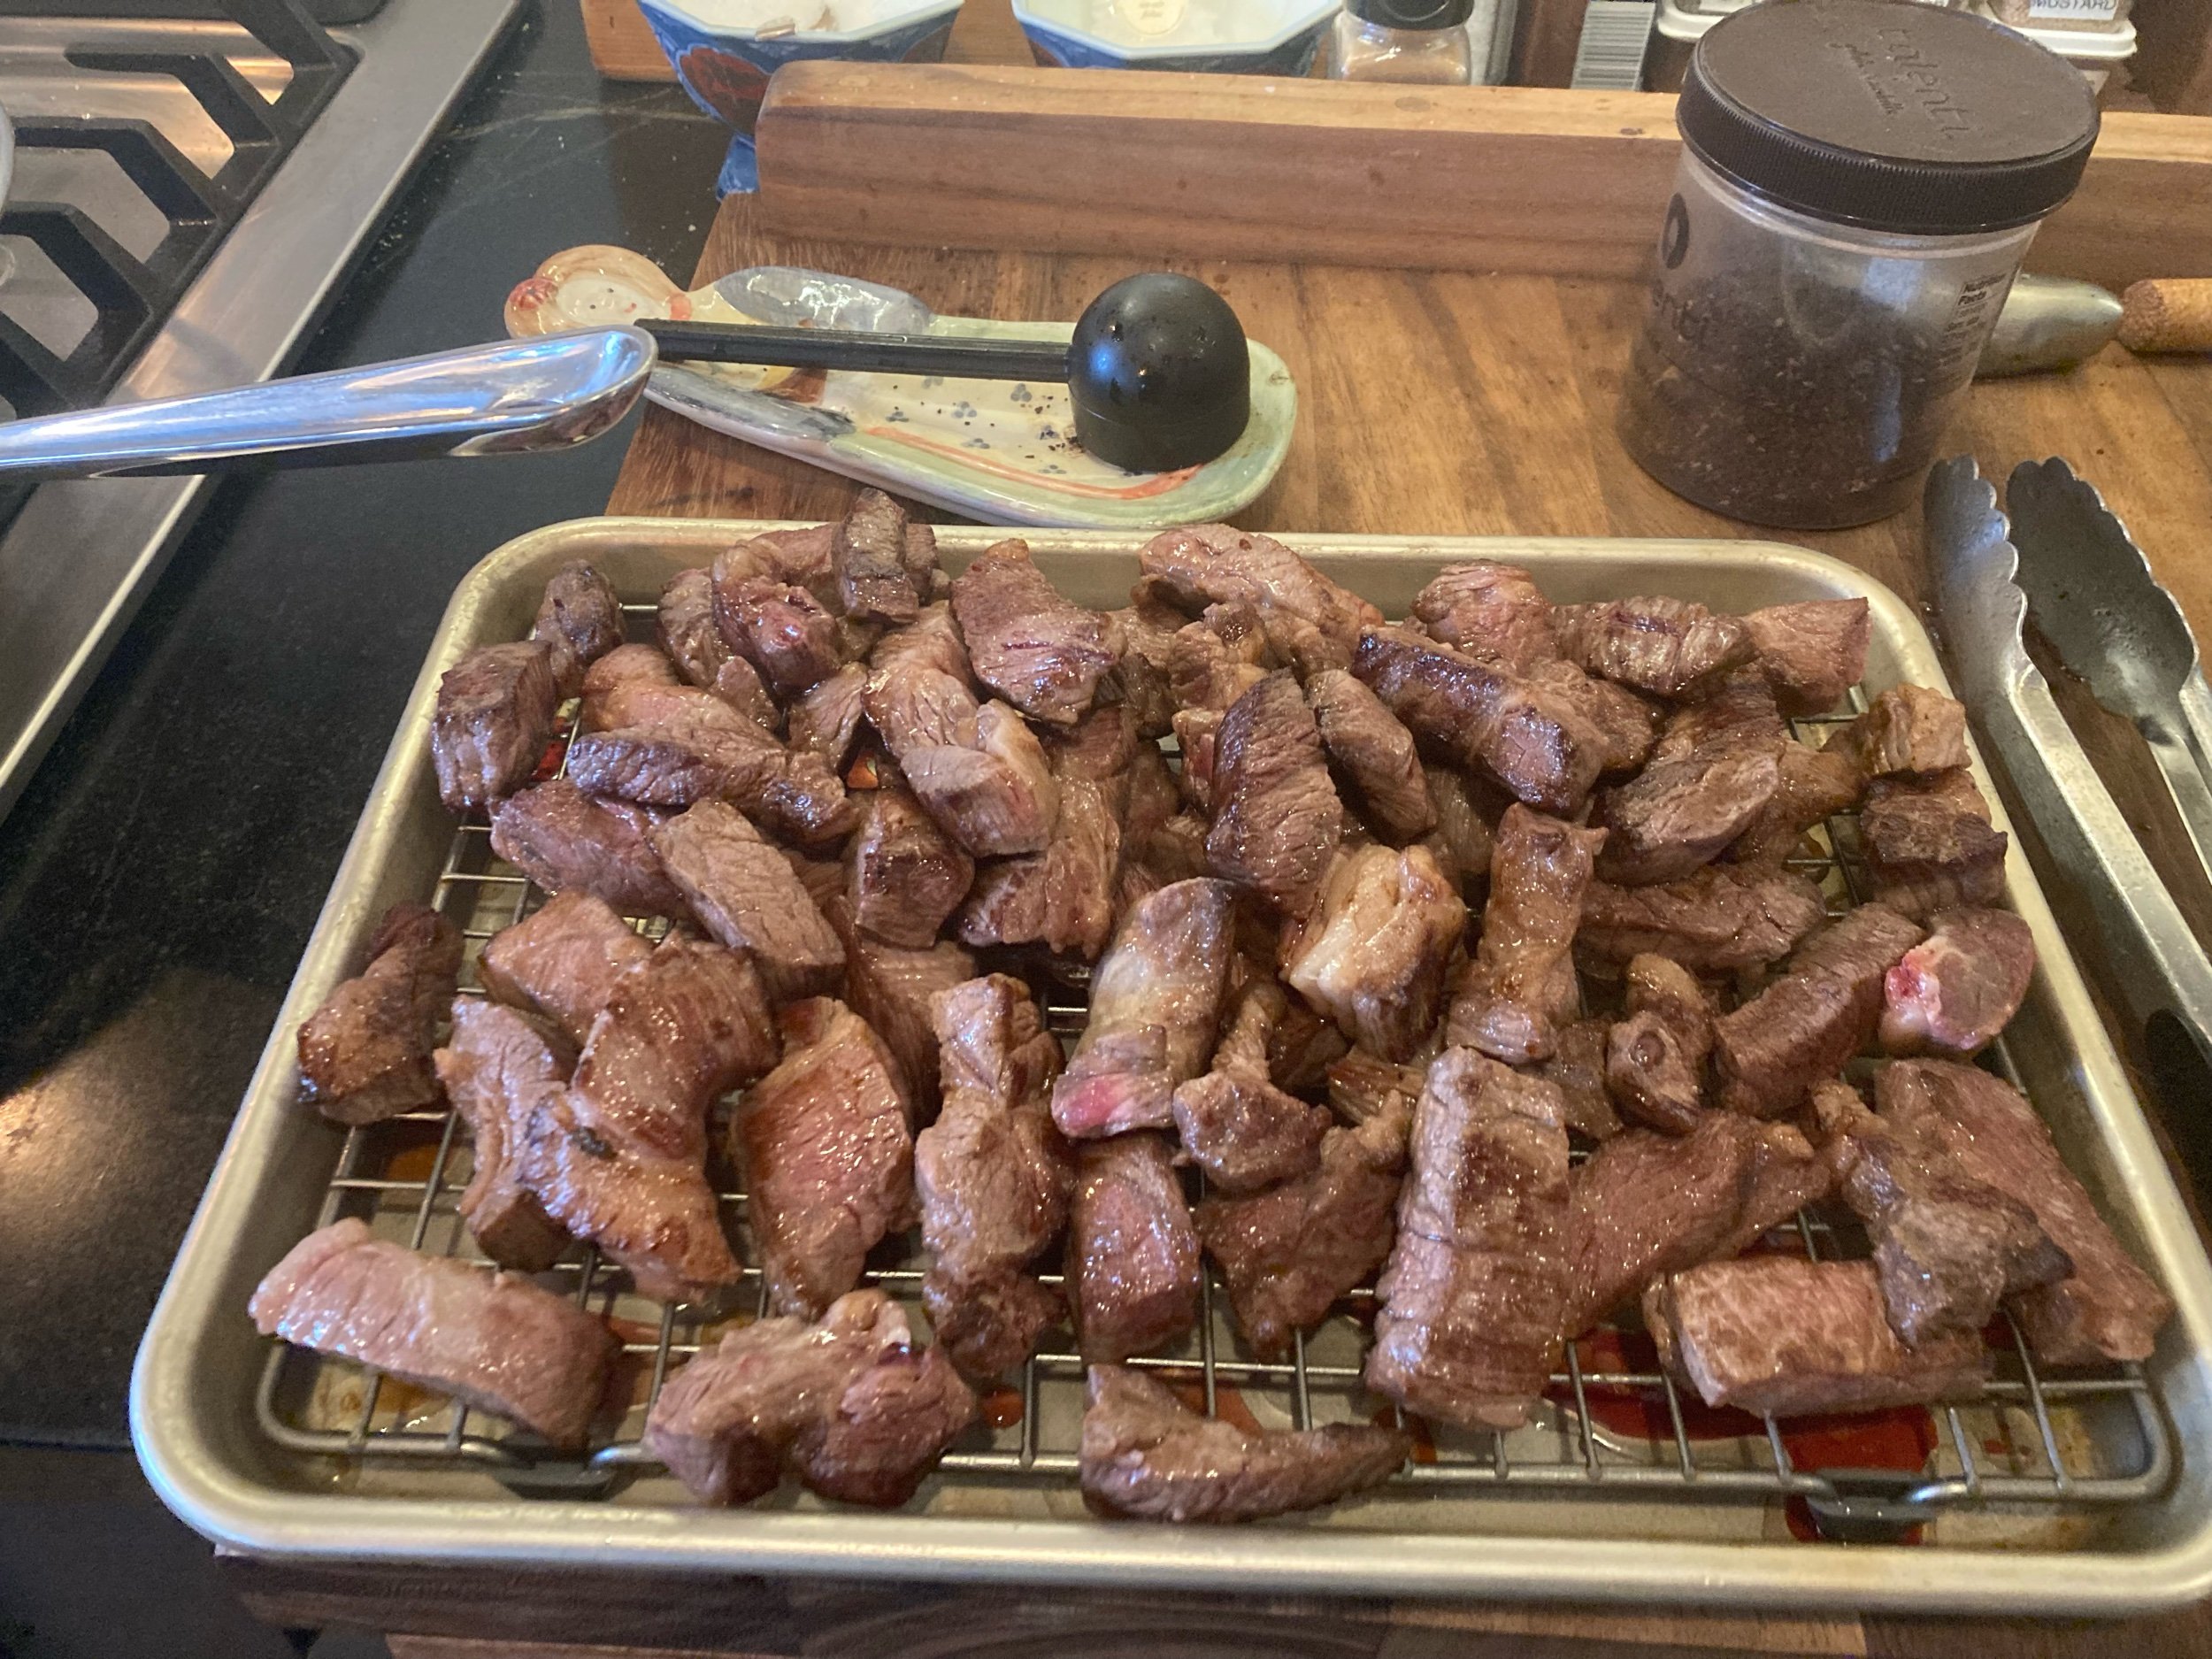
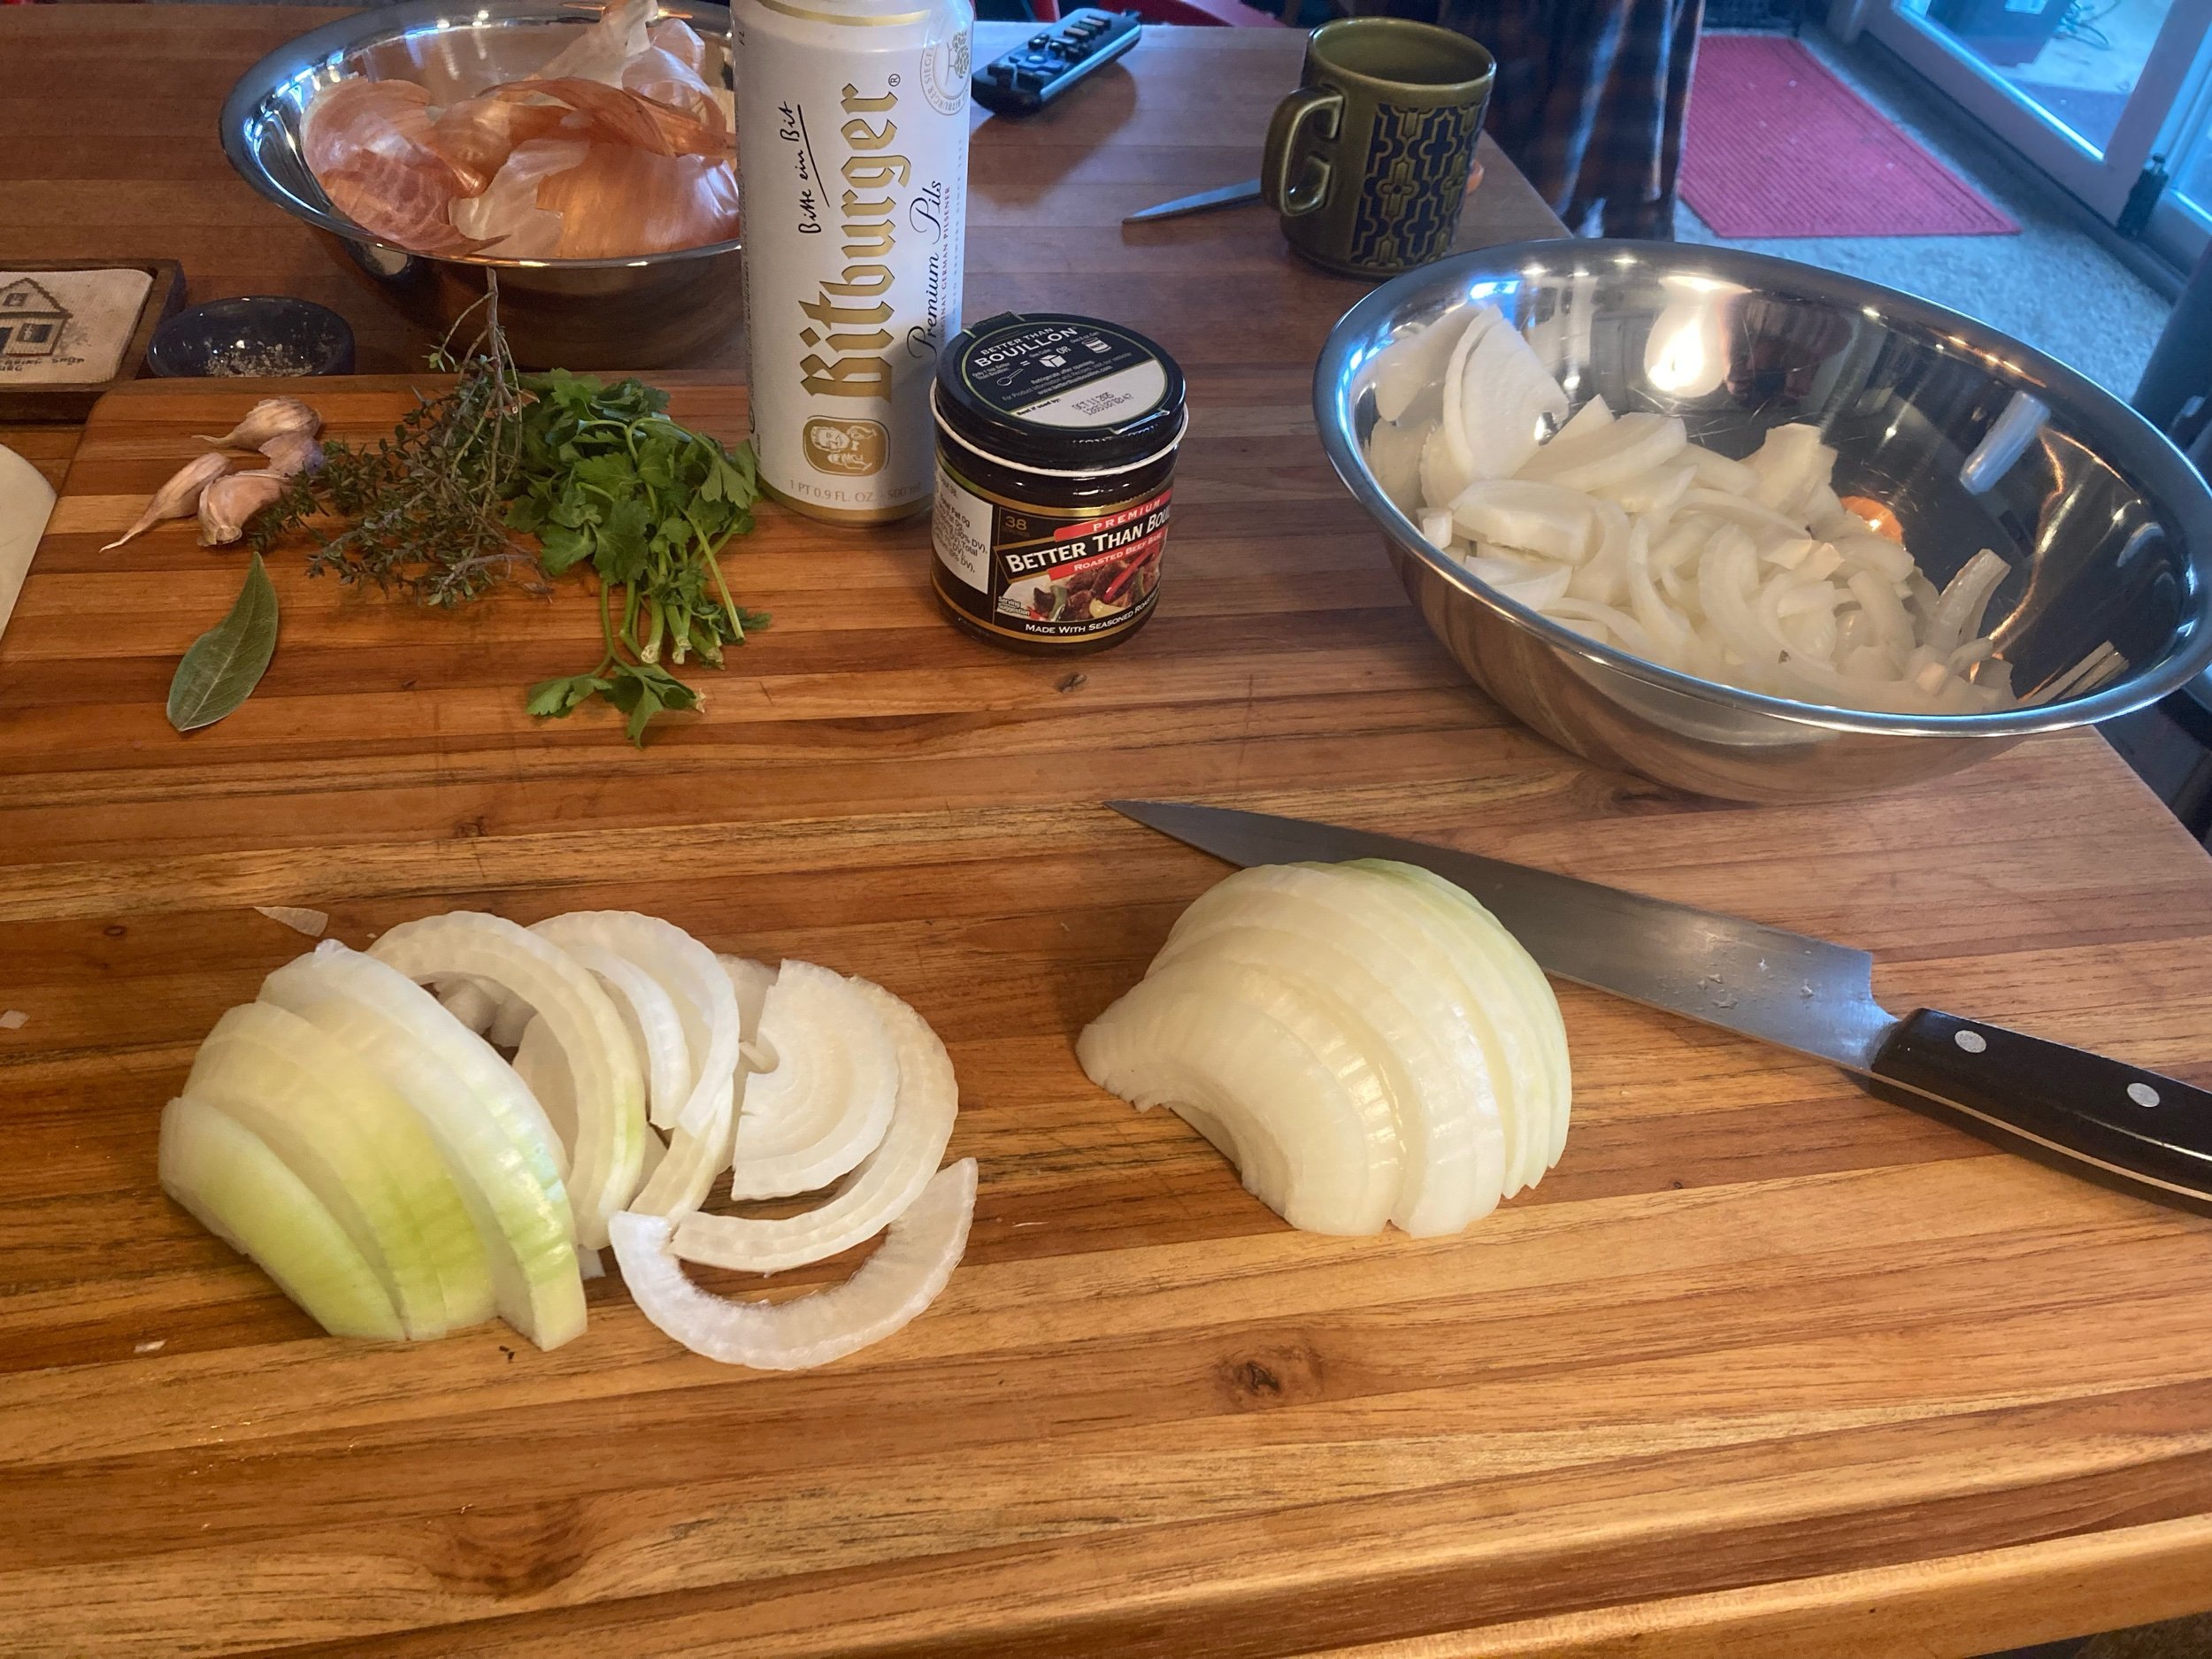
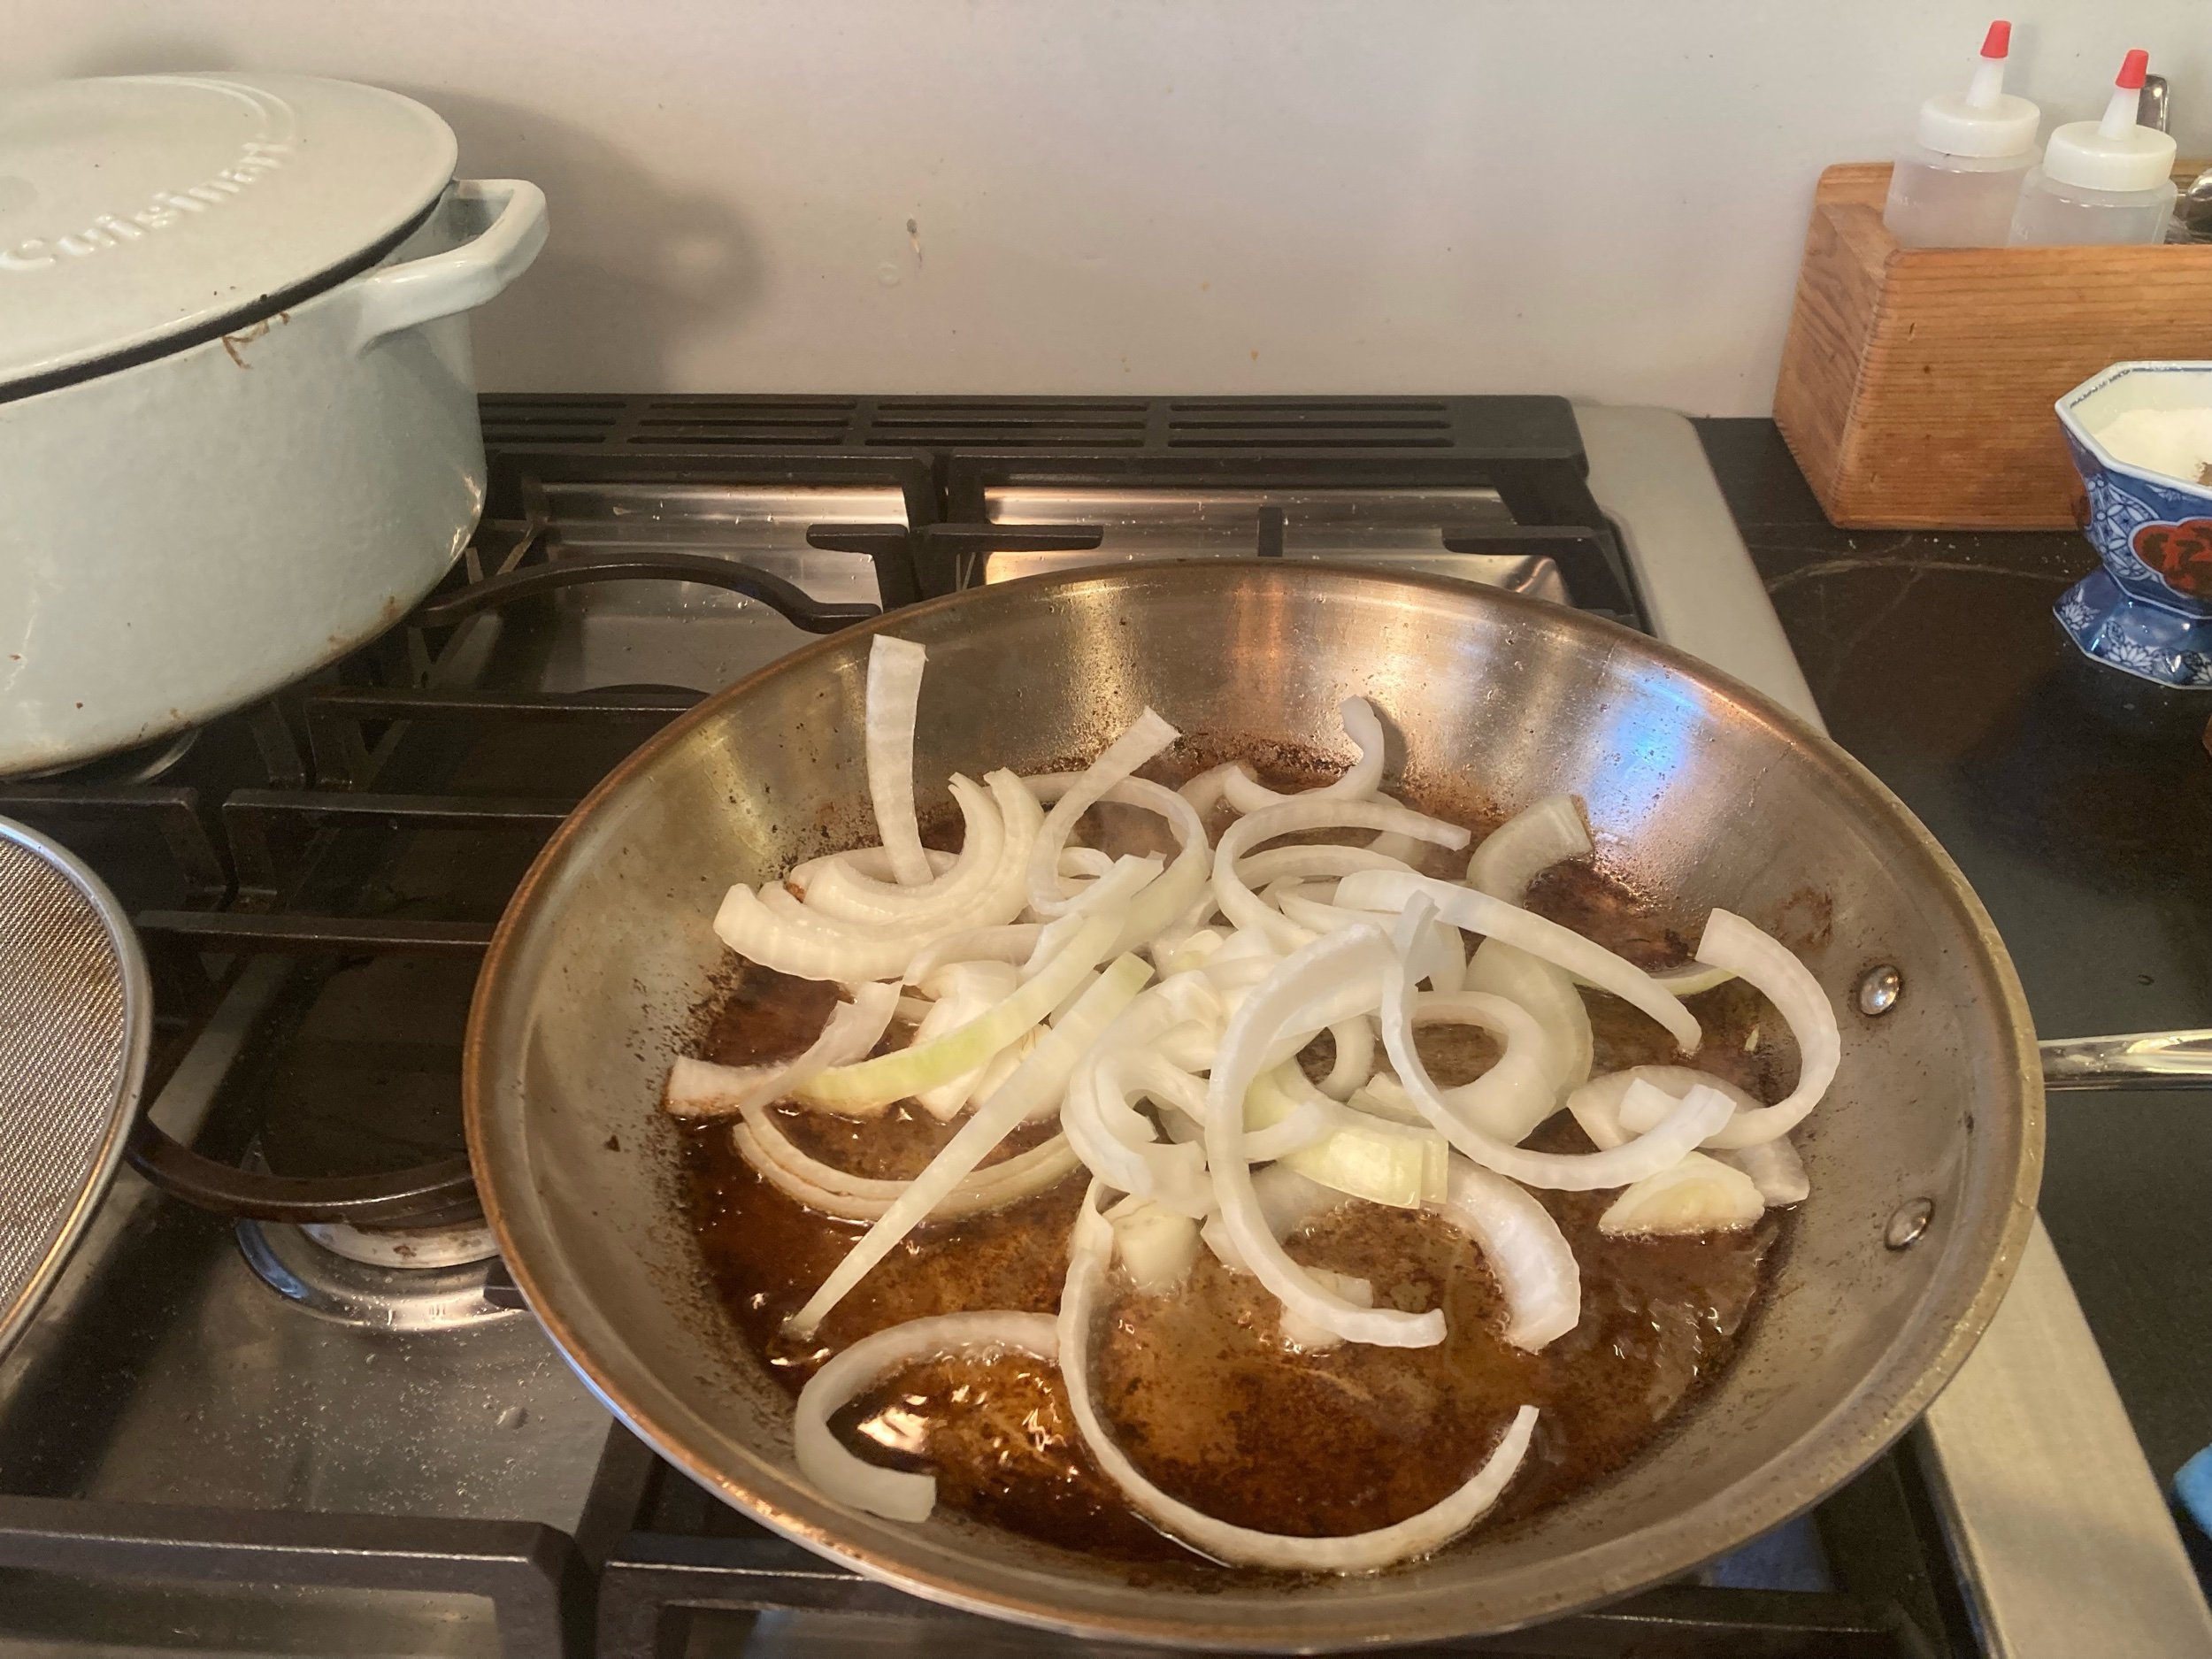
Braised Beef with Onions and Wine
Adapted from Jubilee by Toni Tipton-Martin
This is a version of a beef bourguignon inspired by recipes from Mahalia Jackson, Edna Lewis, and yes, Julia Child, a version of which I have cooked previously for this site.
Ingredients
1 lb frozen pearl onions*
½ pound sliced bacon, cut into ¼” strips
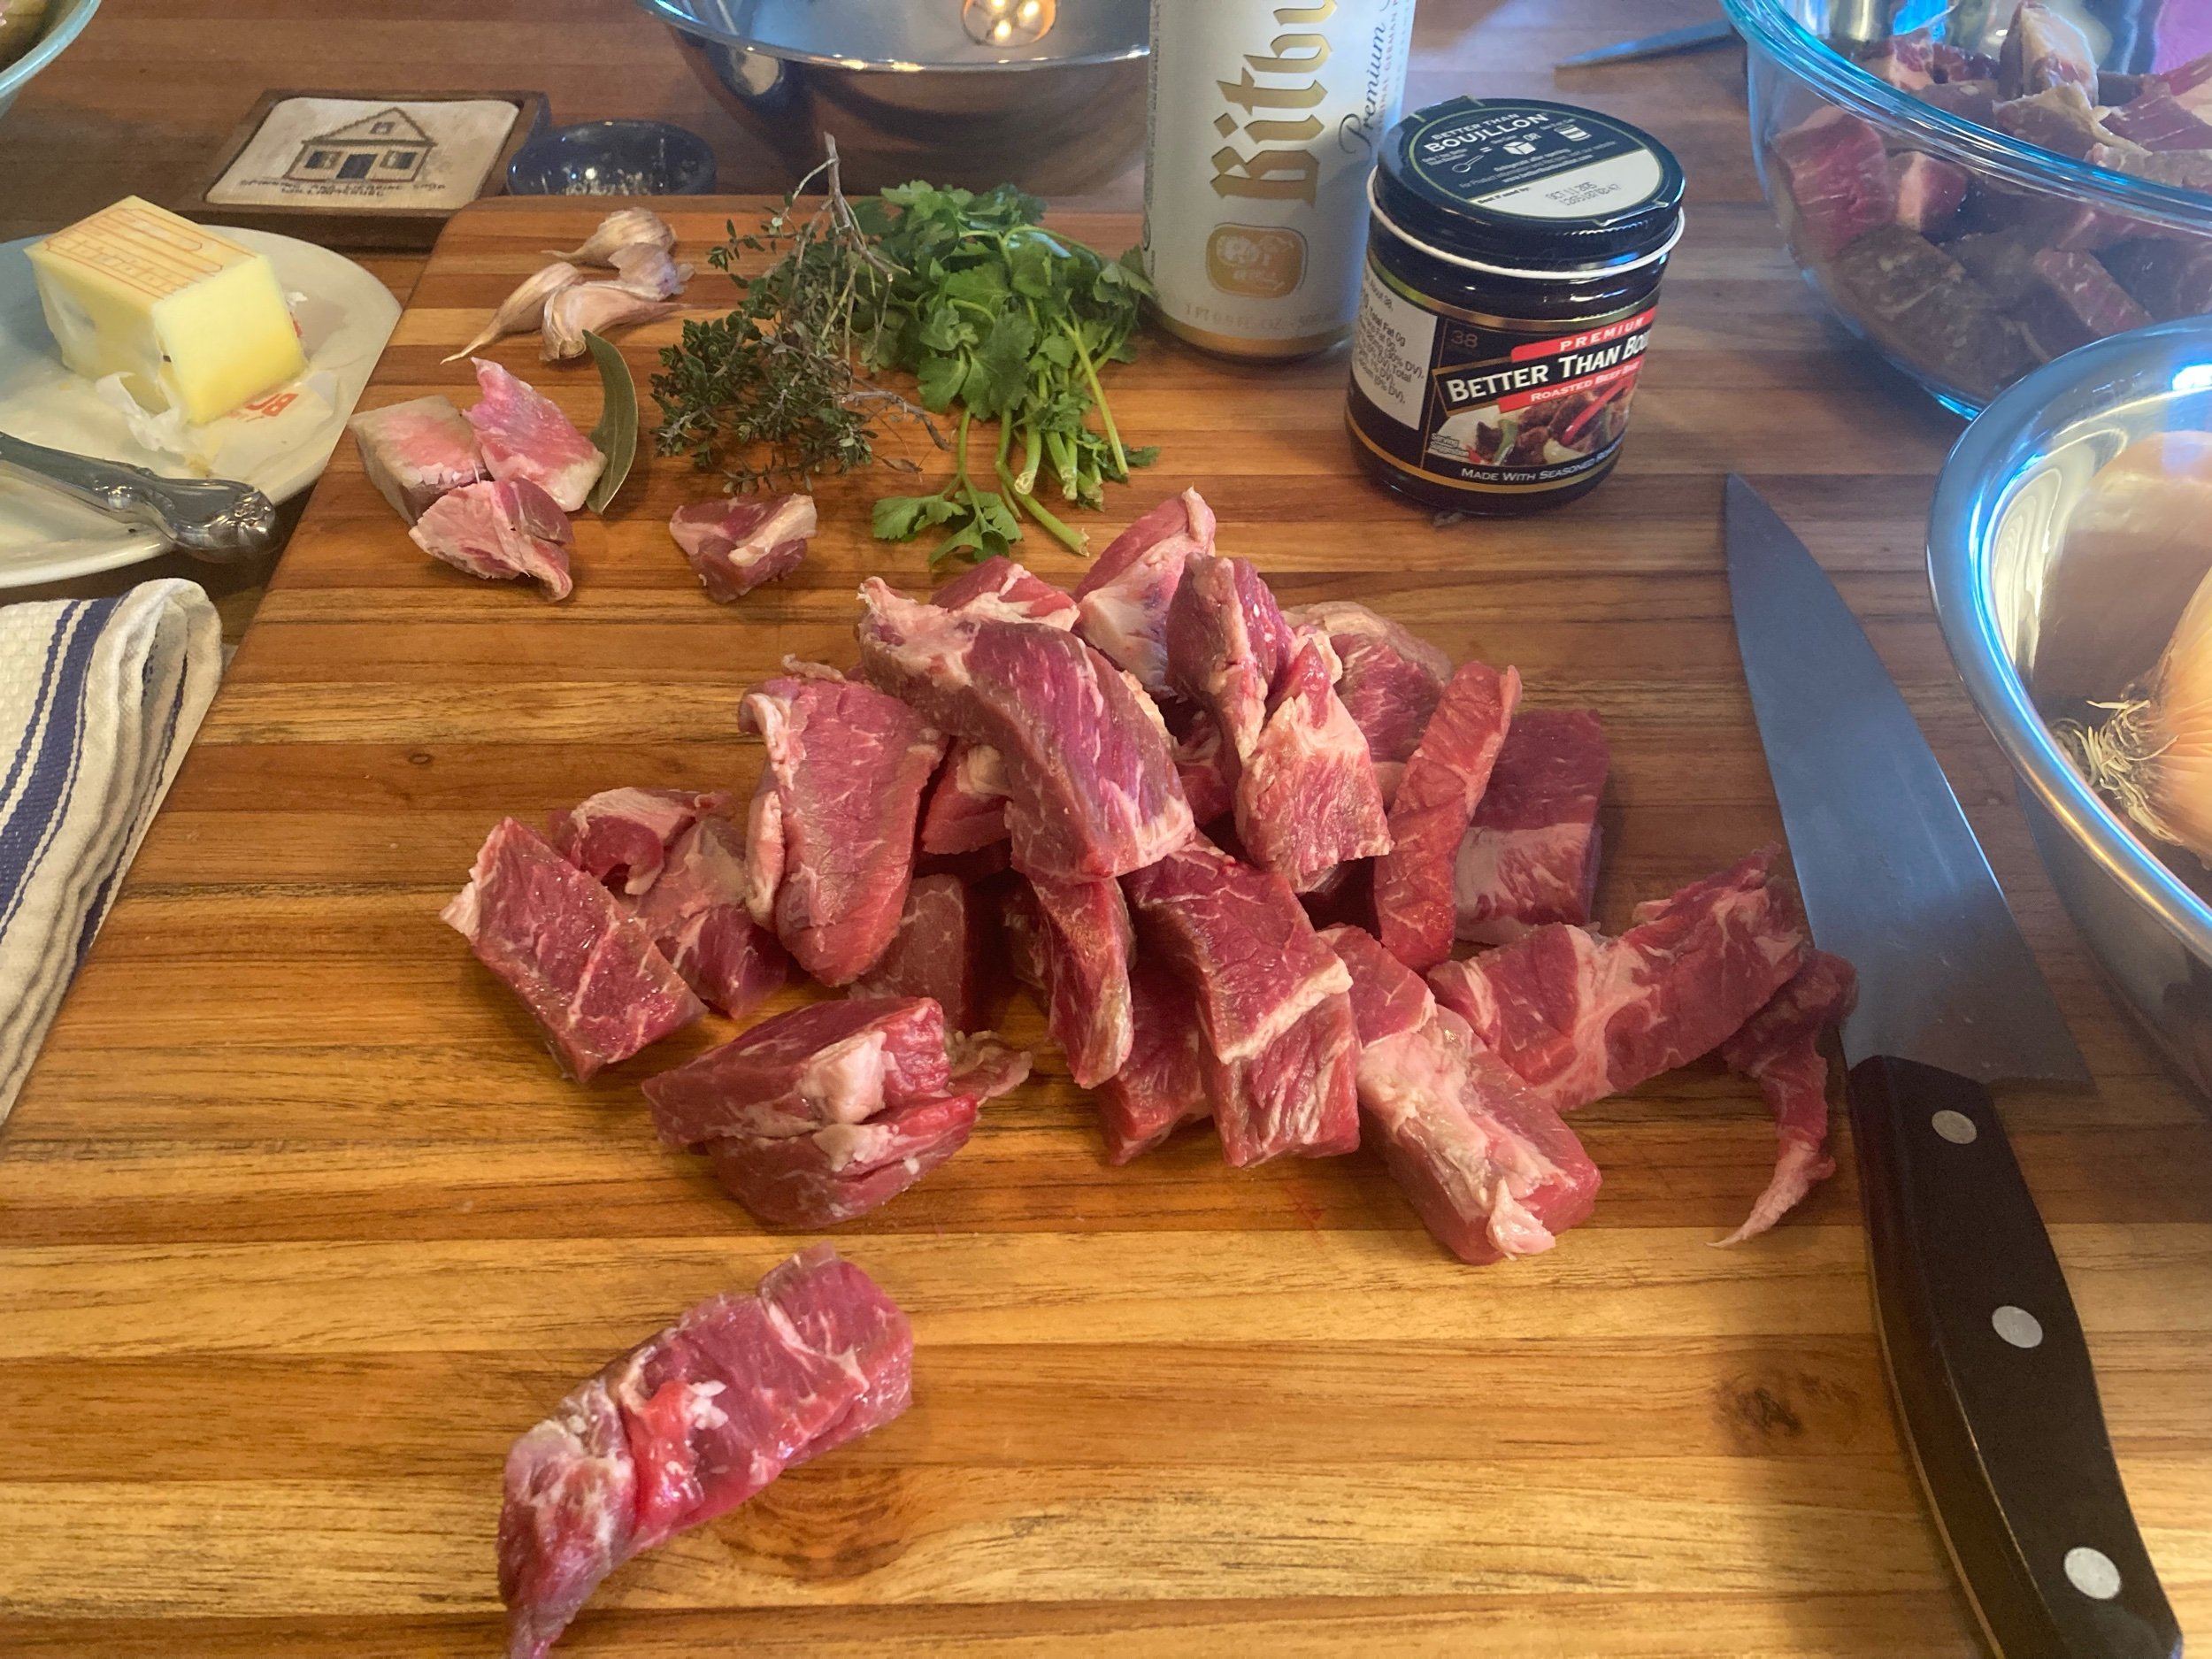
2 ½ lbs beef stew meat or chuck cut into 1 ½” chunks**
2 teaspoons salt, plus more to taste
1 ½ teaspoons black pepper
4-5 sprigs fresh thyme
2 Tablespoons all-purpose flour
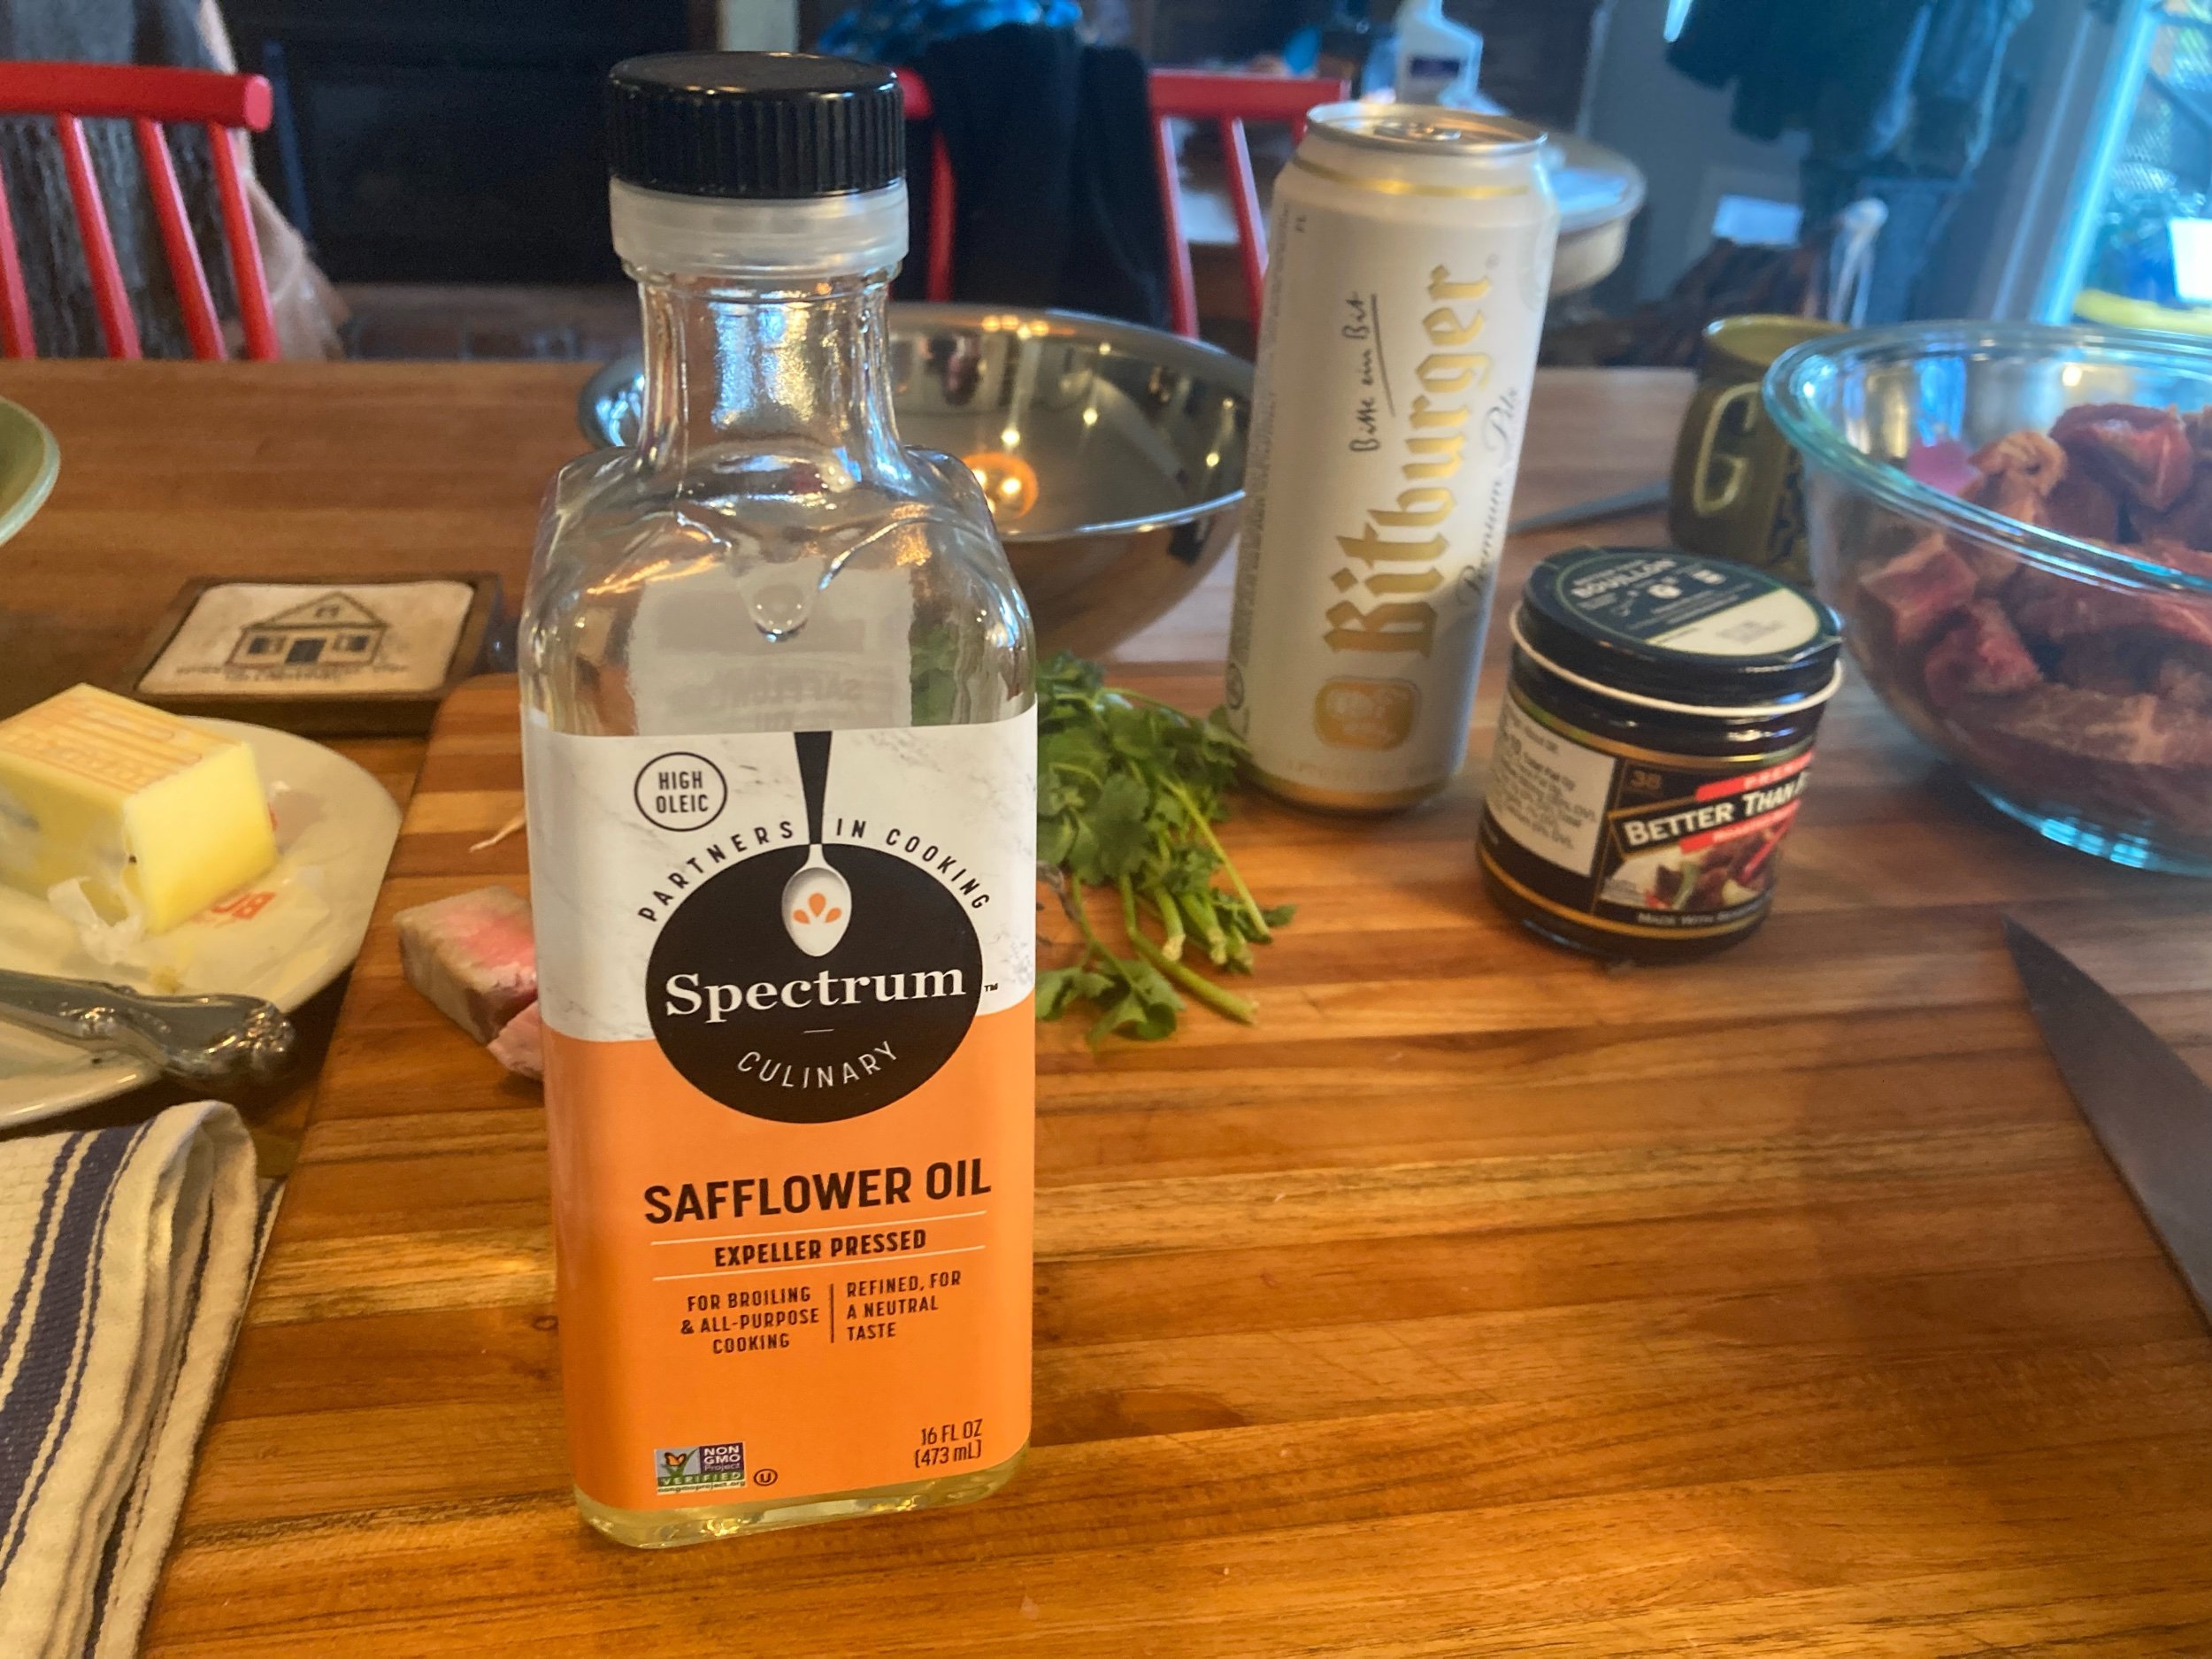
1 Tablespoon olive oil, if needed
2 yellow onions, halved and sliced
3 carrots, cut into ½” thick slices
4 garlic cloves, crushed
1 lb cremini mushrooms cut into ¼” slices
1 bottle red wine
1 cup beef broth (or one additional cup of wine)
1 tablespoon tomato paste
2-3 bay leaves
Minced parsley for garnish
Serve with mashed potatoes, noodles, or rice
*Tipton-Martin calls for fresh, but I’ve said it before and I’ll say it again, Ina Garten says I can use frozen, so I’ll never peel another flipping pearl onion for a stew again. I only had 9 oz left of a bag, so in it went.
**I bought pre-cut stew meat which was in smaller pieces, and next time I make this I will buy chuck roast and cut it myself into larger chunks, closer to the 1 ½” recommended in the recipe. I think the larger pieces would be better, not to mention easier to brown.


Directions
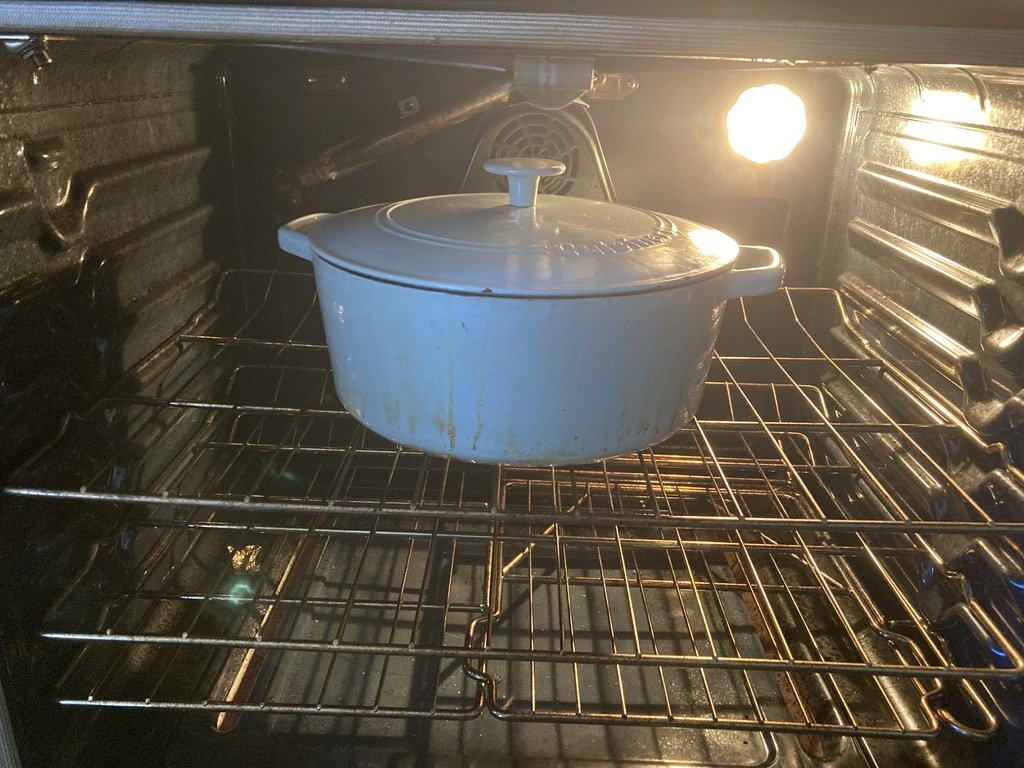
Preheat oven to 350 F.
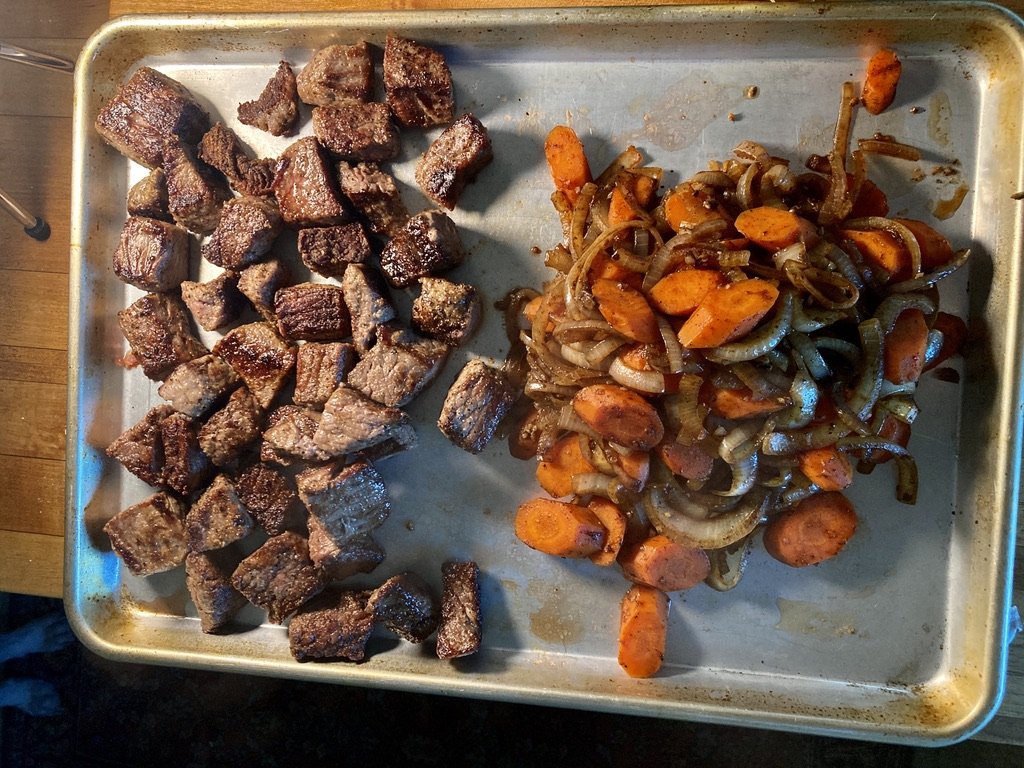
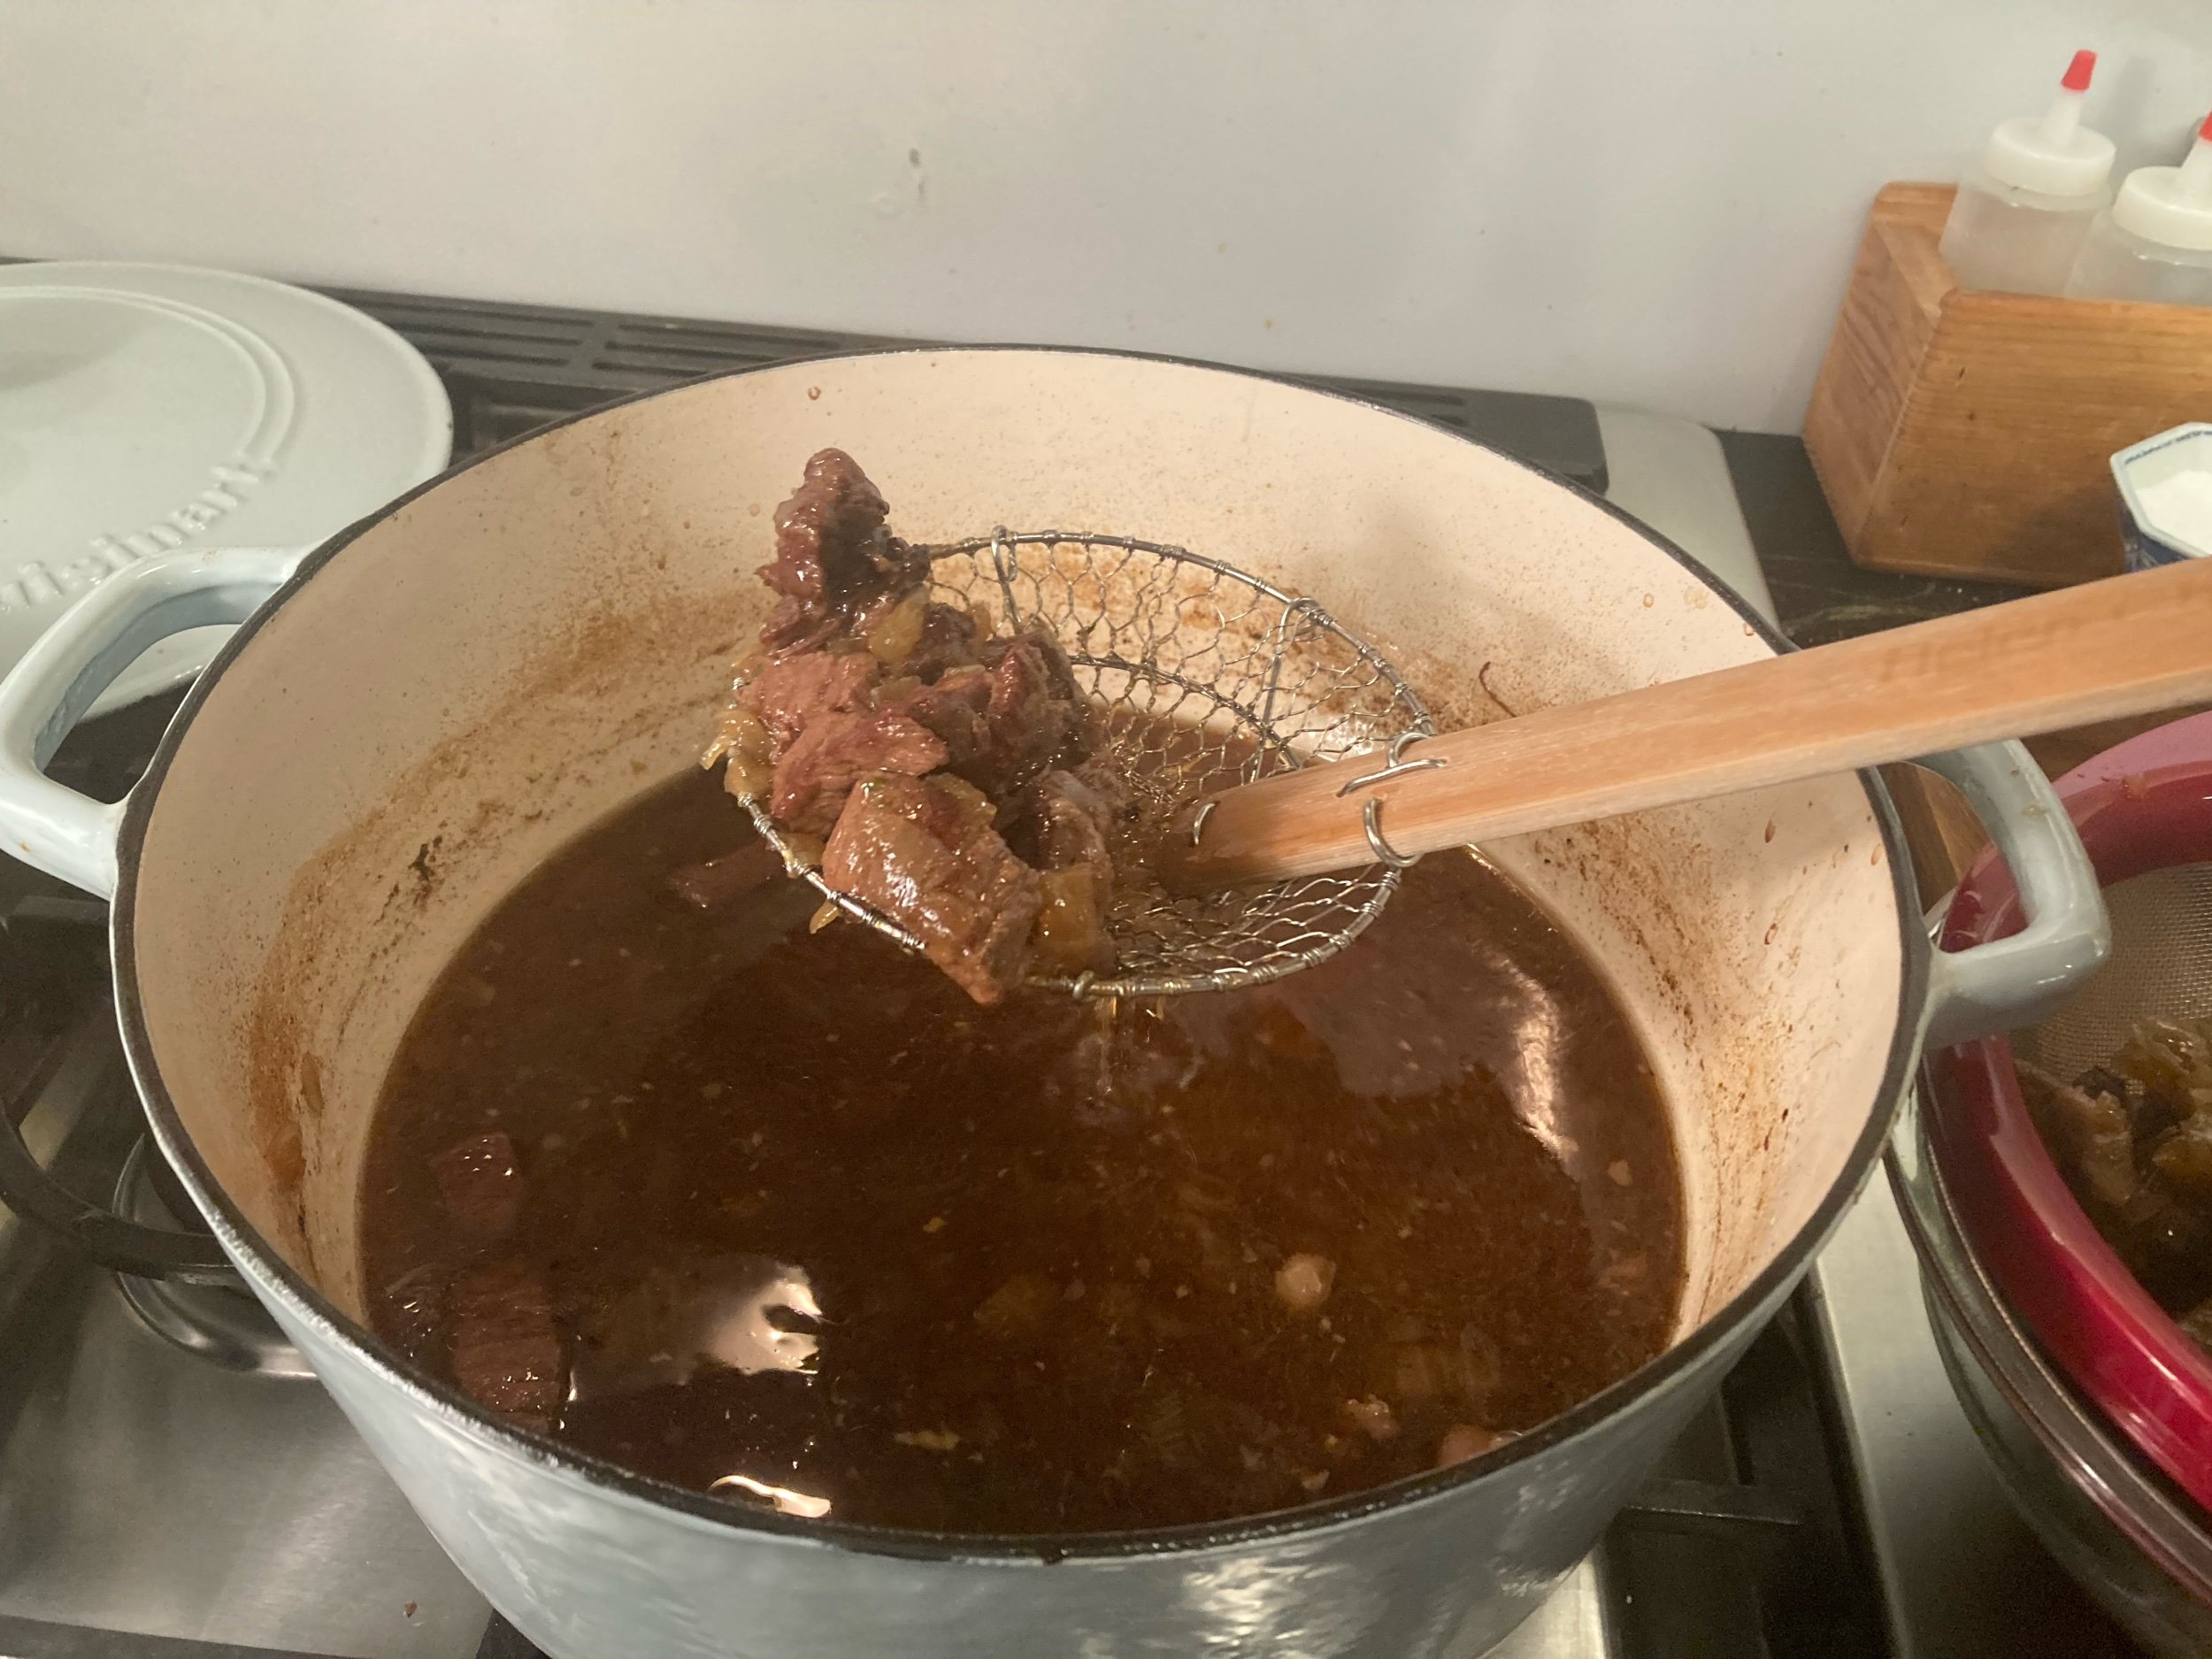
Heat a large Dutch oven, cook the bacon over medium heat until crip, about 7-10 minutes. Remove bacon with a slotted spoon, leaving the drippings in the pan.
Pat the meat dry with paper towels. Combine salt, pepper, and flour and toss the beef cubes with the seasoned flour to coat.


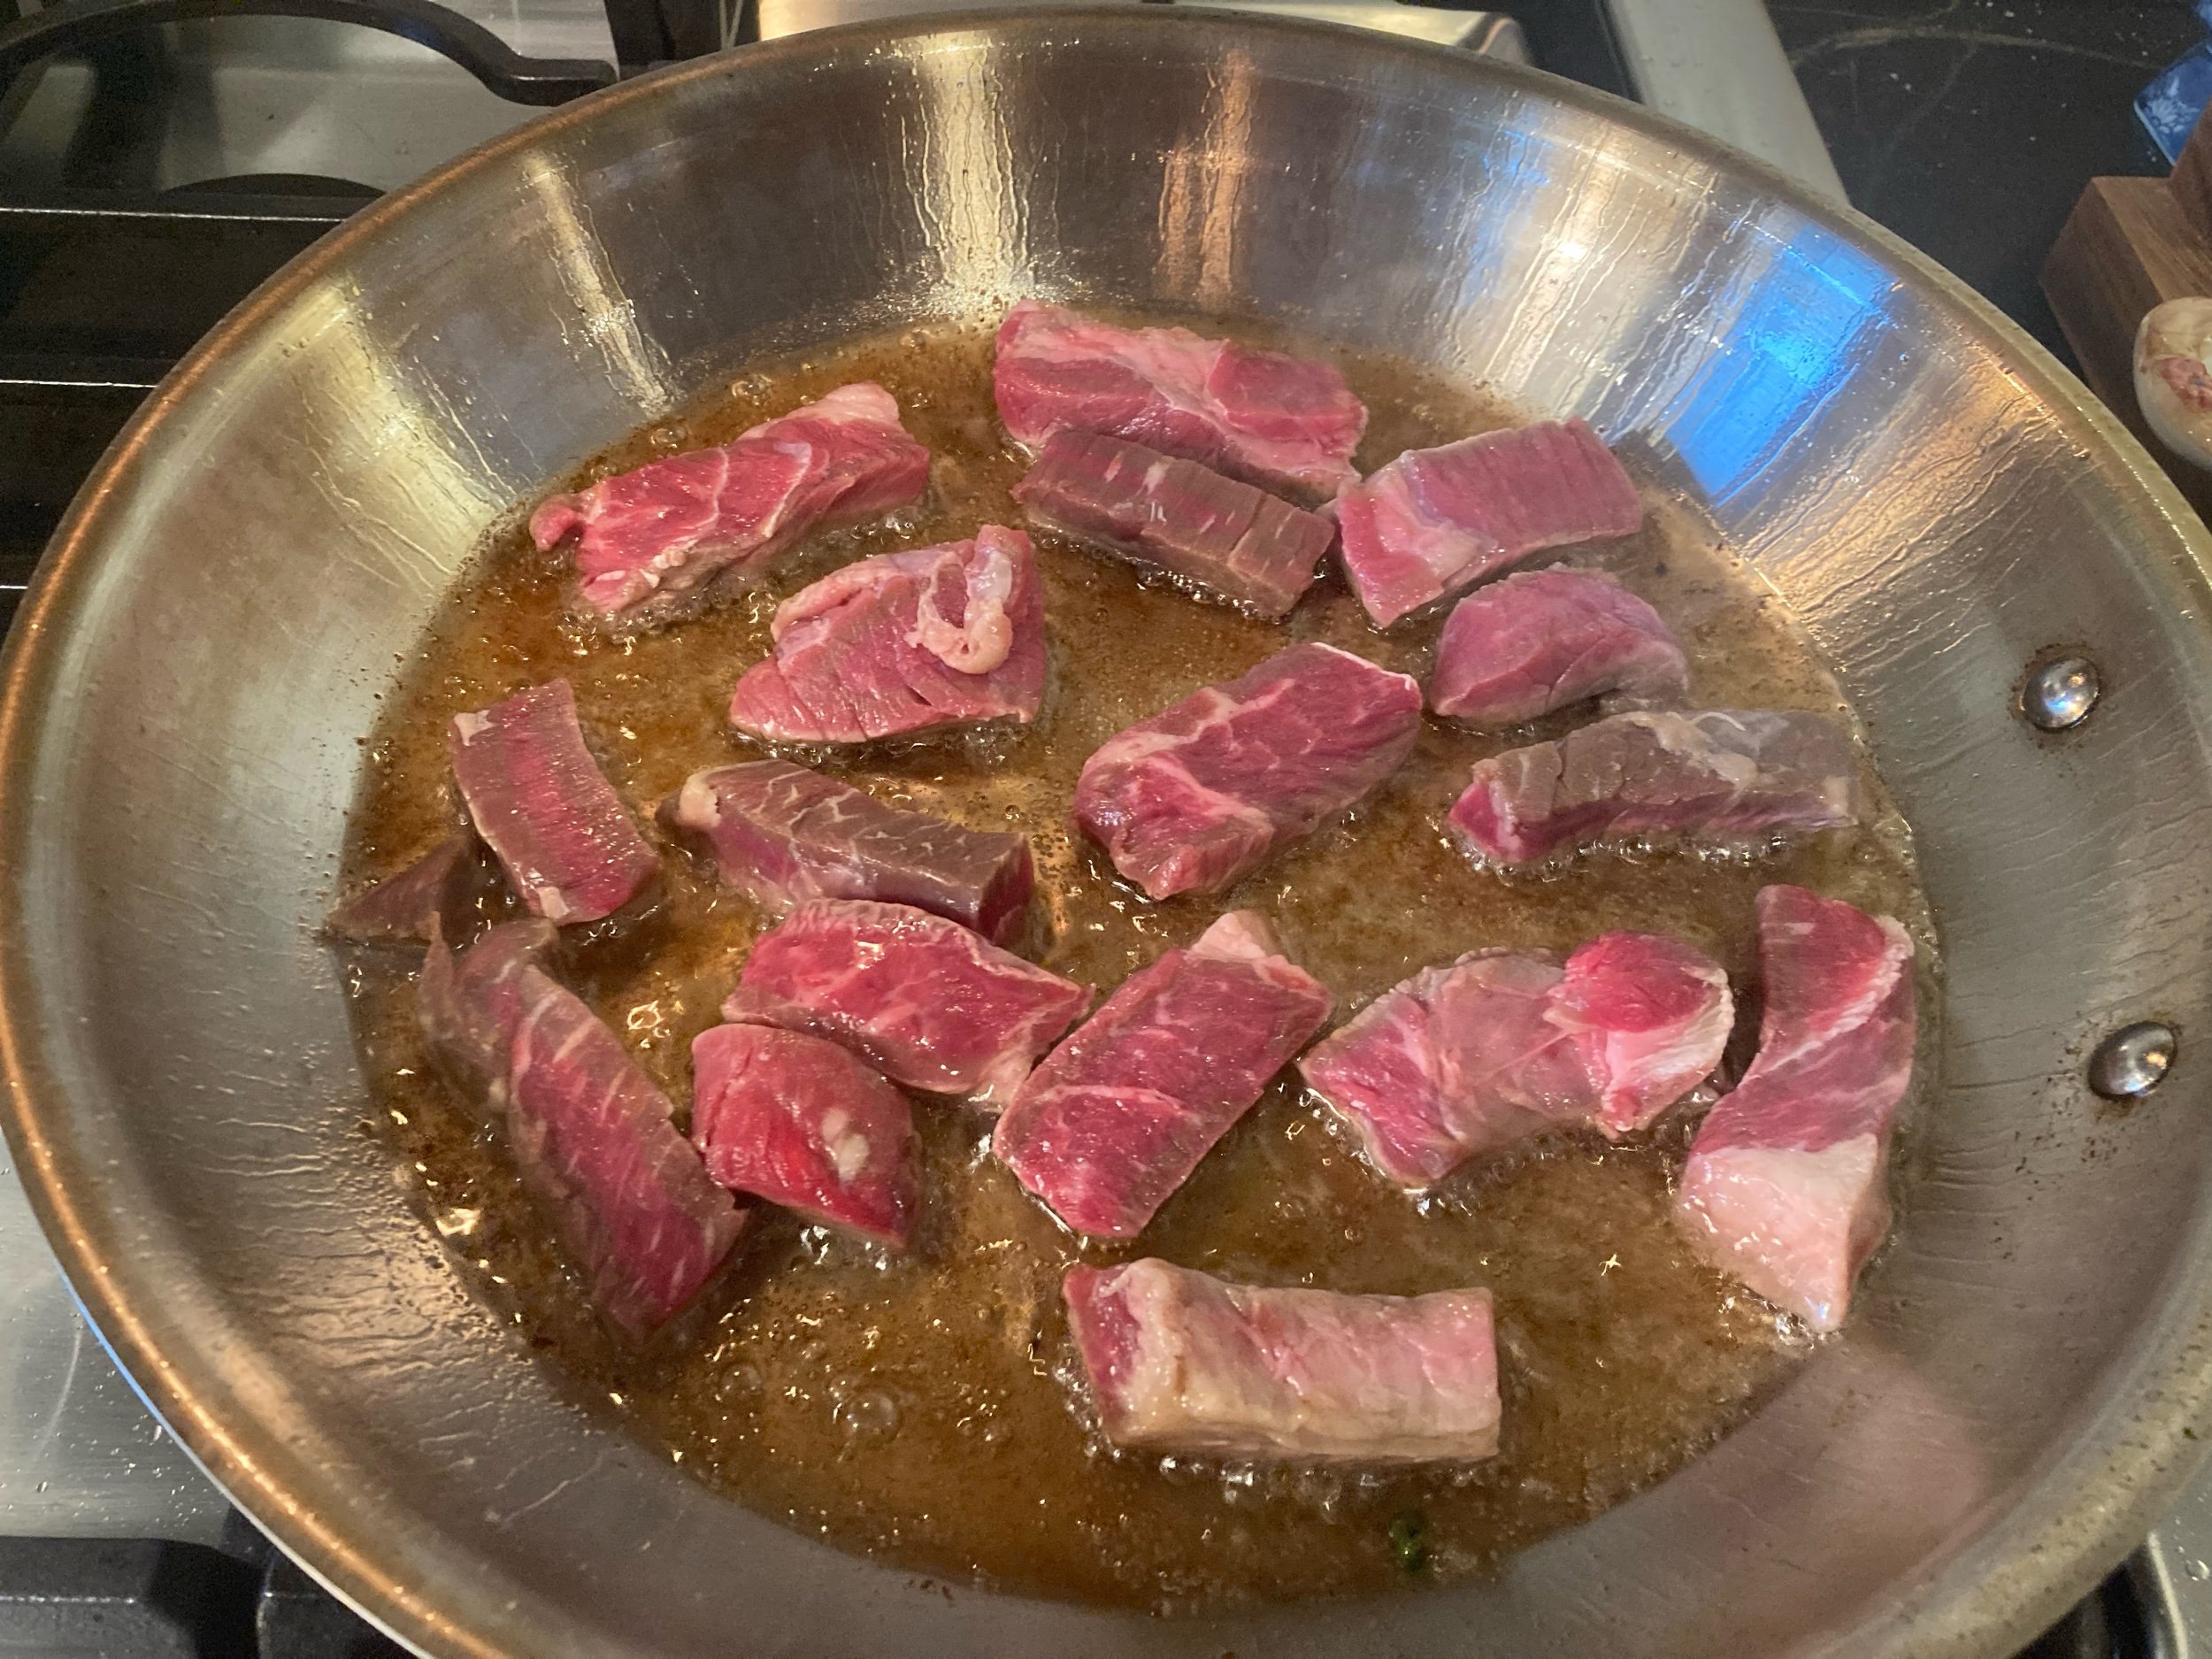
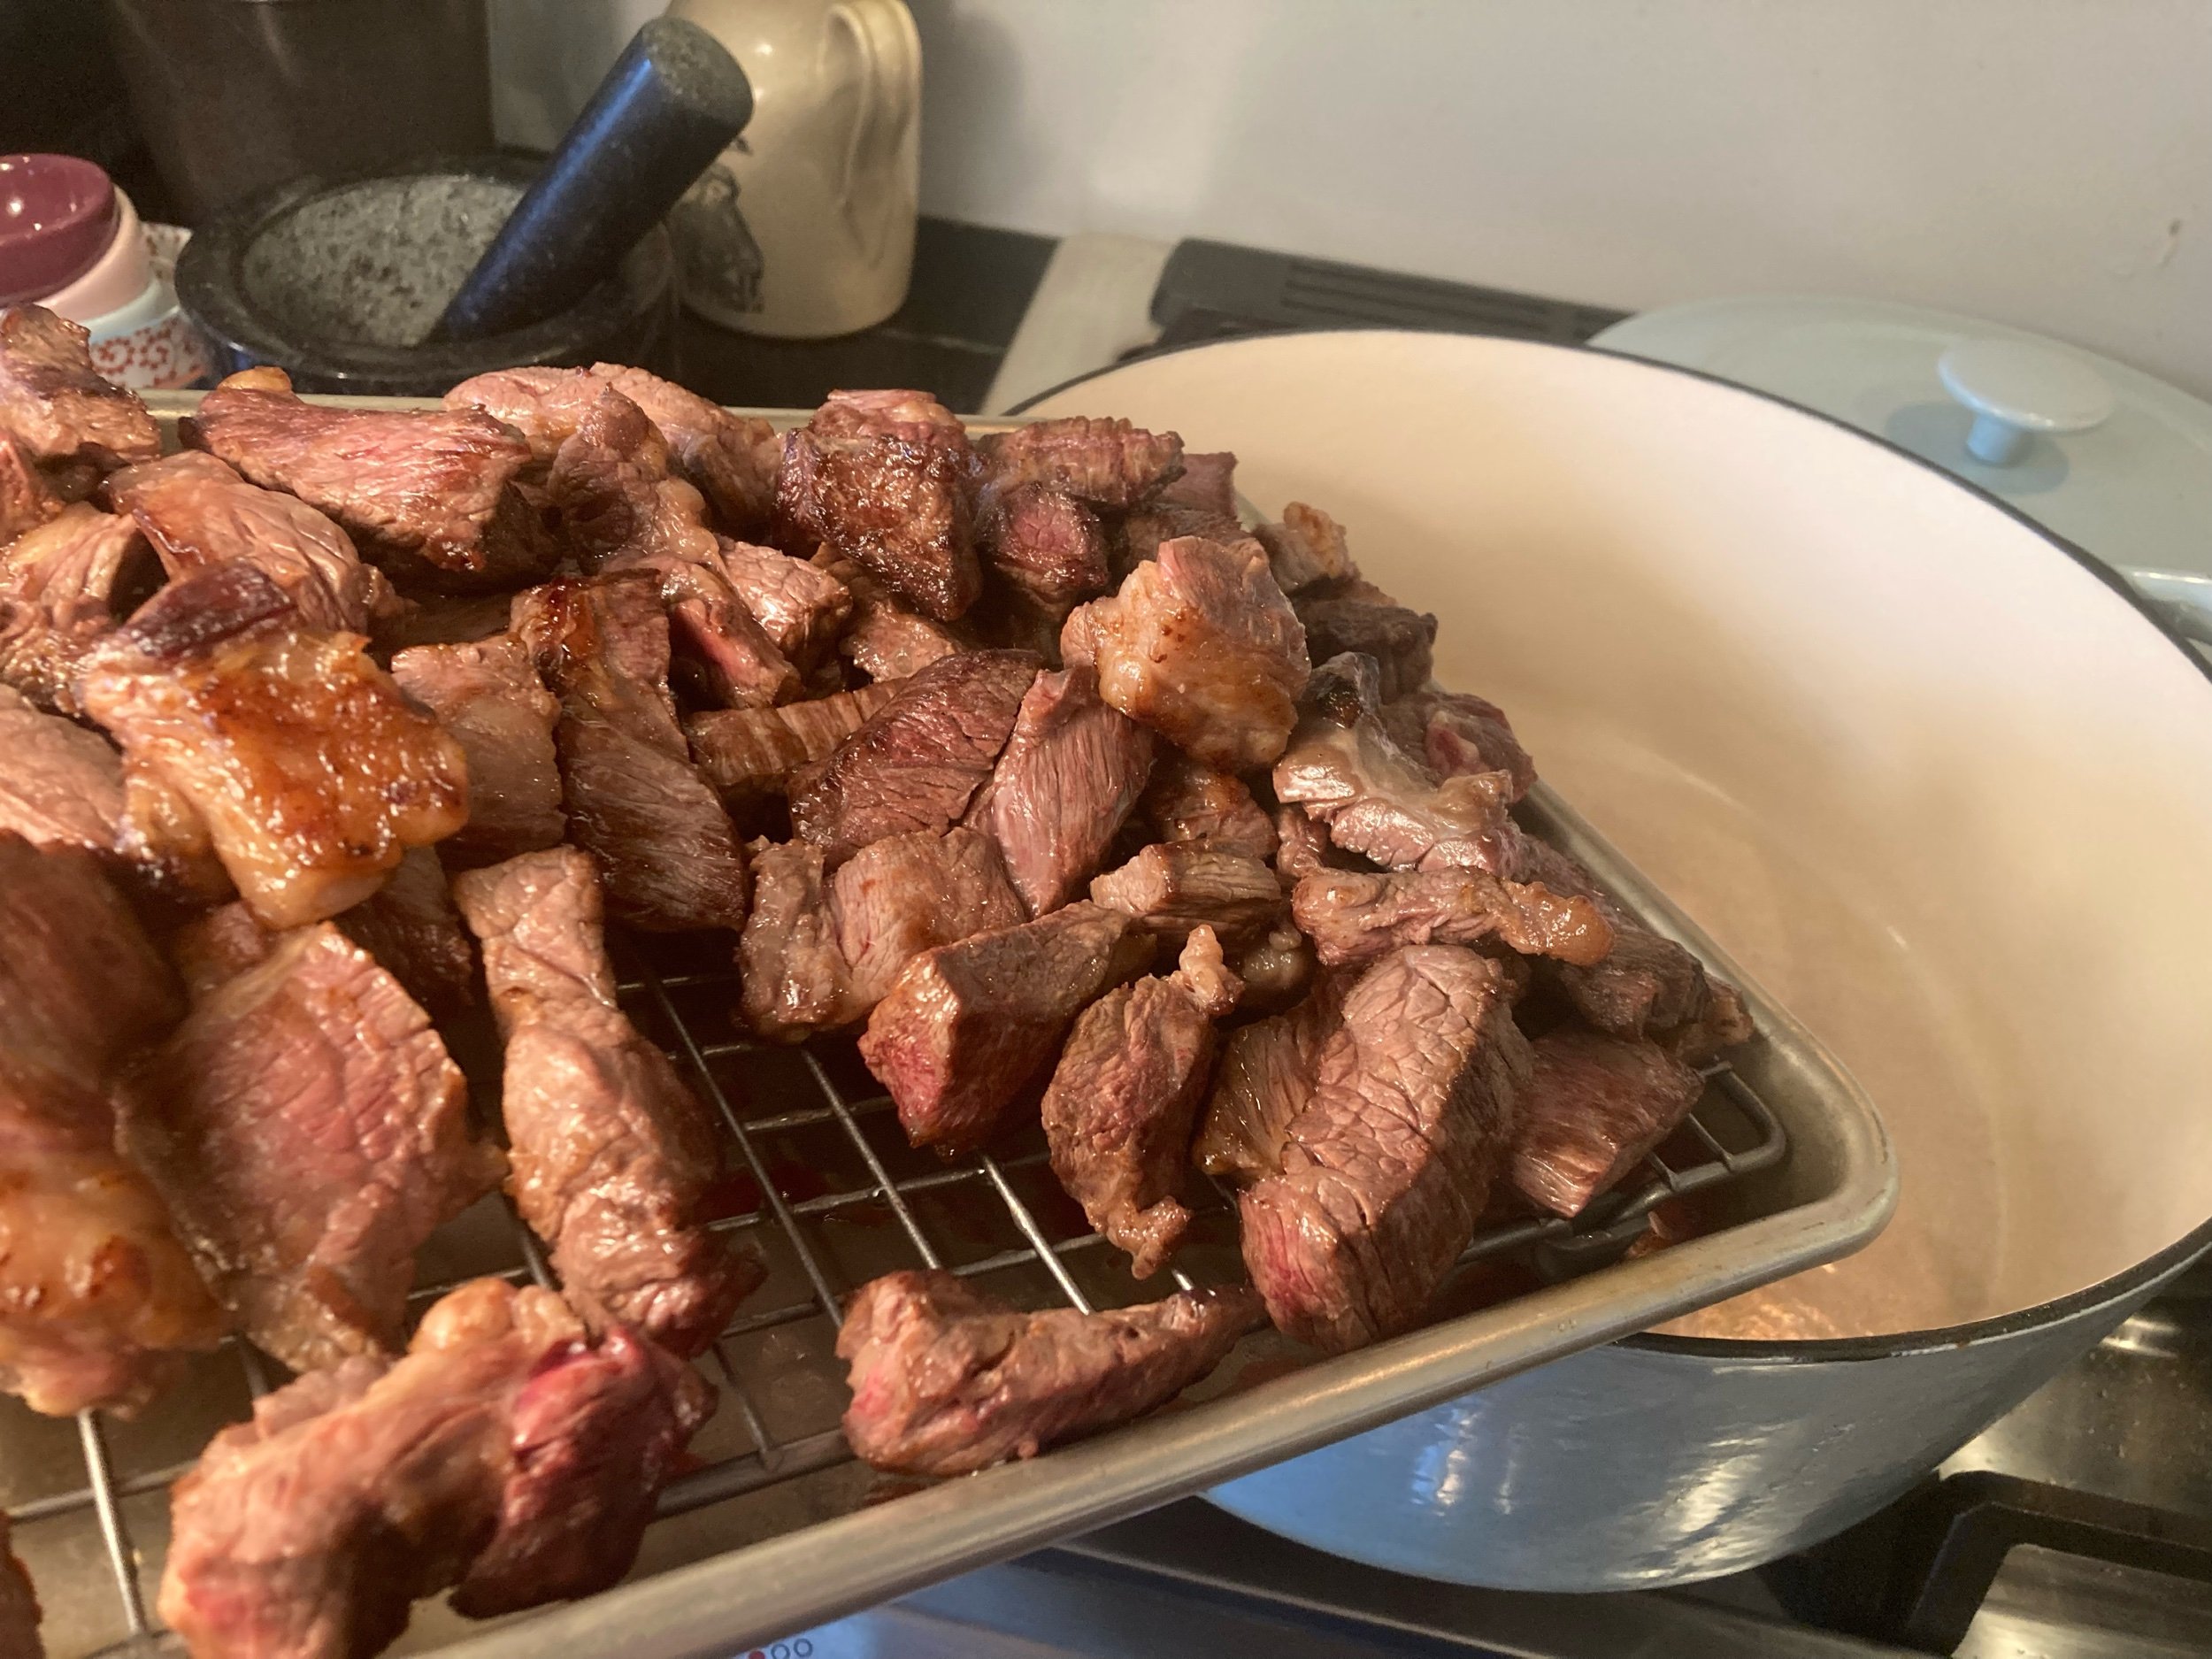
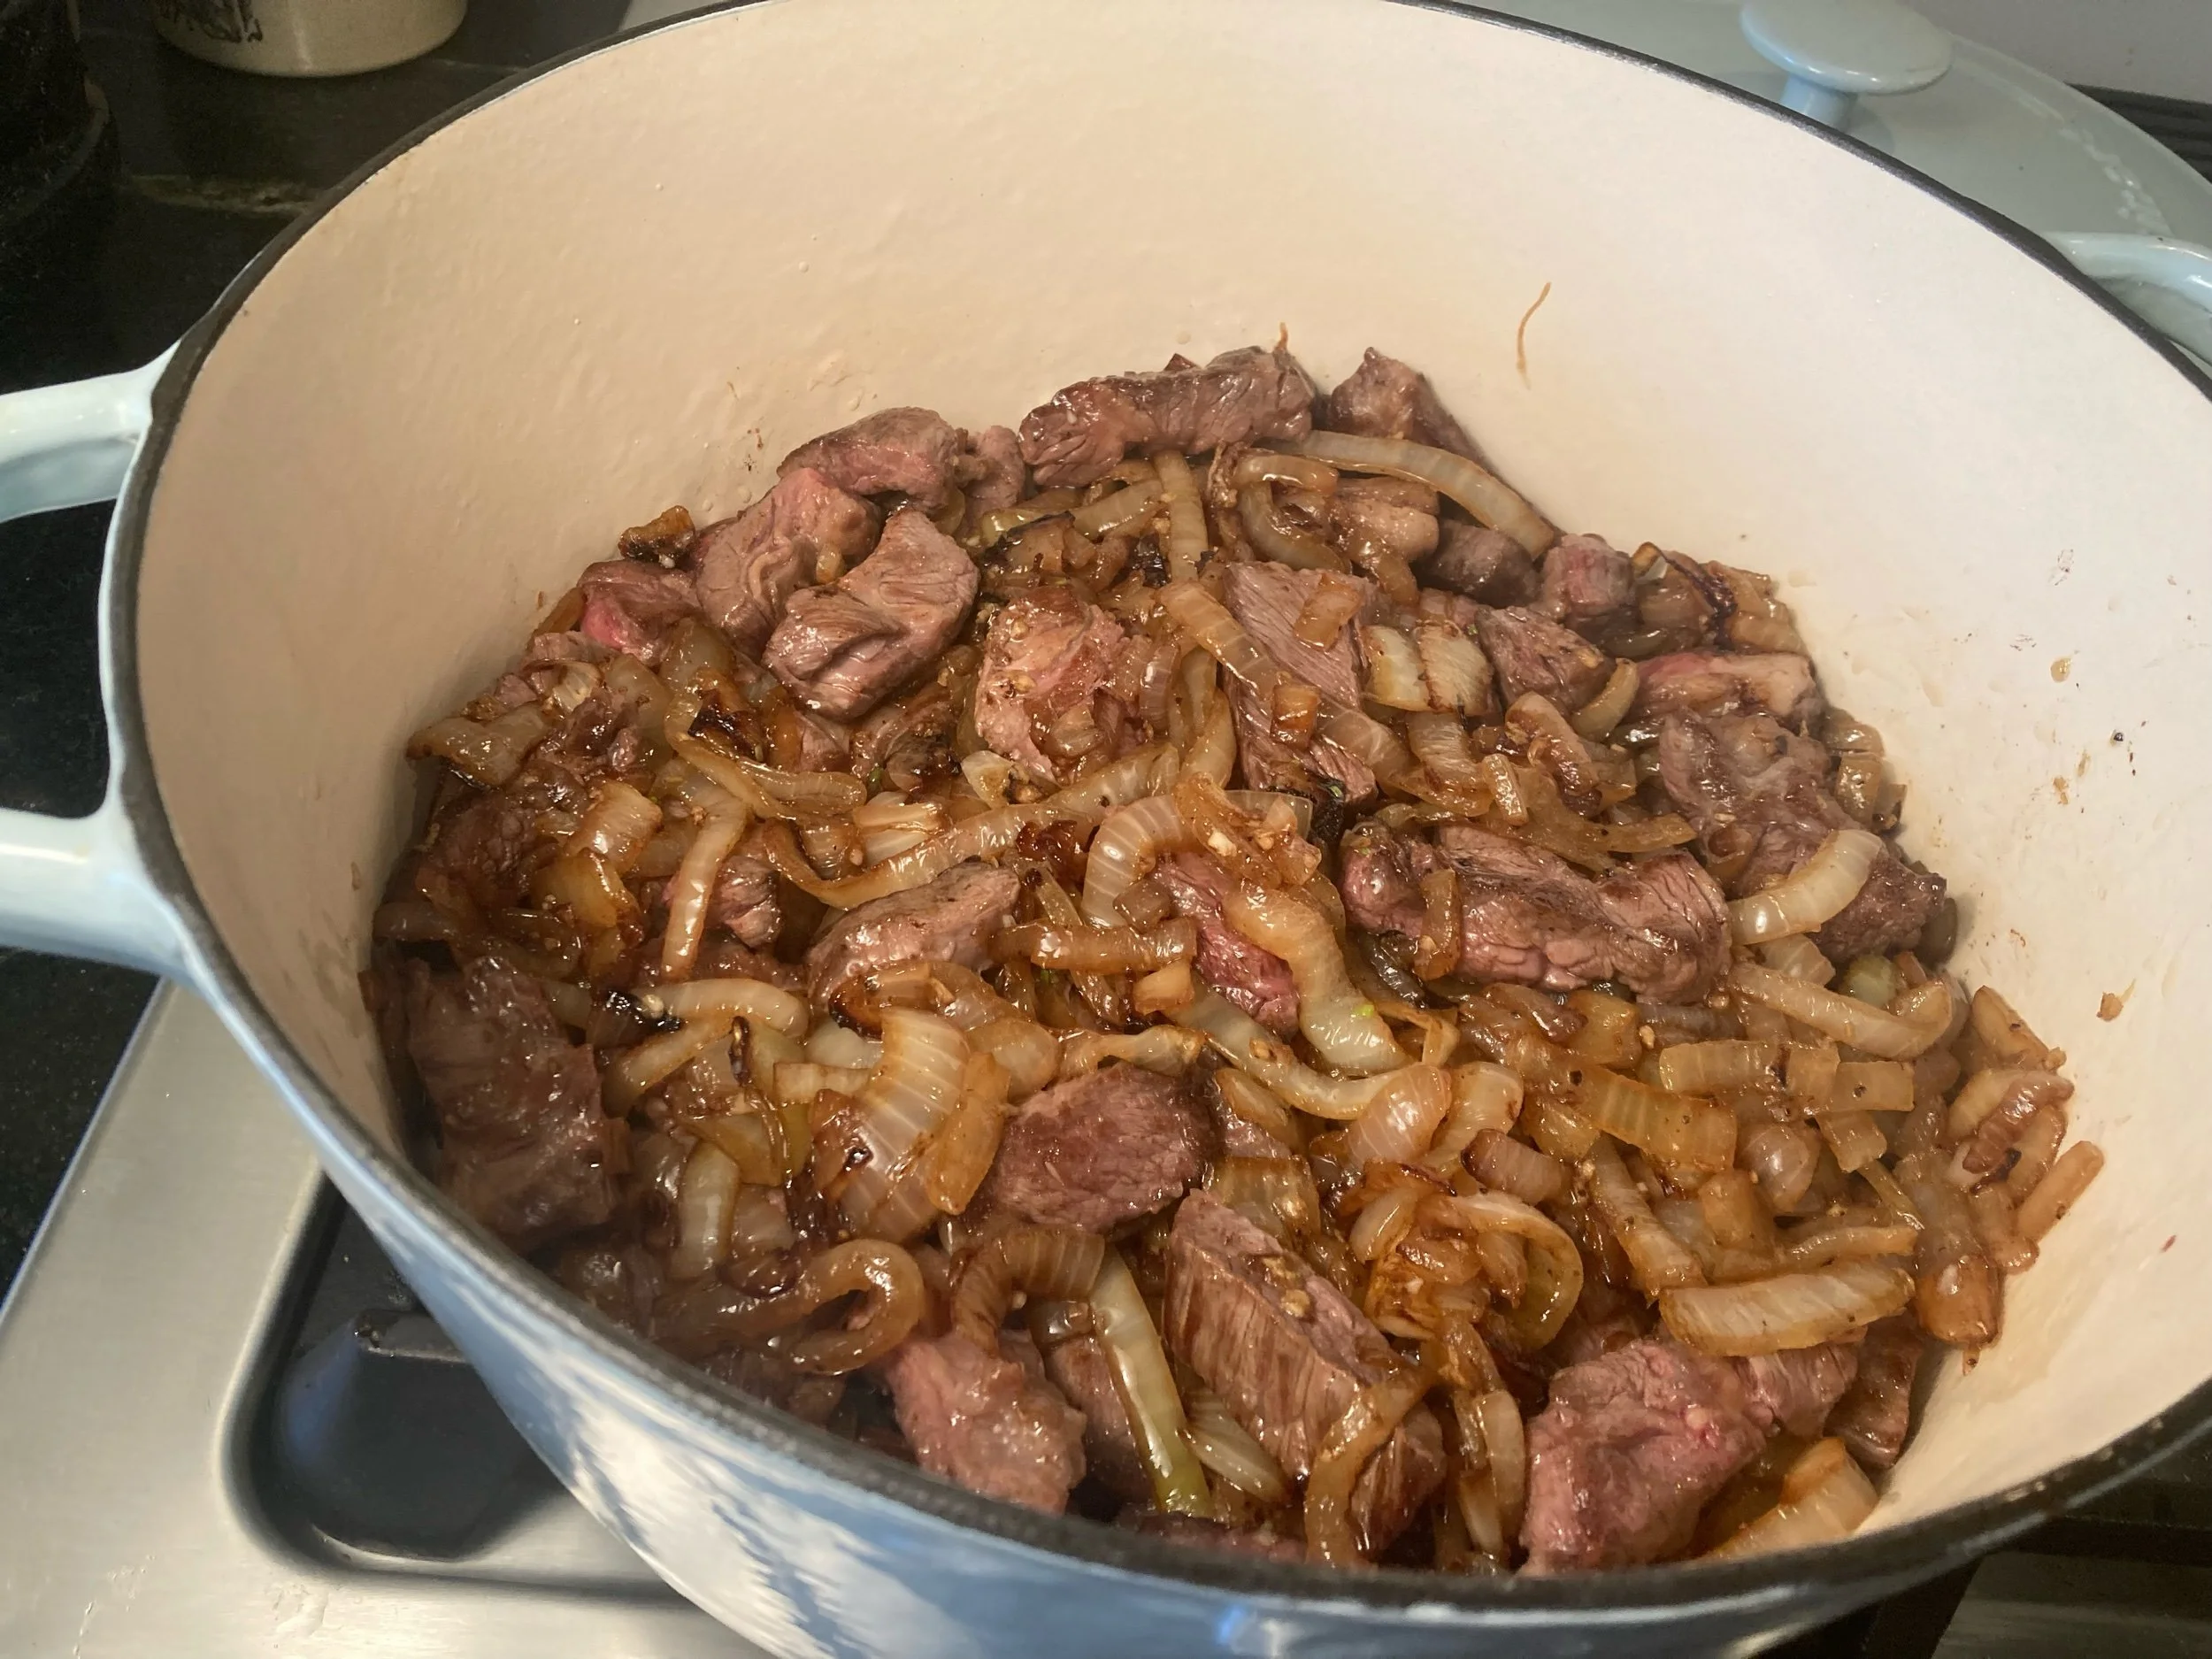
Back in your Dutch oven, turn up your heat a little to med-high heat. Add the meat to the pan in batches, being careful not to crowd the pan. Sear and turn beef until deeply brown on all sides. Remove with slotted spoon and set aside.

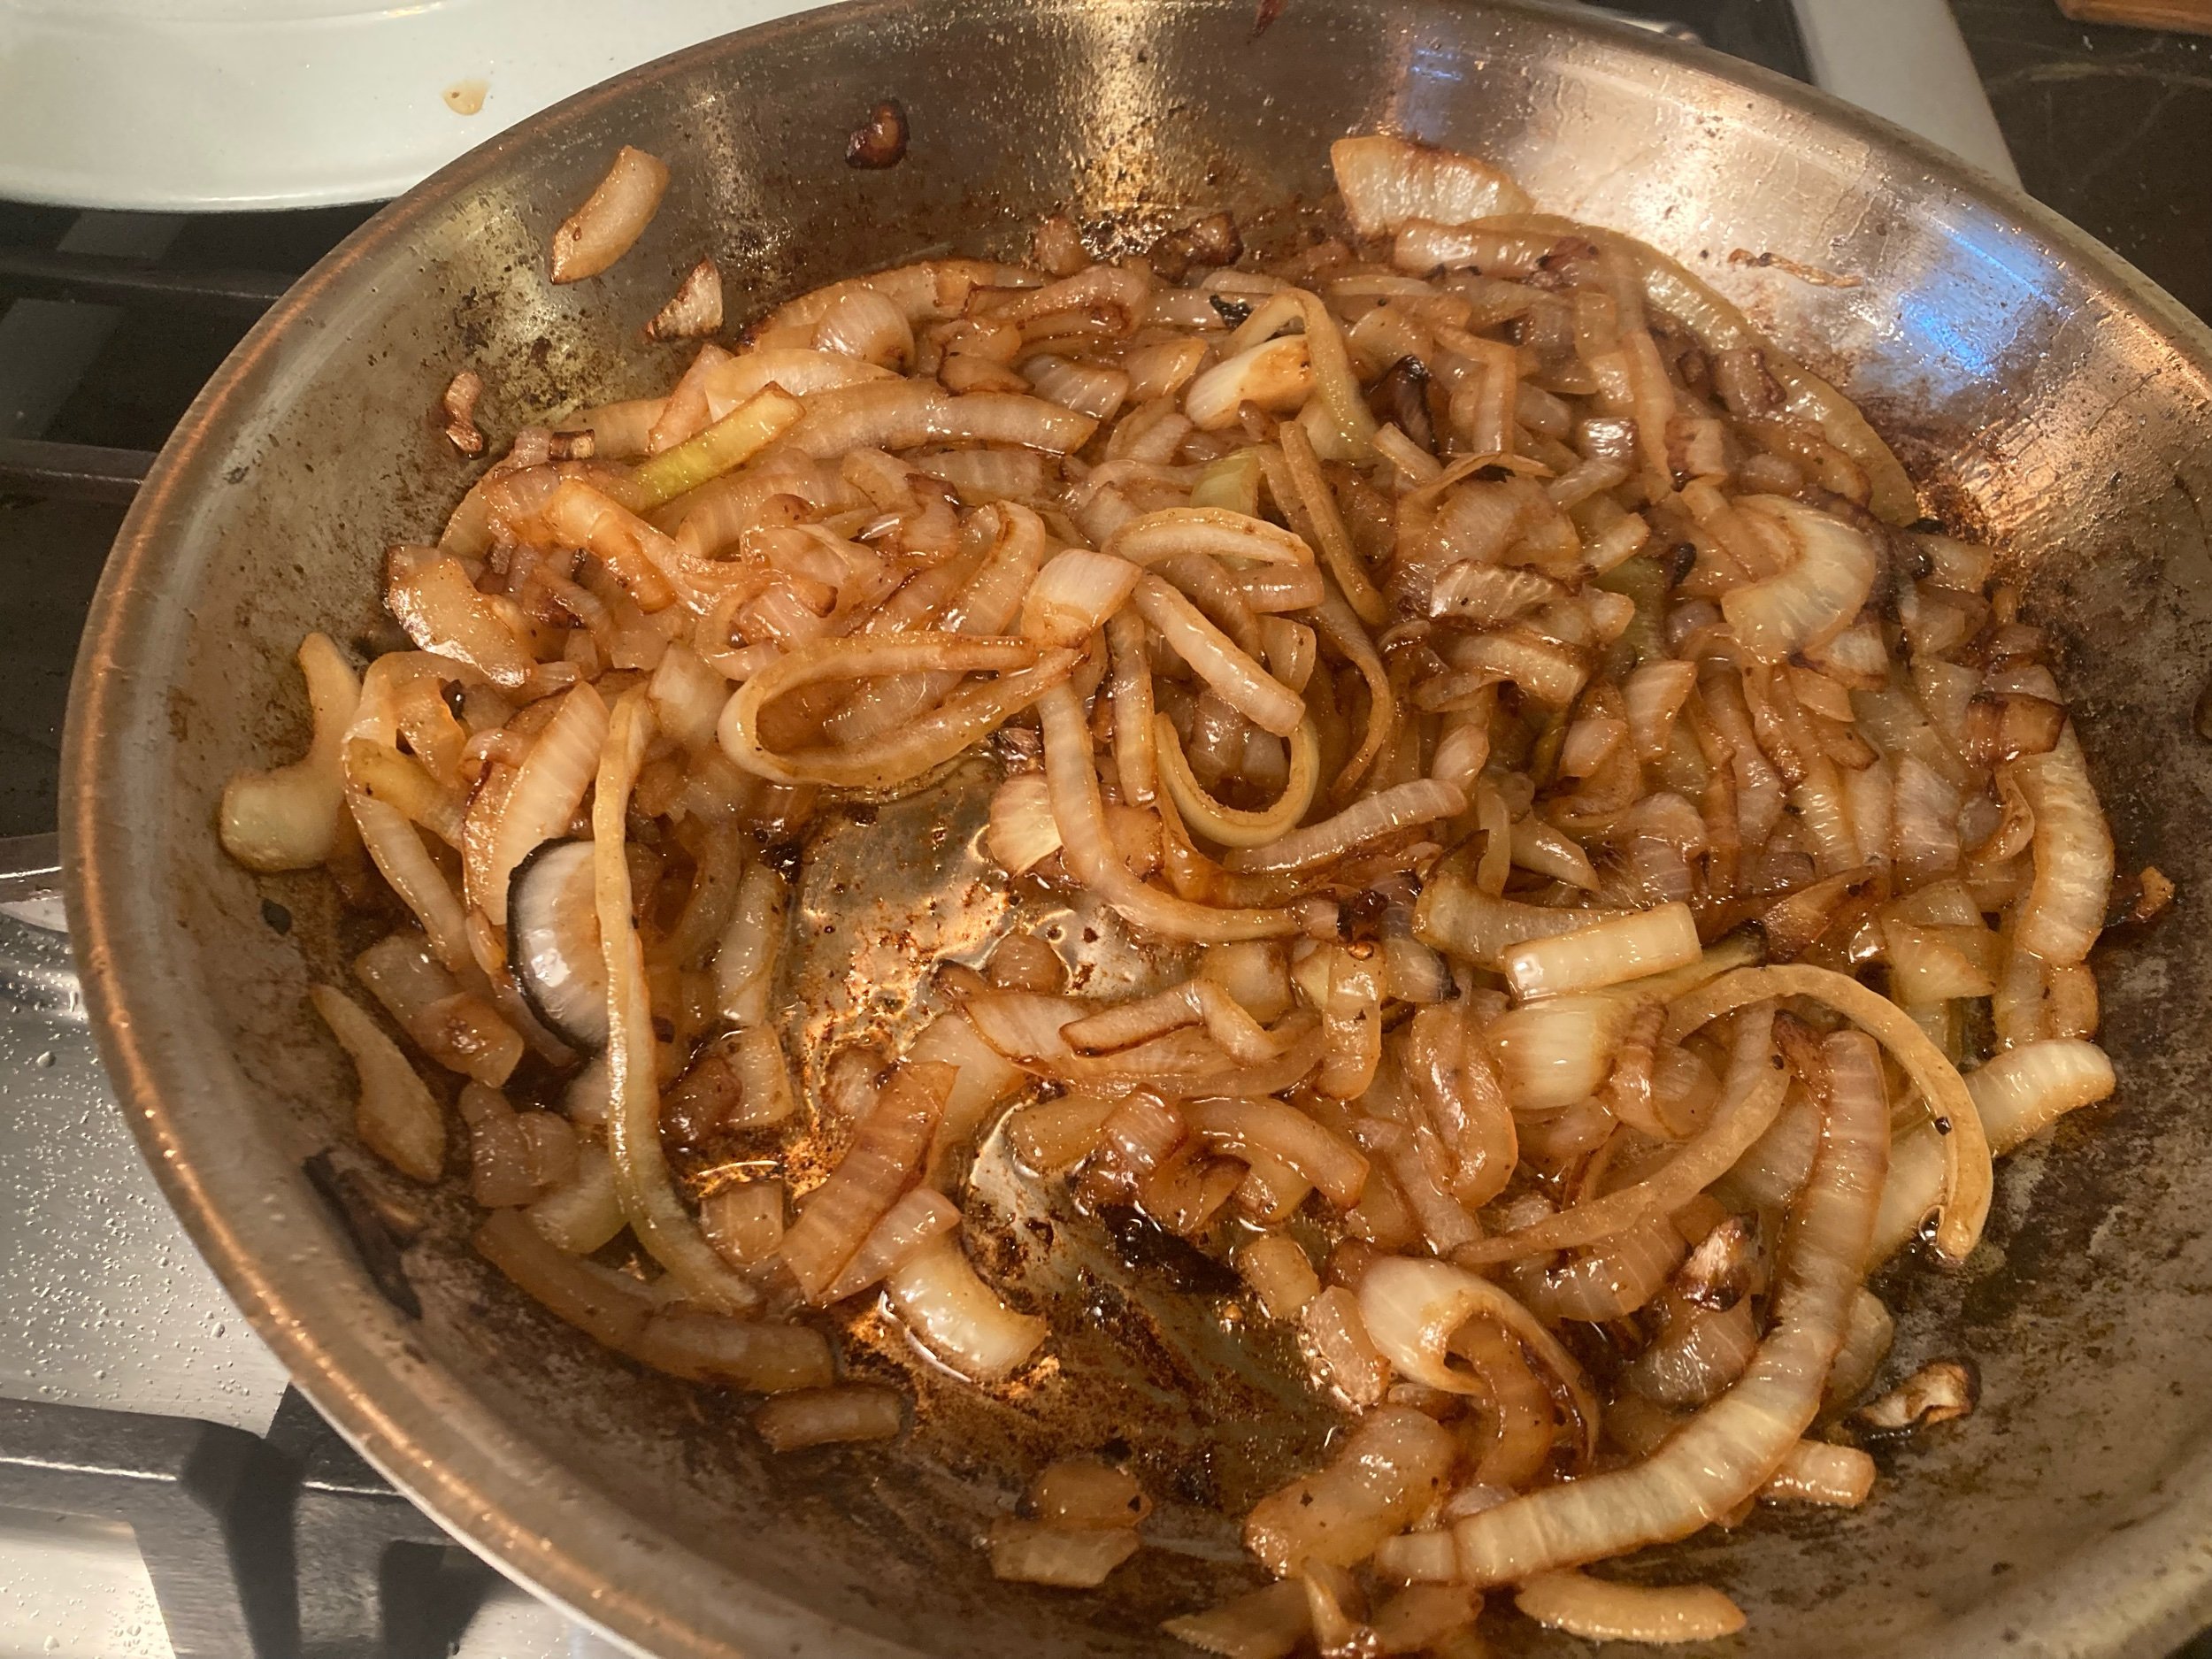
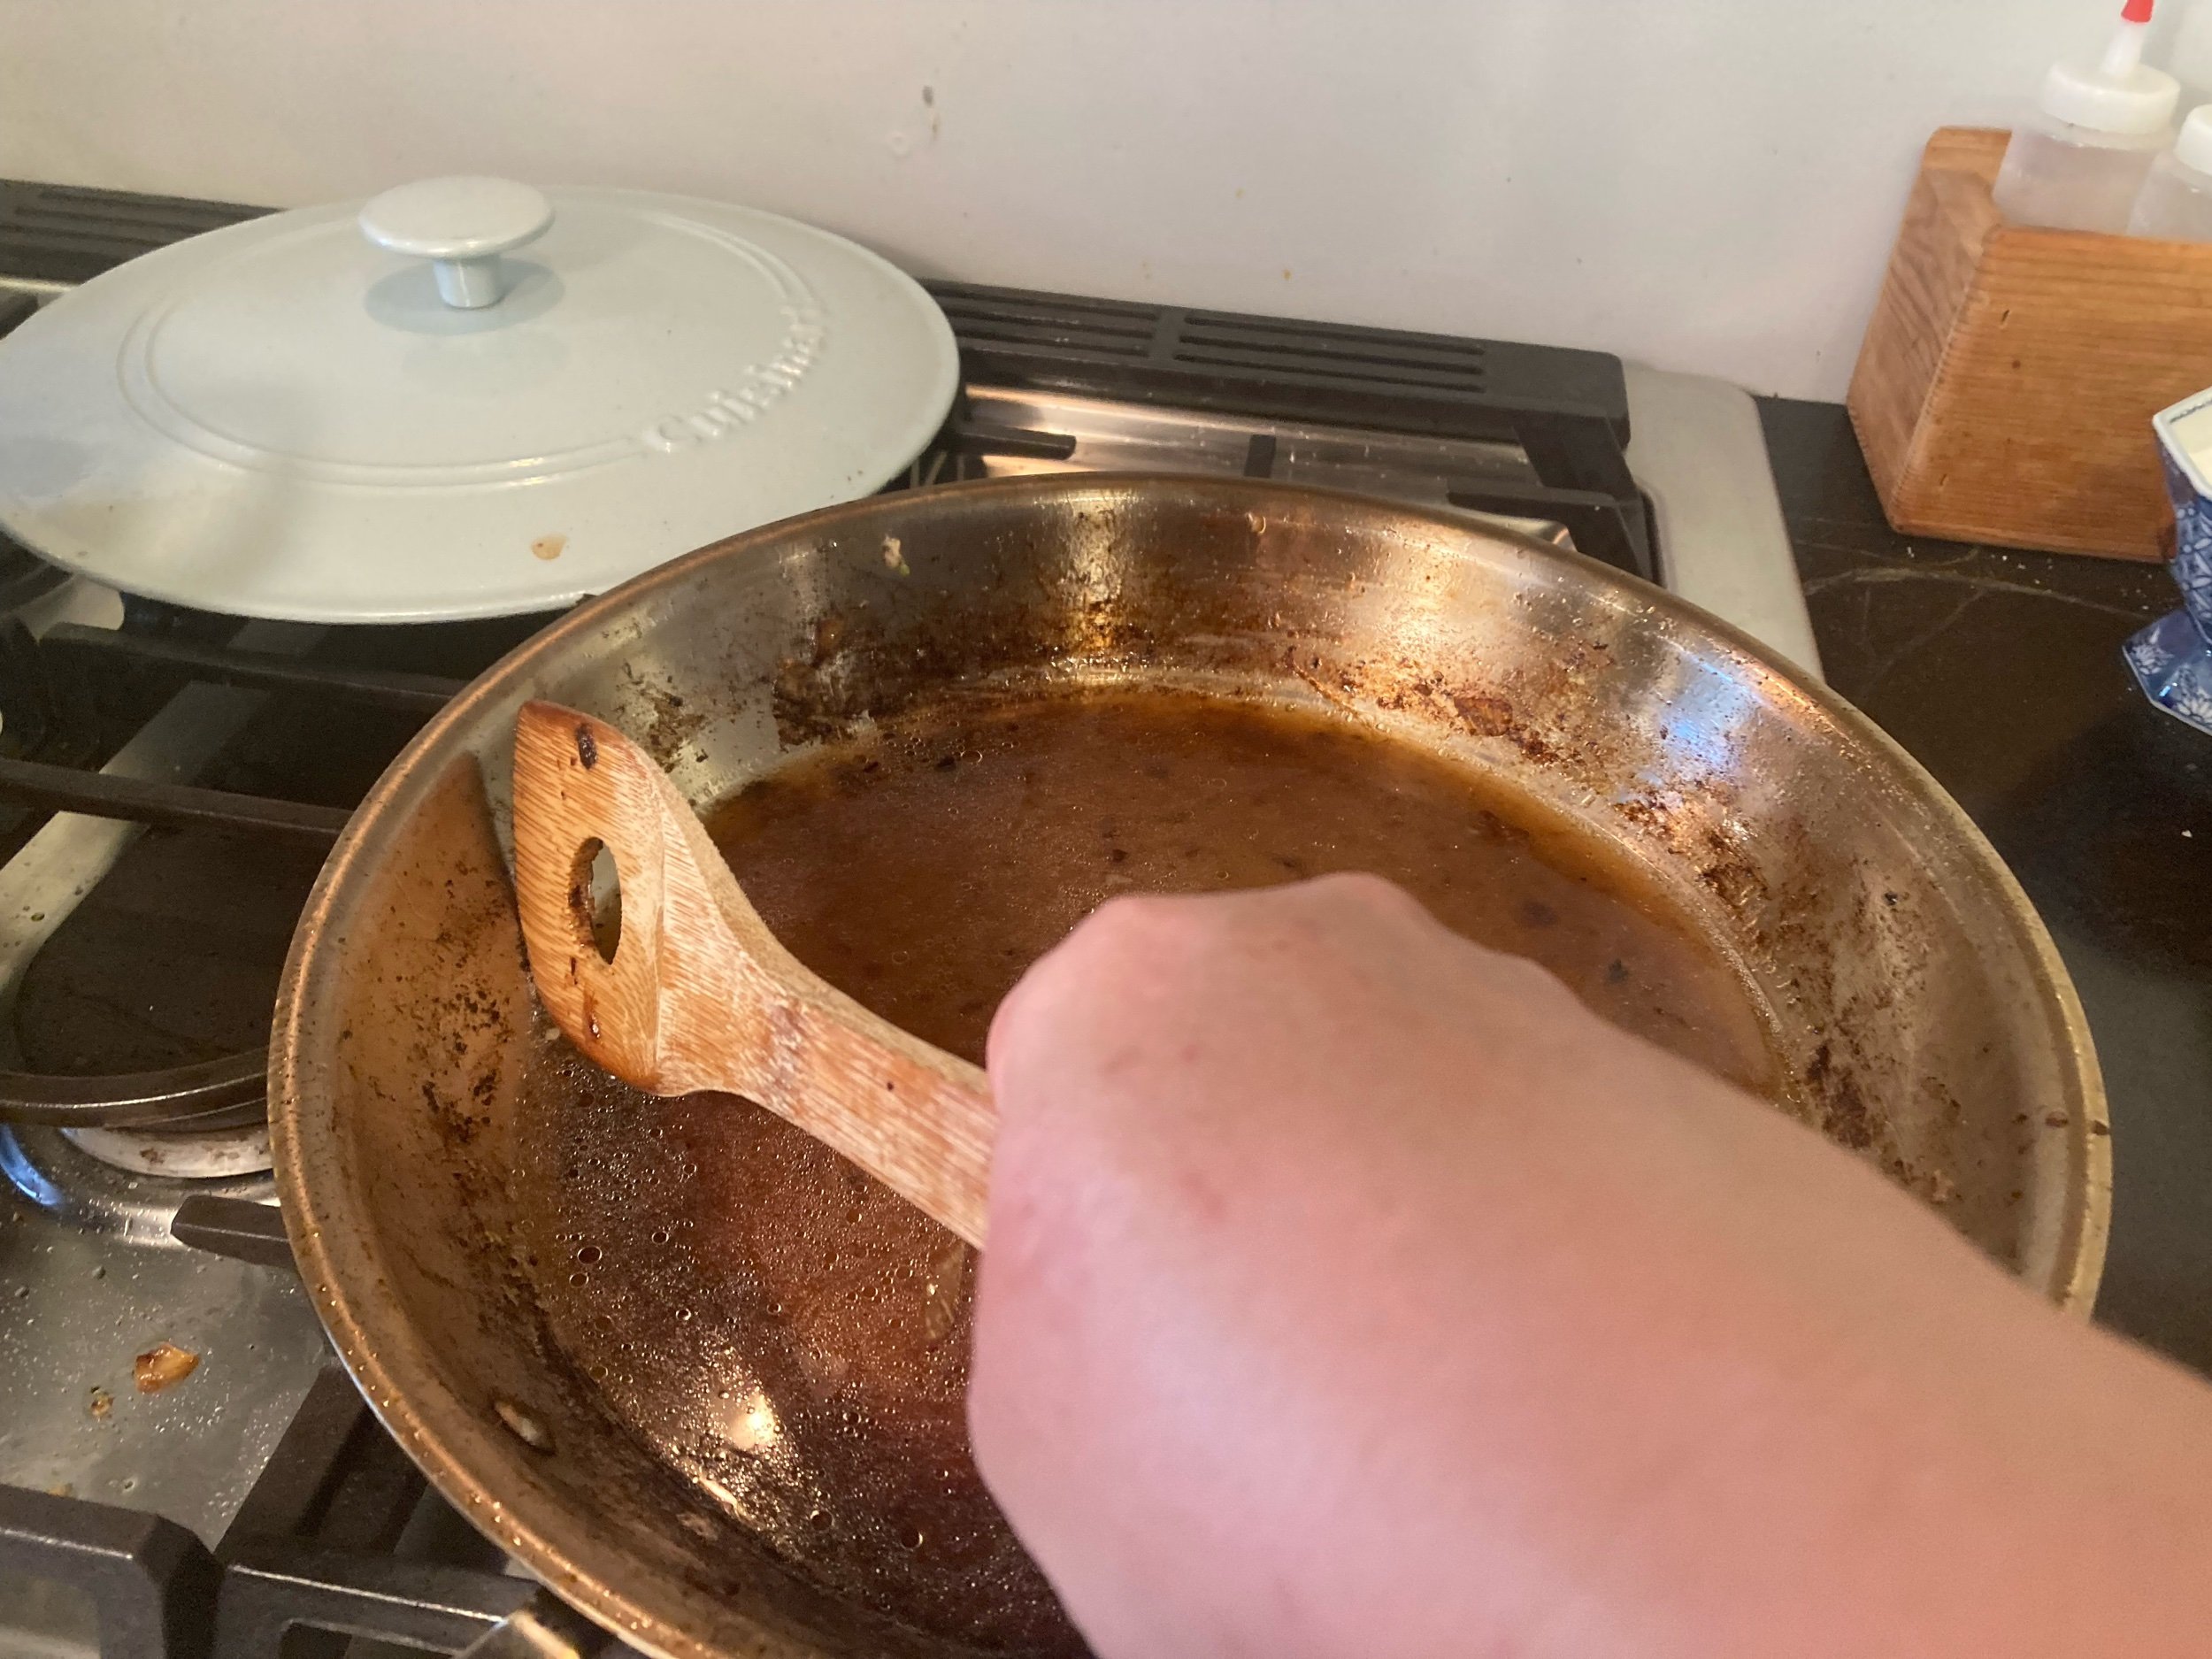
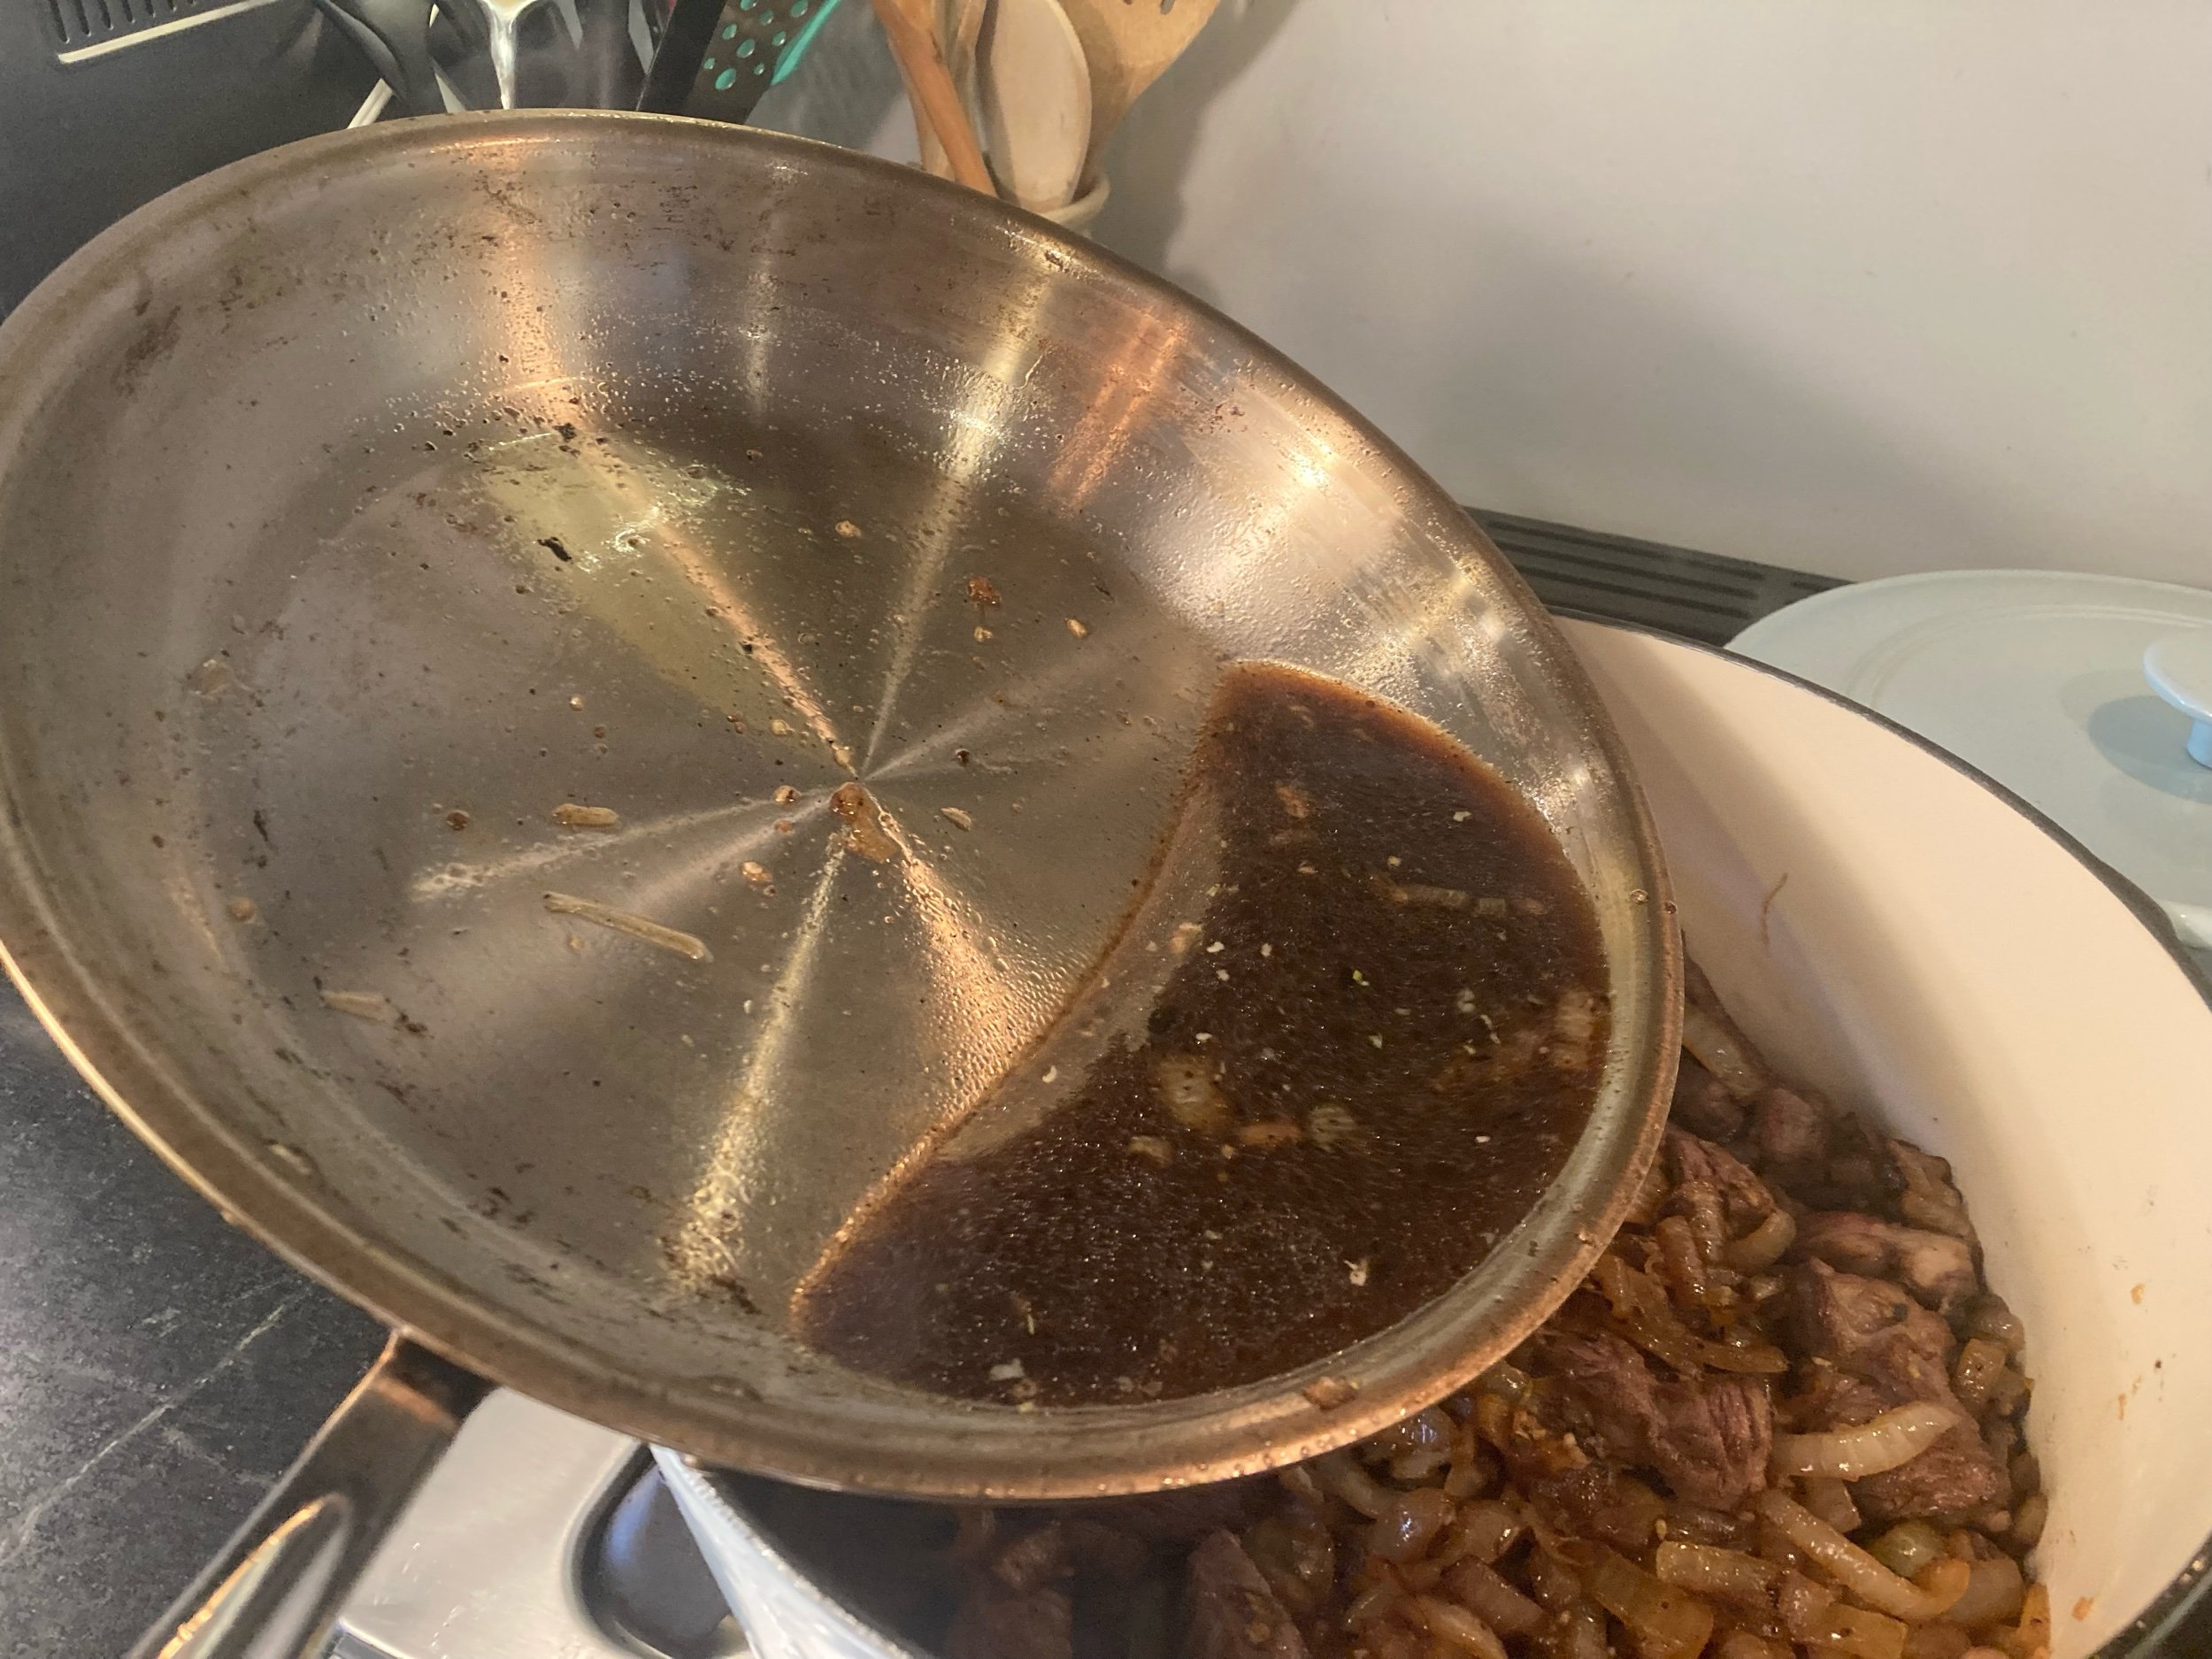
Turn your heat back down to medium, and add the sliced onion and carrots and stir until “tender-crisp” (not sure what that means, but I gave it about 3 or 4 minutes). Add a bit more oil if the pan seems dry, or deglaze with a bit of water or a splash of red wine or beef broth if the fond accumulating at the bottom seems like it is starting to burn.
After a few minutes, add the garlic and cook for 30 seconds. Then remove veg from pot and set aside with the beef.
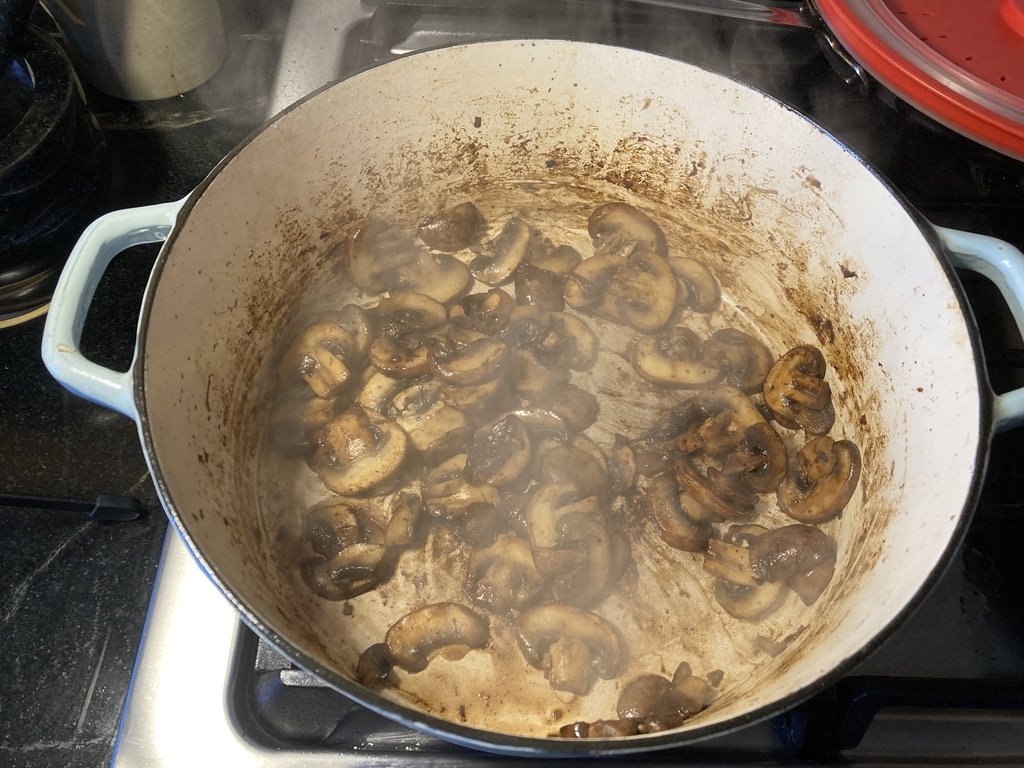
Add olive oil to the pot, then add your mushrooms and sauté until tender.

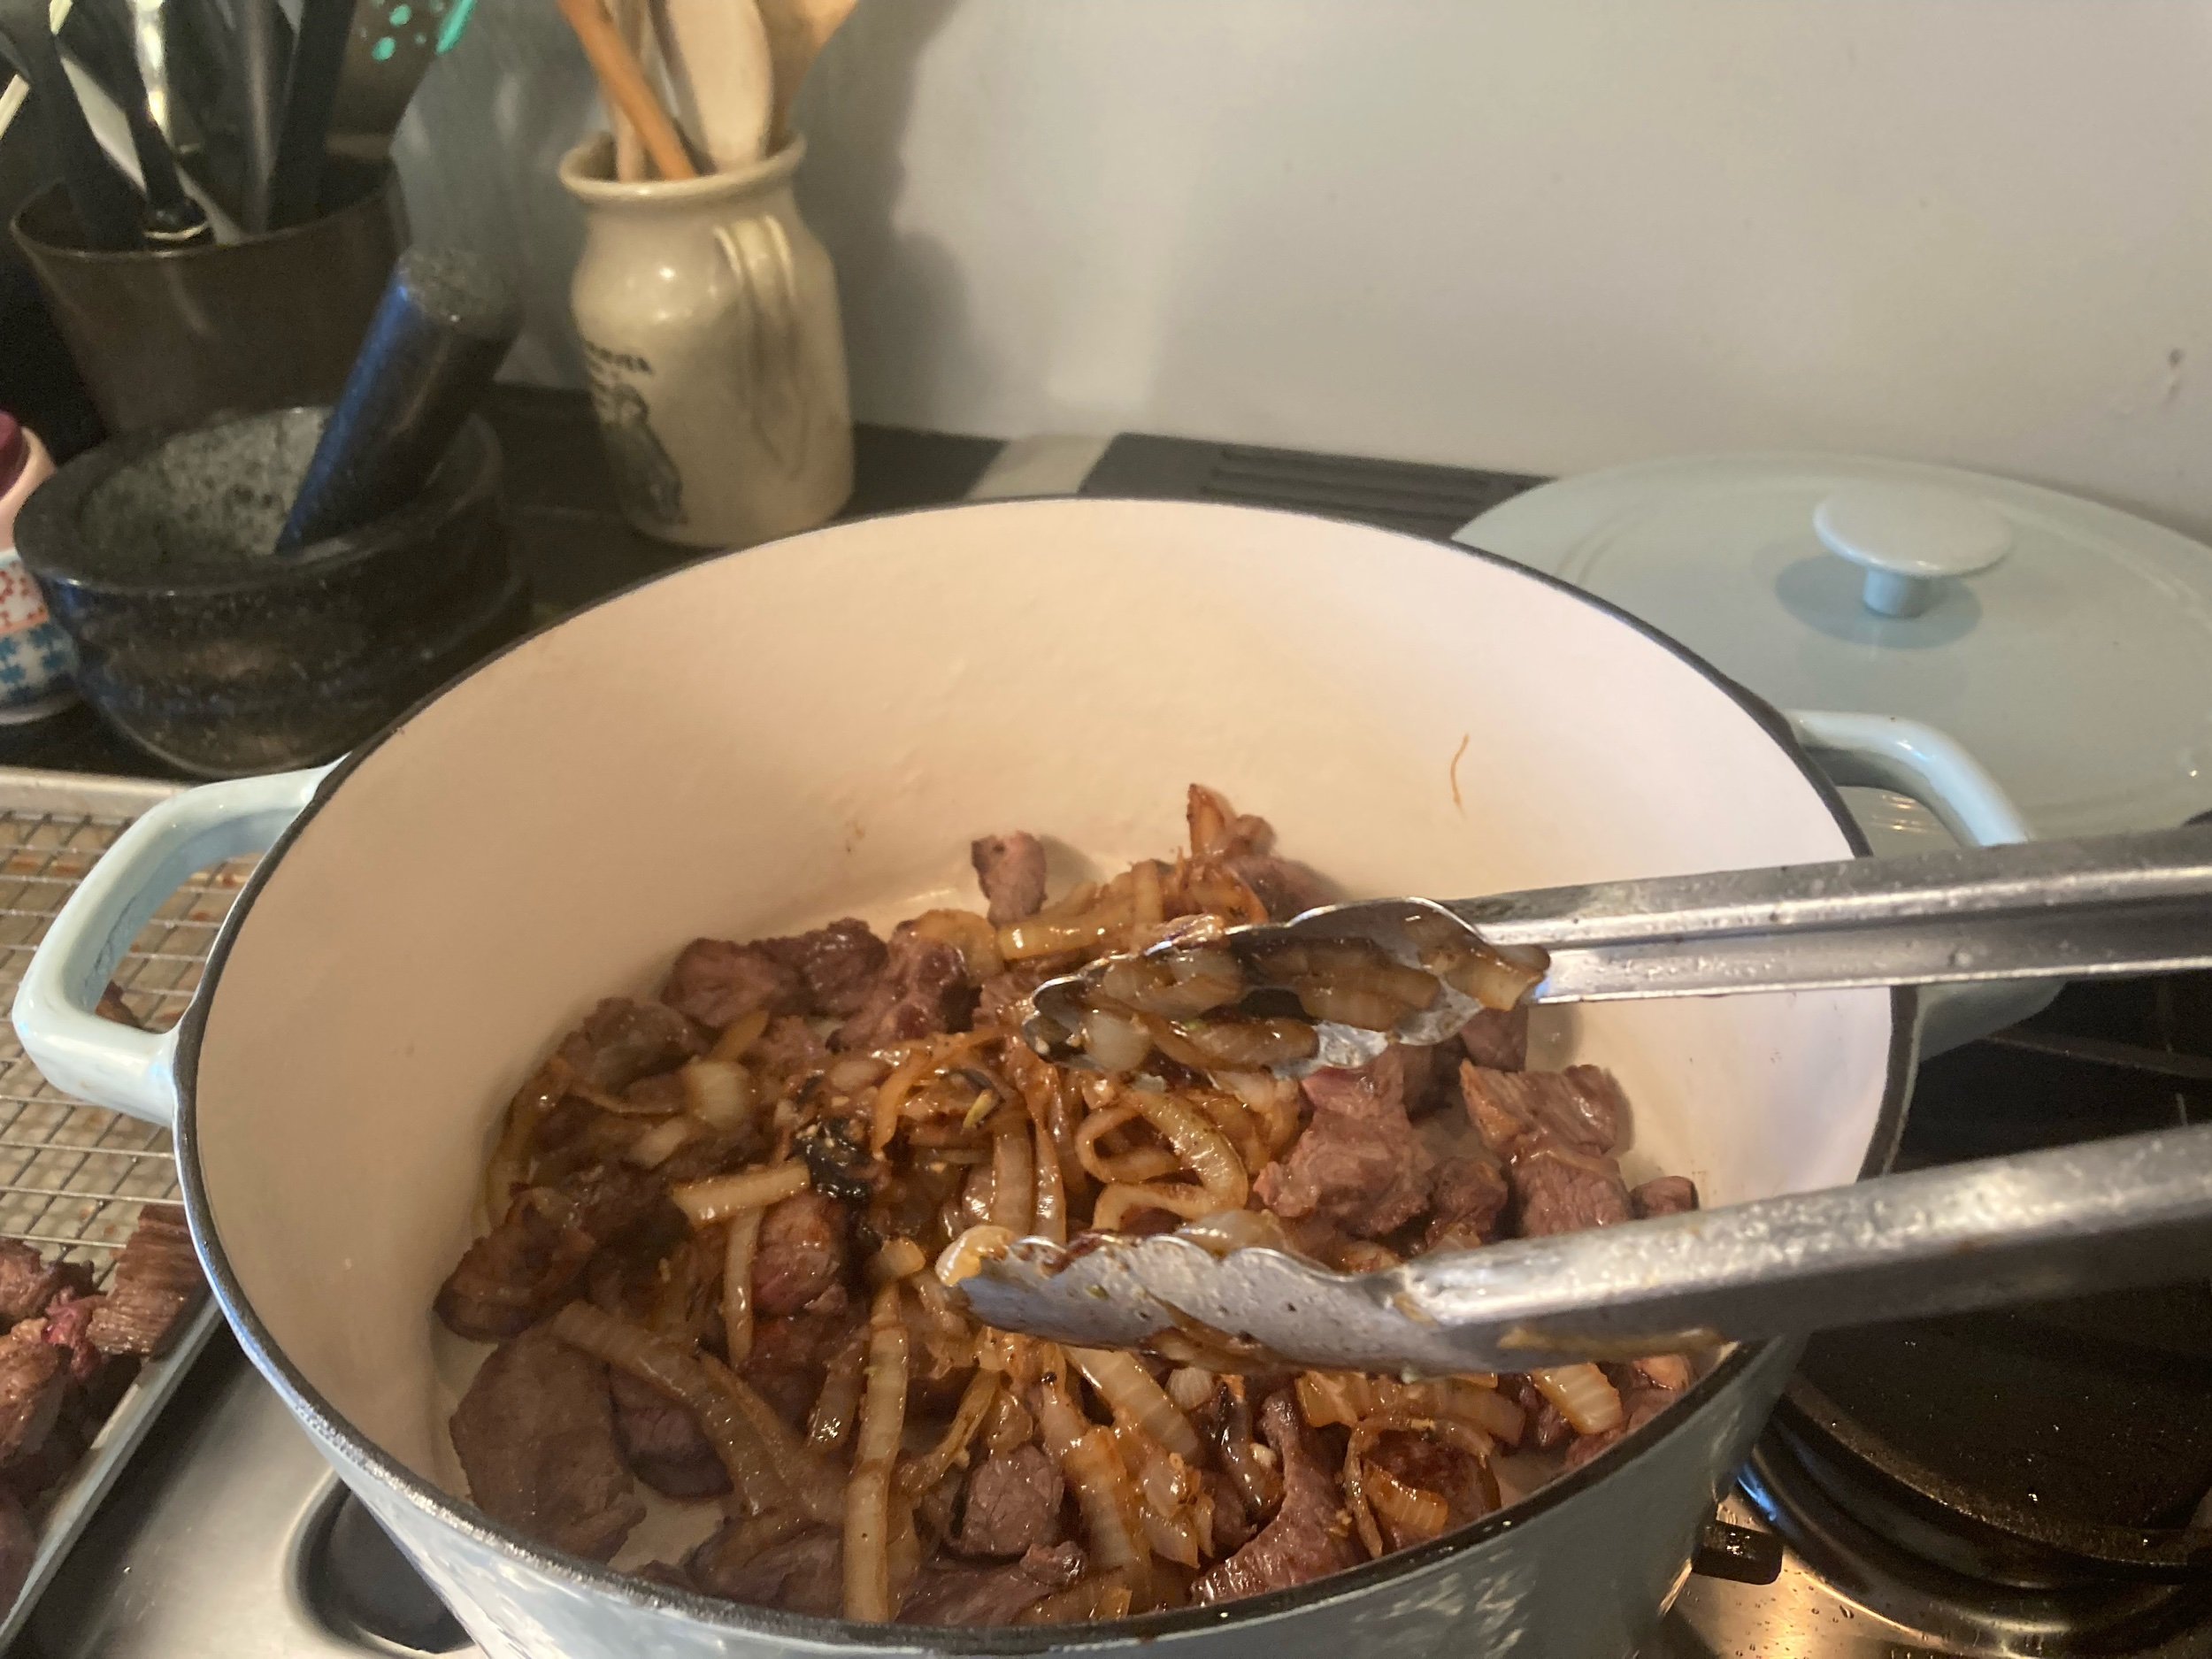
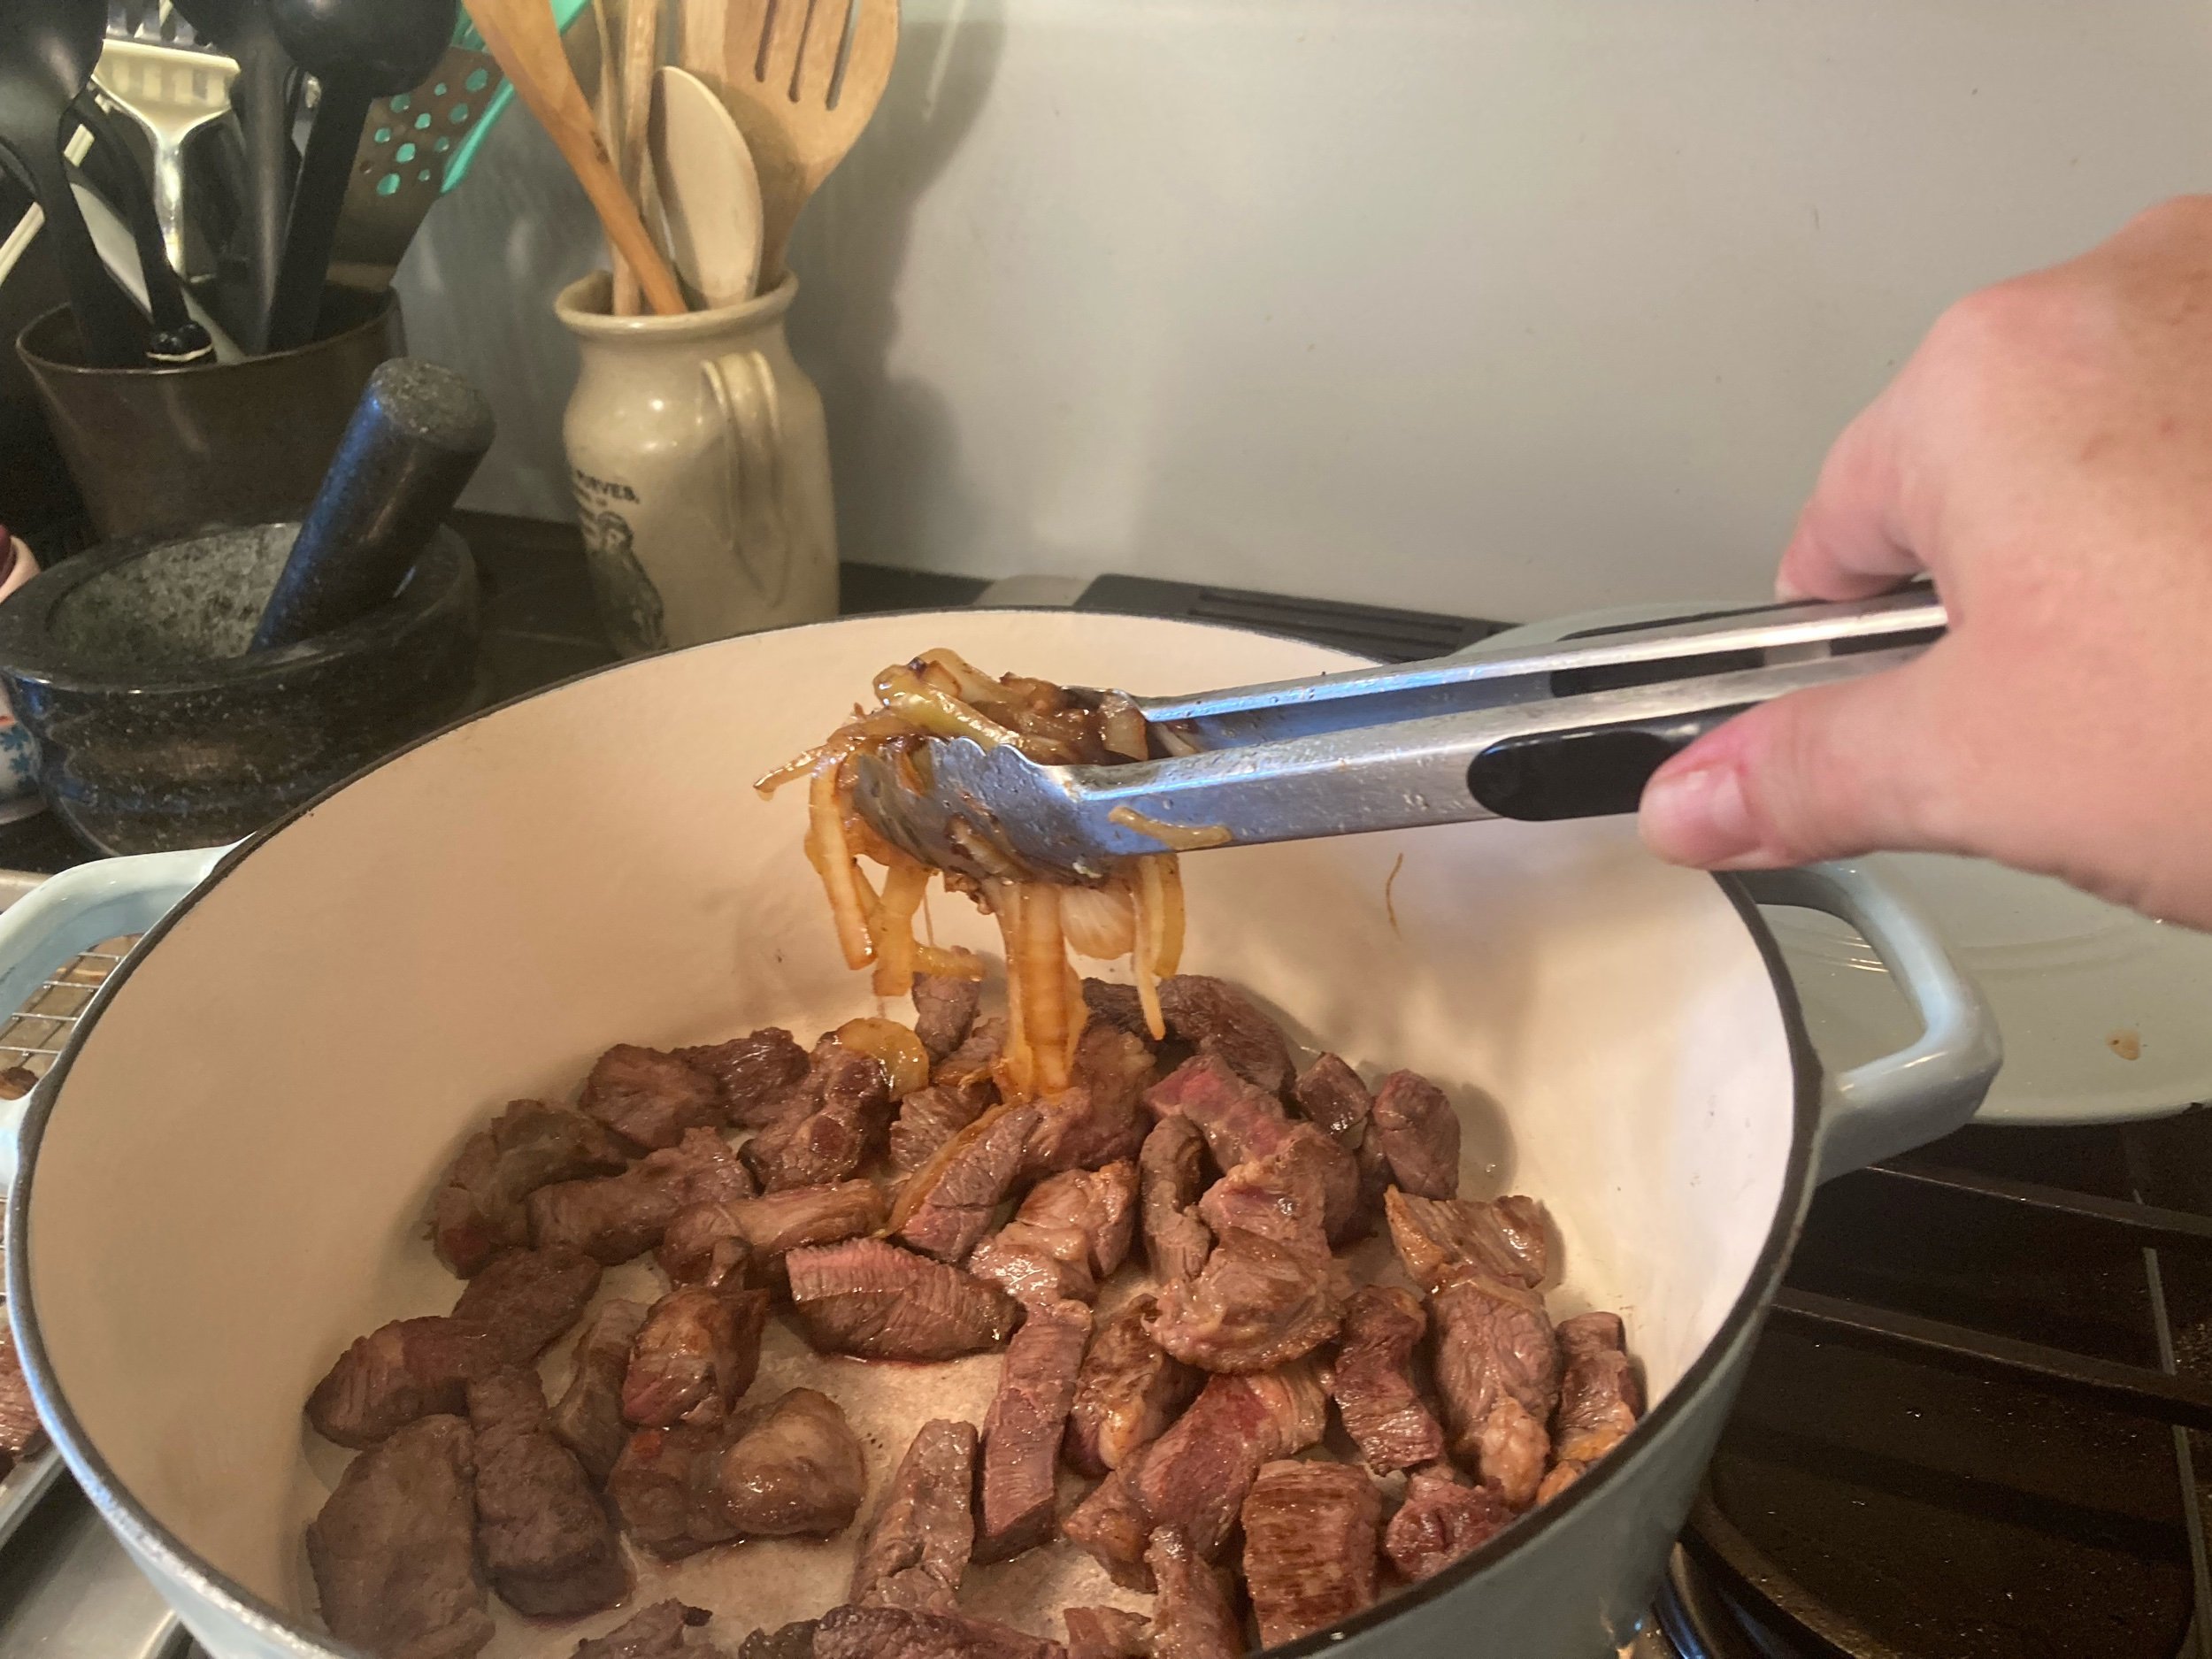
Return the beef, onions, carrots, and all juices that have accumulated in the pan to your Dutch oven.

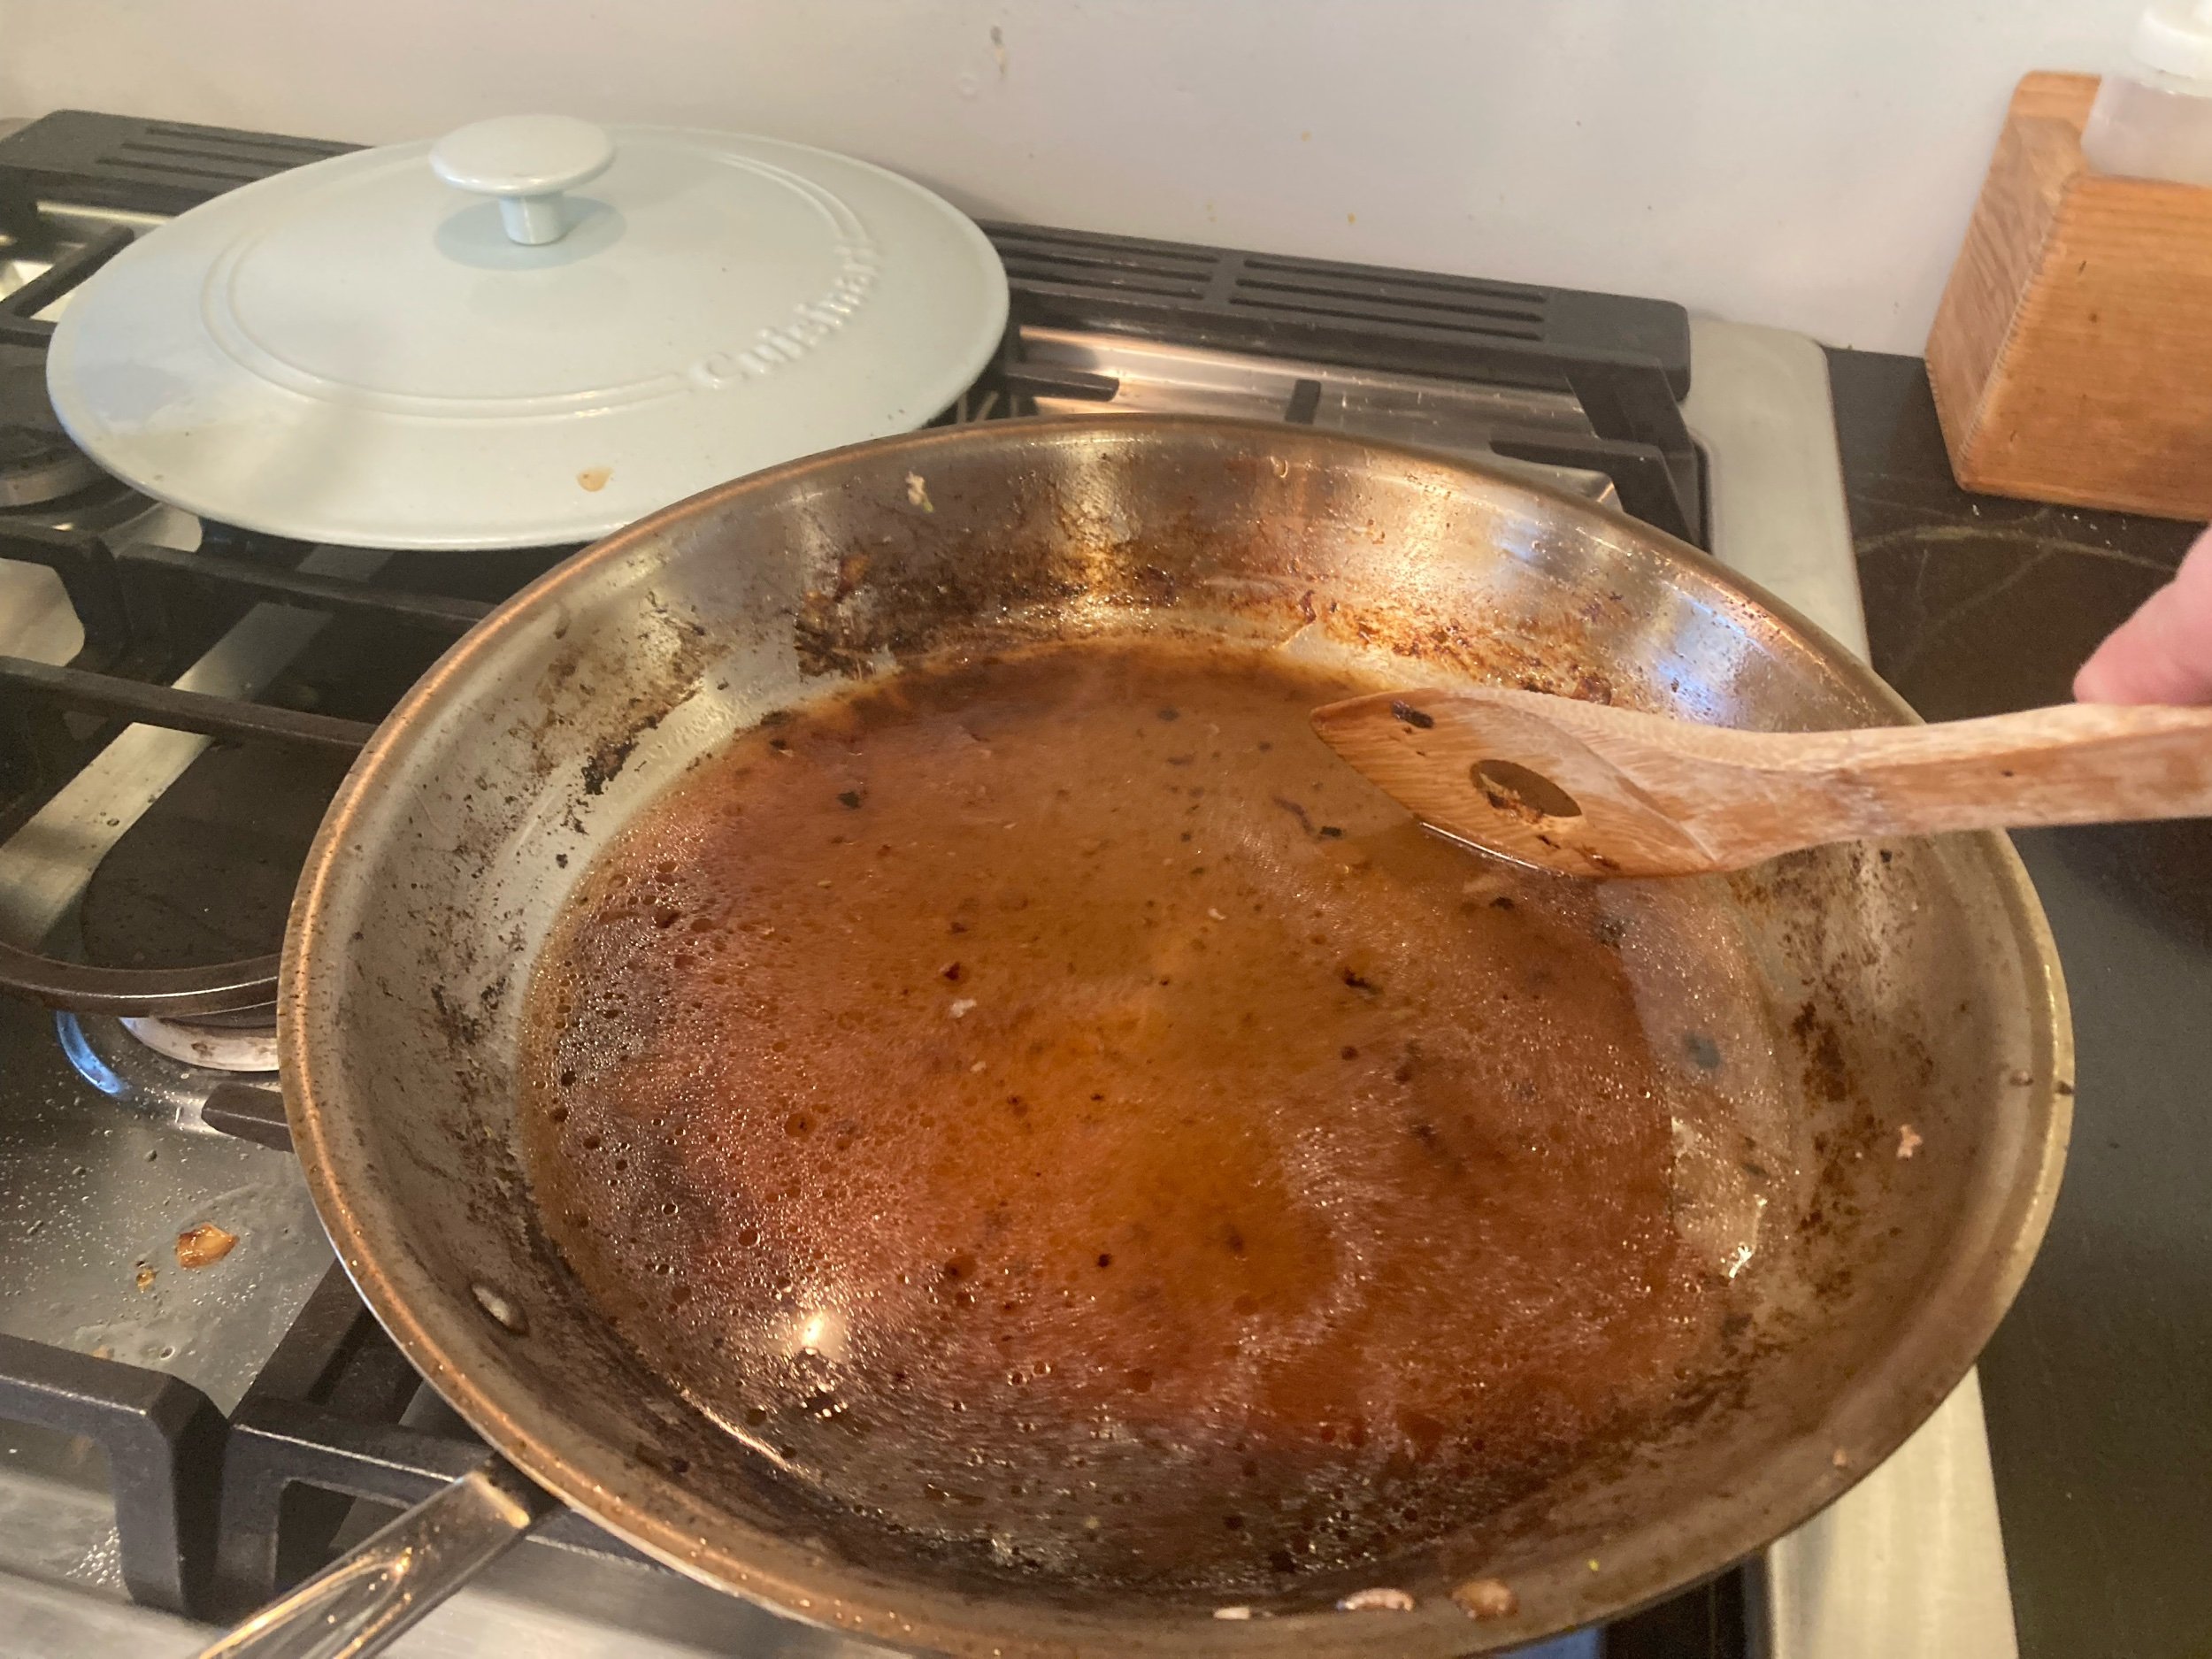
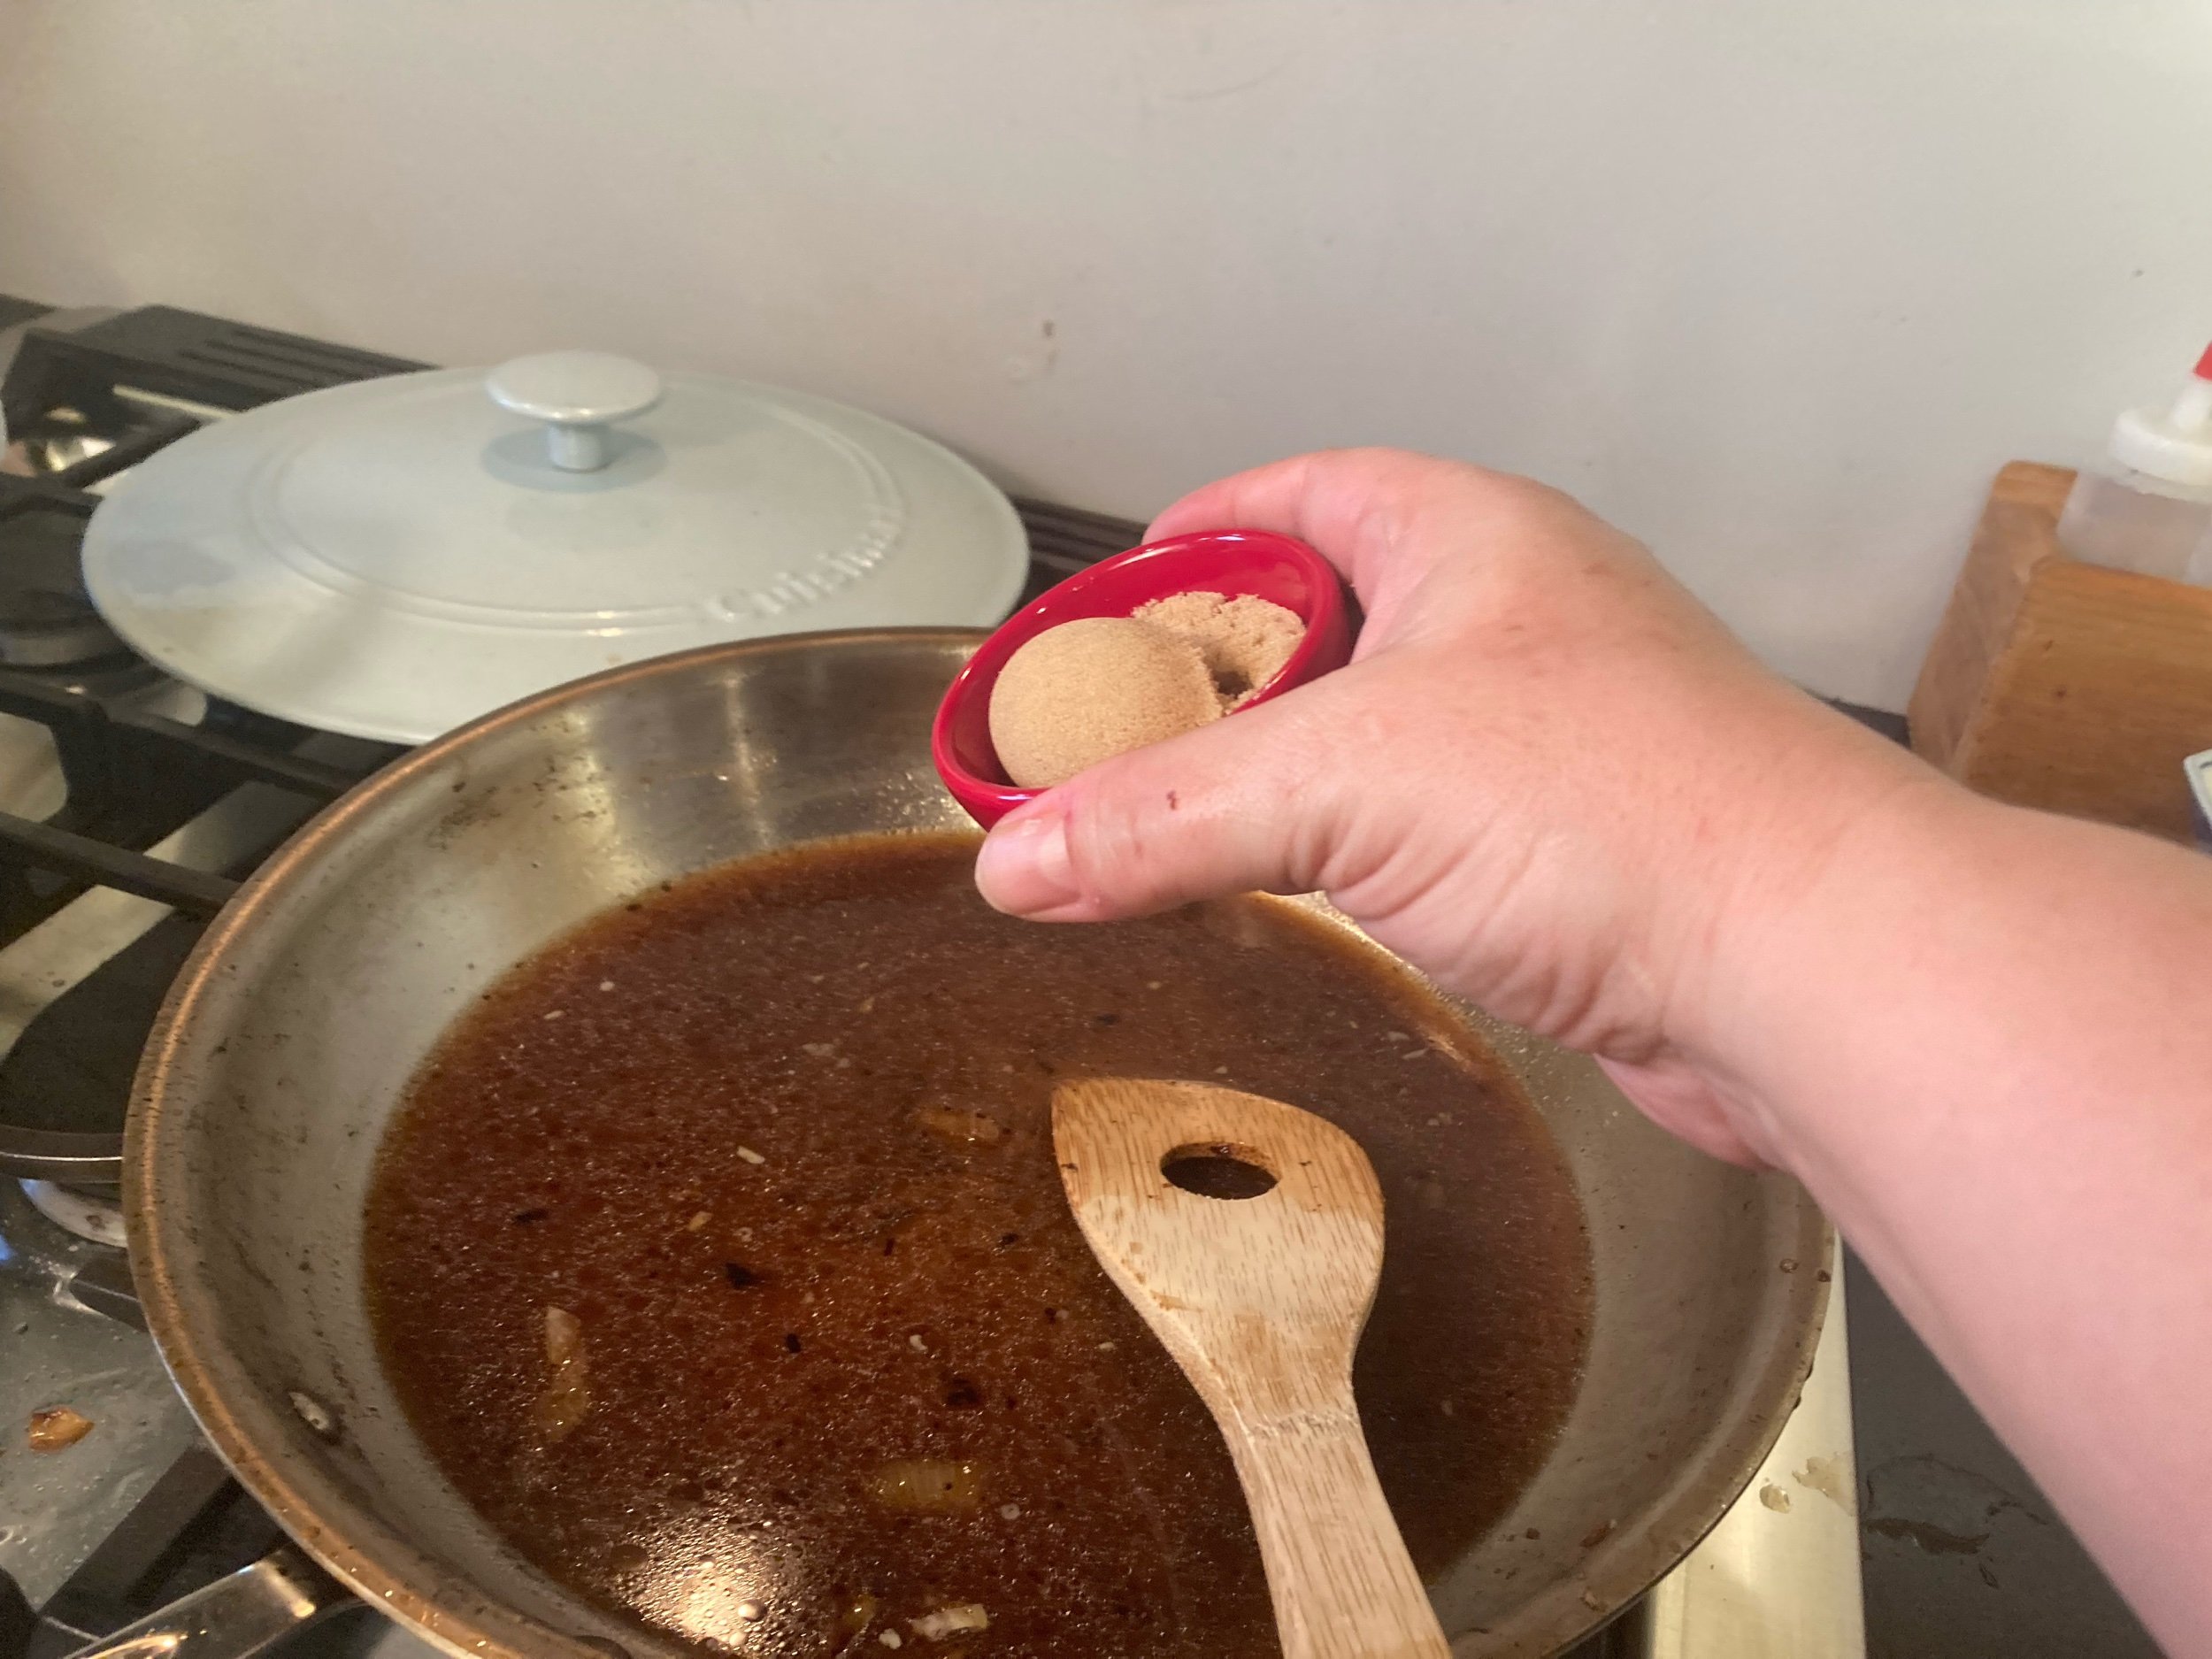
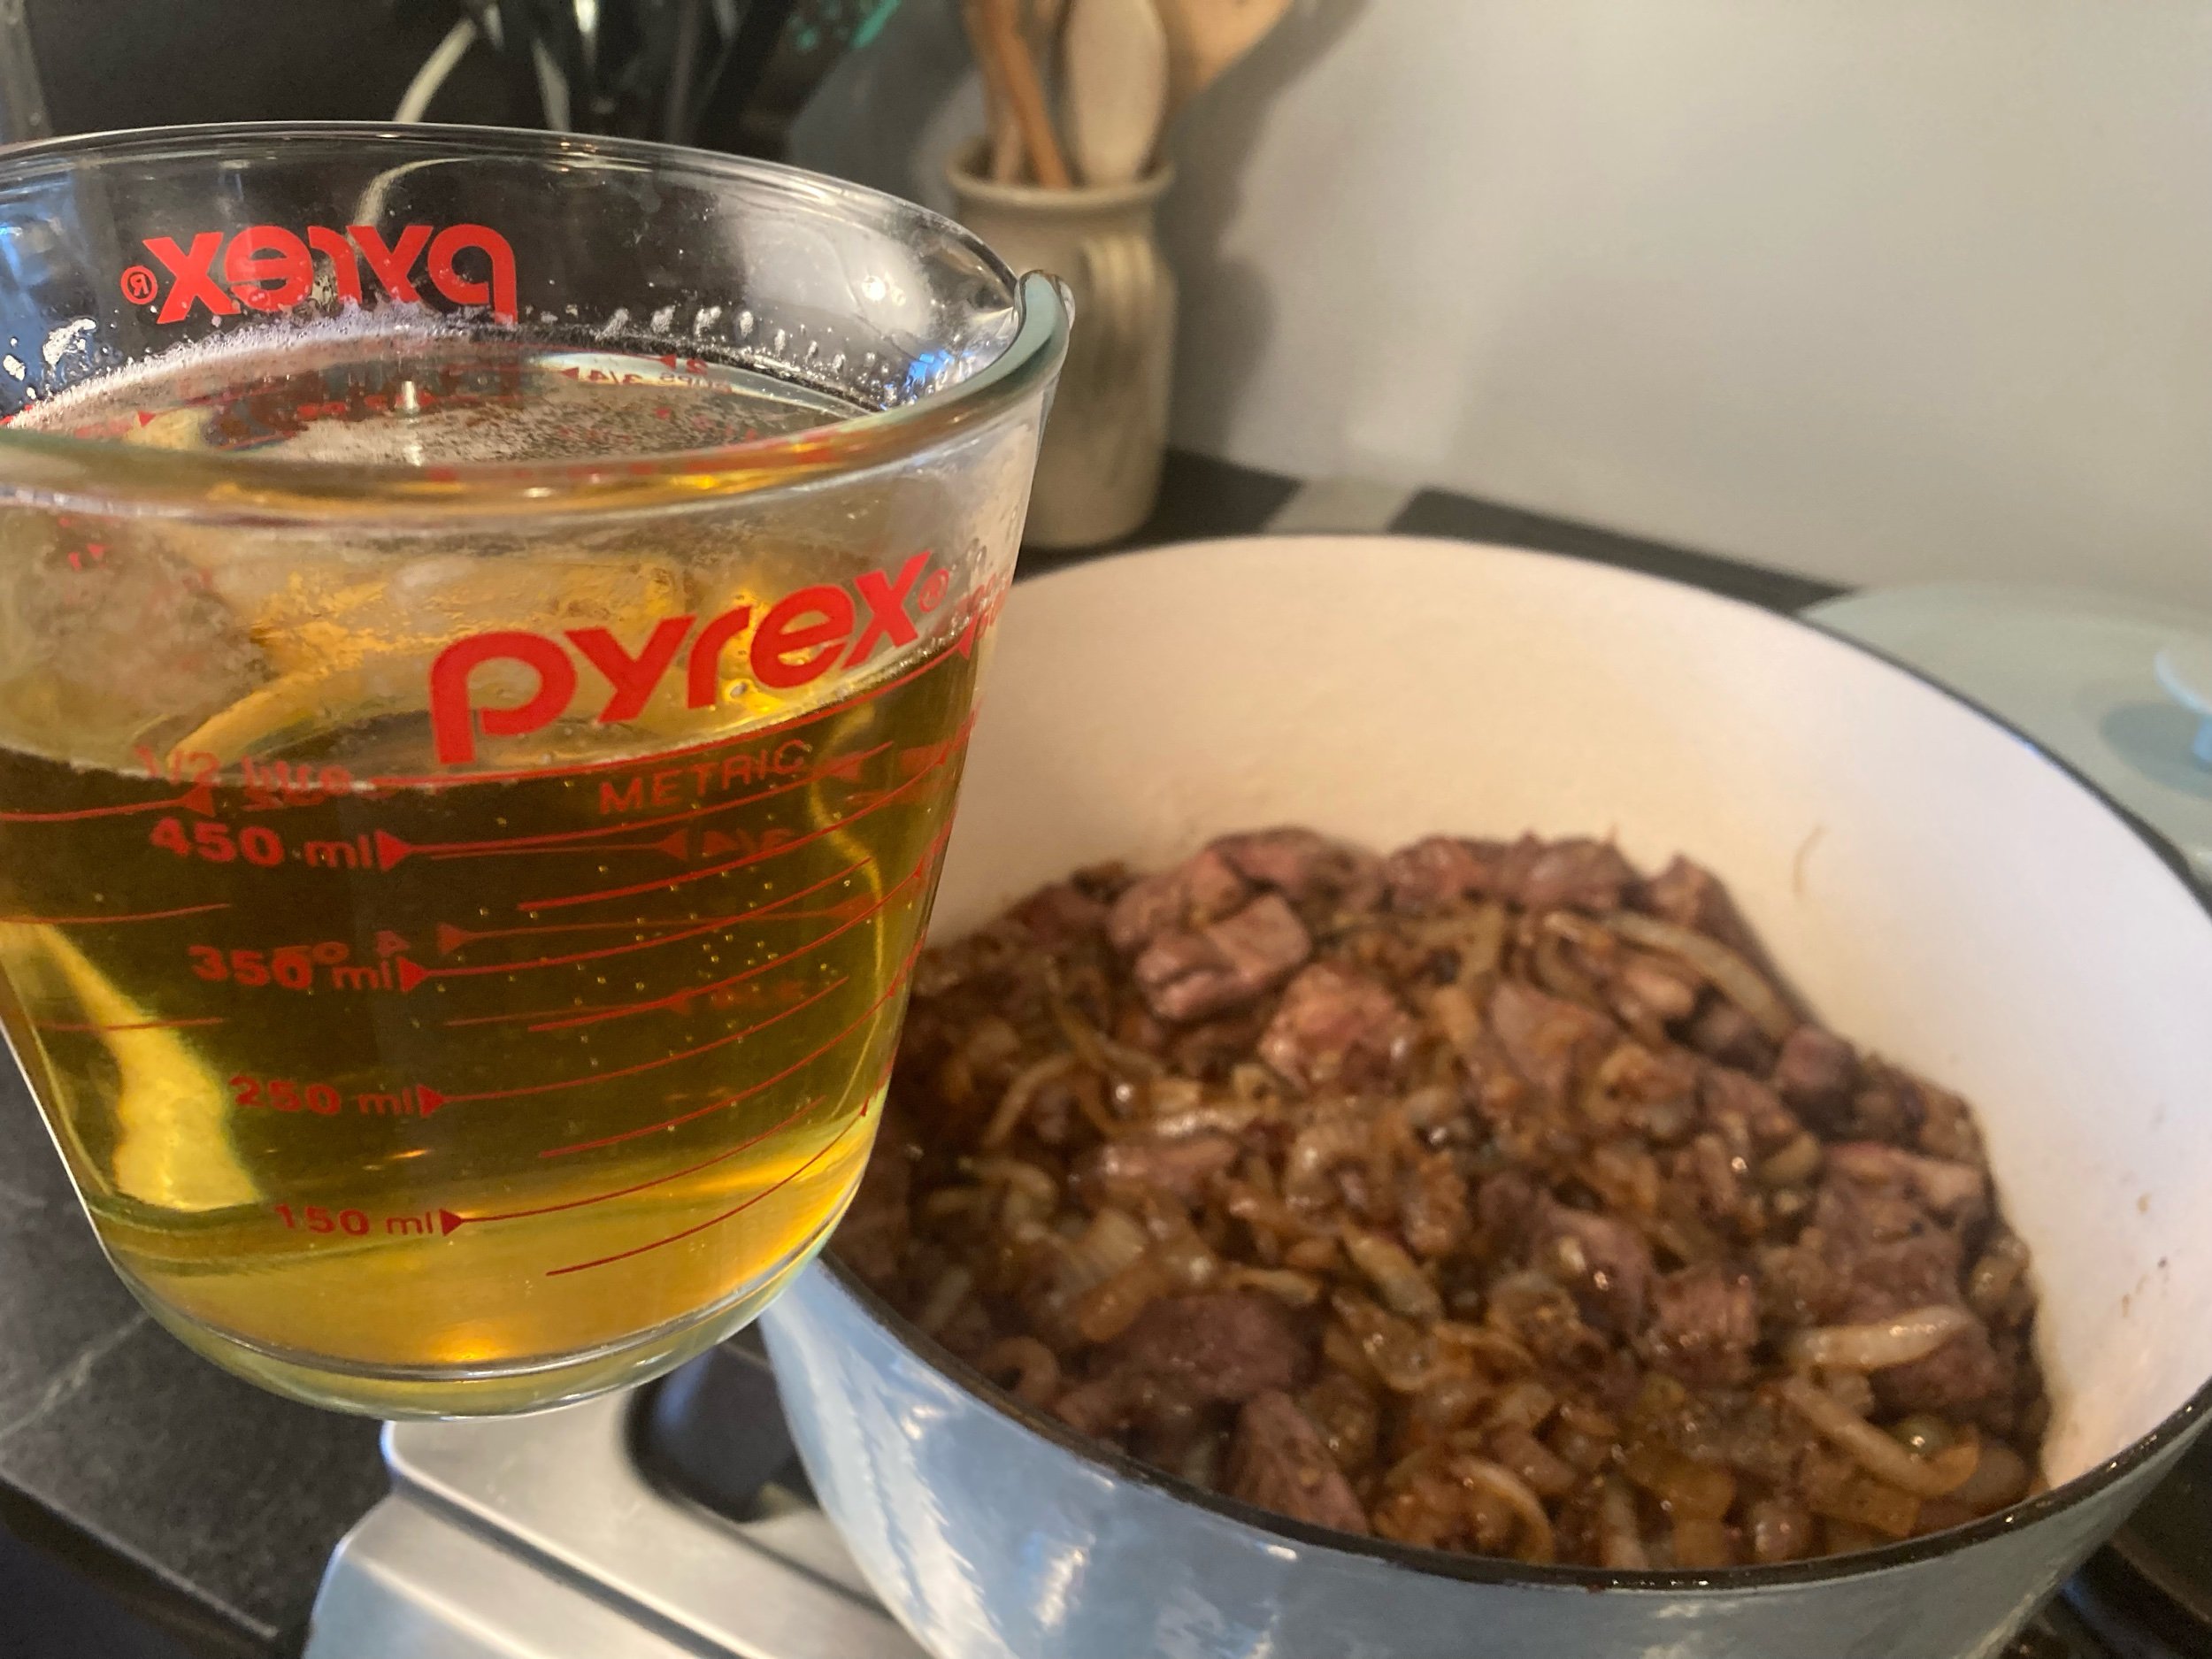
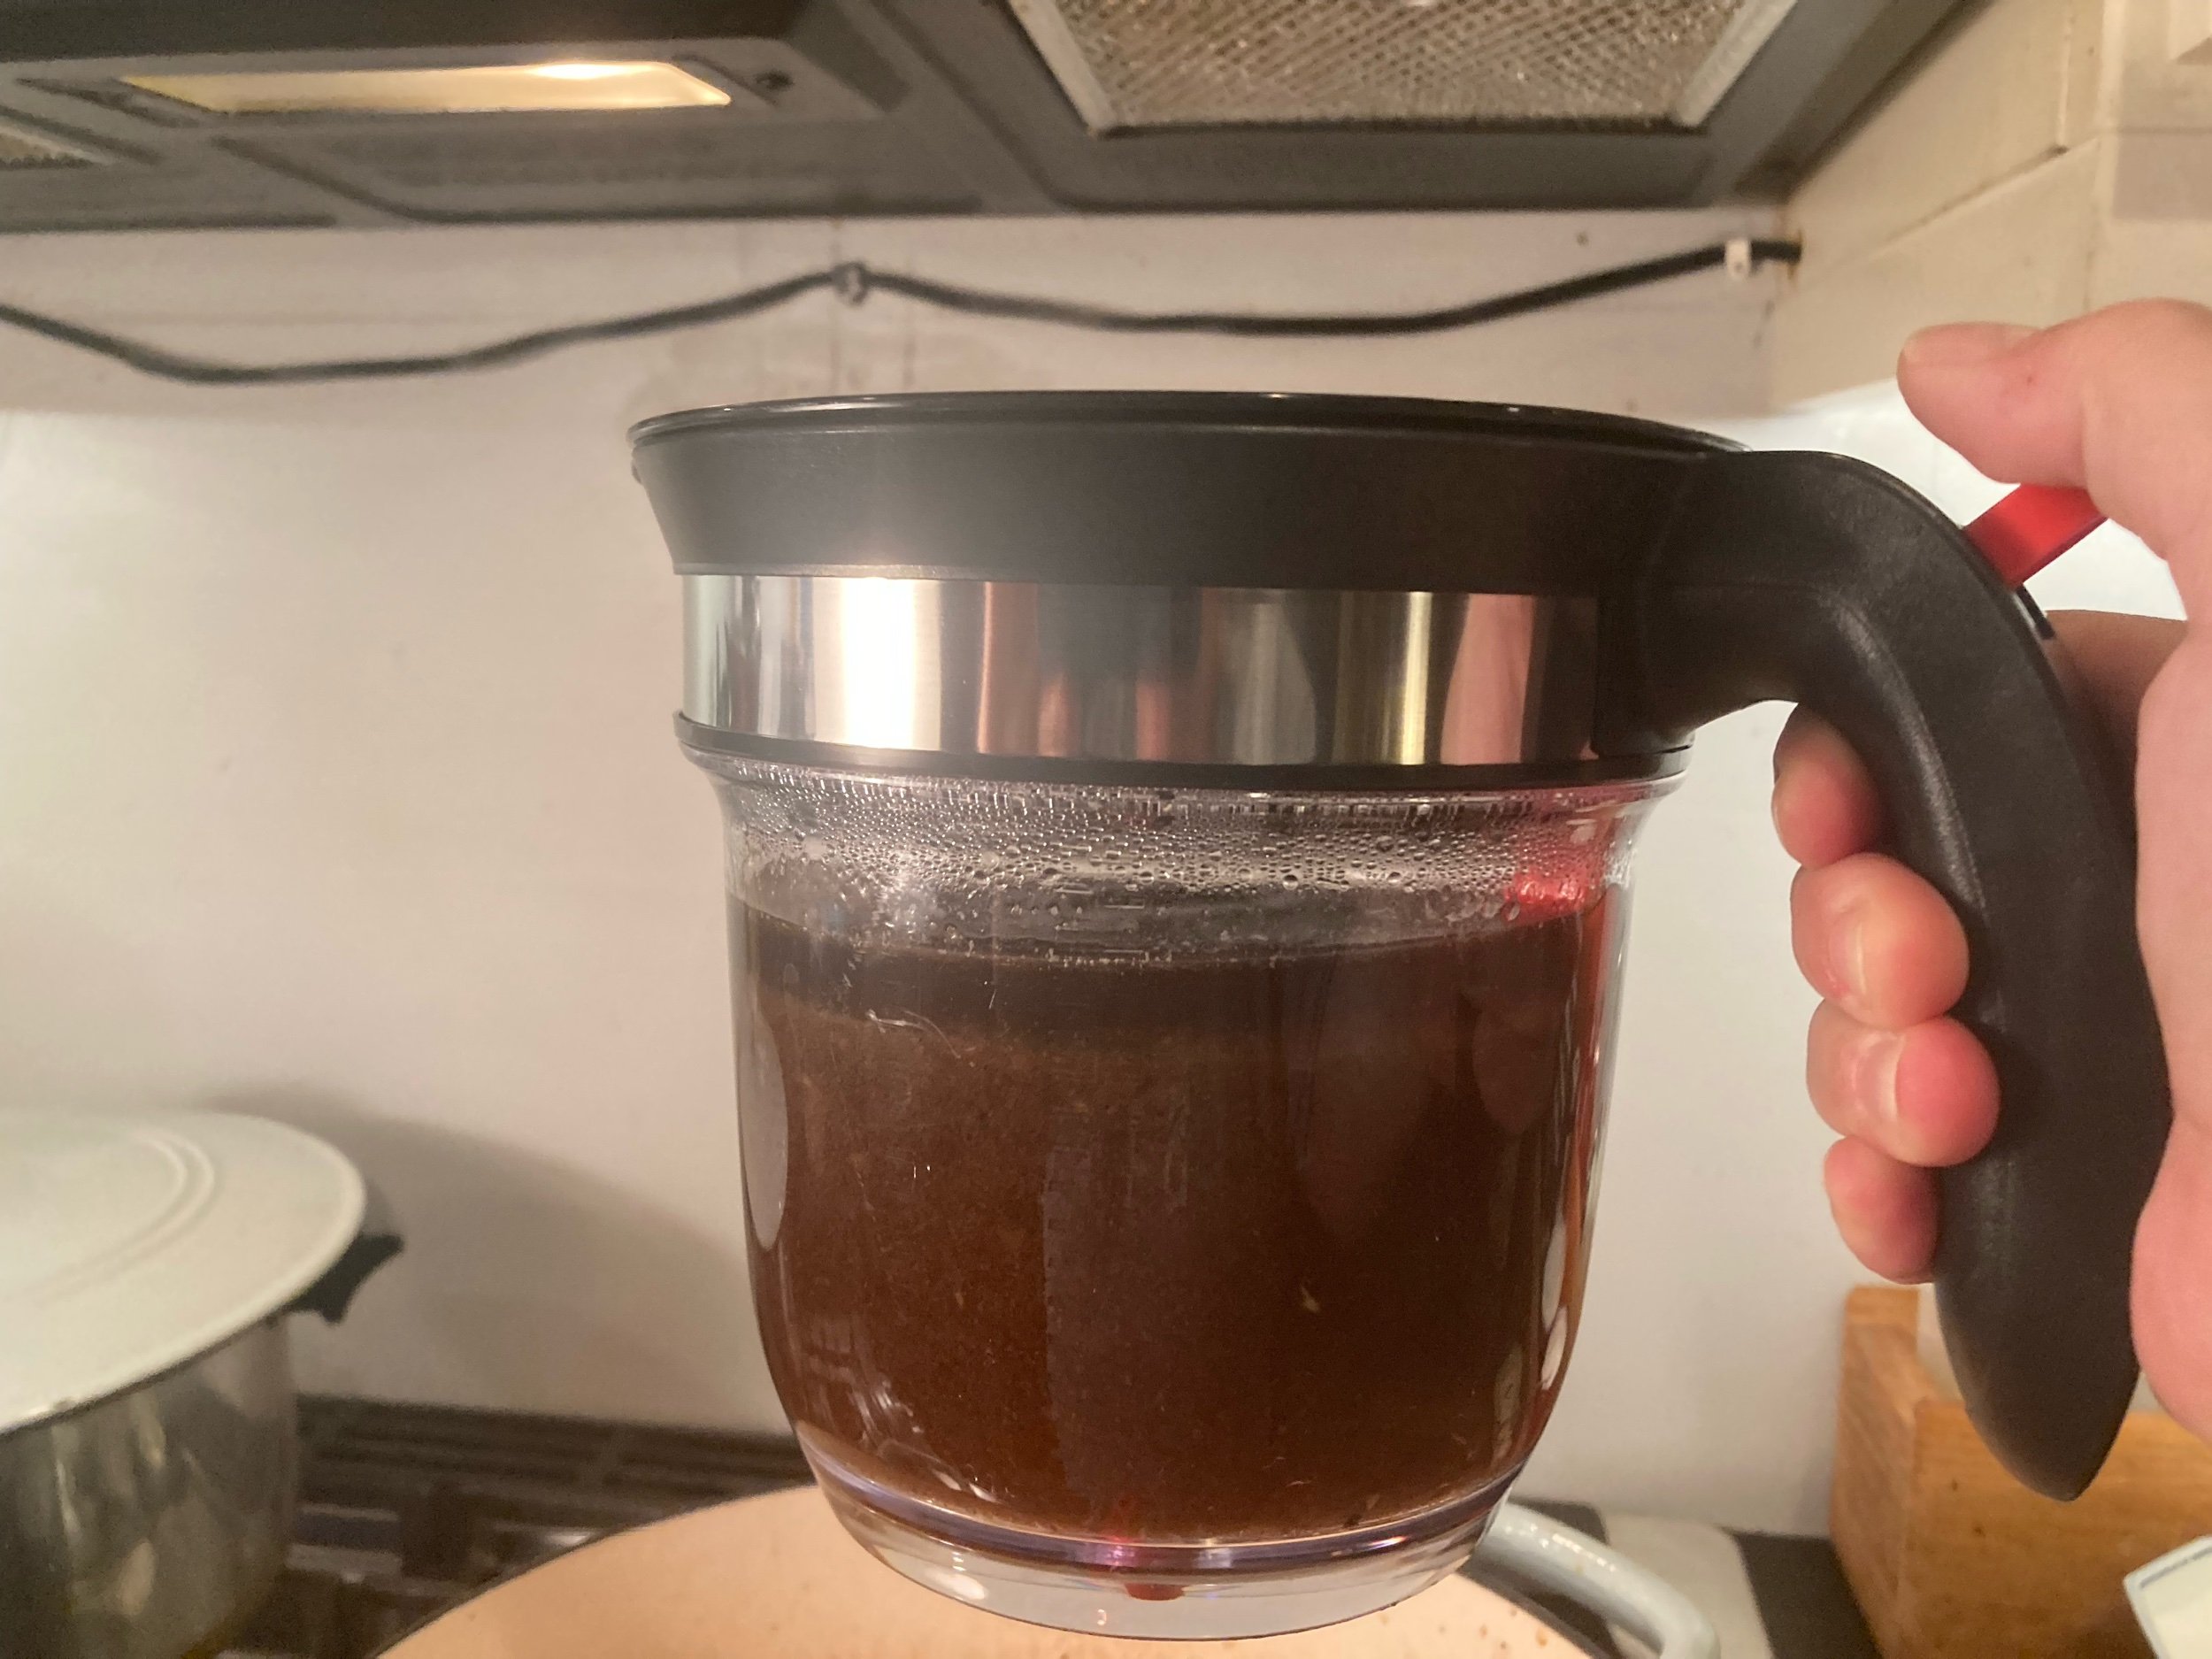
Stir in your wine, beef stock, tomato paste, bay leaves, and thyme sprigs.


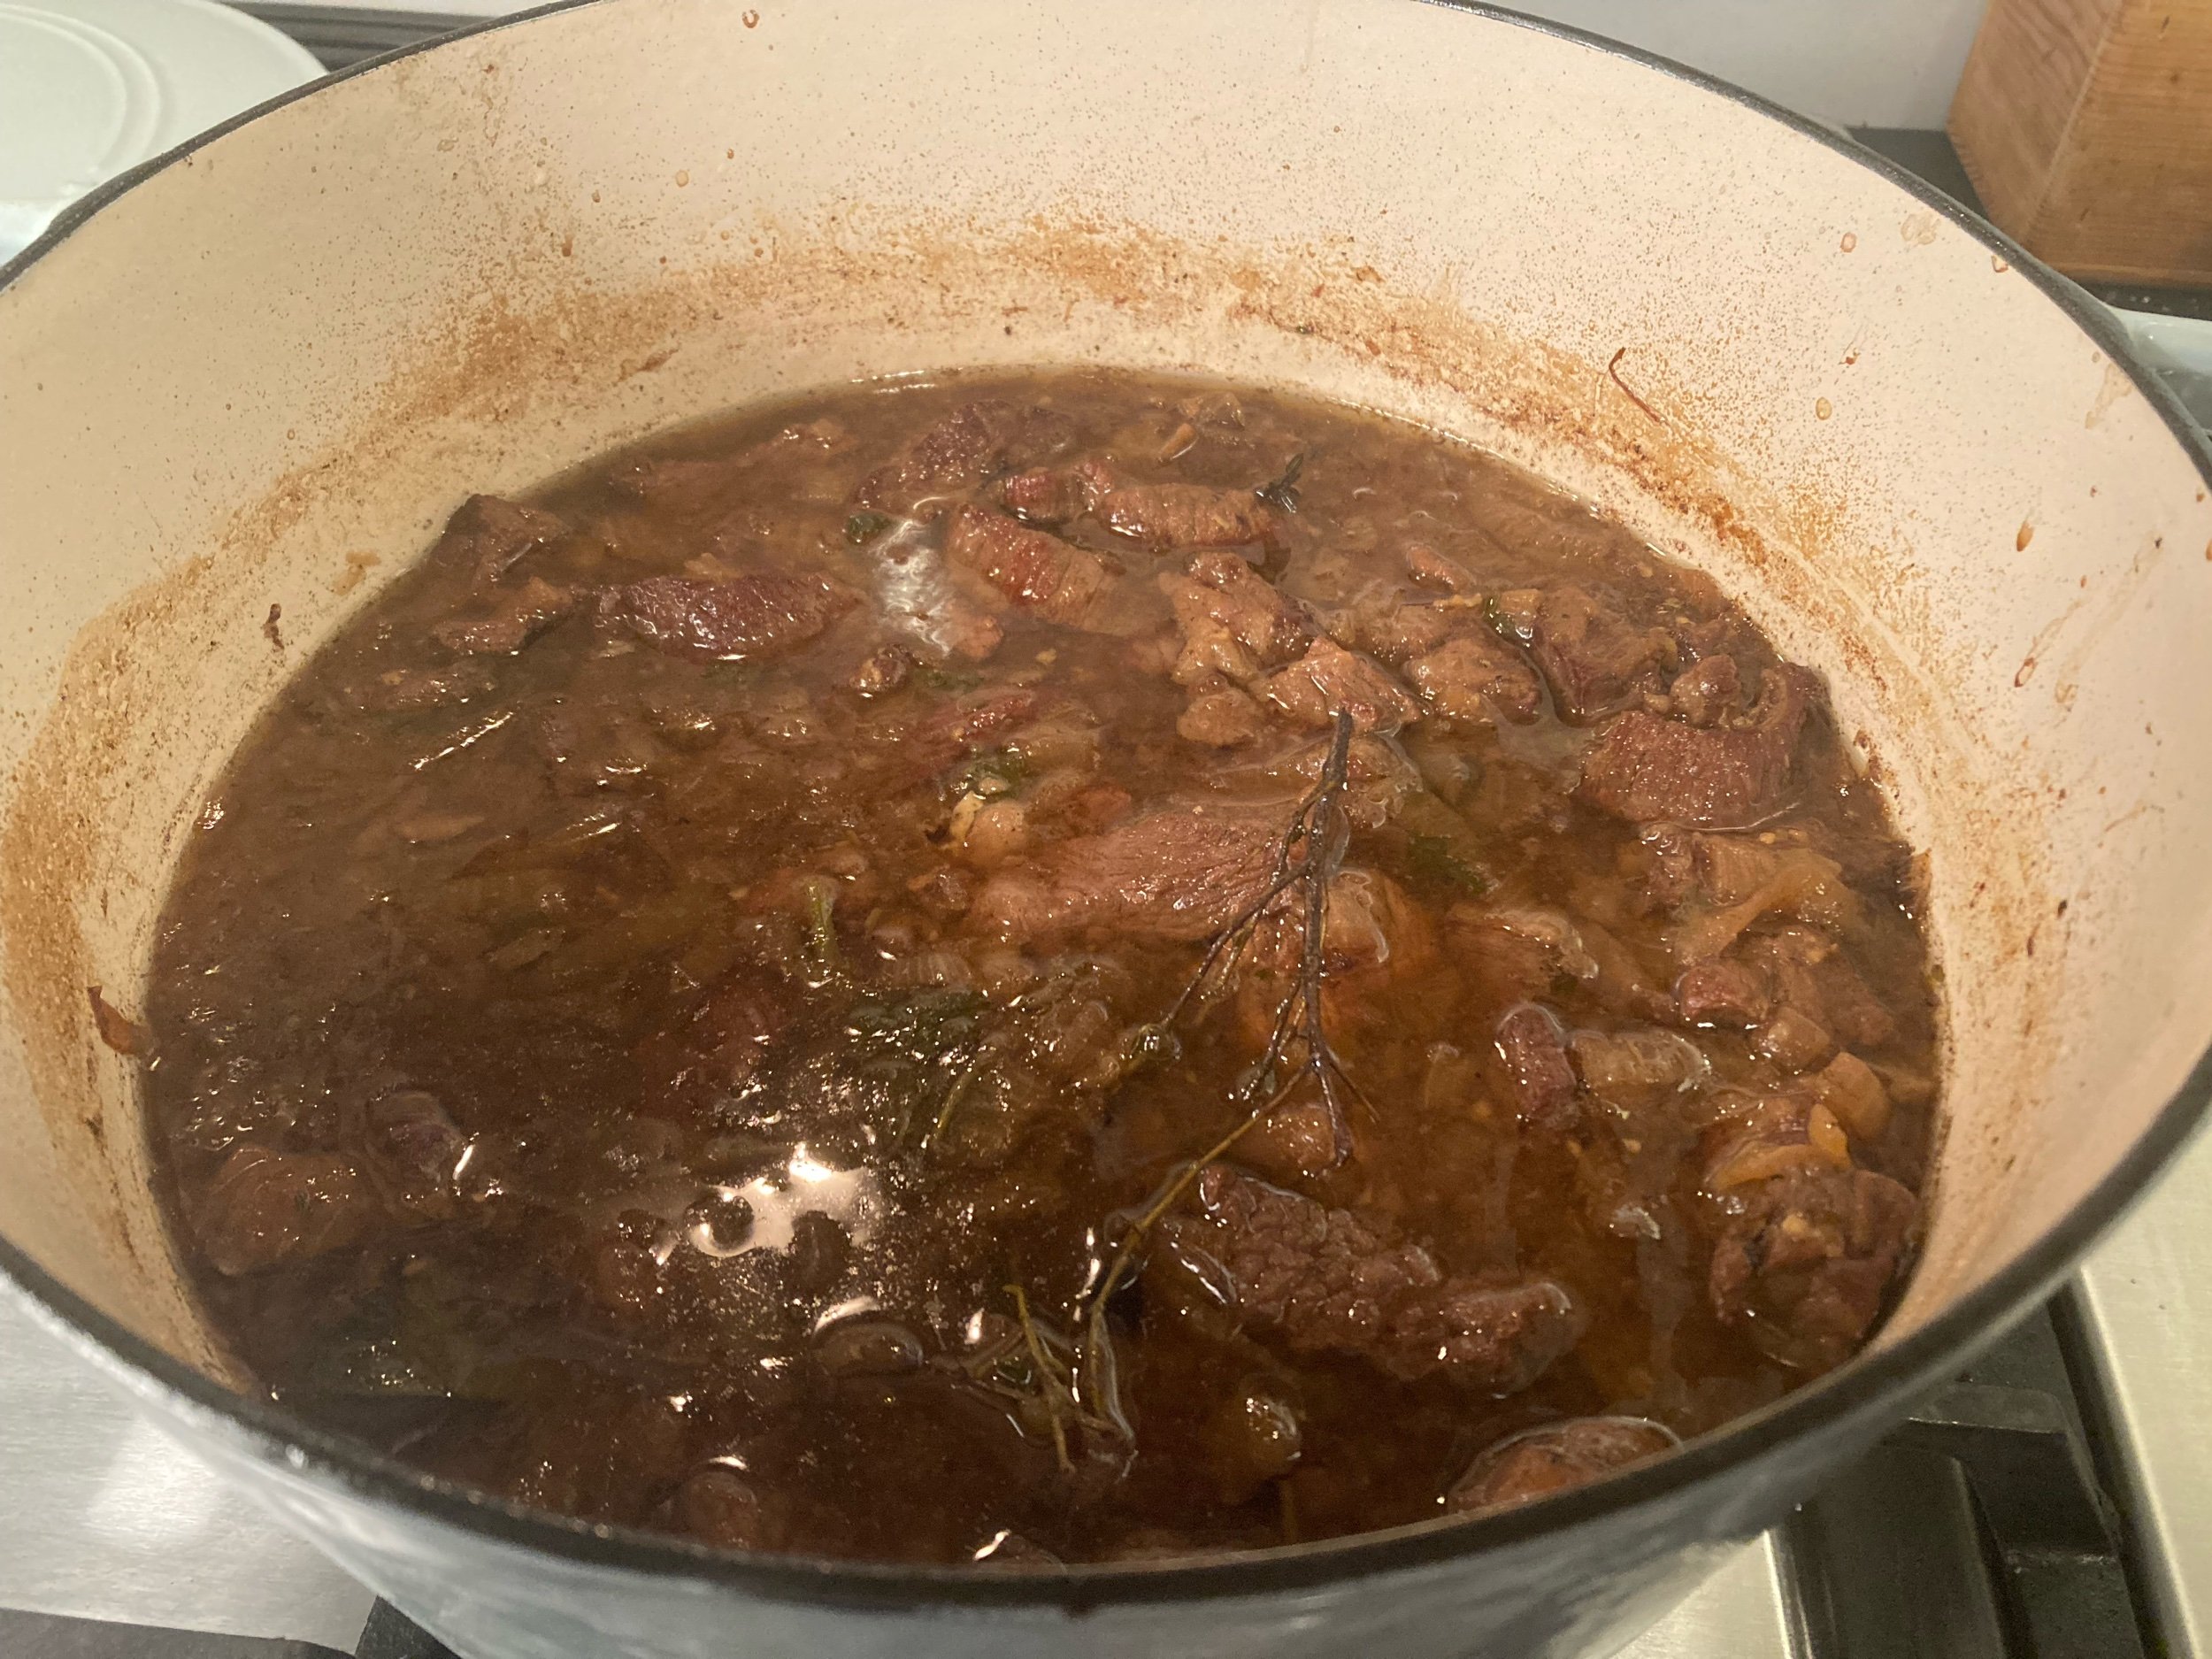
Bring to a simmer, cover, and move to your oven. Bake for 2 hours.
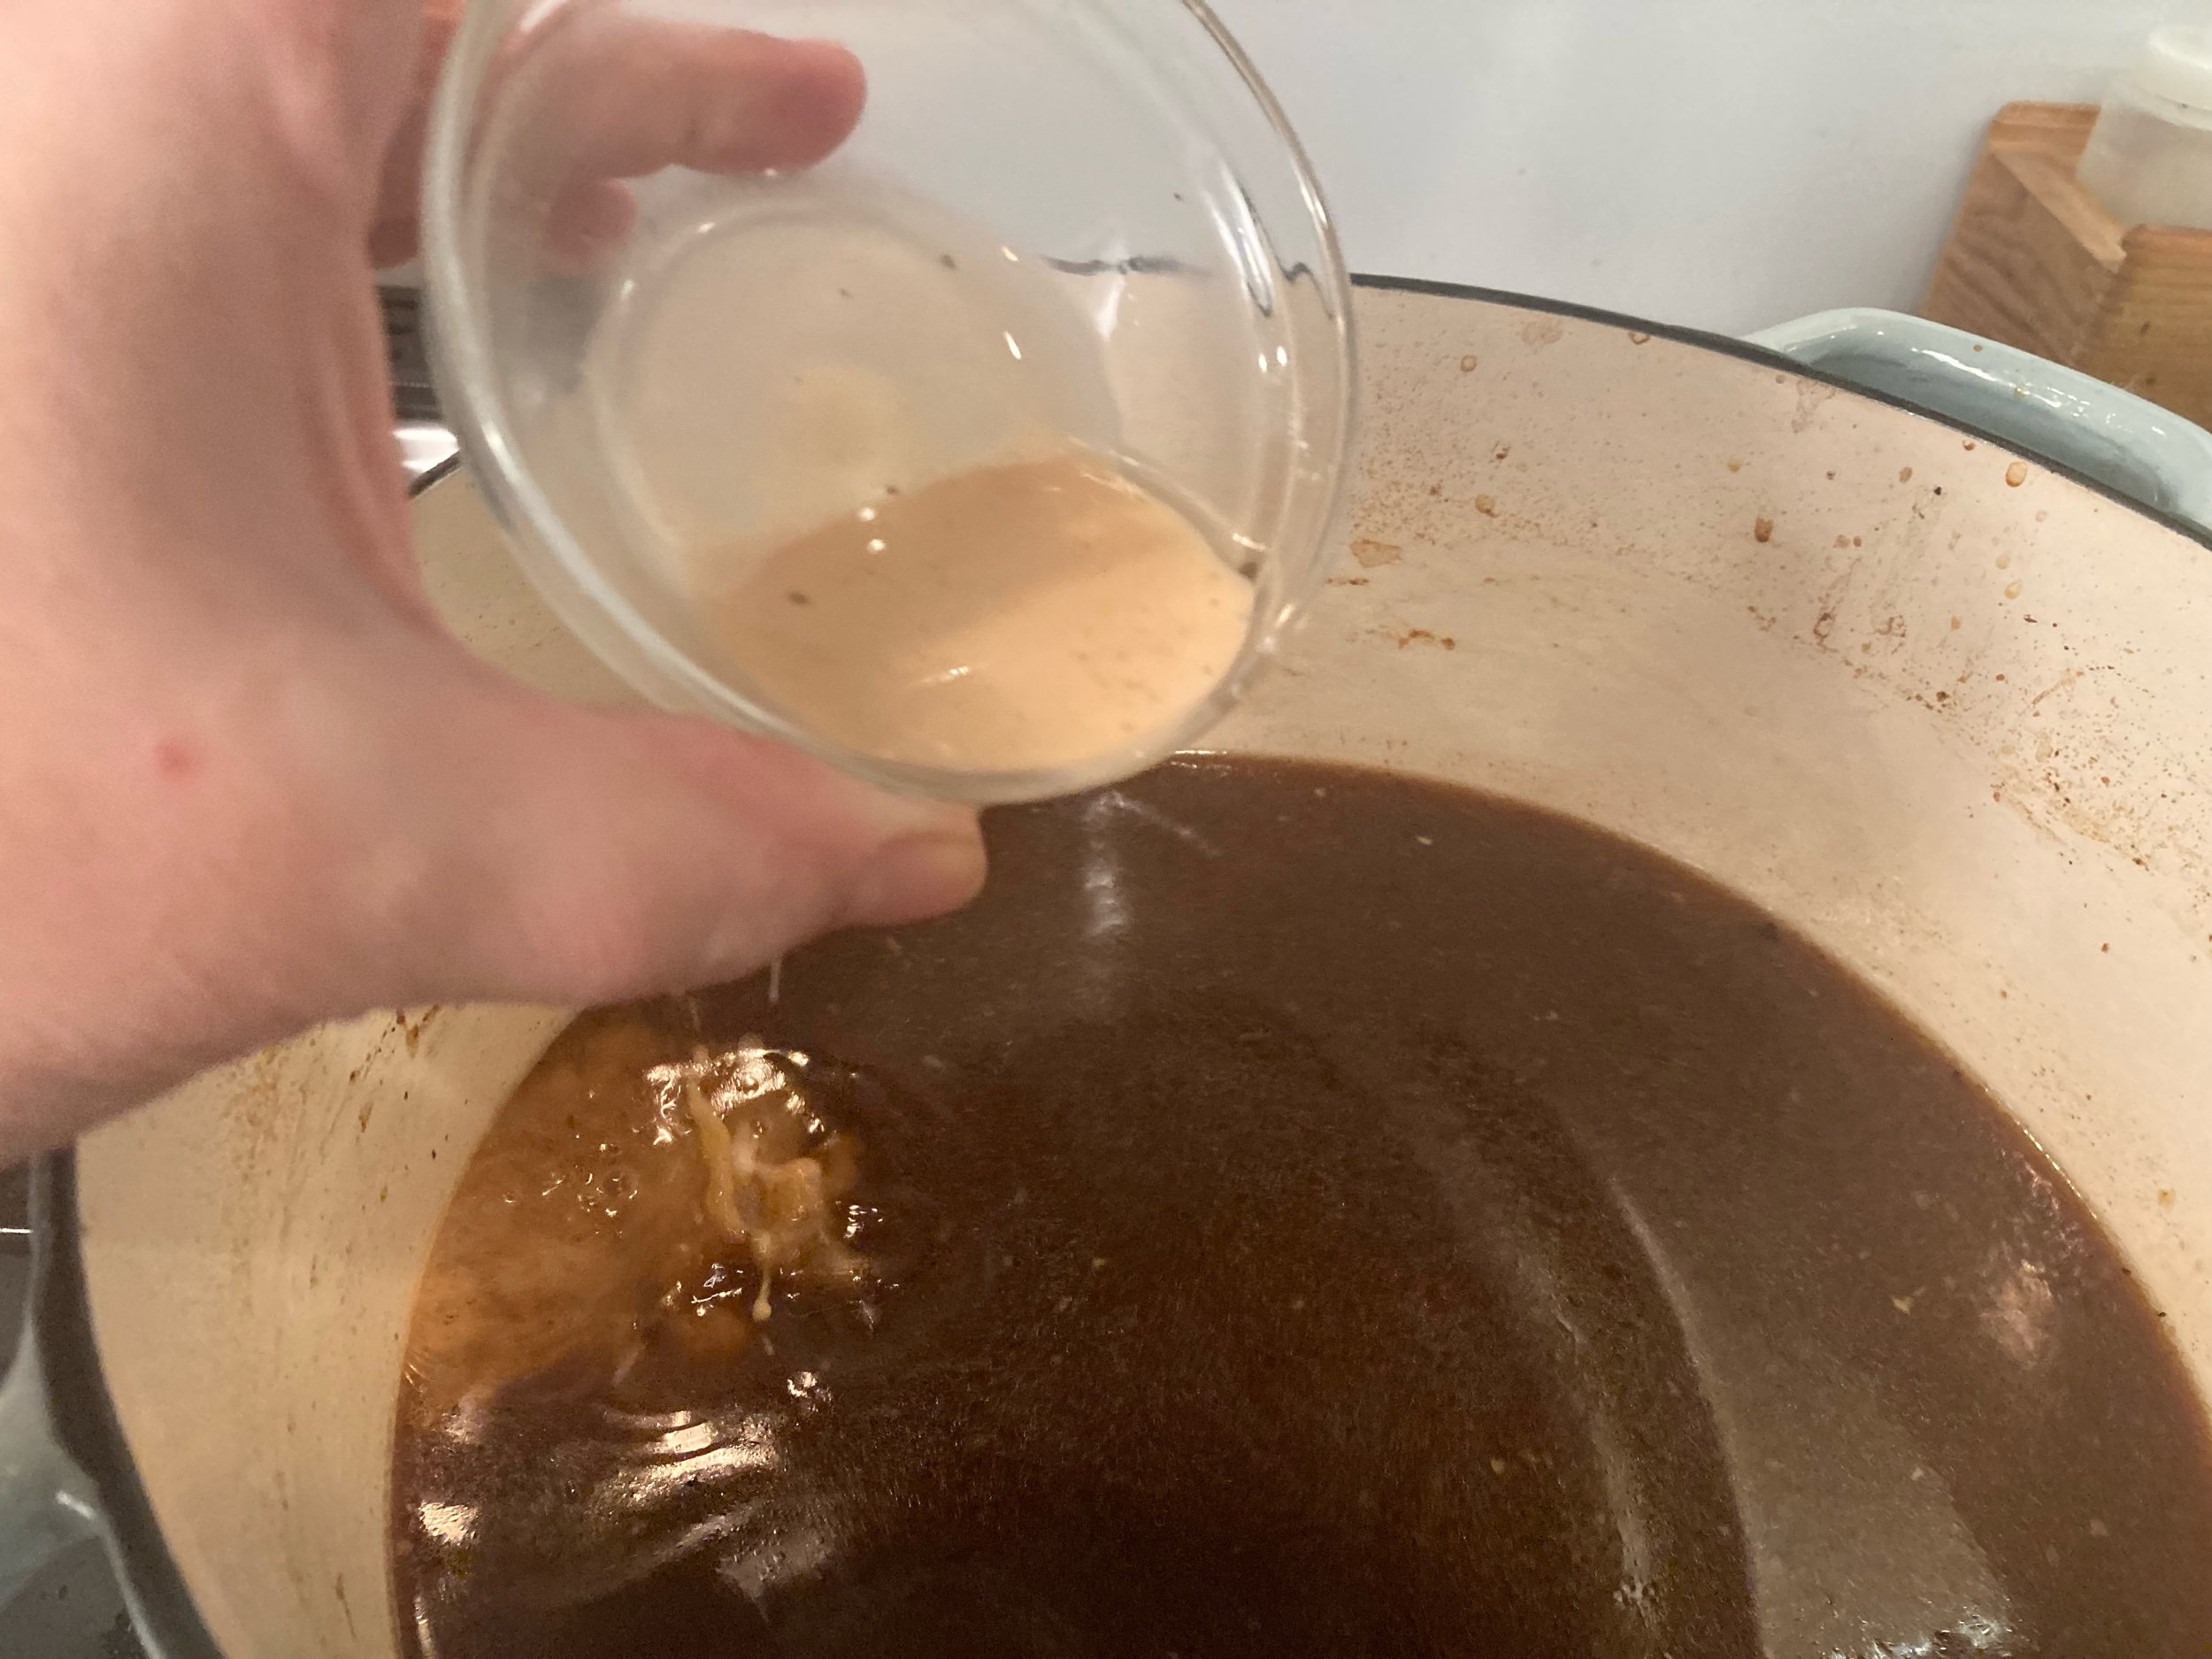
Stir in your pearl onions and bacon. Taste for seasoning, but go easy as flavors will continue to concentrate.
Continue baking for 1 hour, or until meat is very tender.

Remove and discard your bay leaves and thyme sprigs. Or don’t. Thyme sprigs in your dinner are like prizes in Kinder Eggs.


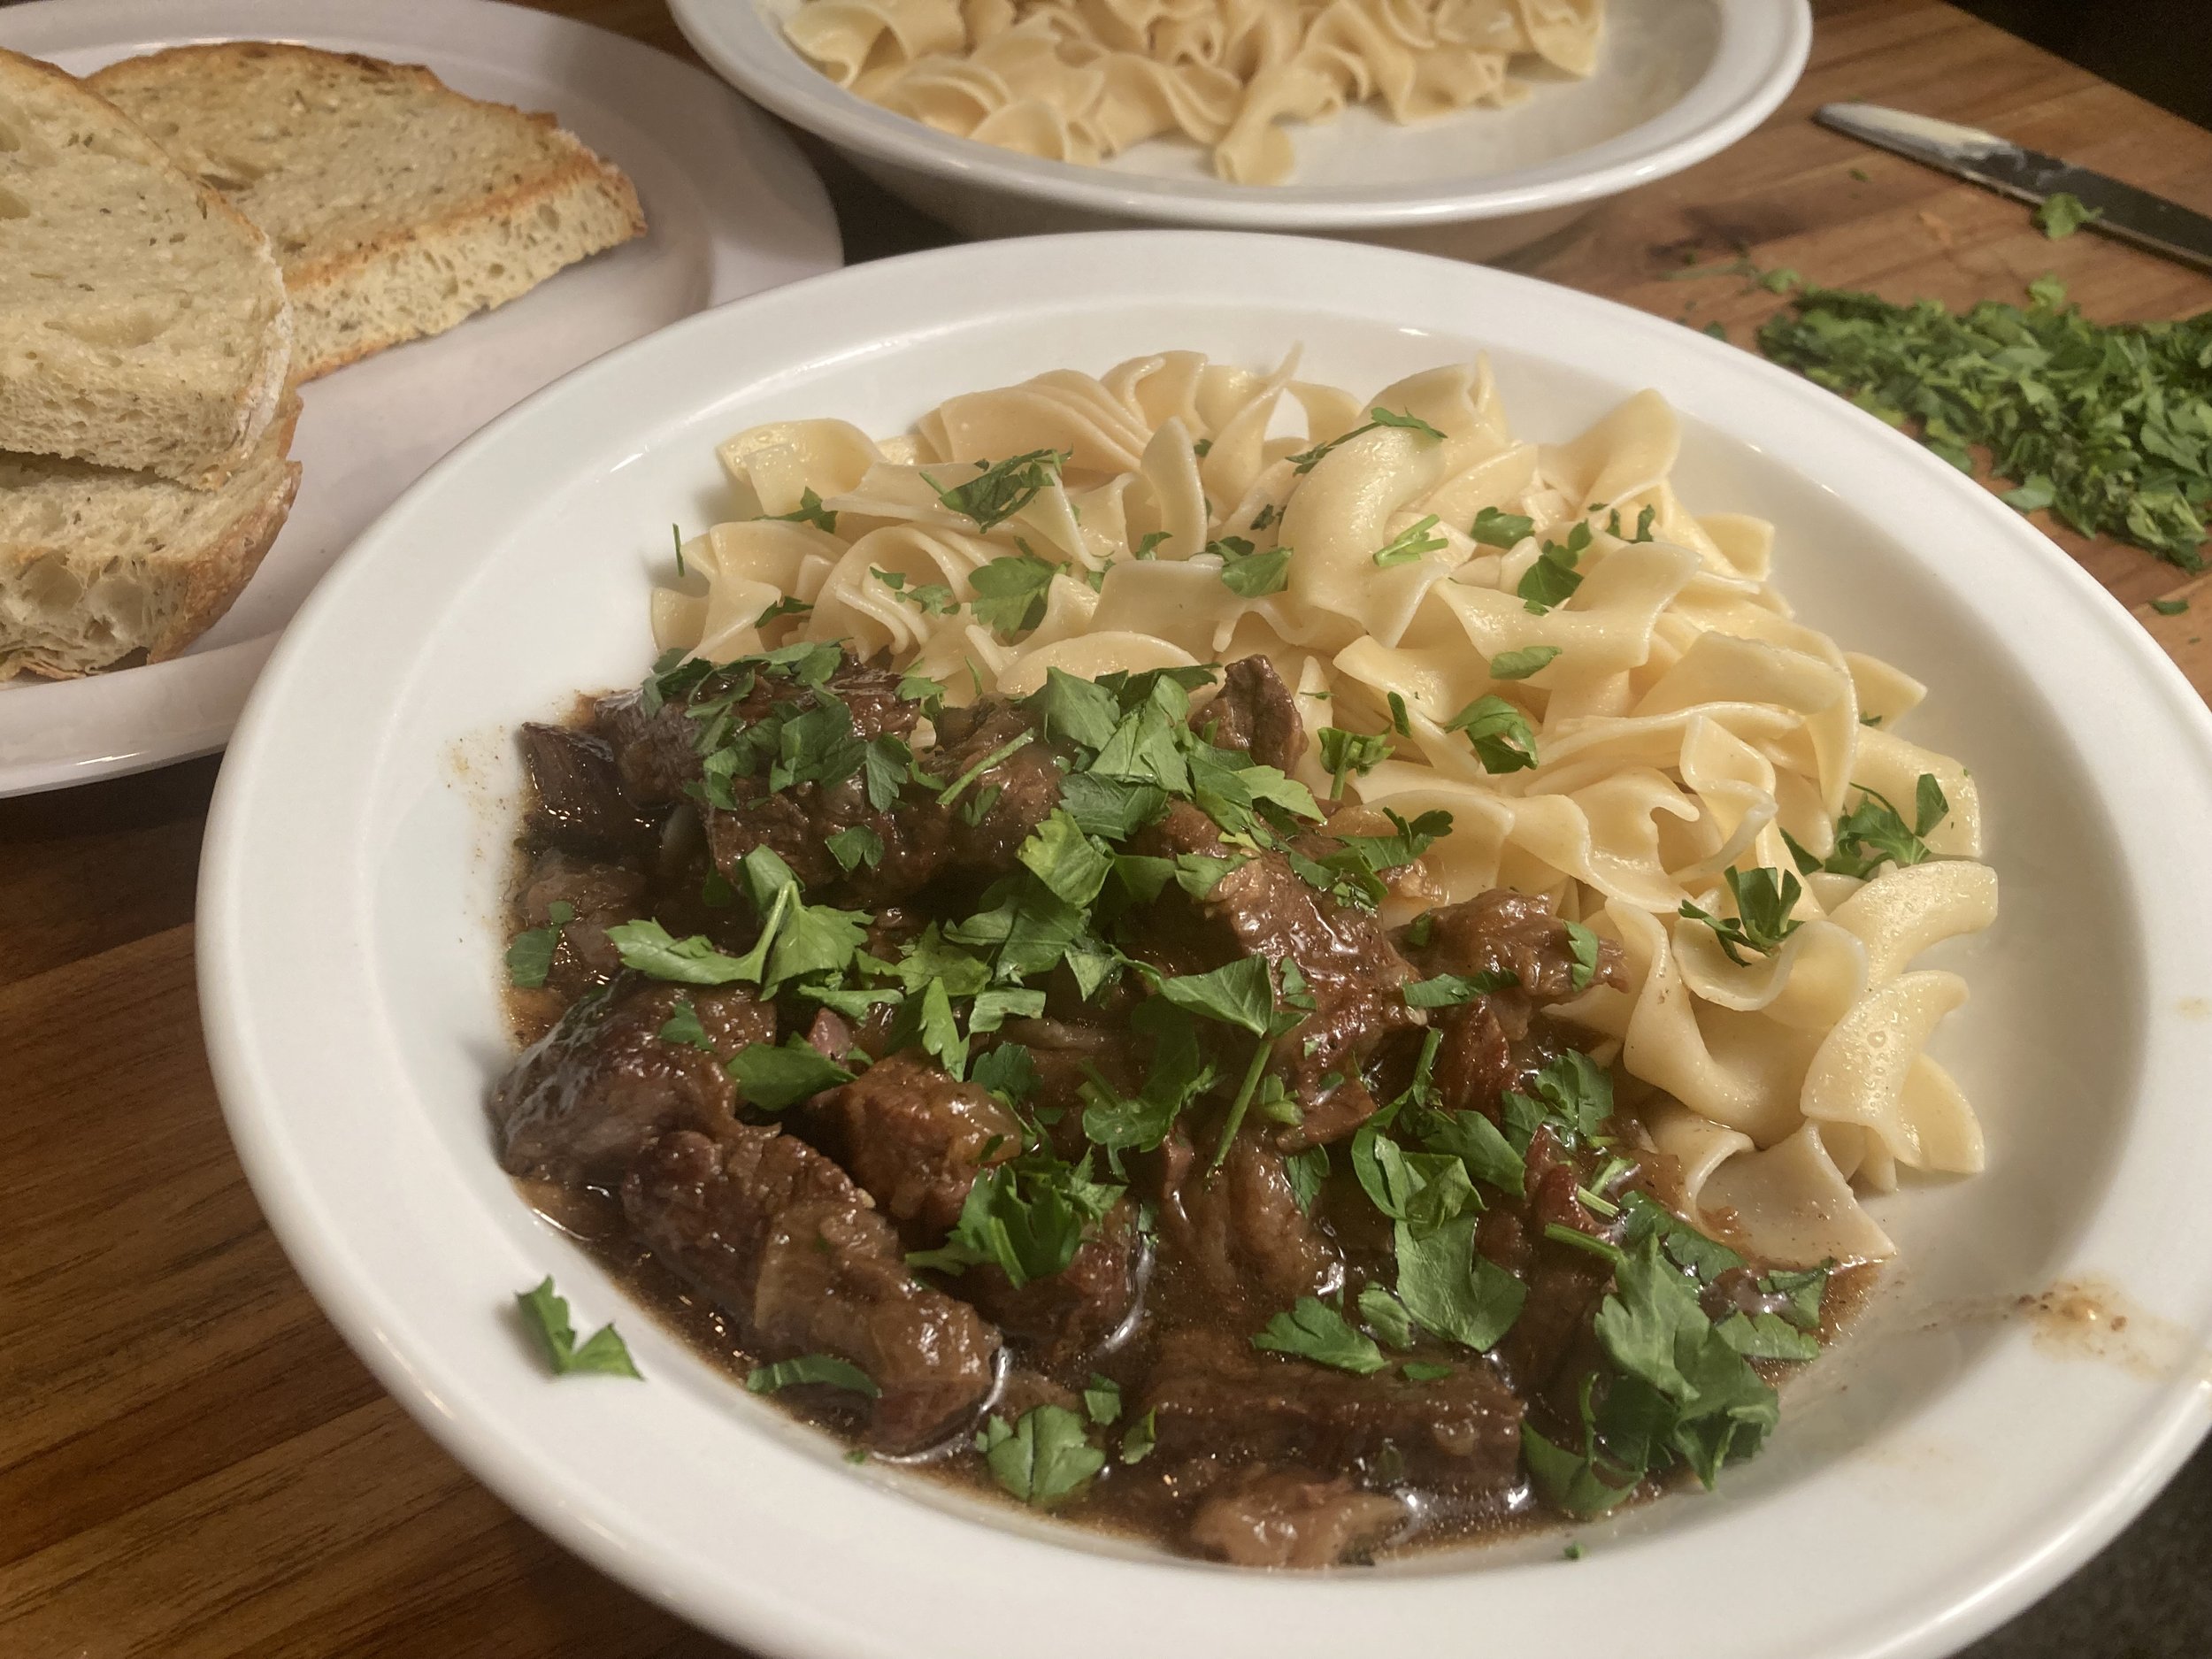
Before serving, sprinkle with parsley. Serve with mashed potatoes or noodles.


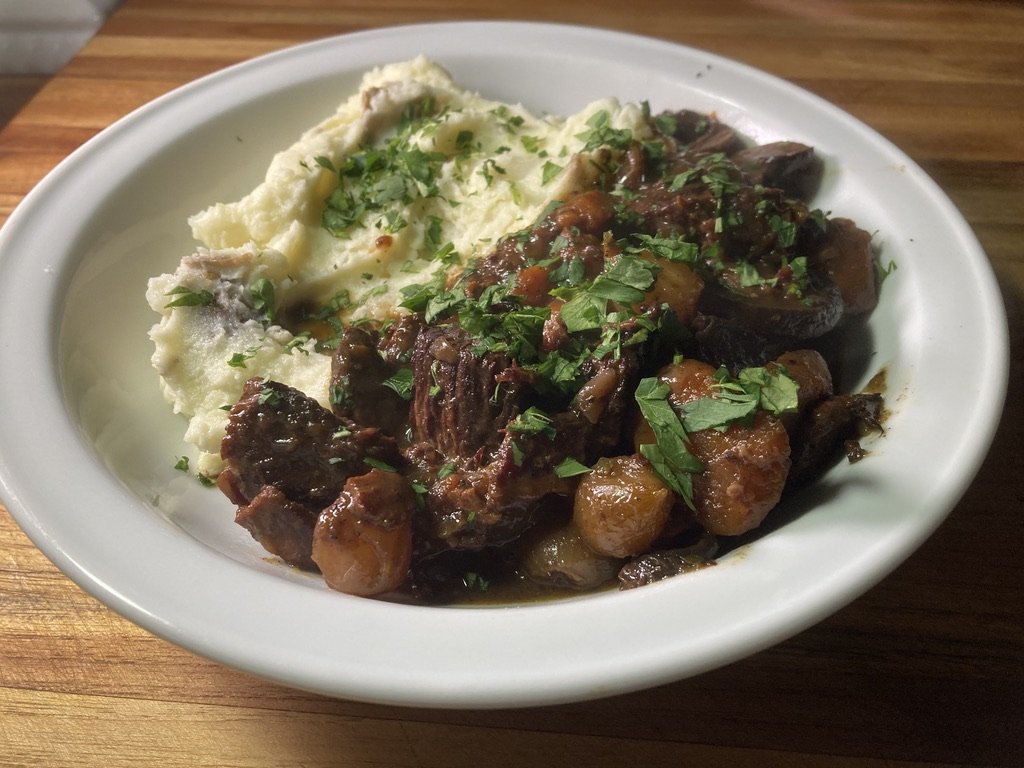

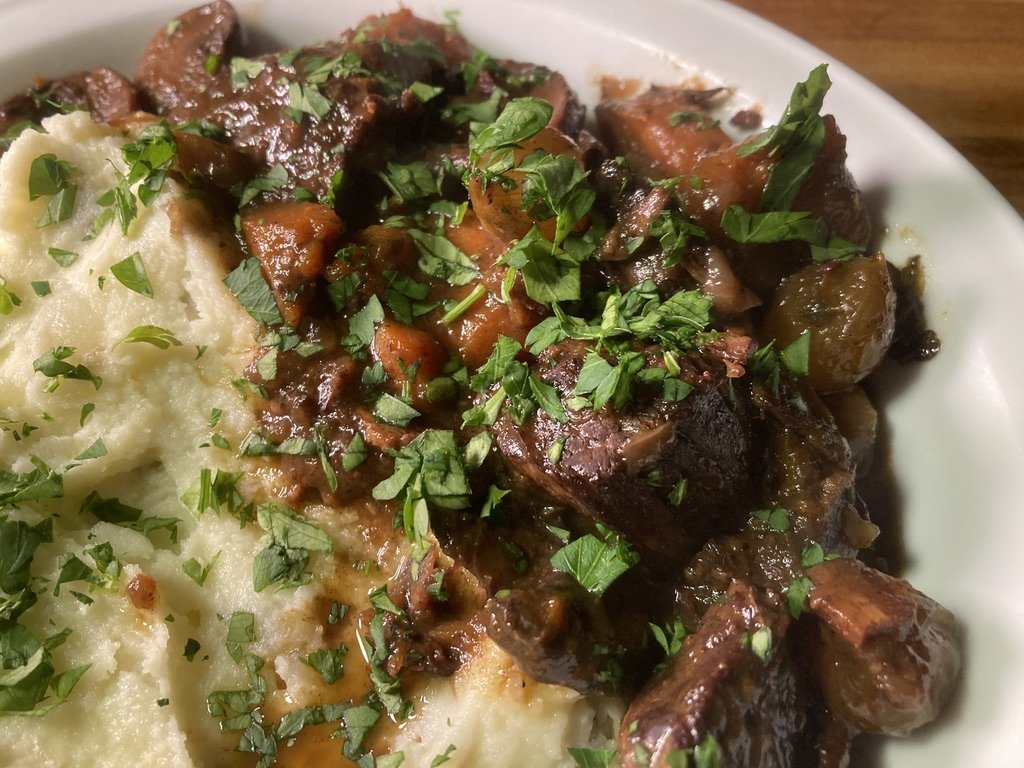
This was really good, even Luke said so. Made excellent leftovers the next day.
Hey I got some new lights. I think my food pics look better. If you think so too, thanks, I can feel your positivity just thinking it. If you don’t, you can keep it to yourself. Hugs to you either way.
Here’s my first attempt at drawing my dog. Drawing not my thing. But this is Chief Brody, and we got him in June, and he’s the stinking bestest boi, so I tried to draw him.

If I can manage to go 30 days not buying anything from A**zon or K**ger, Imma make myself a t-shirt to celebrate what I’m calling a “no-naversary” with this shitty drawing of my goodest bestest boi. And a rose dangling over him.
I’d post a real picture of him, but he’s not old enough to give his consent yet.
What no-naversaries will you celebrate this year?
See you all soon, and just remember, all your favorite children’s stories are about standing up to tyrants.
Citation
Tipton-Martin, Toni. Jubilee: Recipes from Two Centuries of African American Cooking. Clarkson-Potter, 2019.

Winter Roasted Tomatoes
from Alice Waters The Art of Simple Food
Winter Roasted Tomatoes from Alice Waters’ The Art of Simple Food
It’s the third week of May, but where I live in the PNW, for some reason we still haven’t had a night over 50 degrees this month, so my tomatoes still sit under grow lights in the steam pipe distribution trunk. Point being, homegrown tomatoes are a ways away still, and it’s a rainy day here, so I thought I’d try a recipe from Alice Waters The Art of Simple Food called “Winter Roasted Tomatoes.” Ok, it’s less a recipe than a treatment, like one of those things The New York Times calls a “Recipe without a Recipe.”
This doesn’t really need to be made in Winter. Really any day when you can’t get in-season, or won’t get out-of-season tomatoes. But I wouldn’t make them on a warm day as your oven will be on for 4-5 hours, albeit fairly low.
I just saw a Target ad that tried to pitch that the security cameras in the self-checkout line are a cool fun way to check your hair and your outfit and your makeup, that we should embrace the surveillance because as long as we can see ourselves on camera it’s fun, right? We all of us clearly love filming ourselves, so Target filming us in the self-checkout is the same, right? Had folks singing and dancing and checking themselves out in the cameras put to Michelle Branch’s “Everywhere” but with the lyrics changed to be about how much fun it is to see ourselves in the security footage. Target: Selfies Welcome. I’m just saying.
It takes some time to cook this, so let’s go.
Winter Roasted Tomatoes
Set oven to 275 degrees.
Ingredients:
Olive oil
1 yellow onion
3-5 cloves garlic
Big can whole tomatoes (28 oz)
Fresh herbs, such as thyme, oregano, basil, rosemary, marjoram
Directions:
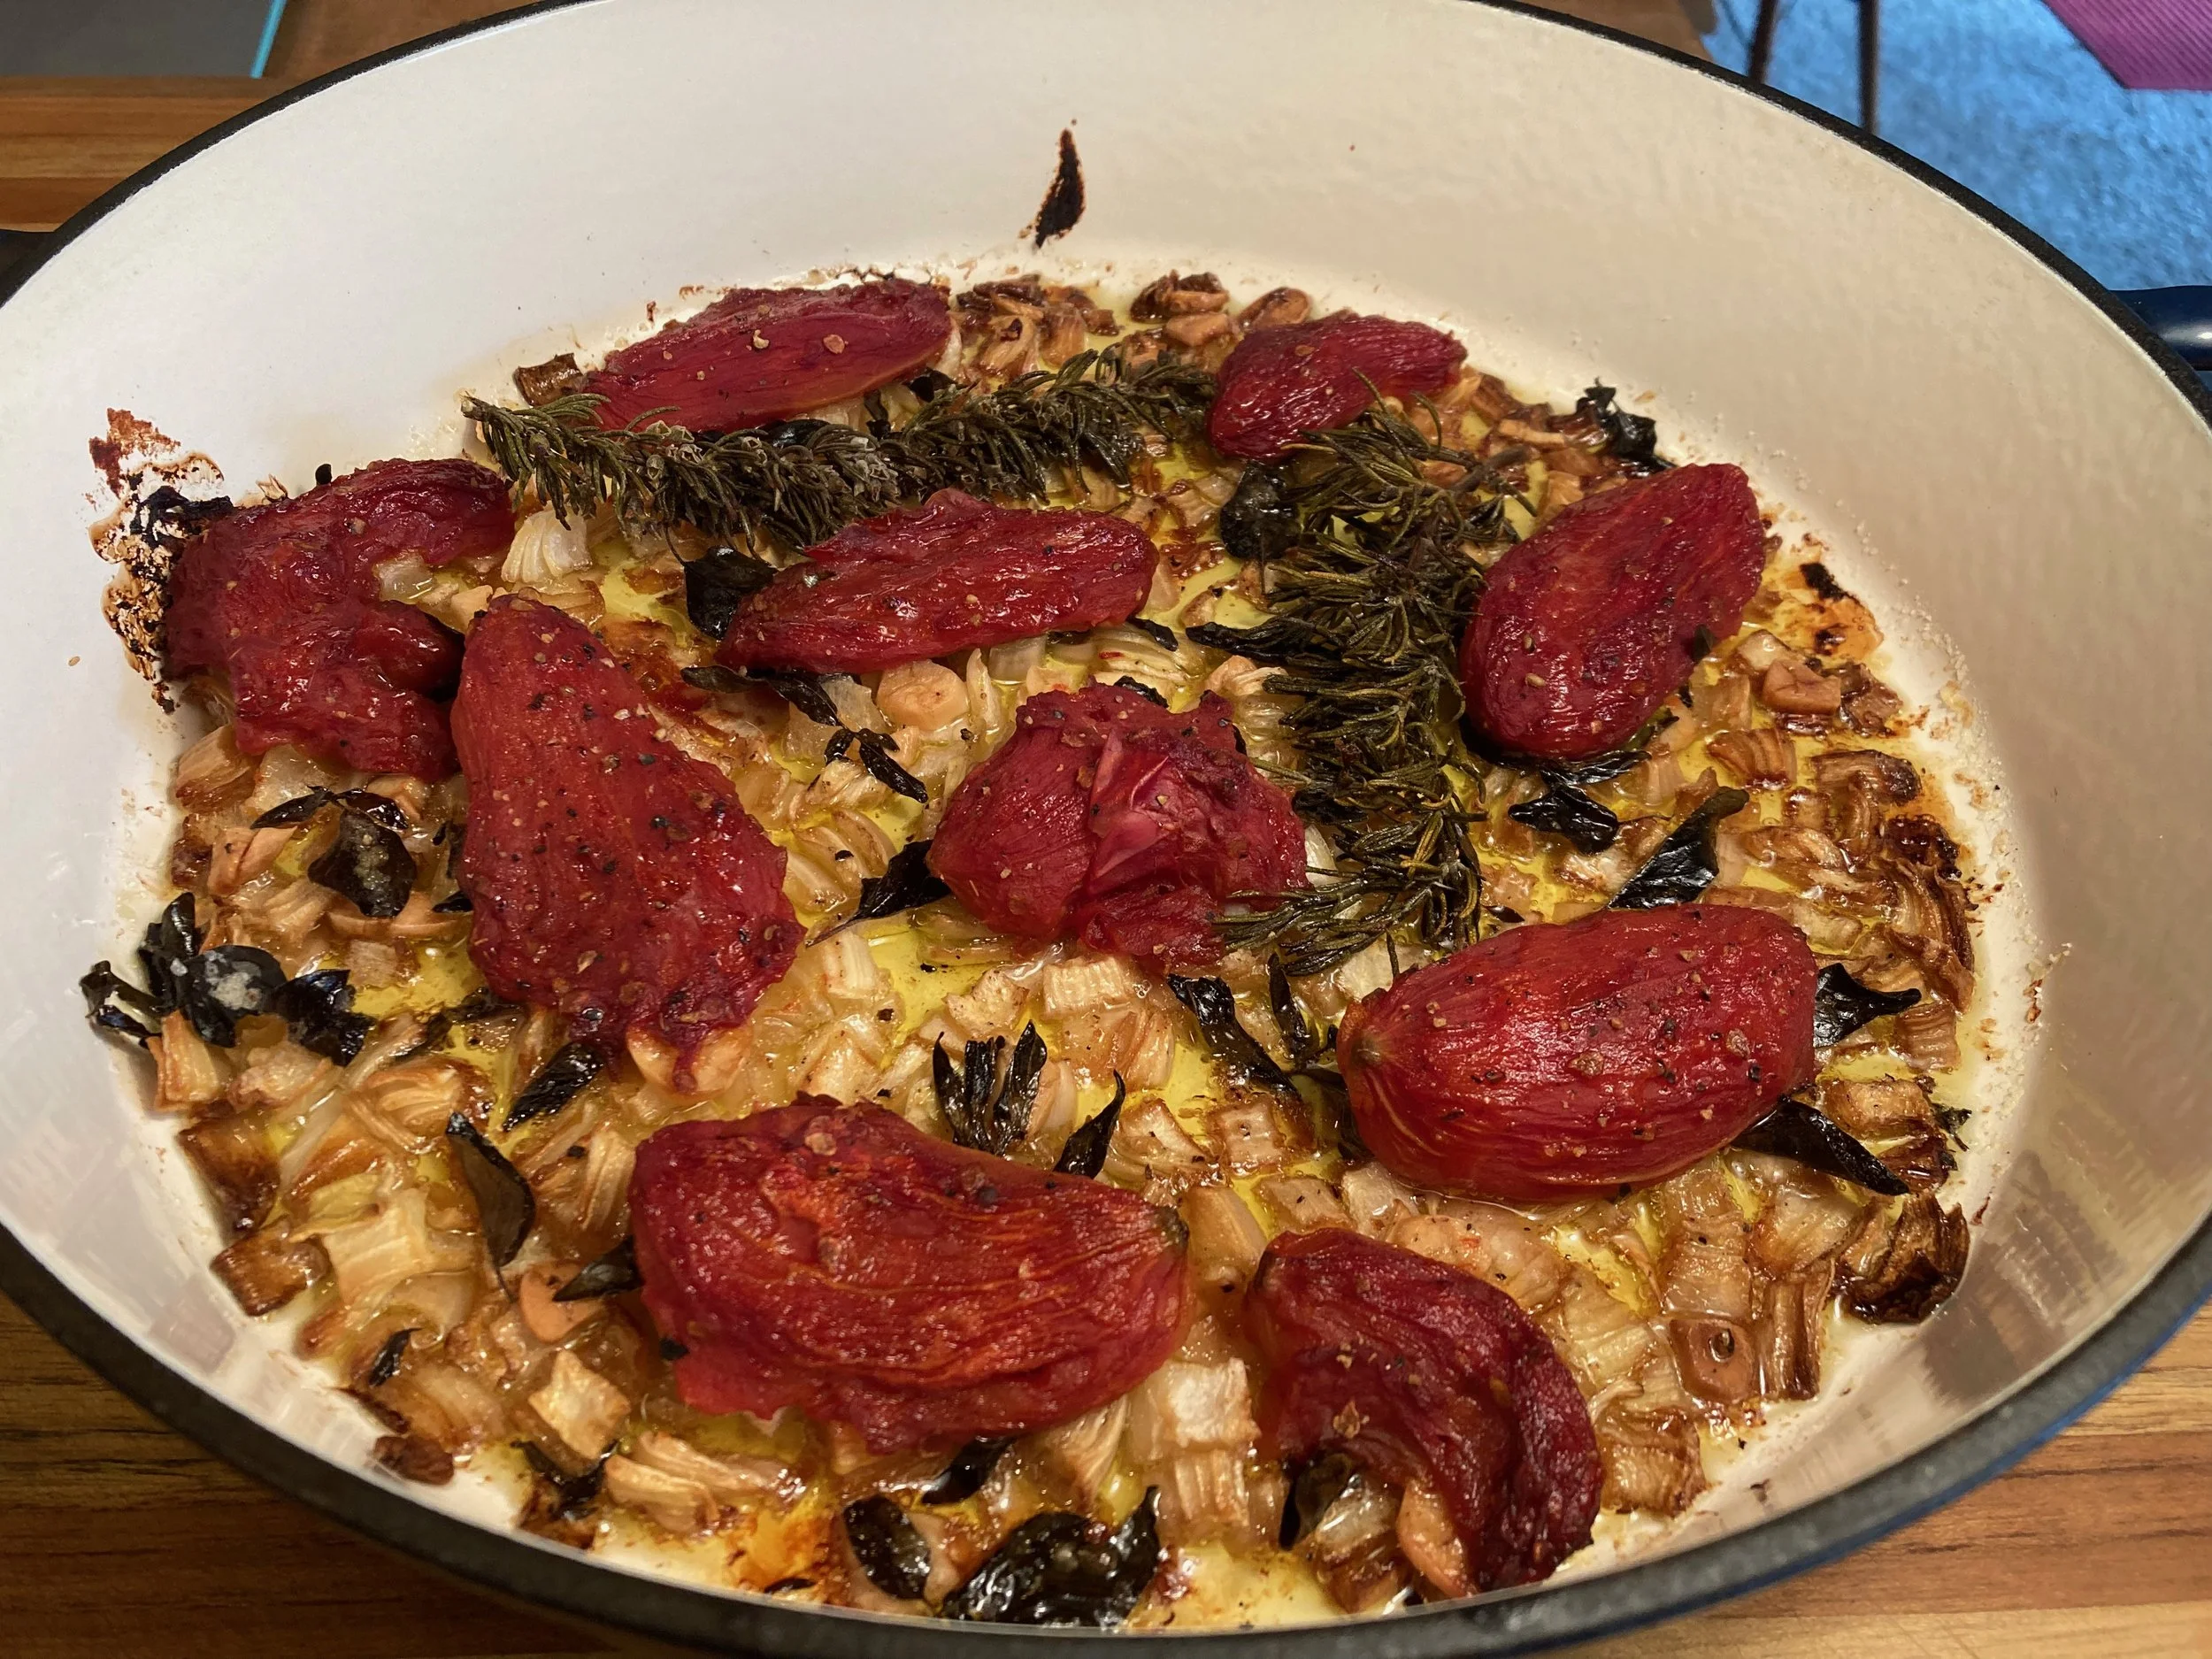
Pour a few glugs of olive oil into the bottom of a wide, shallow earthenware dish, casserole, etc., and spread it around so you have a nice coating. (I don’t have a large shallow earthenware dish, but my shallow enameled cast iron worked great. Don’t use non-enameled cast iron, though.) Dice up an onion and layer it on top of the olive oil. Slice up 3-5 garlic cloves, and scatter on the onions. Sprinkle with fresh herbs such as marjoram, oregano, basil, rosemary. I used oregano and rosemary, and kept the rosemary sprigs whole for ease of retrieval. Season with salt.
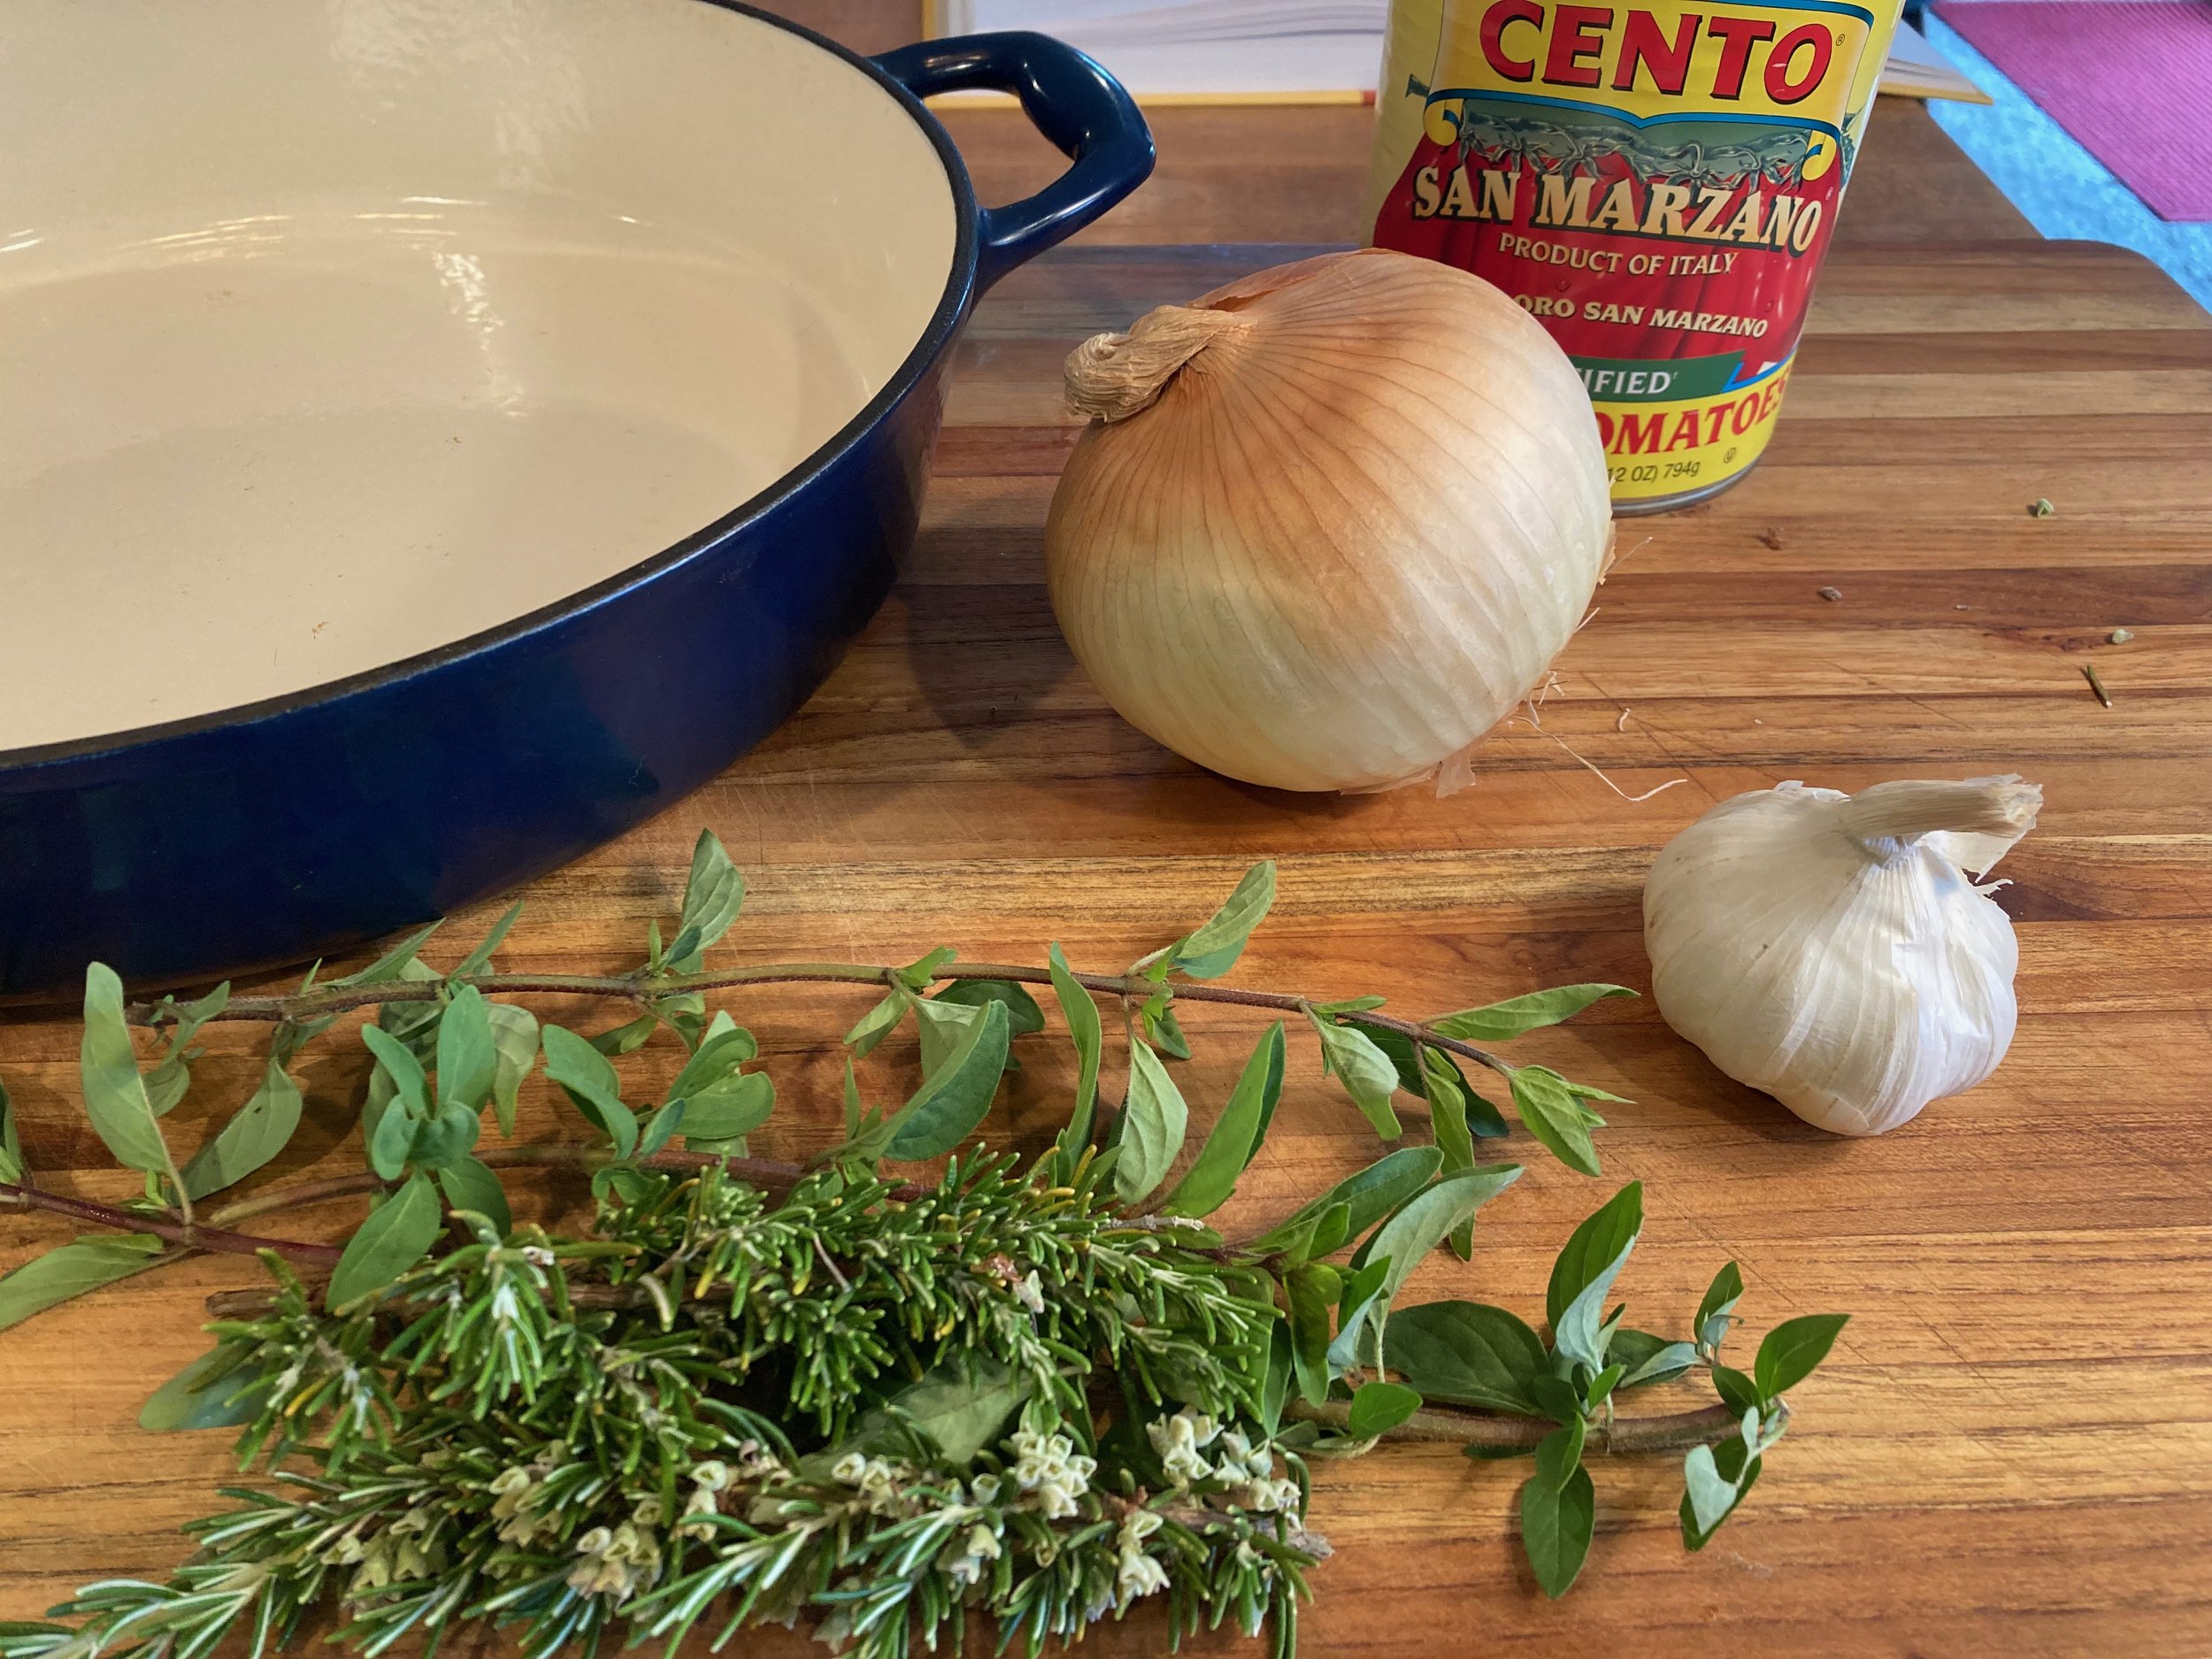
Gather the ingredients

Slice 3-5 cloves garlic

Chop one onion
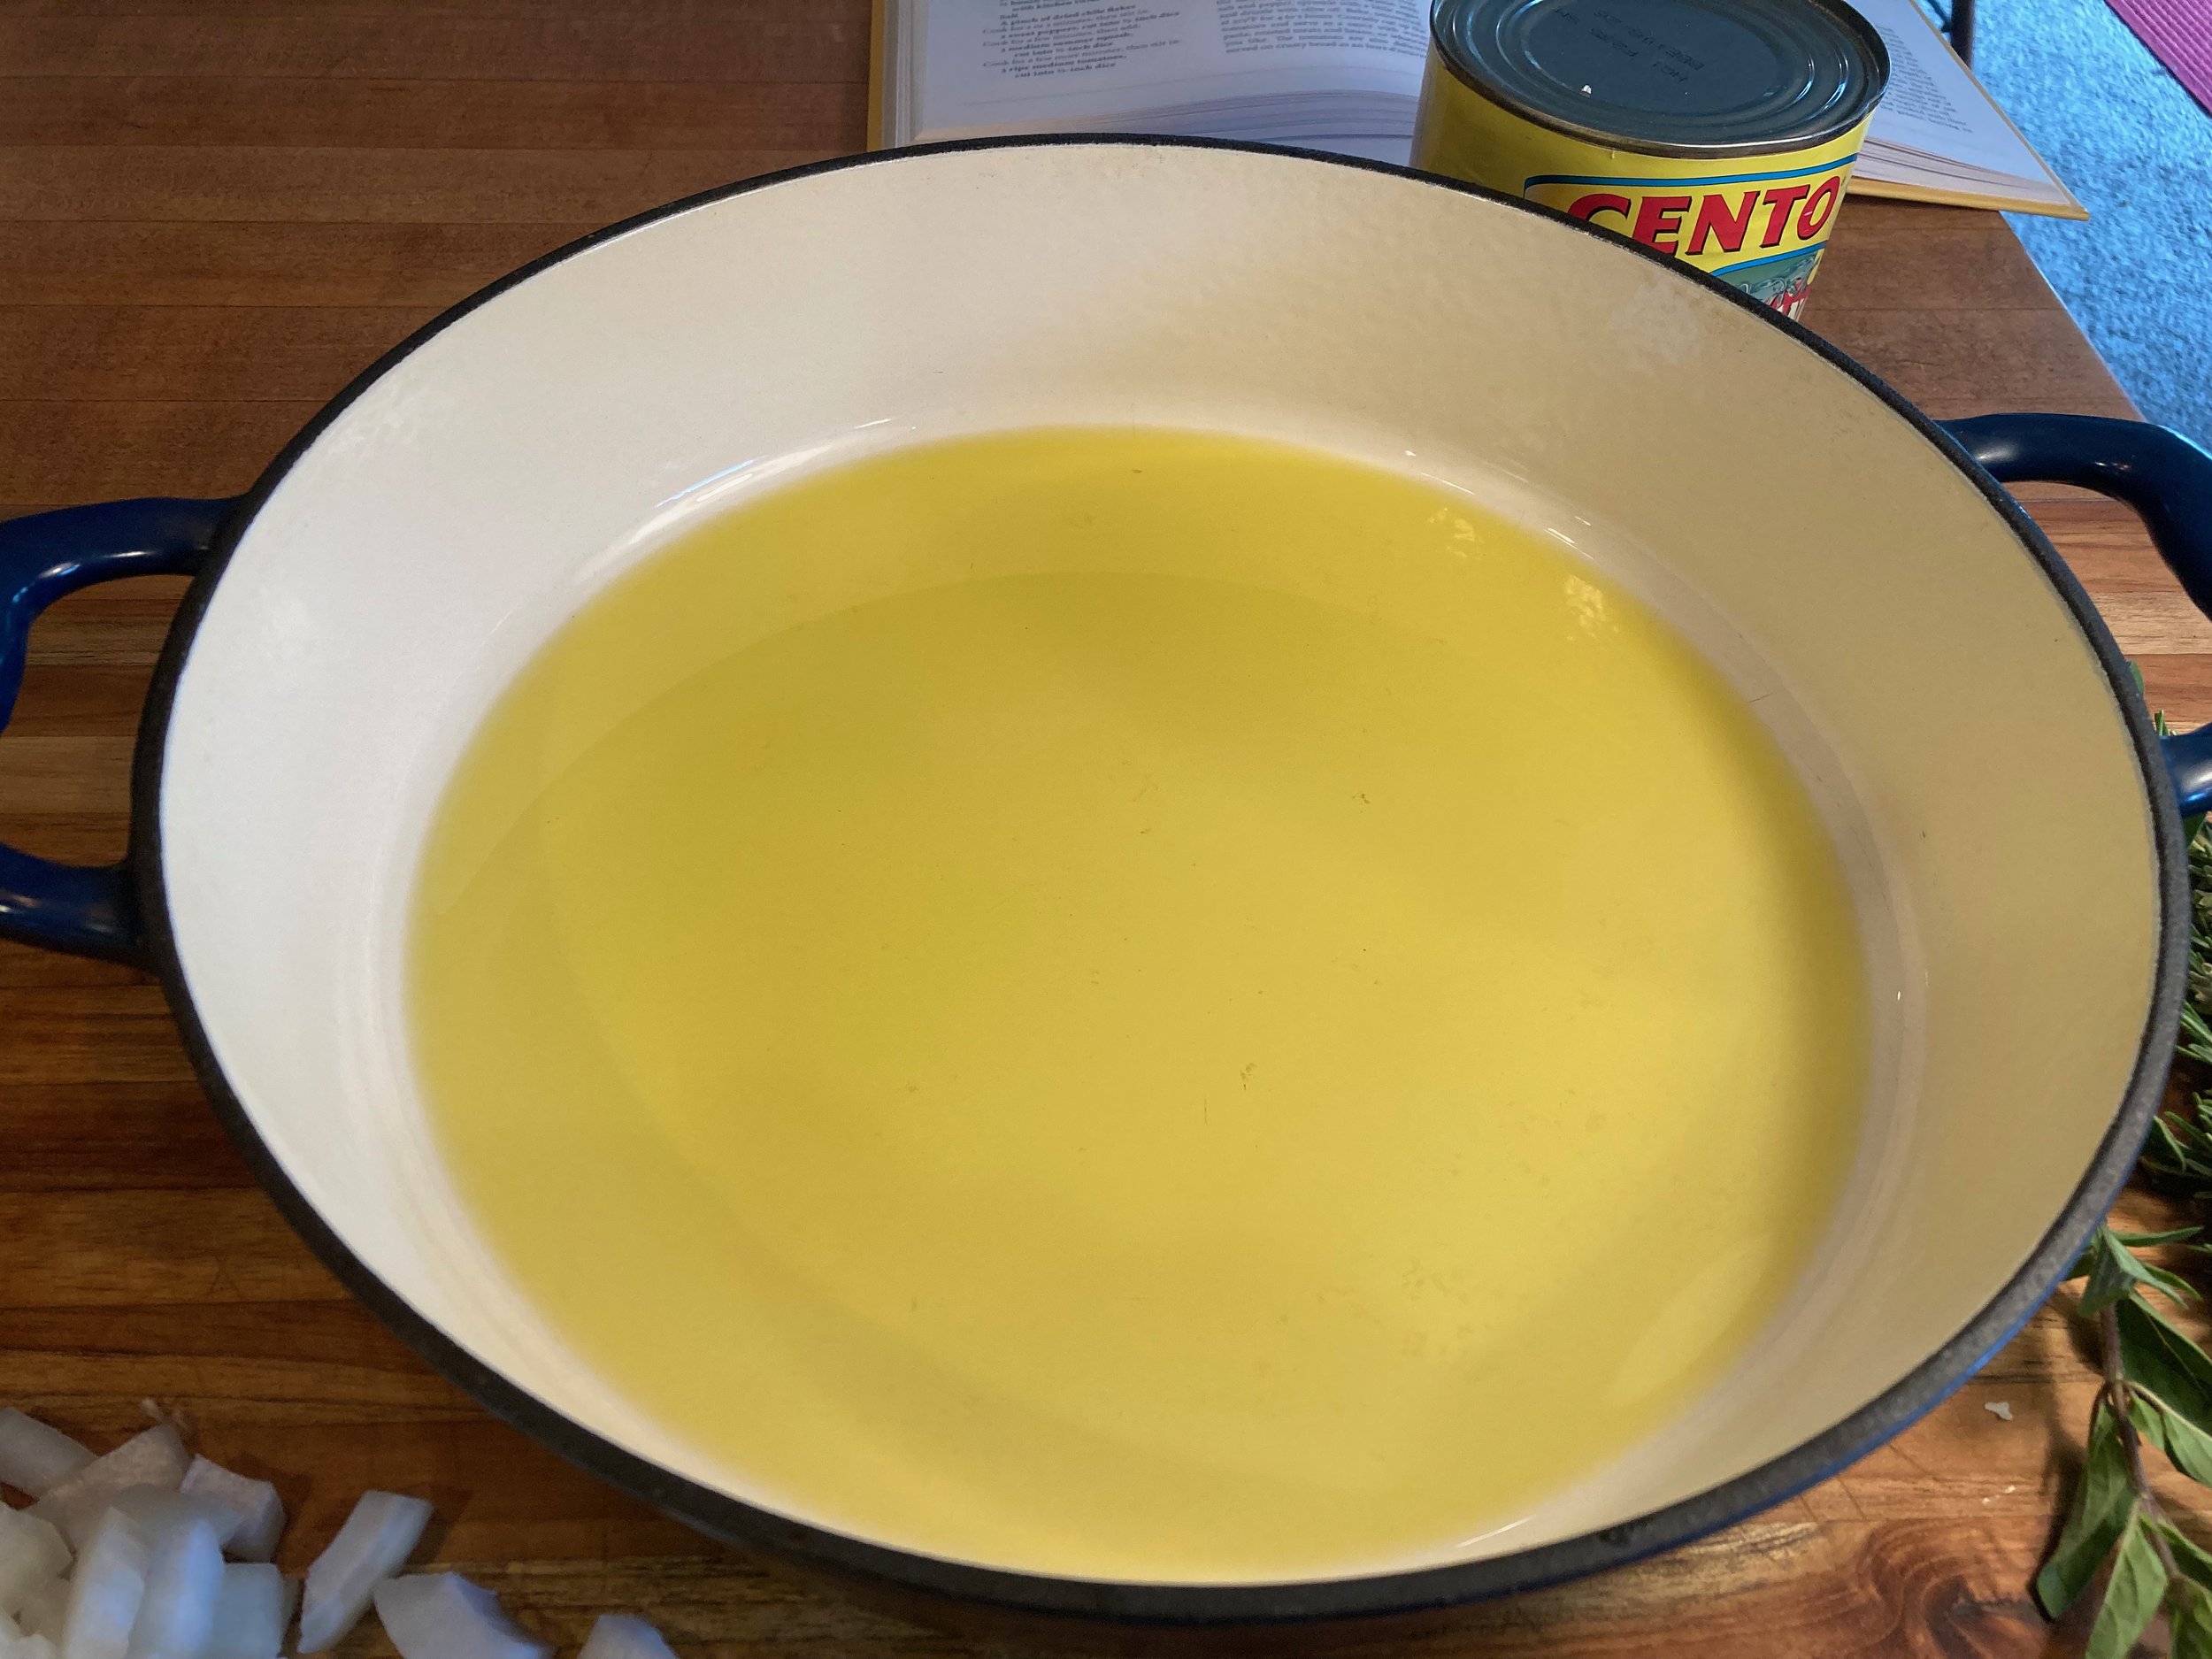
Add a couple good glugs of olive oil to your pot or pan

Add your onion and garlic

Sprinkle with fresh herbs
Strain a large can of whole peeled tomatoes. Save the tomato juice for another use, or drink. Salut!
Place the whole tomatoes on top of the diced onions, garlic, and herbs. Season again with more salt, pepper, and a pinch of sugar. You’re just layering everything.

Strain your tomatoes

Place tomatoes on top of olive oil, onion, garlic, and herbs
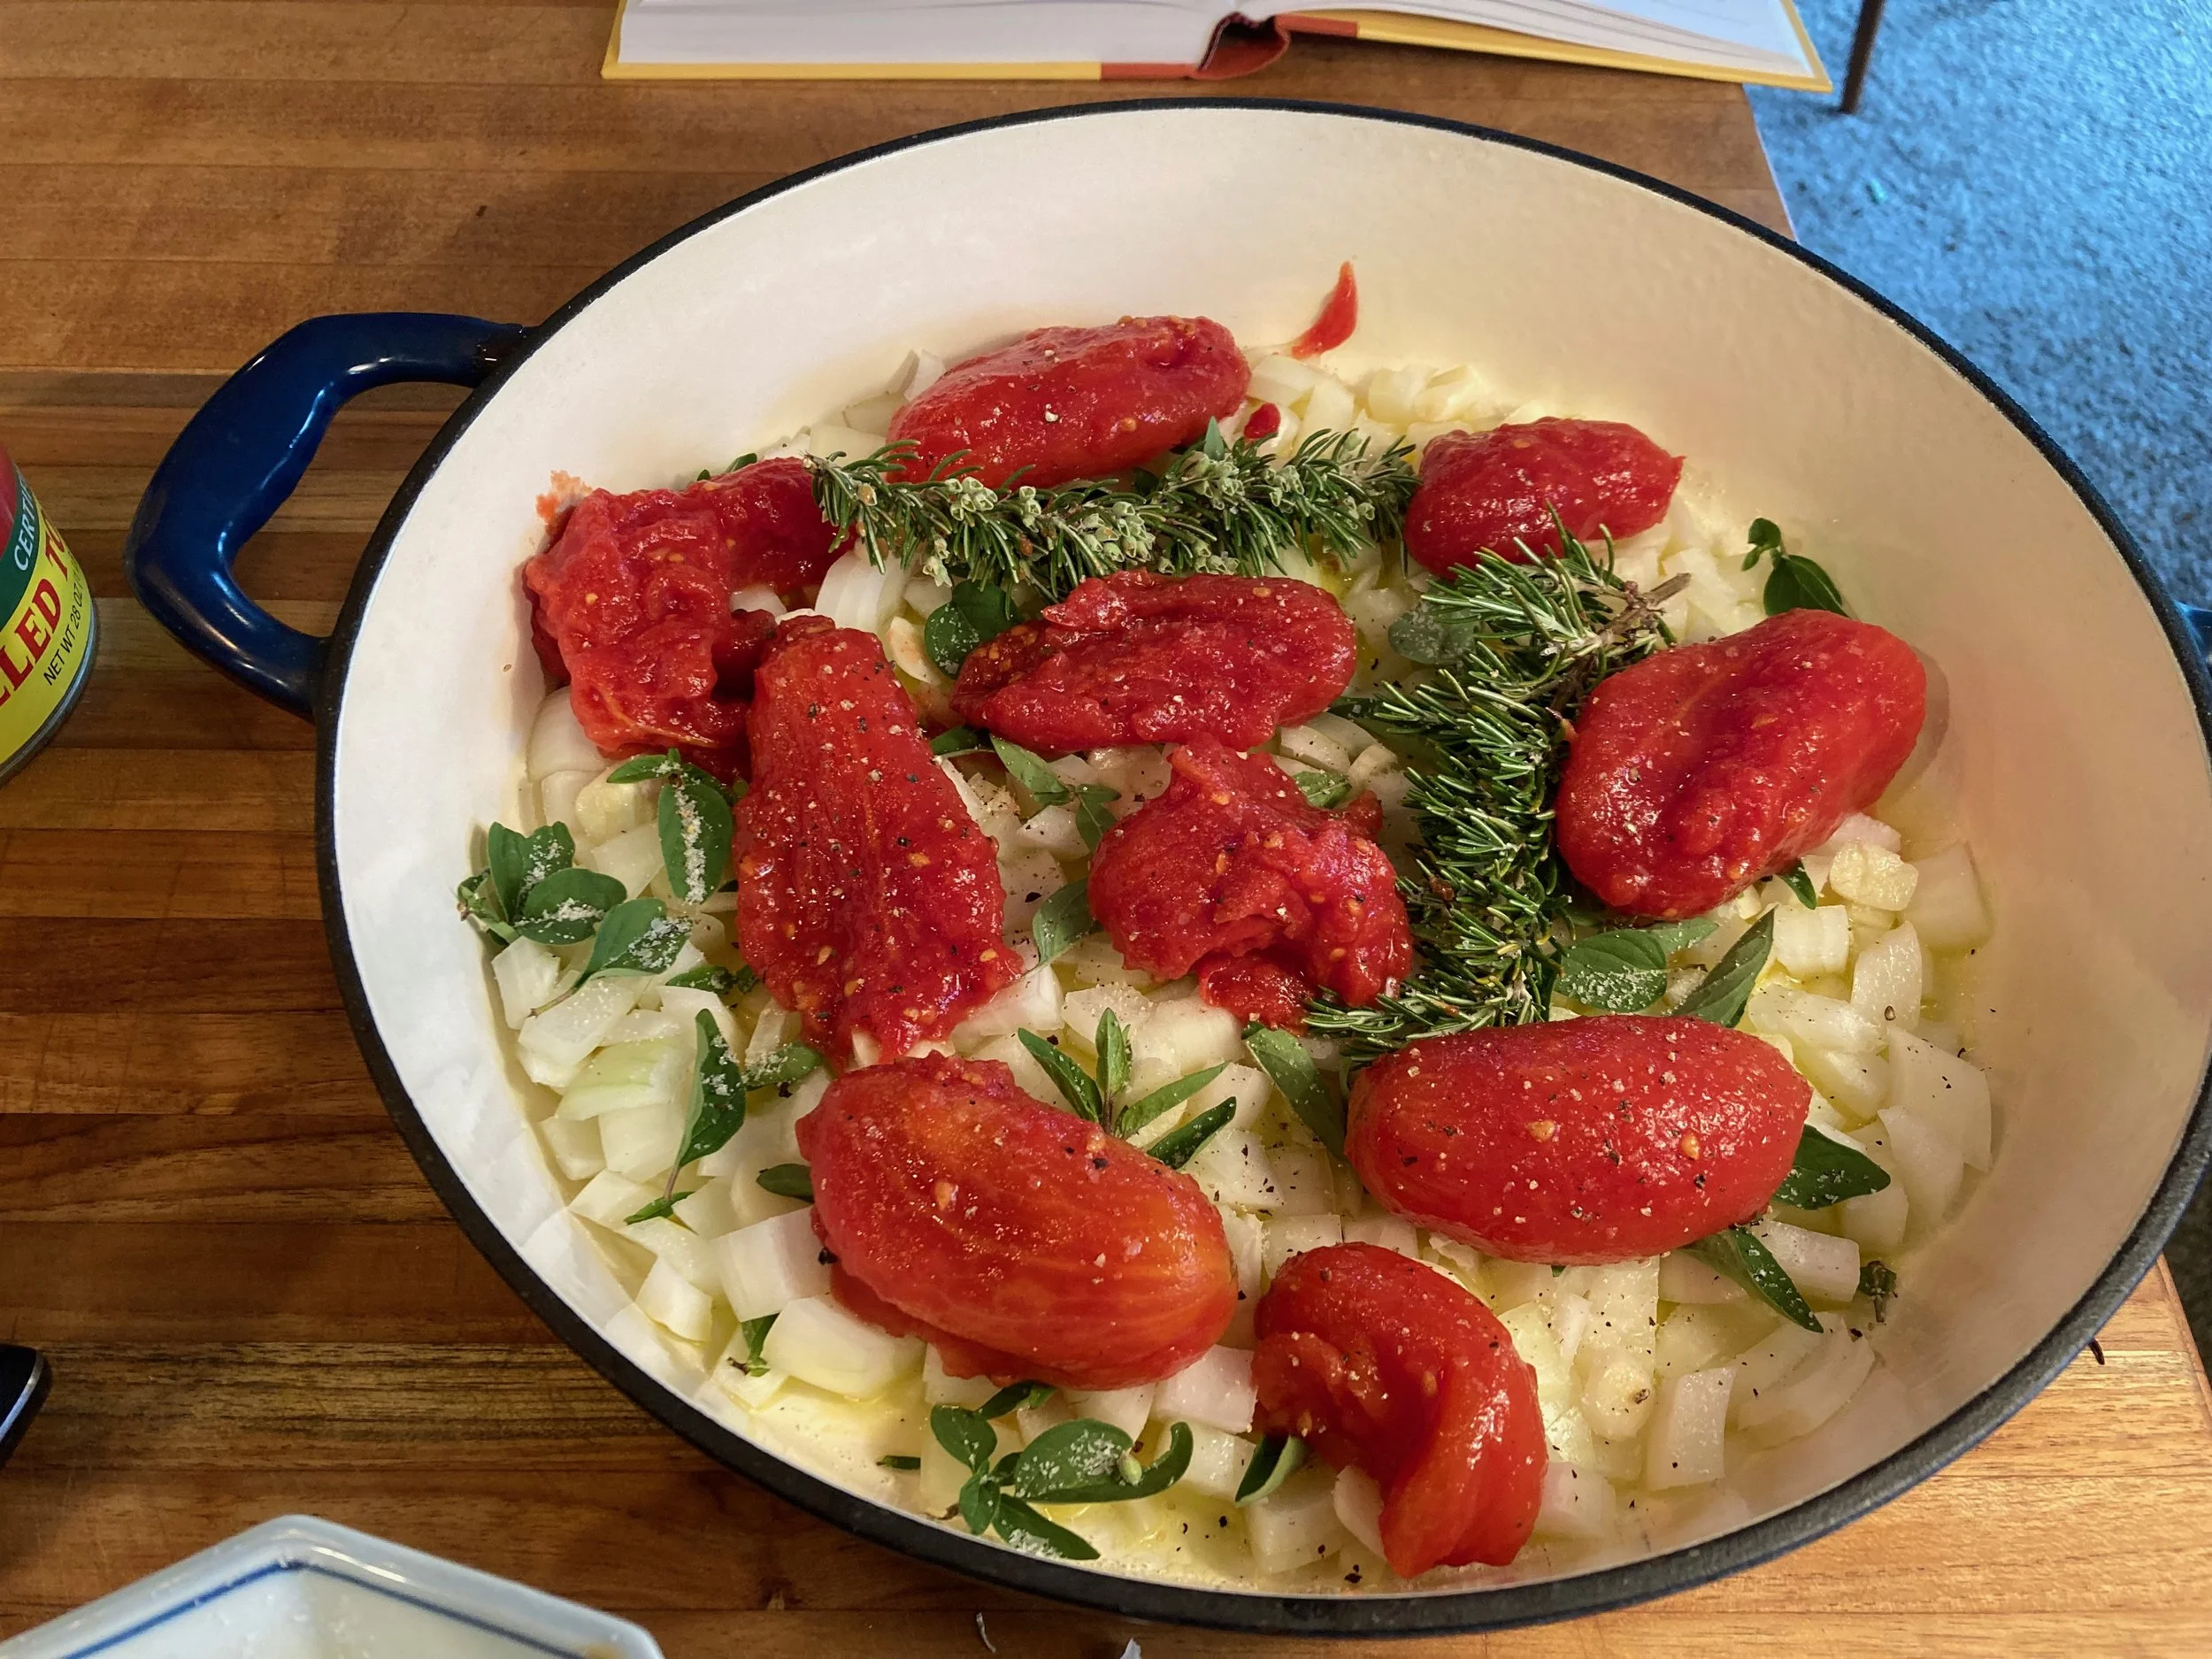
Season with salt, pepper, pinch of sugar, and drizzle more olive oil
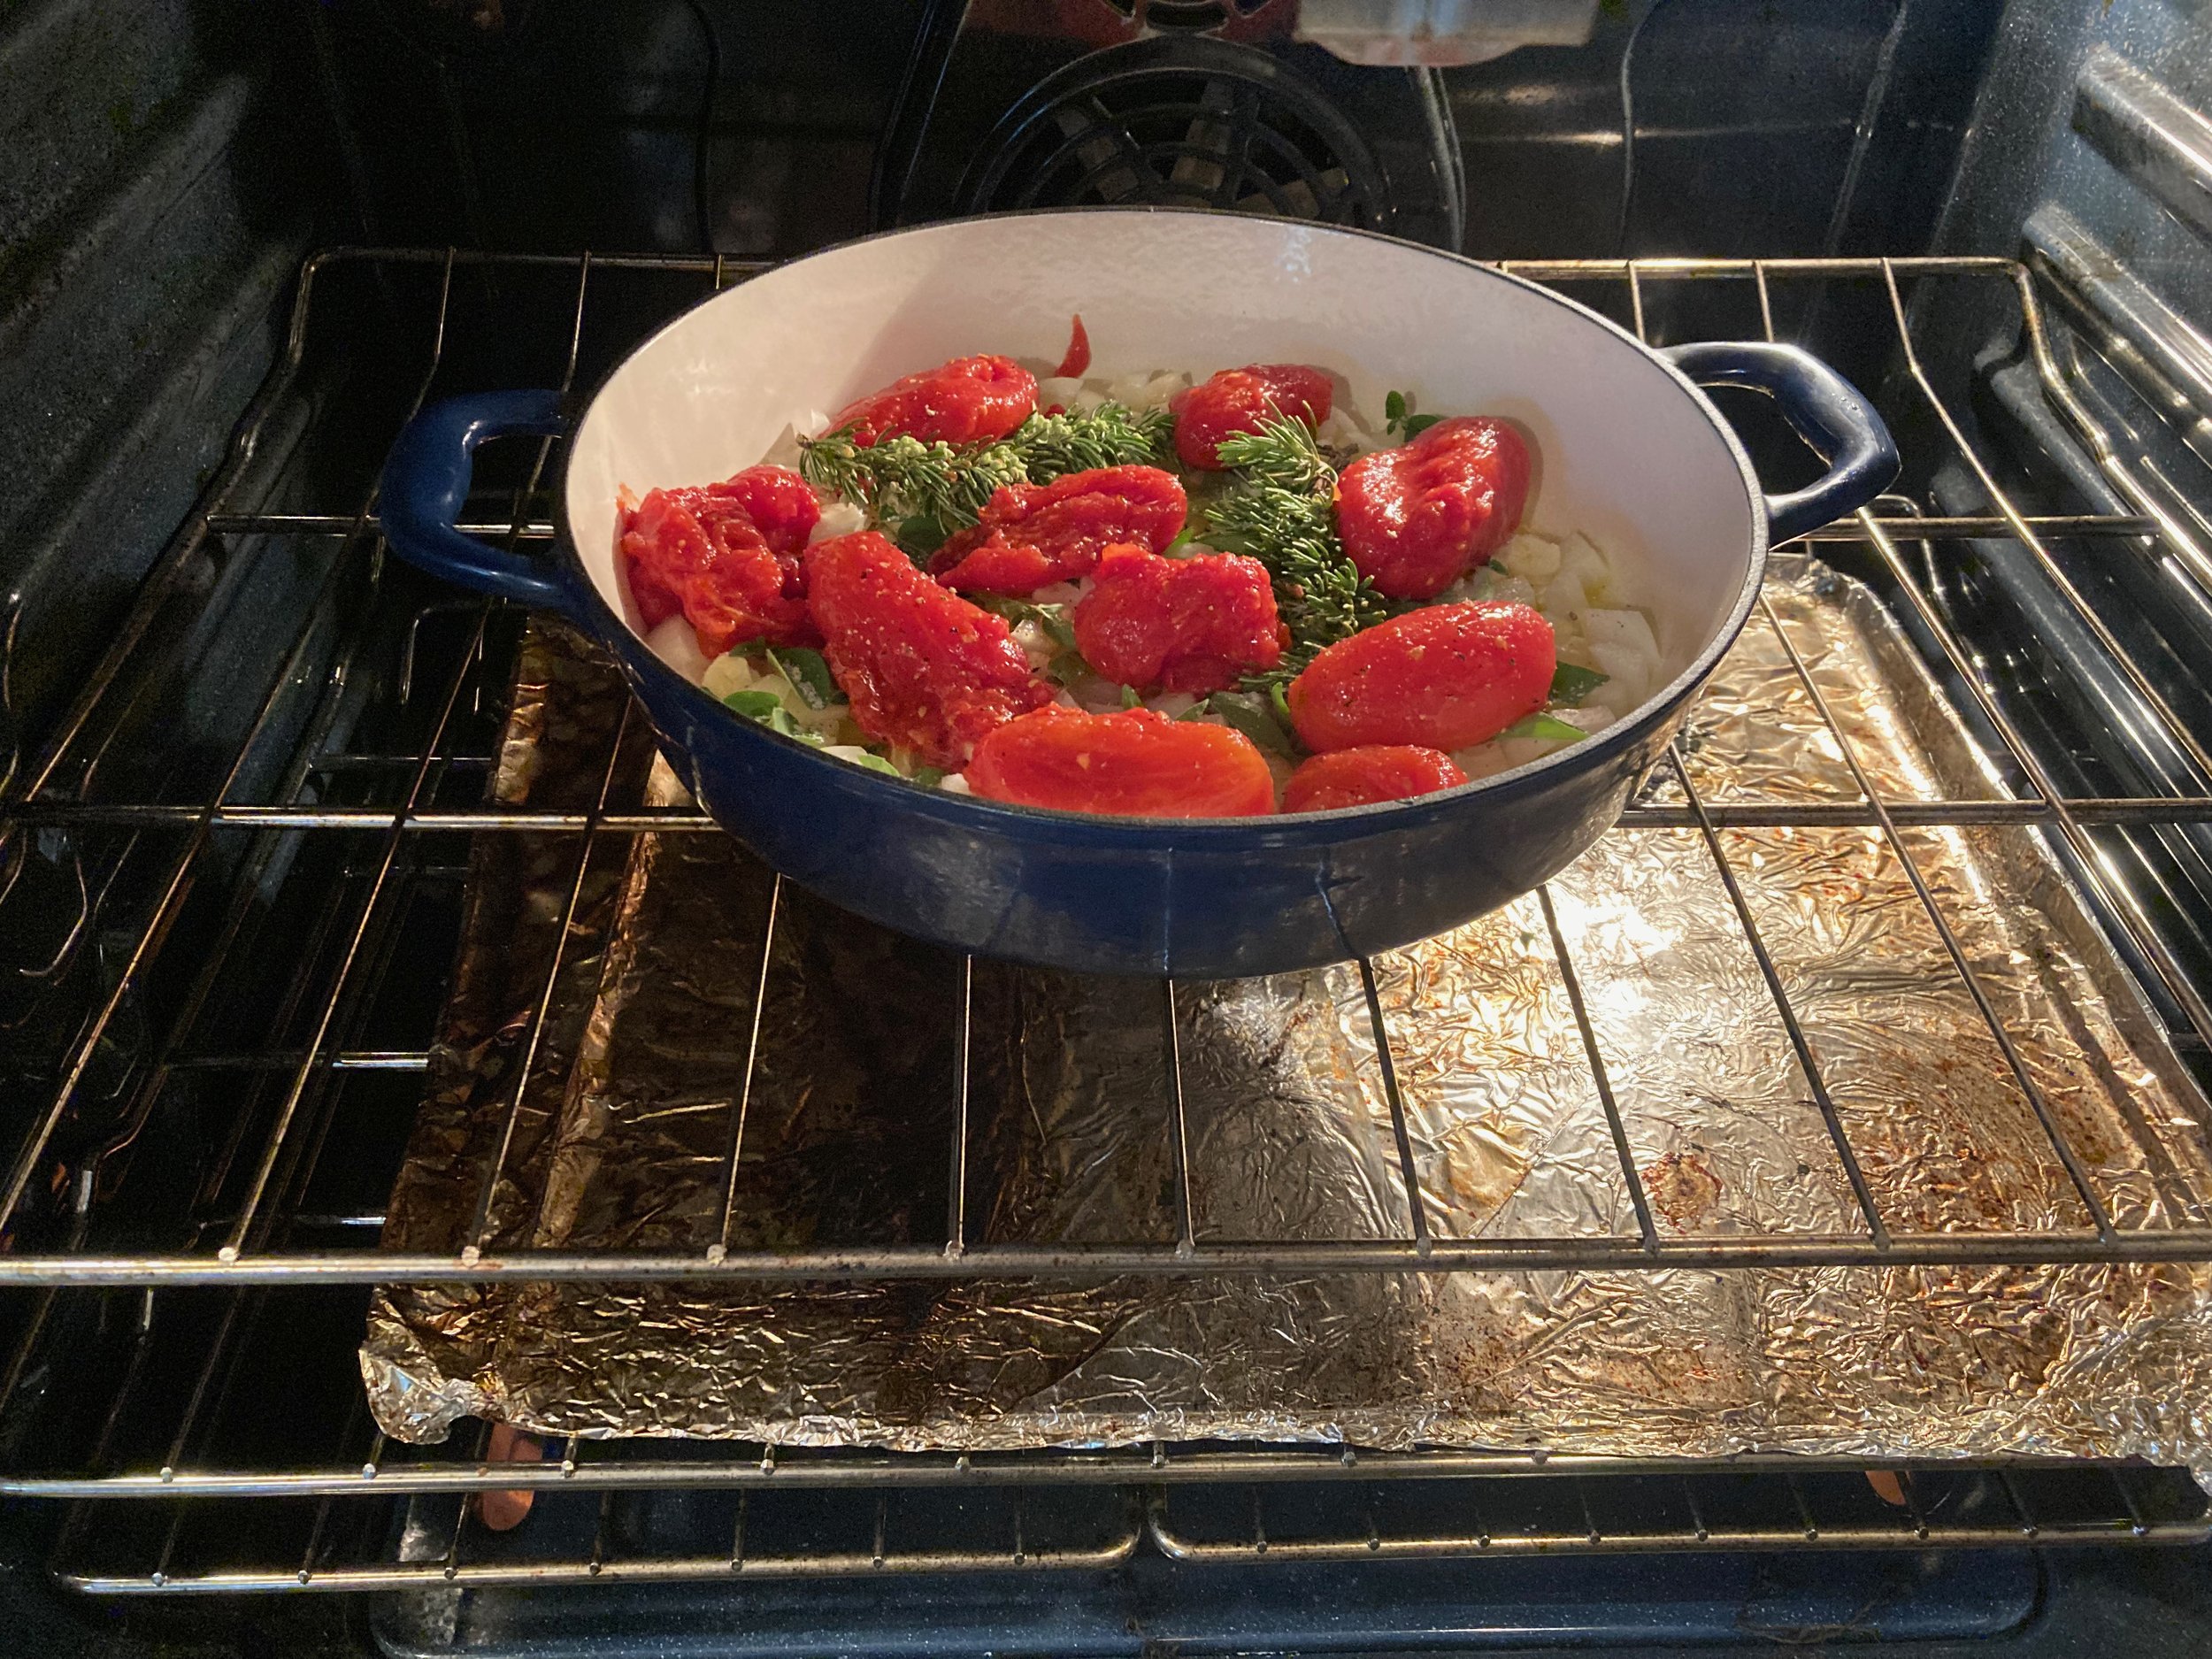
Place uncovered in oven and bake at 275 for 4-5 hours. (I did 4:15.) No stirring or monitoring necessary. Just walk away, clean your house, plant your tomatoes, mow the lawn, do the laundry, watch Once Upon a Time in America, do you.

When you remove from the oven, fish out large sprigs of herbs if you used them. Smash the tomatoes down, and stir everything into the oil, onions, and garlic. Taste and adjust for seasoning.


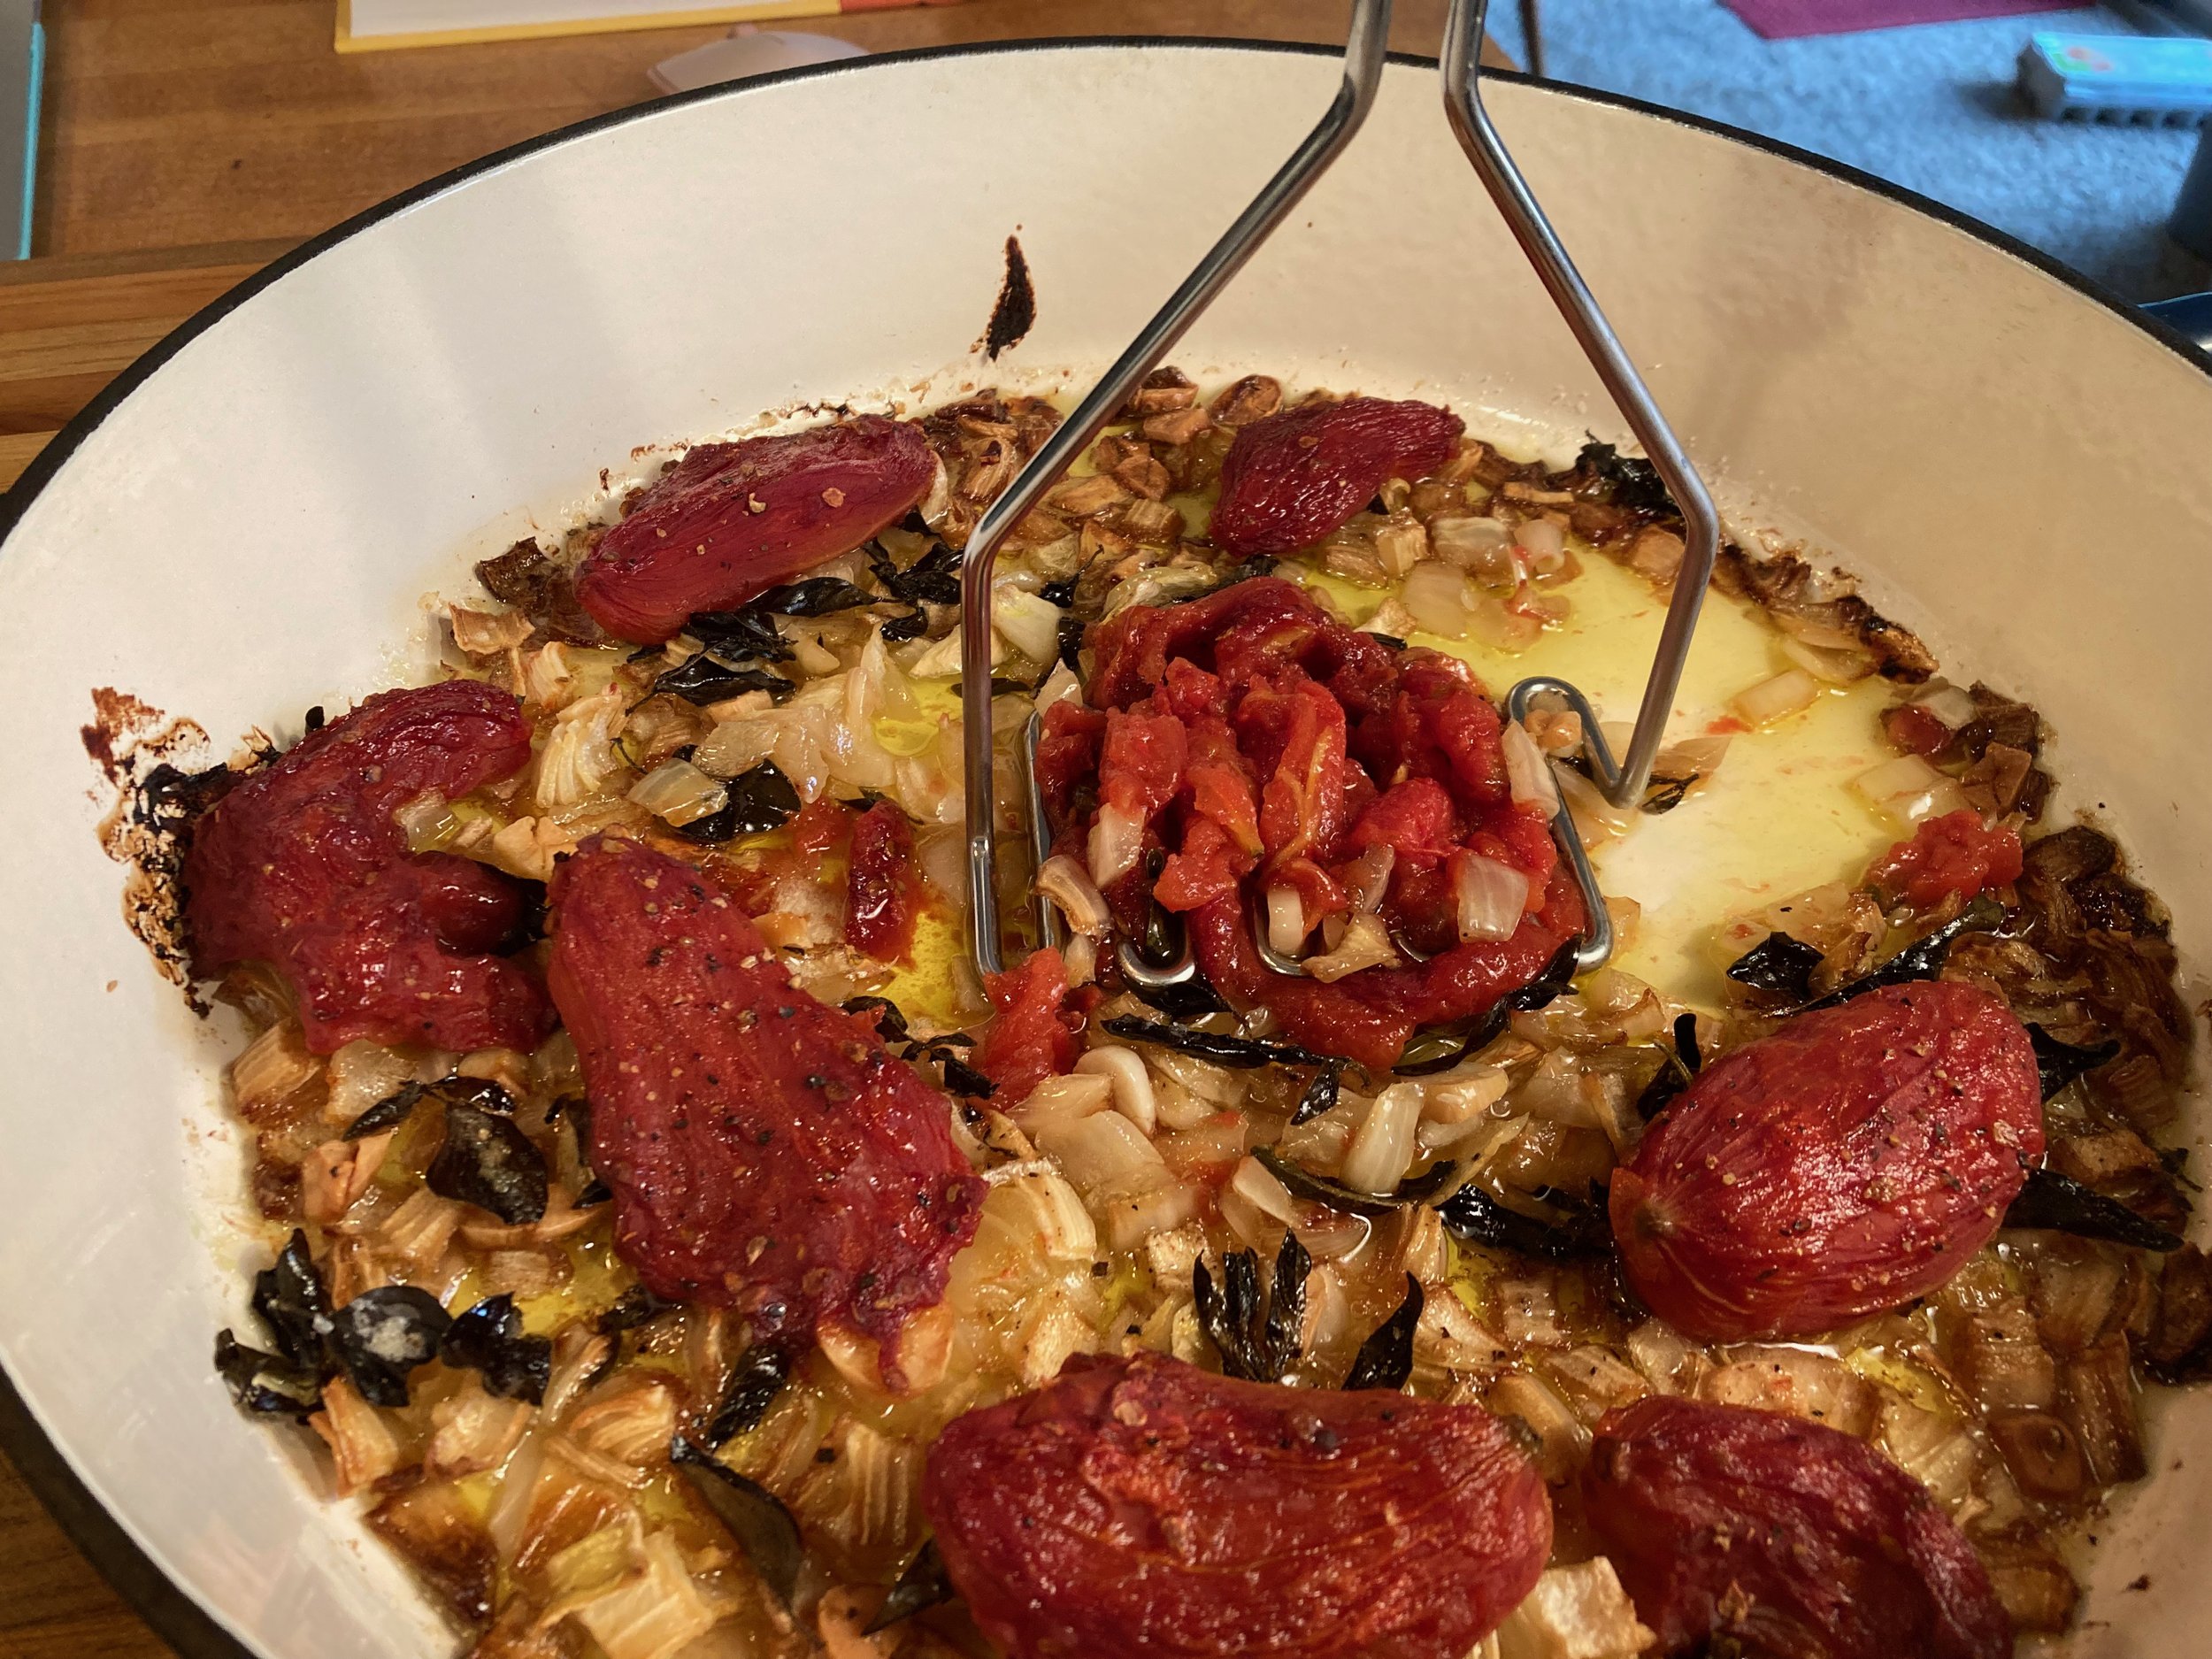
Waters says to serve as a sauce with warm noodles, polenta, atop fish, or simply with toasted bread.
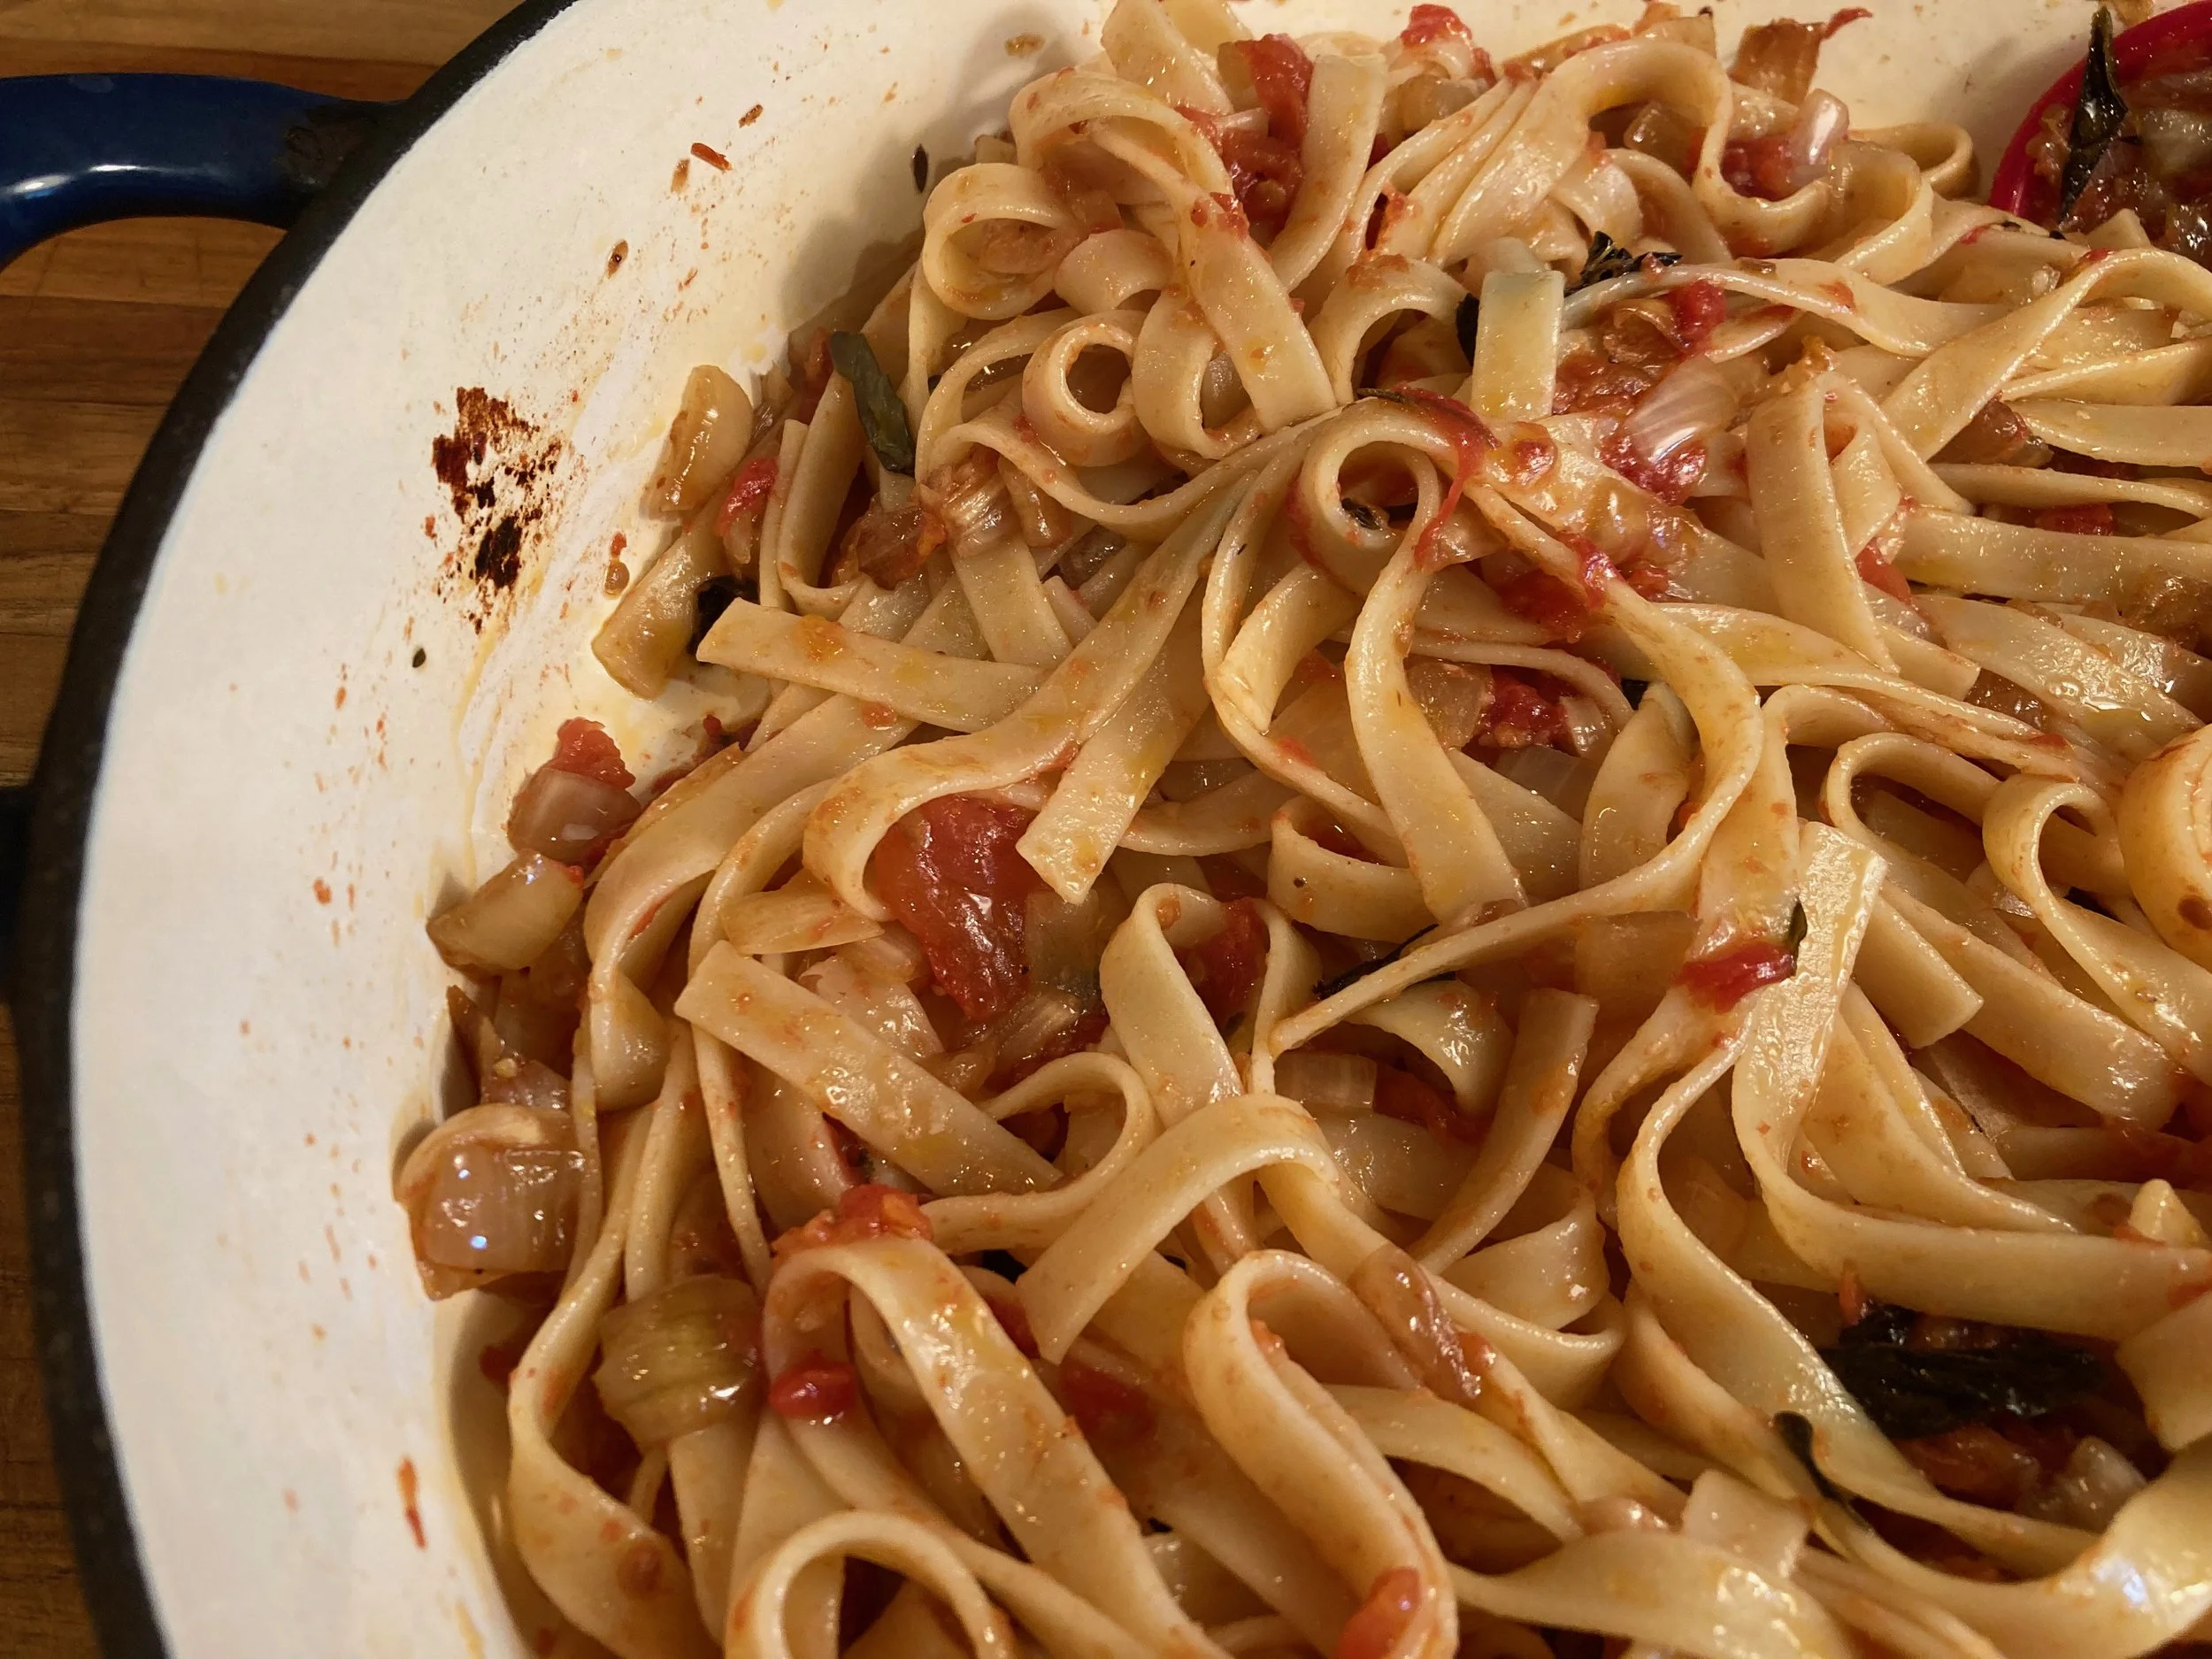
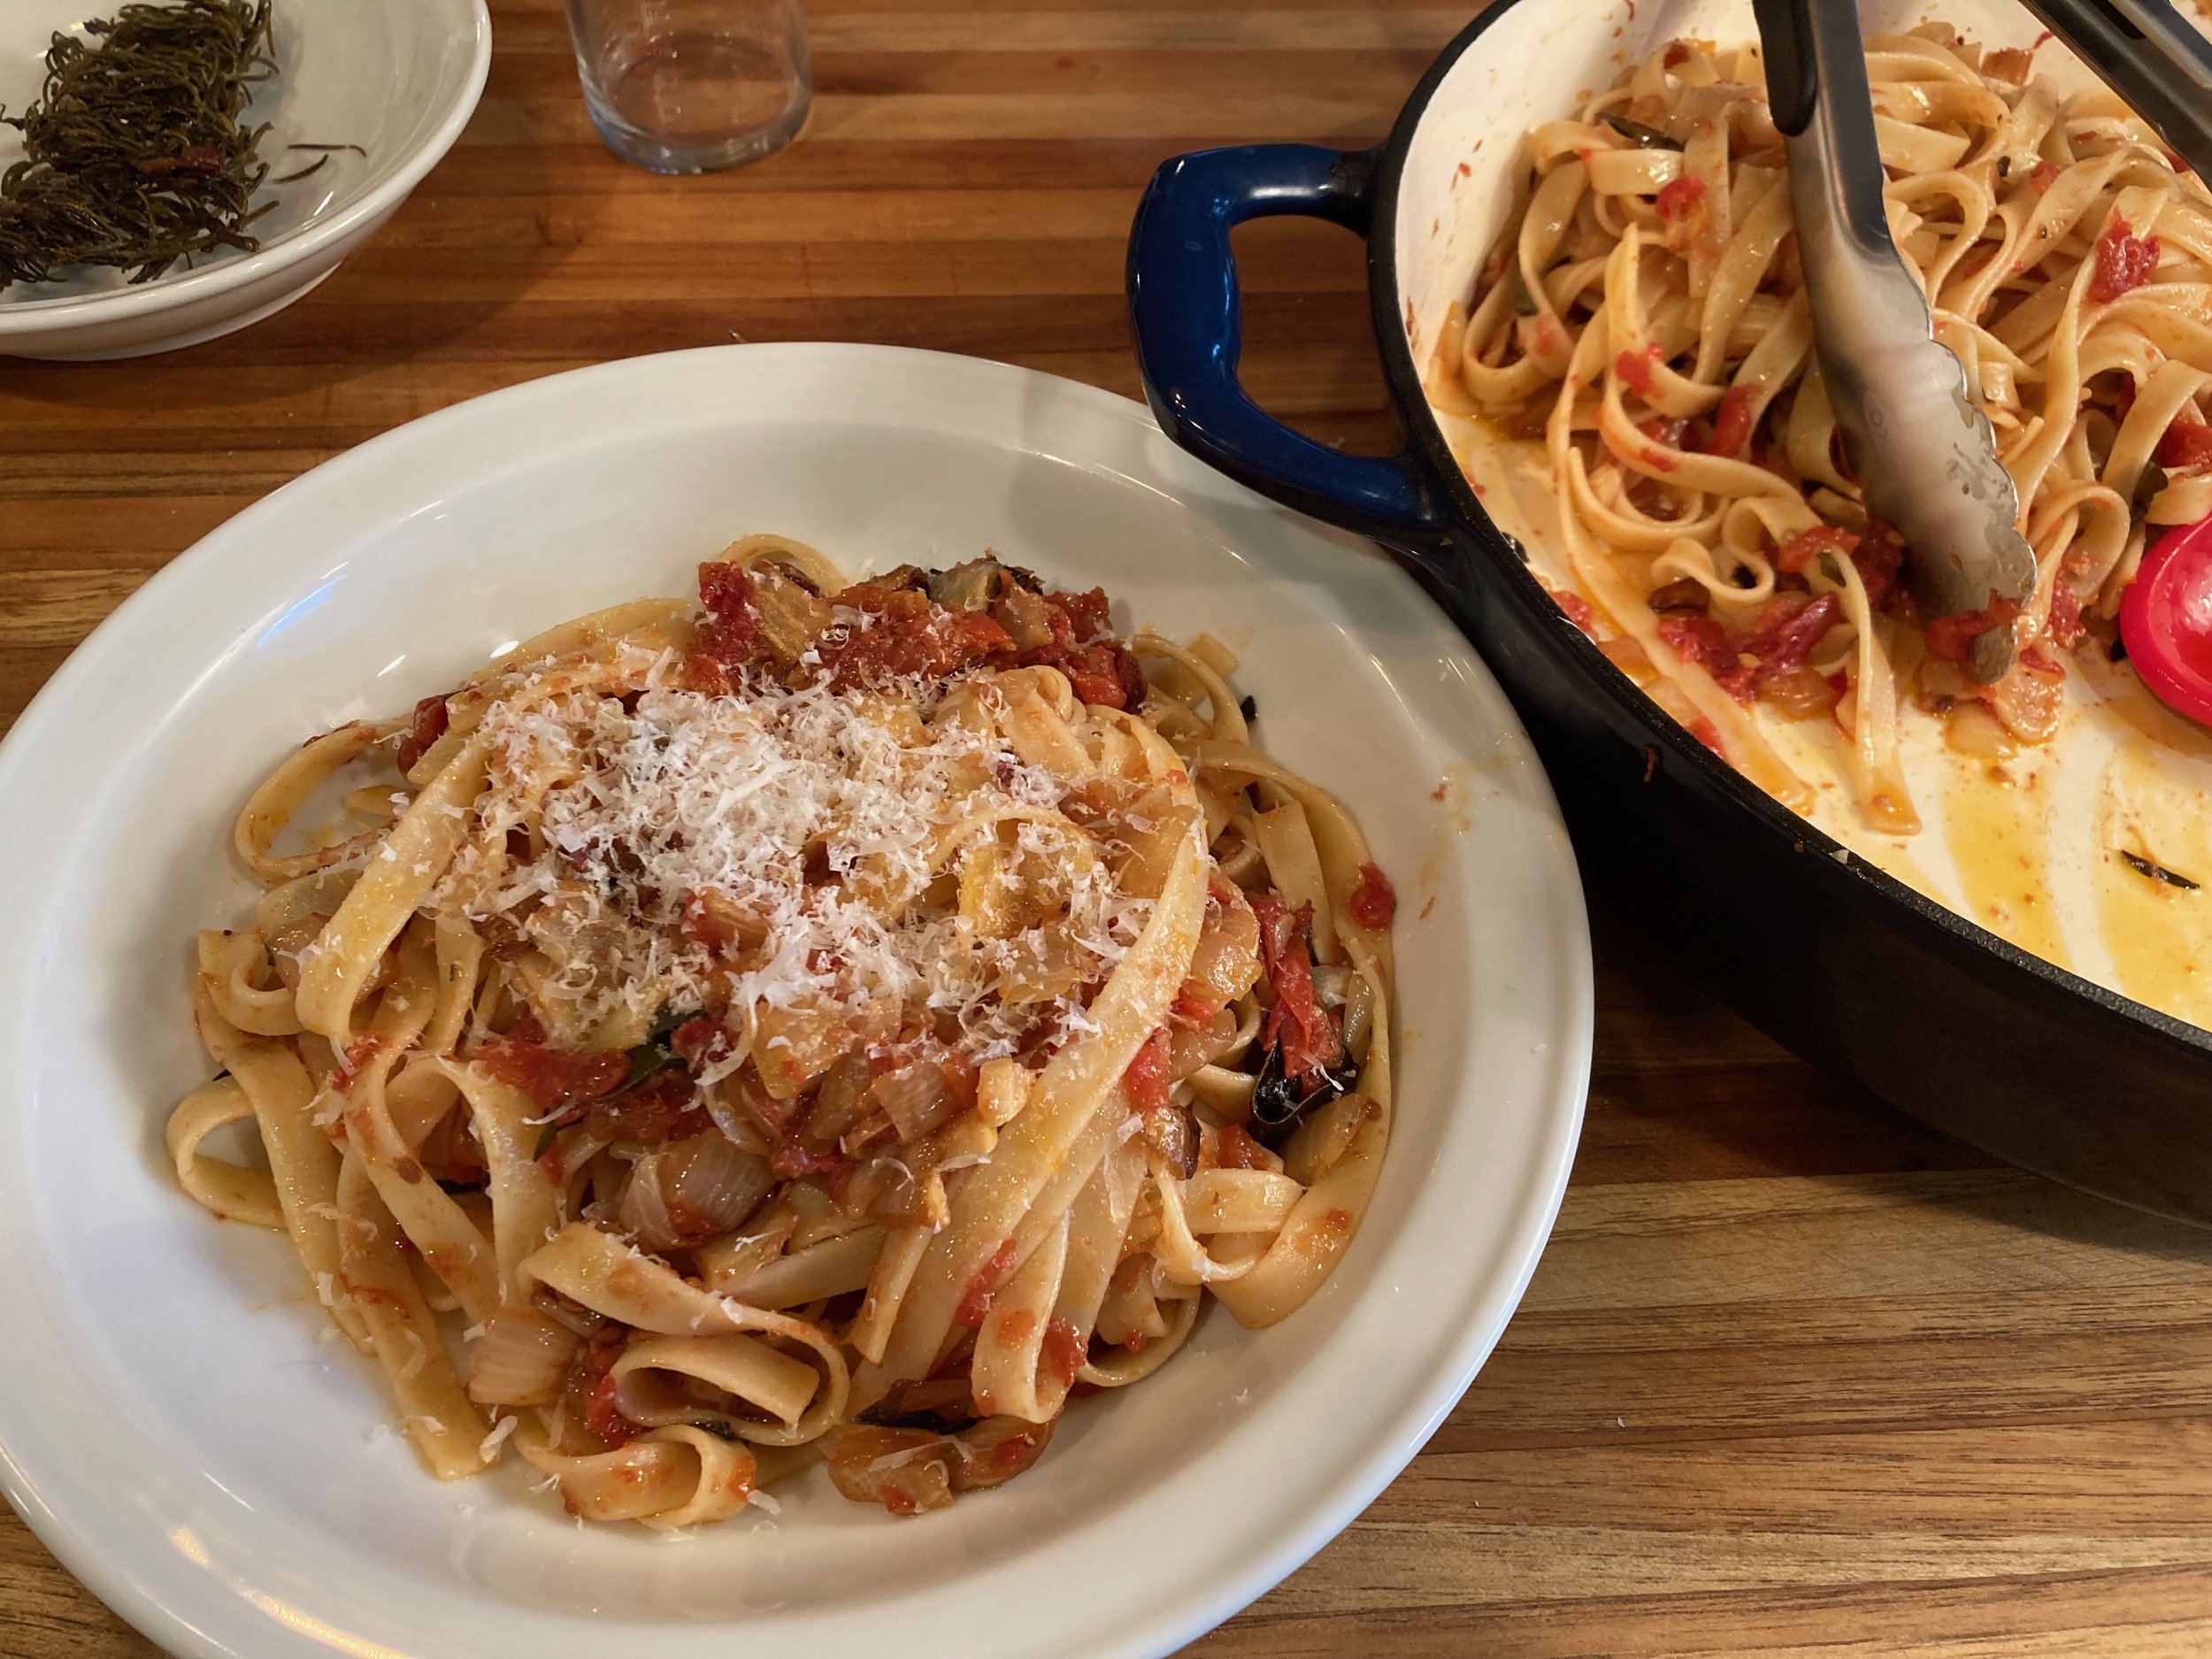
Holy cow, this is good. The onions caramelize, the tomatoes are rich and jammy, the oil infuses with all herbs, which somehow manage not to burn. Absolutely incredible. Makes about enough to sauce two dinner portions of pasta. I can also see adding chopped olives to do the spooning over bread option. Can almost certainly be made ahead of time for that. So easy, so flipping good.

Waters, Alice. The Art of Simple Food. New York, Clarkson Potter, 2007.

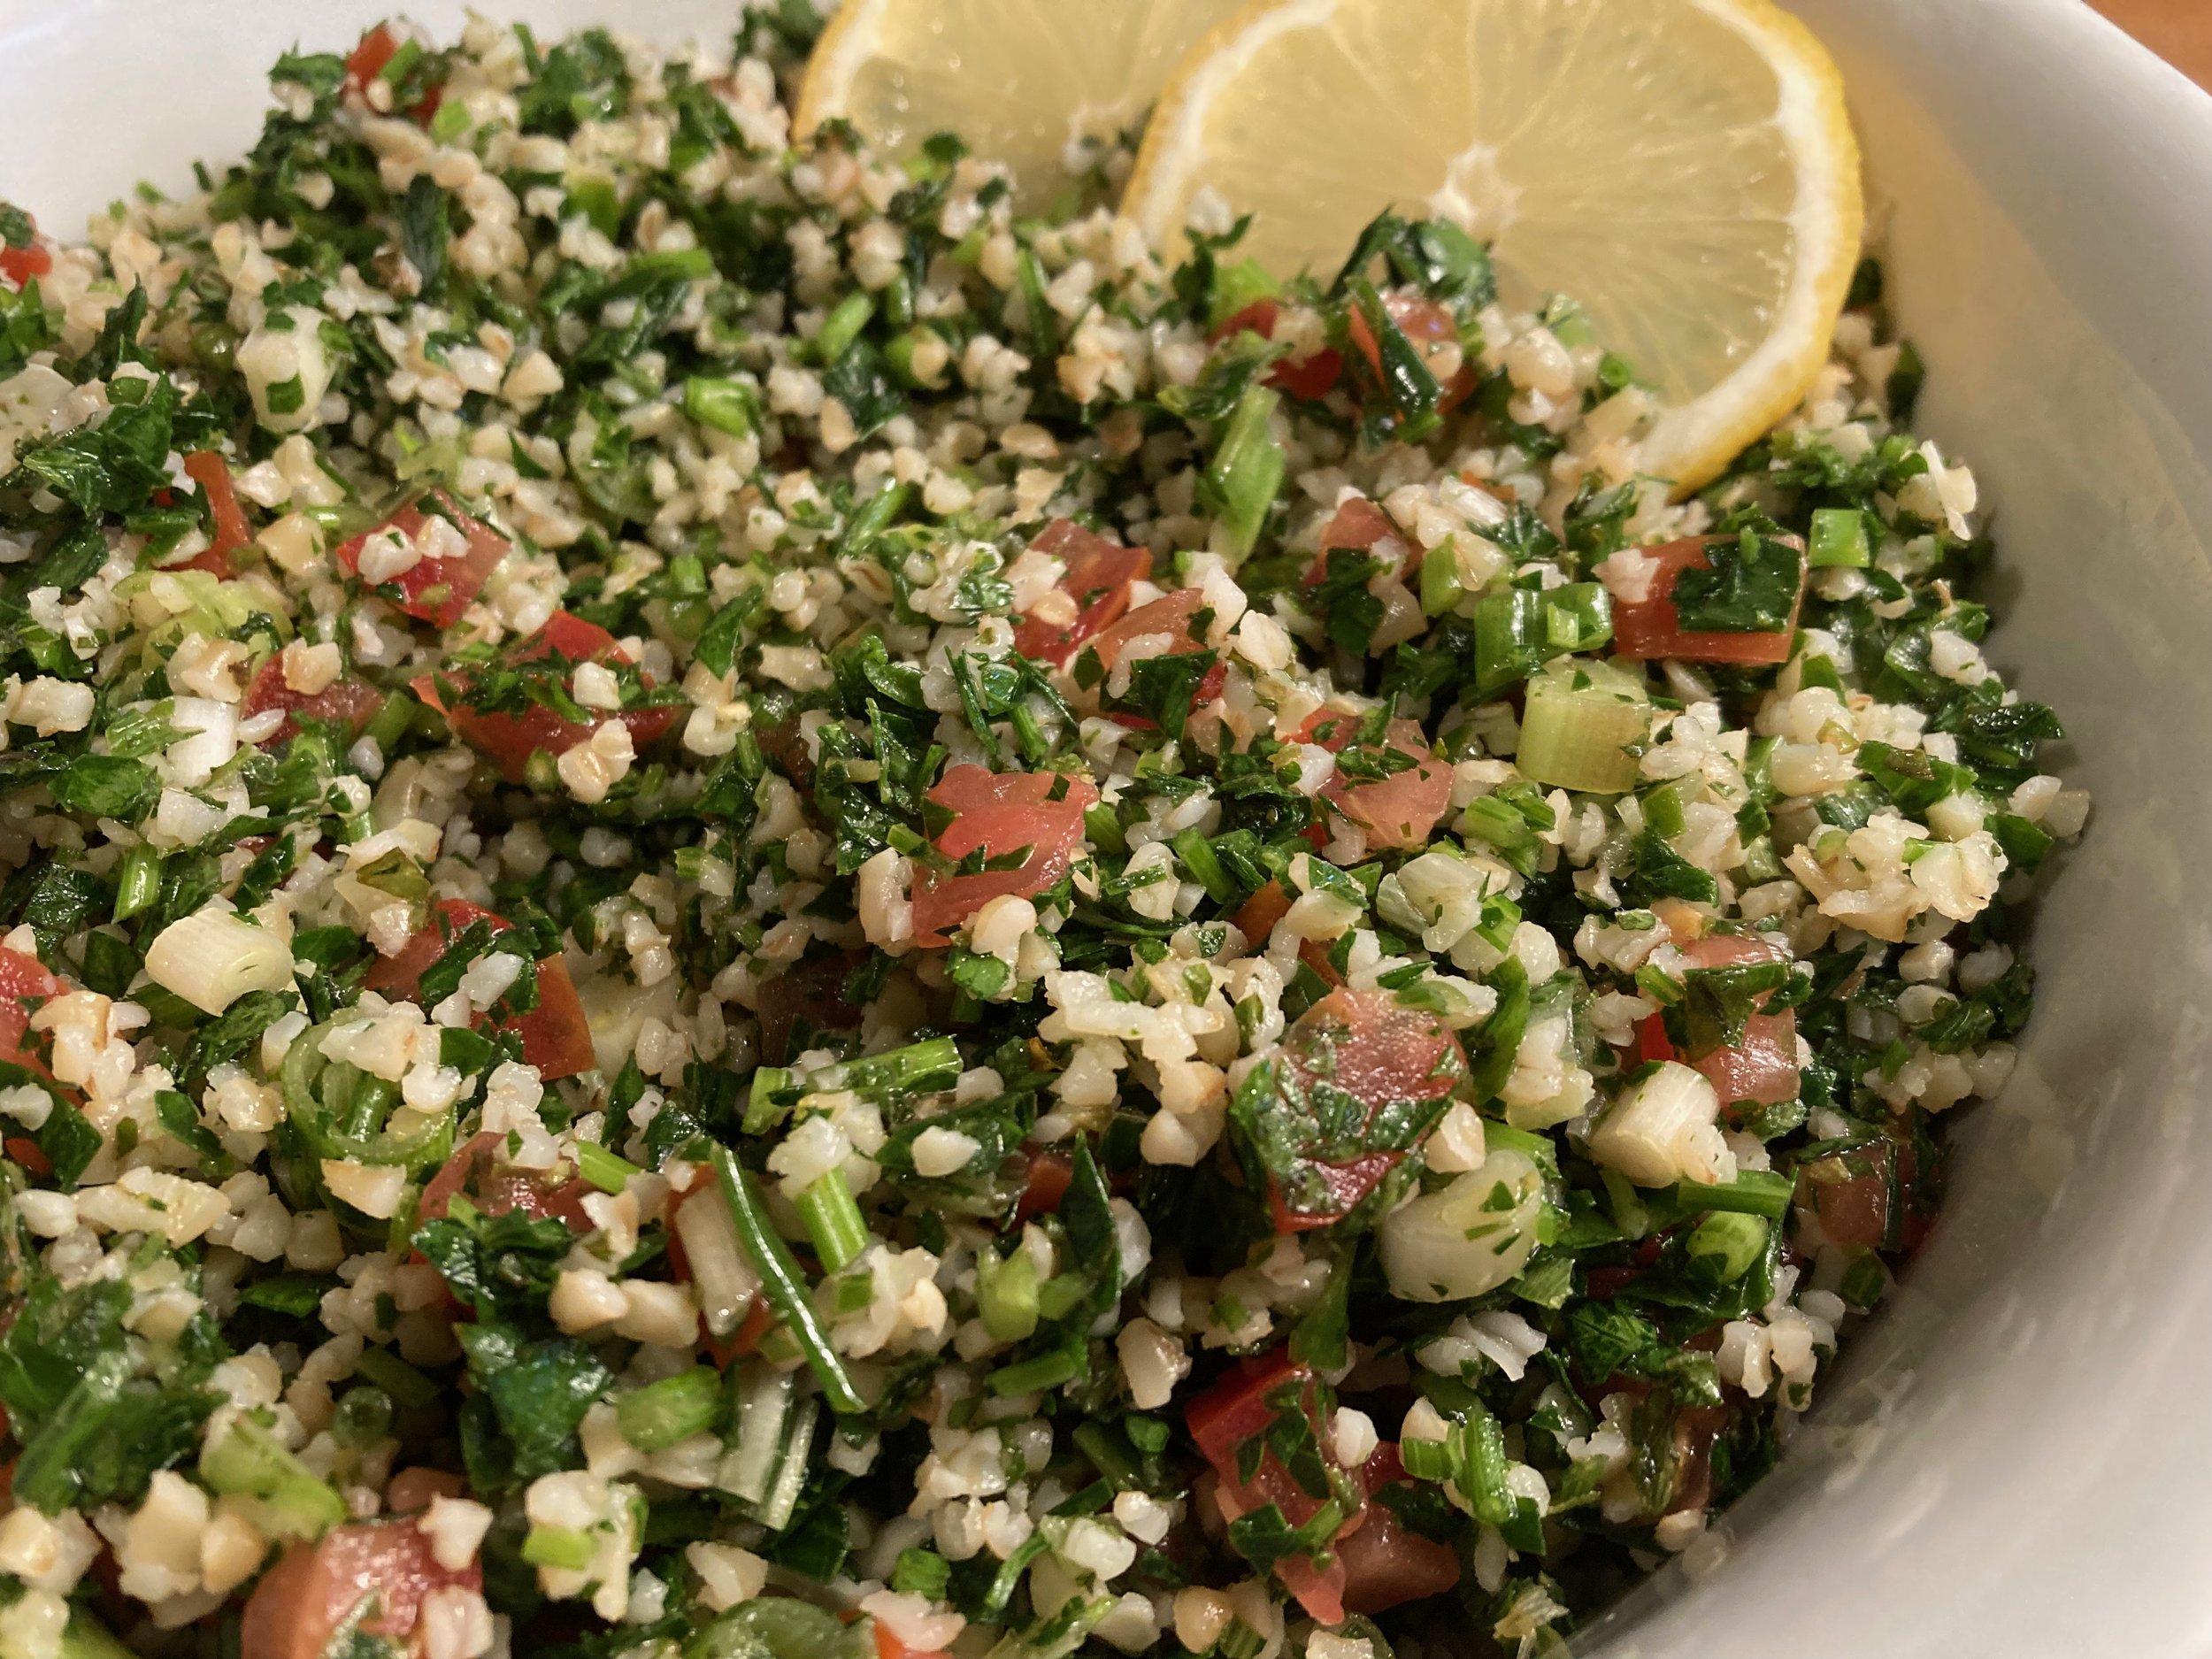
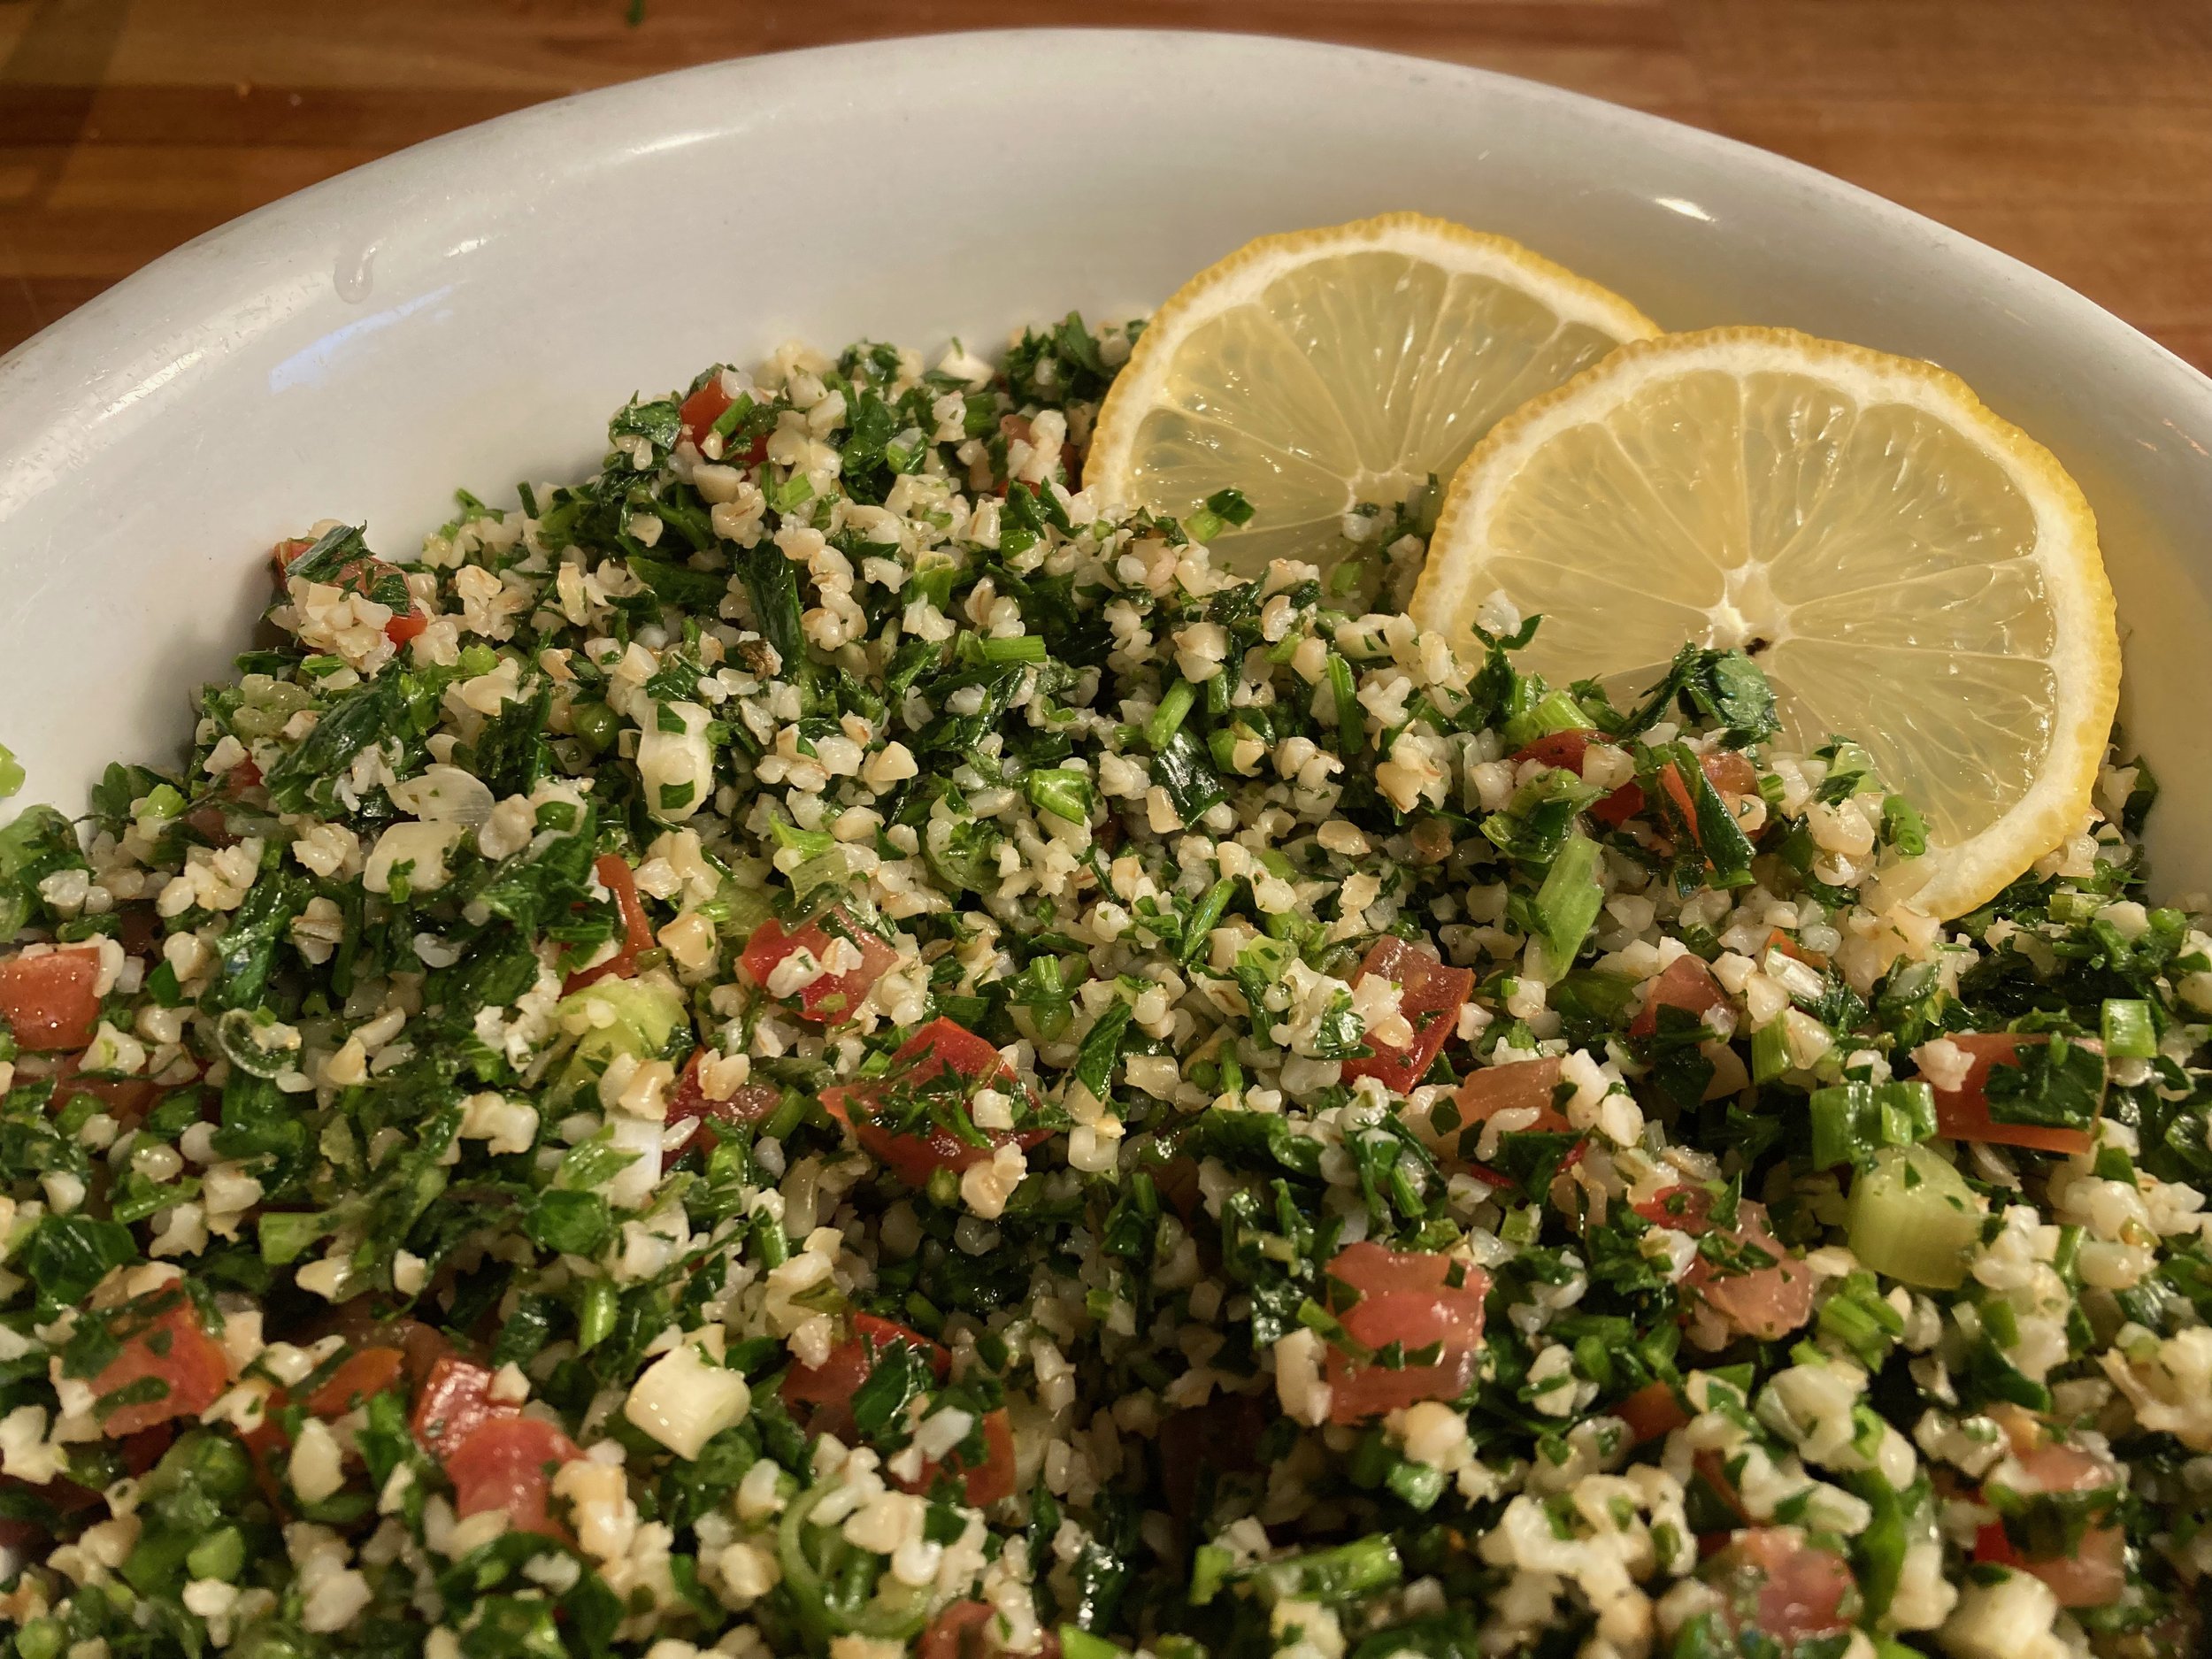
Tabbouleh Salad
from Alice Waters’ The Art of Simple Food
…..(plus a playlist at the bottom if you want to get your 1971 groove on and feel the Chez Panisse vibes)

Tabbouleh Salad
I have a pantry full of grains I never use because I don’t know what bulgur is, I can’t remember how to use couscous vs barley, and I saw a recipe for freekeh once that looked good but I never made it, so there it still sits. Do grains get old? Probably. How old is the bulgur wheat I’m going to use today? Oh, what’s a number that means ageless? Can bulgur wheat be ageless like Audrey Hepburn in a black cocktail dress? I have this friend what used to buy Peeps every Easter just to sit them in a closet for years because he had it that stale Peeps were infinitely better than fresh Peeps. Had them labeled 1 year, 3 years, 5 years, etc. Eventually he would figure out the ideal vintage of Peeps. That’s my philosophy with grains. Feel free to hit me in the comments if you disagree. I’ve never gotten a comment before, so that should be fun.
So how old is this bulgur? I think it’s survived two moves, and I have no memory of buying it. It can’t be from the Obama Administration, can it?
Let’s call it a Heritage Grain.
Alice Waters’ Tabbouleh Salad (with heritage grains) from The Art of Simple Food
Ingredients:
½ cup bulgur wheat
1 ½ bunches parsley (about 1 ½ cup chopped)
1 bunch mint (about ½ cup chopped)
1 bunch scallions, white and green parts (about 1 cup chopped)
2 ripe medium tomatoes, cored and diced small
Juice of 1 lemon
Salt
¼ cup extra virgin olive oil
Directions:

Gather ingredients
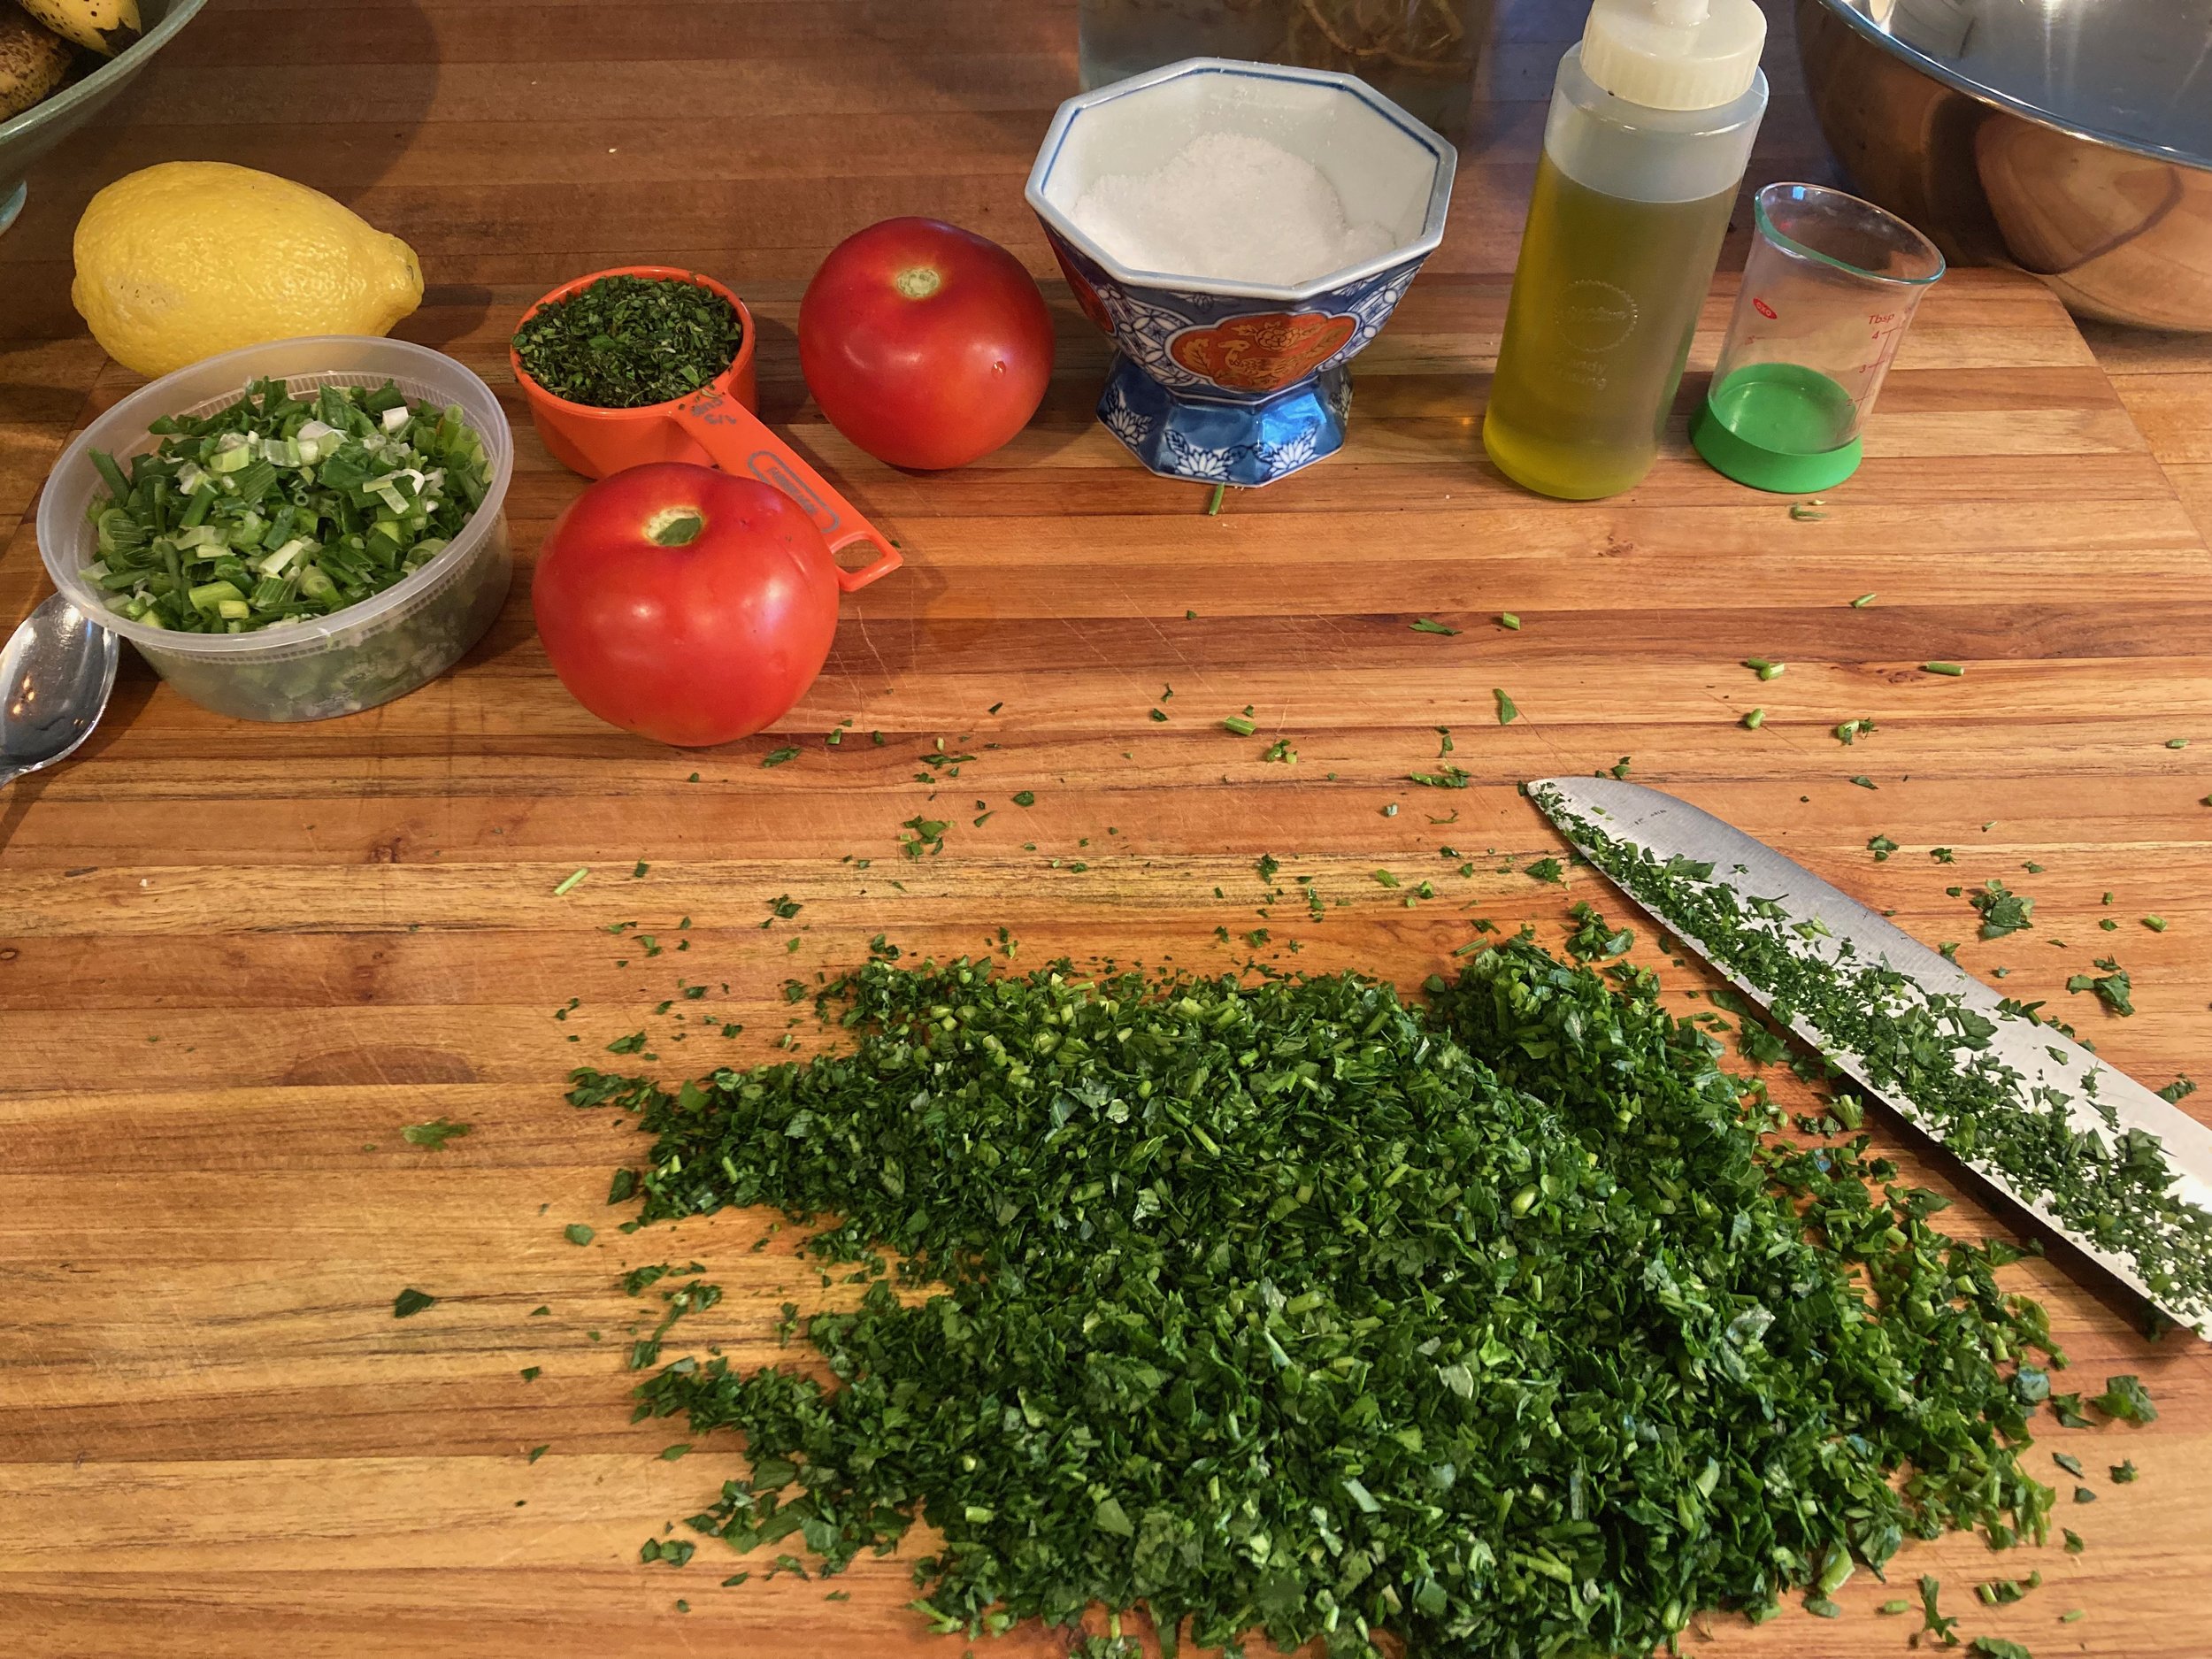
Chop parsley

Mix herbs
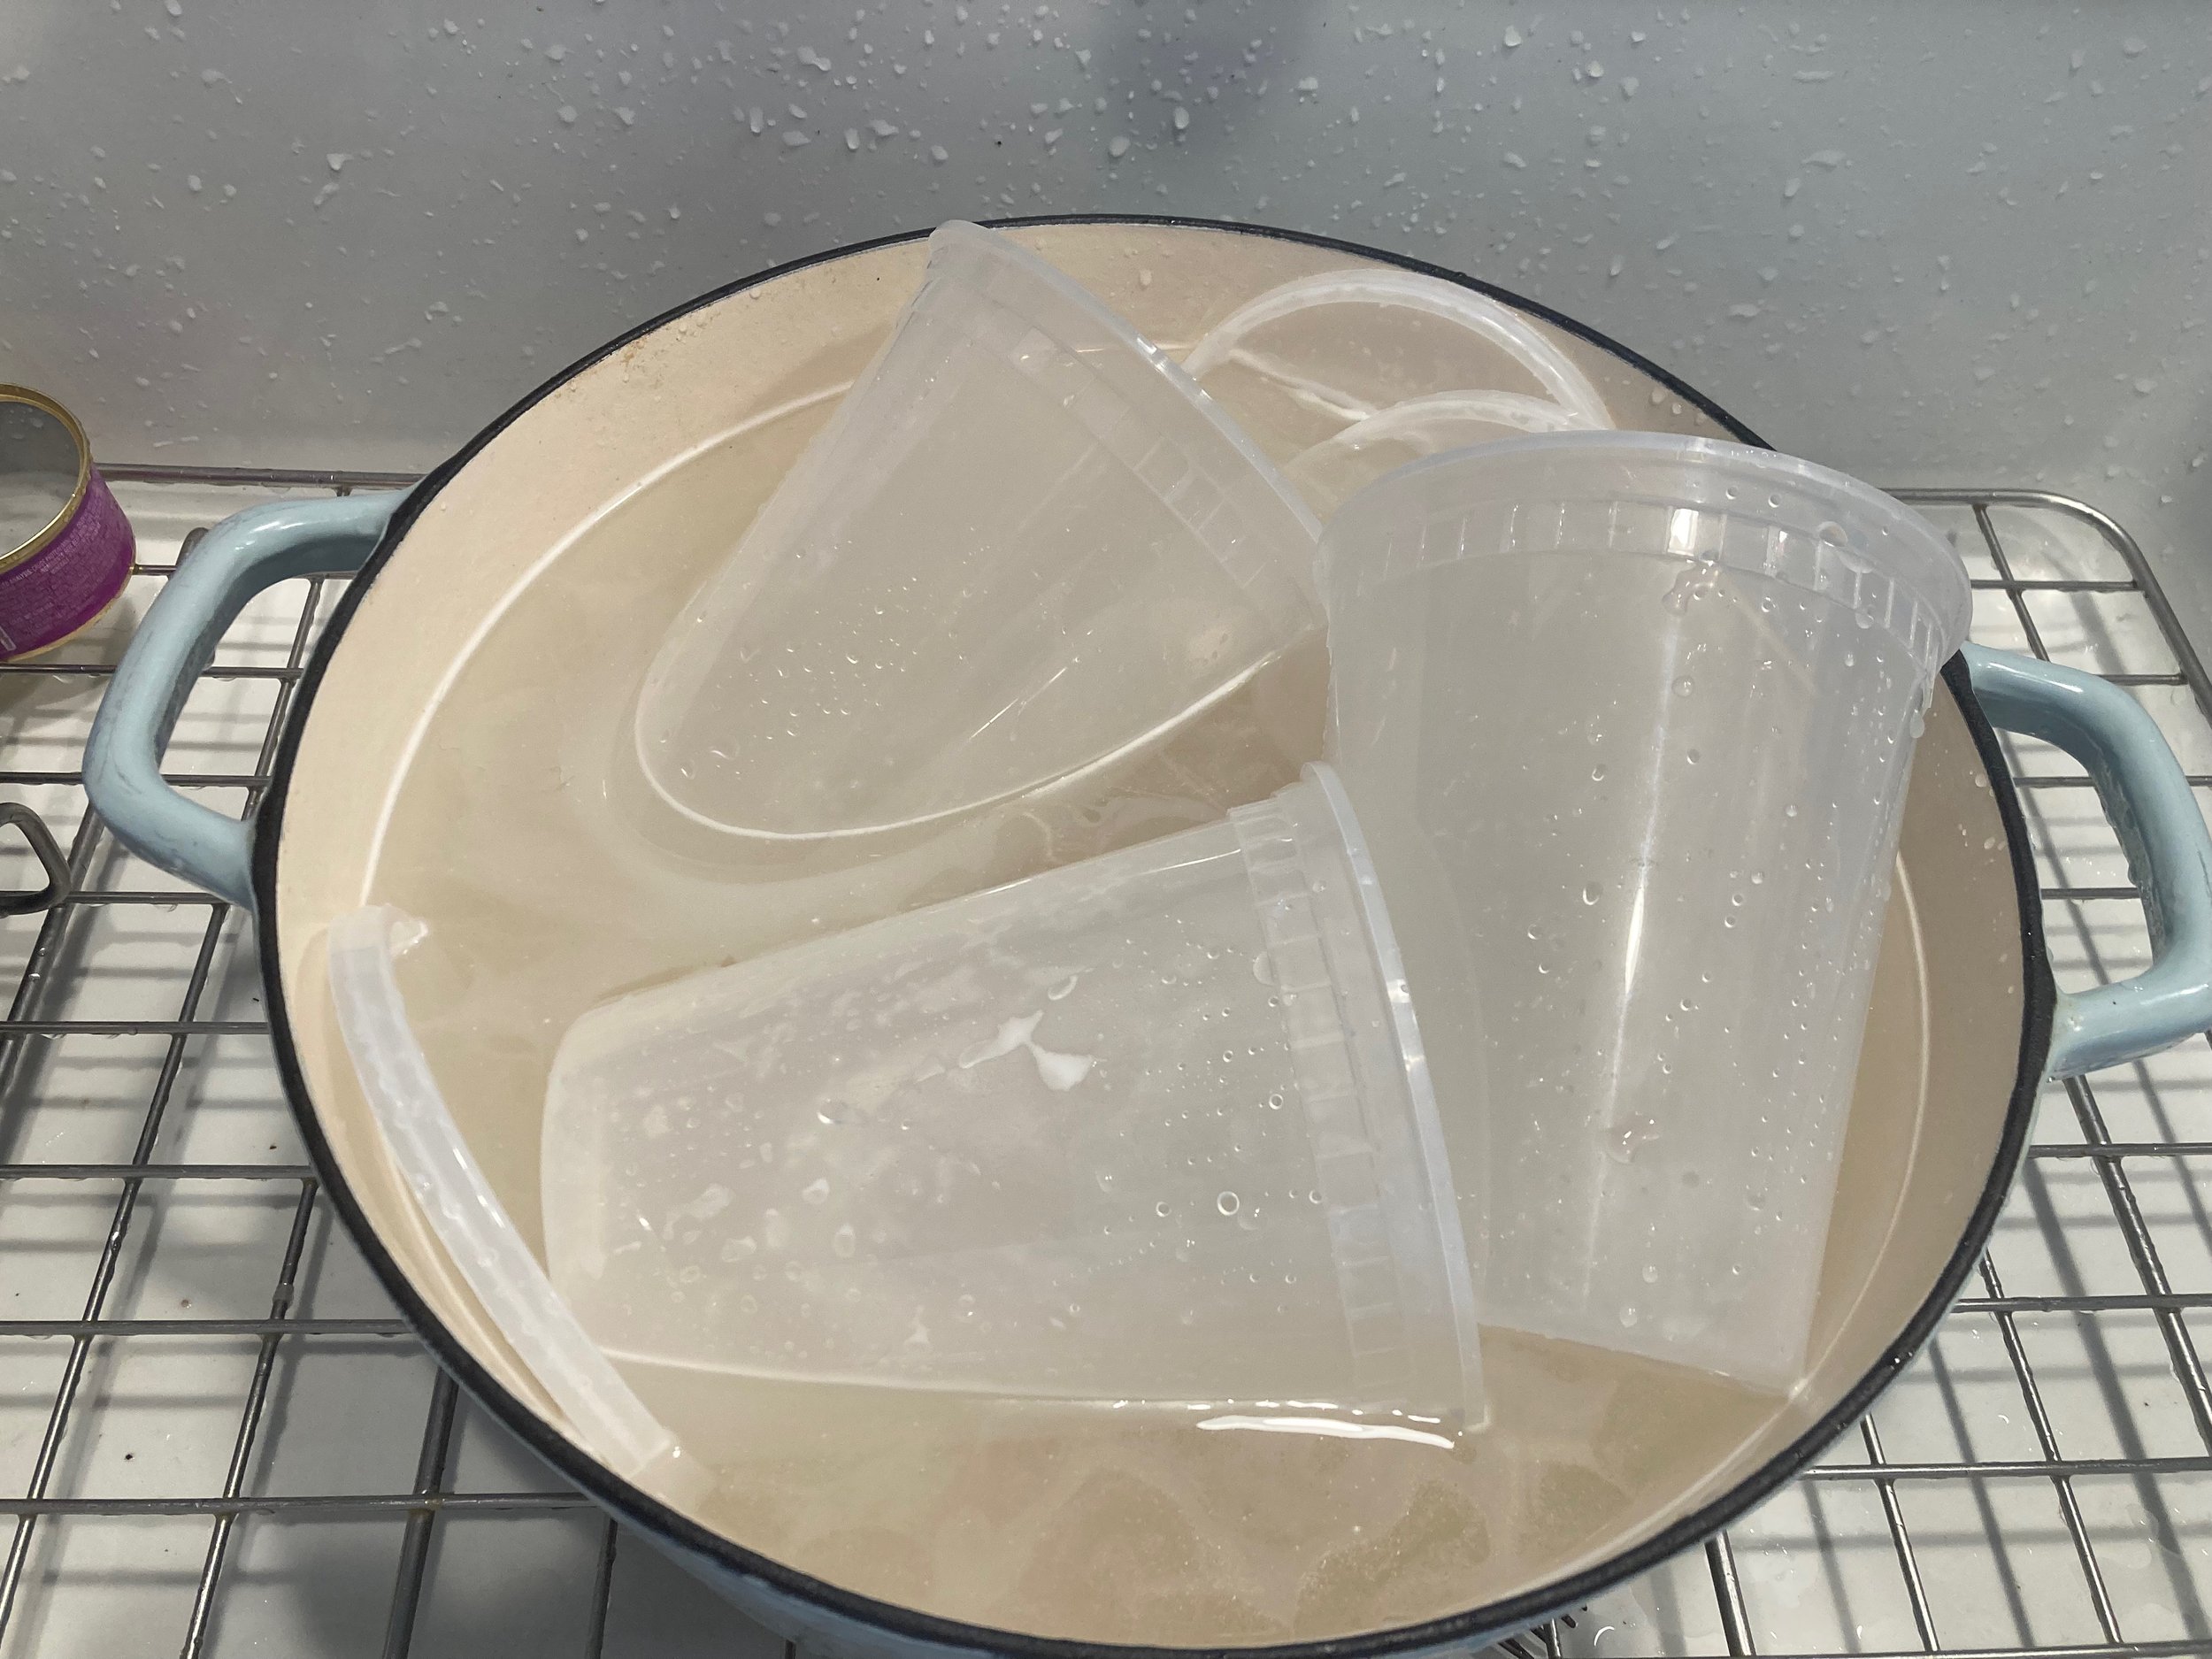
Cover the bulgur by 1 inch with cold water. Soak for 20 minutes to plump the grains, then drain in a sieve. One could probably use chicken or vegetable stock for this as well. I’d think. I let this go longer than 20 minutes as it still had quite a bit of, what do you call it, rawness. Or maybe not. Not sure how crunchy was still too crunchy.

Bulgur set in soaking water
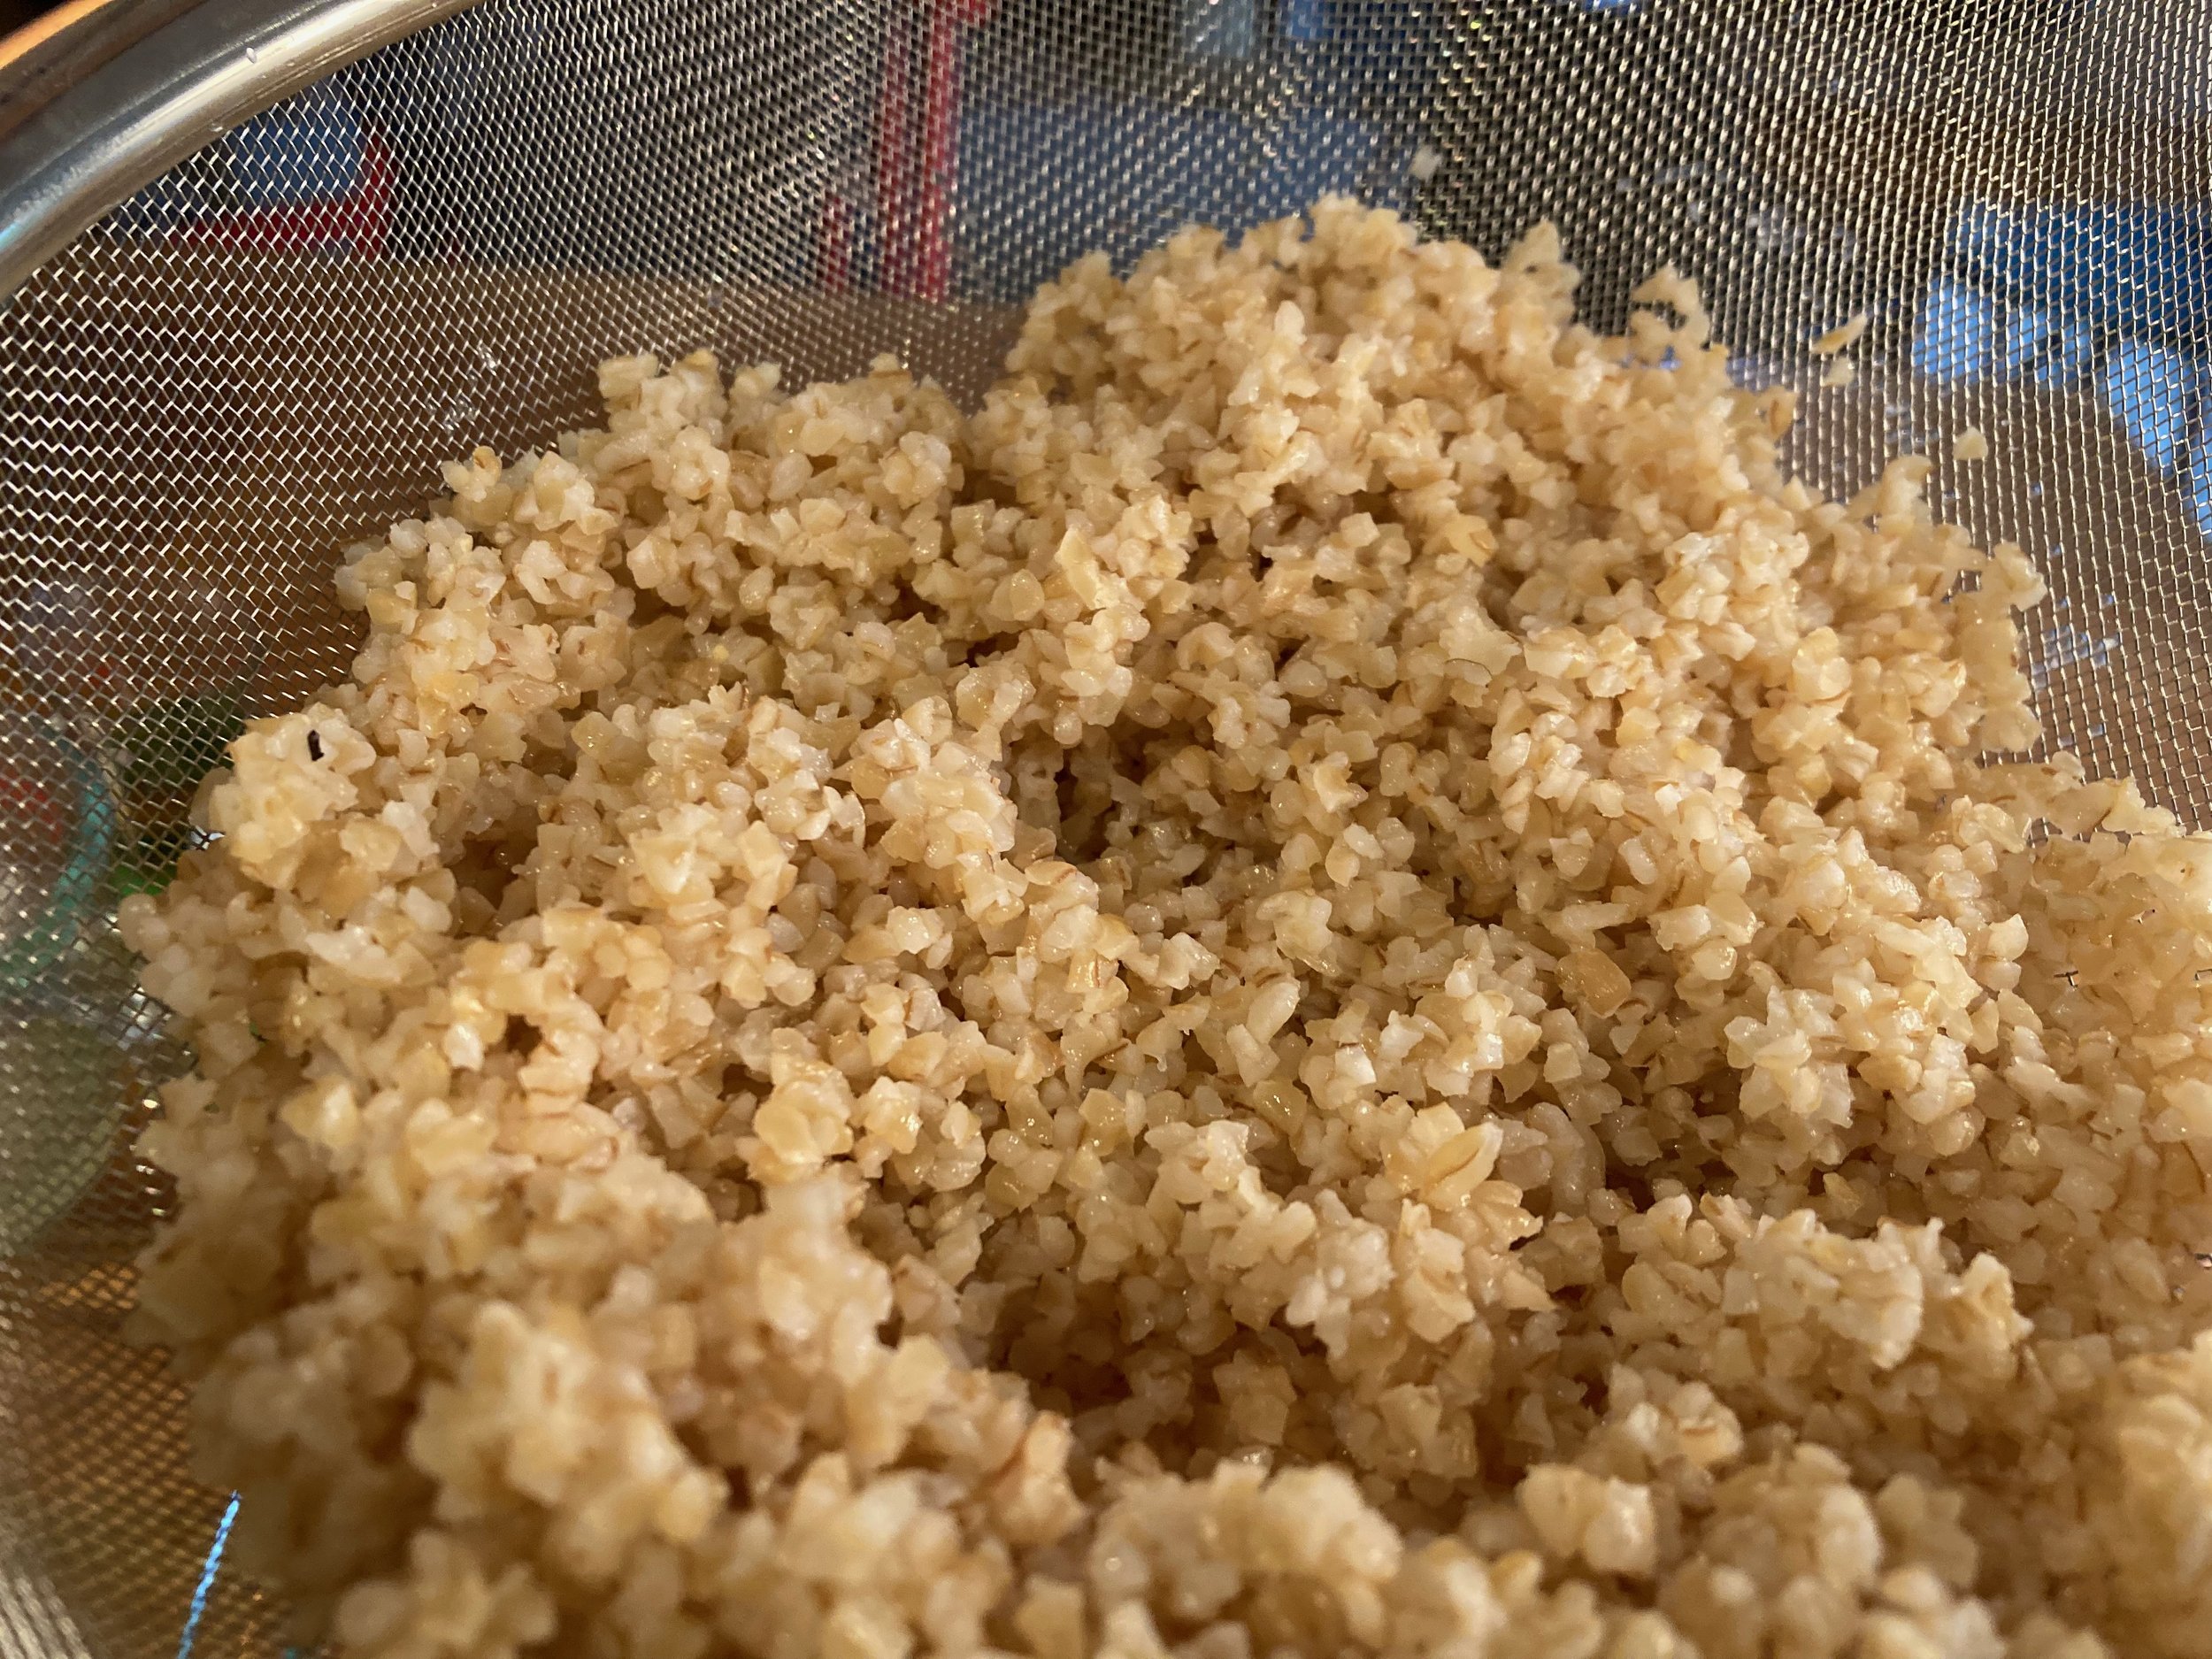
The bulgur has bulked up after 30 minutes of soaking
Sidebar: Ok here’s a thing. From what I can tell there are different grinds of bulgur wheat, and I don’t know what grind mine is because I’m a tiny container nut and I empty all my grains into tiny containers. I also put my nuts in tiny containers. So I’m a tiny nut container nut in that case. And I also don’t know what grind Alice Waters wants because she doesn’t specify either. But fine ground bulgur can be fully plumped up with soaking, and other grinds may need cooking, or hot water. Right now I’m trying to soak it longer just to see.
Took more like 30 minutes, but maybe the extra hour of letting it sit after it was all mixed would have done that too. Soak according to your own needs and tastes. If you must soak, soak within your heart.
Also, for the parsley, I had one big bunch of parsley, so I kept the stems and cut them up very finely, but more properly I should have had 1 1/2 bunches and not included the stems. But use what you have, and if that includes stems, then so be it. Worked.
While the bulgur in soaking, prepare the other ingredients.
Mix the herbs, onions, and tomatoes in a large bowl.
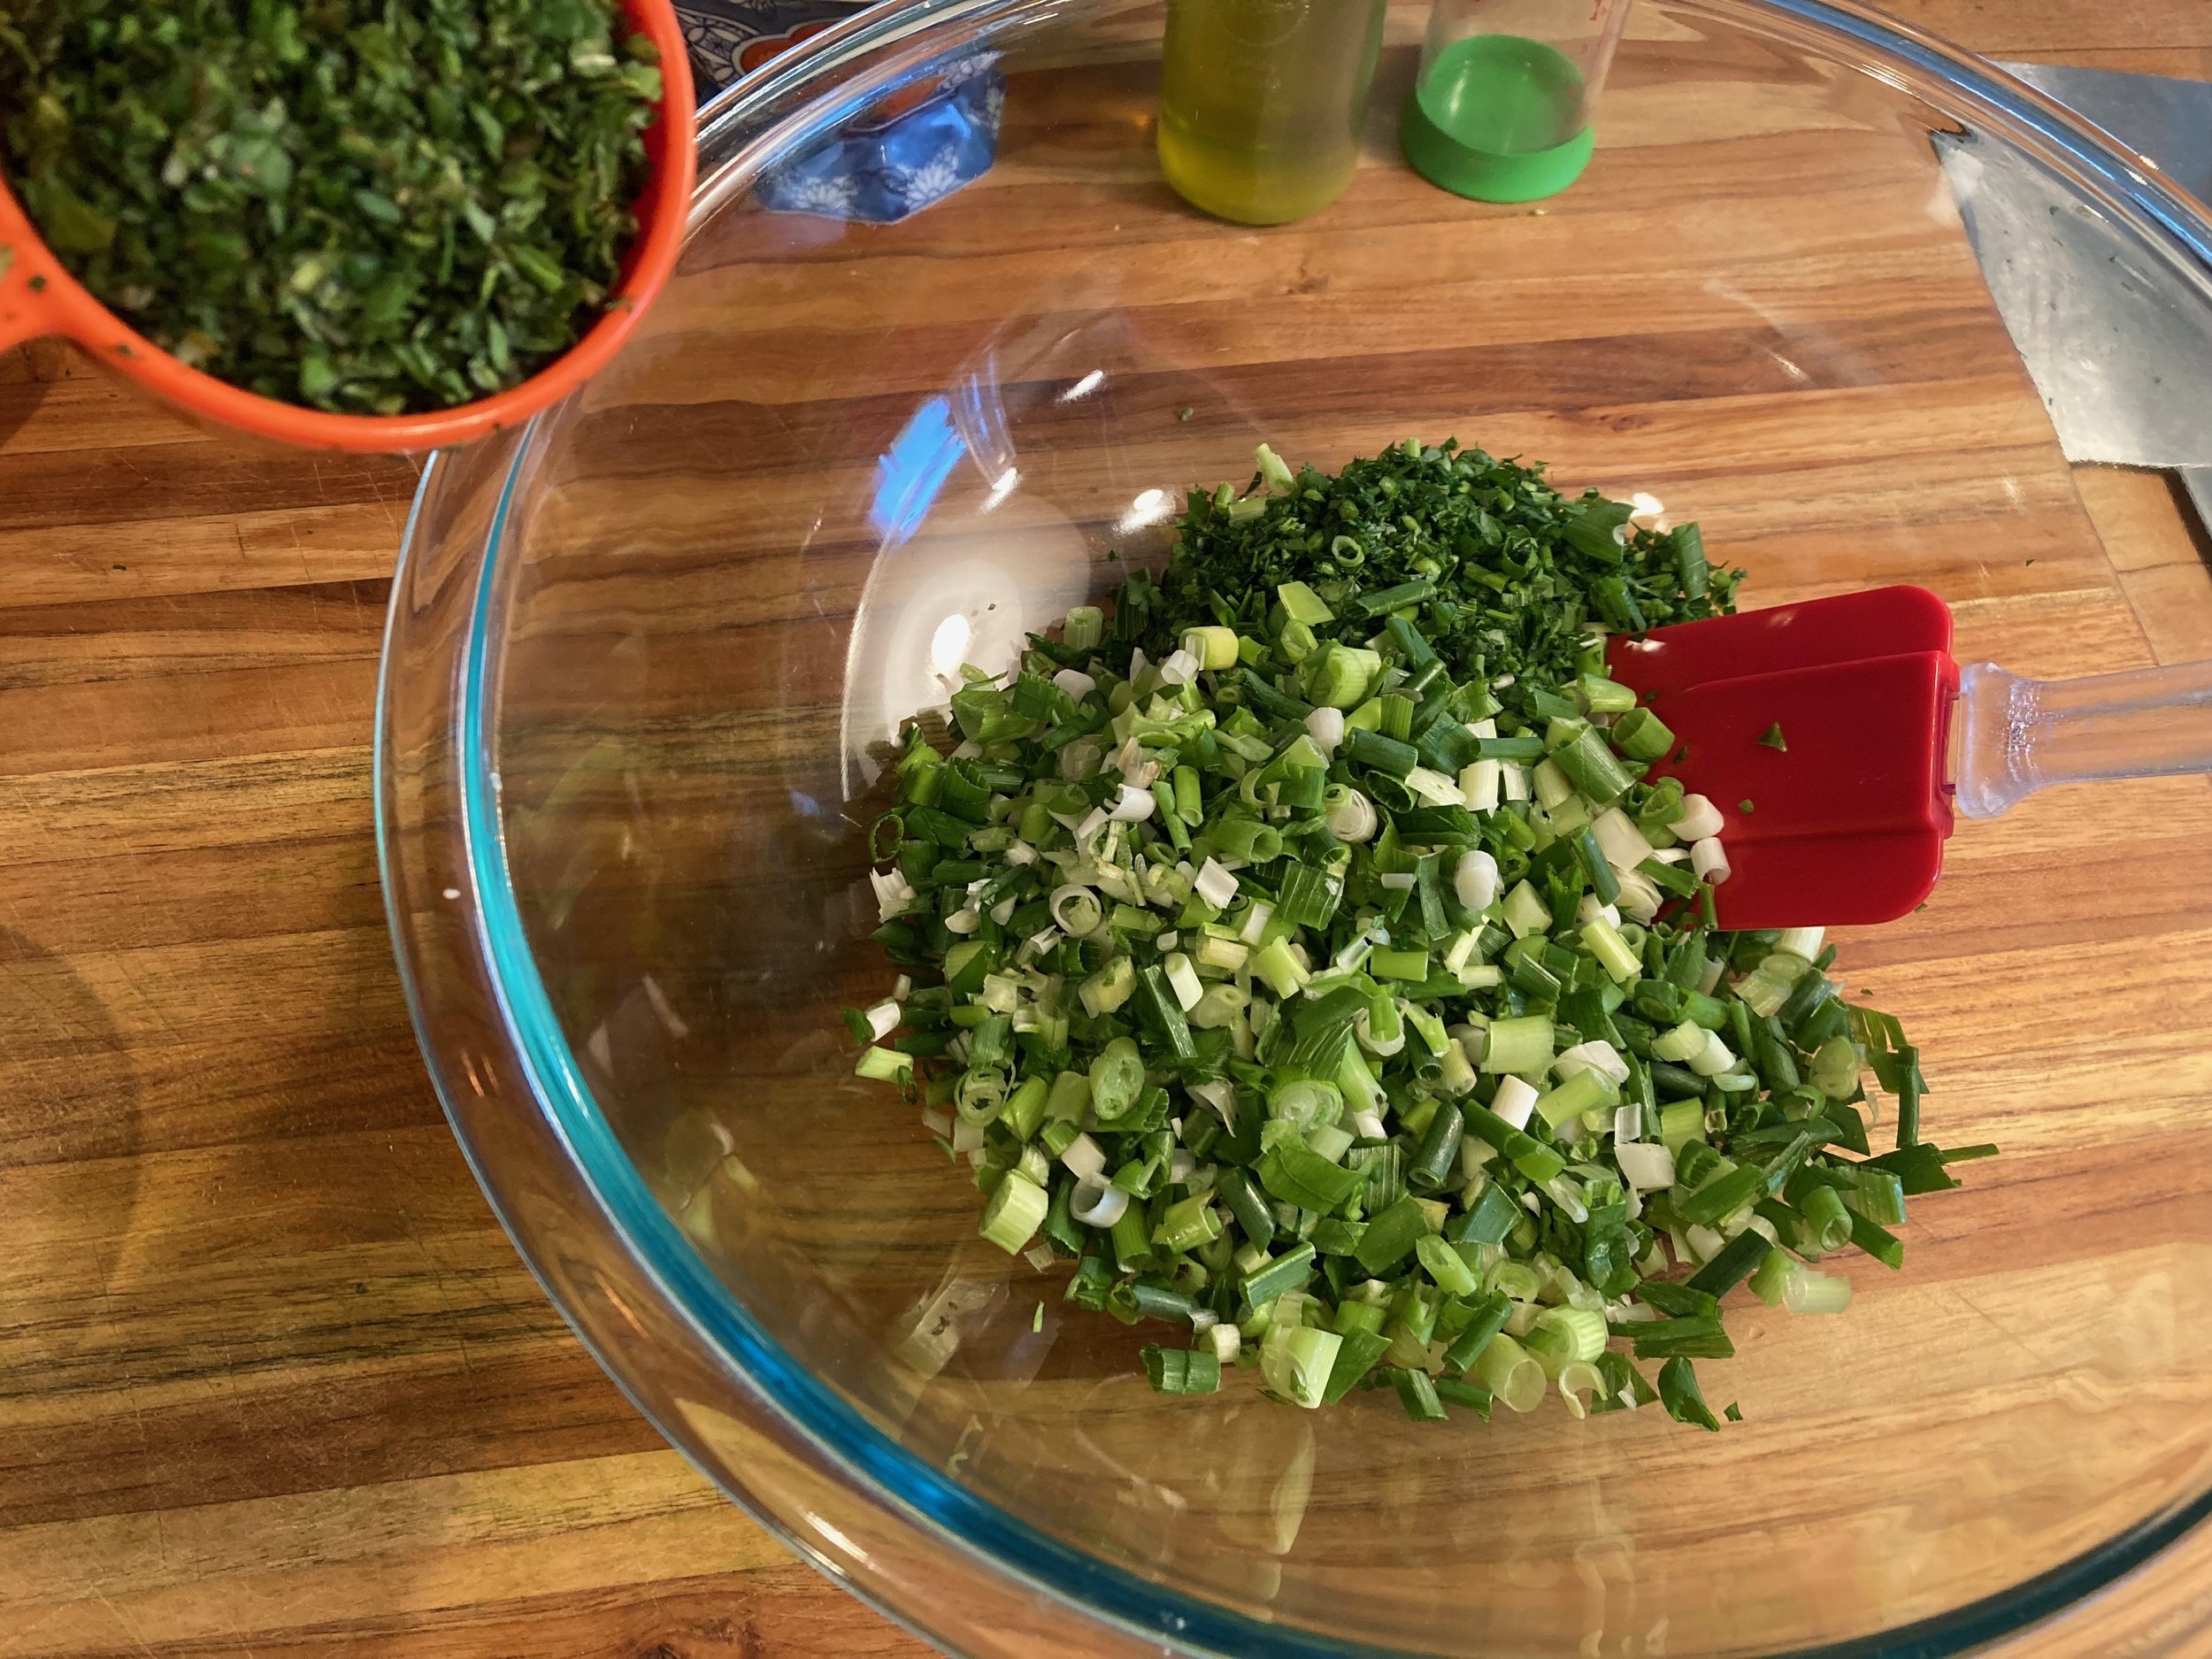
Add onions to herbs
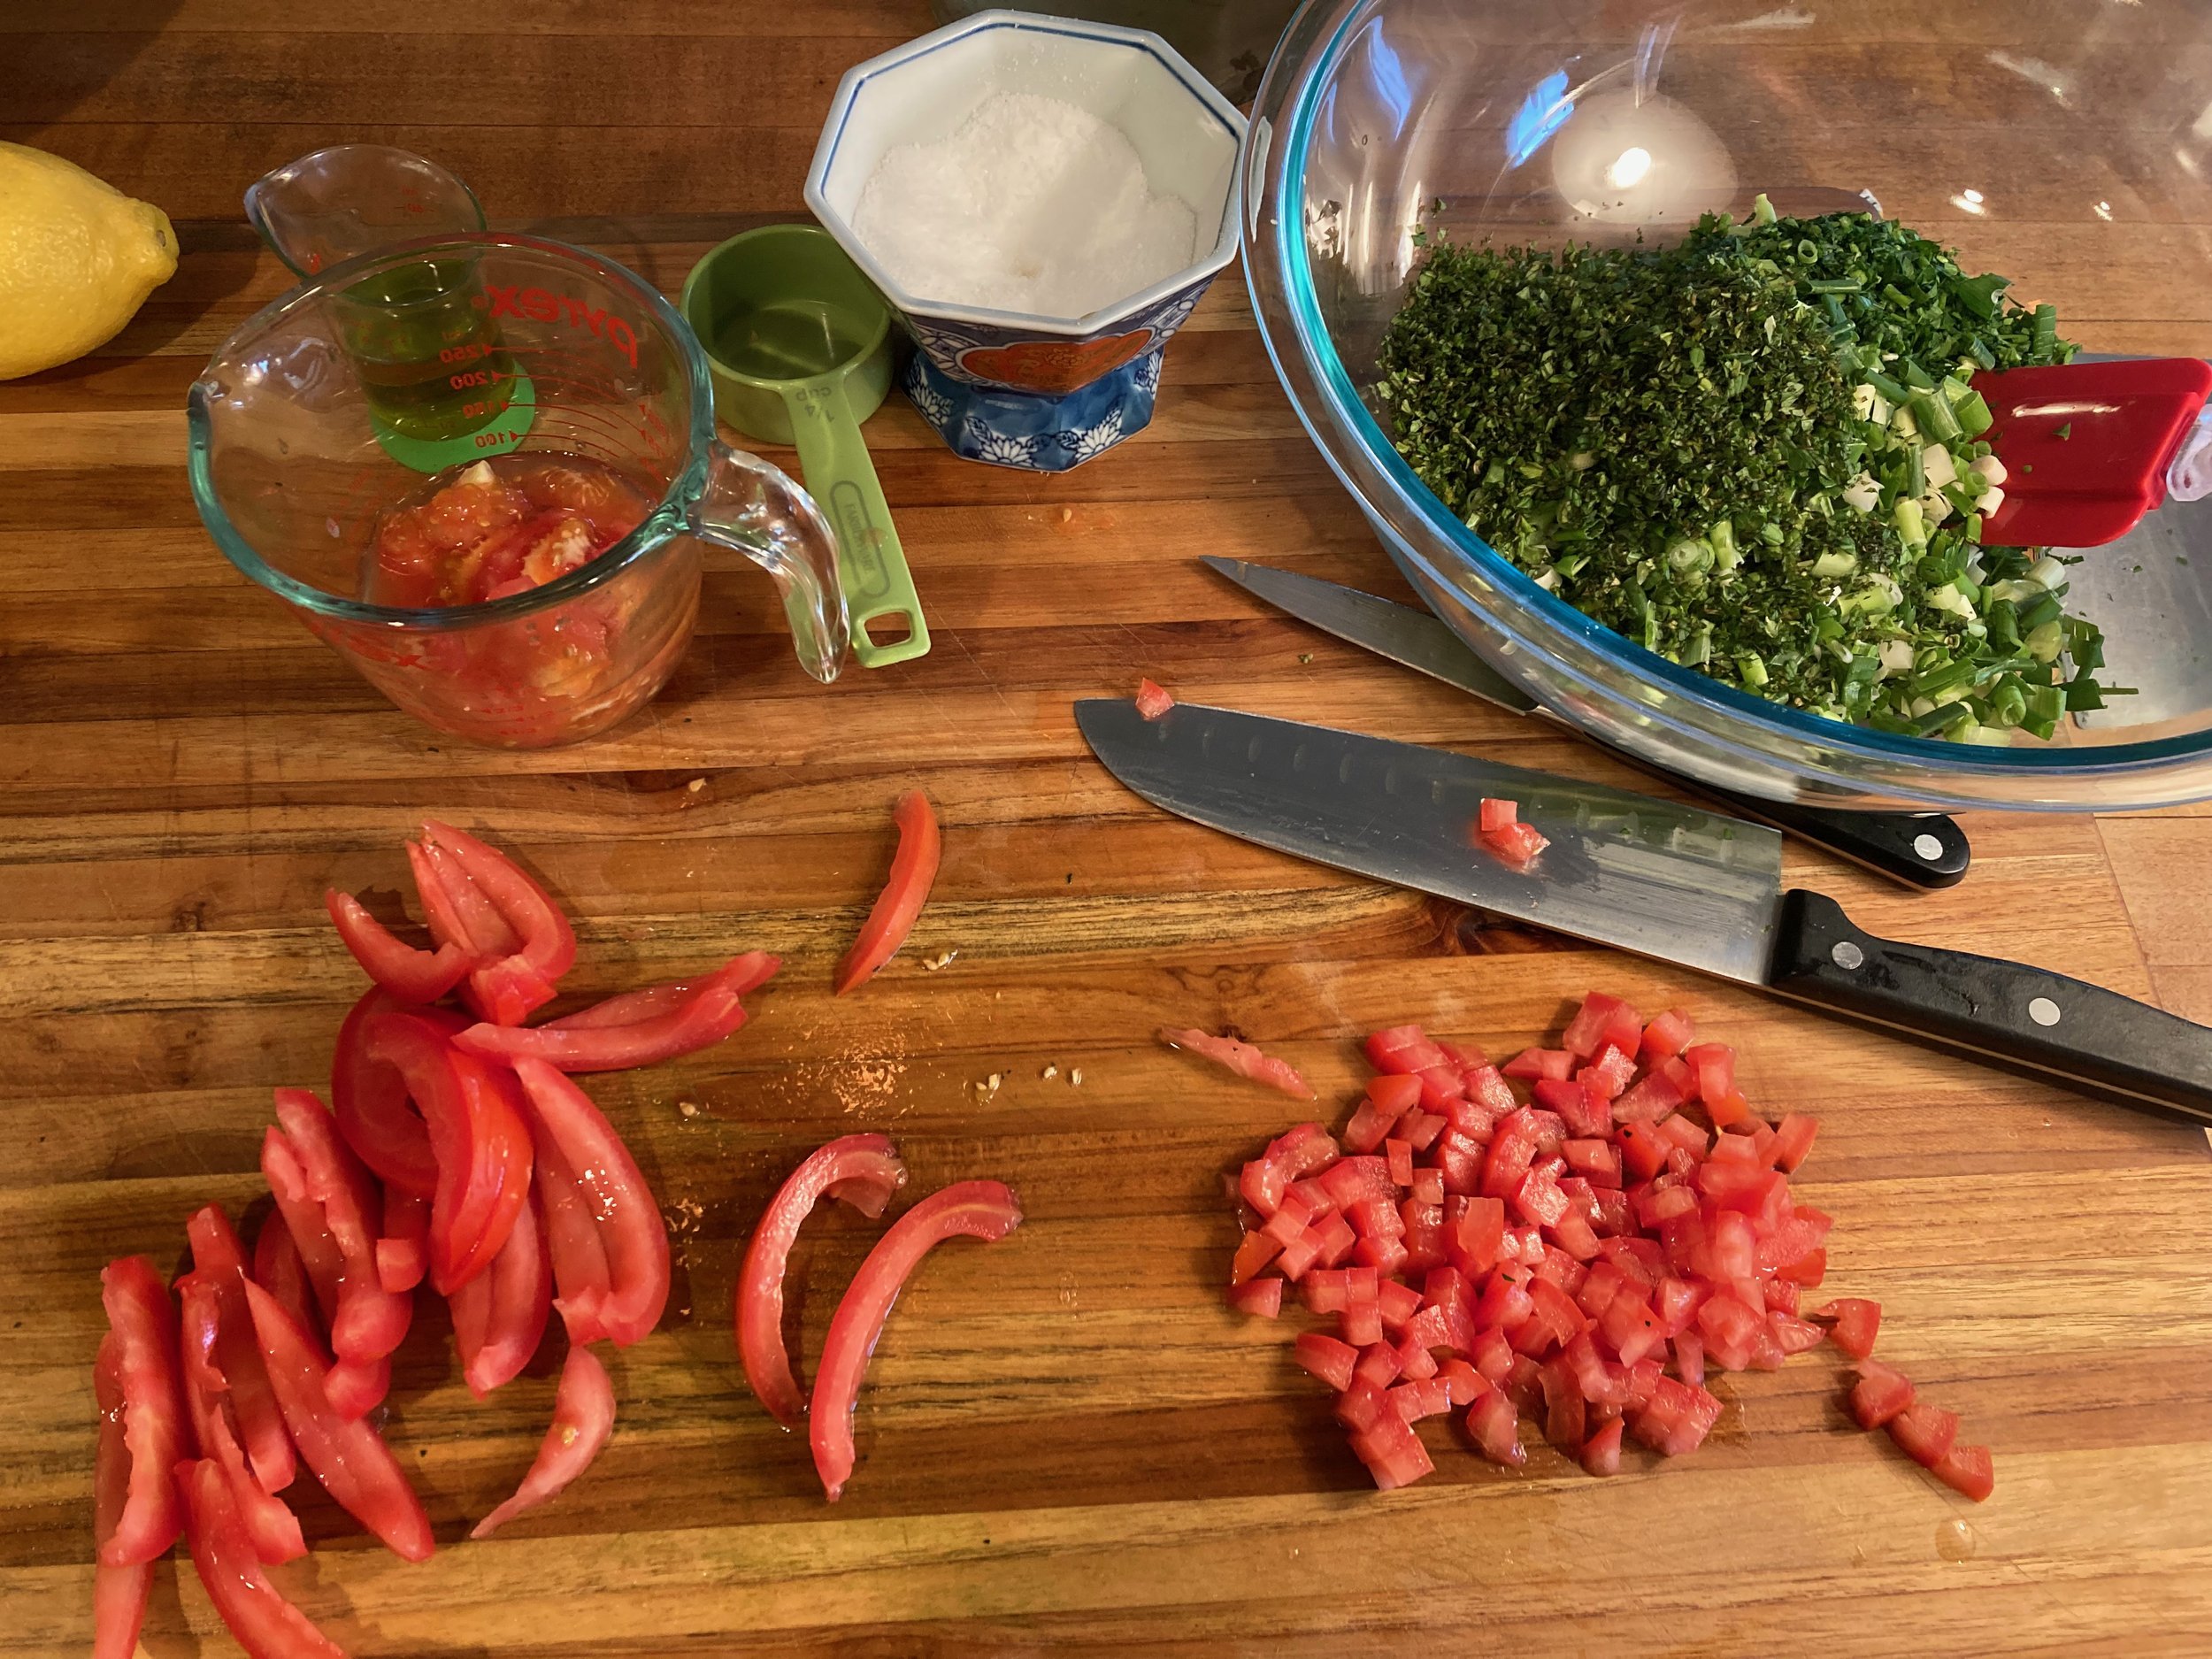
Finely chop tomatoes

Add tomatoes to onions and herbs
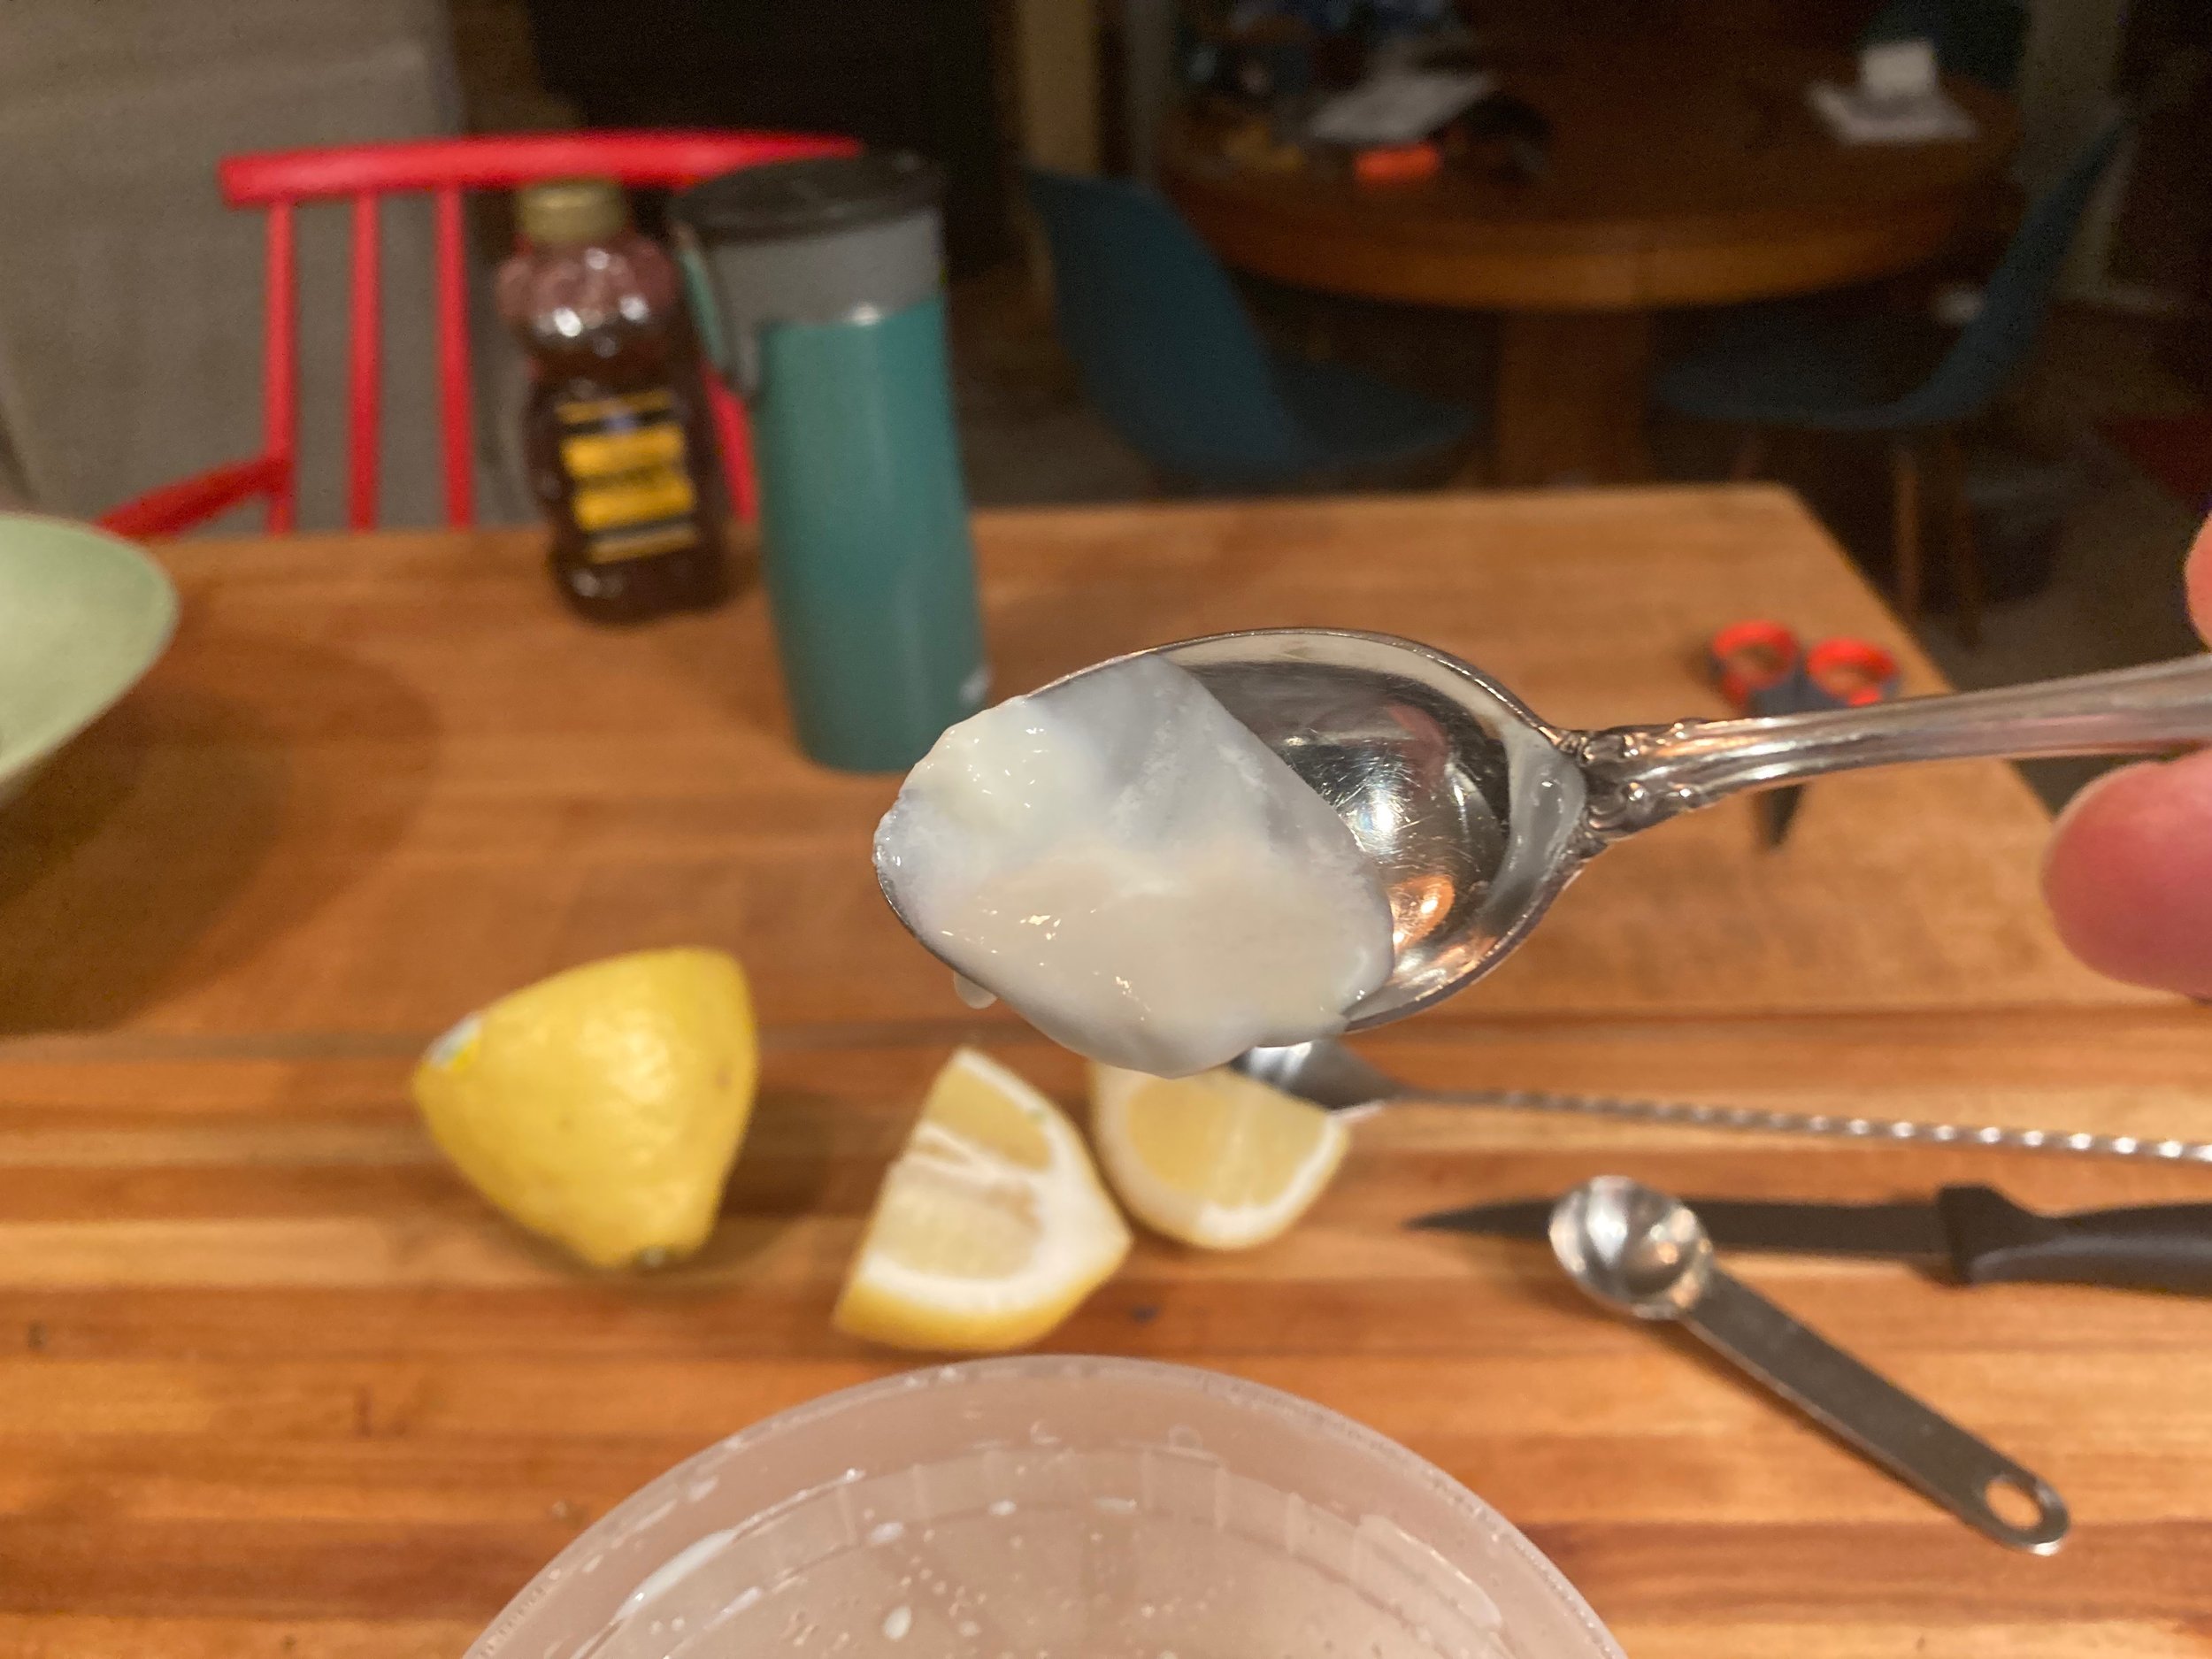
With your hands, squeeze the soaked bulgur to remove as much water as possible and mix it into the chopped herbs and tomatoes. (Wooden spoon and a fine sieve worked fine too.)
Add the lemon juice and olive oil.

Add bulgur to herbs, onions, tomatoes

Add lemon juice and olive oil
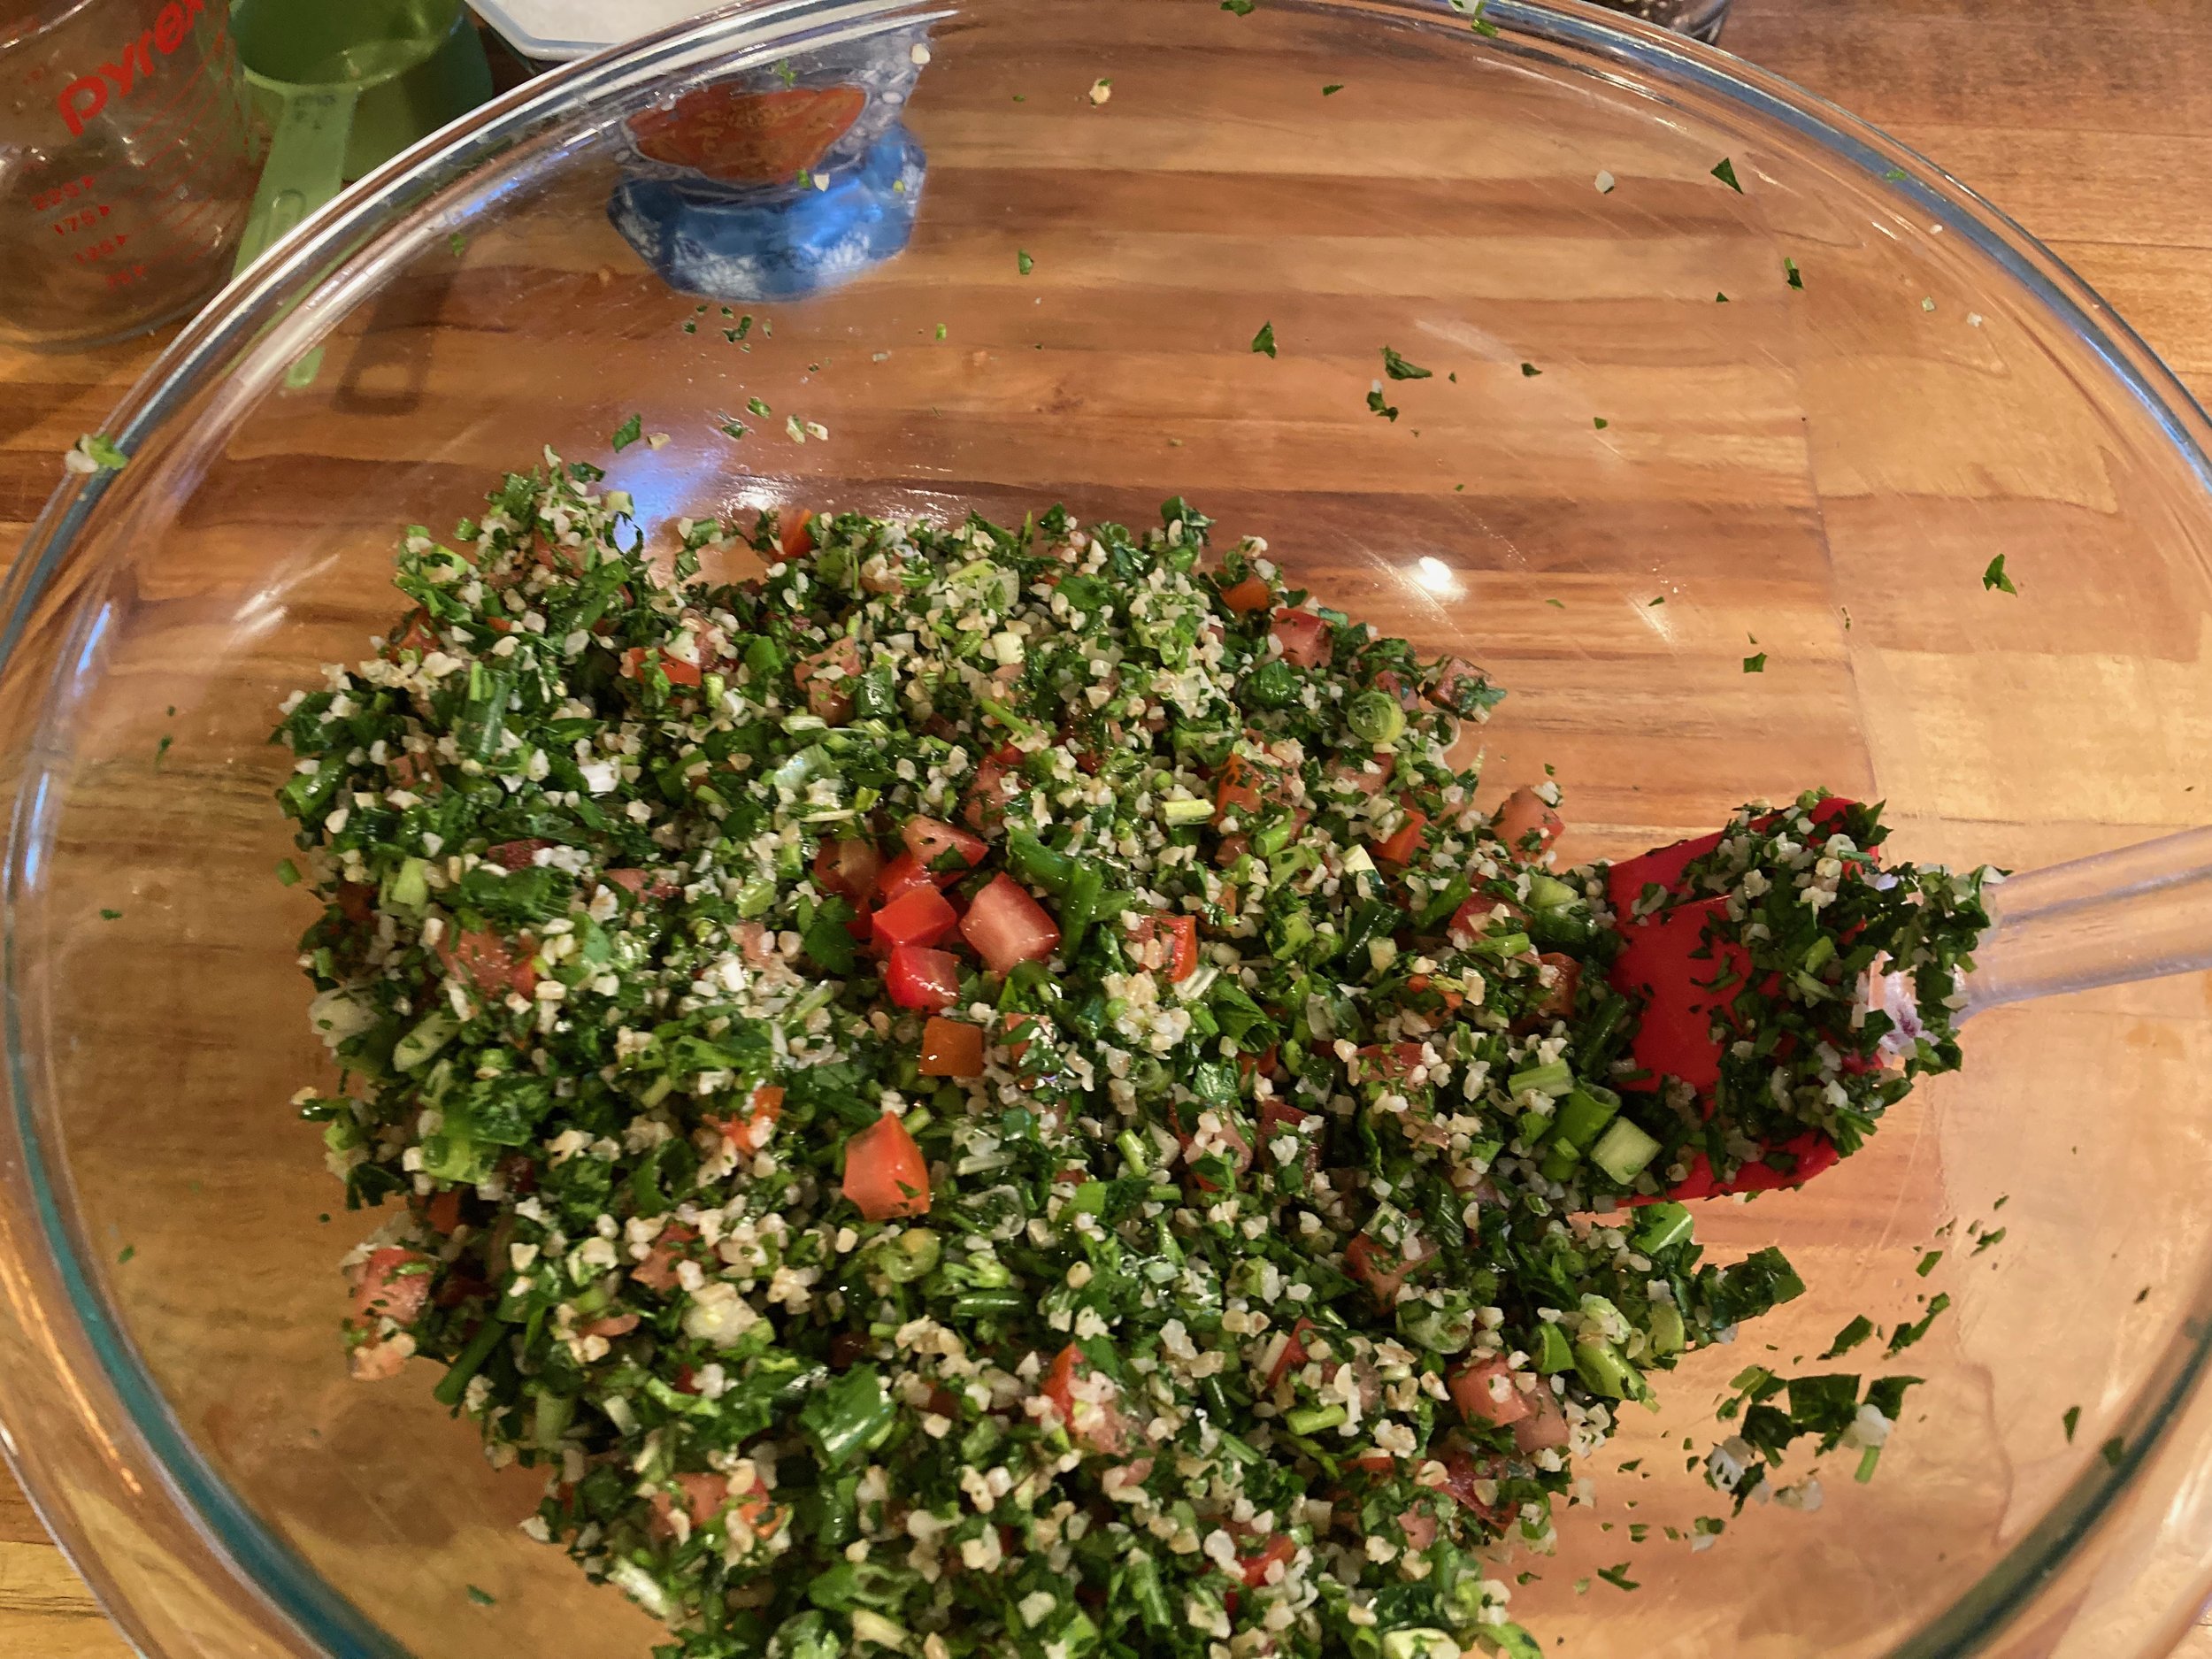
Stir, season with salt to taste
Add salt to taste. I used about 3 full pinches. Is there a name for that, when you pinch all of your fingers together, like a hand pinch? A five-fingered pinch? Like a Muppet pinch?
Taste, and add more salt, lemon juice, or oil if needed.
Let rest for about an hour before serving to allow the bulgur to absorb the flavors.
It’s going to seem like a lot of herbs for not a lot of grain, and that is correct. There are a lot of sources out there that have much more cultural right to speak to the relative mixtures of tabbouleh, the history of it, and even the various spellings of it. I am not so qualified. My research tells me this is on the right side of herb to grain ratio, and could even possibly go with less grain, or more herbs. I’ve seen versions asking for only 1/3 cup bulgur and 2 bunches of parsley.
Here are some folks more qualified to say so:
Maureen Abood Lebanese Tabbouleh Salad Recipe
David Lebovitz with Guest Anissa Helou Tabbouleh Recipe

Did you know bulgur is made from cracked whole grain wheat berries? It’s a hell of a world, isn’t it.
I bet I could do a better job here.
How about that 1971 playlist we talked about?
Okay BYE!
Water, Alice. The Art of Simple Food. New York, Clarkson potter, 2007.

Homemade Yogurt (in an insulated cooler)
fromWild Fermentation by Sandor Katz

So, things have gotten a little better in this world in some ways, not most ways, but some. We pretty much got rid of polio there, for a while anyway. Ryan Gosling, we have him now, and he’s still excellent, at least as of my last knowledge update. And there are some fierce courtroom sketch artists drawing Grump45 falling asleep in court, which is dope, but they’re getting mean mail for it, which is less dope.
And most importantly it’s slightly easier to find full-fat yogurt at a decent grocery store now. Was a time we could only get low- and non-fat yogurt, you know? Because of the eighties and diets and, like, Almond Moms or whatever. It’s nice, the yogurt thing is. So that’s like 3.25 additions to the gold star column of nowadays. And I’m all out of barrel-fire stickers, so we won’t start a count of those.
It's about fresh fruit season now, and I grow just enough berries to ensure that every few days I may have enough to top off some yogurt or granola. And that’s when I really want some homemade yogurt. That’ll be three strawberries for me and none for anyone else in the house!! Feel the bounty! Feel the savings!
Back in my fifth-floor walkup in New York, back when I couldn’t find full-fat yogurt to save my life, I made my own following Sandor Katz’s method outlined here in a Styrofoam cooler I super overpaid for. It’s been a long time, and I’ve seen a bunch of other methods out there, so I thought I would go on a journey of testing out different methods, and detail them here.
If you don’t know Sandor Katz, do. Do know him. Make it happen. Go. I’ll wait.
Katz, Sandor Ellix. Wild Fermentation: The Flavor, Nutrition, and Craft of Live-Culture Foods. Wild River Junction, Chelsea Green Publishing, 2016.
Equipment
Heavy bottomed pot or double boiler (or makeshift double boiler)
4 wide-mouth 1-pint jars* (alt: 2 wide-mouth 1-quart jars, or 2 1-quart deli containers
Insulated cooler **
Thermometer accurate in the range 110F-180F ***
* I like using glass jars because the extra weight helps stabilize the jars in the cooler in the water bath. But the deli containers are nice too, you just need to use a bit less water in your water bath before they get a little floaty. And the deli containers are easier to serve out of. Do you.
** I love my Engel cooler. I lived on a sailboat for a long time, and this cooler was my primary refrigerator. I put a block of ice in it every few days, and had it plumbed to drain into the bilge, and it kept me in half and half, tonic water, and beer, the only real sailboat-life essentials. And it doubled as a cockpit bench. I’ve inadvertently fermented all sorts of shit in this thing from not getting ice often enough. And then I worked with some dip who had never heard of Engel, and said it must be shit because it wasn’t a Yeti, and that only Yeti made real coolers and that everything else was garbage. But I will die on my Engel hill. Long live Engel coolers. (Waiting for them sponsorship deals to start rolling in. Any. Day. Now.)
But I also used to use a Styrofoam Igloo coolers, and the method still worked, though I’d have to top it up with hot water a bit more often, or stick one of those coil heaters in it to get the water bath back up to 115.
***I like the oven safe kind where I can leave the probe in the water and see it without opening the cooler. But it isn’t an essential bit of kit.
Ingredients:
2 quarts/2 liters/ half gallon Whole milk (ultra-pasteurized)
1 cup Heavy Cream (optional)
2 teaspoons fresh live-culture plain yogurt (use one from a brand of yogurt you like, or order an heirloom culture if you’re fancy lie that)
Directions:
Prep your cooler to establish your max water line. I’ve put a piece of tape on the inside of mine to show the maximum water level beyond which the jars will start to float when filled. It’s really frustrating to be trying to bail water out of your cooler when your hot lidless milk is bobbing around in the water threatening to tip. So I fill my containers with water, then fill the cooler with water until the containers start to bob/wobble a bit, and take out about 2-4 cups (as you’ll likely have to top the water up with hotter water when the incubation tank drops below 115F), then take the future yogurt containers full of water out of the cooler, and mark your max fill line.
Sterilize your containers in a bath of boiling water or a sterilizing solution. I don’t actually know if this is strictly necessary as most other instructions I see don’t do it, but since we want the yogurt to be made with the yogurt culture and not our boyfriend’s sinus infection culture, I think some amount of cleanliness is best practice. You don’t have to sterilize the cooler. It’s just there to help you hold a temperature.


Boil a large pot of water to add to your cooler.
Heat the milk in a heavy bottomed pot of double boiler to 180F, or until bubbles form. Go slow, use gentle heat, and stir frequently to avoid burning the milk. Set aside to cool to 115F.


Add hot water to the insulated cooler. Close the lid and let sit while your milk cools. Add cooler (like colder) water to bring temperature to 115F and fill to your fill line.
(Start boiling more water in case your cooler temp has dropped substantially by the time you are reader to add your incubating yogurt.)

Introduce your starter culture. Mix a little warm milk into your 2t starter yogurt, stir to dissolve. Mix the starter thoroughly into the milk.


Pour the mixture into the jars, and cap the jars.
Make a final check on the water temp in your insulated cooler. Add more hot water as needed. Place your jars in the water in the insulated cooler, continuing to adjust temperature as necessary until it stabilizes at 115F, close up and walk away.
And this is where I really like the in-oven/ BBQ style thermometers because I don’t have to open the cooler to see if my temp is still good.
Place cooler in a warm spot and monitor temp. Mine goes on the patio in the sun, or near the fireplace in the cooler months. But I really prefer being able to leave the cooler outside so I can release water from the bottom drain hole when I need to remove some water to add some water. I may try putting it in the shower this time. Pics would look a lot better outside though.


Wherever you put it, it’s best to not have to move it as apparently yogurt doesn’t like to be jostled too much in its incubation stage. So sayeth the great Sandor by way of the great Joy of Cooking.
If the temp drops below 110F, remove a little water to add hotter water to bring the temp back up, while trying not to agitate the yogurt as you stir your cooler water.
Ok and now this is where the magic happens. Katz says leave it to incubate for 4-8 hours. That’s a big time range. The yogurt will thicken the longer it incubates, and it will get more tart the longer it incubates. So if you like a less tart yogurt, start checking for gelling closer to the 4 hours. Katz says to “turn a jar sideways and observe its consistency. Ideally it should be solid enough to hold its form. If it isn’t thick (hasn’t ‘yoged’)…” (113). Snarf. The snarf is me. If it hasn’t “yoged,” bring your incubation water back up to 110/115 and leave it 4-8 more hours.
I like my yogurt on the thick and tart side, so I’m shooting for 8 total hours. But keep track of your total time because there’s no telling what combination of starter choice, milk choice, and incubation time are going to make you your favorite end-product.
I ended up thinking it was pretty thin at 8 hours, and pulling one container, but leaving the other two for another 8 hours. The thin one thickened up in the fridge, so I couldn’t tell the difference in terms of texture between the two, but the 16 hour container was more flavorful.)
The science of flavor here: “It will become sourer, as more of the milk’s lactose is converted into lactic acid. A longer fermentation period can often make yogurt digestible even for lactose-intolerant individuals” (Katz 113).
Your yogurt will store in the refrigerator for months, and will become more sour over time. It will stay fresh longest in full unopen jars (one of the reasons I like using smaller containers).
Save some of your yogurt to use as a starter for next time, or try different commercial yogurts until you find your favorite.


Also check out this episode of What’s Eating Dan? for some ideas on adding heavy cream or milk powder to your milk, or for straining your yogurt, or making frozen yogurt. I’ll try some experiments here on the blog too, but that’s down the line.
Katz, Sandor Ellix. Wild Fermentation: The Flavor, Nutrition, and Craft of Live-Culture Foods. Wild River Junction, Chelsea Green Publishing, 2016.


Marinated Beet Salad (with Walnuts and Goat Cheese)
Adapted from The Art of Simple Food by Alice Waters

I start here with the basic procedures for the Marinated Beet Salad from The Art of Simple Food (244), adding roasted walnuts, honeyed goat cheese (or add some honey to your dressing if using regular goat cheese), and orange zest.
Ingredients:
Salad greens
1 pound beets (any kind, but pink is prettiest)
Salt
1 tsp vinegar (red wine, sherry, or white wine vinegar)
1-2 tsp extra-virgin olive oil
1 tsp orange zest, finely chopped
4 oz goat cheese (I used Laura Chenel Fresh Goat Cheese with Orange Blossom Honey)
1/4 cups chopped walnuts

Directions:
Wash greens thoroughly, spin dry, lay on a dry dishcloth, wrap and store in fridge.


Wash beets thoroughly. put them in a baking dish with a little water (enough to cover the bottom of the dish to a depth of 1/8 inch) and sprinkle with salt. Cover tightly and bake the beets in a 350 degree oven until they can be easily pierced with a sharp knife, 30 minutes to one hour, depending on their size. (Mine took about 90 minutes, so you may want to do this ahead of time, though I like them in the salad still a little warm, also warm beets make it easier to mix in the goat cheese.
While you’re at it, it helps to take the goat cheese out of the fridge a couple hours before you plan to make the salad.
Uncover and cool your beets.

Meanwhile, heat a dry pan over medium high heat and add your walnuts. Toss in the pan until just starting to brown. DO NOT BURN. Set aside.
Cut off the tops and the roots of your beets and slip off the skins. Cut the into small wedges or 1/4” dice and sprinkle with vinegar, orange zest and more salt.
Let stand for a few minutes to allow the beets to absorb the flavor. Taste and add more salt or vinegar as needed. Toss with 1-2 tsp olive oil.
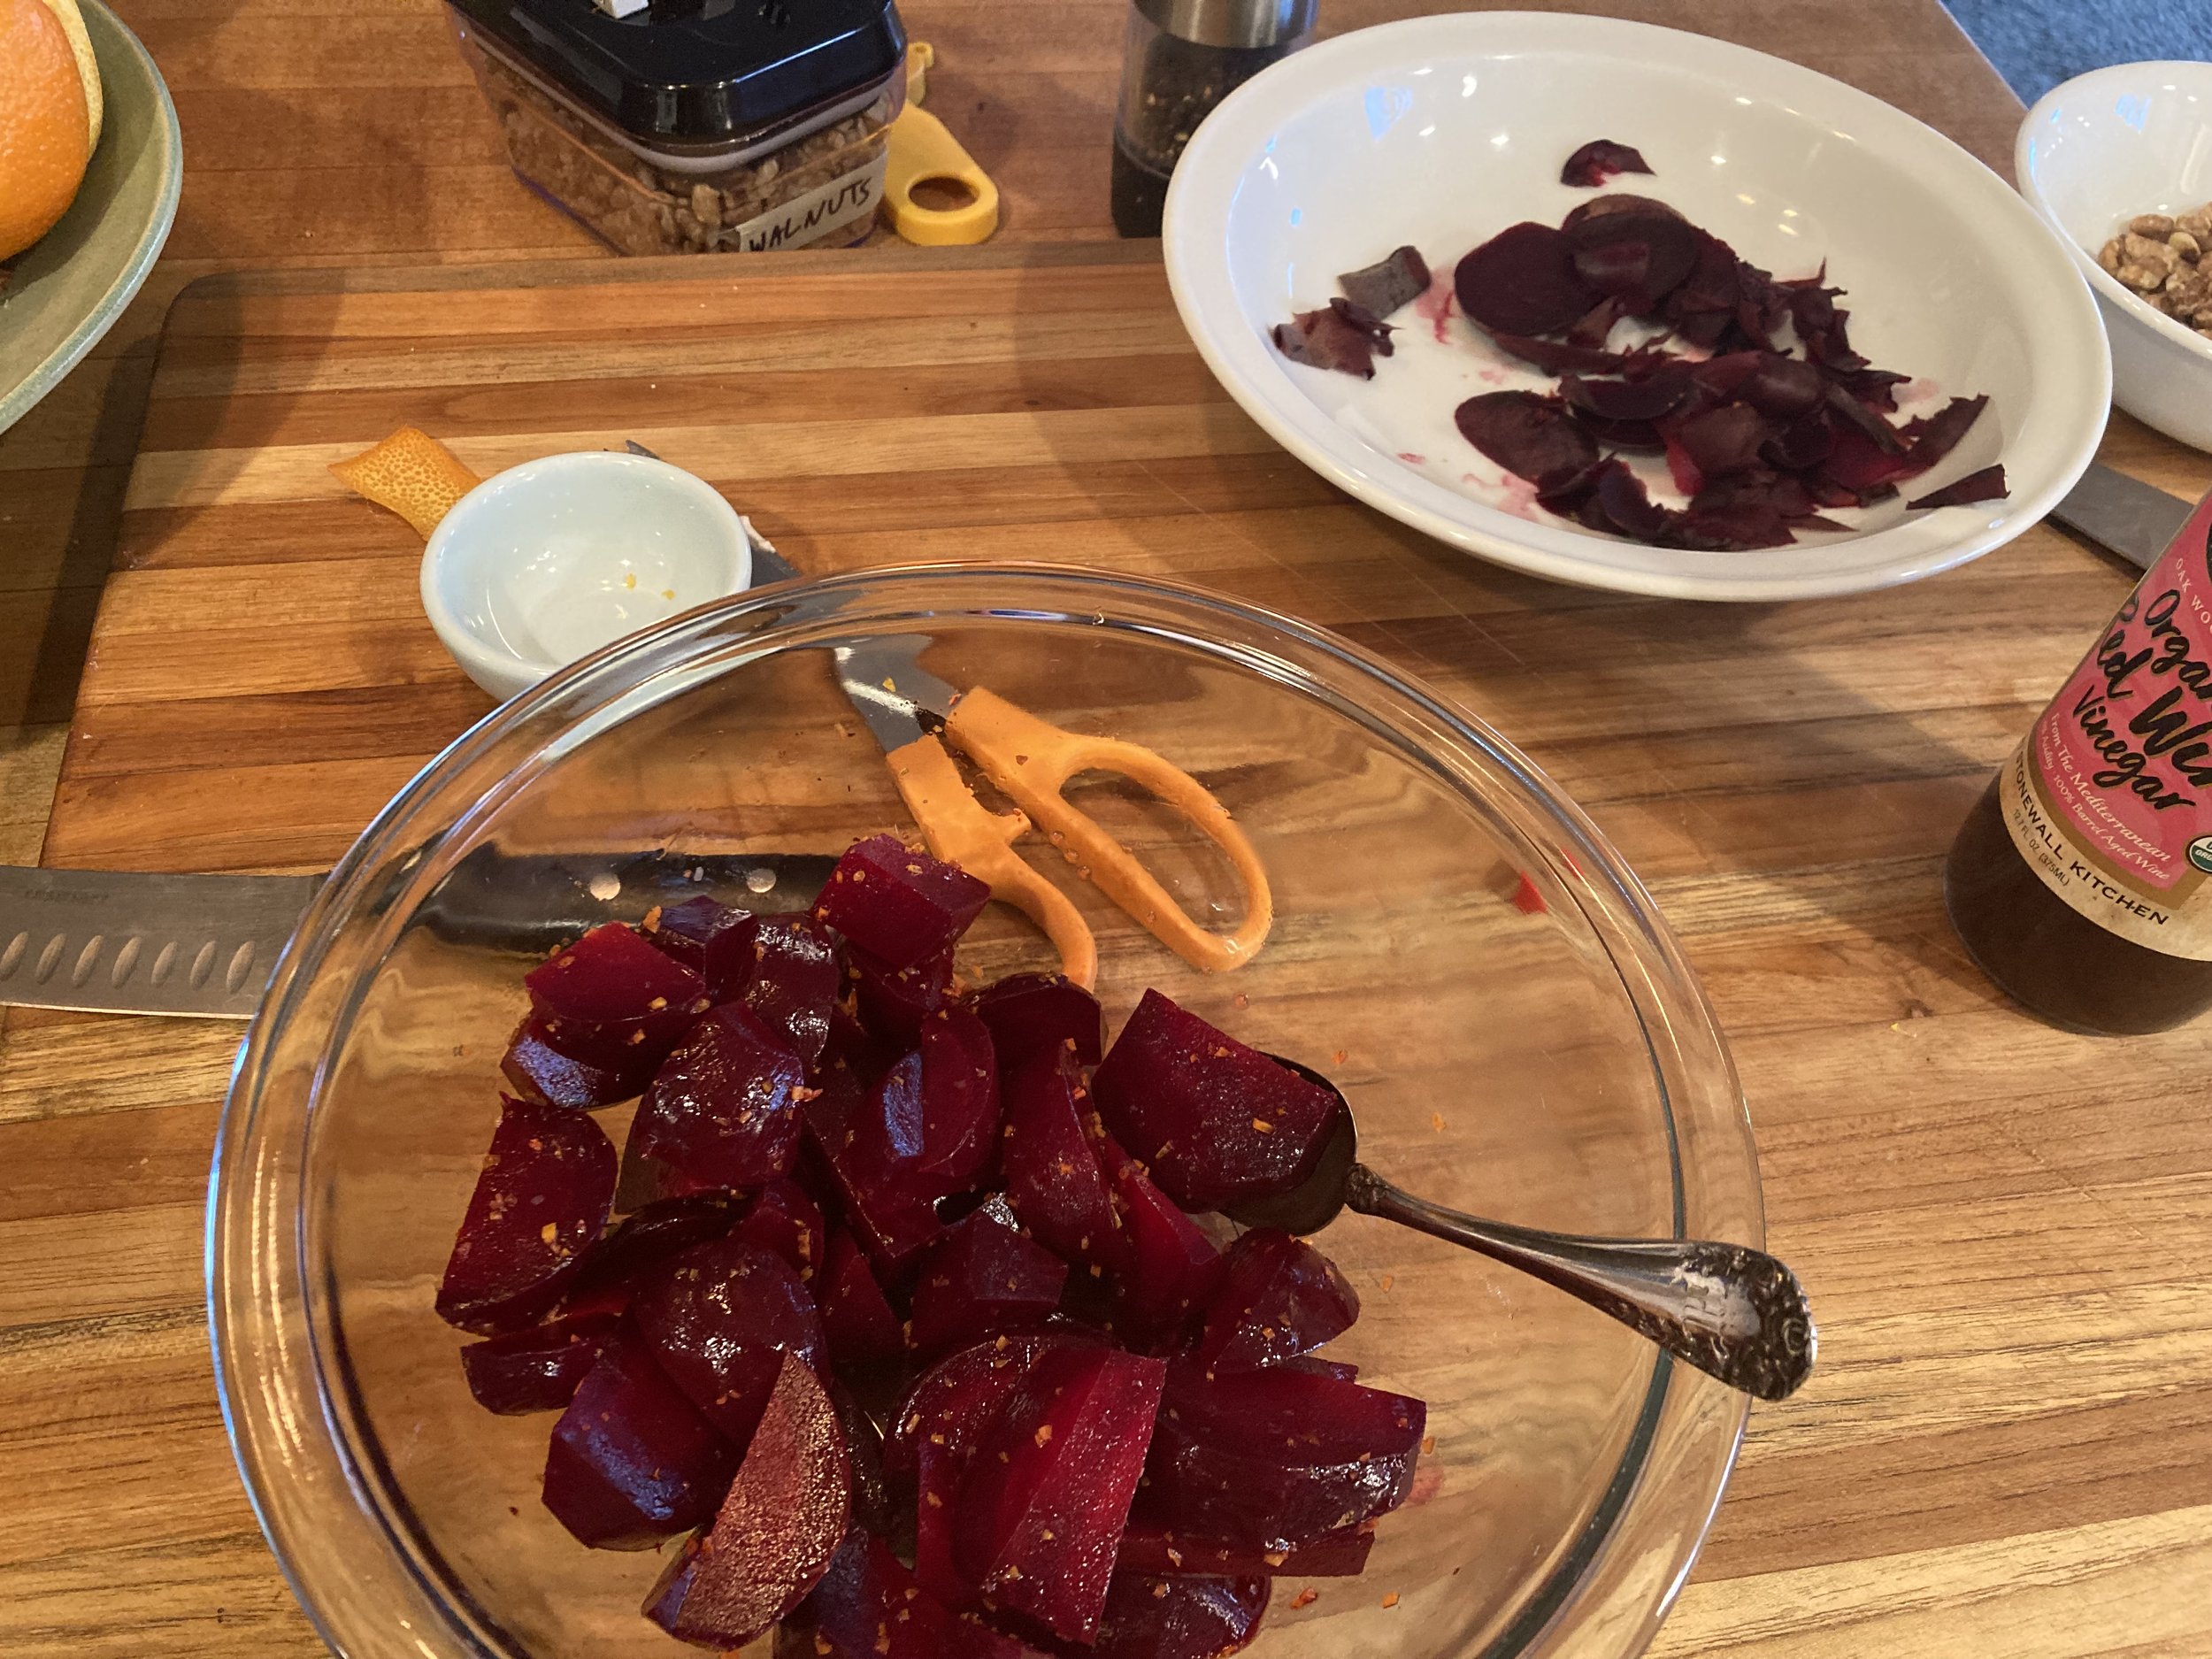
Stir the goat cheese into the beets. You can crumple it on top, but it looks pretty when it’s all pink and shit.
Dress your greens with a small amount of olive oil and a dash of vinegar. Top with beet and goat cheese mixture, followed by walnuts.


I served this with baby/creamer potatoes with a little butter, and simple pan-seared boneless pork chopped. The sweetness of the beets, heightened by the honey goat cheese and orange zest, were a nice accompaniment for pork. Very nice.
I usually roast my beets hotter and in foil, but this lower slower method worked well too. And the lightly salted water in the roasting dish was incredible to drink.
Waters, Alice. The Art of Simple Food. New York, Clarkson Potter, 2007.

Alice Waters and The Art of Simple Food, Frontmatter
It’s August of 1971 and a 28 year-old Alice Waters is just opening her first restaurant, Chez Panisse, in Berkeley California. Fiddler on the Roof and Billy Jack are leading at the box office, along with French Connection, Sweet Sweetback's Baadasssss Song, Carnal Knowledge, Dirty Harry and The Last Picture Show, but this is also the year of Harold and Maude, McCabe and Mrs. Miller, Klute, Willy Wonka and the Chocolate Factory, Sunday Bloody Sunday, Shaft, The Andromeda Strain, Bananas, The Panic in Needle Park, Duel, Black Beauty, Brian’s Song, A Clockwork Orange—my GOD, 1971 was a good year for movies—Bedknobs and Broomsticks, The Hospital, Straw Dogs, oh and George Lucas’ premiere, THX 1138, which I hear is technically also a movie (prove me wrong).

Image from https://www.sfchronicle.com/projects/2021/visuals/photos-chez-panisse-50/
Earlier in the year, Gil Scott-Heron has just recorded “The Revolution will not be Televised,” Carol King has played her first live concert, Grand Funk Railroad has sold out Shea Stadium, Santana, The Grateful Dead, and Credence perform the final show at the Filmore West in San Francisco before it closes. And Jim Morrison is found dead in a hotel room in Paris in early July. In August, The Who release Who’s Next. On the same day, August 1, George Harrison, Ravi Shankar, Ringo Starr and Bob Dylan play A Concert for Bangladesh at Madison Square Garden, and The Sonny and Cher Comedy Hour premieres on CBS. It’s the Summer of “Maggie Mae,” “Imagine,” “Brown Sugar,” “Rose Garden,” and “Ain’t No Sunshine.”
Ok, but you can read Wikipedia too, ok, fine.
Back to Alice Waters.
In 1971 we’re still very much living in the world of Better Homes and Gardens and Betty Crocker, canned goods and mixes. Fresh ingredient availability is something a lot of Americans will still be dealing with, but a movement towards relying more heavily on local farmers and farmers markets is on the rise. Waters is one of the first major voices of what will come to be known as the farm-to-table movement, and Chez Panisse is at its heart. Local foods, farmer’s markets, community-supported agriculture, and forming and joining community around foods and food production are all central tenets of farm-to-table, slow food, and The Art of Simple Food.
Chez Panisse offered a set menu every night, changing daily, and always made with the finest quality fresh and local ingredients. No out-of-season waxed cucumbers and tomatoes to make a signature Greek salad you can order any time of year. Chez Panisse was training its diners to think about their food differently.
From the beginning, central to Waters and Chez Panisse was ingredient sourcing and seasonal cooking: local dairies, farmers, and ranchers were the restaurant’s vendors. And they still are. Early menus were largely French and Mediterranean, influenced by the likes of Richard Olney and Elizabeth David. We’re talking more about French country cooking and provincial cooking here, French home-cooking, cuisine bourgeoise. Waters was especially influenced by La bonne cuisine de Madame E. Saint-Ange, the 1927 book which was translated into English by Paul Aratow, one of her co-founders of Chez Panisse, sometimes referred to as the French Joy of Cooking.
But in later years Chez Panisse menus would become quintessentially California, or what we now associate with California. As Smithsonian Magazine explains, by the early Eighties “Beef bourguignon and duck with olives were out; spicy crab pizza and warm goat cheese salad were in.”
The Art of Simple Food is not published until 2007, so the recipes here are that classic California farm-to-table cooking that Waters helped create, not so much the earlier French cuisine. Chez Panisse is still there, and Alice Waters is still the owner. But Chez Panisse and The Art of Simple Food still very much feel like a movement with one foot in the Seventies, and still adhere to their dedication to locally-sourced, seasonal ingredients, supporting local farmers, foragers, market gardeners, dairies, fishmongers, and ranchers. This coming Wednesday, March 13, for $175/person, they’ll be serving
Pennyroyal Farm goat cheese pudding soufflé with black trumpet mushrooms and herb salad
Dungeness crab and leek soup with aïoli croûton
Grilled breast and braised leg of Sonoma County duck; with glazed turnips, fried spring onions, and asparagus
Crêpes Suzette
Waters published a sequel cookbook, The Art of Simple Food II, in 2013. Chez Panisse opened a less-formal eatery in the upstairs of the restaurant in 1980, the Chez Panisse Café, and Alice Waters published the Chez Panisse Café Cookbook in 1999, which I also have, so I should dive into that a bit soon, too.
It’s hard to see it in retrospect now, because the farm-to-table and slow-food revolutions were largely successful. Farmer’s markets are more accessible than ever, or at least they are physically more accessible, and specialty or high-end grocery stores feature cheeses from local creameries and cottage-kitchen foods, and you can’t swing a dead cat in a blue downtown without hitting a new restaurant priding itself on sustainability. But geography, food deserts, and socioeconomic limitations are, 40 years later, sadly still barriers to many being able to live, shop, and cook the Alice Waters way. Also I just watched someone on TikTok wrap ground beef around raw spaghetti and sprinkle some Nerds on top, so I guess we aren’t all living adherents to the movement.
So treating The Art of Simple Food like it’s a cookbook in a vacuum would be missing out on the whole vibe. For this one, I’m going to try to live by those tenets whenever possible. The recipes themselves are highly adaptable, so I’ll include them when it makes sense to, otherwise I’m more cooking with Alice Waters.
But I’m still stupid poor, and it’s just March now, and I have almost nothing growing in the garden. Farmer’s markets, and shopping local are still, in 2024, cost prohibitive. And the farmer’s markets aren’t even open yet. Sorry, but local meat and dairy are out of my price range at the moment. But I do have access to an awesome place out in Maltby, in the Snohomish Valley, called Flower World that has a year-long market of locally grown produce that I can actually afford. Also they have goats that like head scratches. It’s a trek for us though, so part of the project will be making this all last the week, and mixing in the bounty from the garden last year, improvising, and avoiding waste.
So here’s what we’re working with:
Fresh Produce from farmer’s market (week 1):
greens
beets
leeks
radicchio
brussels sprouts
celery
cilantro
parsley
radishes
What I have in the garden:
kale
oregano
thyme
rosemary
Oof, that’s it I think
What I’m still just gonna get from a regular-ass grocery store
onions
potatoes
meat
cheese
bread
citrus
wine/beer/liquor
From last years garden:
root cellar:
unknown pumpkin variety (lost my labels!)
garlic
freezer:
pesto (also with oil cap in fridge)
chard
kale
salsa
tomato sauce
roasted peppers
roasted beets
canned:
pickled peppers (shishito, banana, and jalapeno)
pickled cucumbers (bread and butter, garlic, and relish)
cherries (in syrup and in wine)
jams (gifts from a gifted jam maker)
dry (some from garden, some from local markets):
citrus (Grapefruit, Oranges, limes)
chile powder (anaheim, shishito, jalapeno)
chiles (birds eye, jalapeno)
peppers (baby bell)
celery
carrots
onions
garlic
beans
tomatoes (also preserved in oil in fridge)
And I have a really well stocked pantry for rice, pasta, beans, sauces, oils, vinegars, nuts, dried fruits, grains, and all sorts of other stuff because, since I moved into a house and got a label maker, I’ve become a bit of a food hoarder.
So that’s the challenge for March, a poor-person’s farm-to table pantry challenge with Alice Waters. And Luke has some favorite books he wants me to read that should slot into this well. I may revisit Wendell Barry, and do a 1971 music playlist, too, and throw in some San Francisco and Bay Area early 70s history and photos to smooth out those vibes, too.
See you back in a couple days with some food.
As always, this blog is written by human for human.
![Coq au Vin [Chicken in wine, with Onions and Mushrooms]](https://images.squarespace-cdn.com/content/v1/54c97b77e4b002ff91c0d532/1710444795442-2MZ40RF19ZW0JOY5K9UB/Julia+Child+Kitchen.jpeg)
Coq au Vin [Chicken in wine, with Onions and Mushrooms]
A loose guide to Coq au Vin, and an au revoire (or a ttfn at least) to Julia Child.
This is just going to be a stub of an entry because I decided to make me and my person a delicious dinner out of Mastering the Art of French Cooking without taking any pictures of it. Crazy, I know.
And this will conclude my two months with Julia Child. I’ll be moving on to Alice Waters and The Art of Simple Food. (I let Luke pick the book, and I think he thinks that “simple” means that it won’t take me so long to cook dinner, and I didn’t have the heart to tell him it probably won’t mean that at all.)
But for today, I’m just going to give you a brief rundown of how letting go of a cookbook feels, and how getting a grasp of a recipe in concept leads us to adaptations, improvisation, learning our pallets, and, well, letting go.
I’ve made coq au vin before. And I’ve made it from MtAoFC before. And there’s something that happens, I’ve talked about it here before, where the pieces of the recipe start to develop in the mind as an internalized process, rather than a set of instructions to follow. Here’s what I mean: coq au vin is beef bourguignon with chicken, hold the carrots. It consists of 6 essential steps: braise baby onions (set aside), brown mushrooms (set aside), saute bacon (set aside), gently brown chicken in butter and bacon fat, simmer chicken in wine and stock, then cook down and thicken the broth into a sauce, and re-assemble to serve. That’s kinda all there is to it.
I’m not going to copy the whole recipe here as it’s already all over the internet. Here it is on Eater.
They don’t really give you the process for the onions here, and I suggest doing that first (not in step 7). It’s a separate recipe in MtA, so if you don’t look at it until you’re simmering the chicken, you’ll rush and burn your onions, or under-braise them. So don’t do that, and get your onions going first.
My favorite part is the onions, but it’s also the biggest pain in the ass of the whole recipe. Peeling 18-24 baby onions takes a while (give em a quick boil then plunge in ice water to help loosen the skins, but it still takes time), and brown braising them takes about 60 minutes. And if you’re not in the mood for that, you can use frozen ones as Ina Garten does in her beef bourguignon, and just throw them unbraised to warm through, but if they’re your favorite part, as they are mine, it’s worth it to use the fresh ones and braise them (it’s hard to braise the frozen ones as they hold onto a lot of water and fall apart, but you can still do it, and who the fuck cares if they fall apart). Frozen onions can make this a weeknight meal. But the real deal brown braised onions elevate it a lot.
Here it is on food.com
Do your herbs need to be in a cheesecloth? No. Do you need to use homemade beef or chicken stock? No. Better than Bouillon is great, even America’s Test Kitchen says so, and they actually try at stuff. Can you throw some wine in there too? Yes. Can you deglaze with some vinegar? Sure. What if you don’t have fresh parsley or thyme? Then go without.
Brown the mushrooms in a separate pan while the chicken is cooking, or do this first to save washing another pan, otherwise this is a 3 pan dish. Recipe says ½ pound, but you can use more, you’ll just need to cook them in batches and use more butter and oil (2T butter, 1T oil per 1/2 lb mushrooms, I don’t bother with the shallots, but you can if you want). Which you can do, I swear. Here the mushrooms are on food.com, too.
Julia calls for 3 cups of wine in the chicken, which leaves a couple ounces for drinking, or you can throw the extra in the onions, or throw in the whole bottle, or give them to your cat. I gave mine to the cat, and he’s super friendly tonight. Keeps running into stuff though.
Here’s one: the bacon and the lardons, and the boiling. Do you care? Should you? Can you tell the difference? Enough that it matters? Julia wants us to boil our bacon because the French bacon isn’t as smoky as our American bacon. Will a little smokiness ruin a coq au vin? It really won’t. Luke gets Hempler’s Butcher Cut bacon for breakfast, so I just use that. And it’s fine. It may fall apart in the simmering a bit, so you can cut it up really fine and let it just be a part of the sauce, or leave it a bit chunkier and you’ll still be able to find it. But it’s in there more for flavor than for texture.
What about the flaming with Cognac? I’ve literally just forgotten to do that step, or not been able to get the cognac to light, and not been able to tell the difference. But it’s fun, so if you have the stuff, and want to, yeah, do it, it’s a hoot. (Tip: put 1T in a metal measuring spoon, and light that, then tip into the pot.) But I wouldn’t bother buying a bottle just for this. And if it doesn’t light, that’s ok too.
Oh and I just use drumsticks and thighs, bone-in skin-on, of course, and cook until they’re registering 190 or so. Overcooked breast is no fun, even if it is soaked in wine. That’s only true about chickens. Don’t read into it. But if you want to break down a whole chicken and use that, go for it. That’s fine too.
I love cooking a recipe for the first time, and getting in the weeds about the prescriptivism of a recipe, especially a vague or self-contradictory one, is part of the fun for me. But learning a recipe, even as a loose concept of steps and ingredients, is incredibly rewarding. This coq au vin was a nearly shopping-list free recipe this go around. I had everything except the parsley and mushrooms already in the house. And I knew I had everything else to make it even without looking it up.
And guys, it’s freaking delicious. Just schmaltzy and comforting, and warming and melty and incredible. I served it with instant mashed potatoes for fucks sake. Make it, make it again, and make it again, add it to your repertoire, make it until you can relax about it.
So long for now, Julia. You’ll always be my first, and I’ll see you again. But I’m really looking forward to jumping into modernity a little, getting the garden planted, and mastering the Art of Simple Food for awhile.
Happy March, everyone. Au revoir.

Carbonnades A La Flamande (Beef and Onions Braised in Beer)
From Mastering the Art of French Cooking by Julia Child et al (317)
Today imma make a Flemmish beef stew.
Frontmatter: It’s raining out here in the PNW, and it’s almost onion planting season here, so I need a good reminder of why I shouldn’t skimp on planting onions this year, as I did last year. I don’t know.
This seems like a recipe where the fundamental flavor will be largely defined by the beer chosen. I’m not usually a pilsner person, but I’m going with Julia’s pilsner suggestion. I suspect a brown ale would also be nice, or a darker Belgian ale. This recipe reminds me of another Flemish beef stew I make for my honey sometimes called a Stoofvlees.
This Stoofvlees recipe from the BBC is wonderful. It uses a Belgian ale, has a lingonberry syrup as a sweetener, and has you layer mustard-spread brown bread on top which disintegrates and acts as a thickener. While Julia asks for a Pilsner, adds brown sugar, has us add corn starch and boil the braising liquid down a bit to thicken it after the beef and onions are removed.
Equipment:
A heavy skillet
A 9-10” fireproof casserole, about 3 ½” deep
Ingredients:
A 3-lb piece of lean beef from the chuck roast or rump (boneless beef chuck steaks)
2-3 Tb rendered fresh pork fat or good cooking oil
A ½ lbs or 6 cups of sliced onions
Salt and pepper
4 cloves mashed garlic
1 cup strong beef stock or canned beef bouillon
2-3 cups light beer, Pilsner type
2 Tb light brown sugar
1 large herb bouquet: 6 parsley sprigs, 1 bay leaf, and ½ tsp thyme tied in cheesecloth.*
1 ½ Tb arrowroot or cornstarch
2 Tb wine vinegar
Parsley potatoes or buttered noodles
Parsley sprigs
*(Yeah, the cheesecloth thing is really not working for me. It’s not hard to fish out sprigs and a bay leaf; just toss that shit in there. You’re going to strain it later anyway.)

Directions:
Cut the beef into slices about 2 by 4 inches across and ½” thick. Dry on paper towels.
Put 1/16-inch layer of fat or oil in the skillet and heat until almost smoking. Brown the beef slices quickly, a few at a time, and set them aside.
Sidebar: I think salting the beef before browning it makes sense here, as is a common practice, though Julia doesn’t instruct so here. I found the beef a bit underseasoned in the final dish. While I was able to get the sauce/broth seasoned quite nicely, I wish more of it had permeated the beef, so next time I intend to do that here.

Reduce heat to moderate. Stir the onions into the fat in the skillet, adding more fat if necessary, and brown the onions lightly for about 10 minutes, stirring frequently. Remove from heat, season with salt and pepper, and stir in the garlic.
Sidebar: I reduced the heat, and then turned it back to high once the onions had released enough water to stop sputtering. I wanted to get a little scorch on the onions, not just soften them. This ended up taking some time longer than 10 minutes, maybe more like 15, and much of that on high or medium high. The onions still fell apart in the braising liquid. Jacques Pepin says the onions should be thick slices. Maybe slice thick and keep in whole rings if you want onions that remain somewhat in tact.
Heat oven to 325.

Arrange half the brown beef in the casserole and season lightly with salt and pepper. Spread half the onions over the beef. Repeat with the rest of the beef and onions.
Sidebar: This didn’t really work. If this dish was supposed to be layered, the layering did not hold. It all kinda mixed together into more of a stew. I’m gathering that my beef chunks were more supposed to be slices, and the “broth” is more supposed to be a sauce that is reduced and then poured atop sliced meat. Well I wanted a stew, so I’m making a stew. Onward.
Heat the stock or bouillon in the browning skillet, scraping up coagulated cooking juices. Pour it over the meat. Add enough beer so the meat is barely covered. Stir in the brown sugar.
Sidebar: Stir the brown sugar into the stock before you add it to the beef, right? Instead of layering the meat and onions into a casserole and then trying to mix in 2T of brown sugar which will obviously undo the layering. But does the layering even matter really? Maybe not. Anyway, today imma add the sugar into the stock in the “browning skillet” first. And give it all a stir to mix the beer and the stock and the sugar together.

Bury the herb bouquet…
Sidebar: yadda yadda yadda, toss them herbs in there. Get ‘em out later. Is no problem.
Bring casserole to simmer on top of the stove.
Then cover the casserole and place in lower third of preheated oven. Regulate heat so liquid remains at a very slow simmer for 2 ½ hours at the end of which time the meat should be fork tender.
Sidebar: I turned the oven down to 300, and then 275 at 1 hours and then 2 hours, respectively, as the liquid was simmering way too rapidly and then still somewhat too rapidly.
Remove herb bouquet. Drain the cooking liquid out of the casserole into a saucepan, and skim off fat. Beat the starch and wine vinegar mixture into the cooking liquid and simmer for 3-4 minutes. Carefully correct seasoning. You should have about 2 cups of sauce. Pour the sauce back over the meat. (*) May be prepared ahead to this point.

Sidebar: I have a particular impatience for fat skimming, so I pour the liquid into a trusty bottom-outlet fat separator doodlydoo that I lovelovelove.

When ready to serve, cover the casserole and simmer slowly for 4-5 minutes until the meat is thoroughly heated through. Either bring the casserole to the table, or arrange the meat on a hot serving plate, spoon the sauce over it, surround with potatoes or noodles, and decorate with parsley.

Epilogue: This was quite good, and very adaptable. I think I’ll try it with other varieties of beer, especially something darker, a stronger Belgian ale in general.
Midnight Realization! In 1963 America Pilsners were much easier to source for a home cook. Likely the choice of using a pilsner in this recipe is largely down to that.
The onions really fell apart. I think I’d prefer them to stay together a bit more, so I think next time I try this I’ll add the onions at the 90 minute mark, see what that does. And likely I’ll slice them thicker.
But really good, comforting, inexpensive, and the beef came out perfectly.
I don’t know that I made this right, in the end. I’m going to see if I can find any other versions of this online, but as a stew, it’s very good.
Other versions:
Food and Wine
BBC Good Food
Anti-Chef (doing Julia’s recipe)
Cook and Drink
Saveur
Nigella Lawson
A lot of these versions have you toss the beef in flour, which would replace the cornstarch boildown. Some have a long marinade in beer. Some brown the beef in butter, or bacon fat, or goose fat (Nigella!). Some have mustard, some have tomato paste, some bacon, some nutmeg or cloves, and some do the trick with the brown bread and the mustard like with the Stoovflees, and at least one says they’re the same thing. And for every addition of one thing or the other, the comments equally complain of inauthenticity.
So at a certain point everyone seems to just have a modern way that they like their beef stew. But as near as I can tell, this recipe, or others that come close to it in terms of ingredients and technique, is still considered a classic Carbonnades, and for folks who grew up eating it in, you know, Belgium and France, this seems to be a lot like mom used to make. And British people need to stop adding tomato paste to everything, apparently.
Works Cited
Child, Julia, et al. Mastering the Art of French Cooking. 1961. 40th ed., Knopf, 2009.

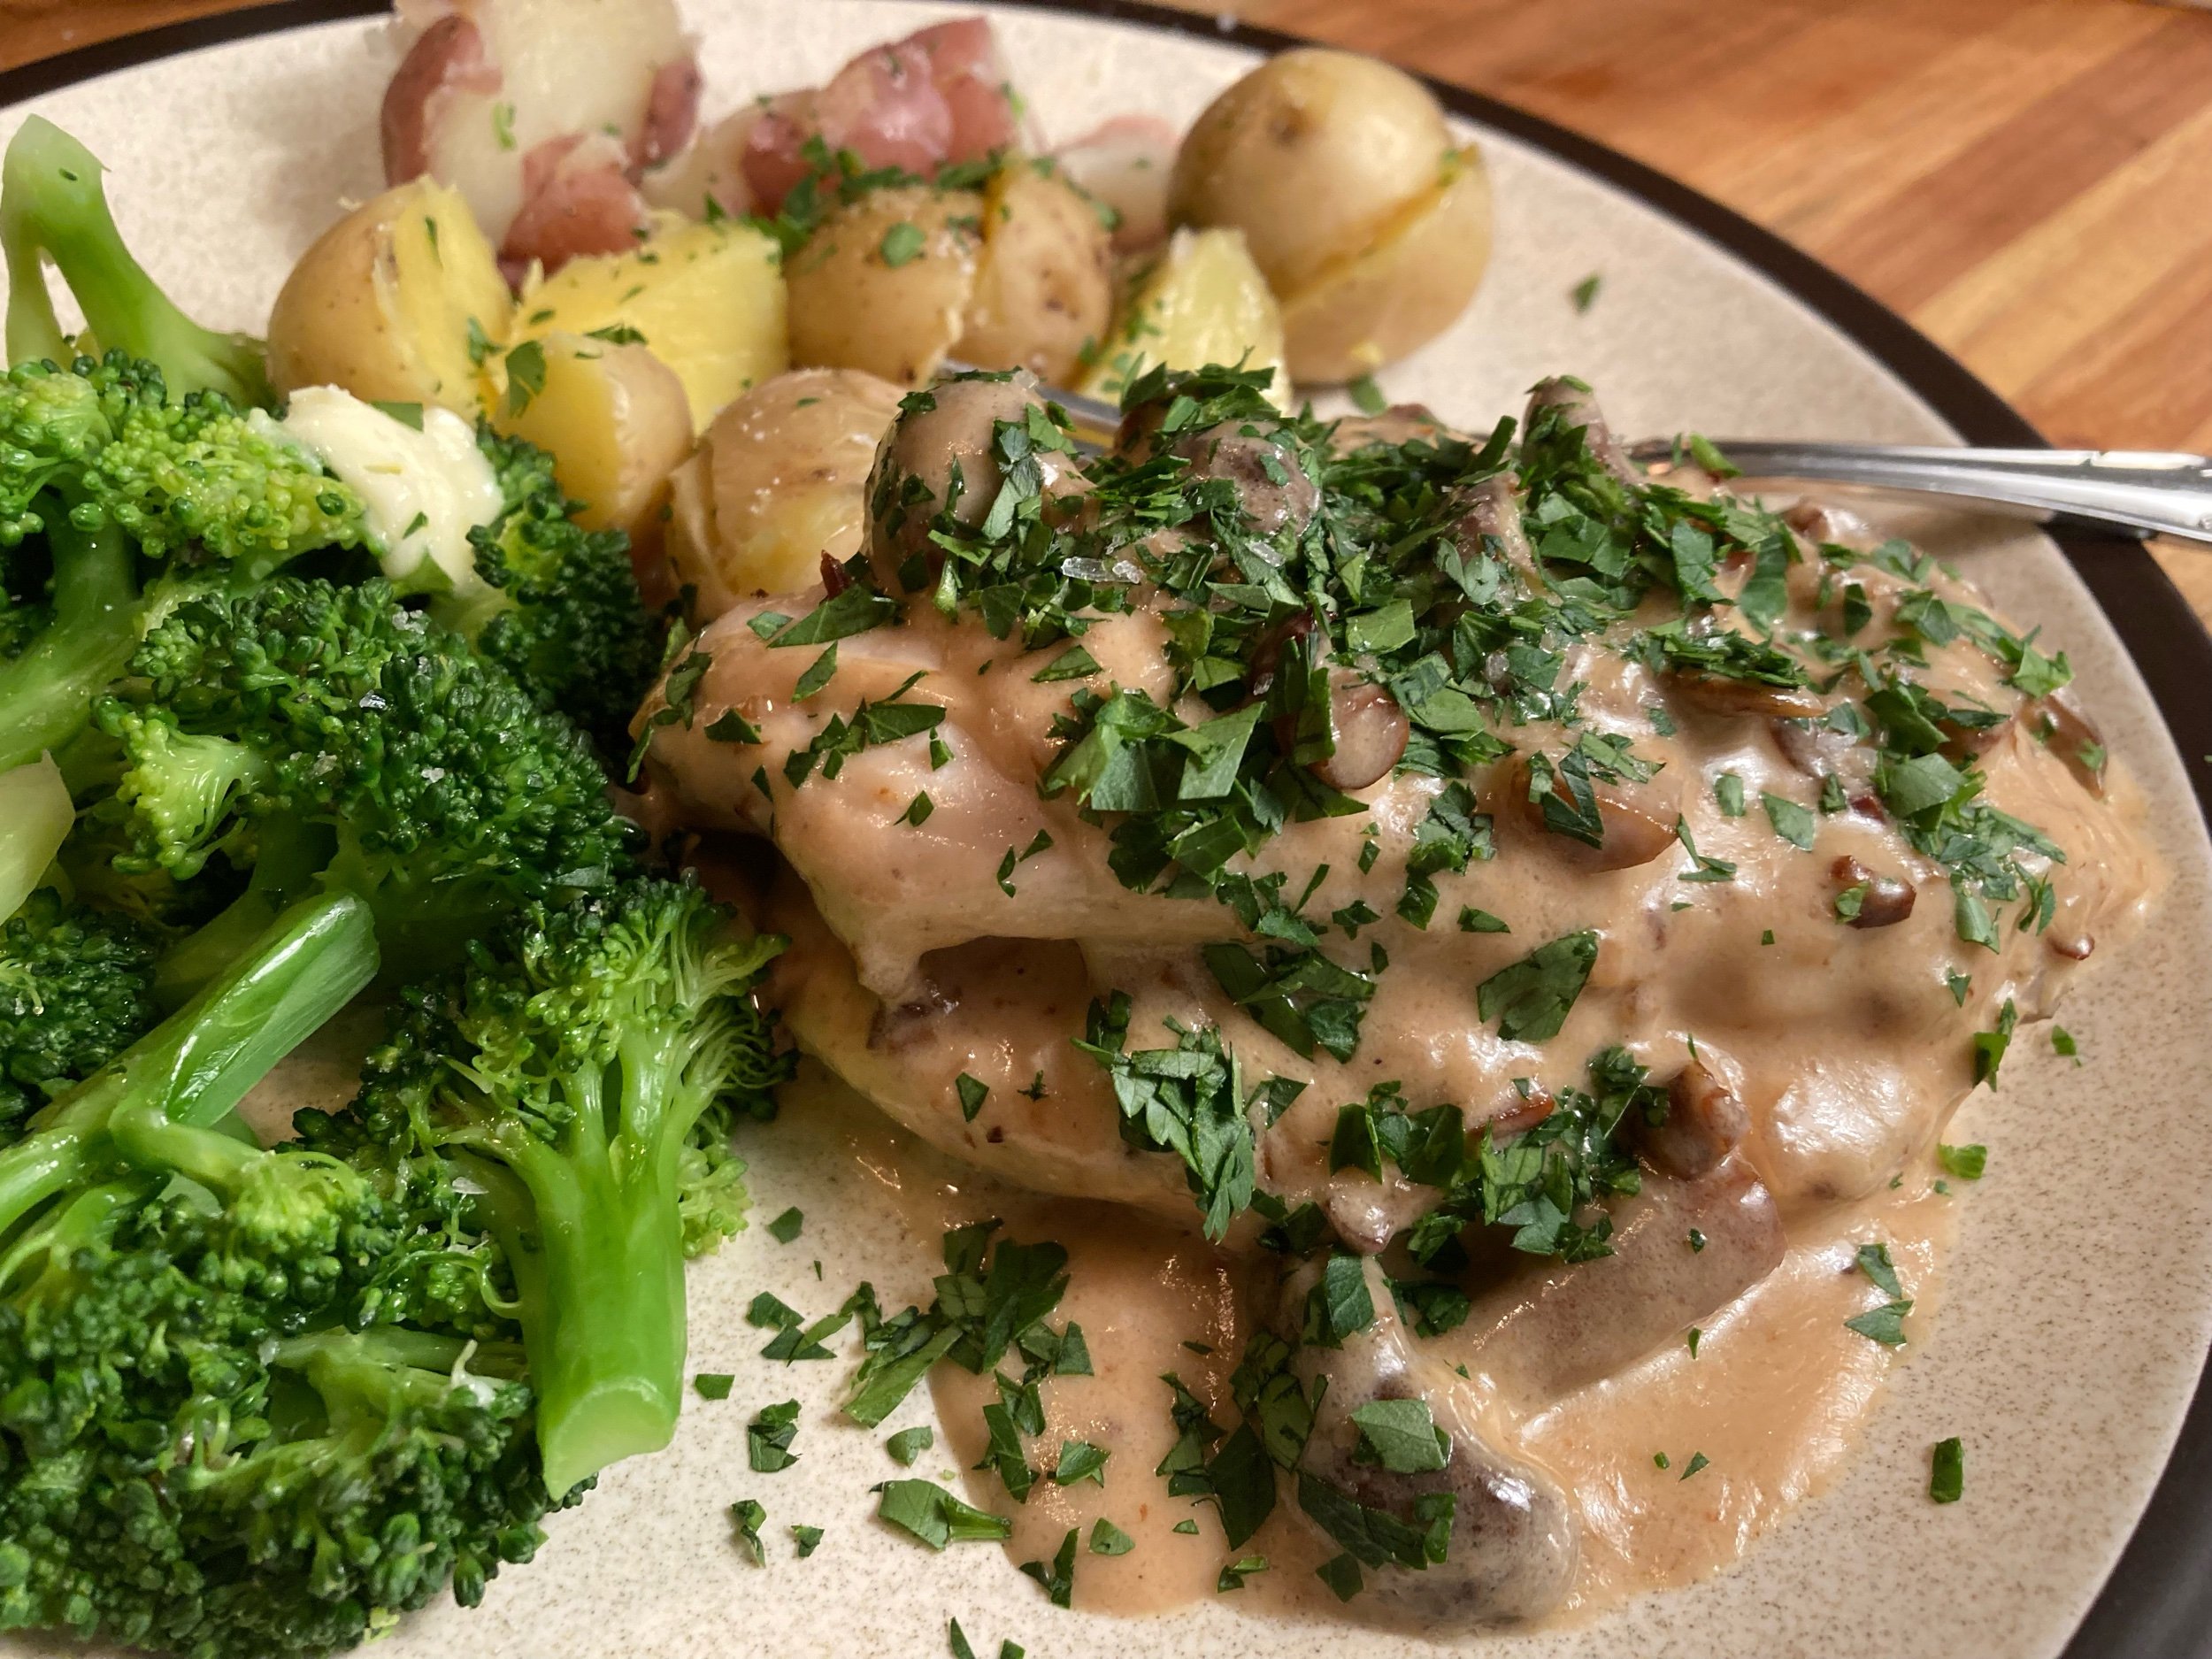
Chicken Breasts with Mushrooms and Cream
Suprêmes de Volaille aux Champignons [Chicken Breasts with Mushrooms and Cream] from Mastering the Art of French Cooking

Frontmatter: This is an expansion of Julia, Simone, and Louisette’s master recipe for suprêmes, or chicken breasts. I keep saying “Julia says” because she became the face of this cookbook and I grew up watching her on TV, but Mastering the Art of French Cooking really was a team effort, so I’m trying to catch myself. So today it is not “Julia says,” it is the “Trois Gourmandes say.”
I’m hoping for a weeknight chicken dish that I can throw into a regular repertoire. Now, I have a particular allegiance to a chicken breast cooking method that has proven fool-proof to me, so I’m a bit reluctant to change my ways, but I do love a creamy mushroom sauce, and this cooks the both together, and is pretty fast, so if it turns out, into the rotation it shall go. But I’m wary of overcooking chicken breasts.
According to the Trois Gourmandes:
The suprême is an easy morsel to cook, but attention must be exercised to be sure it is not overdone, as even a minute too much can toughen the meat and make it dry. The flesh of a perfectly cooked suprême is white with the faintest pinky blush, its juices run clear yellow, and it is definitely juicy. Its point of doneness is easily determined as it cooks. Press the top of it with your finger; if it is still soft and yields slightly to the touch, it is not done yet. As soon as the flesh springs back with gentle resilience, it is ready. If there is no springiness, it is overcooked. (267)
That doesn’t inspire me with the greatest of confidence, so Imma use my internal meat thermometer, and try really hard to not overcook these suprêmes, but I’ll see if I can figure out their cook by touch method, and also try really hard to not Pull a Corbett, which is what I’ve started calling that thing where you forget that the meat thermometer that came out of your fucking oven is actually hot and burn the shit out of your fingers when you try to take it out. Also, like I’m using chicken breast from the store – I don’t know if it came from a 2 ½- 3-lb fryer. So I don’t know if these are the same size suprêmes as the ladies were getting in 1961, or if the recipe has been adjusted for the monster chickens we have now. I mean, I don’t buy monster chickens, but…. Look whatever, I’m using an internal meat thermometer and I’m going to cook the breast until it reaches…160. That’s my pull out of the oven temp. And so it shall be. I can’t abide overcooked chicken breast.
And I want to focus on learning the new-to-me recipe, so I’m serving with simple little boiled potatoes and broccoli or chard or peas to soak up the sauce. I’ll see what Luke wants when he gets home. (Broccoli, it turns out.)
Have you seen this ad for Cascade dishwashing liquid where the lady is like “You know that feeling of taking your dishes out of the dishwasher and they’re not clean yet?” and then the camera zooms in and she’s all holding up a dish and says “I don’t” and it’s really smug and annoying. Anyway, I’m getting that ad a lot on You Tube and I don’t much care for it.
Ok, here we go.
And I’m already confused.
Fuck.
So check it out.
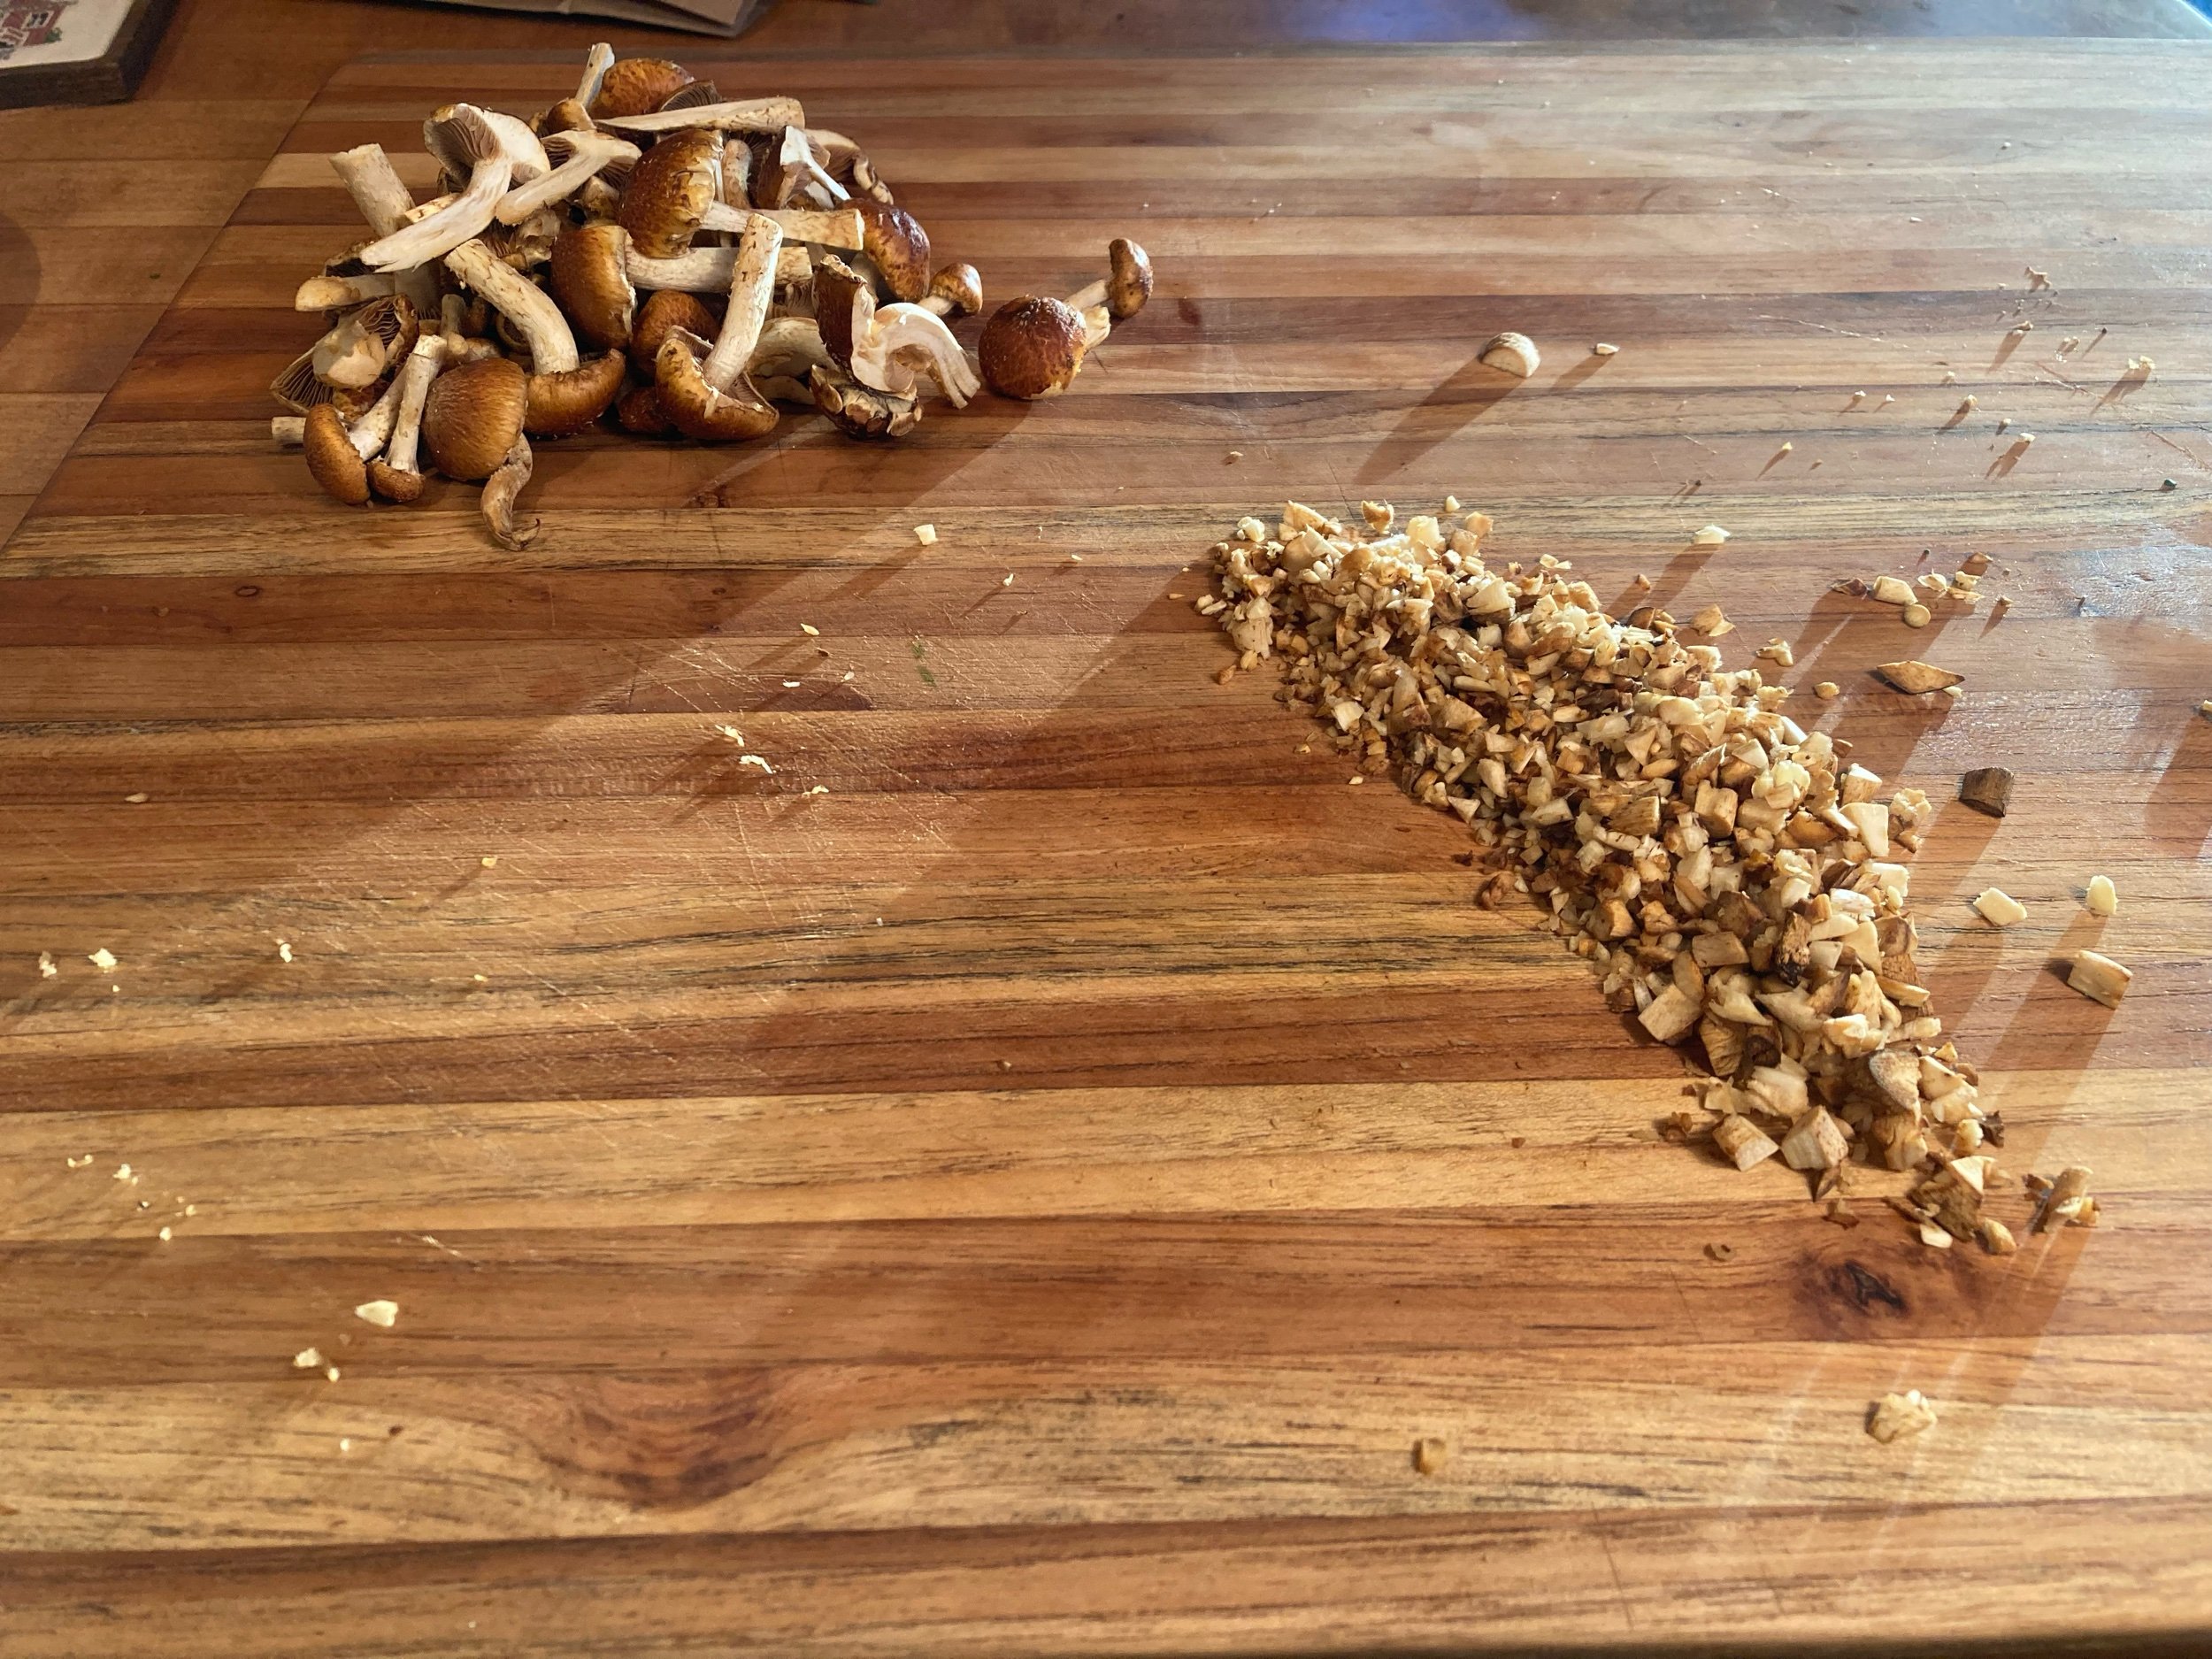
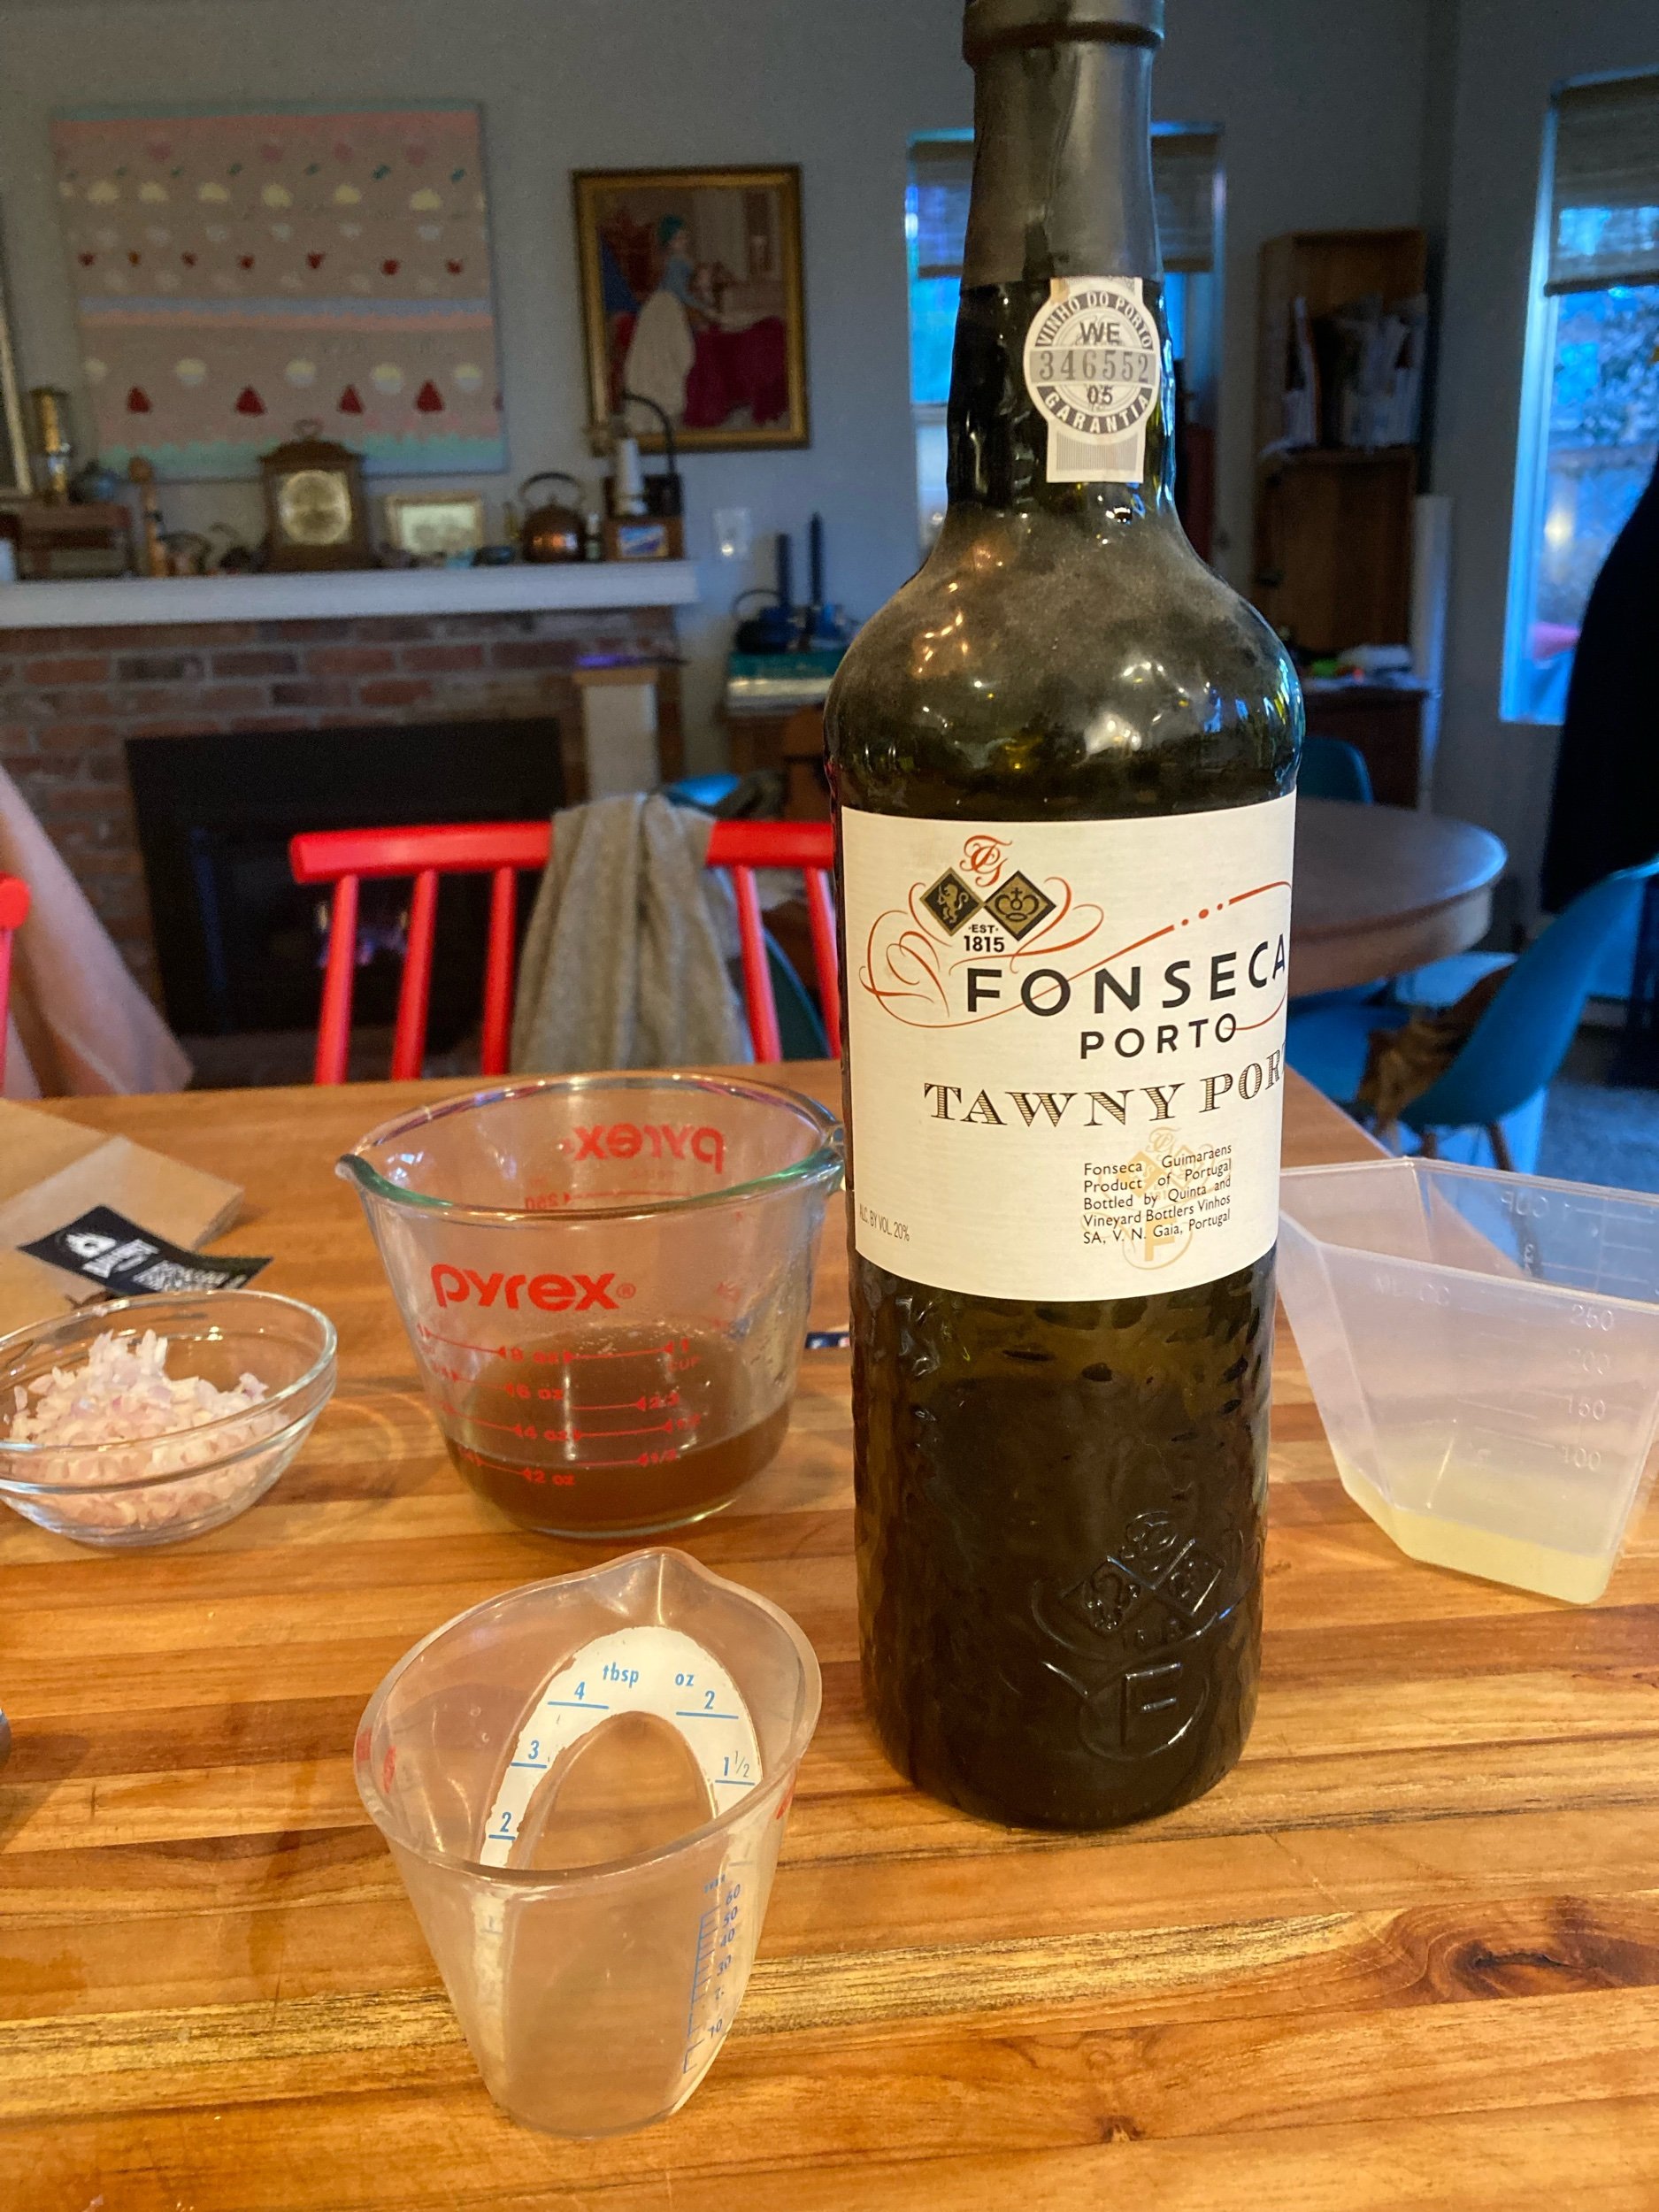
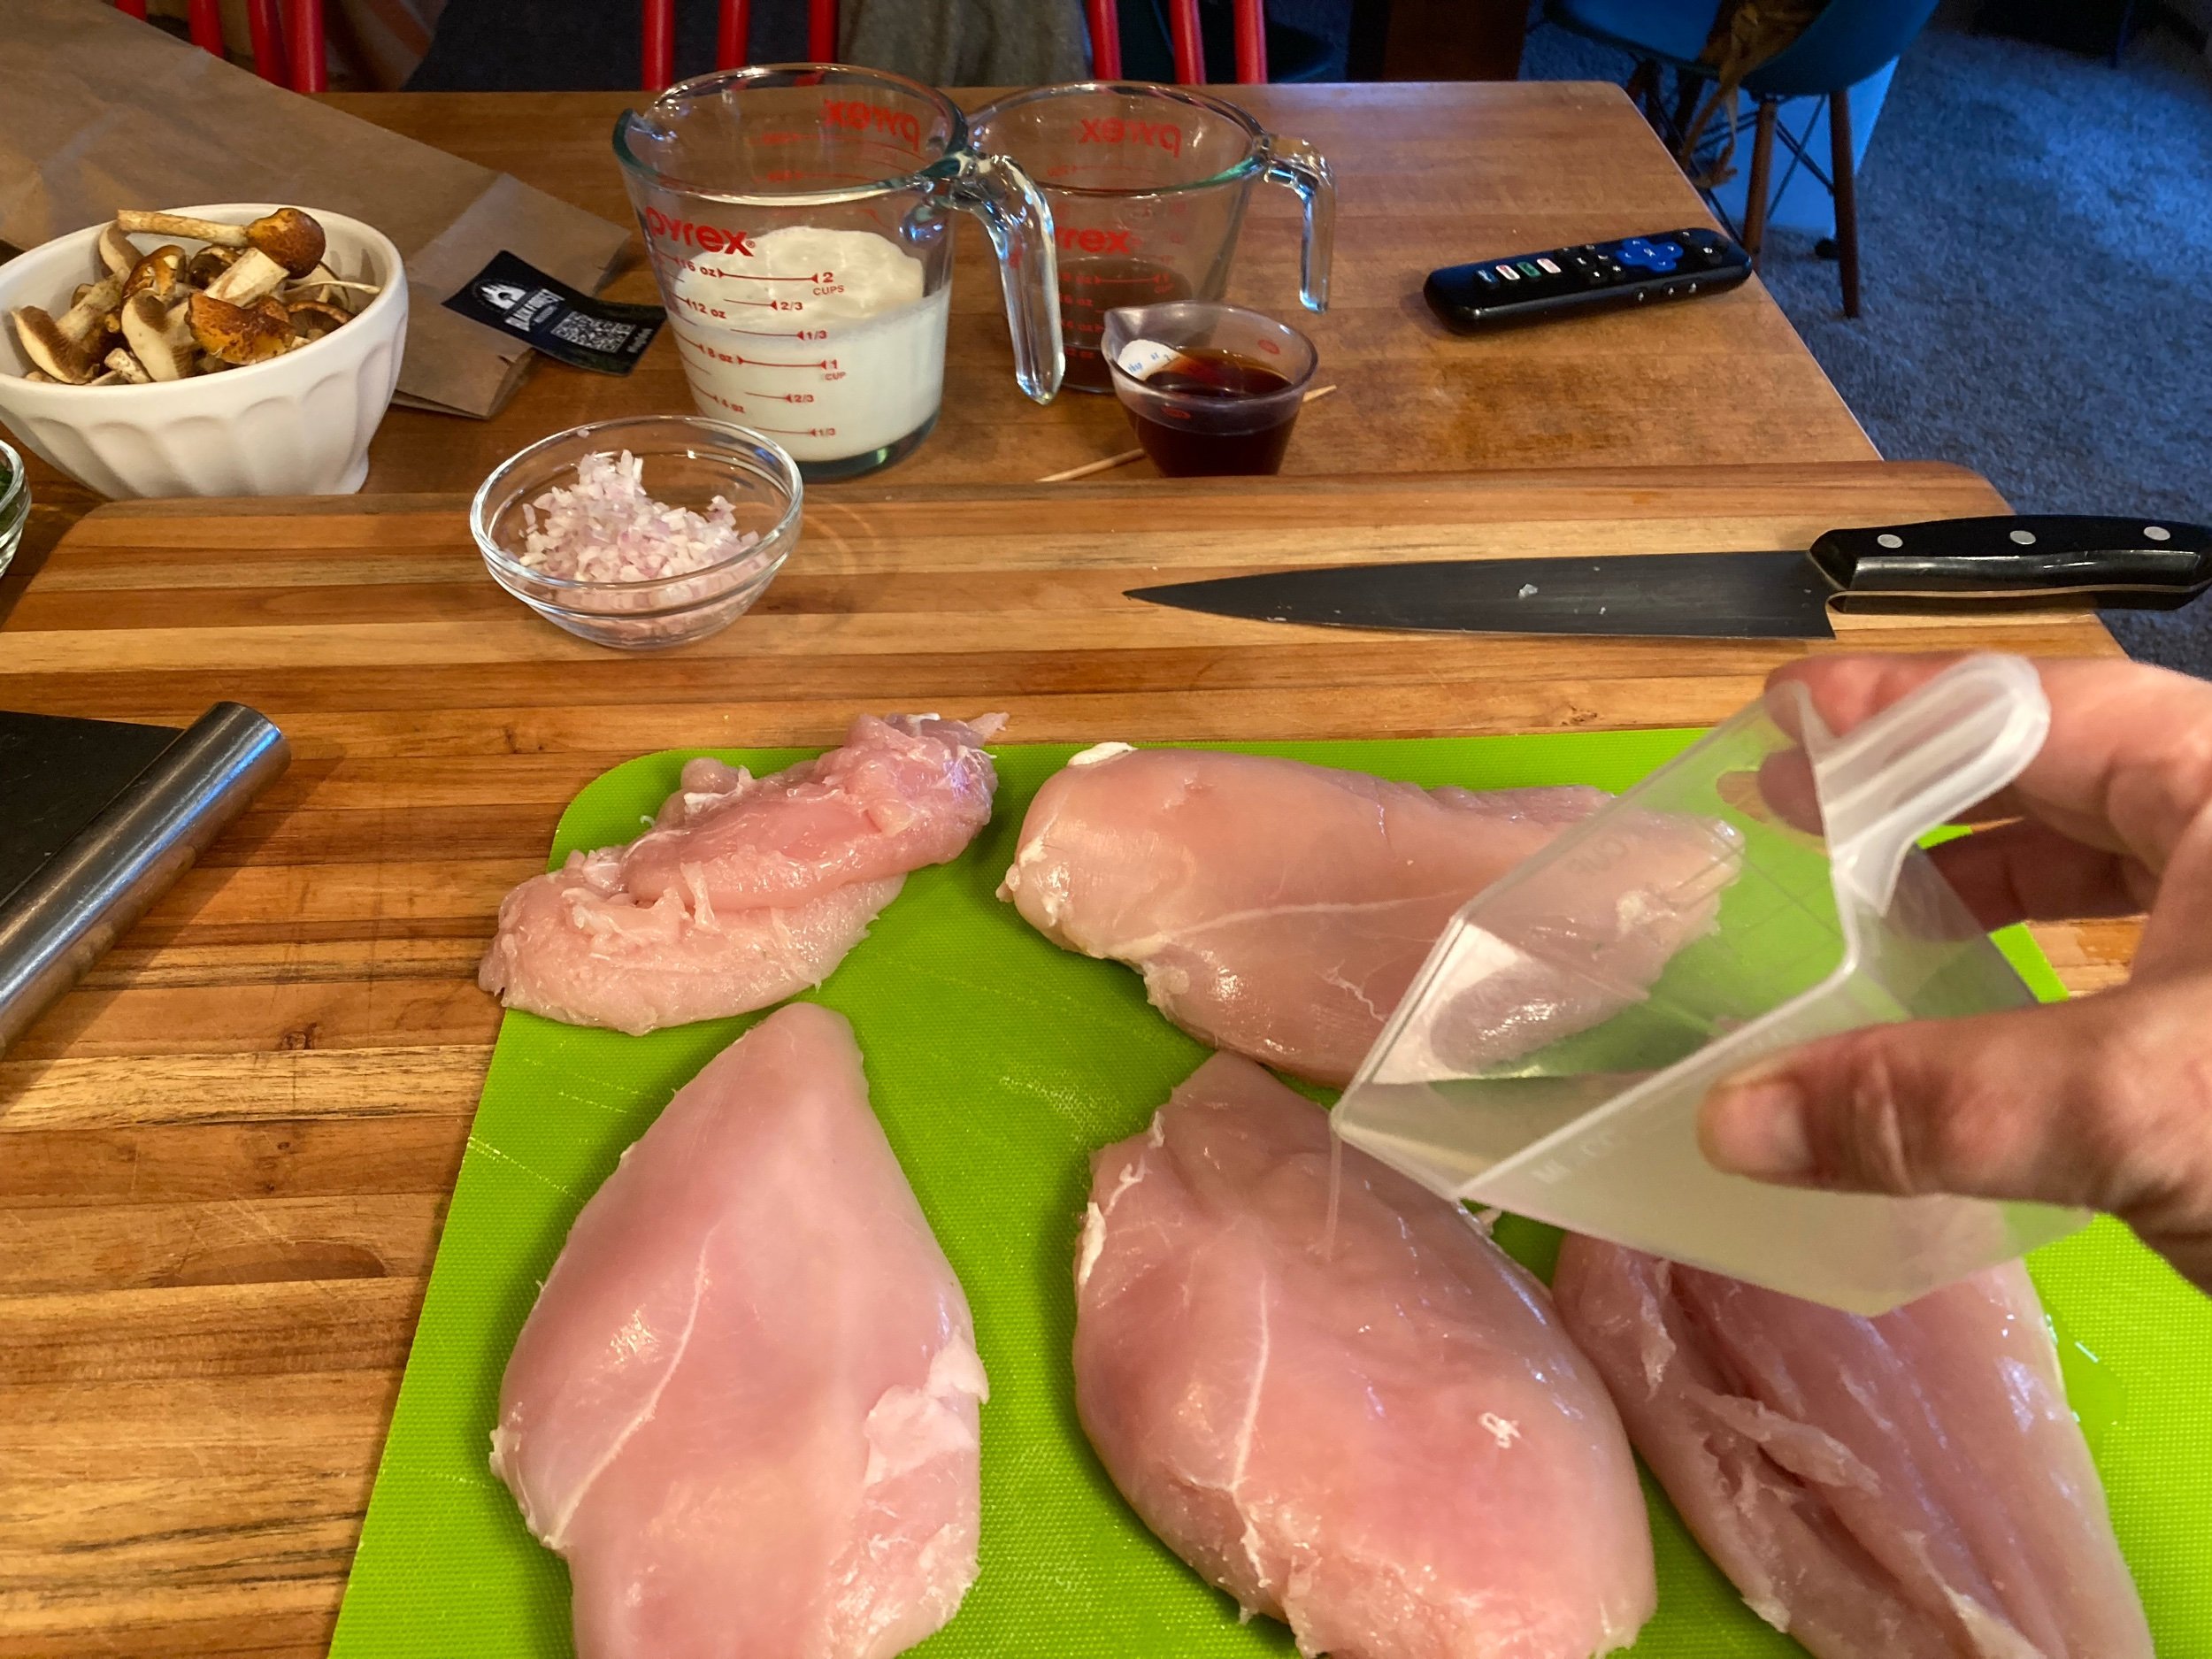
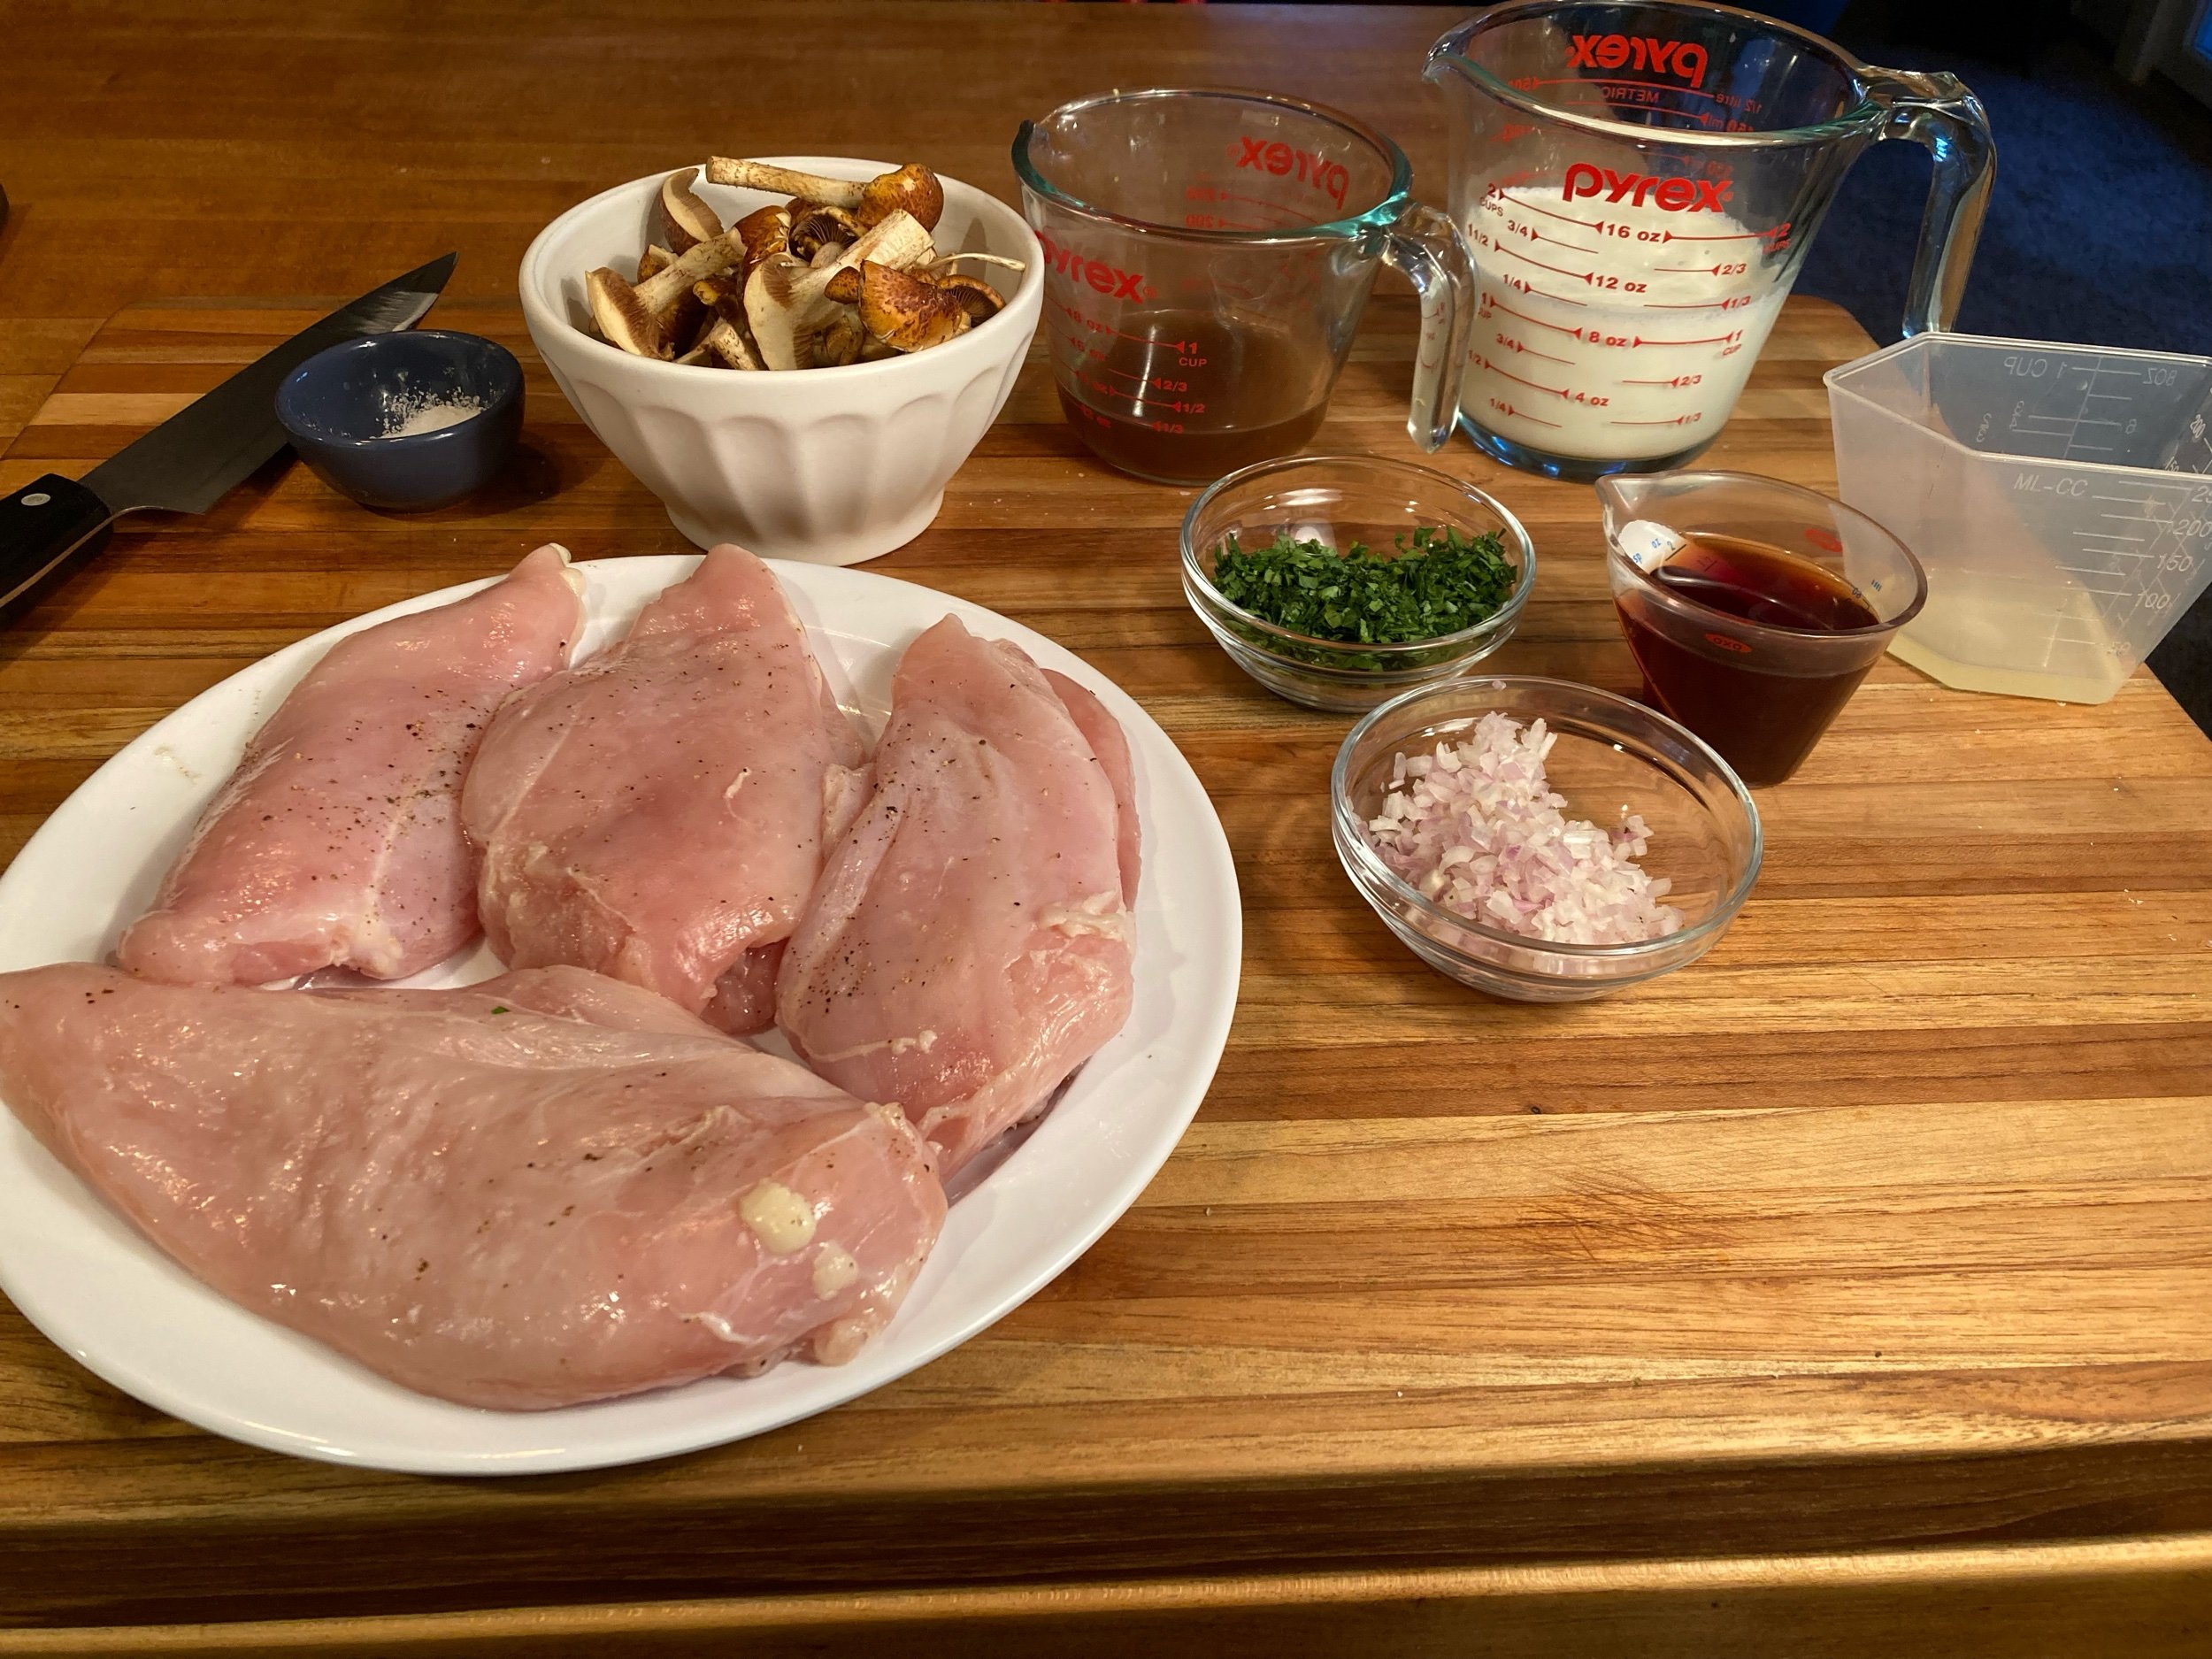
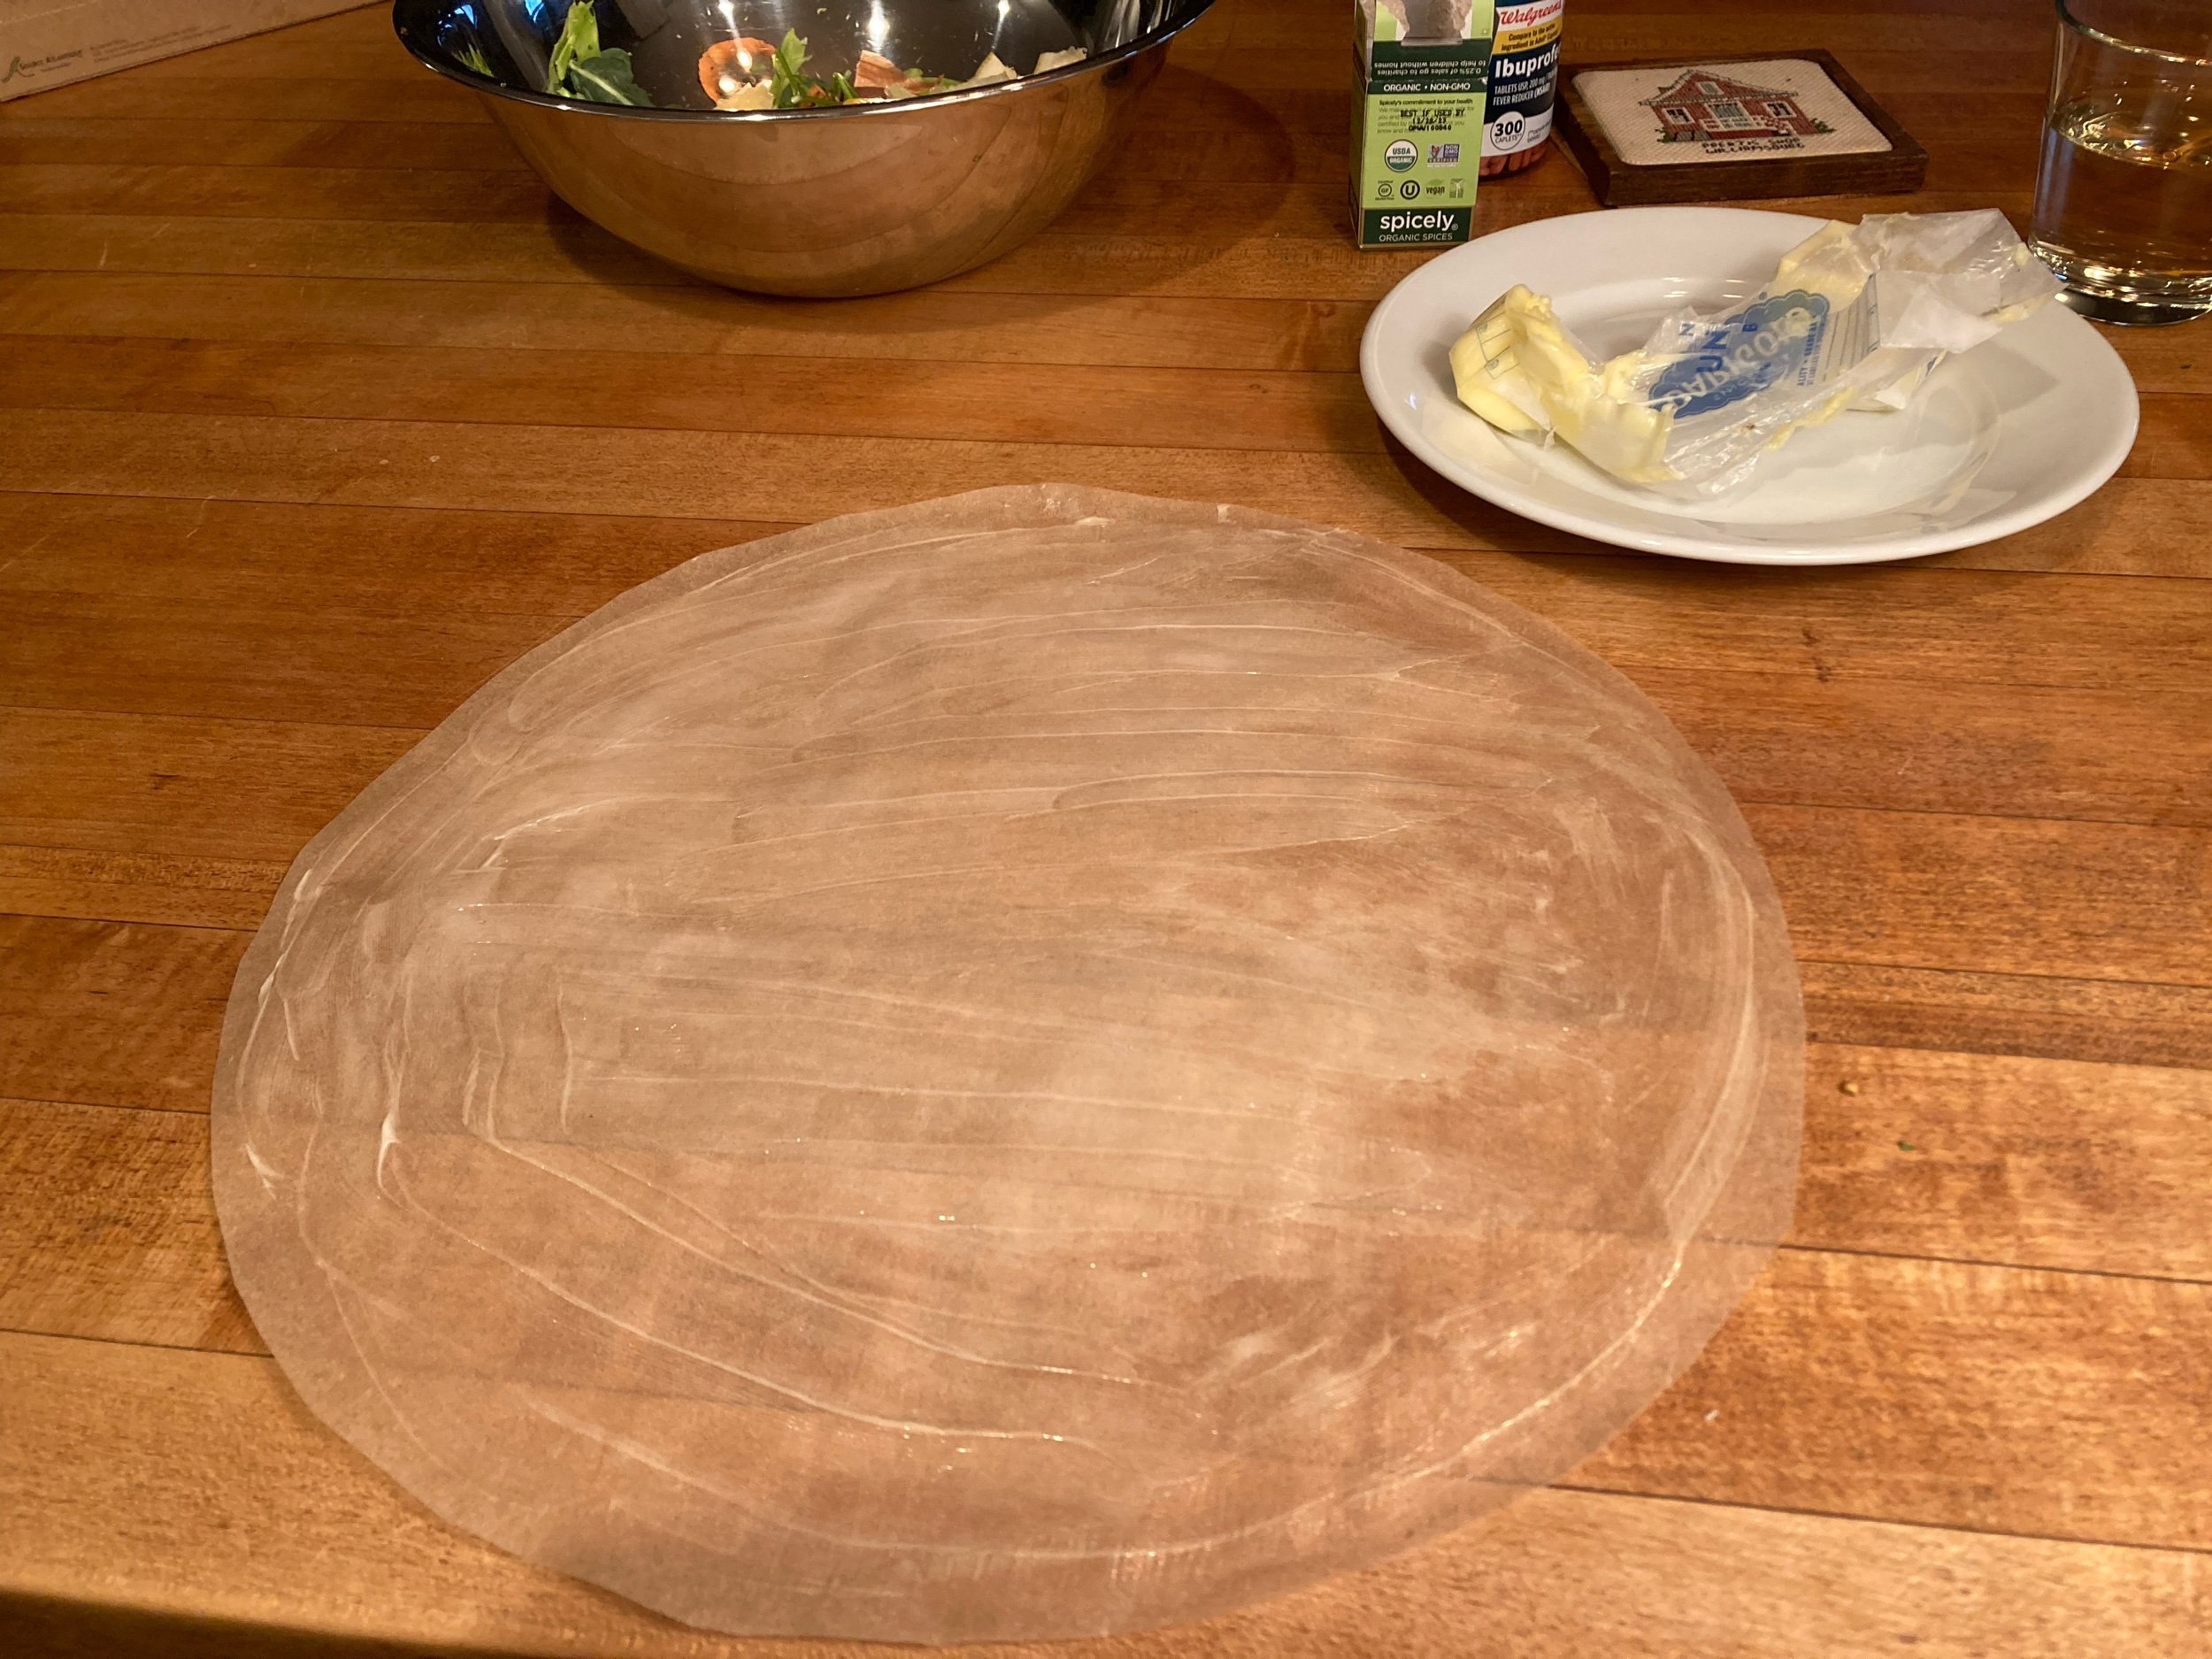
Breast of Chicken with Cream (master recipe)
For 4 people (aka, 4 breasts)
4 suprêmes
½ tsp lemon juice
¼ tsp salt
Big pinch of white pepper
A heavy, covered, fireproof casserole about 10 inches in diameter
A round of waxed paper 10 inches in diameter and buttered on one side
4 Tb butter
For the sauce:
¼ cup white or brown stock
¼ cup port, Madeira, or dry white vermouth
1 cup whipping cream
Salt and pepper
Lemon juice as needed
2 Tb fresh minced parsley
Chicken Breasts with Mushrooms and Cream (a variation)
5 Tb butter
1 Tb minced shallot
¼ lb diced or sliced fresh mushrooms
1/8 tsp salt
4 suprêmes and the sauce ingredients in the master recipe
So dig: the mushroom and cream part is an expansion of the master recipe. So the mushroom part starts with 5 Tb butter, and the master recipe has 4 Tb of butter. And the instructions for the mushroom expansion have you cook the mushrooms and shallots in the 5 Tb of butter, then say “Following the master recipe, cook the suprêmes in the mushrooms and butter” (270). Then in the master recipe, which has 4 Tb of butter in it says “Heat the butter in the casserole until it is foaming. Quickly roll the suprêmes in the butter” (268).
Is it the same butter, or do I need to add another 4 Tb of butter in when I add in the chicken breasts and roll them in the new butter. Or is it like the 4 Tb of butter you were gonna use, but you need 1 Tb more because you’re cooking mushrooms in it as well. That’s what I’m going with because it just seems like 9 Tb of butter is a lot. But like “that seems like a lot of butter” is kinda the subtitle of the book.
Wait, when it says “the sauce ingredients in the master recipe” does it mean I’m not using the other ingredients in the master recipe besides the sauce? So does that mean ignore the 4 Tb of butter in it and like the lemon juice in there too?? Ladies, Trois Gourmandes I’m talking to you? One of these days that’s going to work. But today, still they are silent. Simca? Julia?
Ok, Internet?
Cool, the internet is answering.
These guys use 10 freaking Tb of butter to make this: but they’re also doubling the sauce it looks like (double the mushrooms, cream, stock, wine, etc.). Still using lemon juice.
These guys go with the 5 Tb and are still using lemon juice.
Here’s another vote for 5 Tb and still using lemon juice.
And another and still using lemon juice.
OK, here’s what I’m gonna do. I’ll use the 5 Tb, and I’ll see how the mushrooms look after I cook them in 5 Tb of butter. And I’ll keep a few Tb of soft butter on hand and whirl them into the sauce if it seems dry after I take the chicken out of the oven. Seems like an idea. And I’ll use the lemon juice.
Then there’s this deal with the buttered round of waxed paper. I’ll do it this time, but, I mean… You’re still putting a cover on the pan, so what is the point of the waxed paper? Is it so no condensation that drips off of the lid falls on the chicken? But like why would that matter since you’re not dealing with a crispy browned skin or anything. If you’re putting a lid on the pan, why the waxed paper? Can anyone tell me why this is a step?
Instructions
Preheat the oven to 400 degrees
2. Rub the suprêmes with drops of lemon juice and sprinkle lightly with salt and pepper.
3. Heat the butter (5 Tb) in the casserole over moderate heat until it is foaming. Stir in the minced shallots and saute a moment without browning. Then stir in the mushrooms and saute lightly for a minute or two without browning. Sprinkle with salt.
Sidebar: Yo I don’t know about the time, y’all. Julia says 6-8 minutes. I’m cooking in what she calls a casserole, which is what I call a braising dish. It is enameled cast iron and it has a lid. It took 24 minutes. That 7th picture where the chicken was definitely still raw was at 12 minute.
In the end, I still have no idea what the paper was for.
4. Quickly roll the suprêmes in the butter, lay the buttered paper over them, cover casserole and place in hot oven. After 6 minutes, press top of suprêmes with your finger. If still soft, return to oven for a moment or two. When the meat is springy to the touch it is done (I’m removing at 165 degrees). Remove the suprêmes to a warm platter and cover while making the sauce.
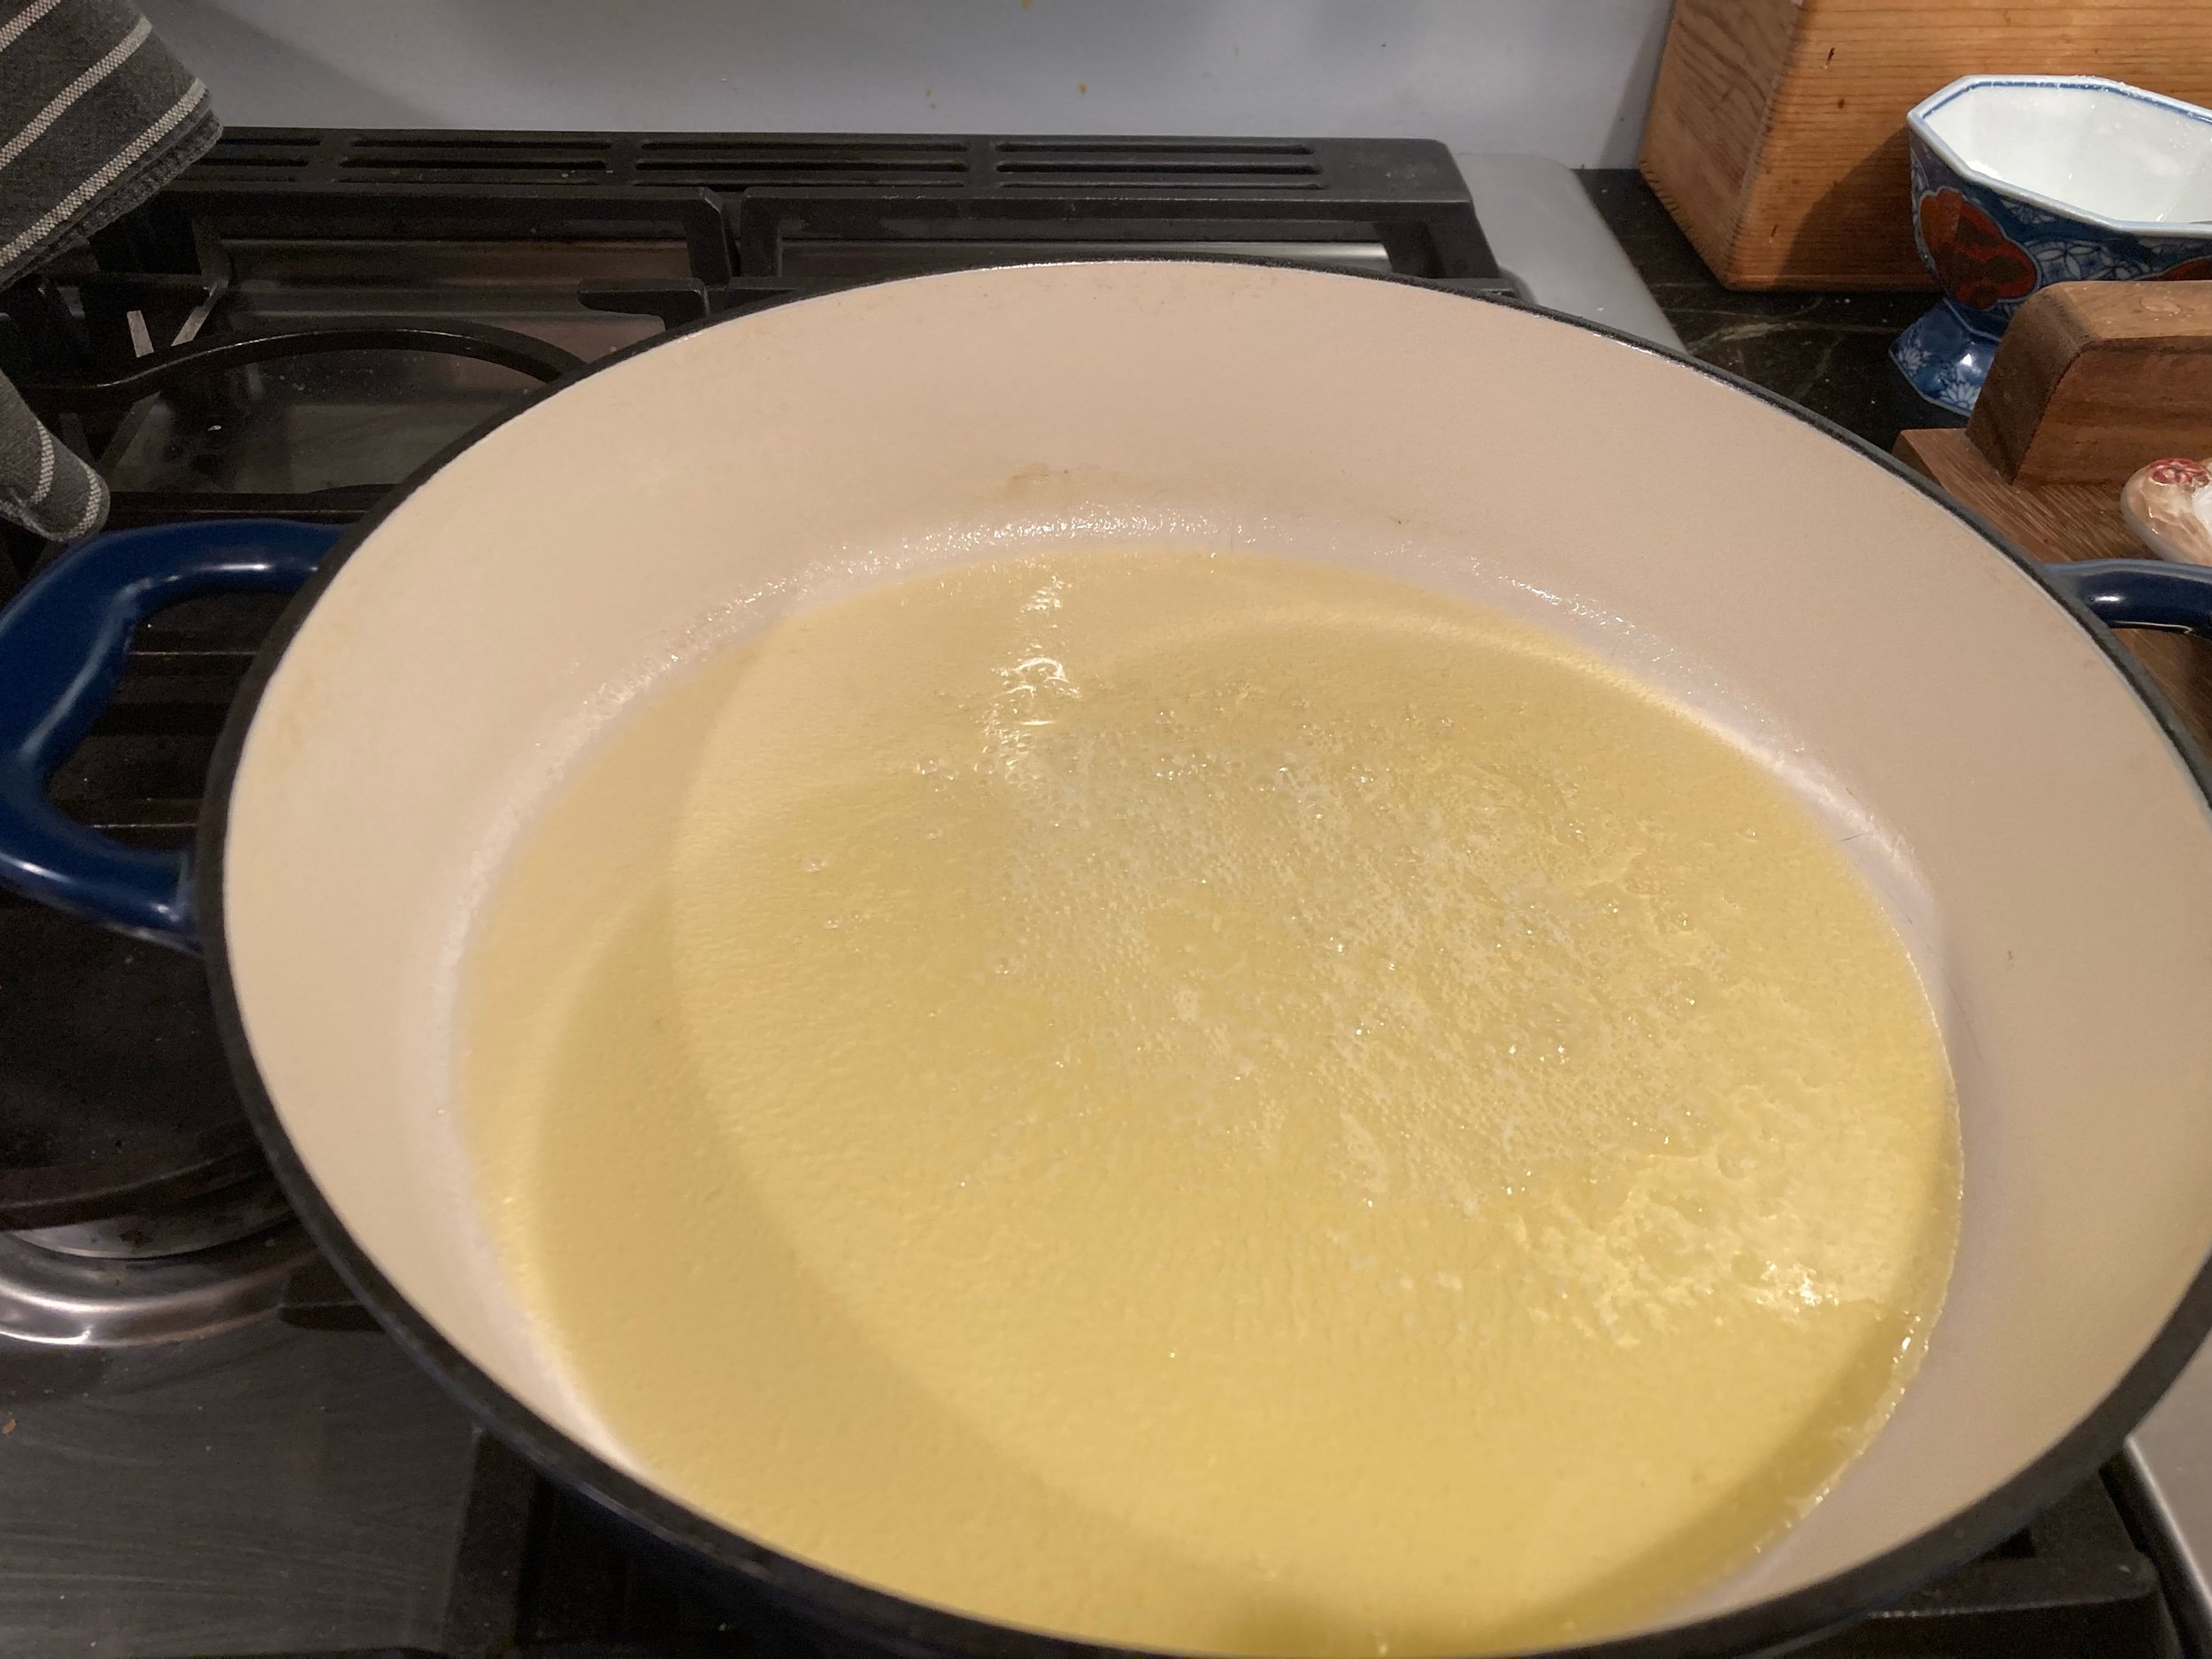
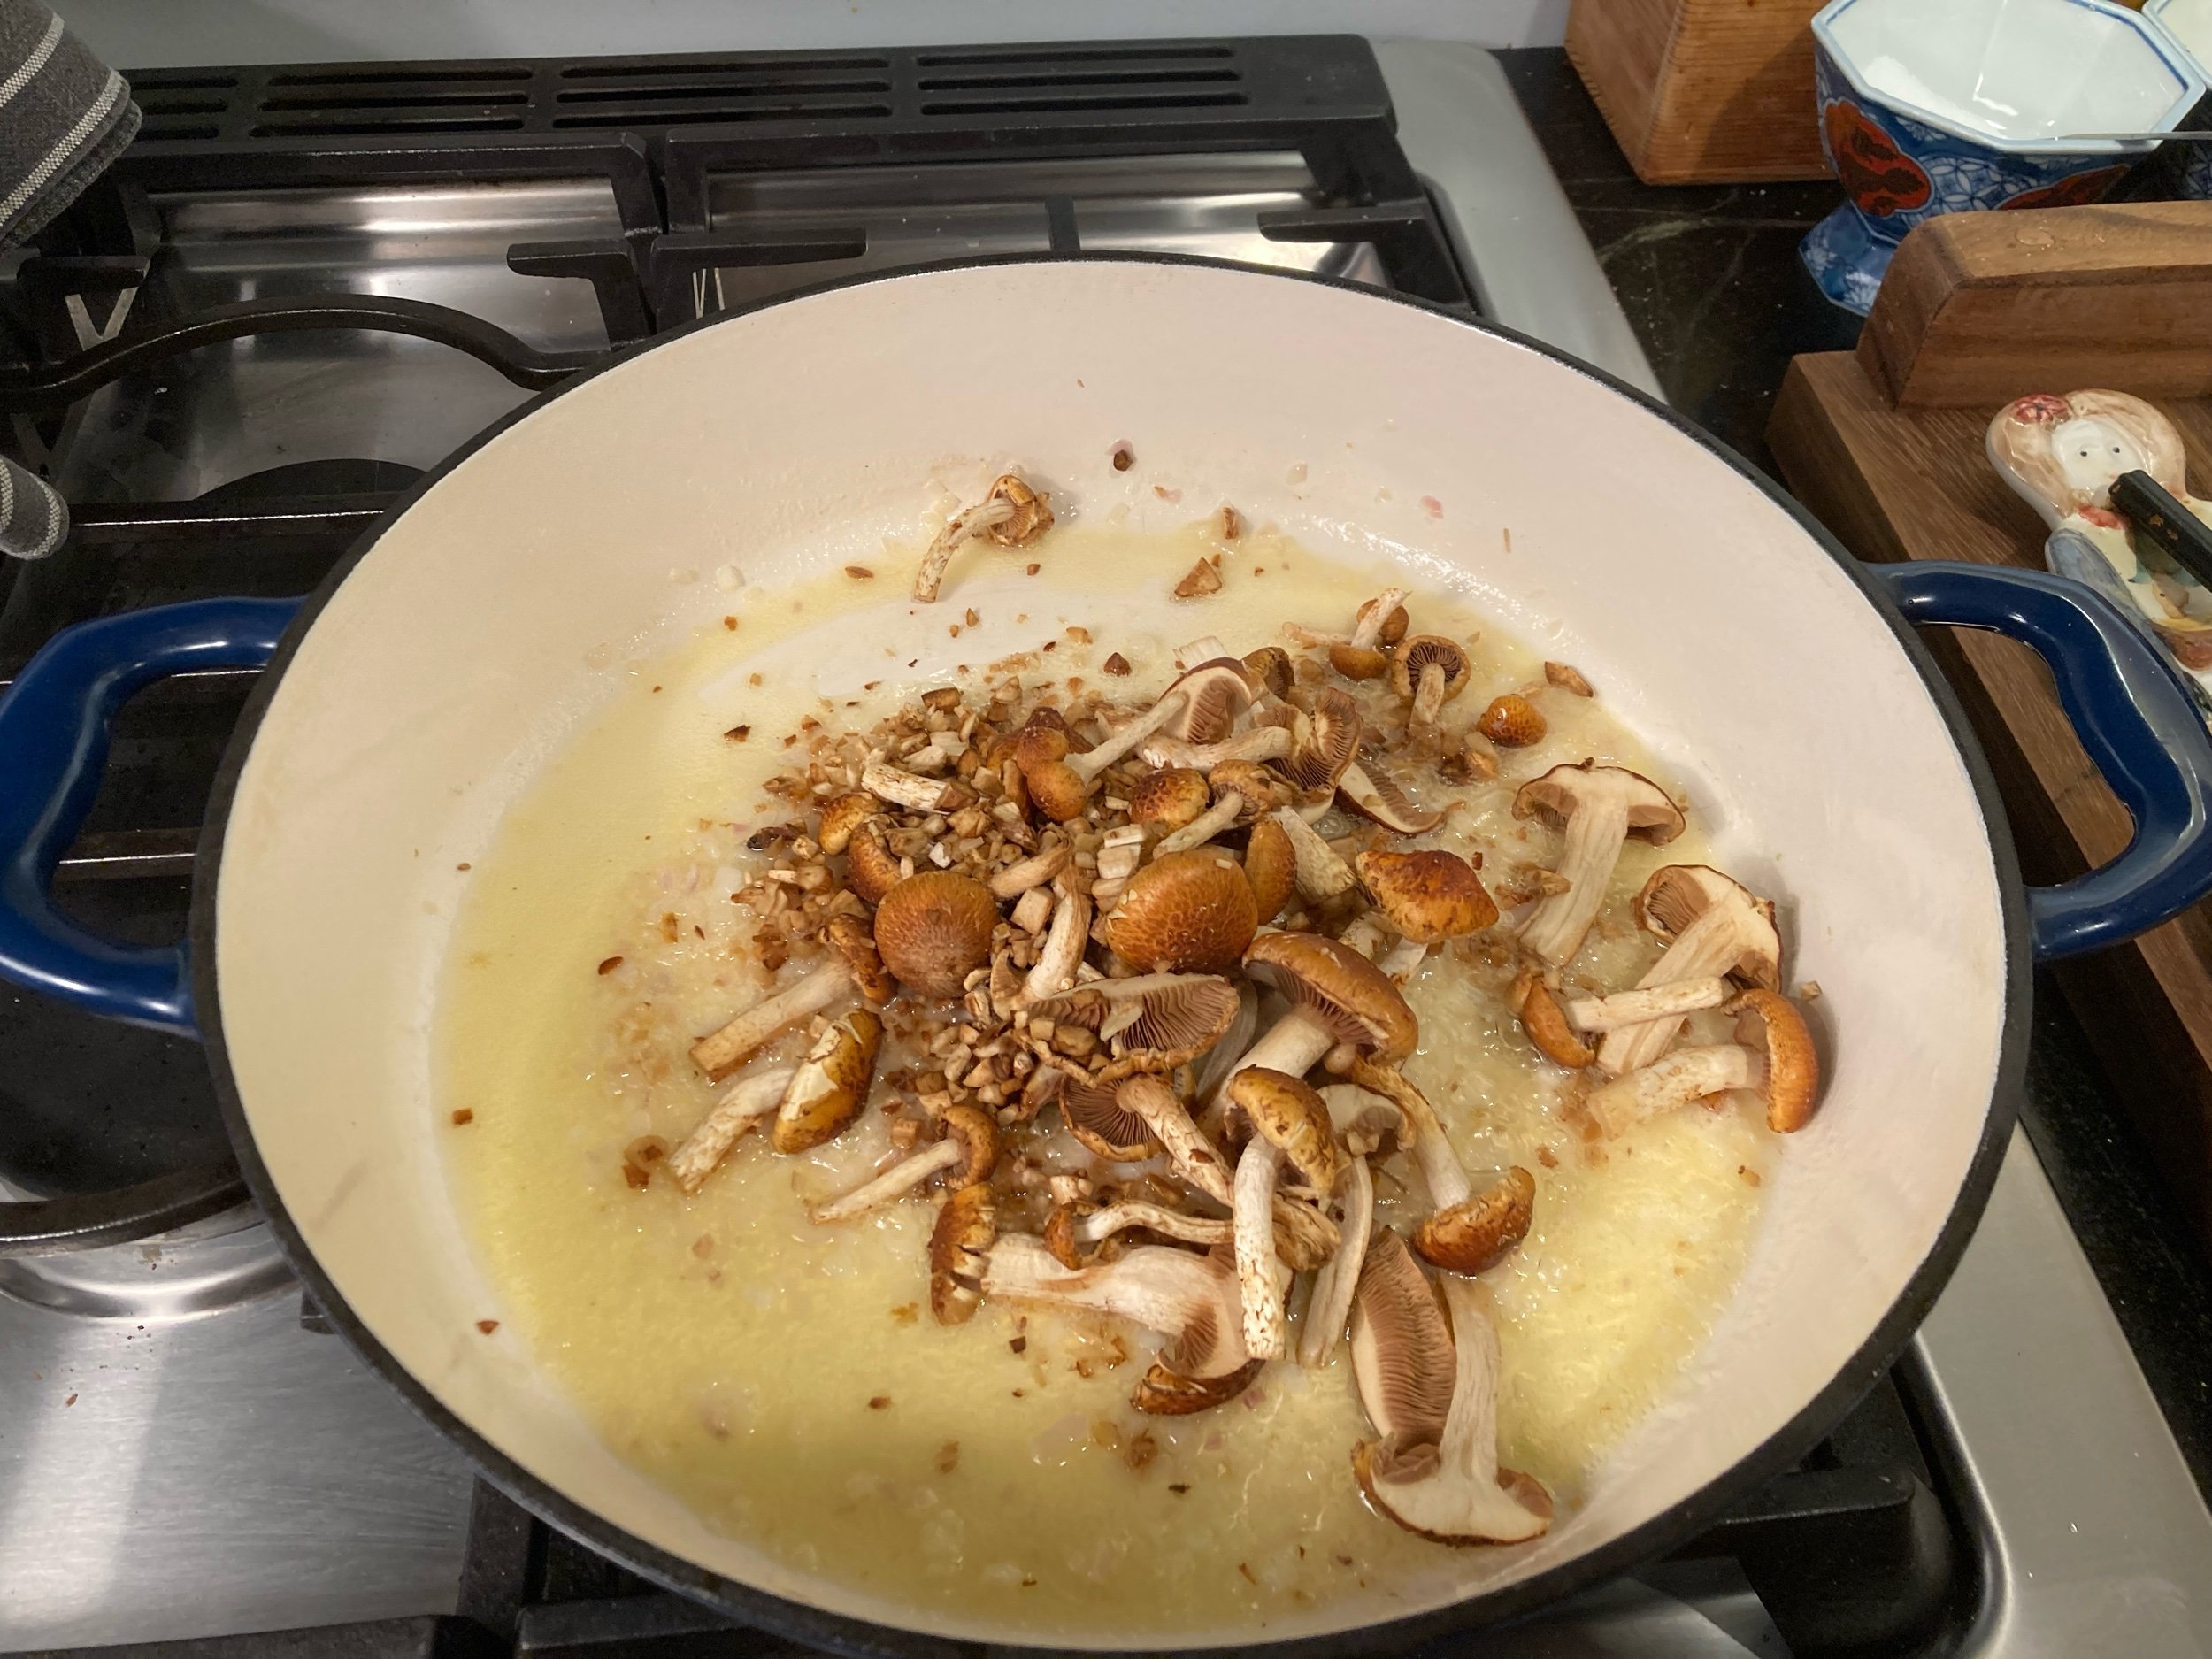
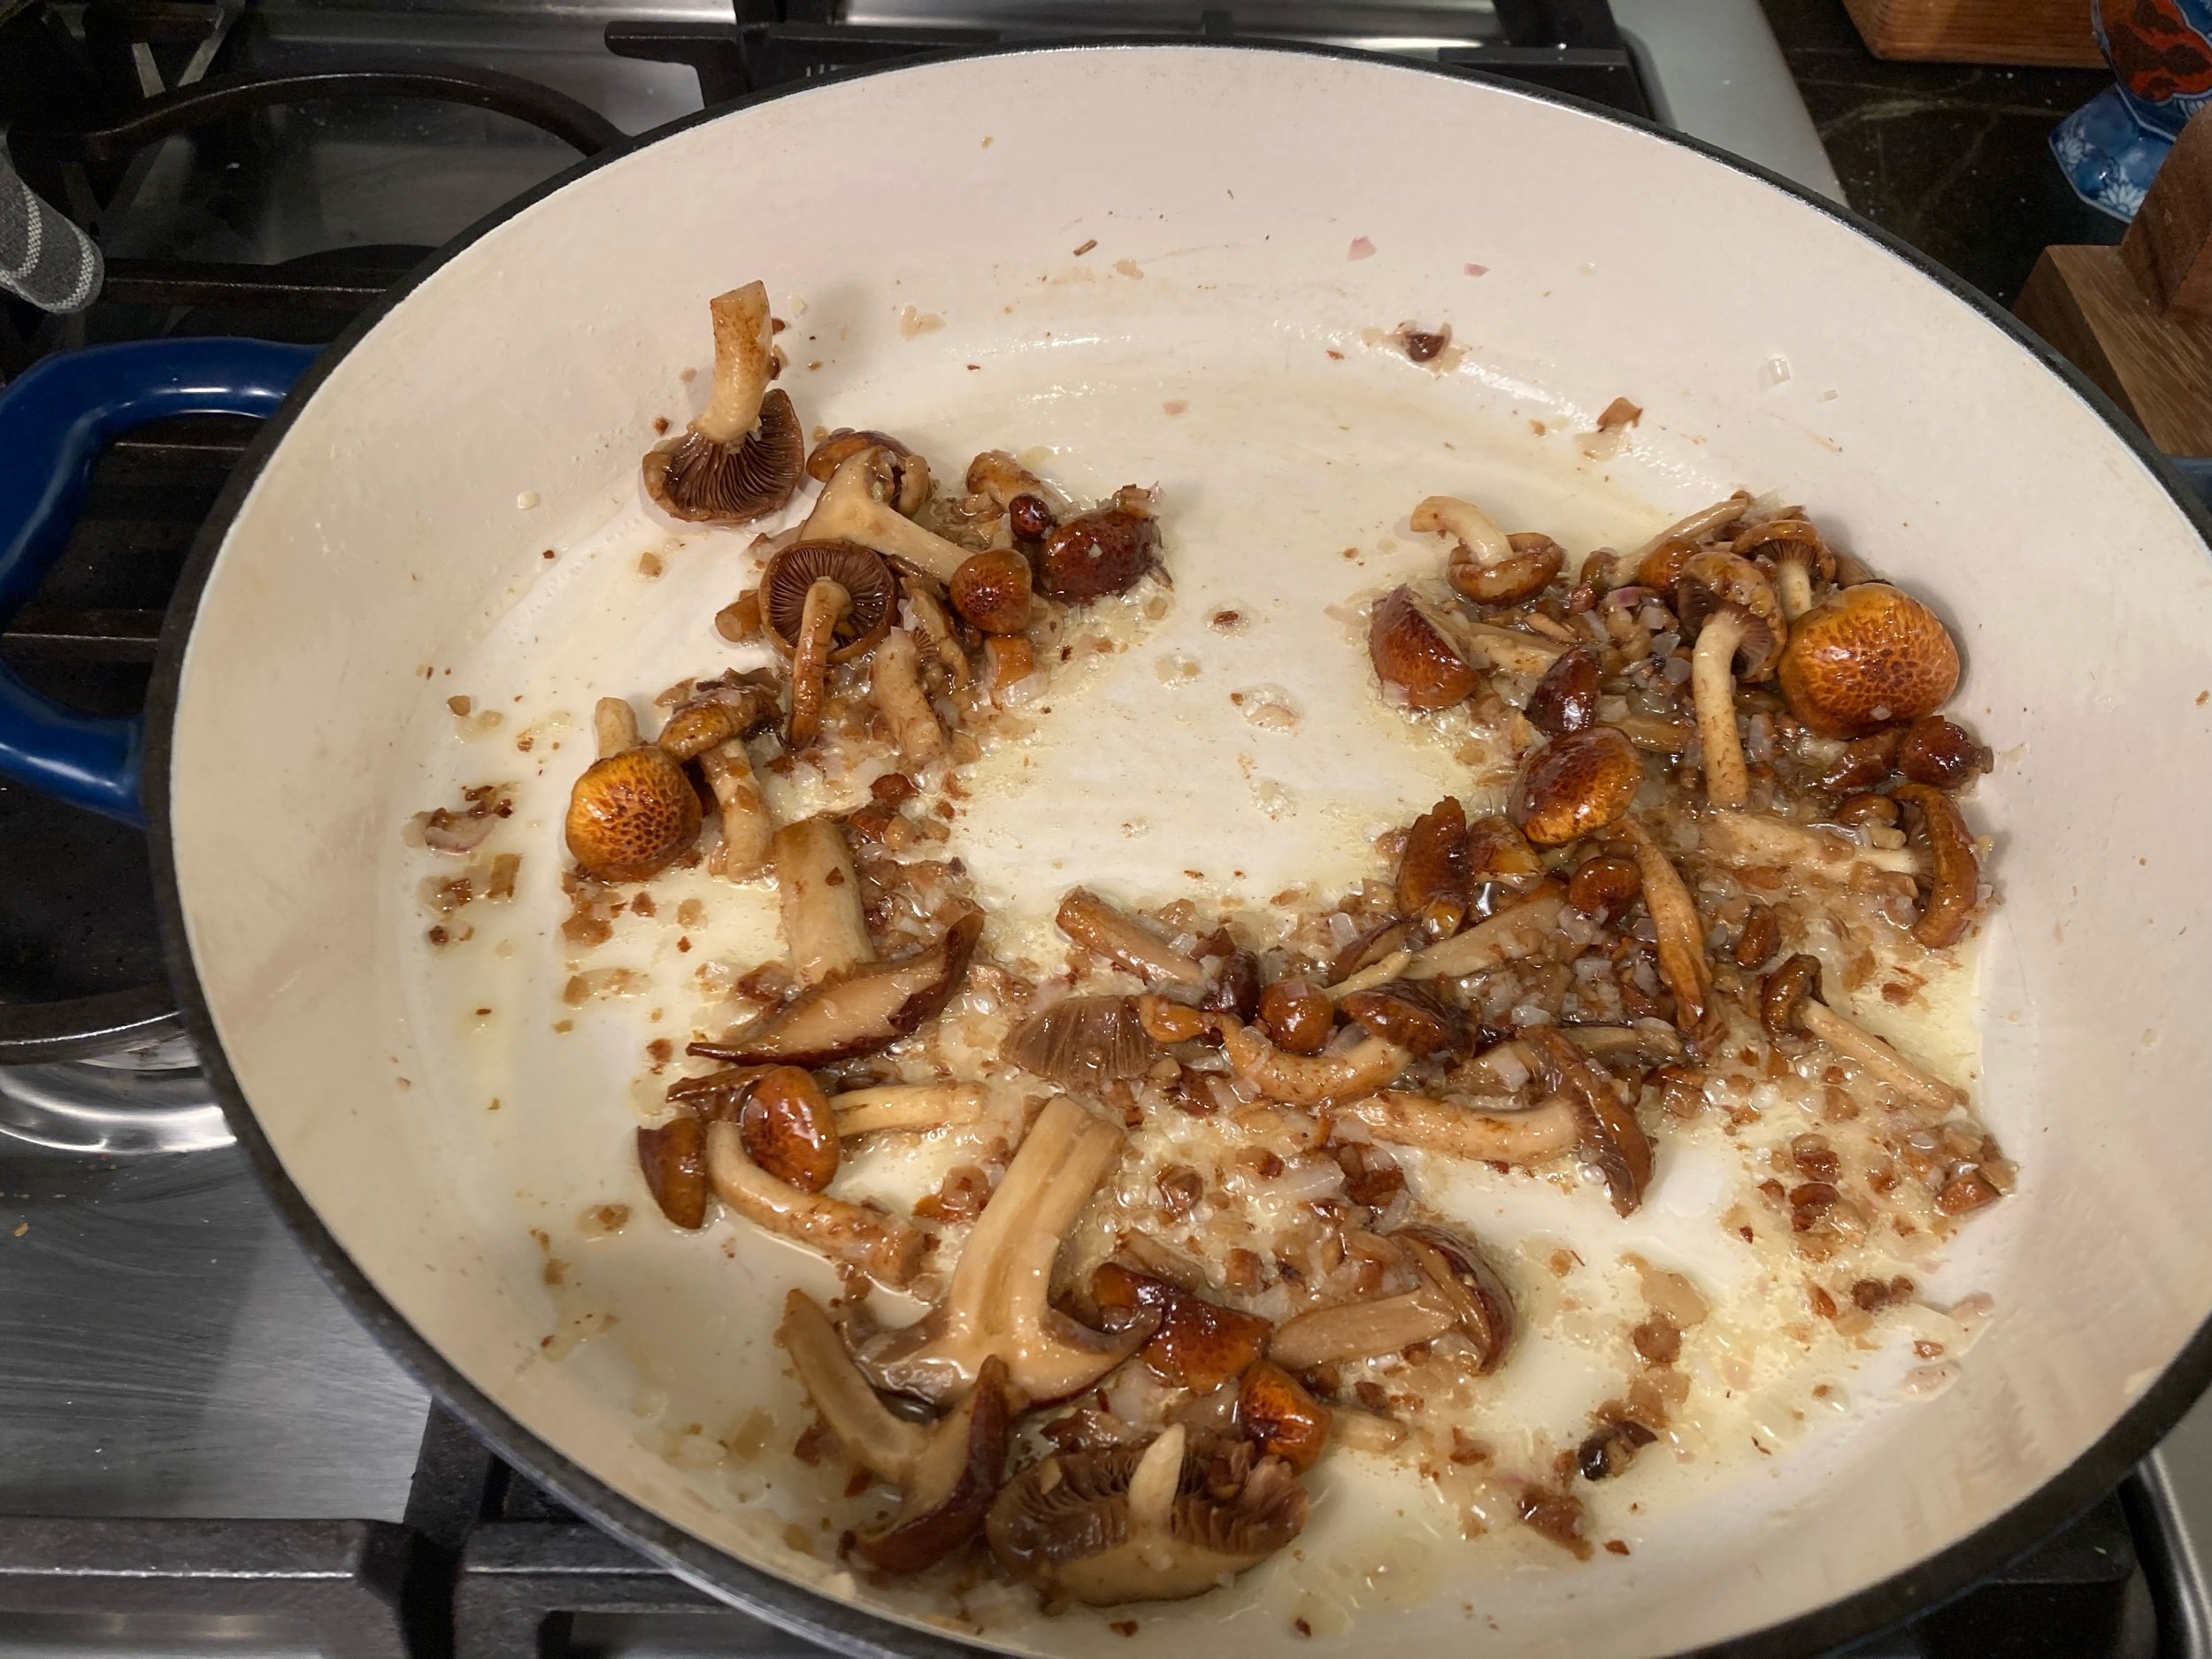
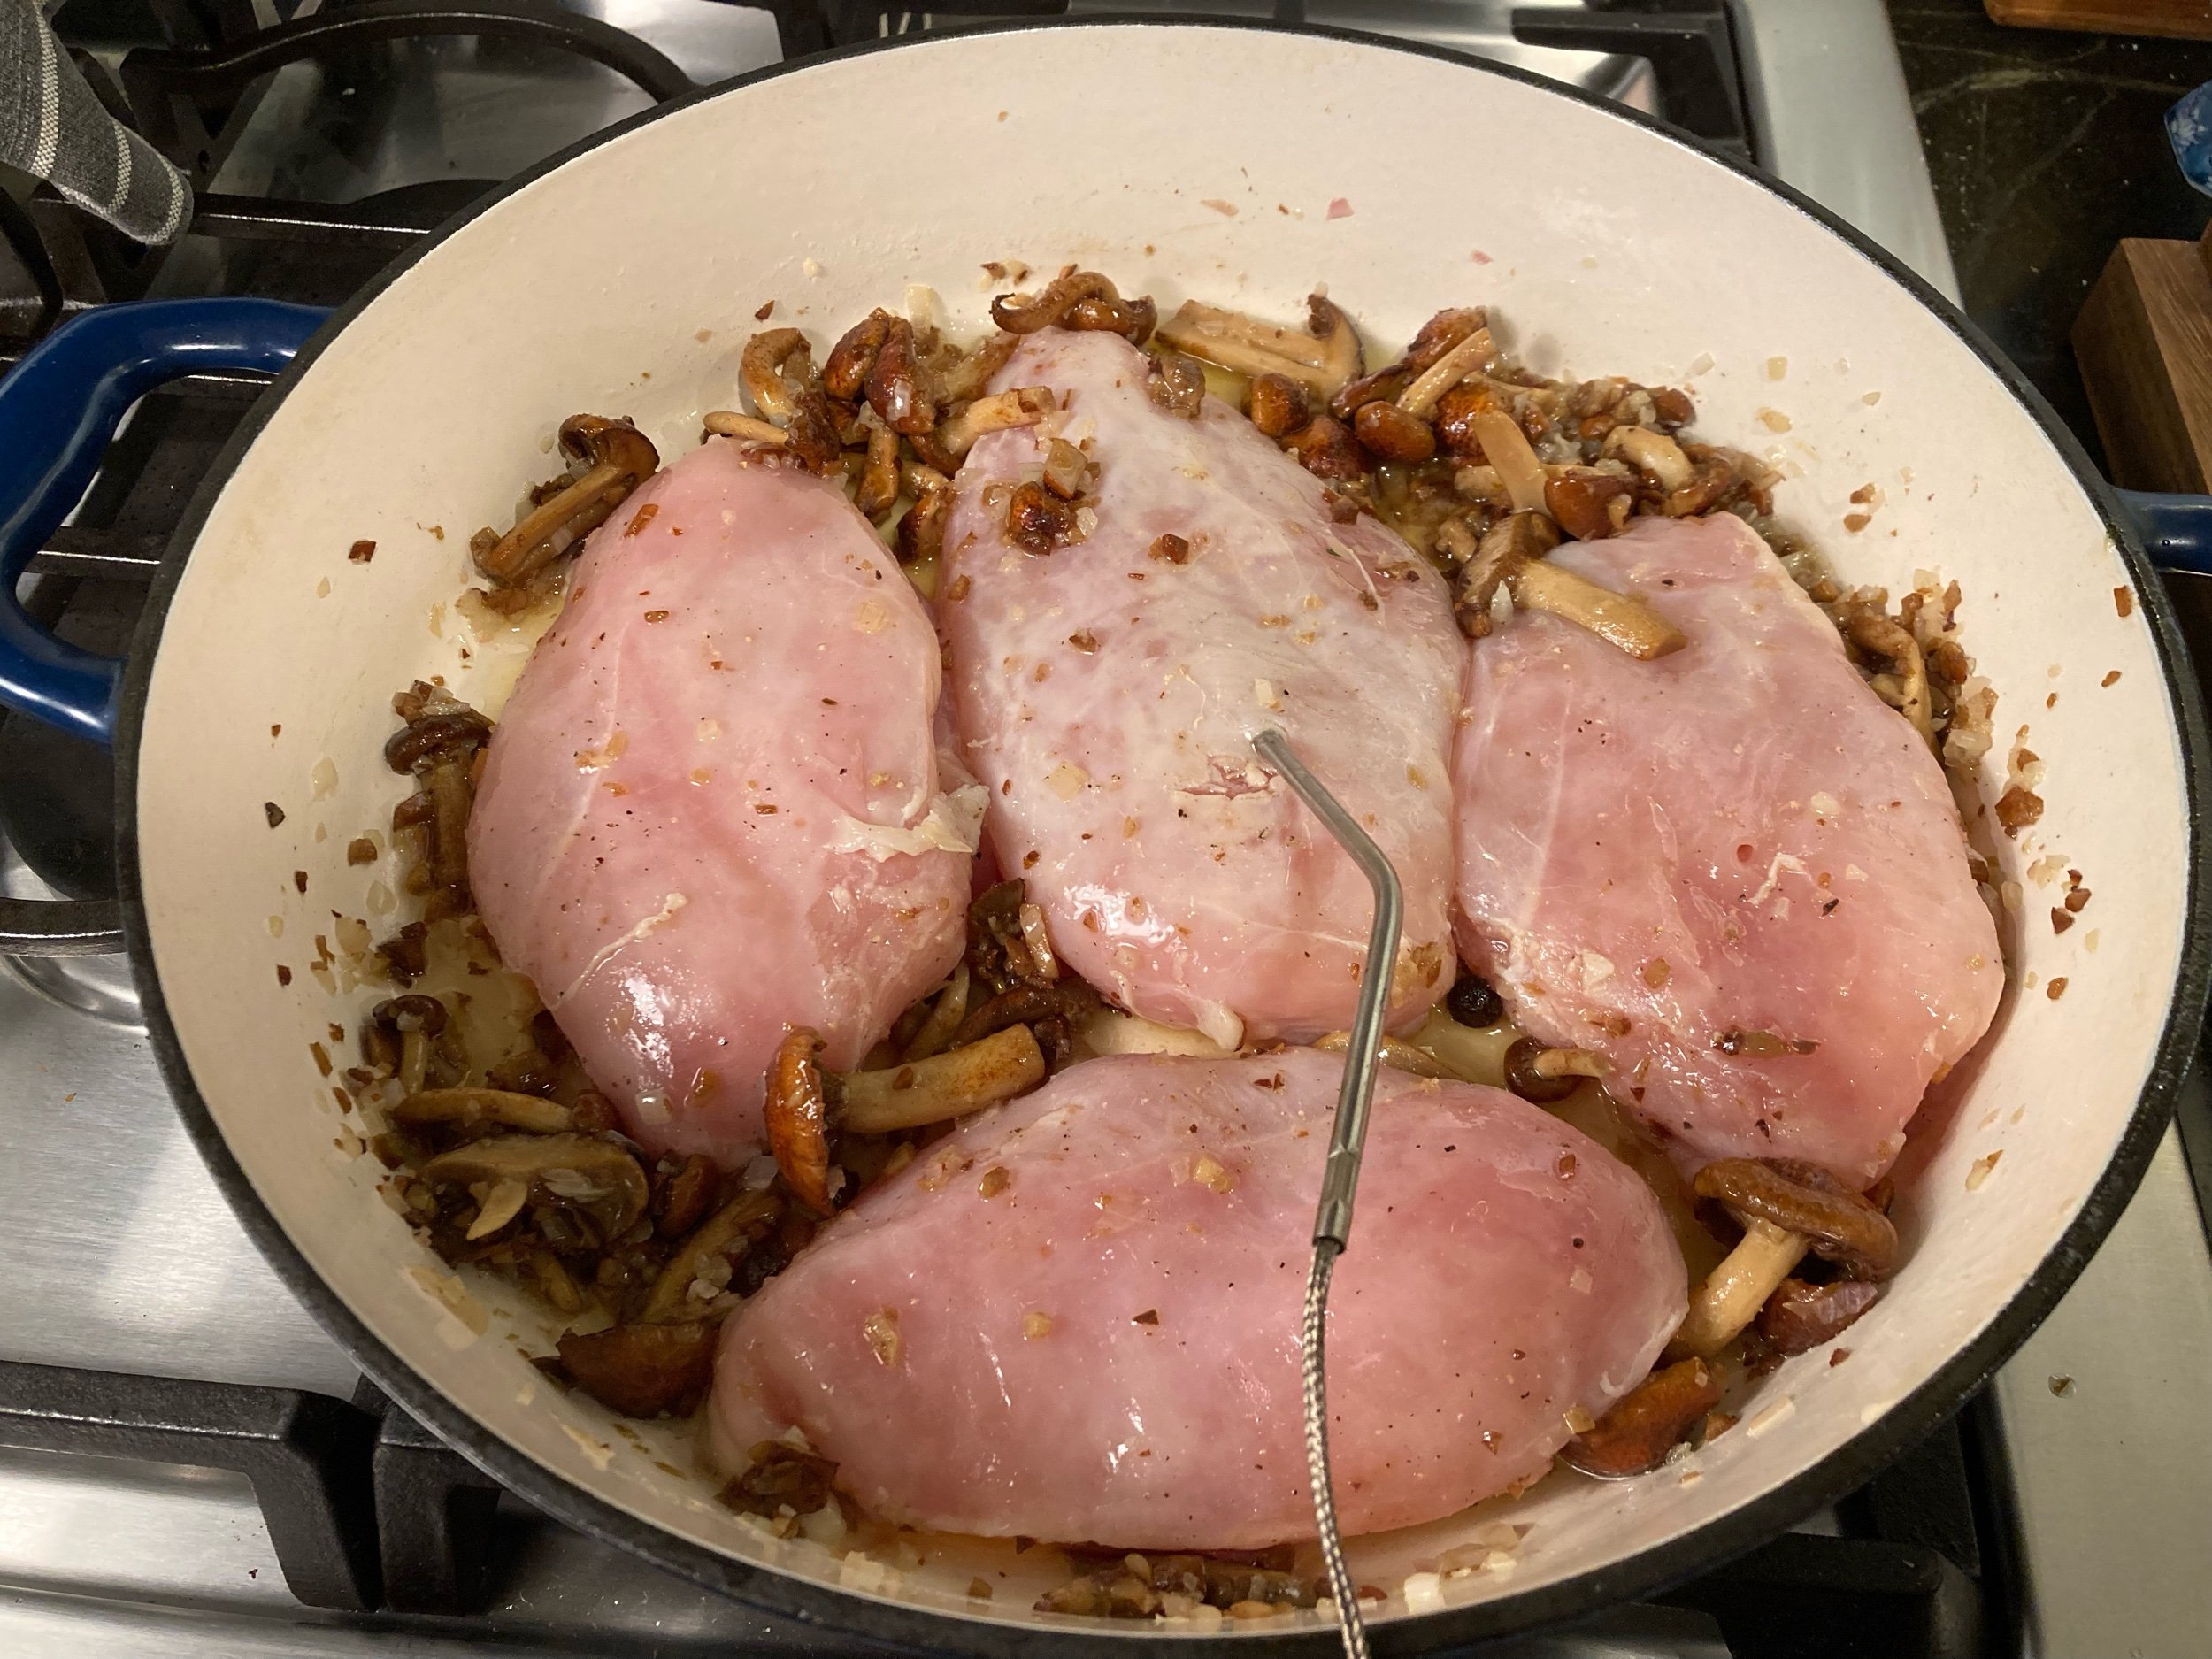
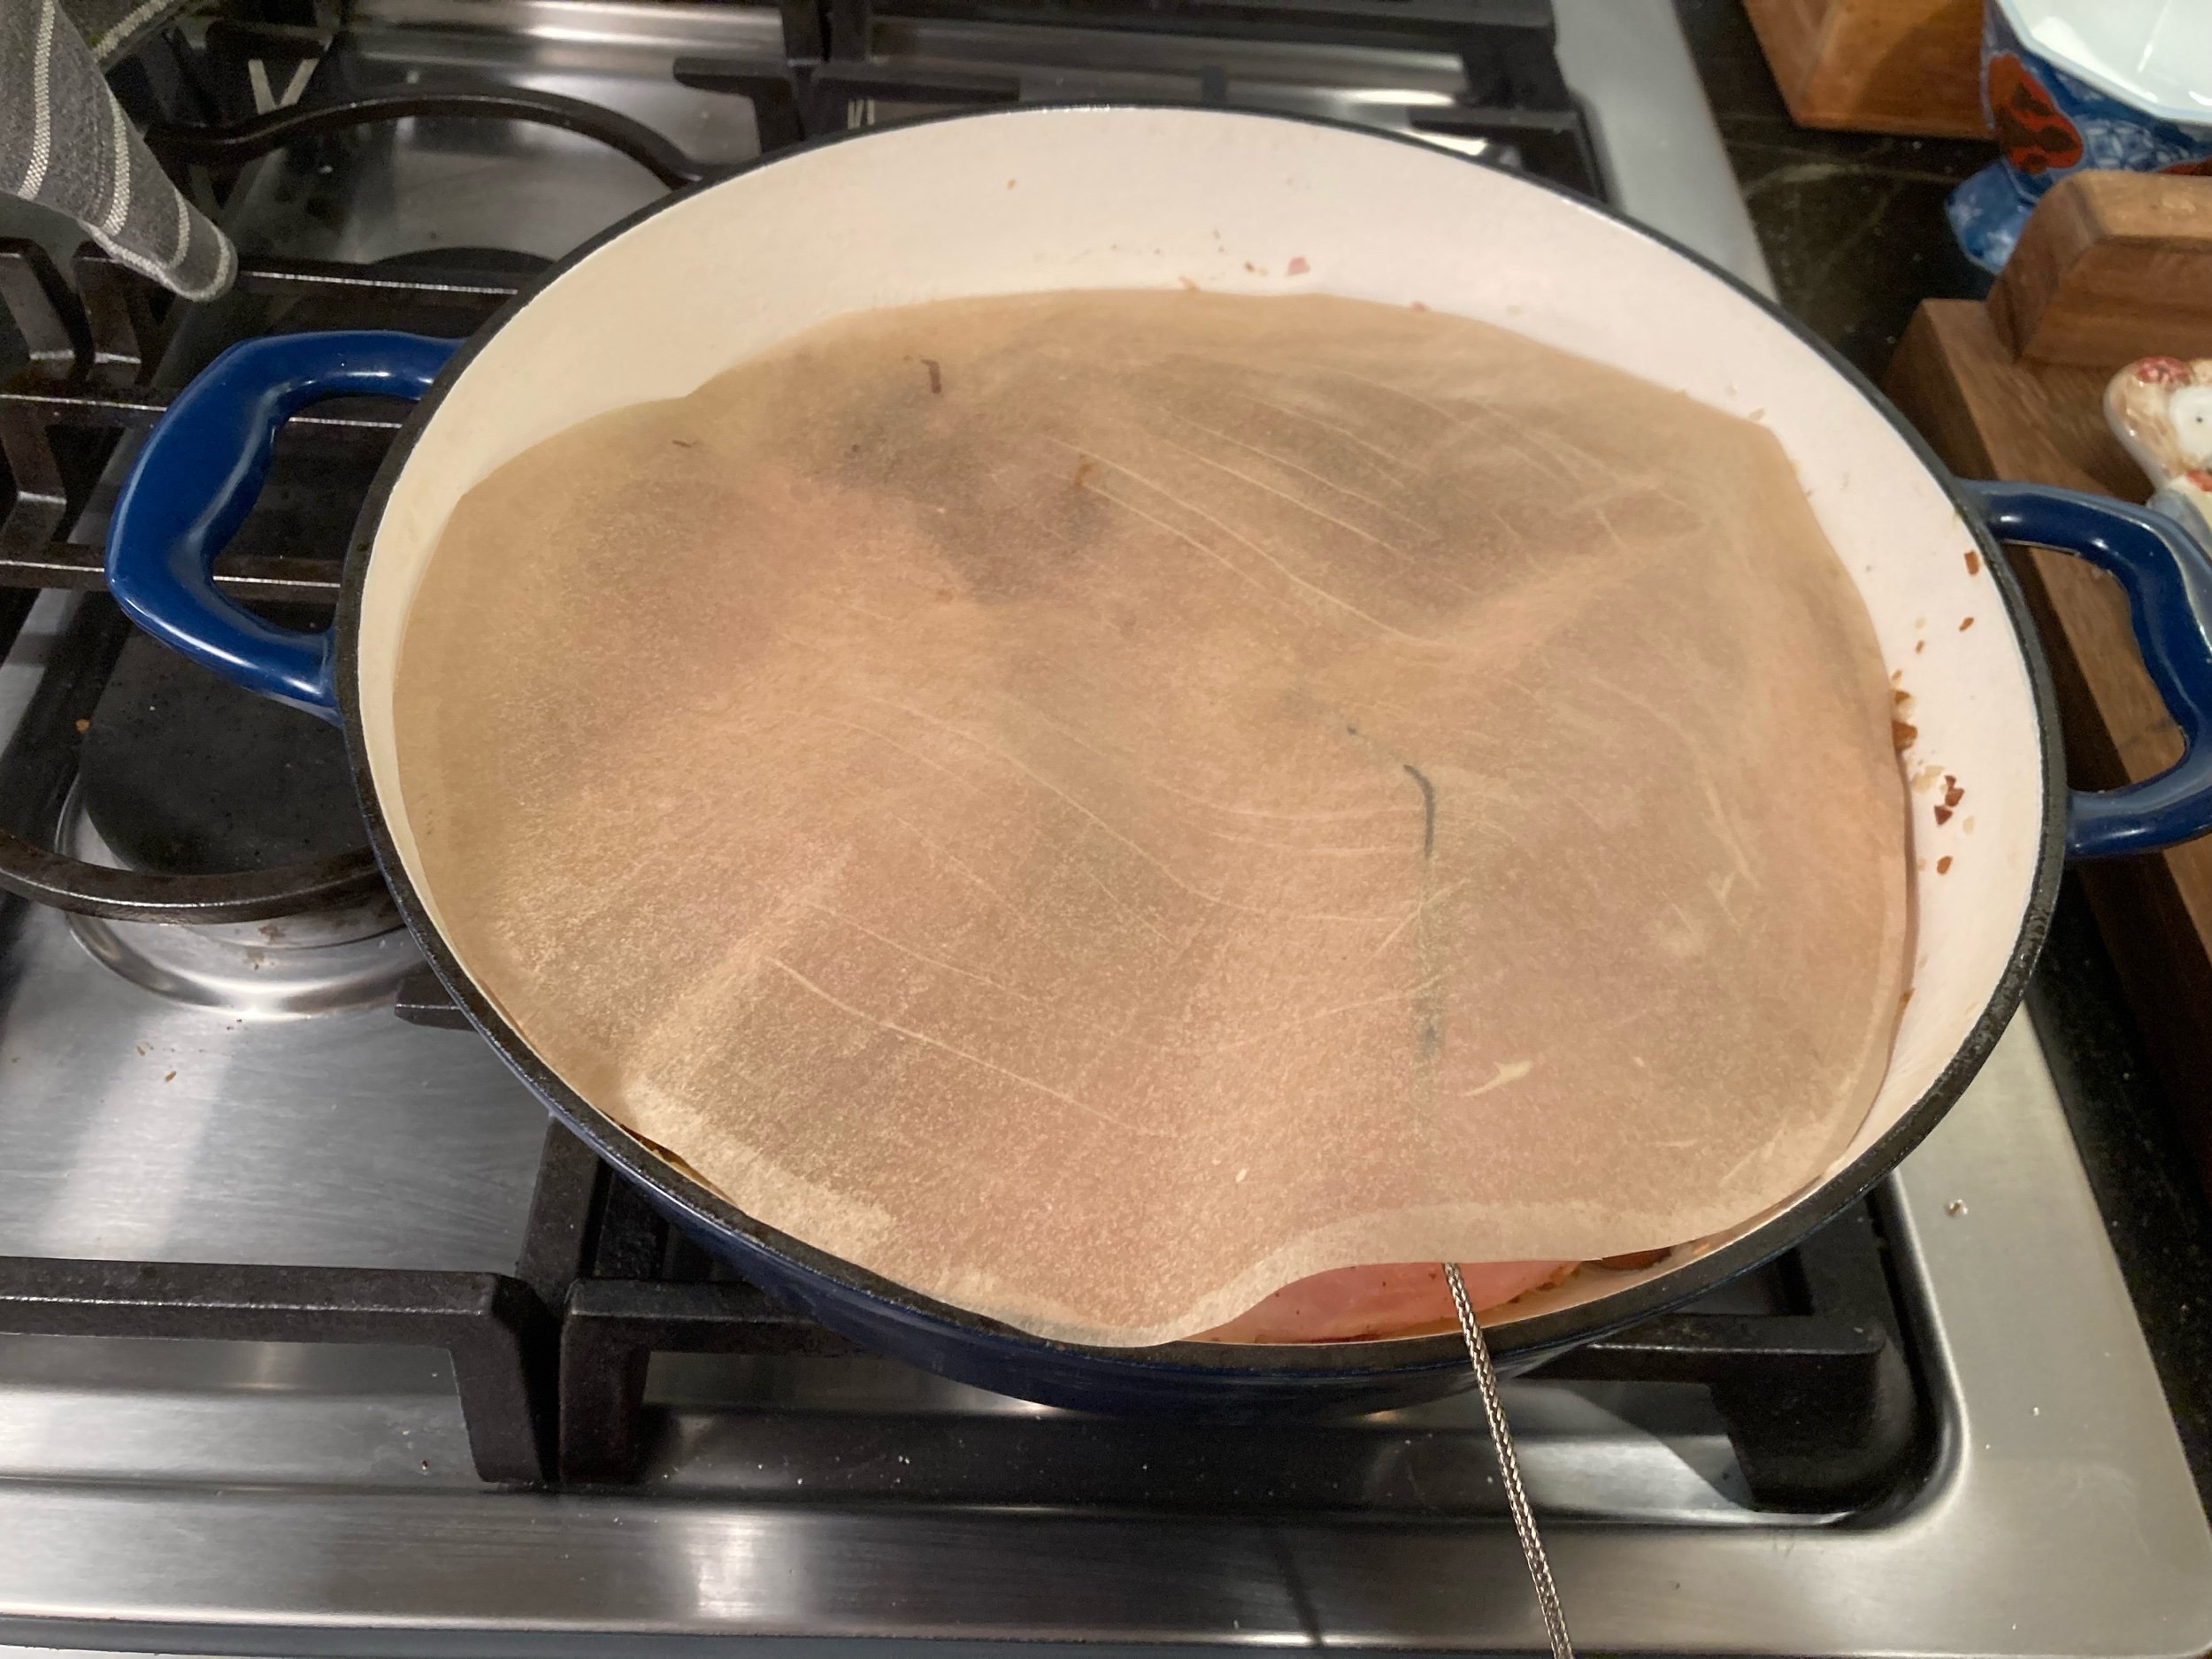
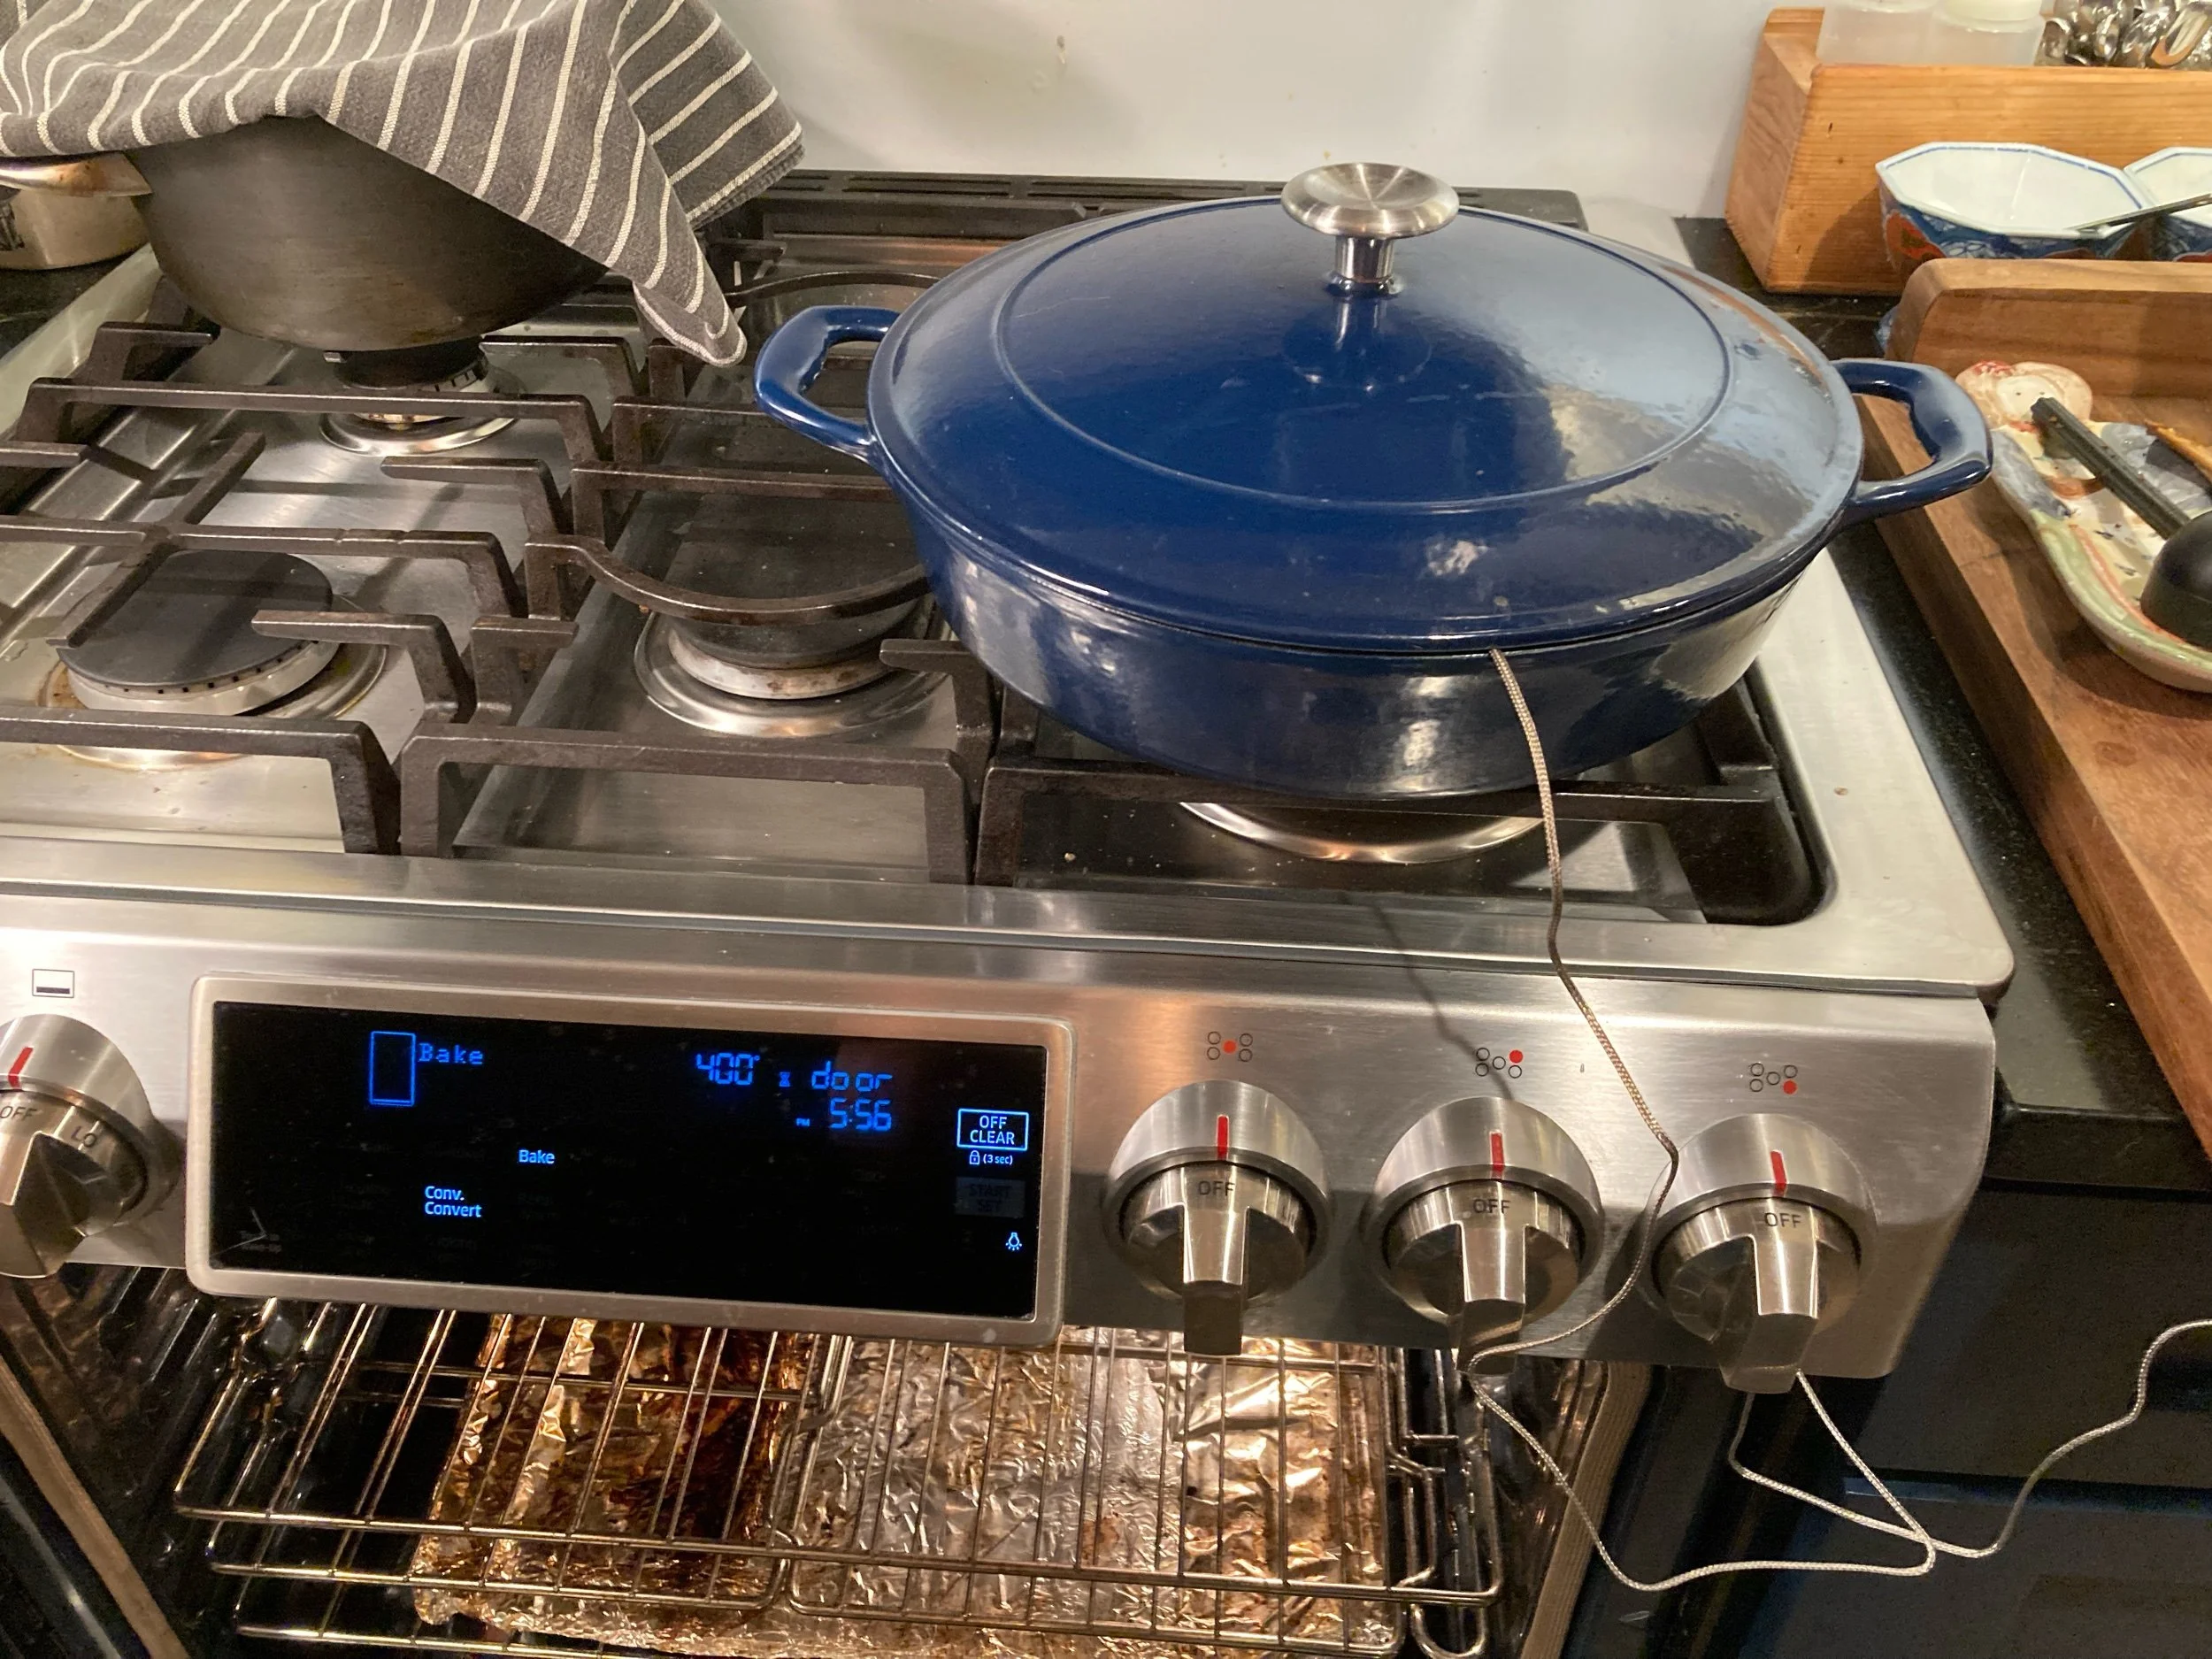
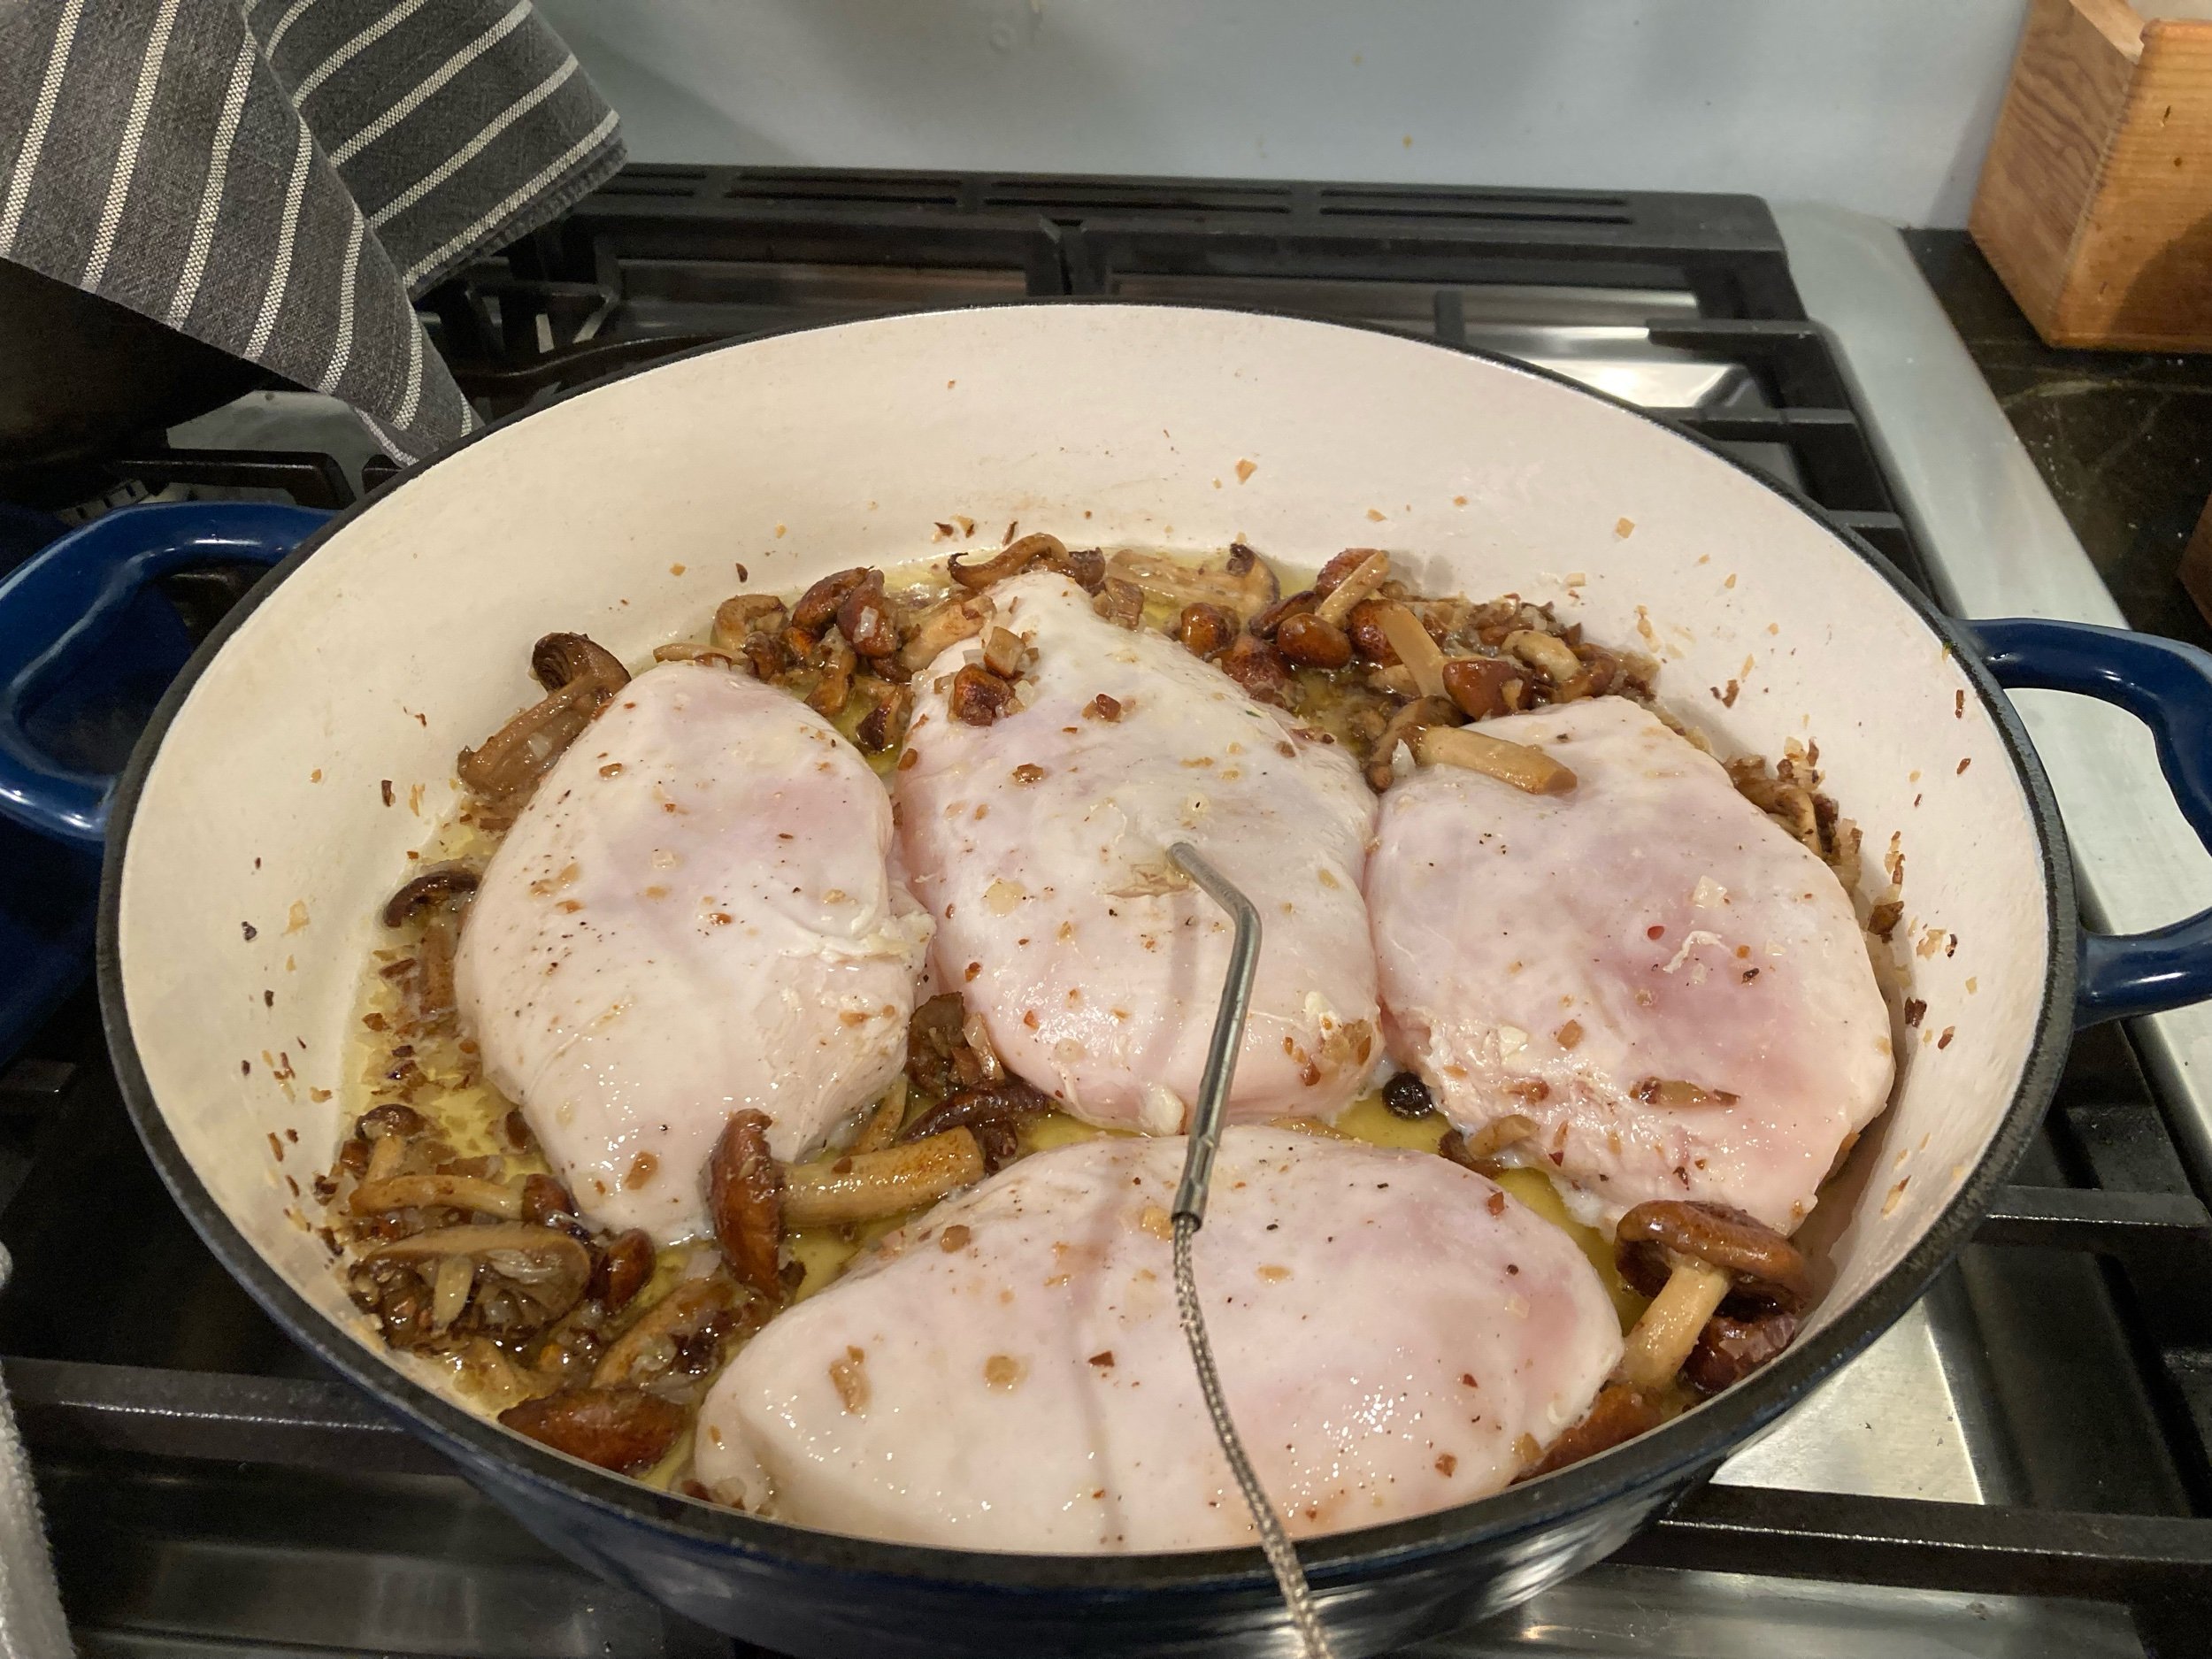
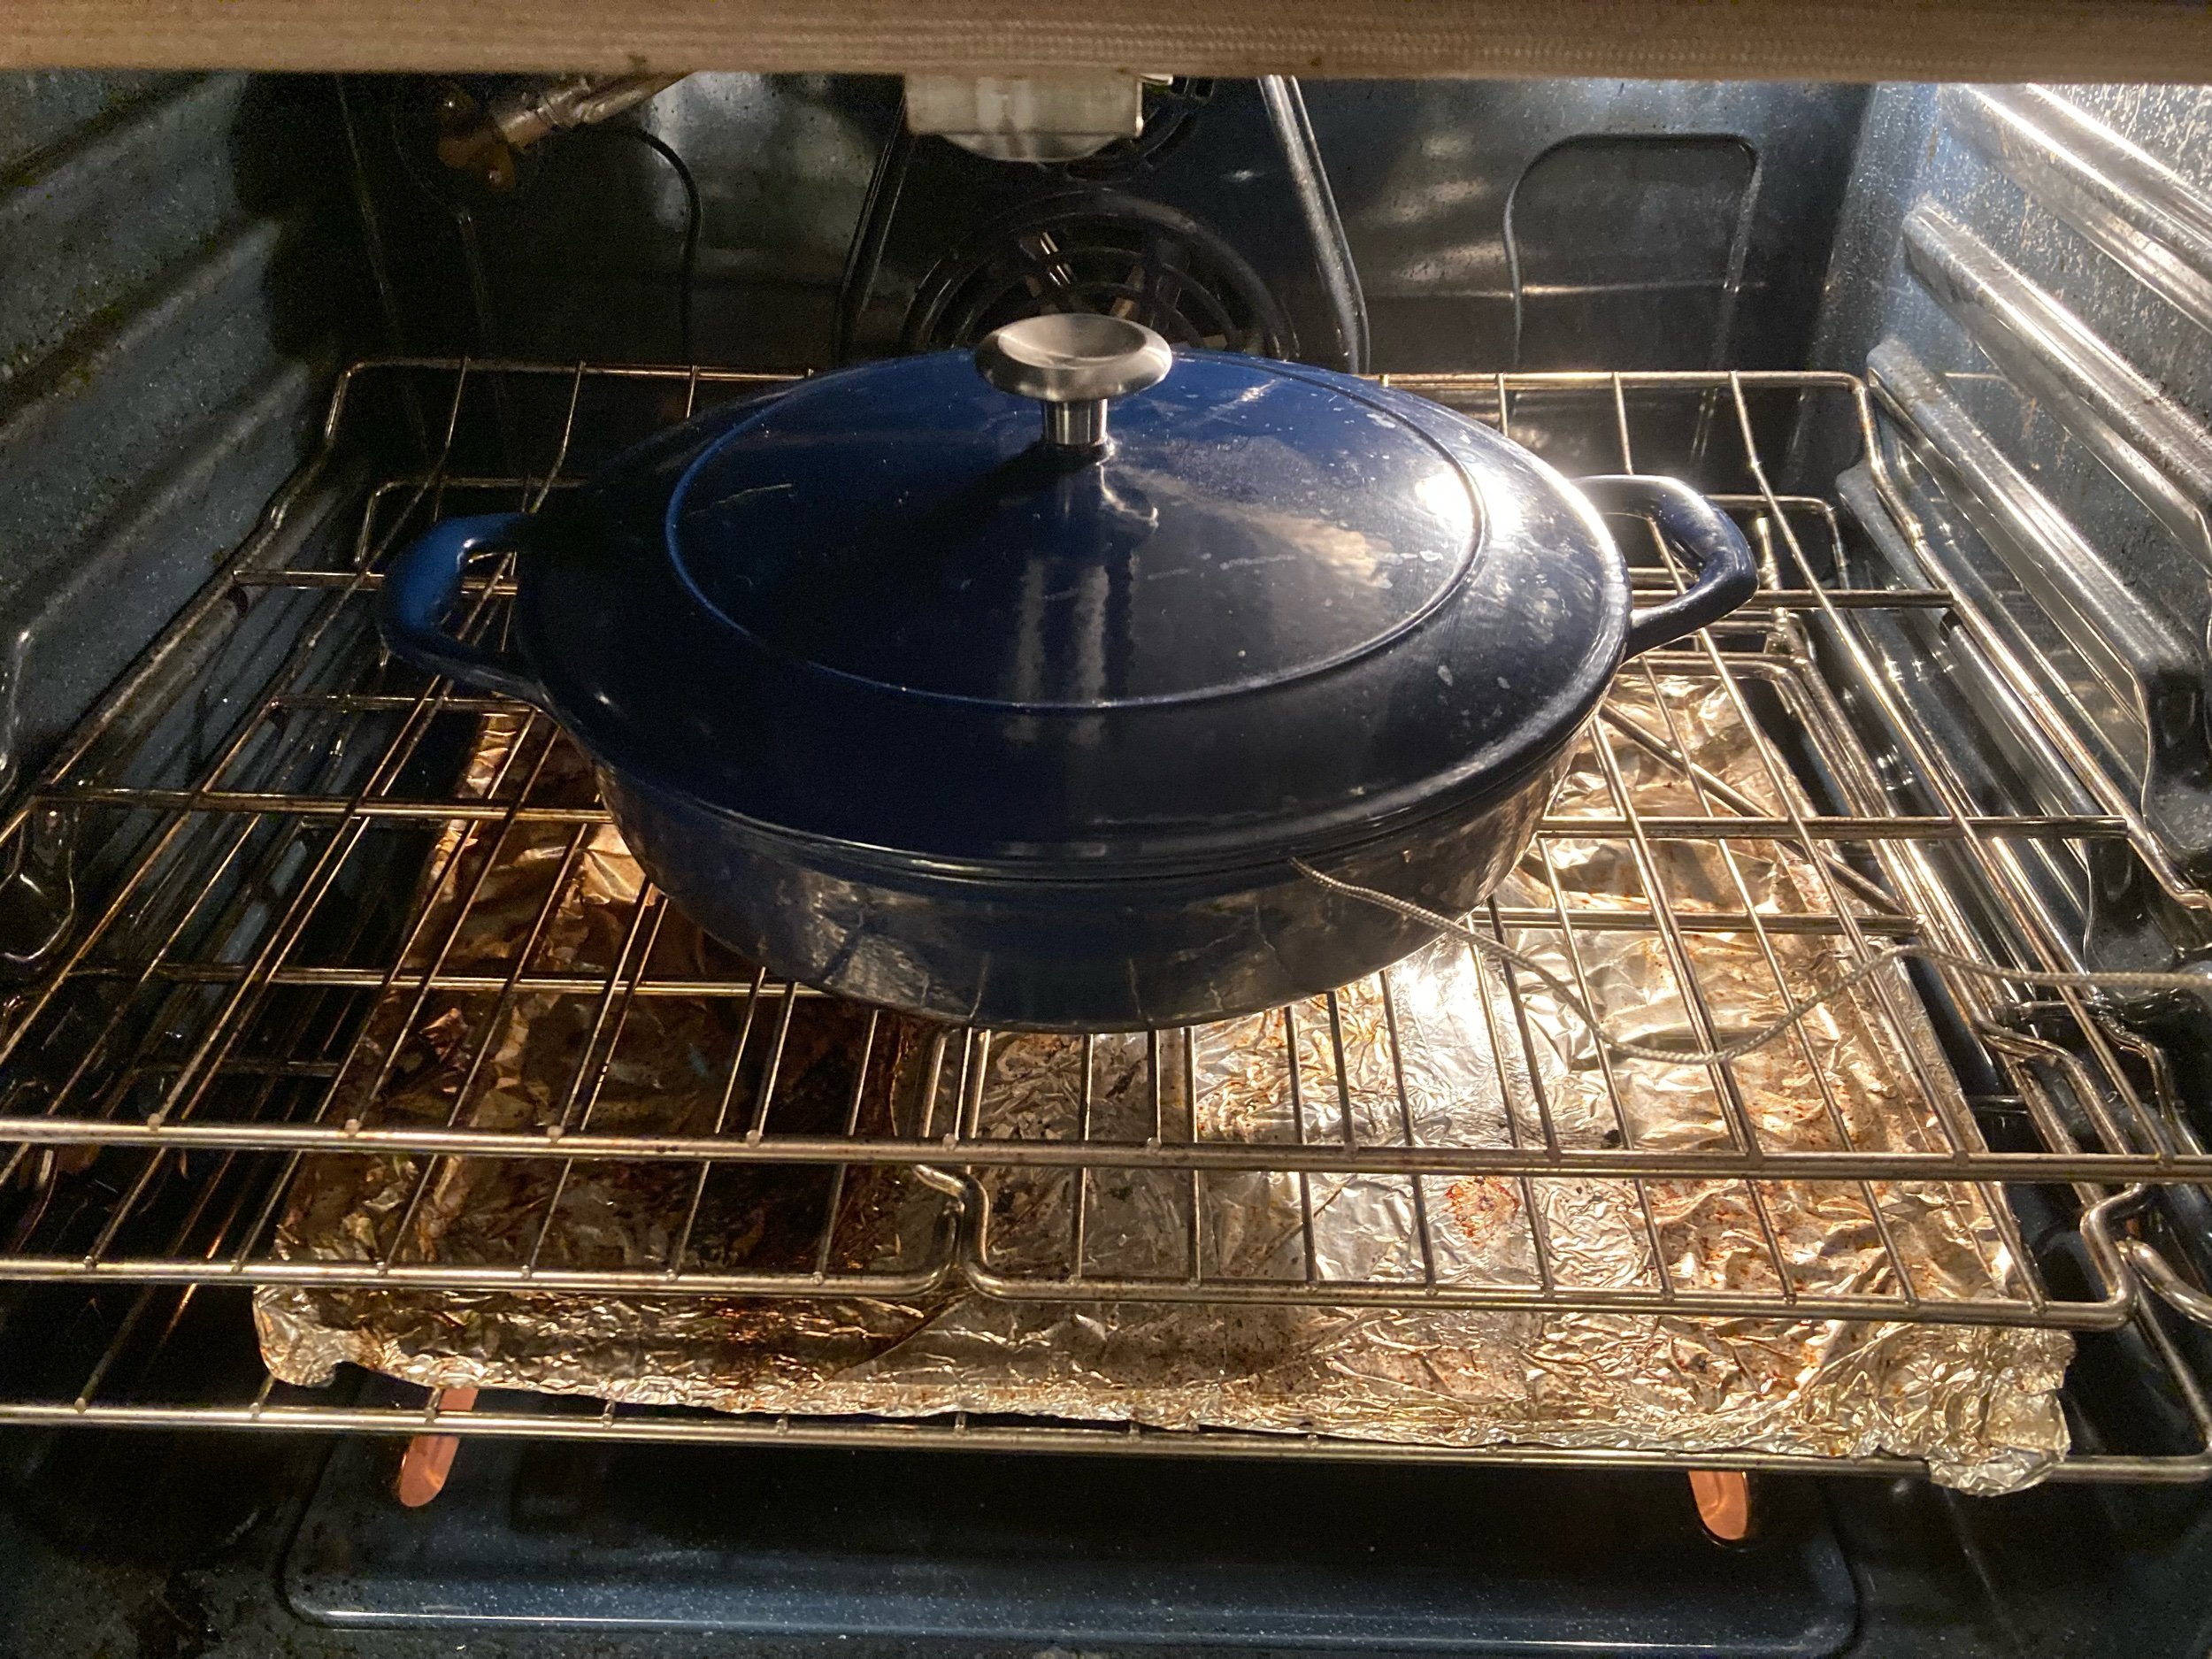
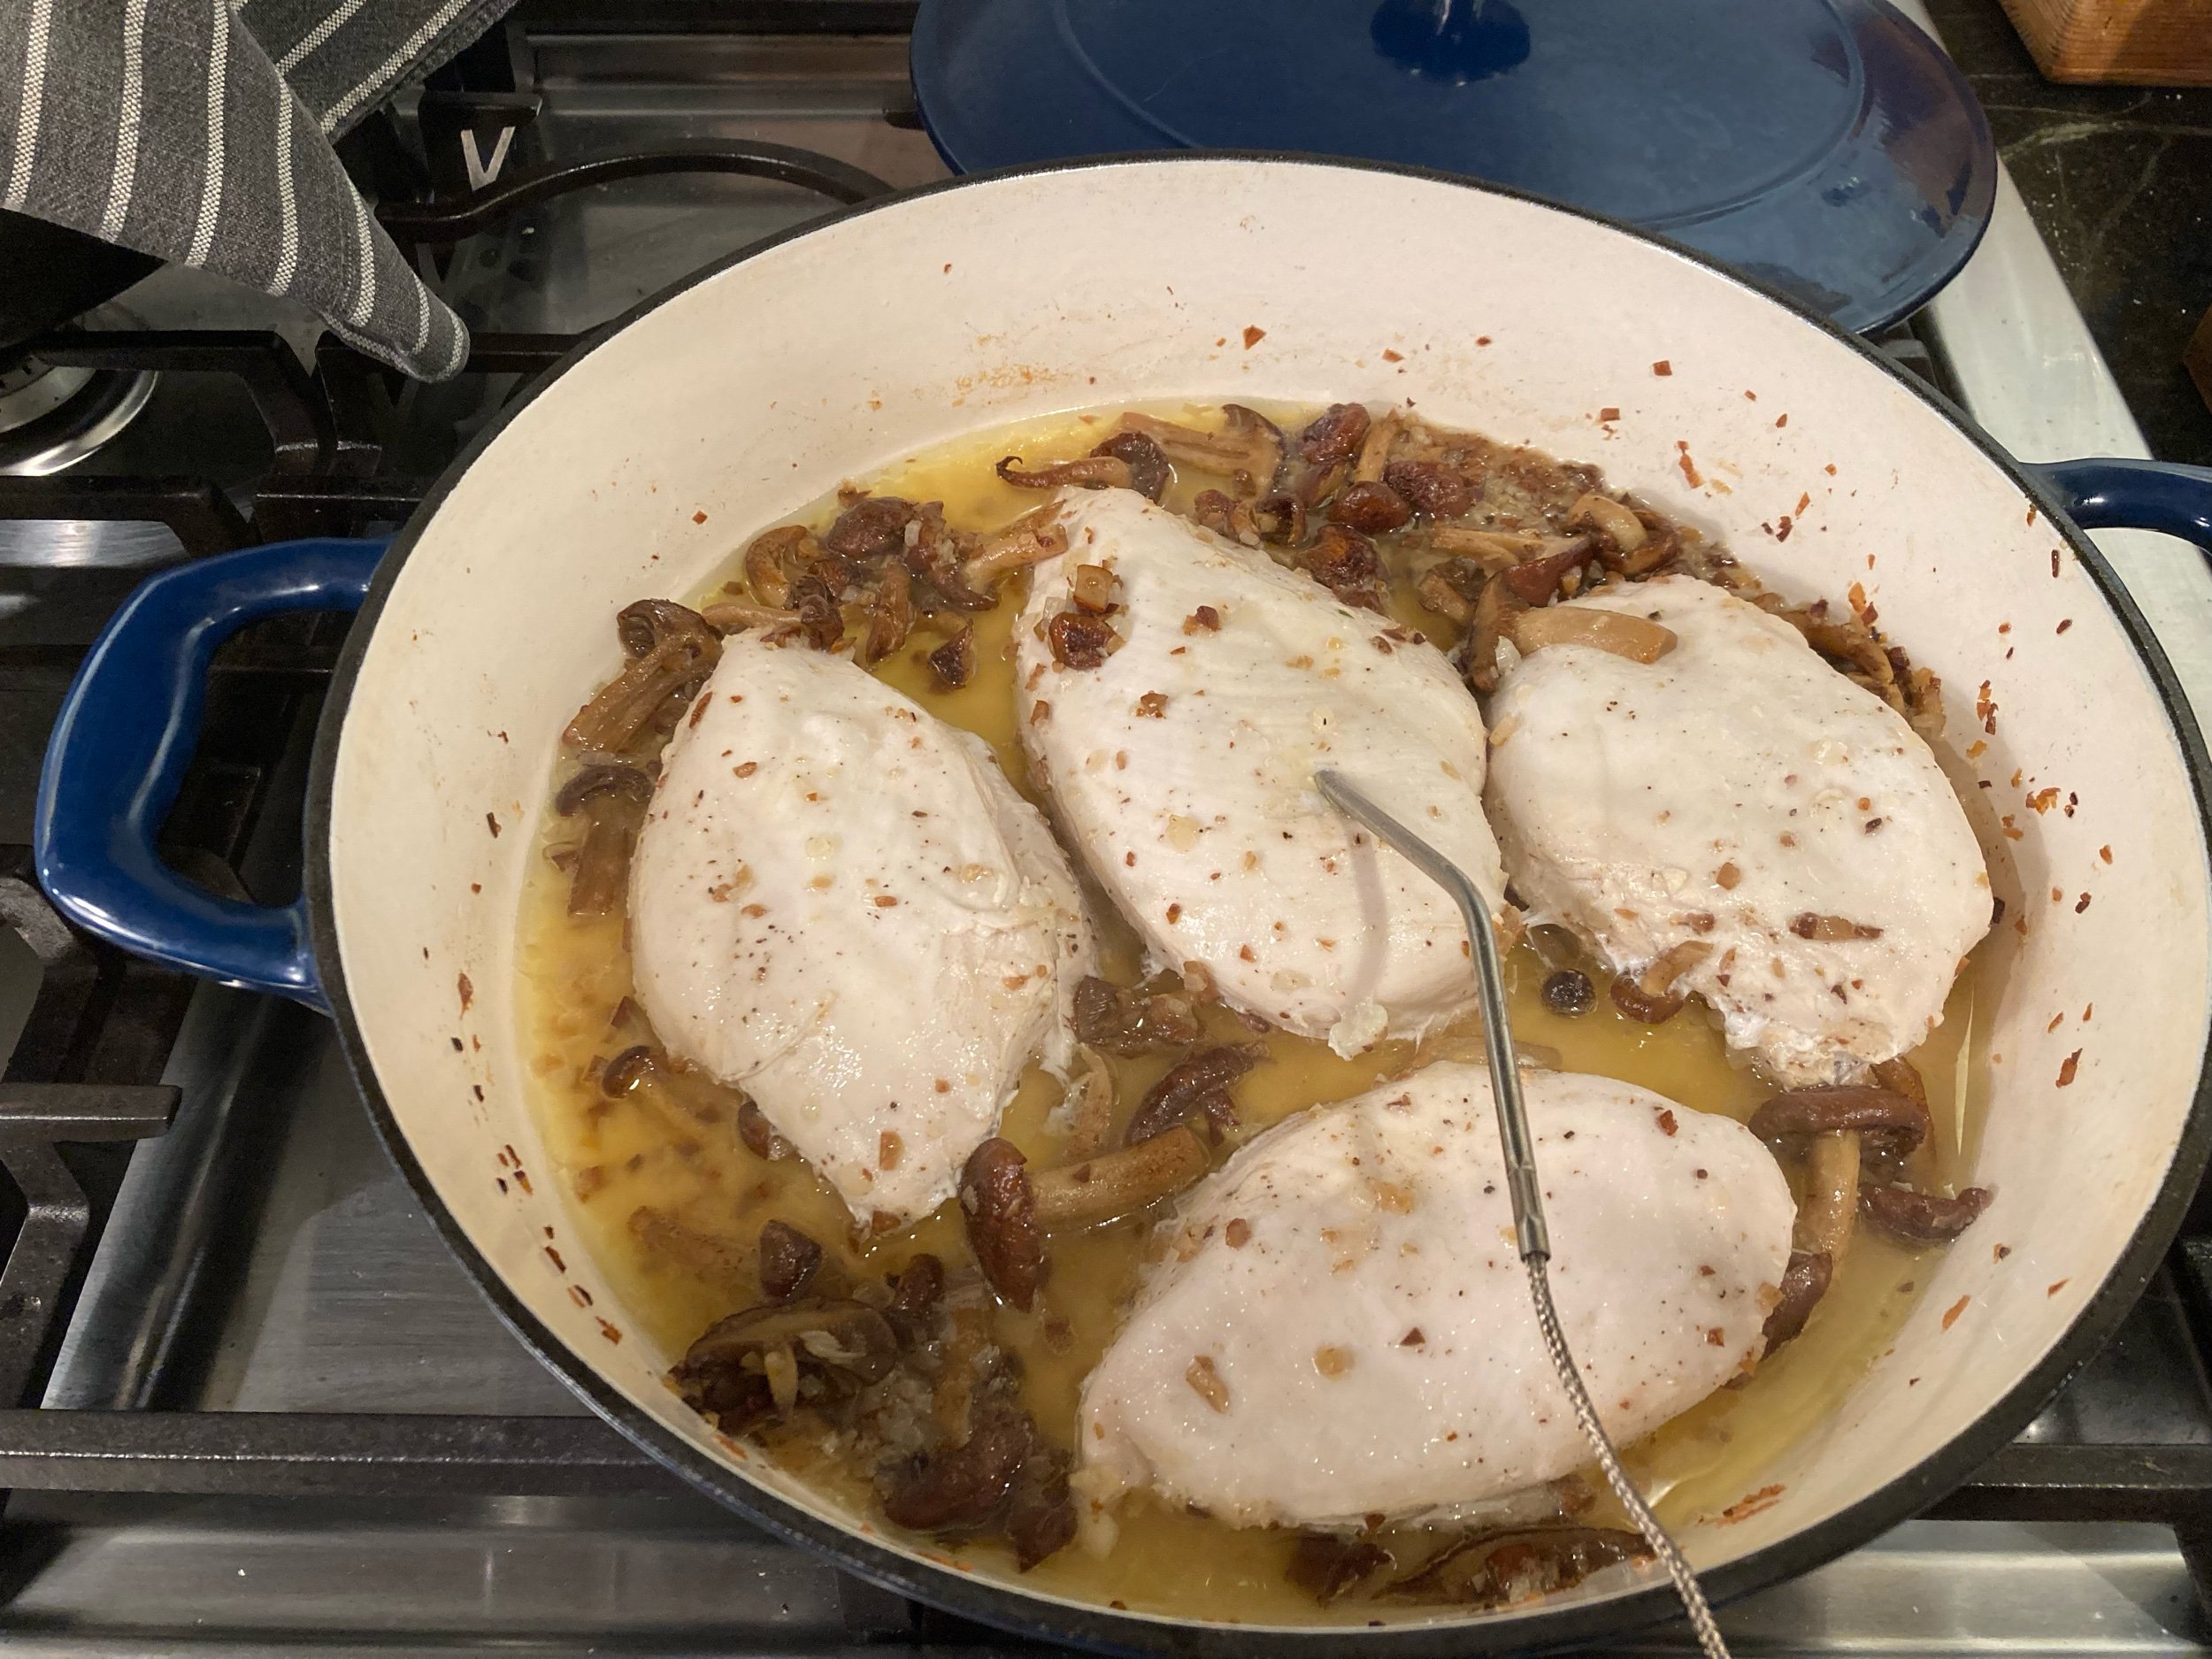
5. Pour the stock and wine into the casserole with the cooking butter (if there is any left, if not, add some more in now- I added one more Tb, but I don’t know that I needed to.) and boil down quickly over high heat until liquid is syrupy.
6. Stir in the cream and boil down again over high heat until cream has thickened slightly.
7. Off heat, taste carefully for seasoning and add drops of lemon juice to taste. Pour the sauce over the suprêmes, sprinkle with parsley, and serve at once.
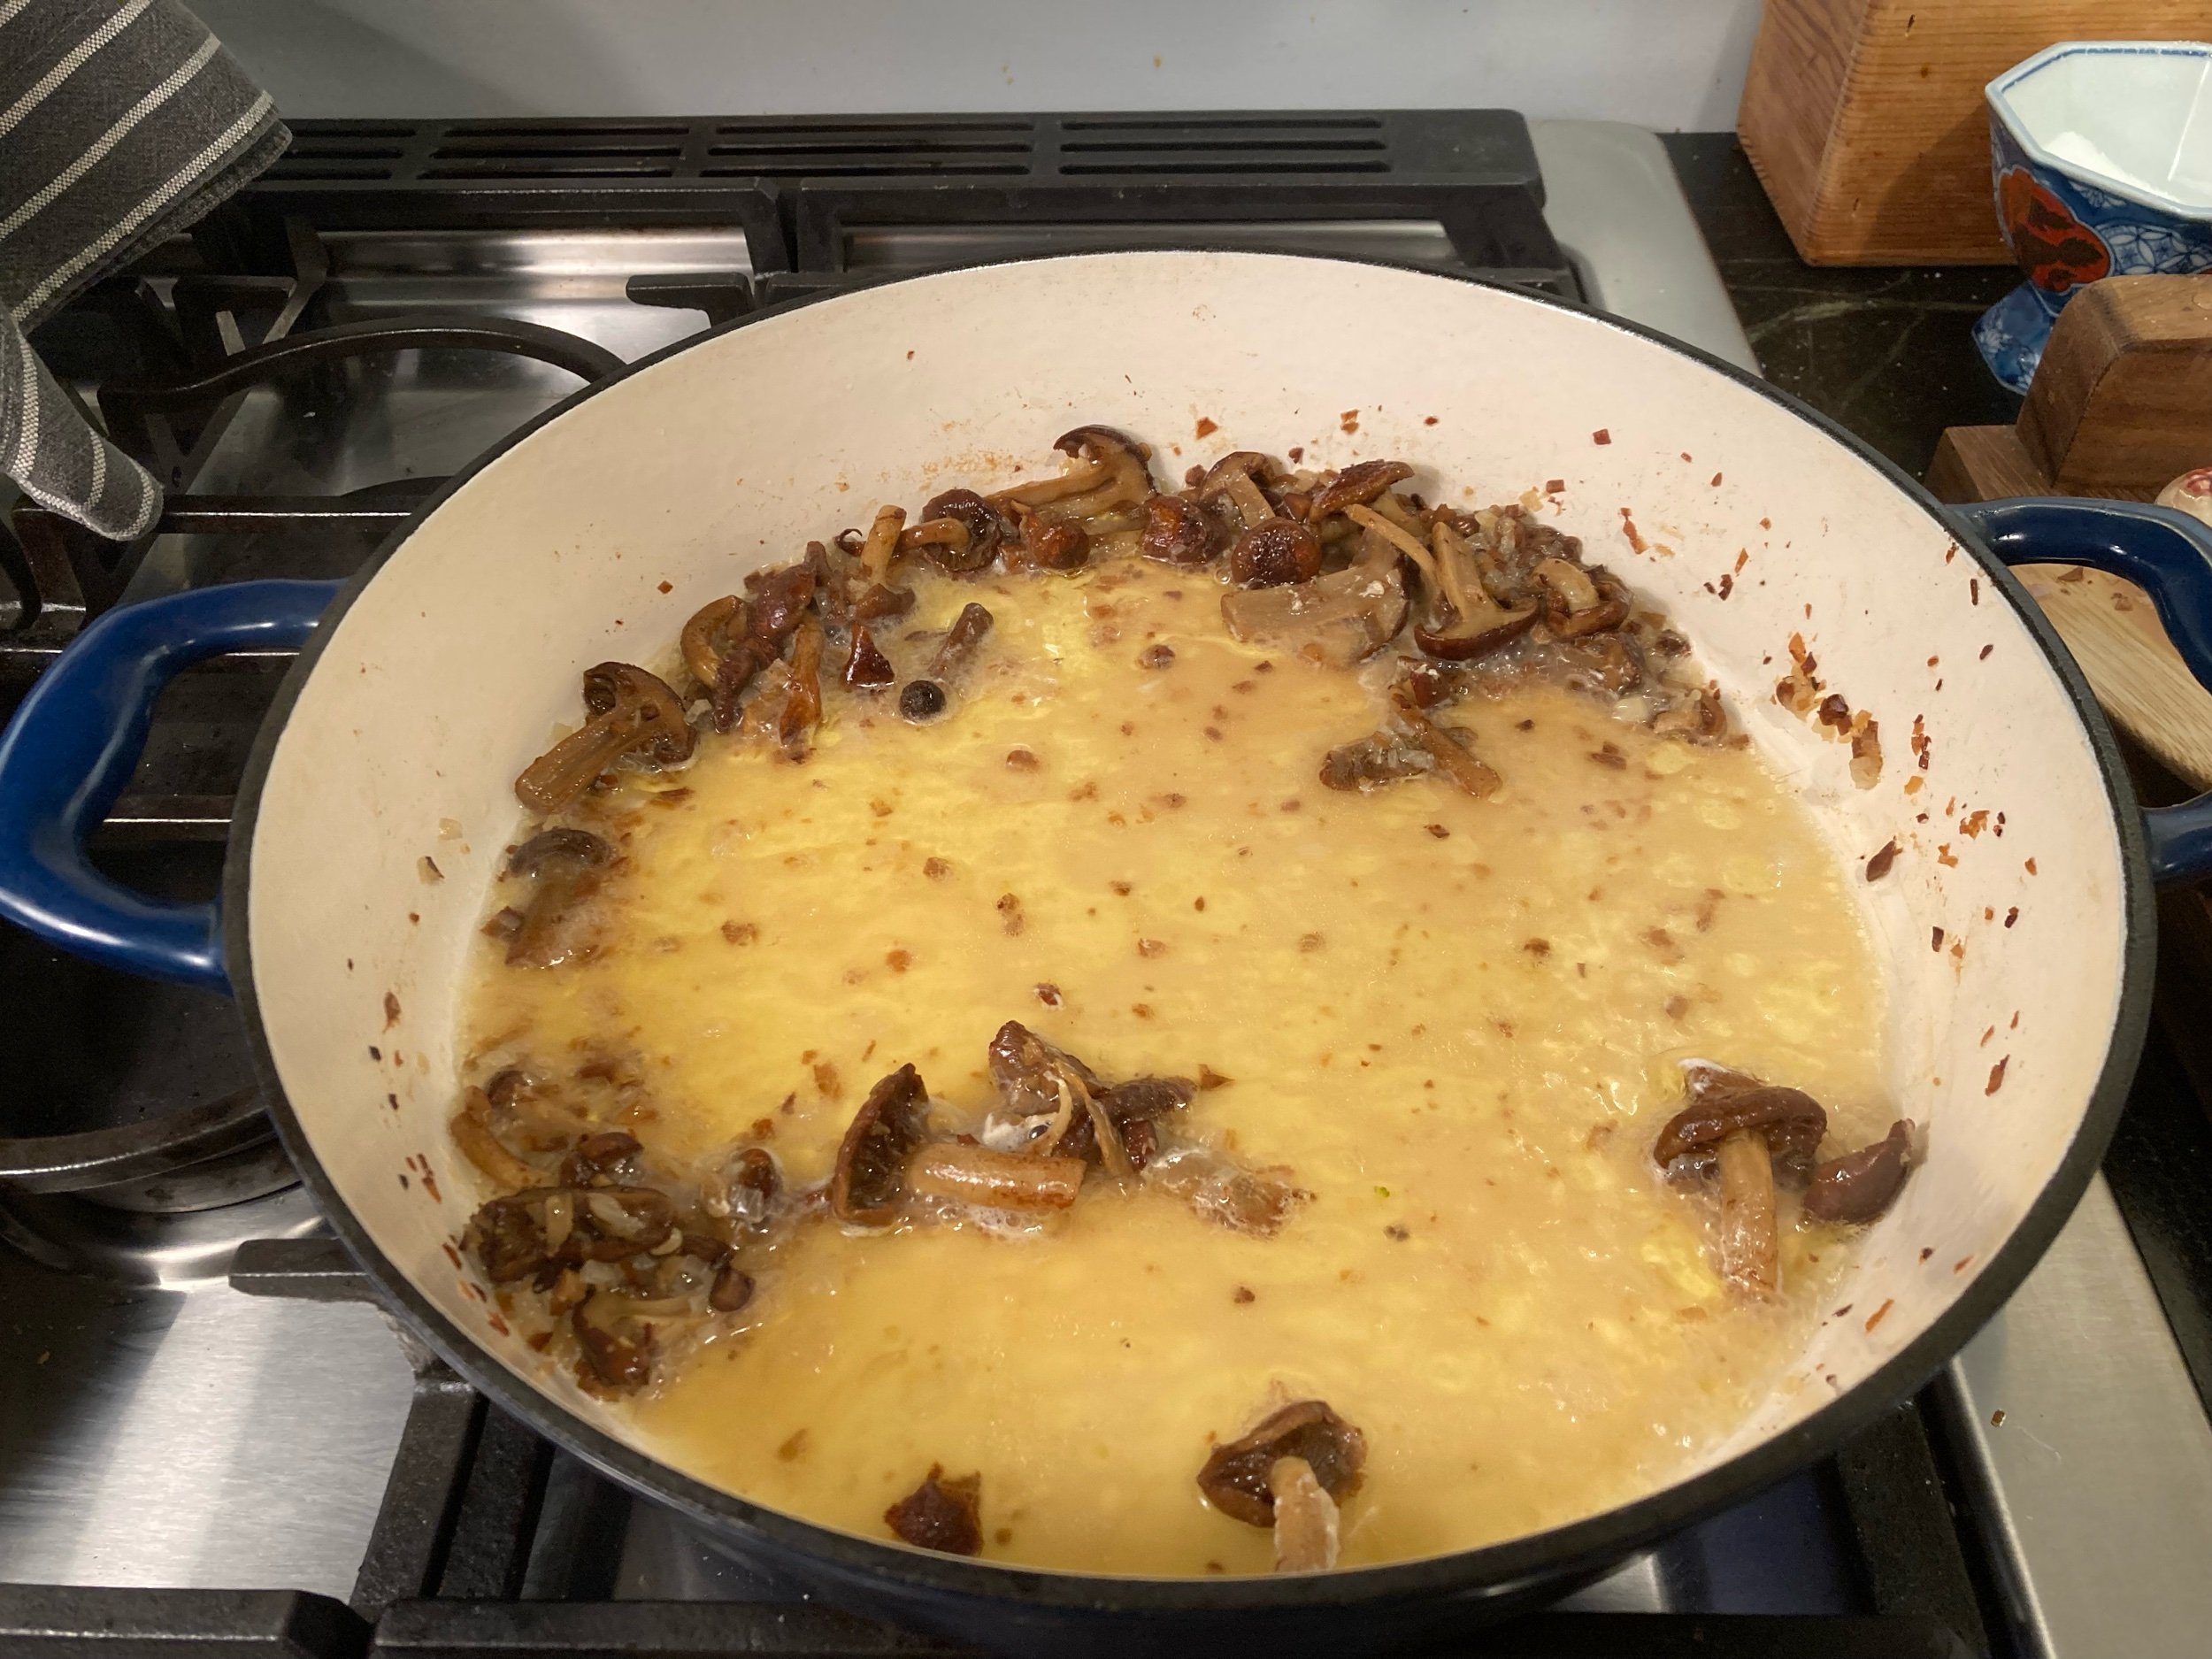
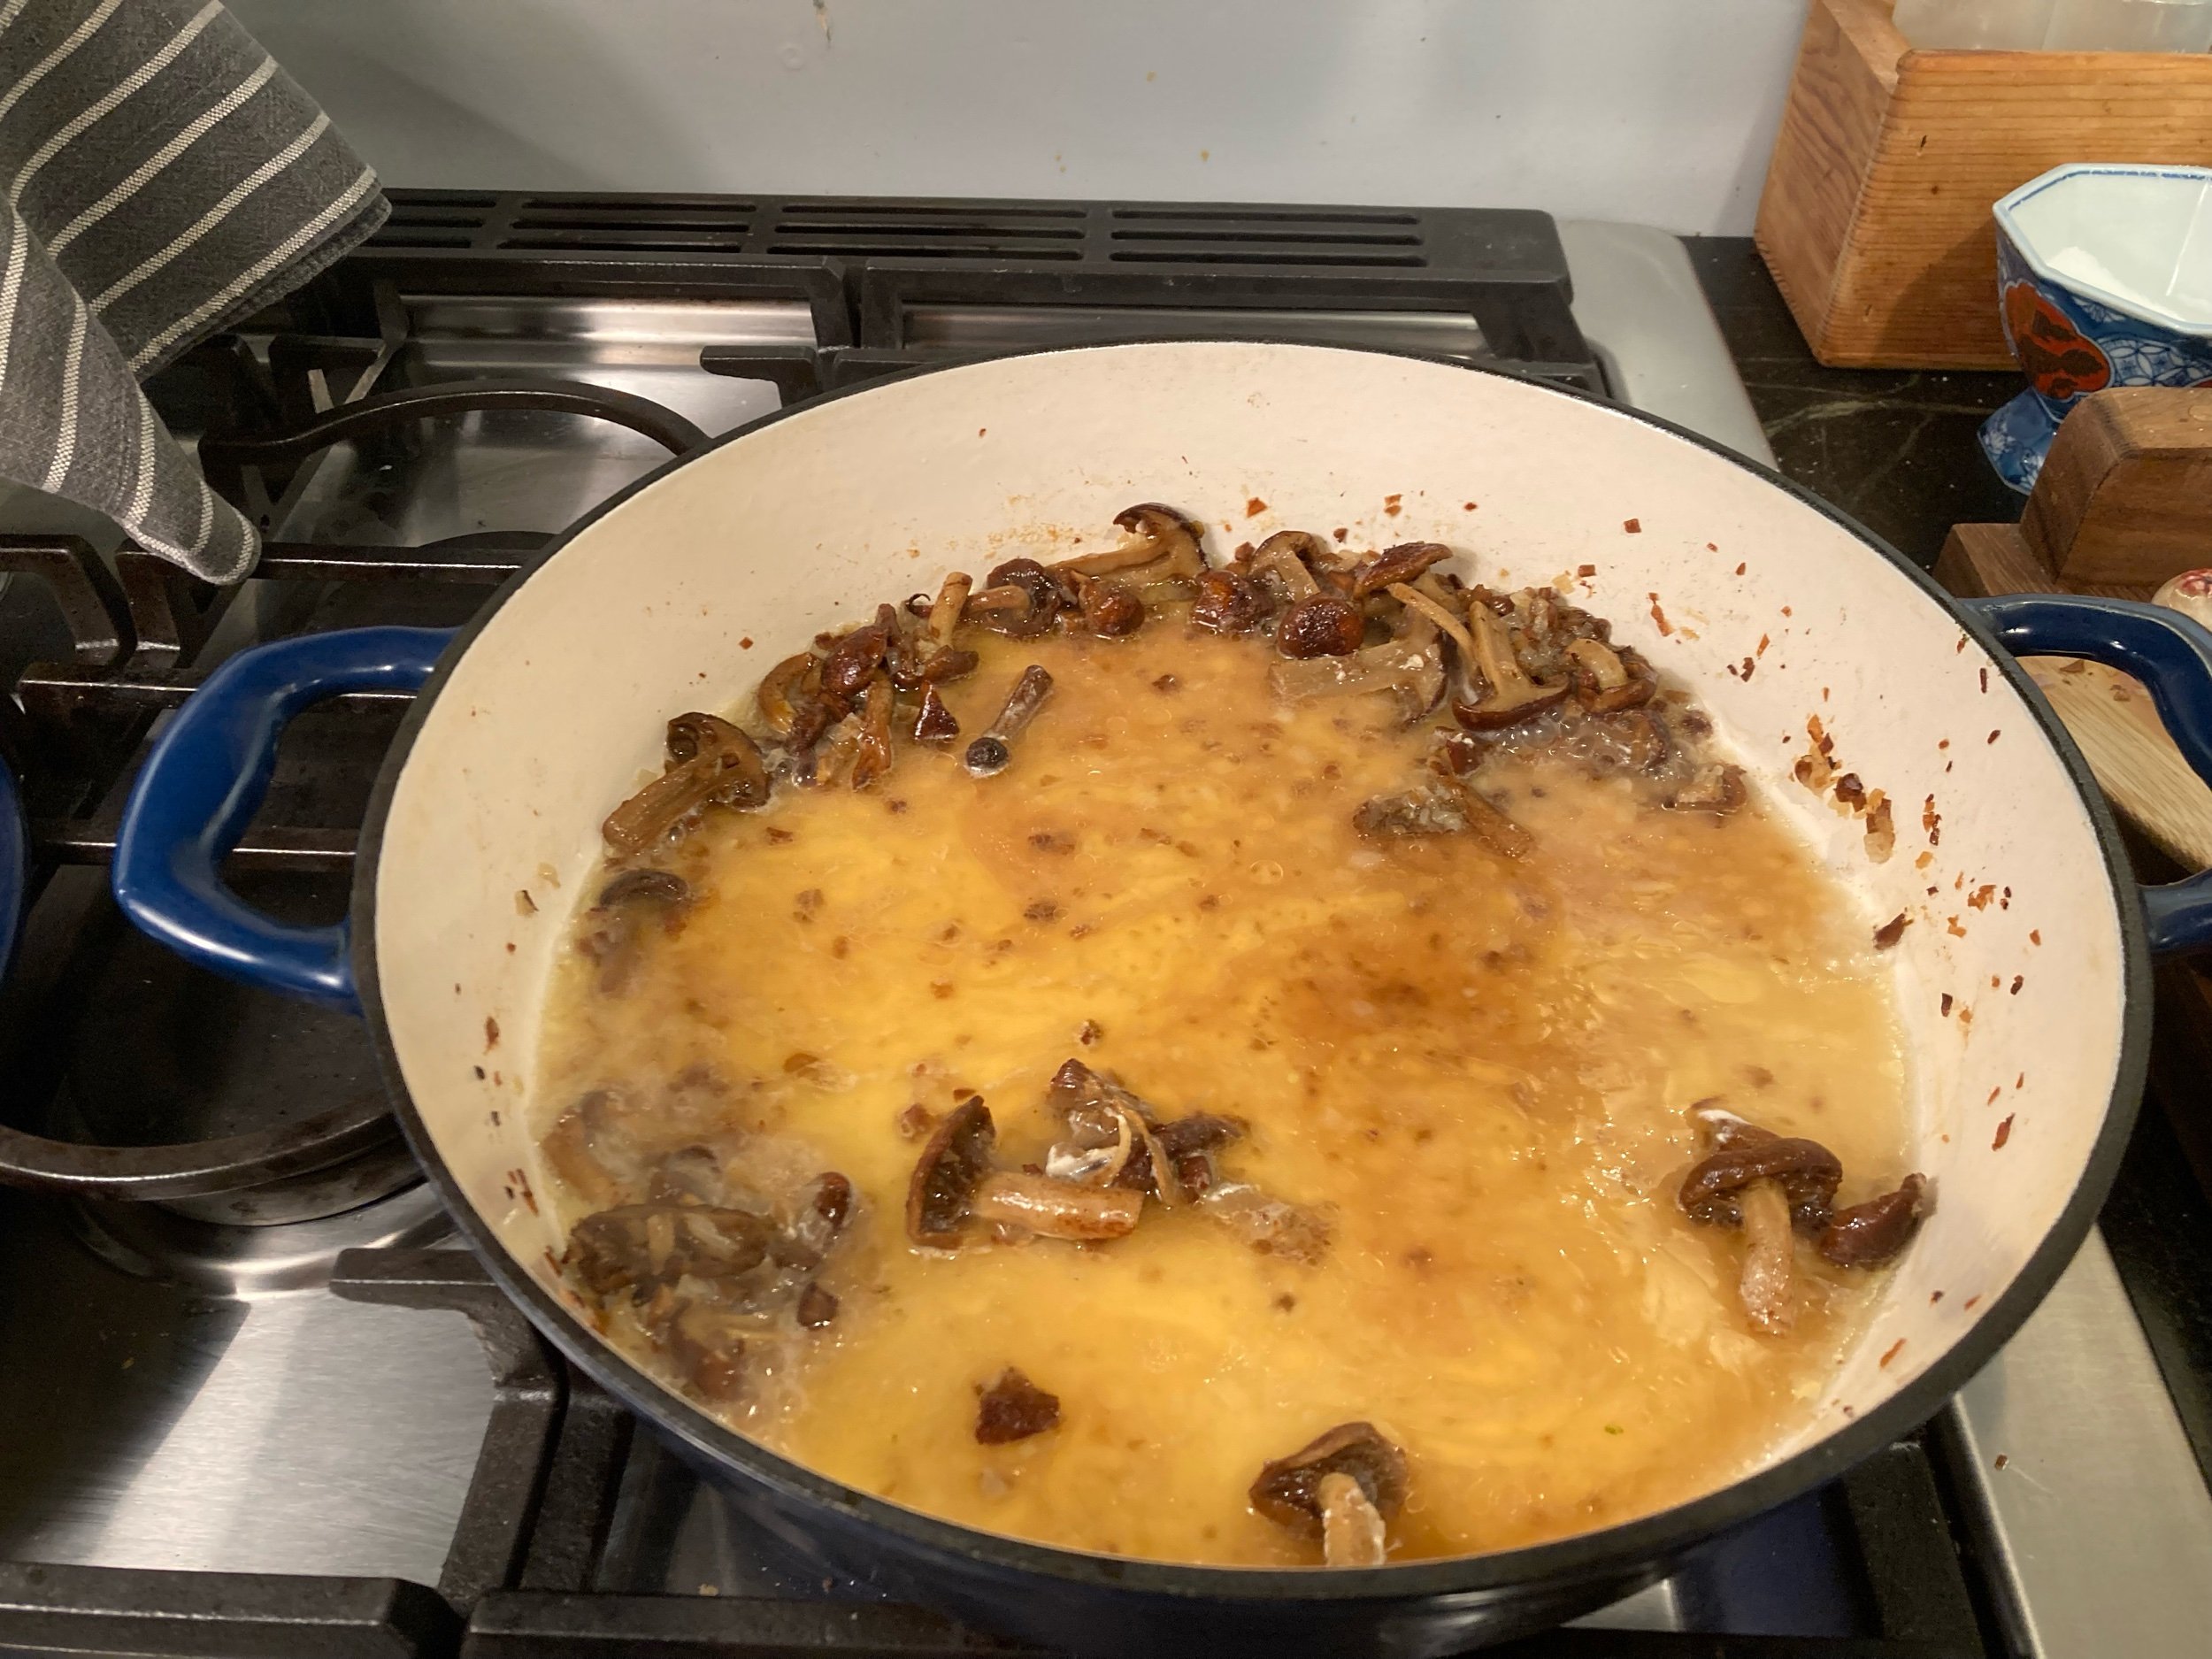
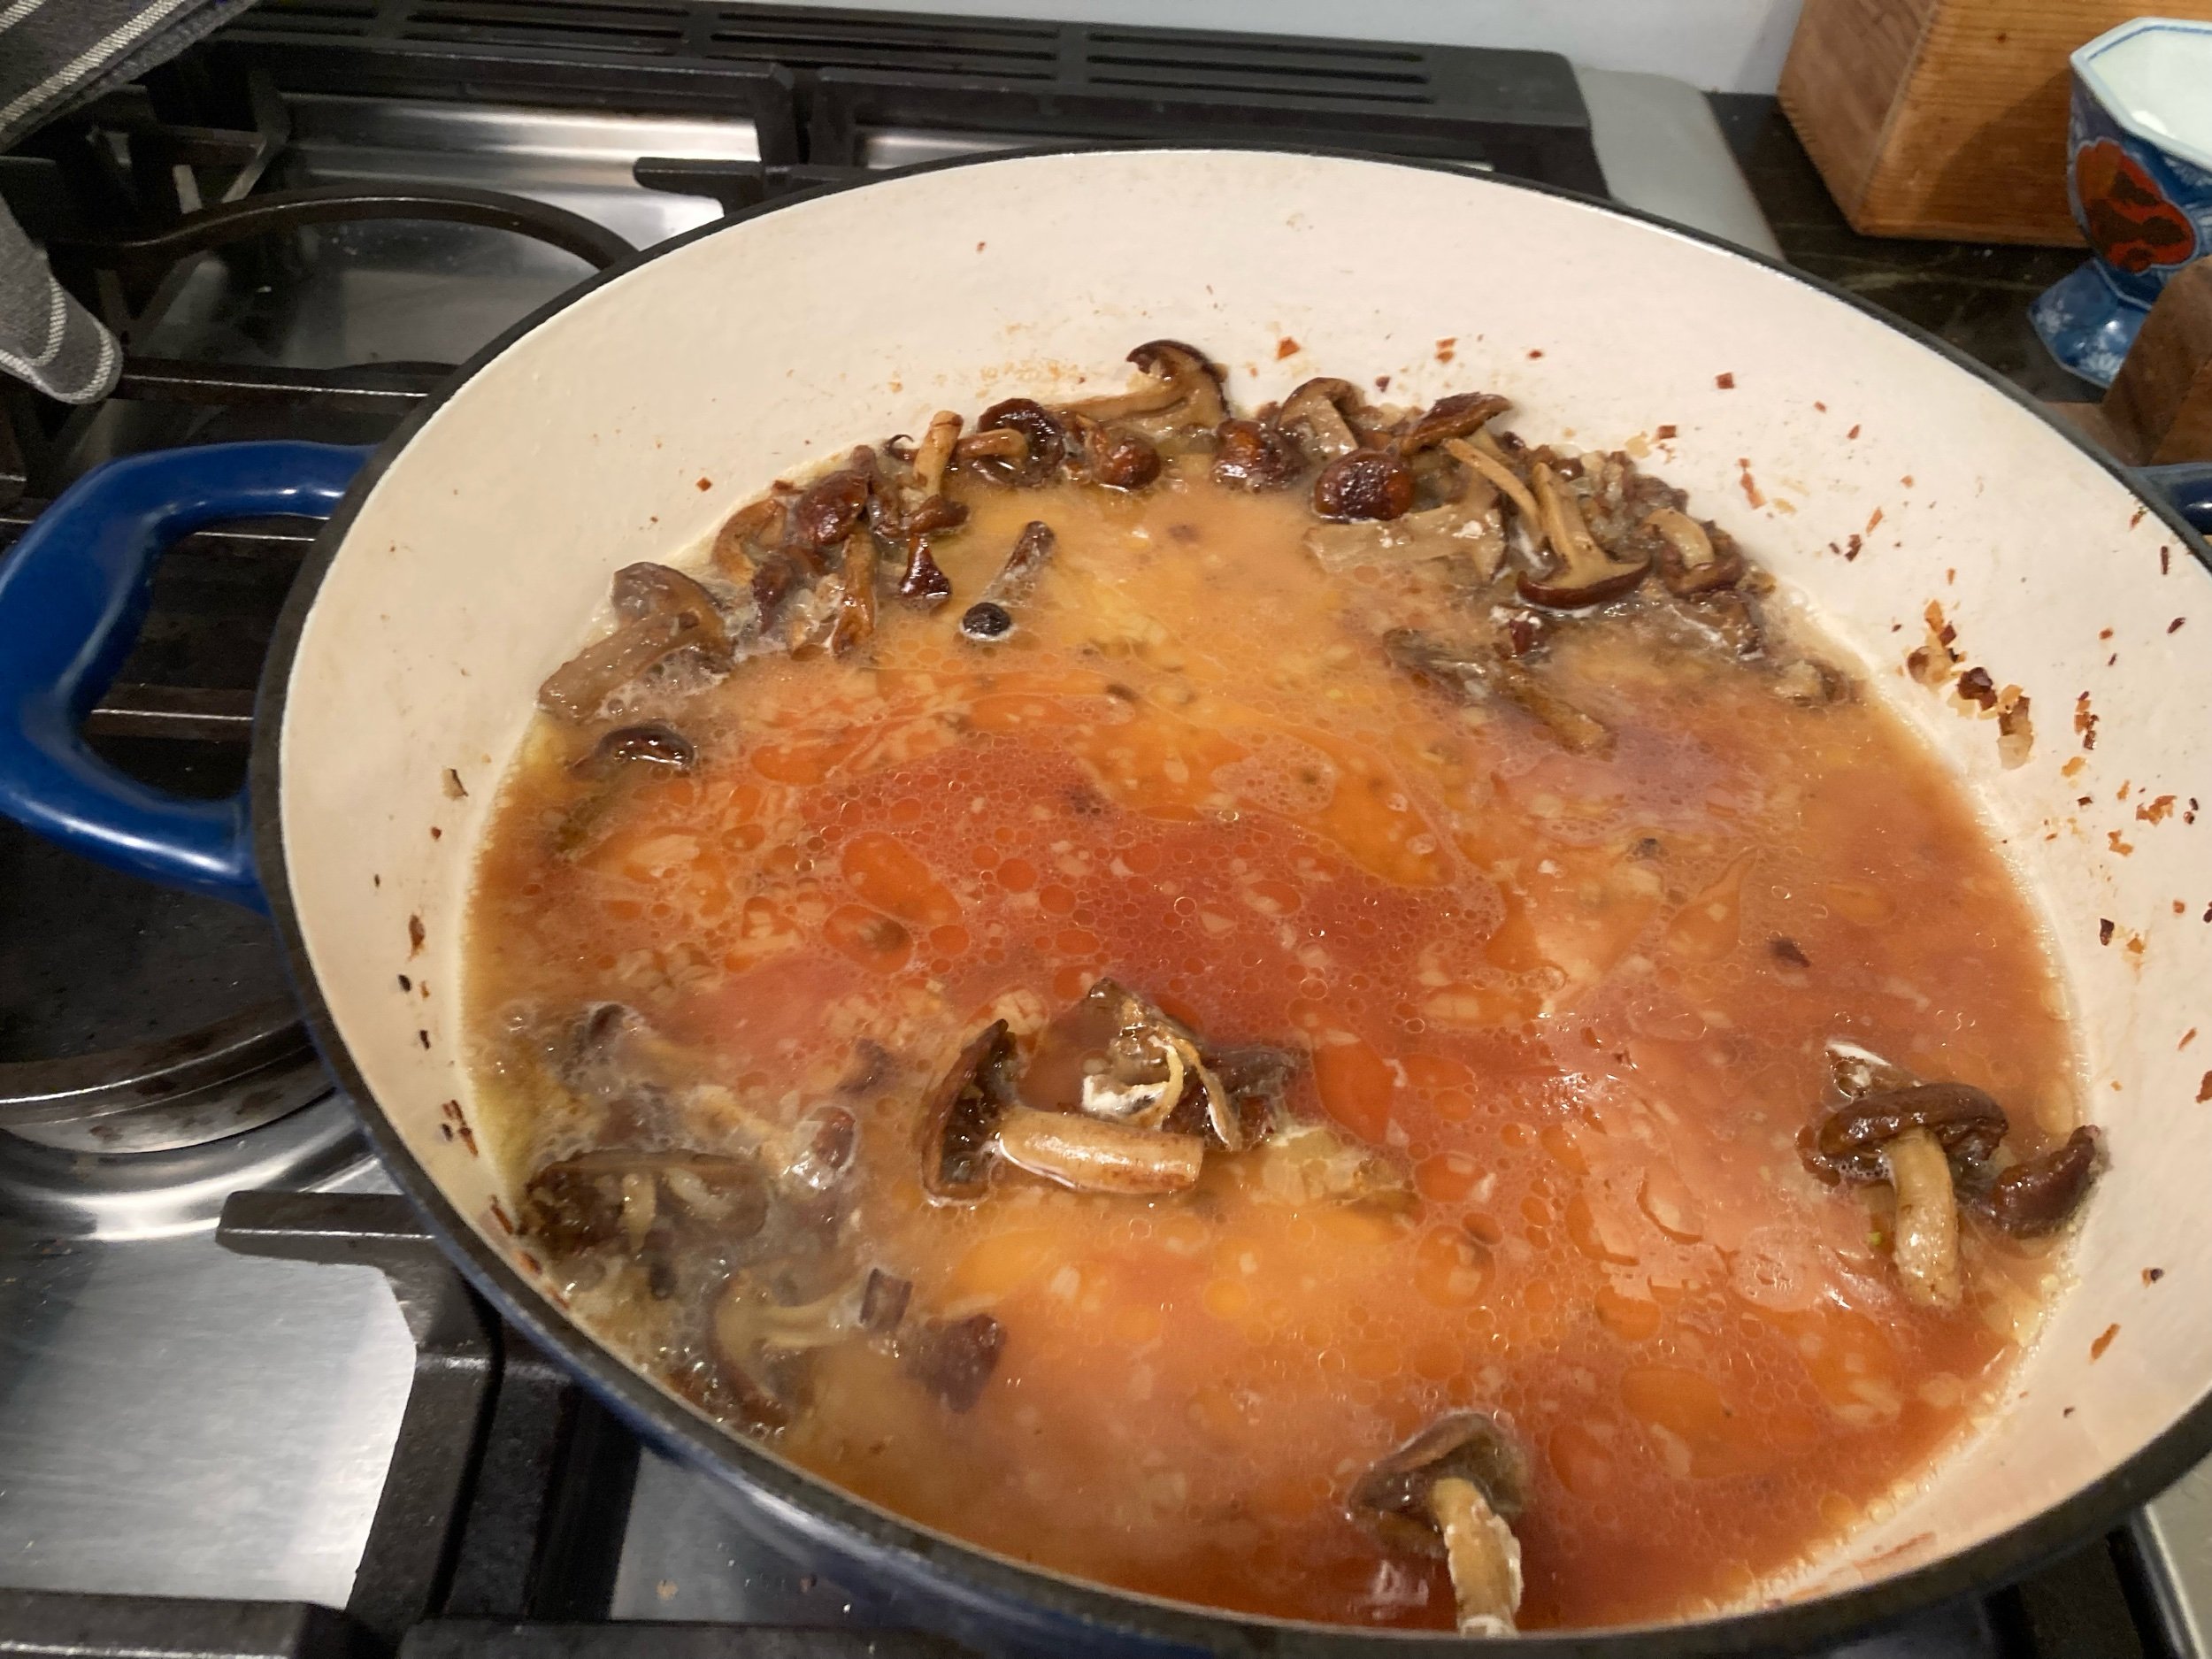
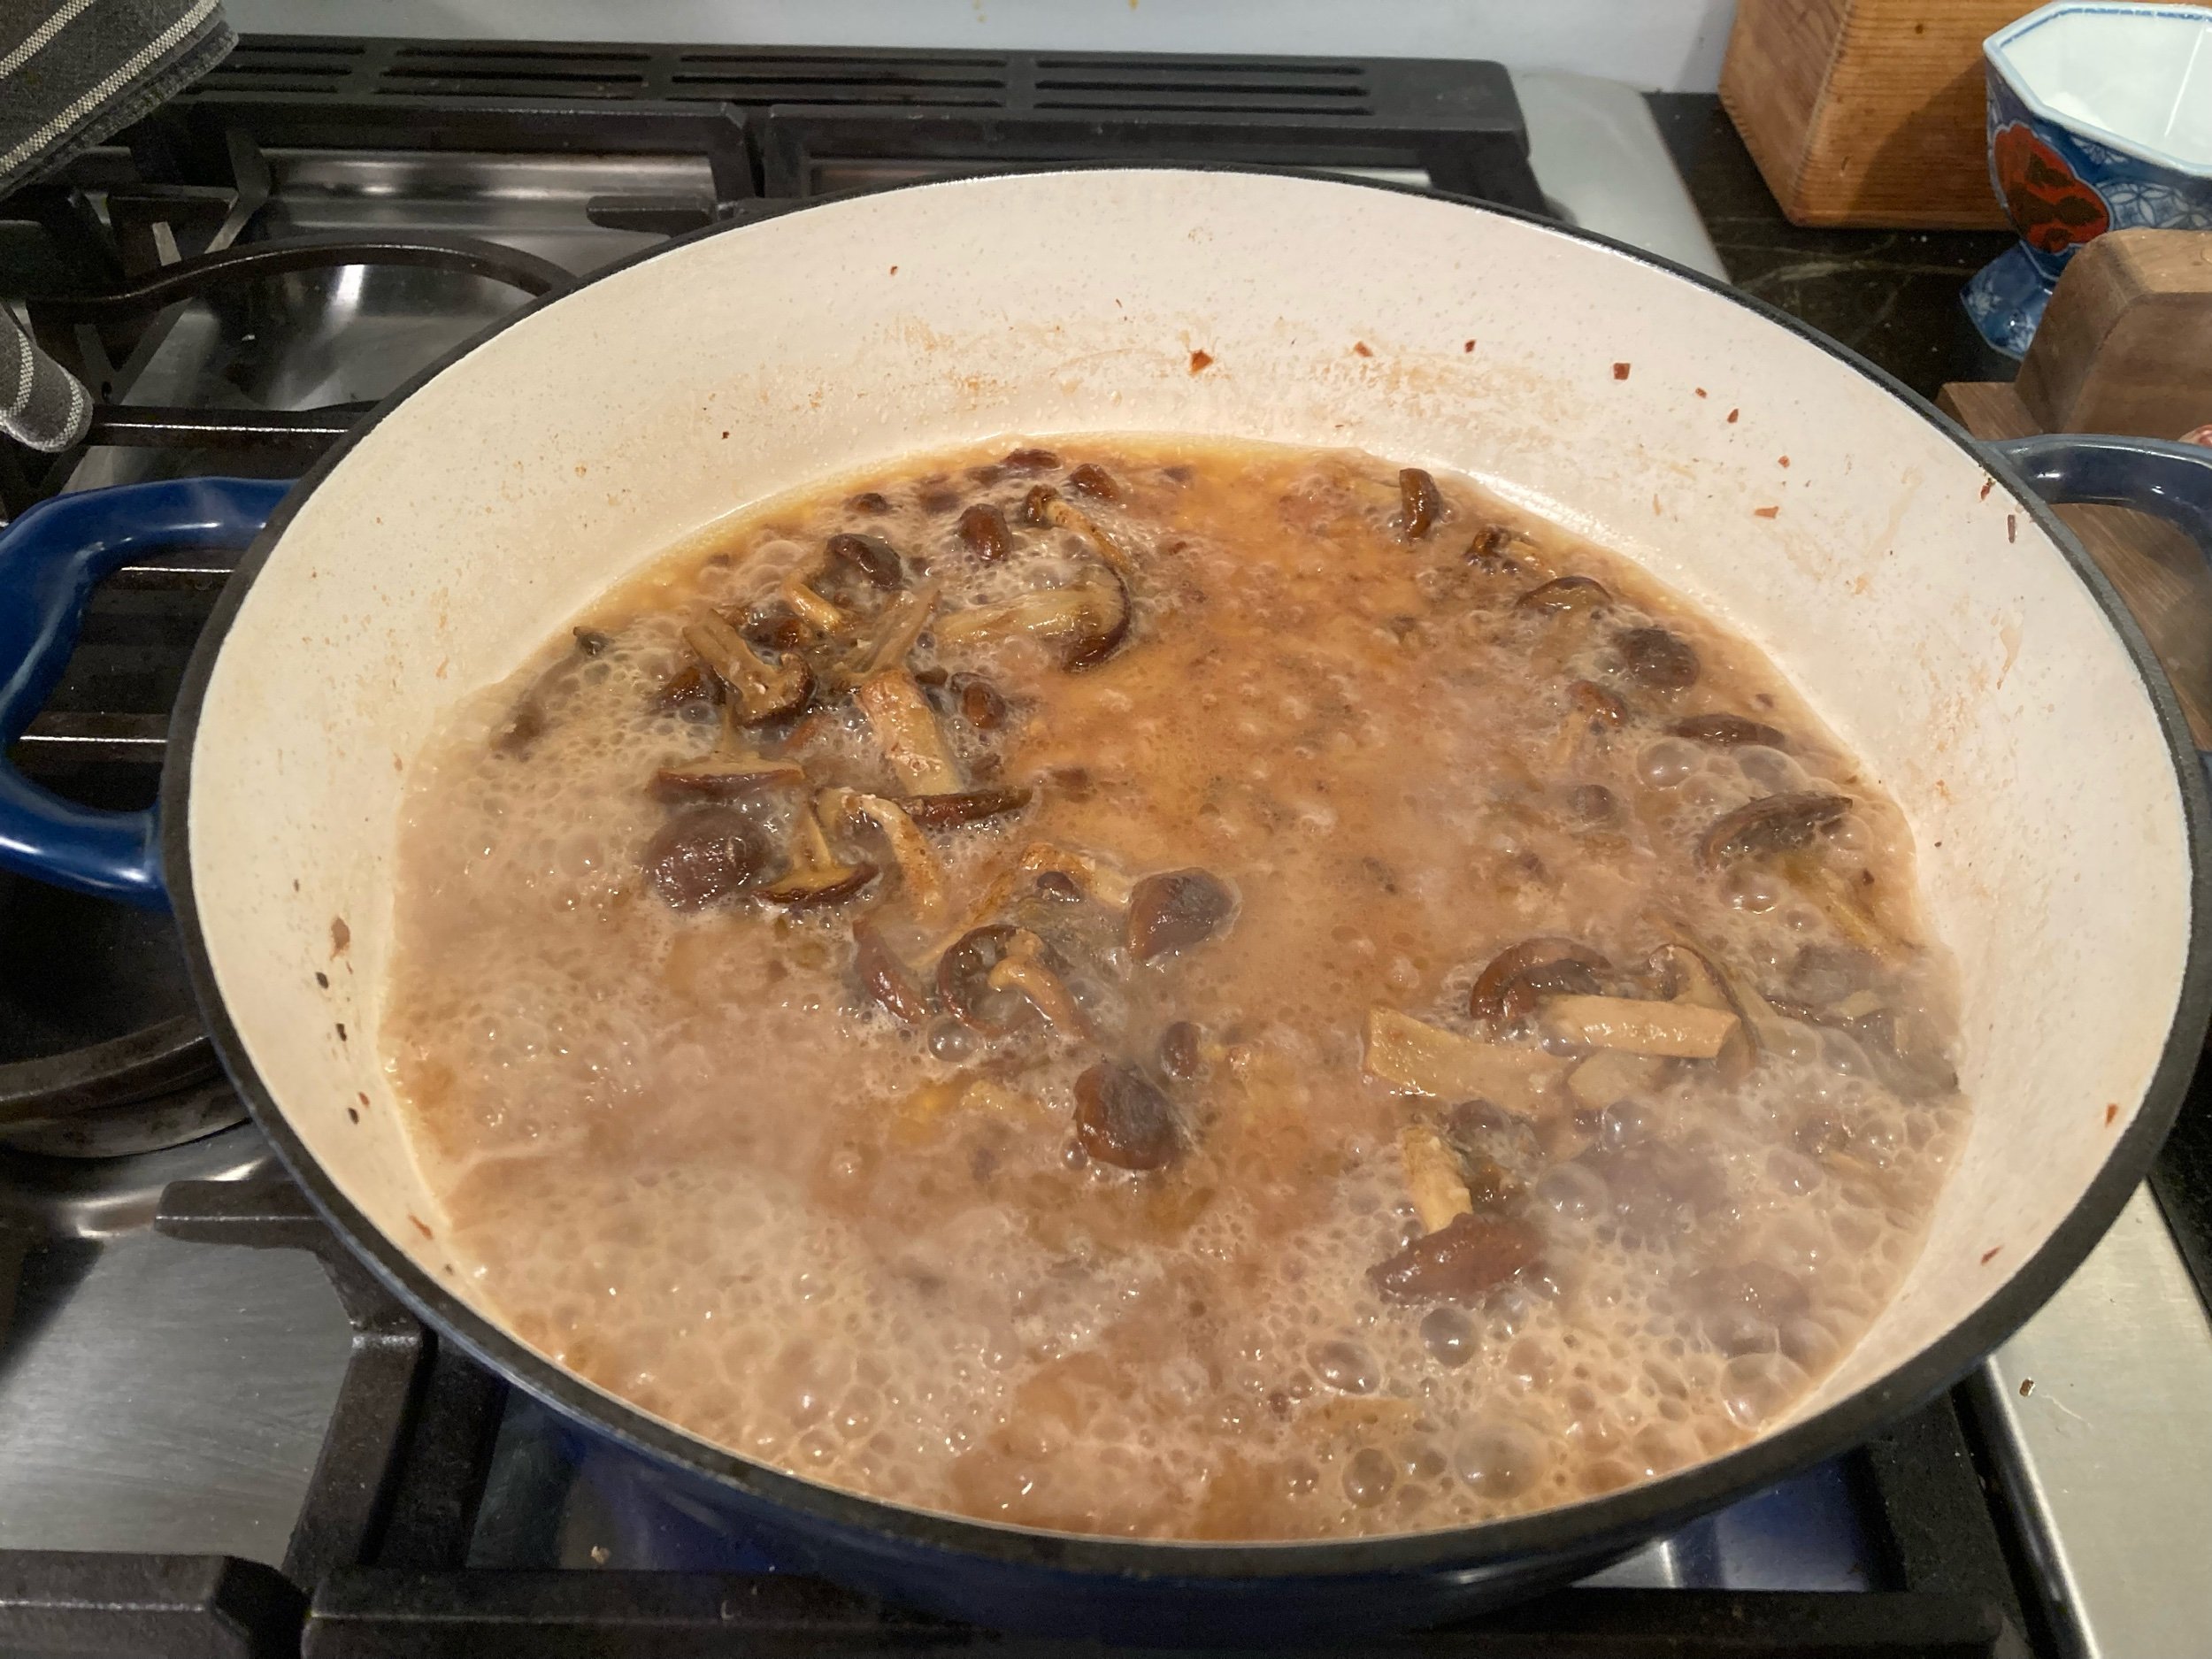
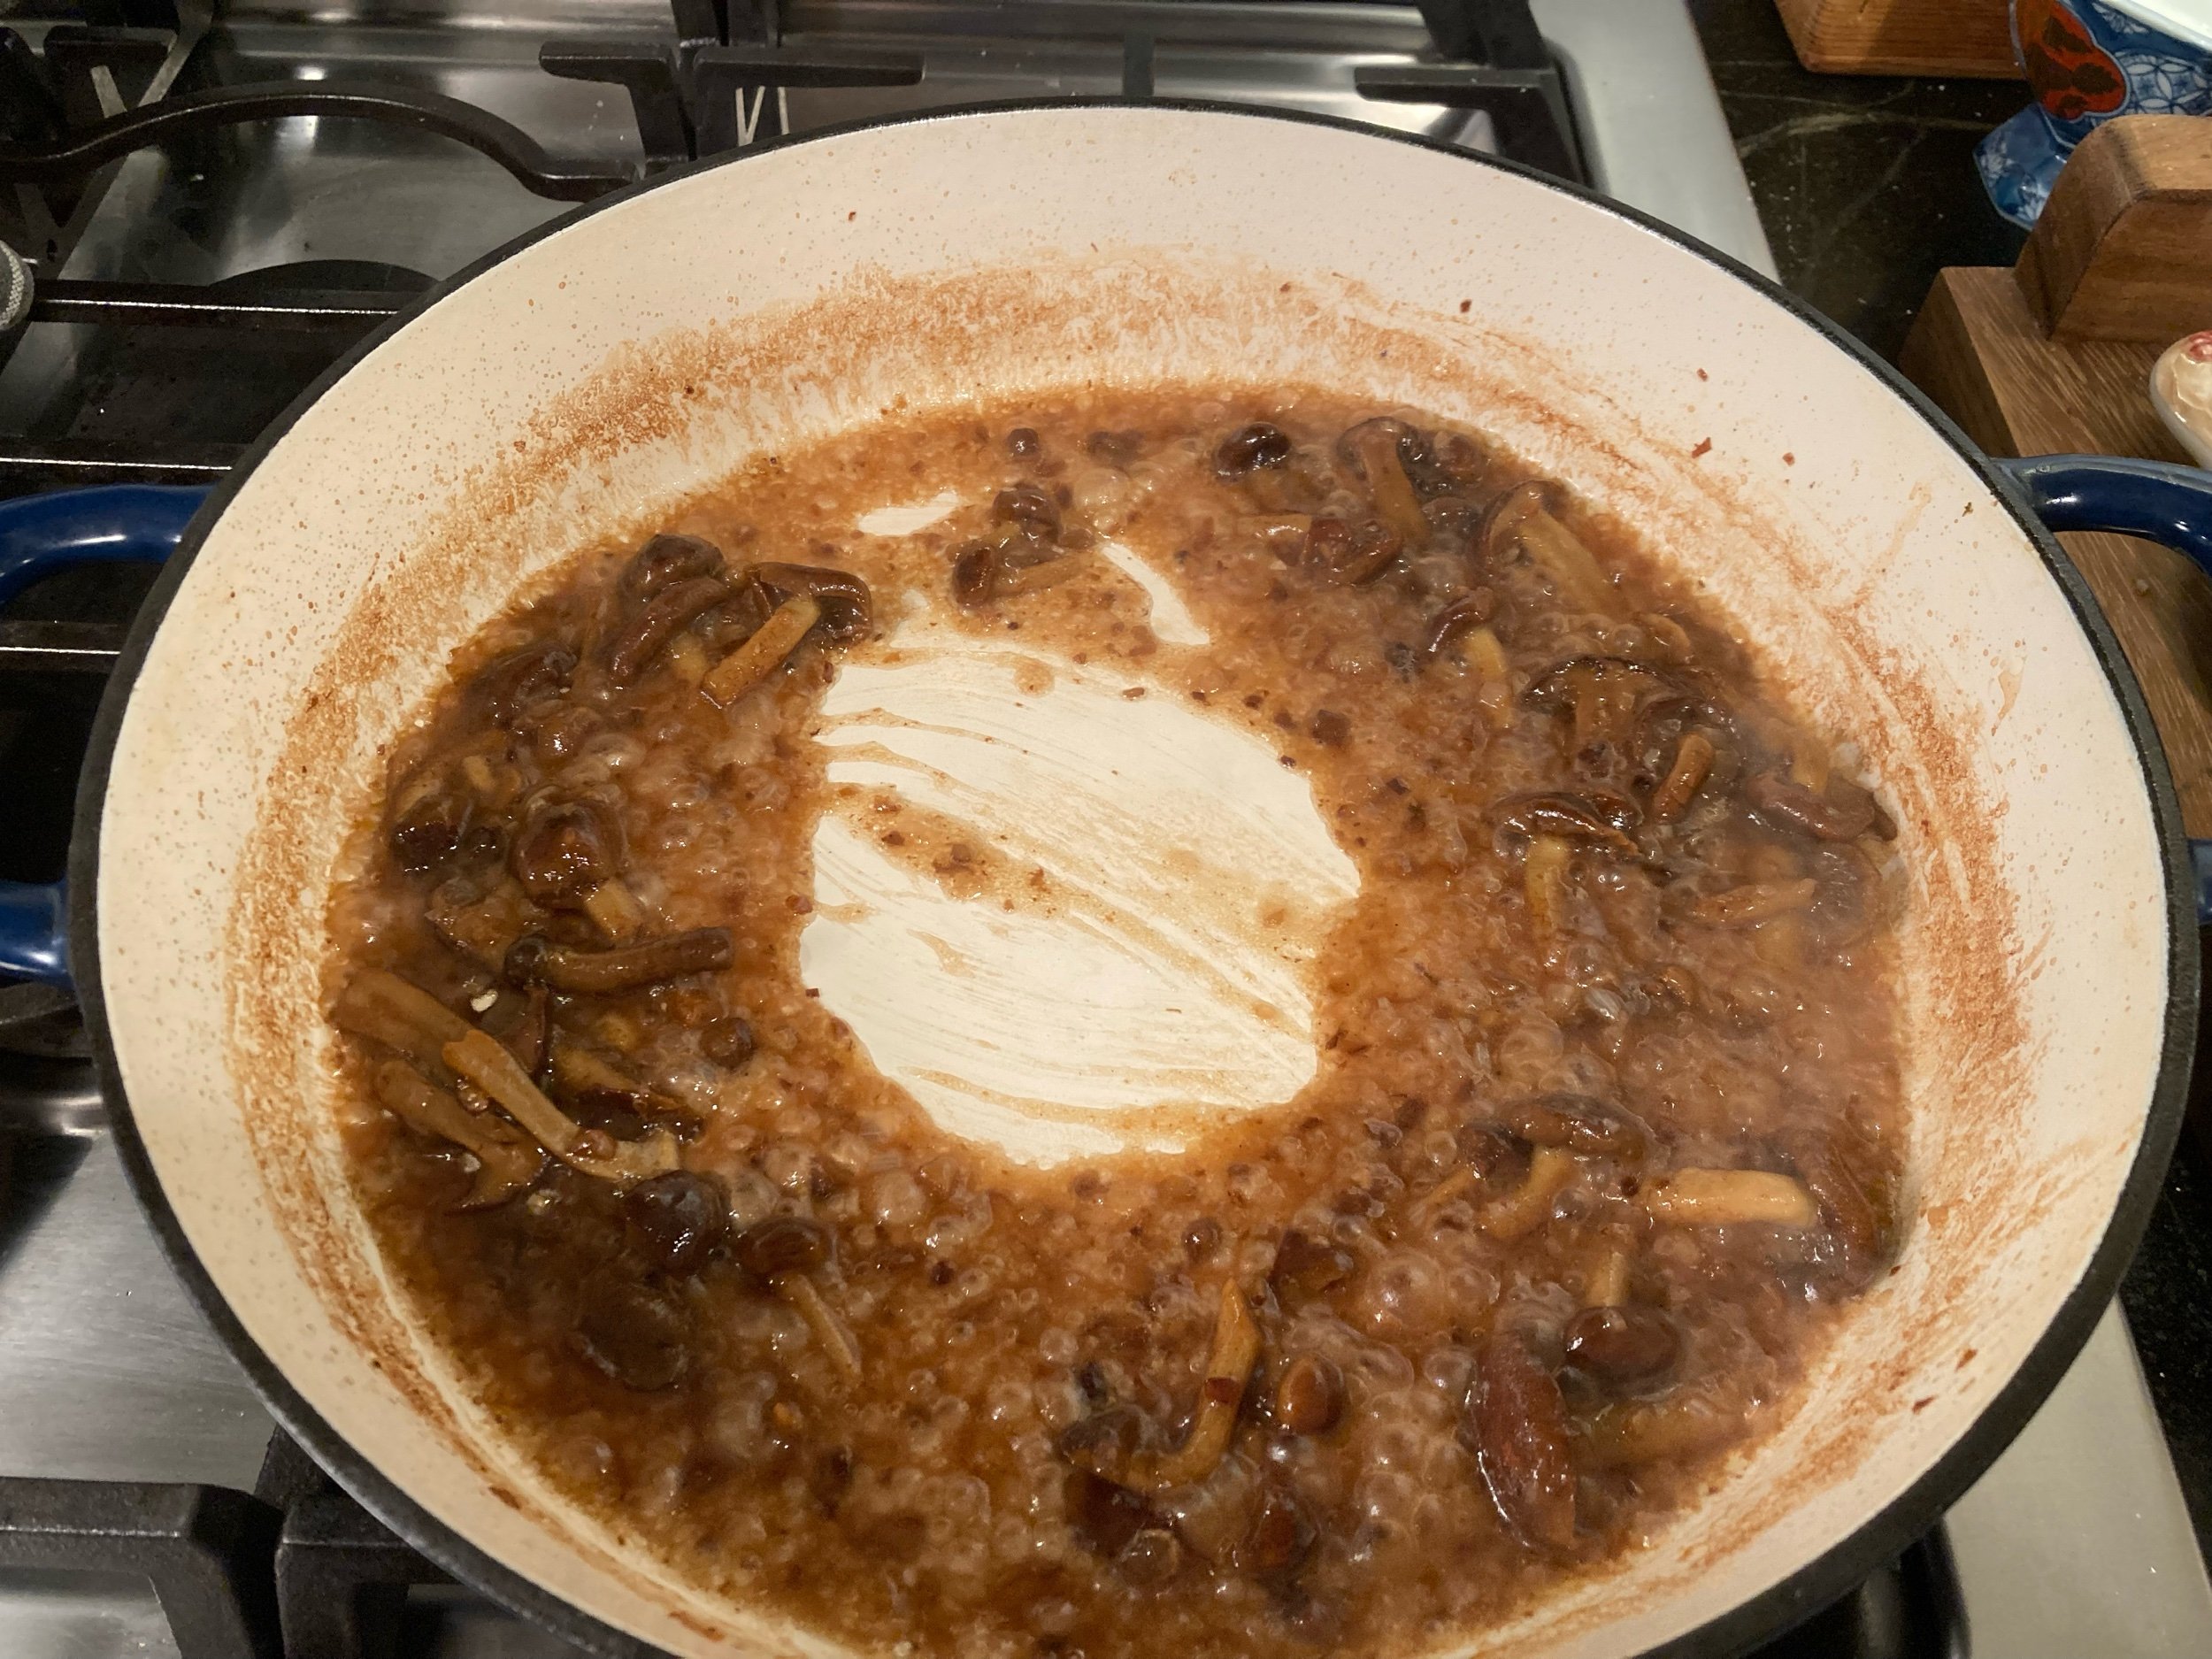
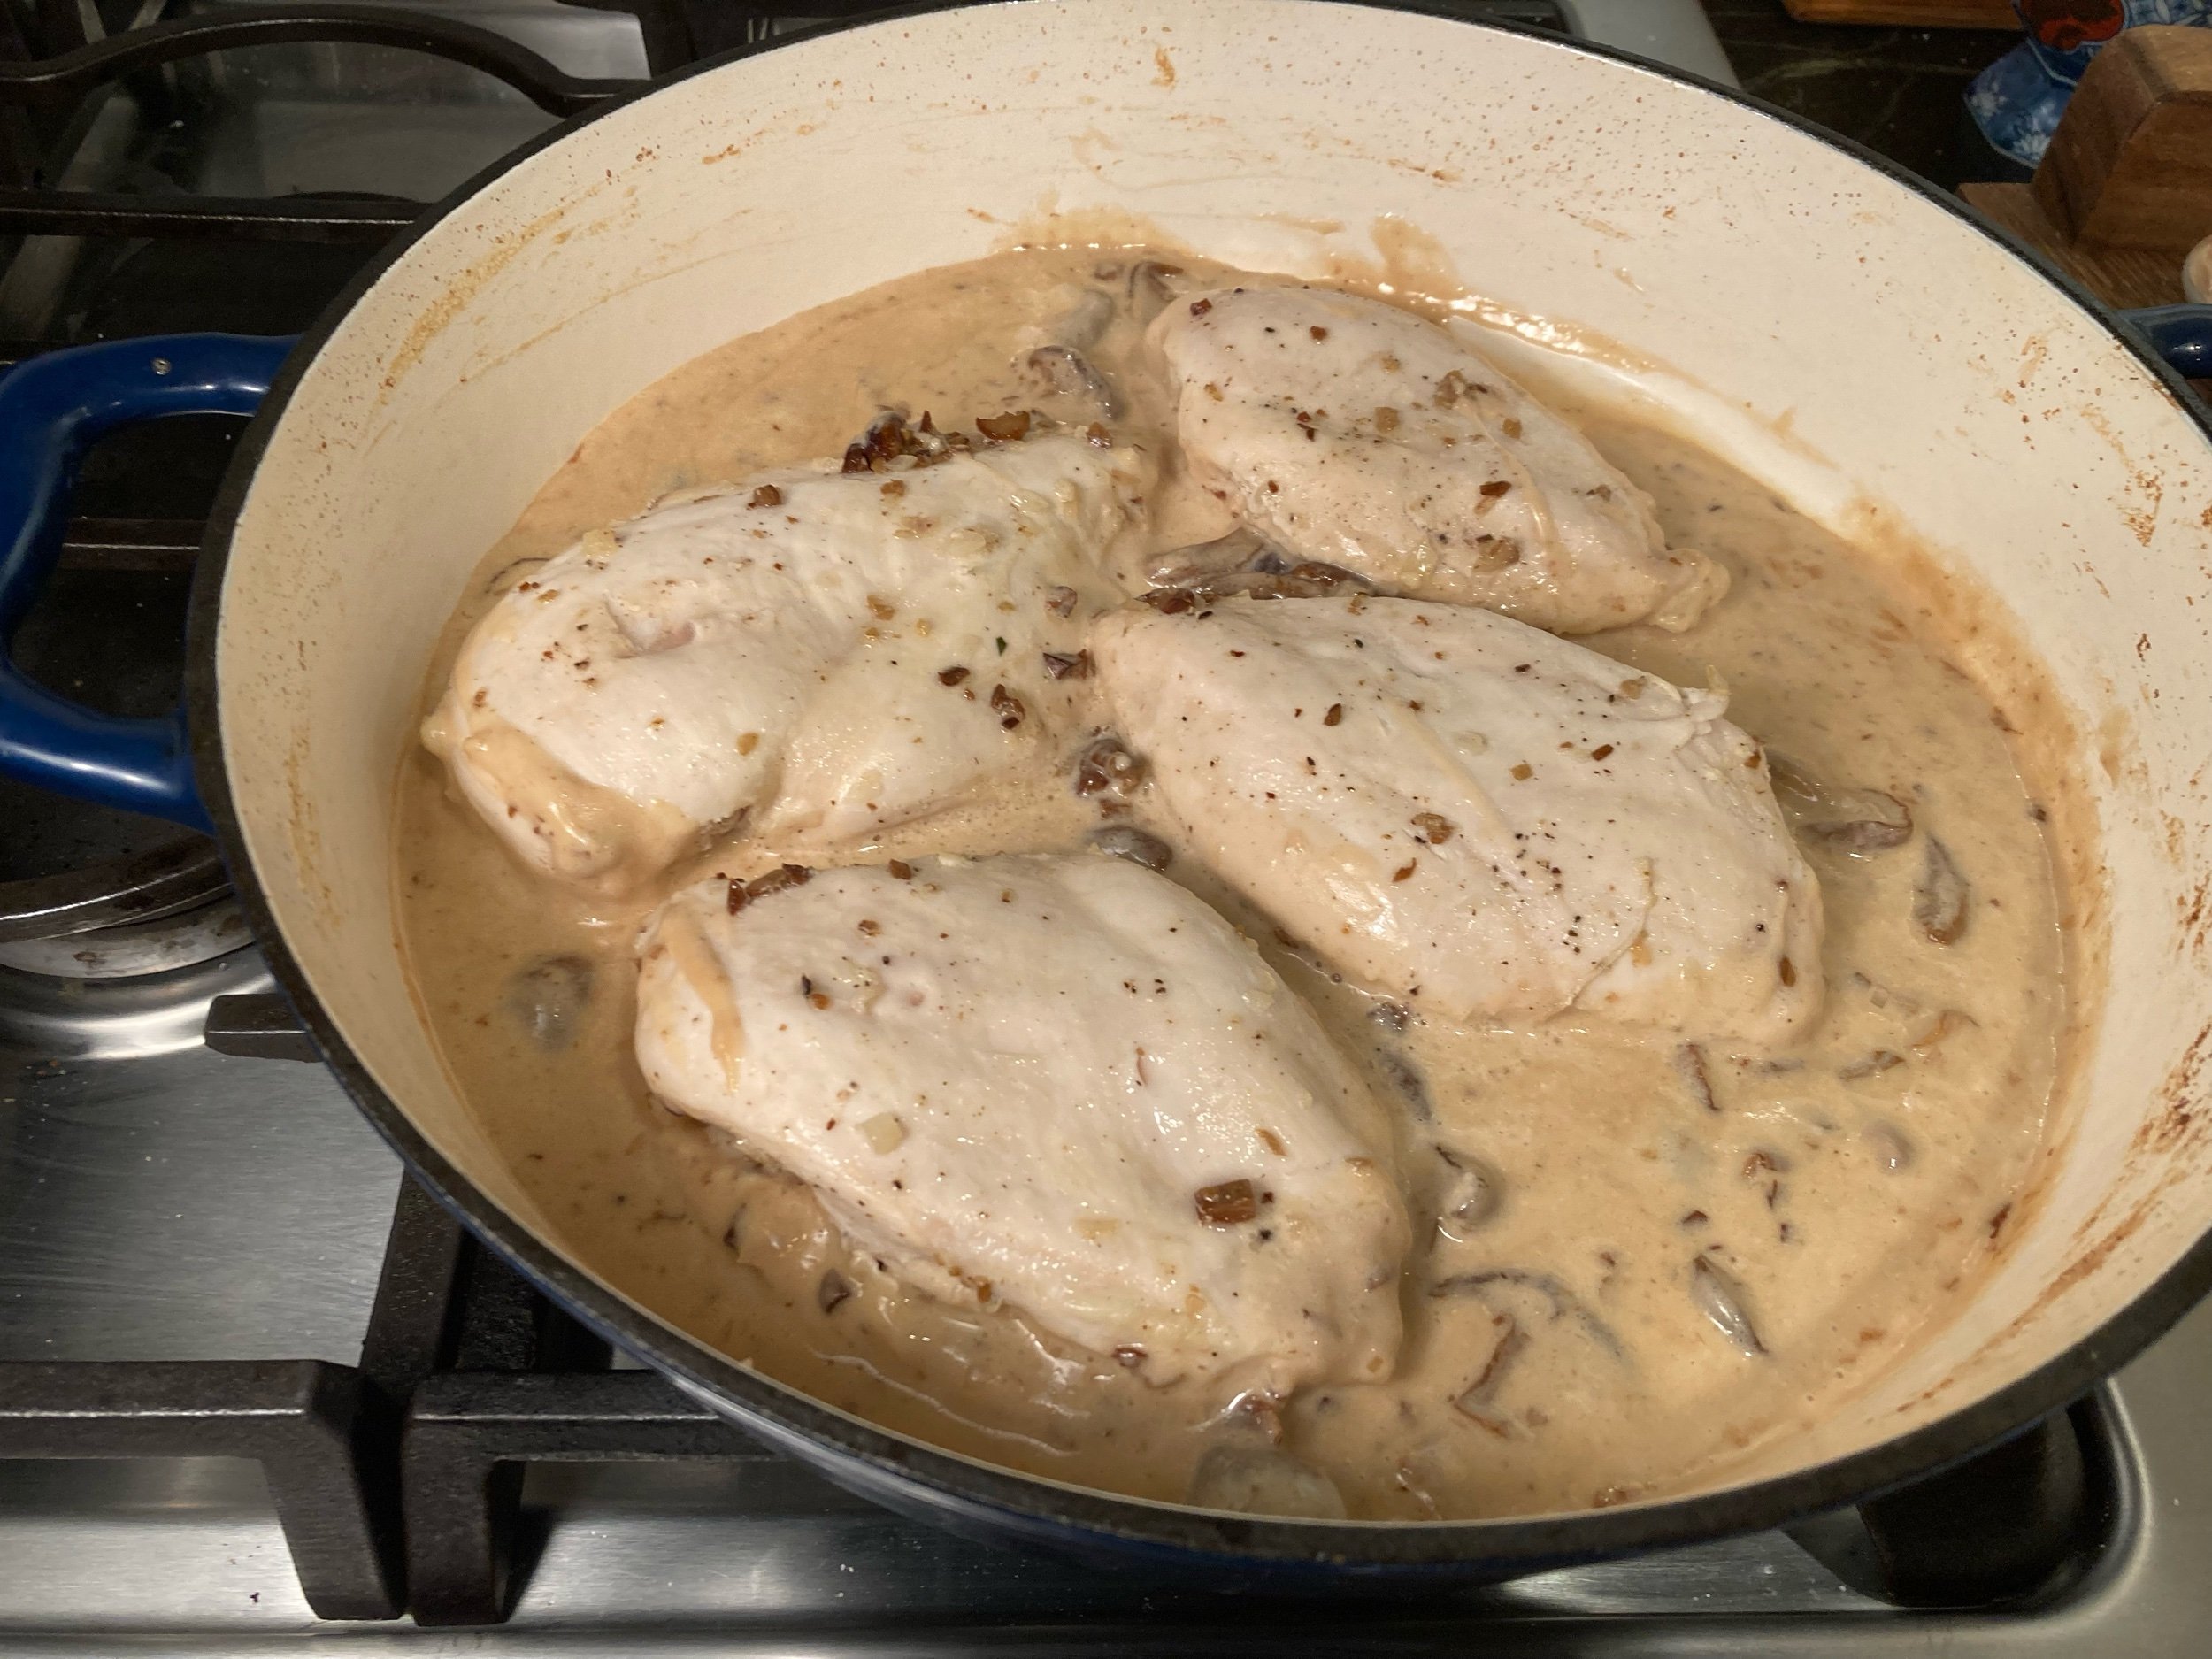
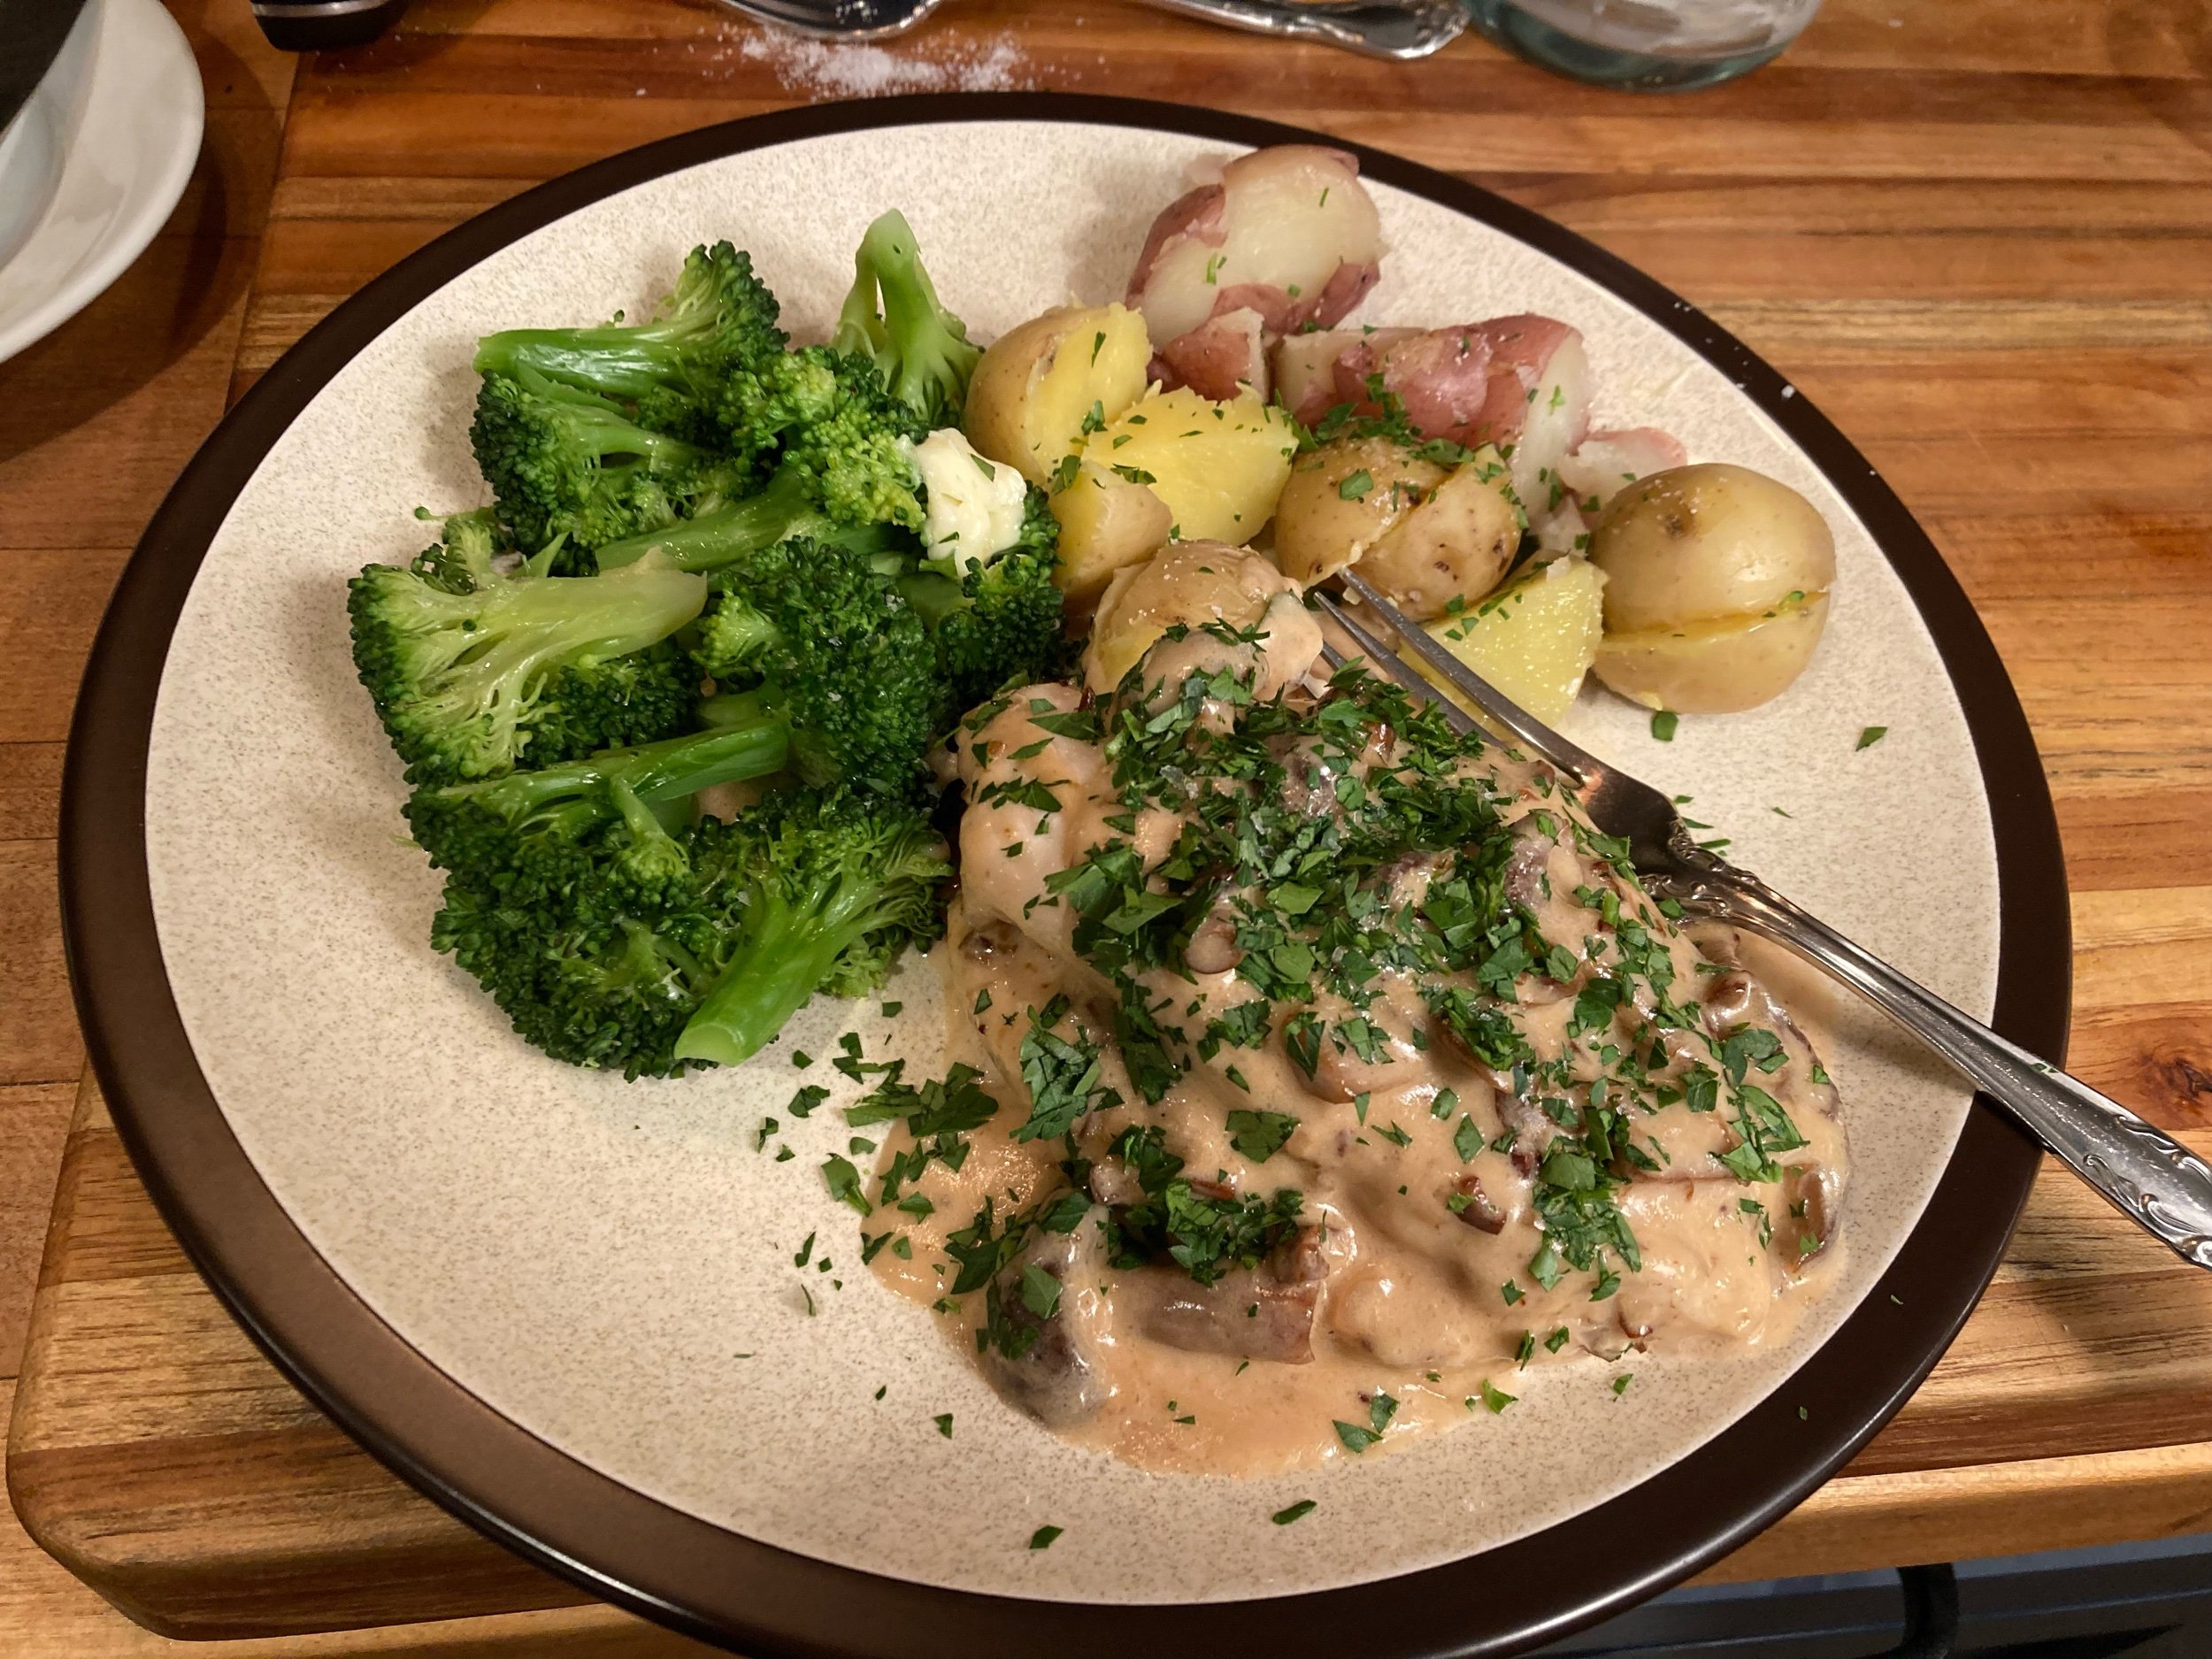
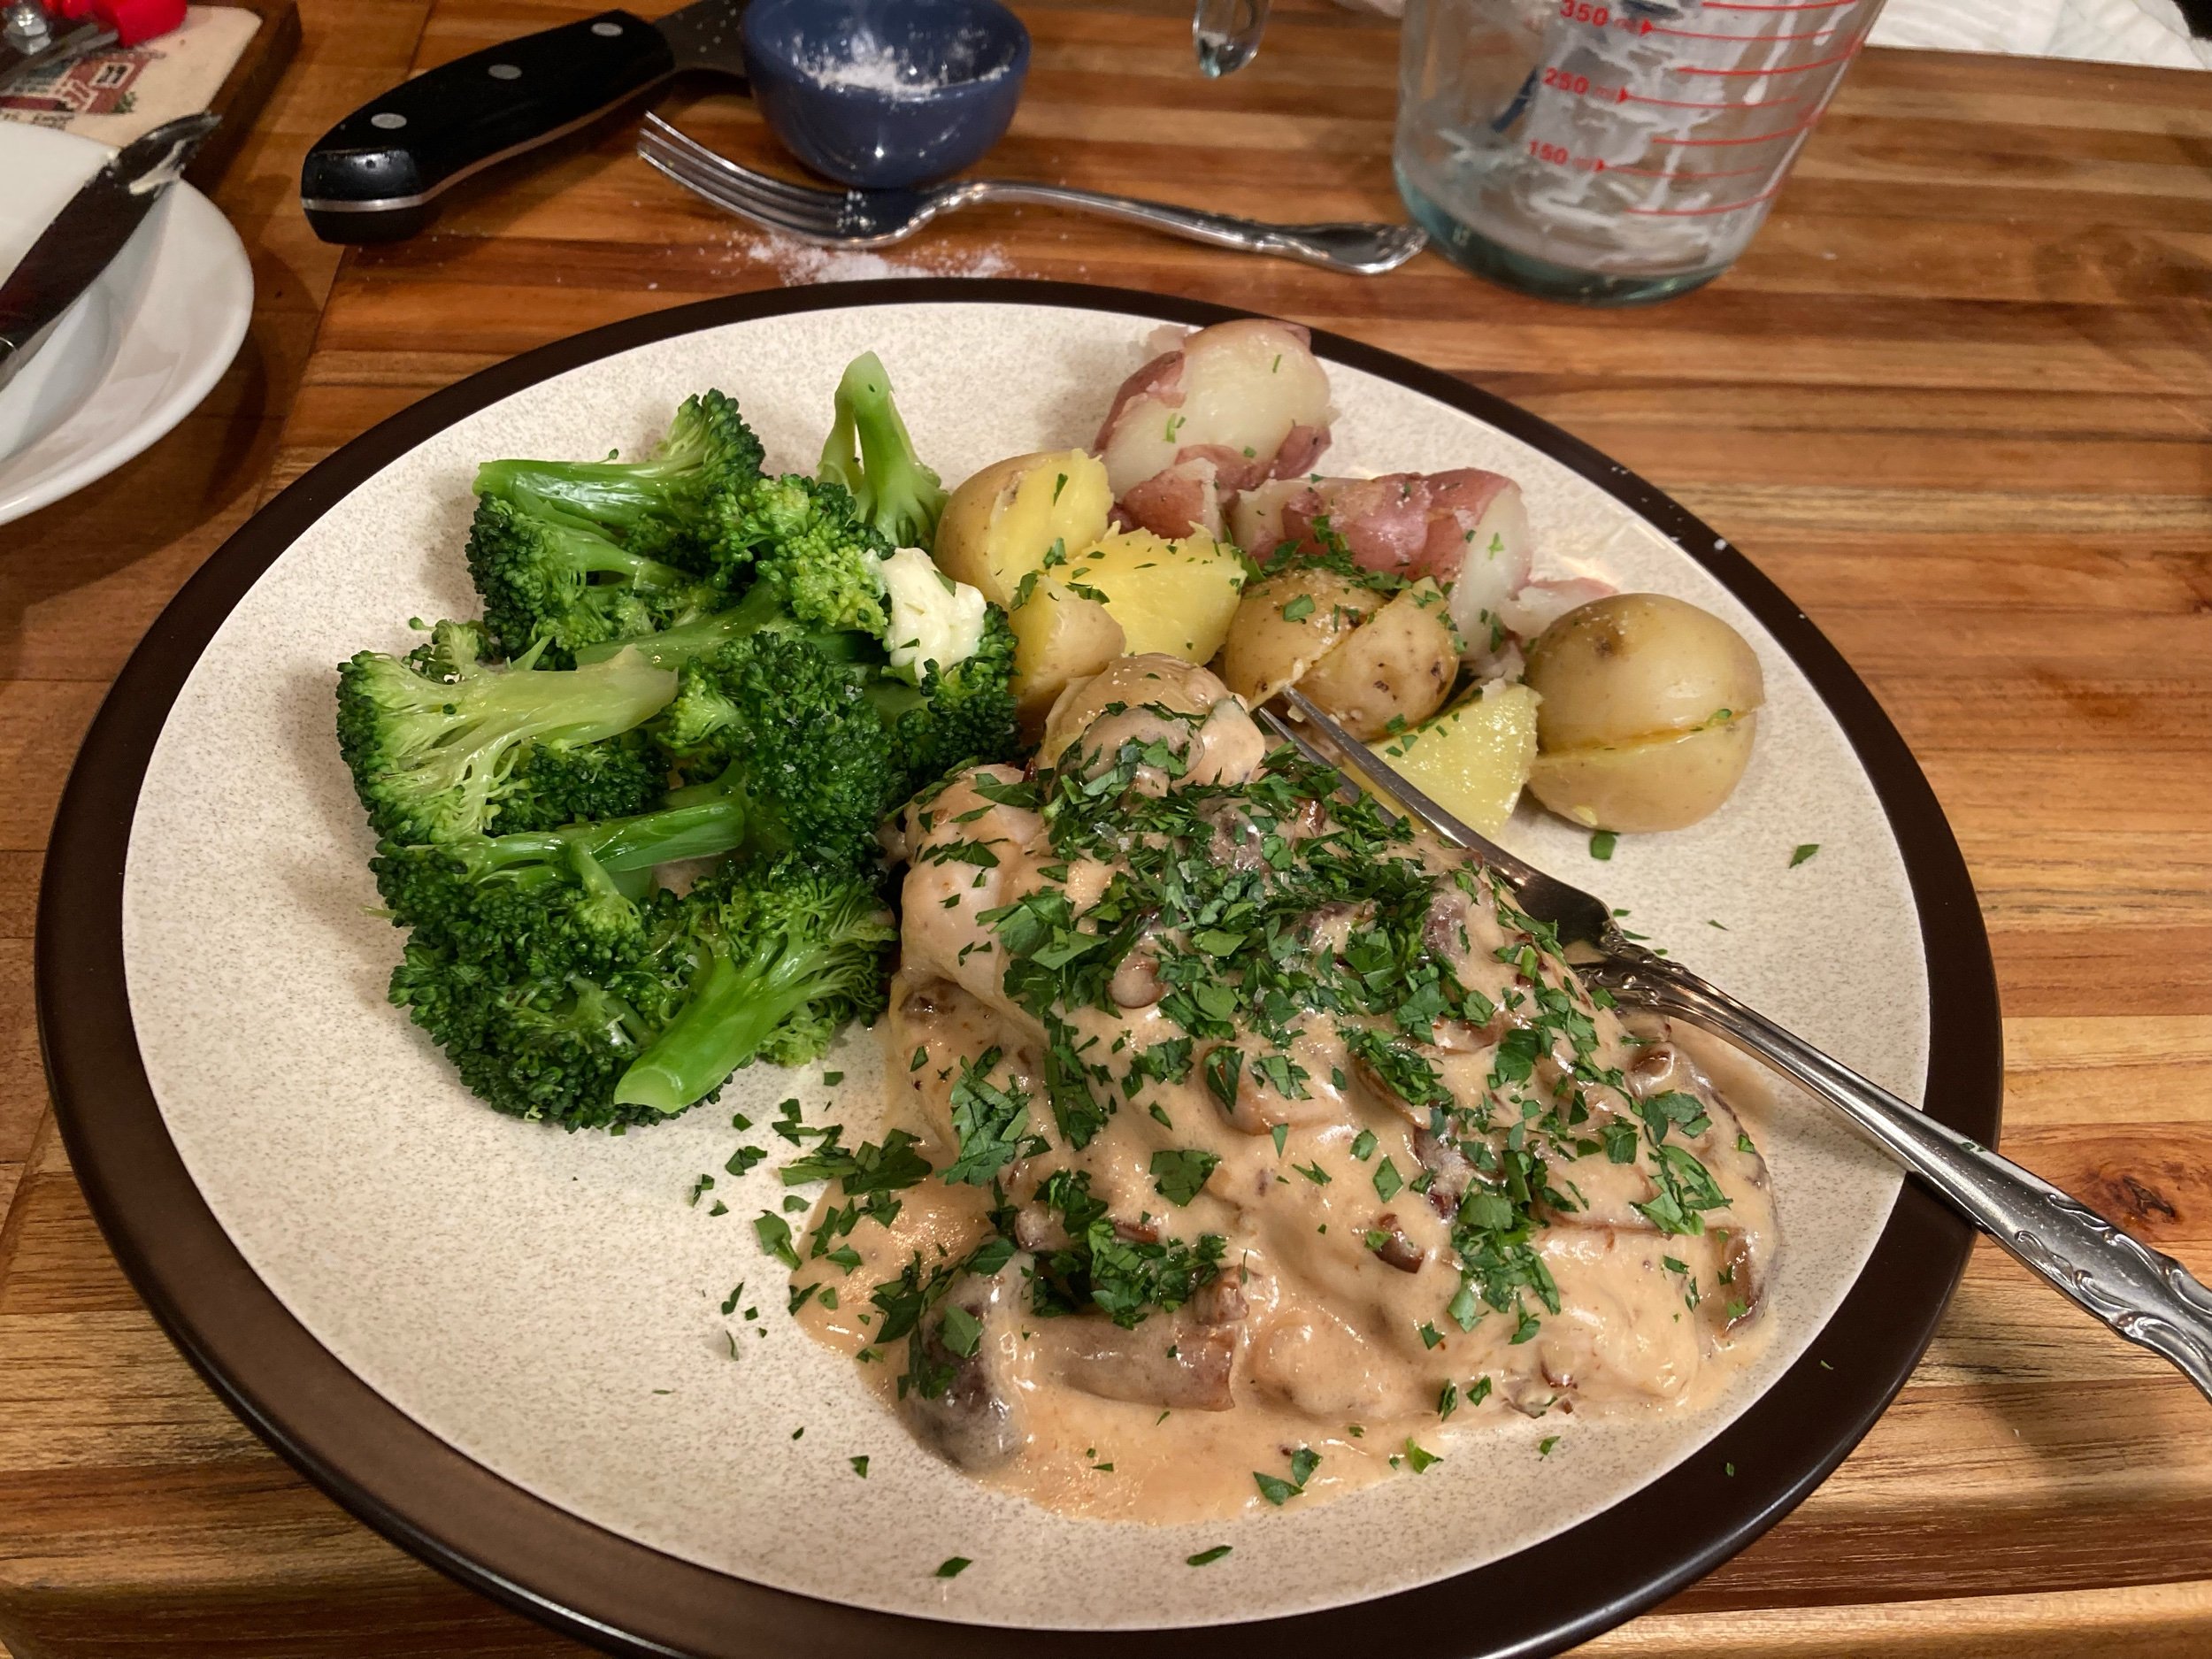
Thoughts/ Impressions: The sauce was incredible, and the chicken breast tasted like chicken breast. It was fine, but not as juicy as the method I prefer, and I really don’t think that the chicken took up enough of the butter to warrant the method, so…. Next time I’m going to cook the breast the way I like, and meanwhile make a mushroom cream sauce. I used a tawny port, and some specialty mushrooms I got from a local mushroom farm based on their recommendation, and they were really incredible together. (Shout out to Black Forest Mushrooms.) The mushrooms were on the nutty side, and that worked really well with the sweeter port in the sauce. The sauce was the star in this dish, but was on the rich side. We kept the rest of the meal light with some boiled creamer potatoes and steamed broccoli.
Luke has a traumatic childhood memory of canned cream of mushroom soup, and was pretty wary when I said I was making a mushroom cream sauce, something he would never order himself. (Can you see the trauma? Maybe he transferred it to Water-LooLoo.) But even he said the mushroom sauce was pretty good, and that’s about as good as it gets. Cat got none.


Leftover chicken heated up nicely, but I would recommend storing leftover sauce separately so it can be gently (very very gently) reheated on the stovetop to try to keep it from breaking.

Citation
Child, Julia, Louisette Bertholle, and Simone Beck. Mastering the Art of French Cooking. 1961. 40th Anniversary ed., Knopf, 2009.
![Roast Chicken Dinner with Julia Child’s Asperges au Naturel [Boiled Asparagus], Sauce Mornay, and boiled potatoes](https://images.squarespace-cdn.com/content/v1/54c97b77e4b002ff91c0d532/1706652331324-A5KKGD6HJA0OXJ6IE67V/IMG_9842.jpeg)
Roast Chicken Dinner with Julia Child’s Asperges au Naturel [Boiled Asparagus], Sauce Mornay, and boiled potatoes
Recipes from Mastering the Art of French Cooking used in this meal:
Sauce Velouté (57)
Sauce Mornay (61)
Asperges au Naturel [Boiled Asparagus – hot] (436)
Roast Chicken pan sauce (242) (ack, never mind!)
Other recipes:
Ina Garten’s Perfect Roast Chicken
Frontmatter: So here’s a confession: I’m pretty hopeless with sauces, and a real dummy with carving a bird. I’ve been playing at roasting birds for 15 years, and making a complete cock-up of the final presentation the whole while. I’m afraid to cut into bone, and while I can roast a bird to perfection, the second I try to cut between the leg and the whatever, the drumstick bone rips out, or I shred the breast meat, or do some other stupid crap and then I lose my place and just start hacking away at the poor bird, and it all just looks like a giant pile of carrion remains in the end. And everyone’s really nice because it still tastes great, but then I get scared off it for a bit, and in my head, and then try again in a few months, and watch Jacque Pepin carve a bird, and a dozen other videos on You Tube, and look at old diagrams and drawings, and I come to my perfectly roasted and rested bird with a new plan and e voila, I fuck it up again and we eat a weird pile of delicious meat that looks like a drunkard shoveled it out of a gutter before it was attacked by wild dogs. Again.
Oh and I have no idea what wings are for or why anyone would care, so those just go in my next batch of stock. Which seems like a waste. But like who wants the wings off a roast chicken? Anyone? Someone must.
And I’ve never mastered the basics of sauces, so I follow recipes, but they’re not building on skills or knowledge. Every sauce is its own thing, not, oh it’s an ‘x’ but with vinegar instead of lemon juice. Like I can remember cocktail proportions that way. I know my Mai Tai in relationship to proportions of a Margarita, replace half the orange with orgeat, etc. So I know my brain can do that. But I’ve never learned my basic sauces, and so I can’t do it with sauces. Yet. Enter my cunning plan.
It’s to get better at stuff. My cunning plan is to learn shit and get better at stuff.
So, I’m going to spend some time with the OGFC, Julia Child to try to learn her basic sauces to build from there.
Toward that end, tonight I’ll attempt TWO, eh like 2.5, JC recipes from Mastering the Art of French Cooking: Asperges au Naturel [Boiled Asparagus] (peel that shit, the JC way, whether I think it matters or not {and I don’t}), a Sauce Mornay out of a Sauce Velouté which I think will be nice on asparagus and some simple boiled potatoes I’m making. I’m also going to roast a chicken, but I’m not going to do one of Julia’s roast chickens. Look, they sound great, but require basting and turning like constantly (like, I don’t know how you keep the oven temp up you’re basting it and turning it so much), and Ina Garten’s roast chicken turns out incredible for me every time and it’s a real leave-it-alone-and-let-the-magic-happen kinda deal which works for me when I’m trying to learn a basic ass sauce that everyone else already knows how to make. Plus I gotta lemon, head of garlic that’s getting old, and some fresh thyme I really wanna shove up there. There’s a certain catharsis to it. But I’m gonna use Julia’s pan sauce method instead of Ina’s gravy, which means adding carrots to the pan I’m roasting the bird in, then sauteing minced shallots in the pan juices while the chicken rests, deglazing with more chicken stock, reducing, and adding butter.
But I’ll try to carve it for the I-don’t-knowth time after watching Julia and Jacques and a bunch of other videos and I’ll see if it goes any better this time around.
So here we go!
Barefoot Contessa aka Ina Garten’s Roast Chicken
Sidebar: Links to my favorite relatively fuss-free roast chickens:
This one from Ina is great too, but Luke doesn’t so much truck with fennel, so I don’t do this one anymore:
If you don’t want to stuff your bird full of the aromatics, try Jacque Pepin’s Skillet Roasted Chicken with Natural Juices
Jacques Pepin’s Basic Roast Chicken | New York Times
or Matty Matheson’s easy-ass no-truss bird that cooks in like 45-60 minutes.
Matty Matheson: Winner Winner Chicken Dinner | It’s Suppertime for Munches / Vice: (7:19 for the roast chicken)
Just go to her site. It’s really one of the easiest and most consistently good recipes for roast chicken I’ve ever tried. Are there better out there, yeah probably. If I’m making simple sides, I’ll experiment with something more fussy, but this is the one to make if you want to focus on your sides or if you’re making other things that need to be watched closely.
I added some carrots to the pot, and I use the carrots and onions to lift the chicken off the bottom a little bit. Then I usually add a ¼ cup of water or stock to the bottom of the pot when it’s got about 20 minutes to go. Oh, and the cook time in my oven is usually about an hour 20 minutes instead of 30. That’s when my thigh temp hits 165.
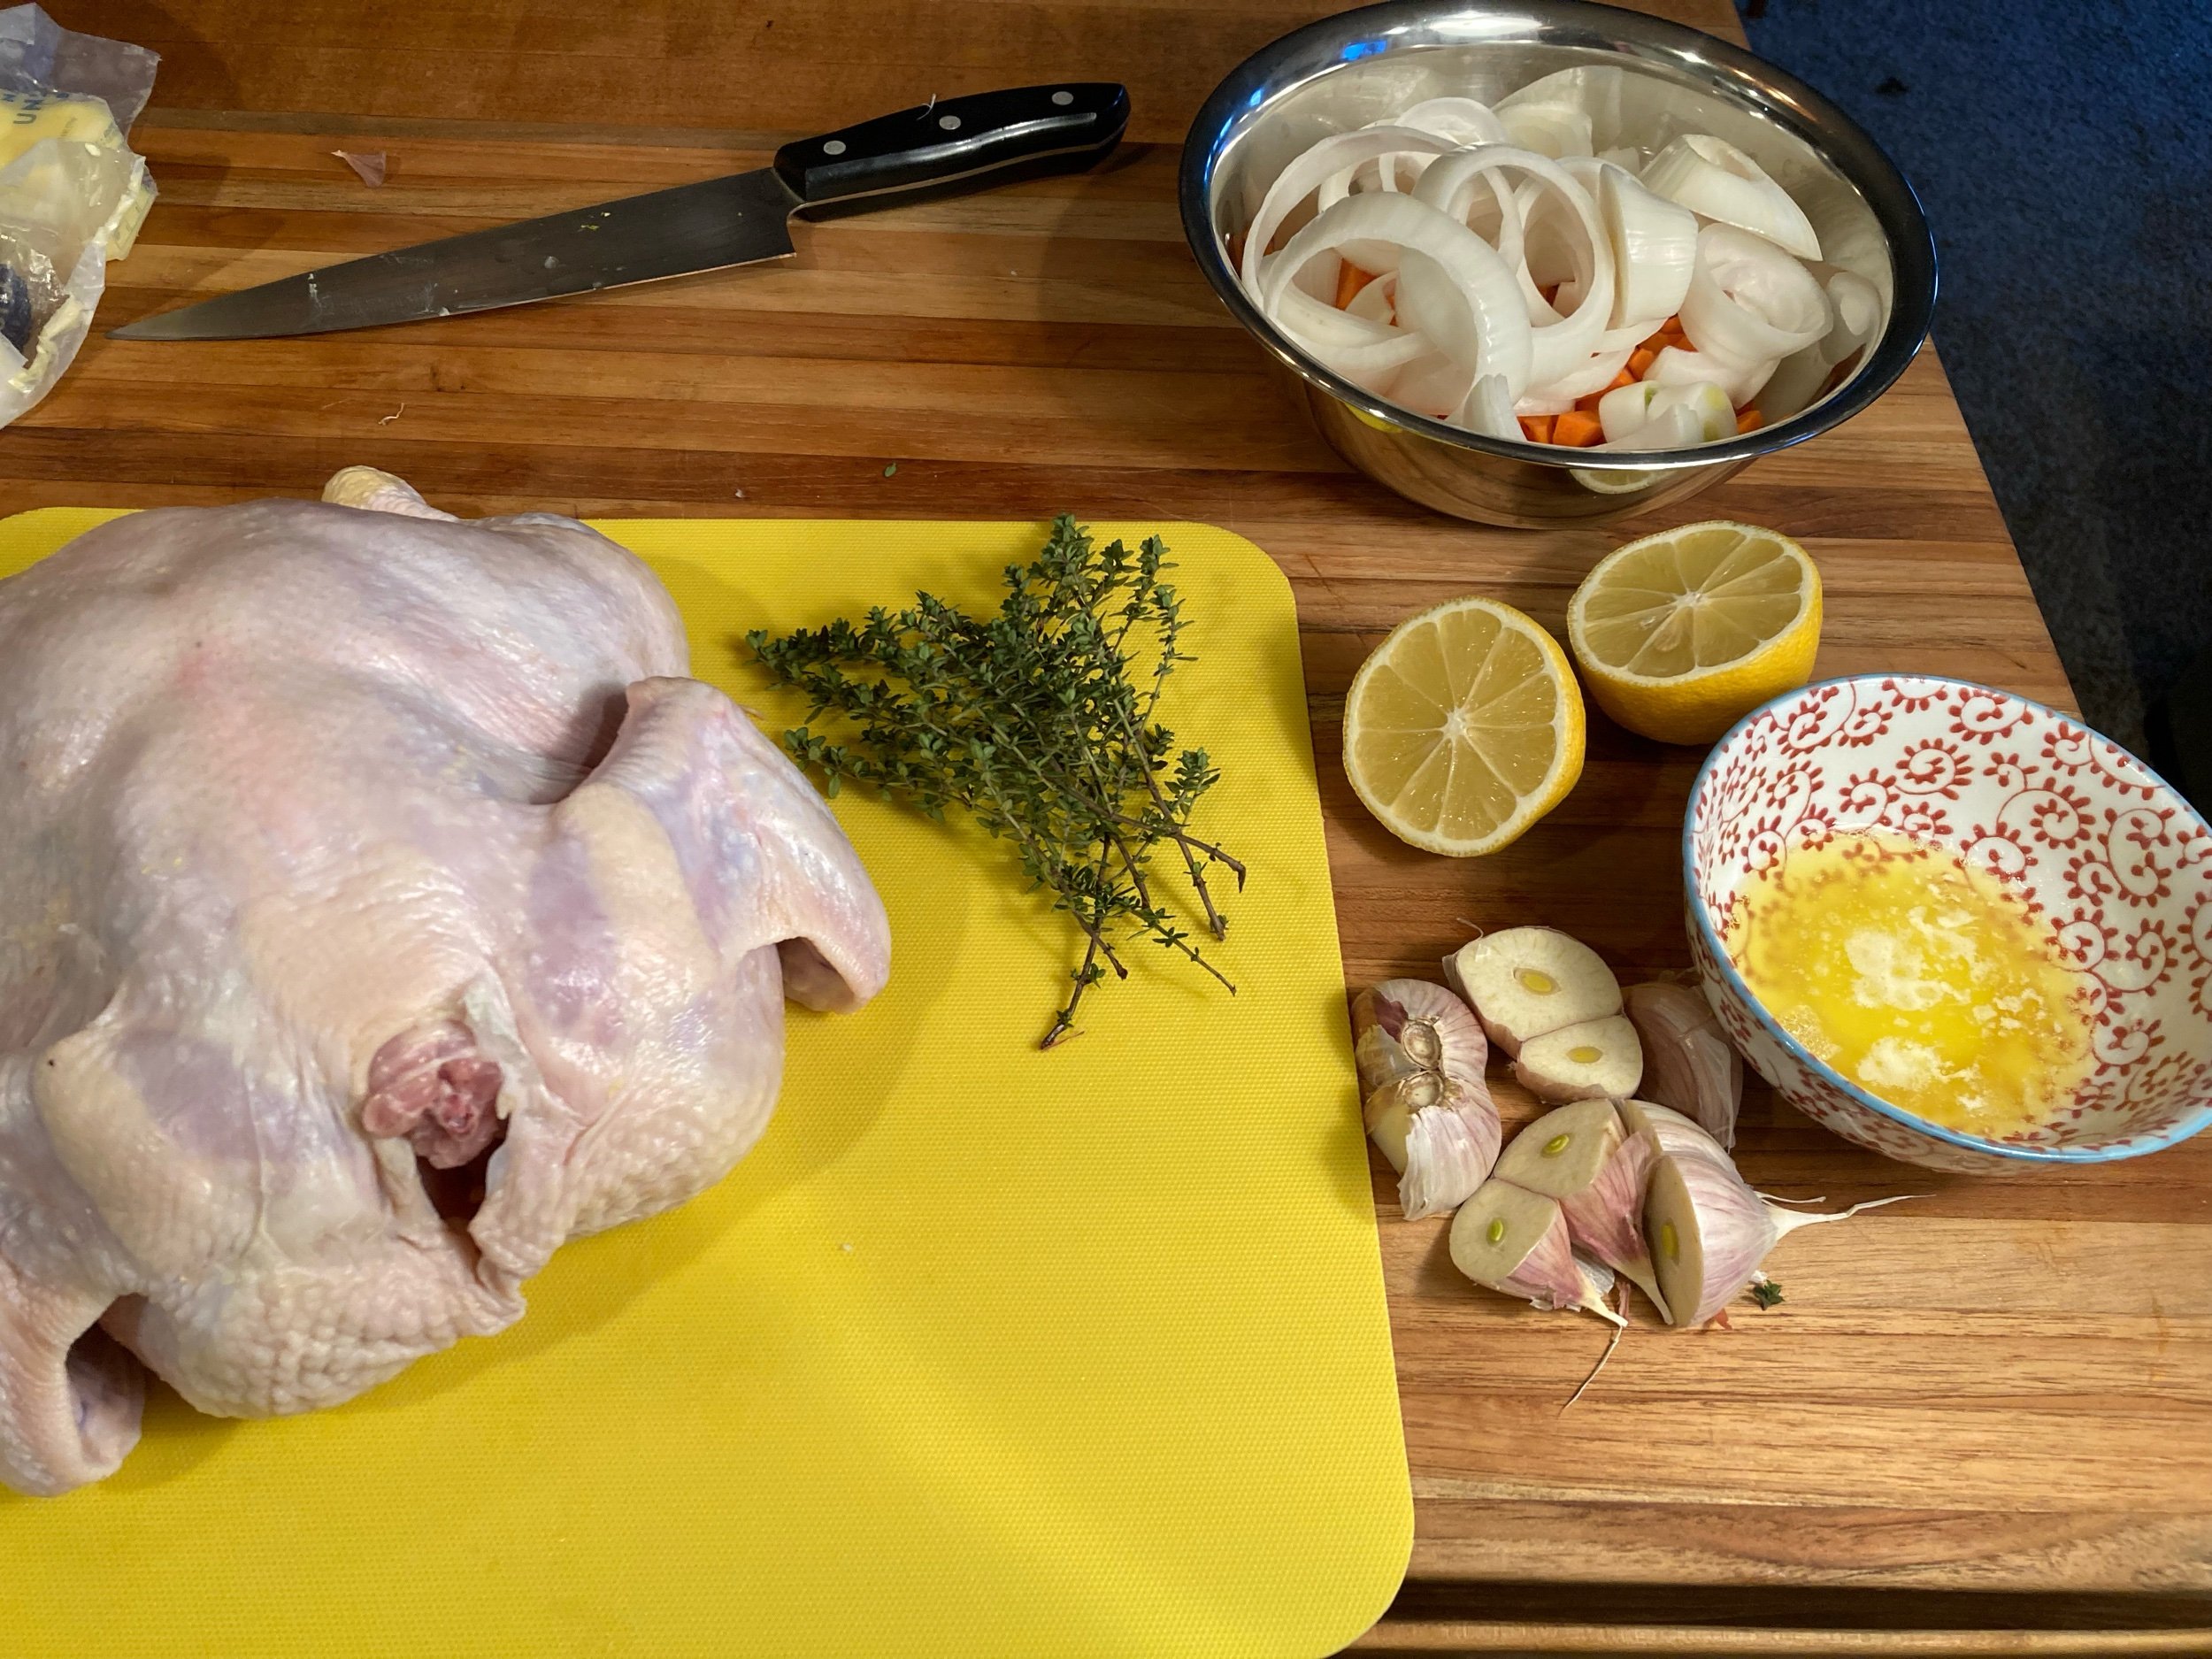
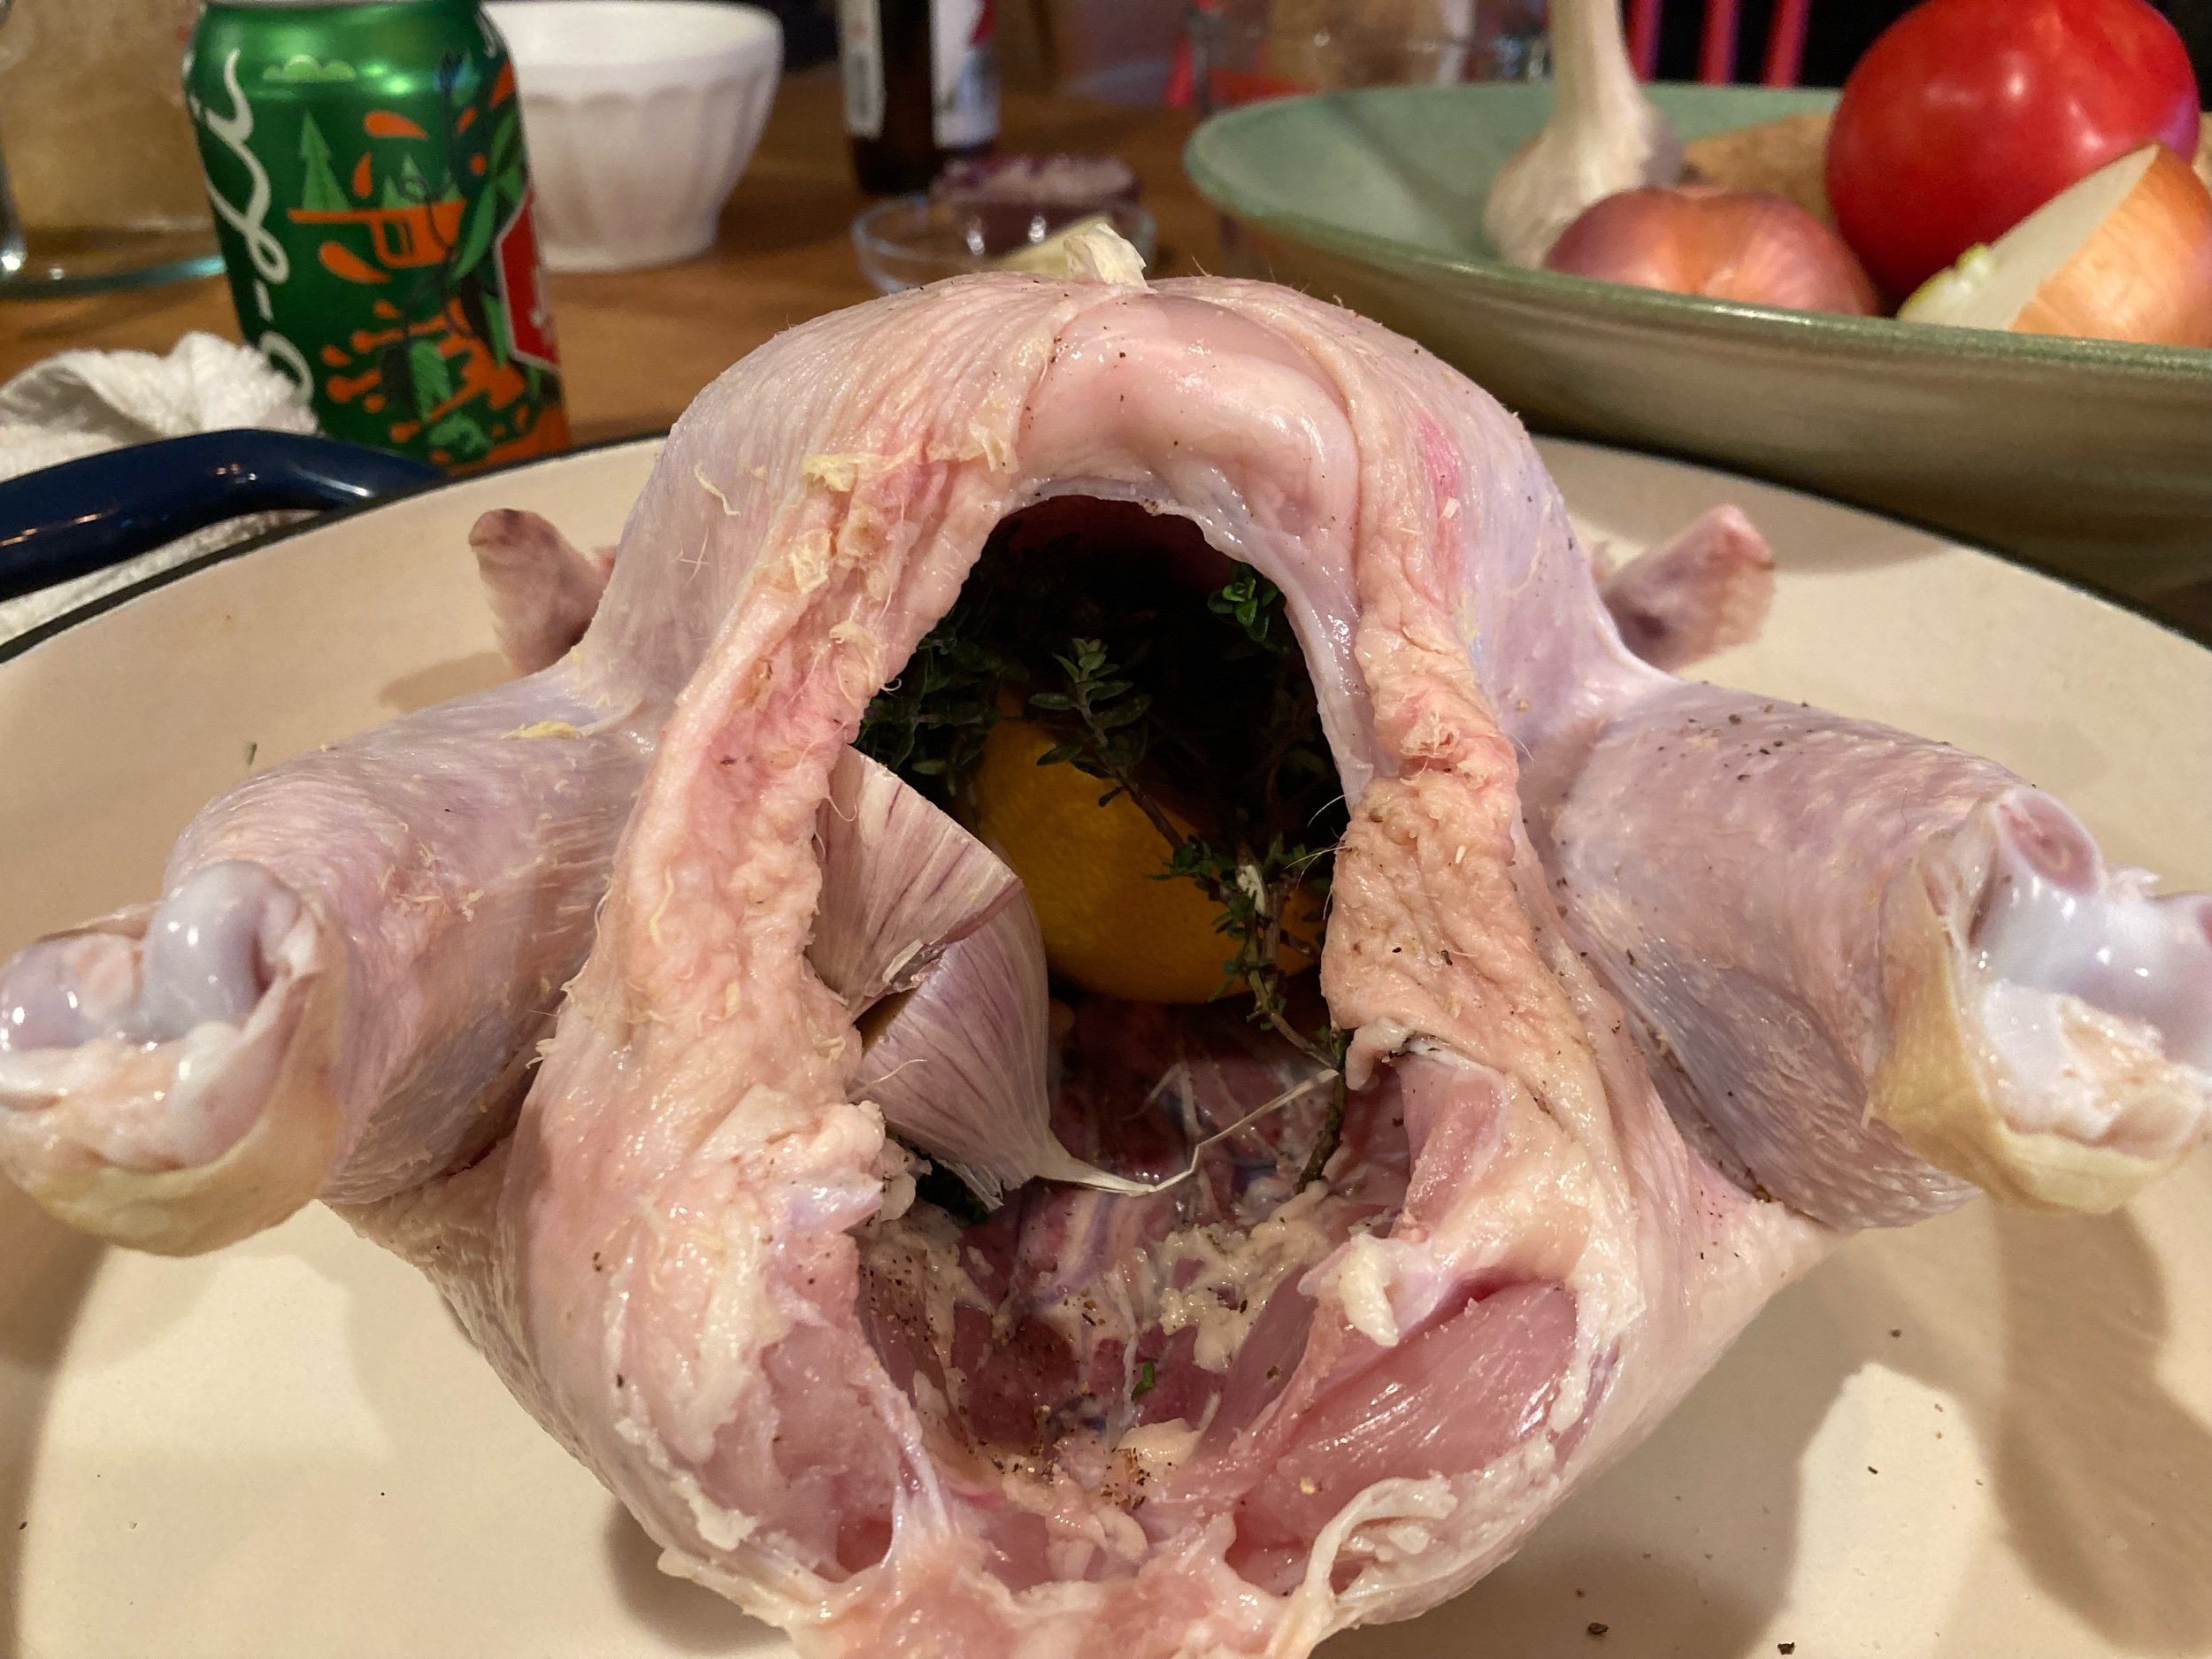
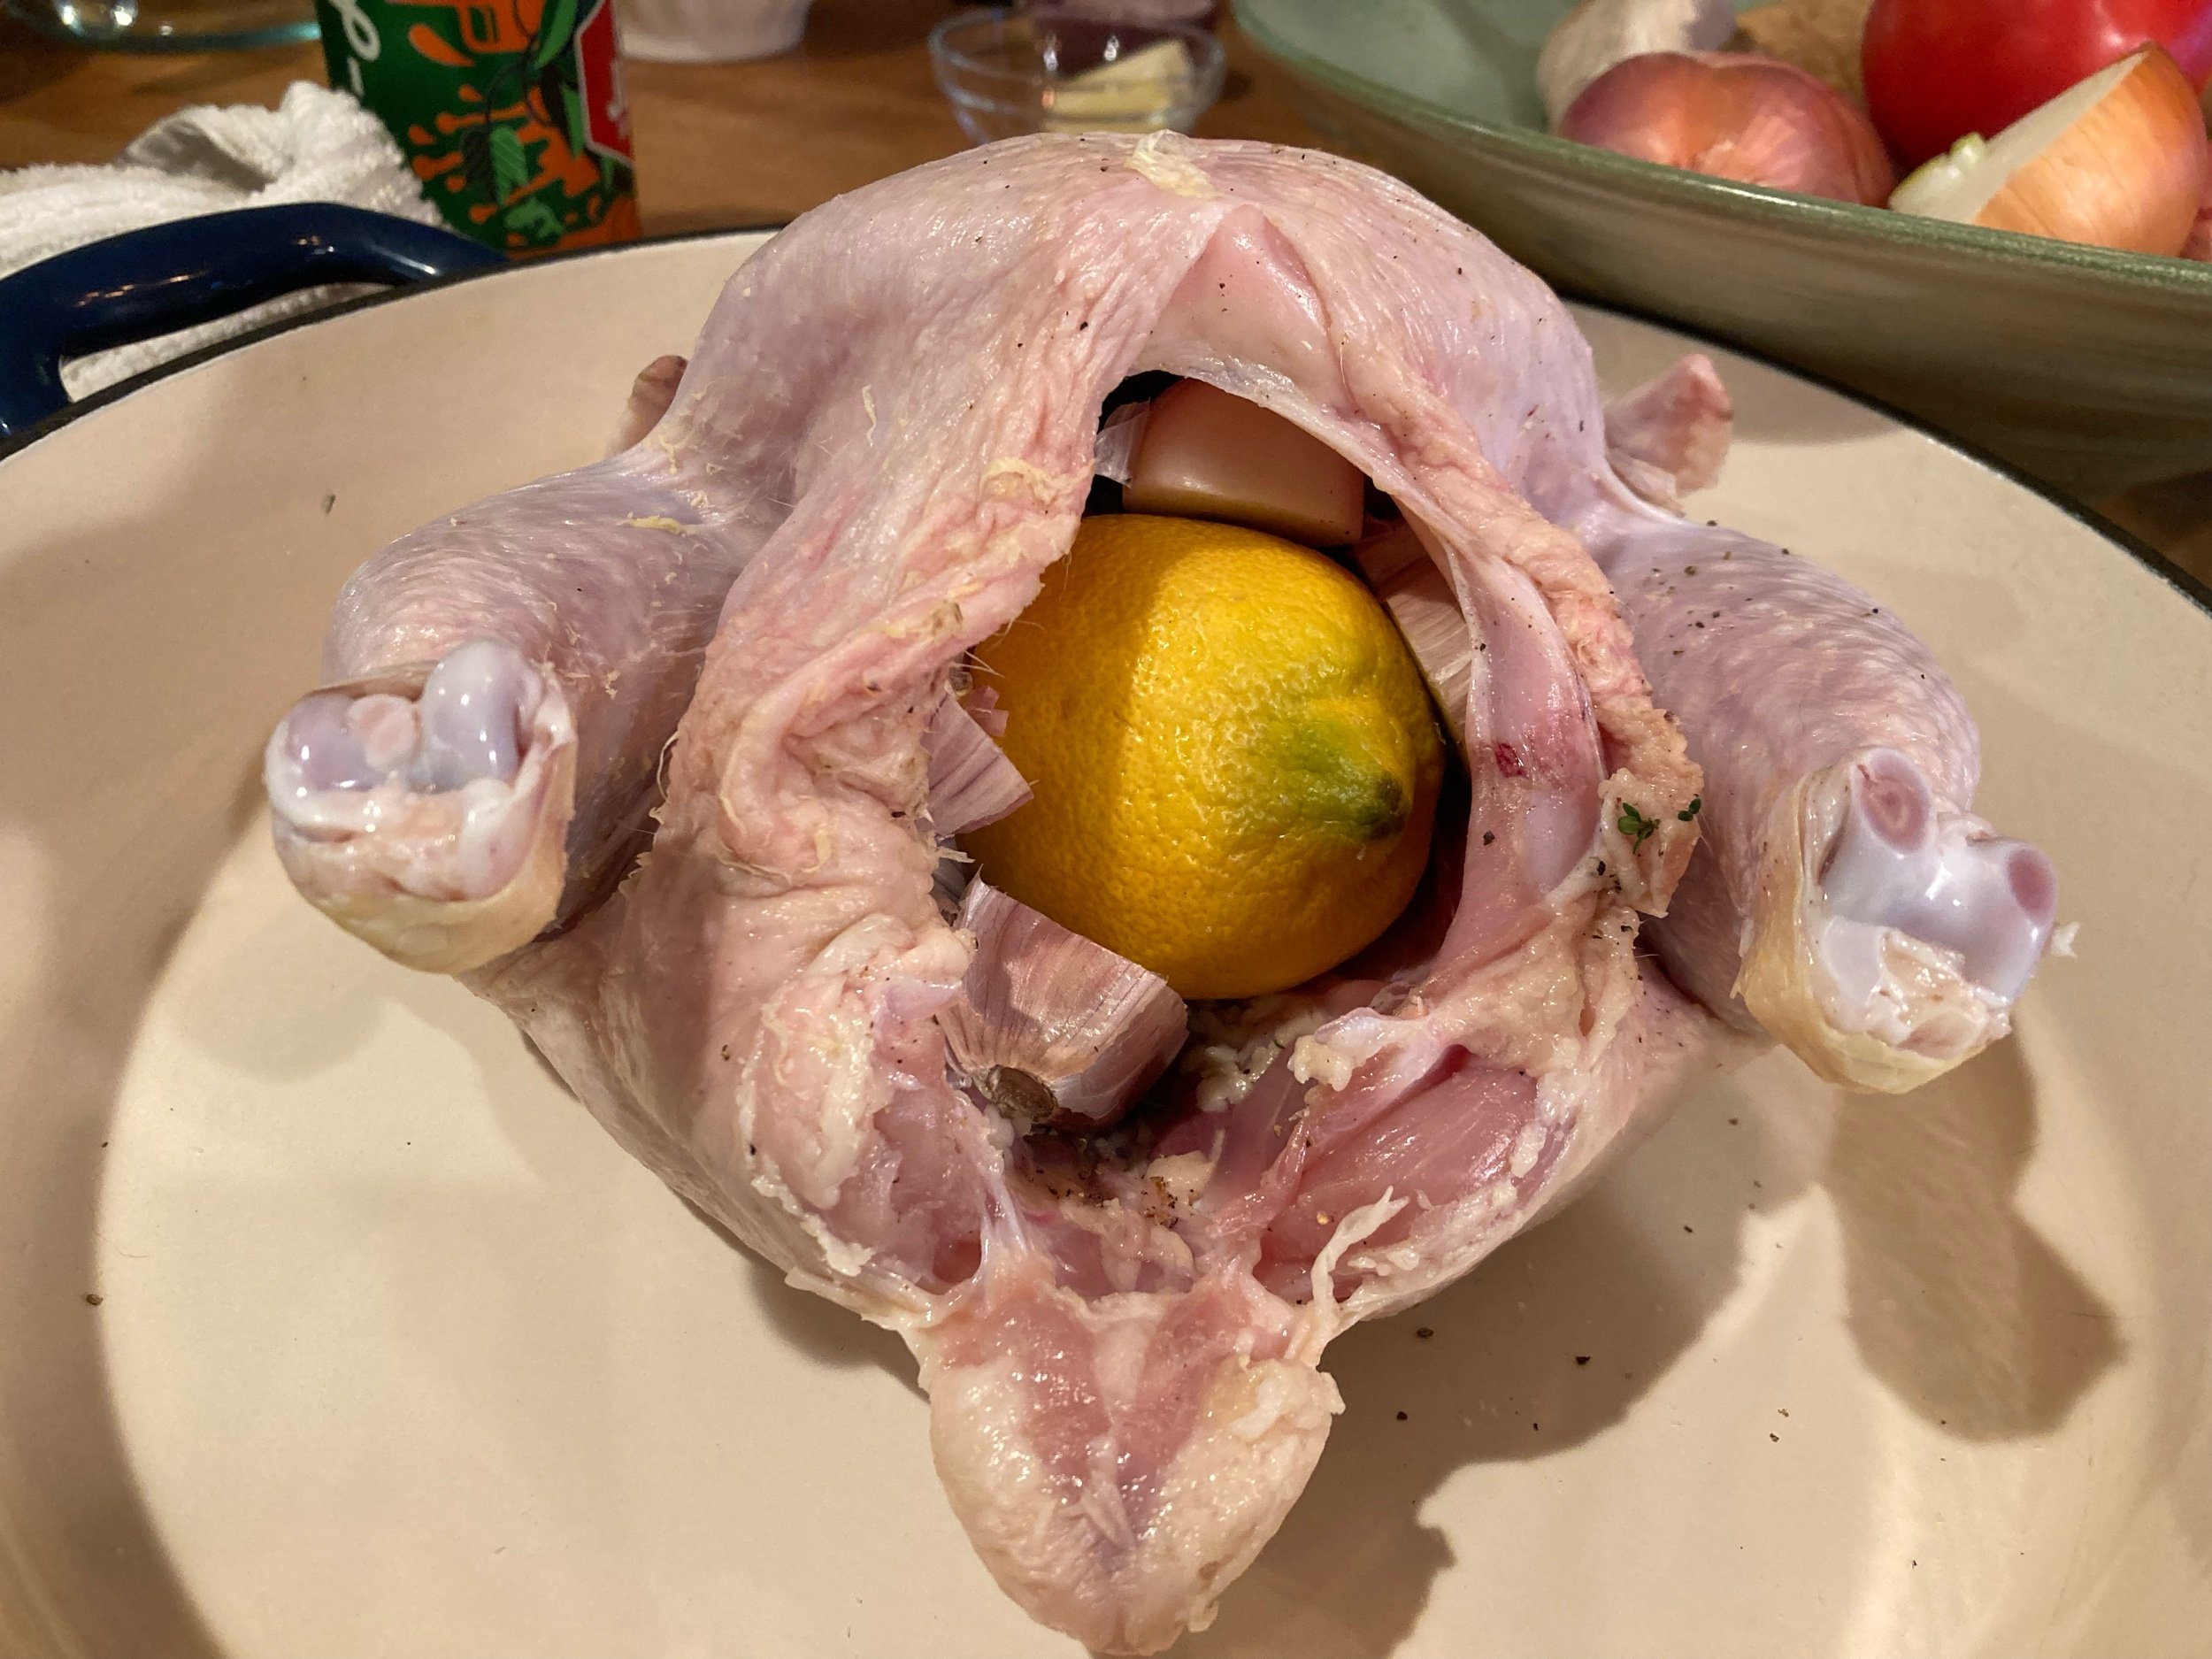
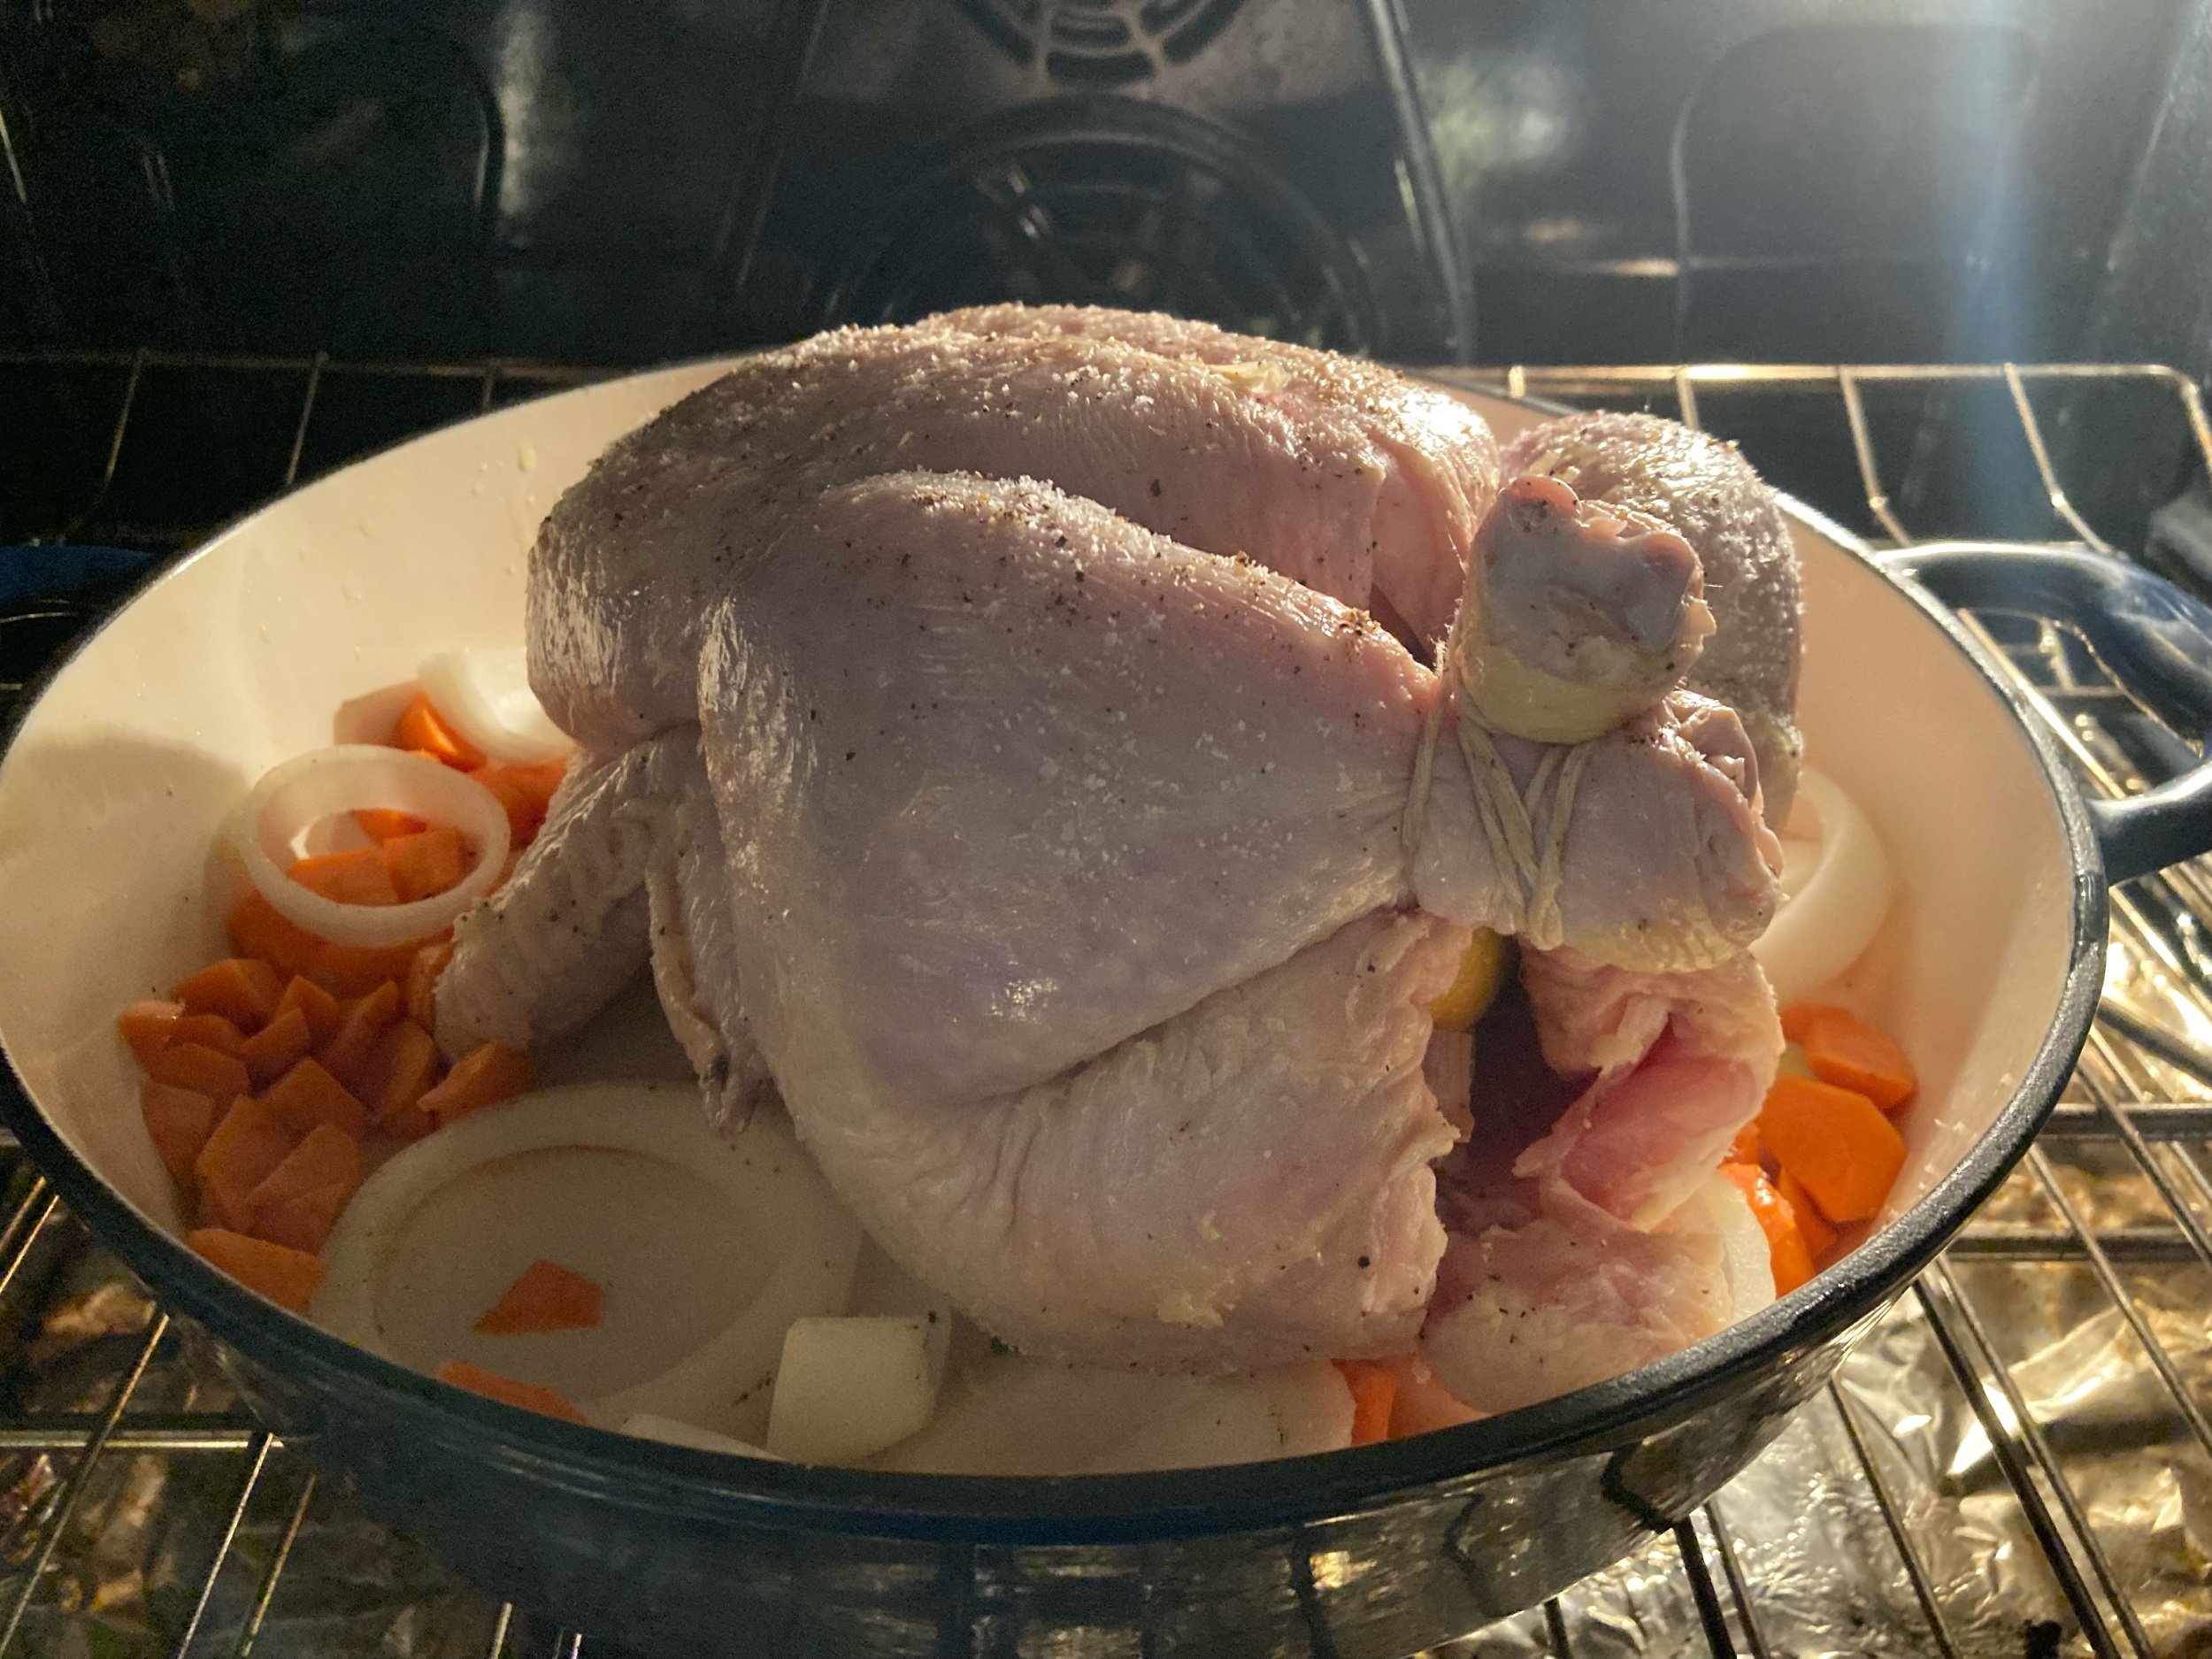
Bird goes in the oven, 425 for 80-90 minutes.
Boiled Potatoes – no recipe!
The last of the garden baby potatoes for the year were starting to sprout. And these only lasted this long because I think they were small russet potatoes and the skins were ugly, so I peeled those, boiled them in salted water, threw in some butter and salt, chuffed them a little, and stuck a dish towel over them until ready to serve. Just tossed in the microwave for 45 seconds so I could get these out of the way early to focus on the other stuff. Served with some minced parsley and sauce mornay. Could have done without the latter, but we’ll get to that.
Asperges au Naturel [Boiled Asparagus – hot] (Child 436)
Julia says “We have tested every asparagus cooking method we have heard of—peeled, unpeeled, boiled butts, steamed tips—and can say categorically that the freshest, greenest, and most appetizing asparagus is cooked by the French method” (435). So…. There ya go.
Sidebar: Yeah, that wasn’t working, but the peeler did fine. Maybe not on really fat asparagus, but then just do another couple of passes on the super fat end. Have a good peeler, use that shit. Made quick work of it.
To do this, I have to peel. Julia says the peeler will do me no good as it doesn’t go deep enough. She says “hold the butt end up” and “peel off the outer skin with a sharp, small knife, going as deep as 1/16 of an inch at the butt in order to expose the tender, moist flesh” (435). Then “gradually make the cut shallower until you come up to the tender green portion near the tip. Shave off any scales which cling to the spear below the tip” and then wash the peeled spears in cold water, and drain.
Then you line them up so the tips are in the same place, and tie them in bundles of about 3 ½” with string in two places, and cut off the butts to even everything out. But leave a couple spears out of the bundles so you can test for doneness. (Which I forgot to do.)
And if you’re doing this ahead of time, which I am, set them upright in ½” of cold water, cover with a plastic bag, and refrigerate.
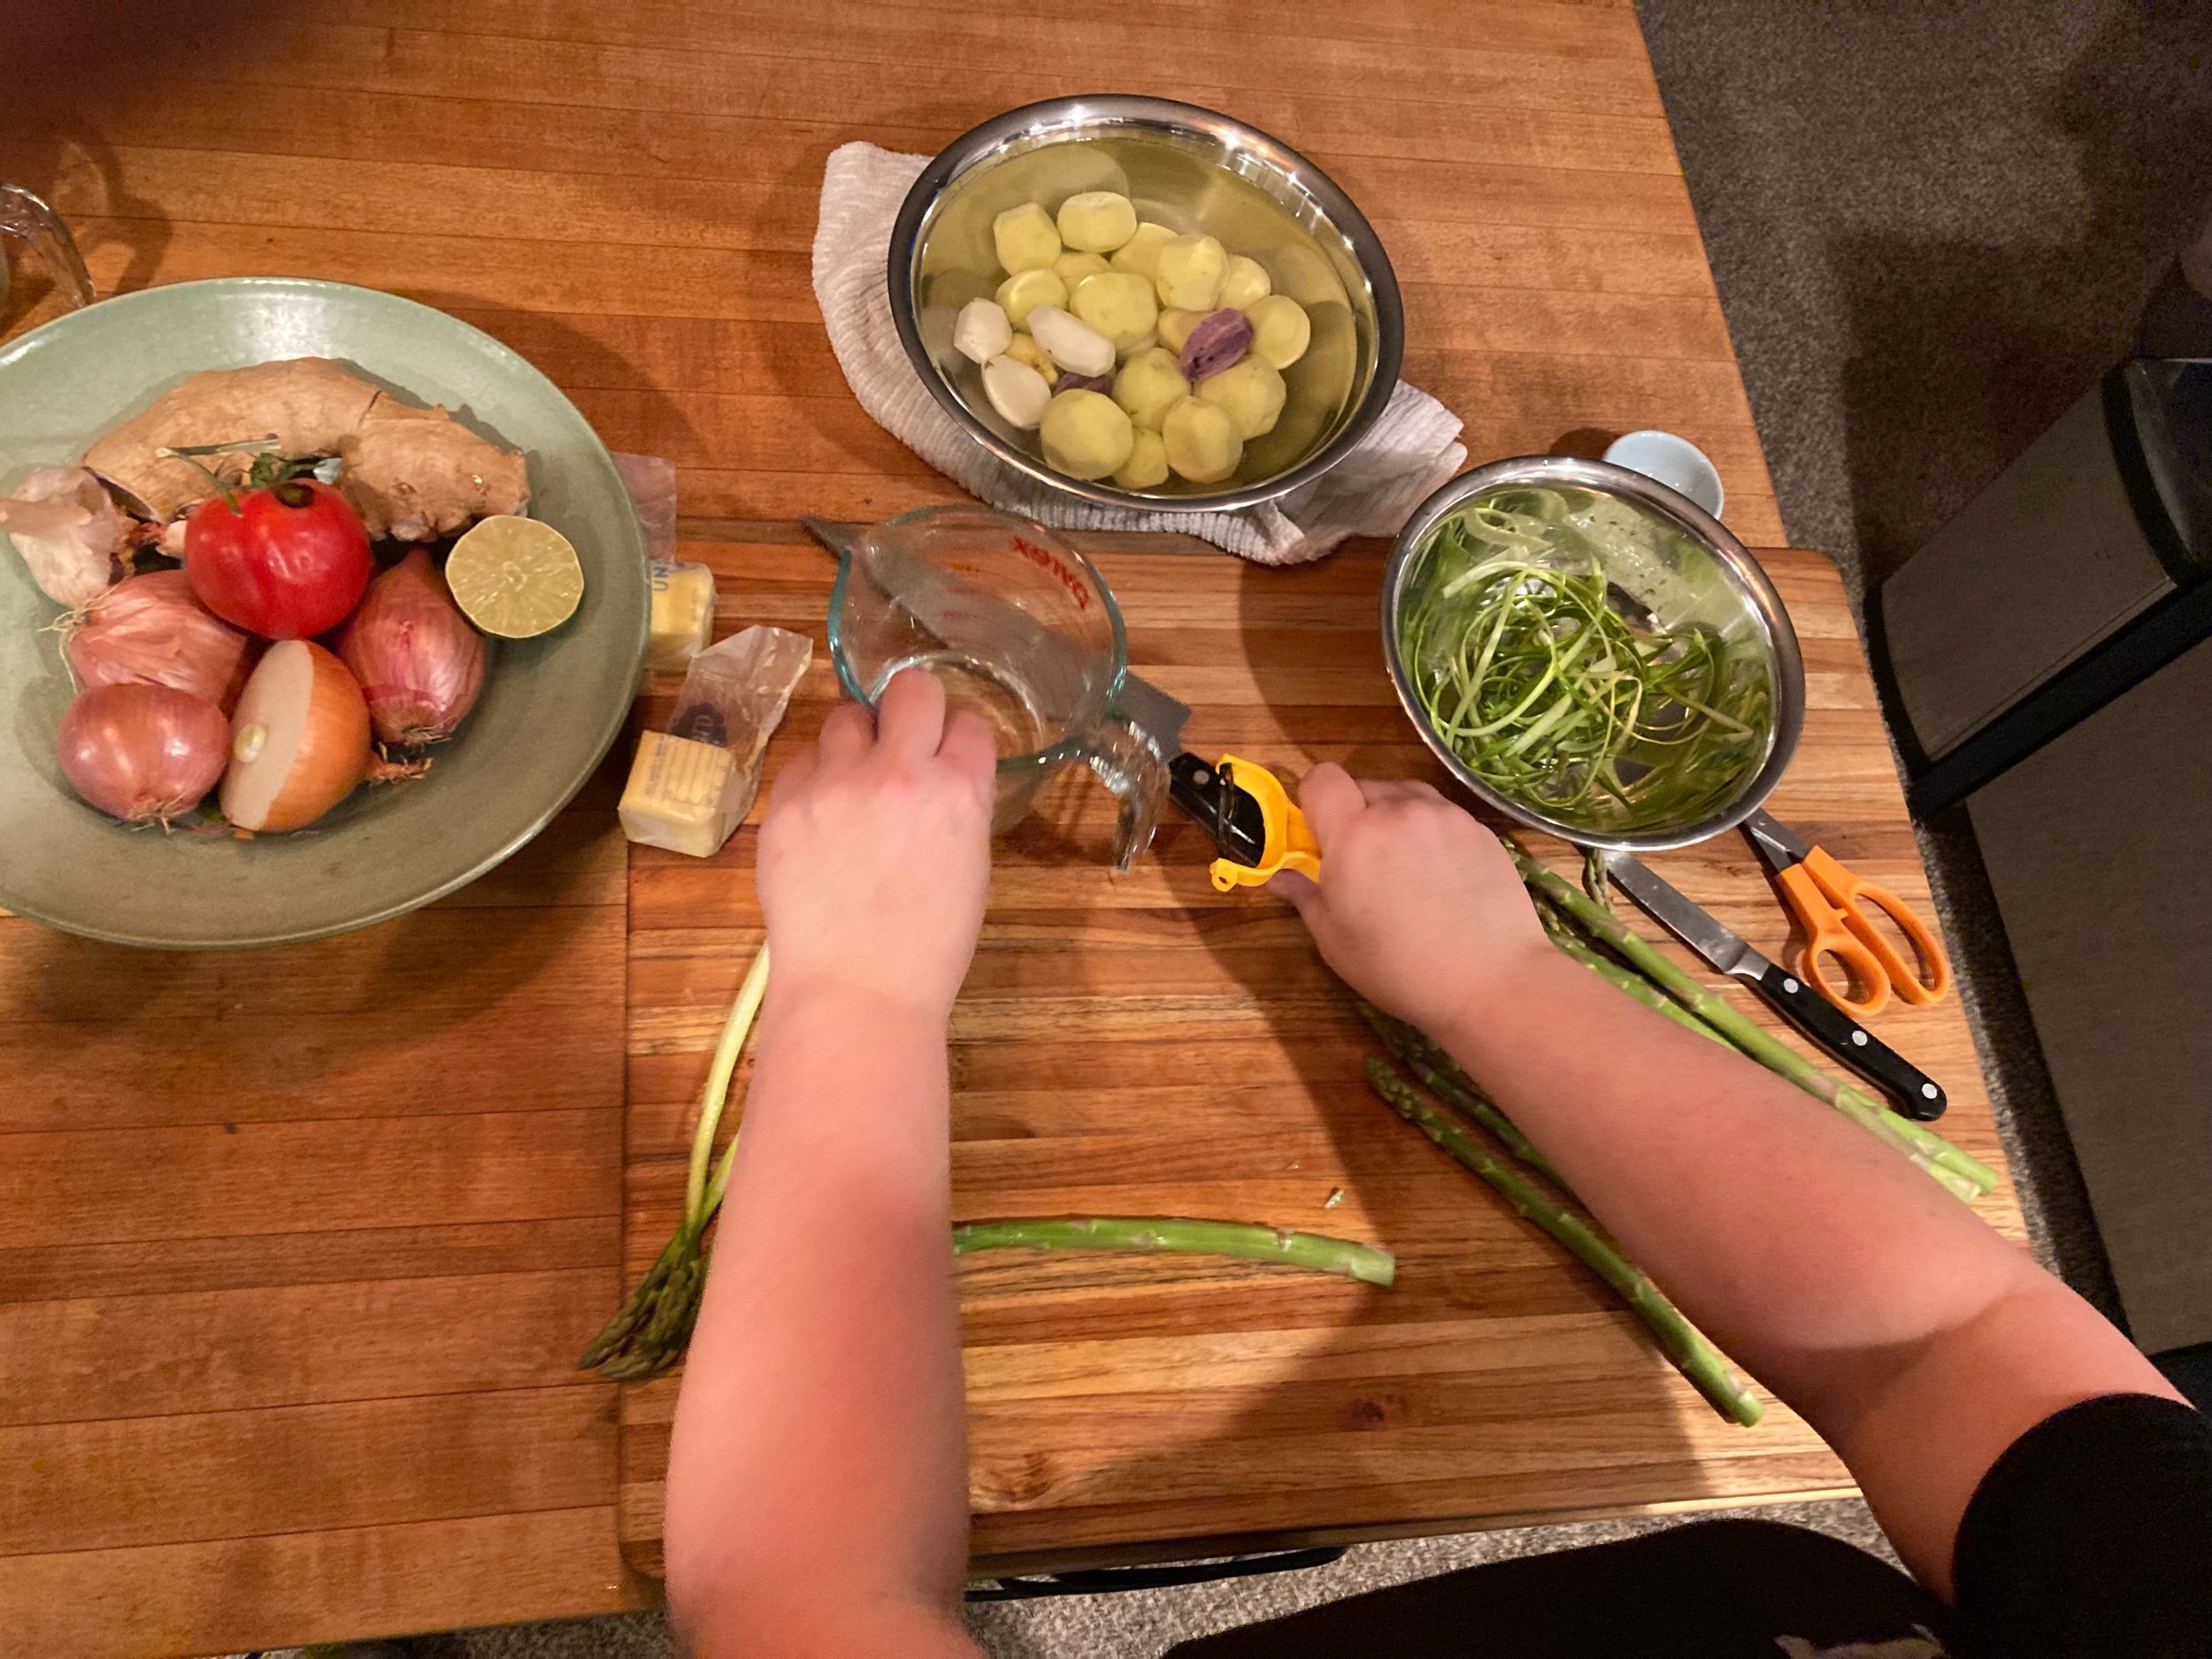
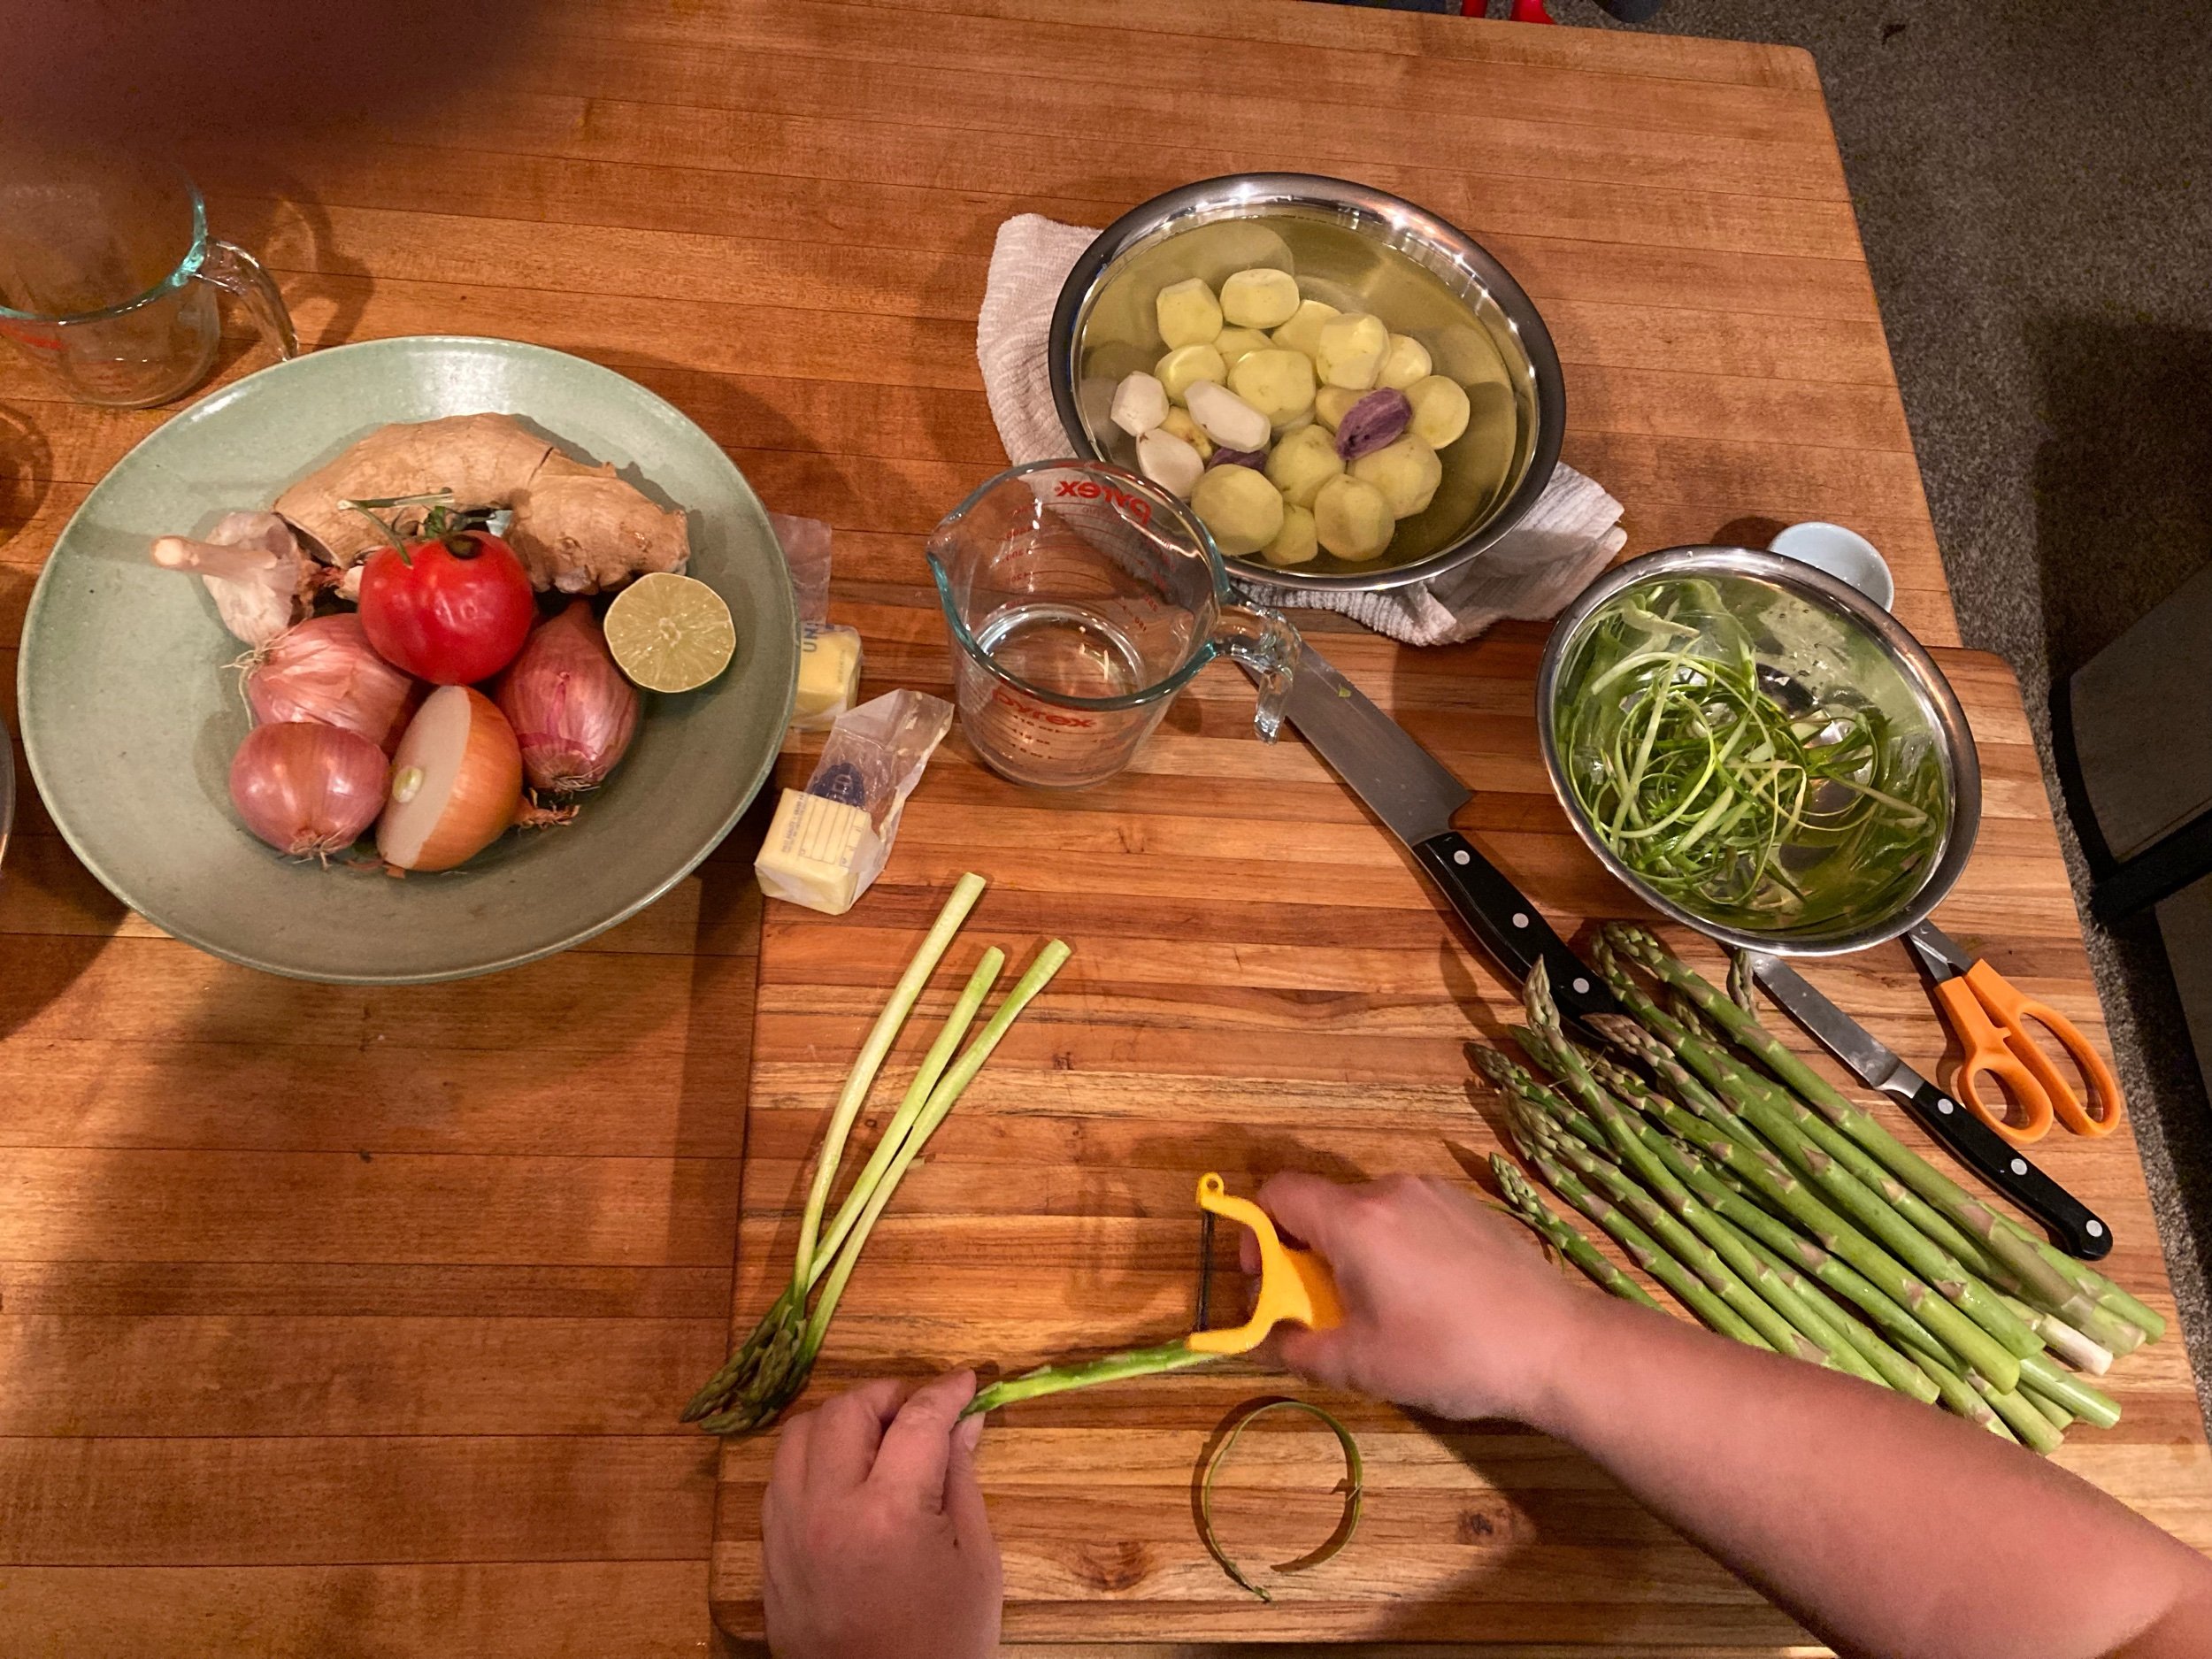
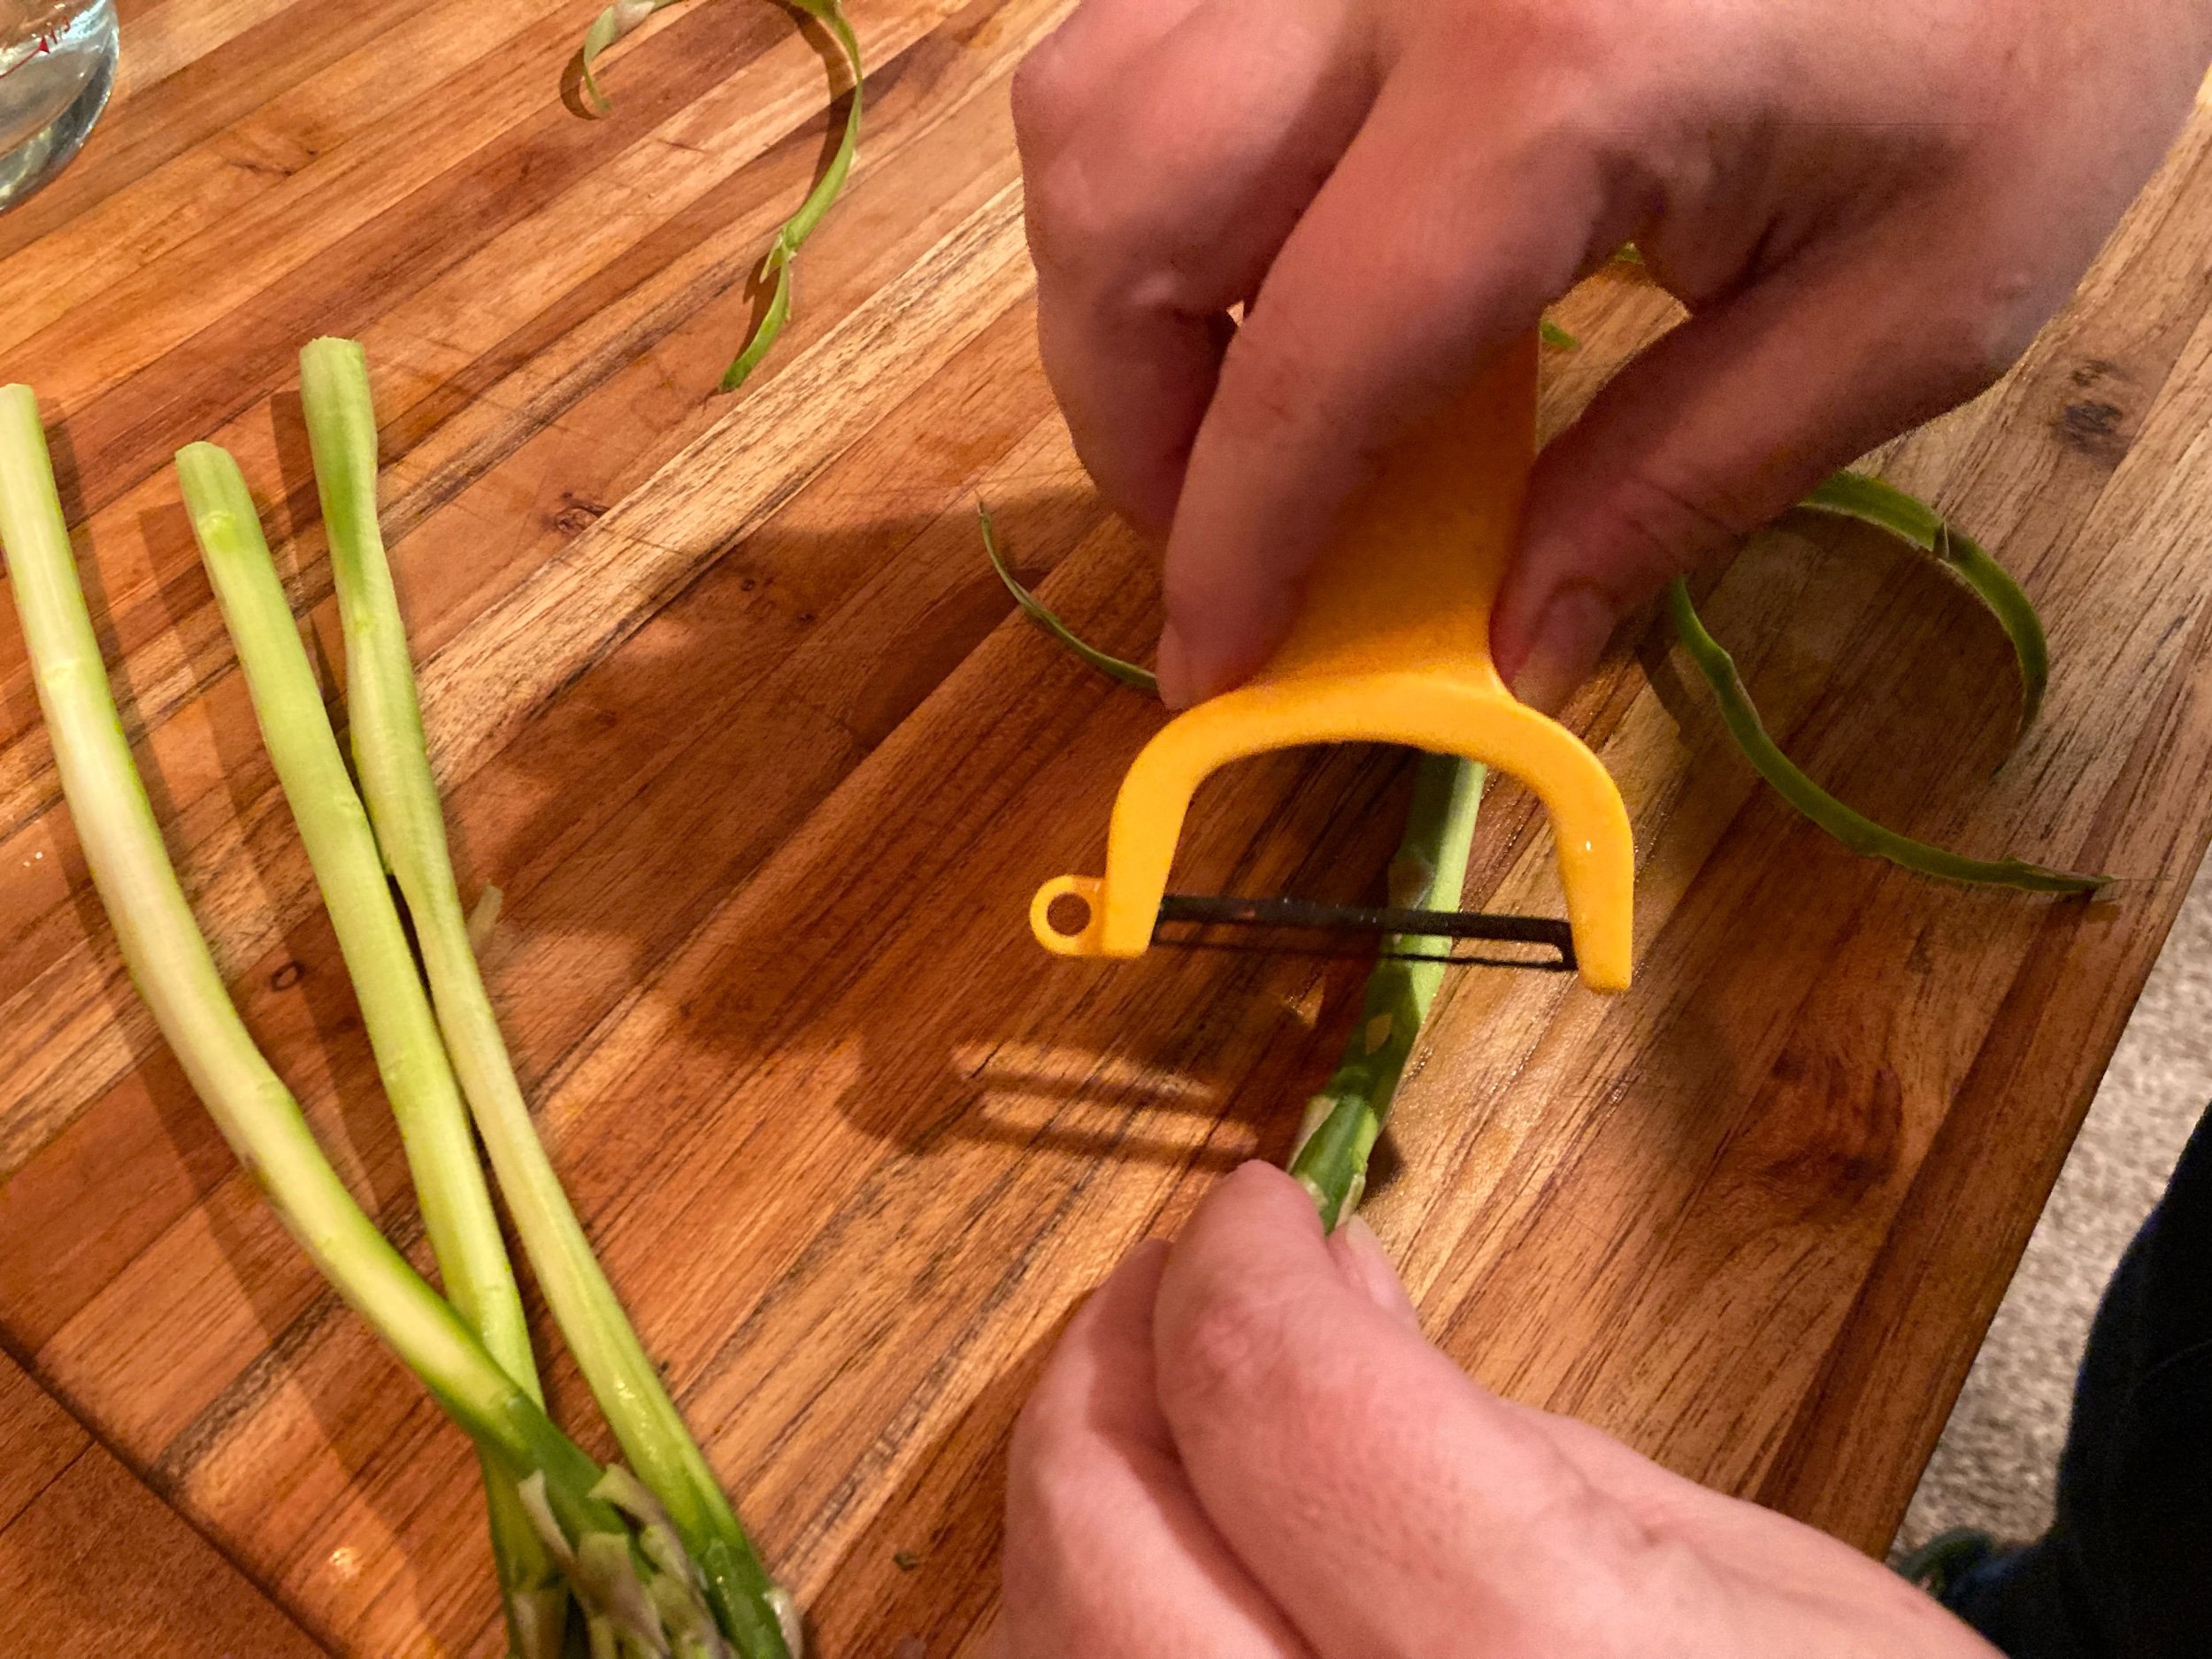
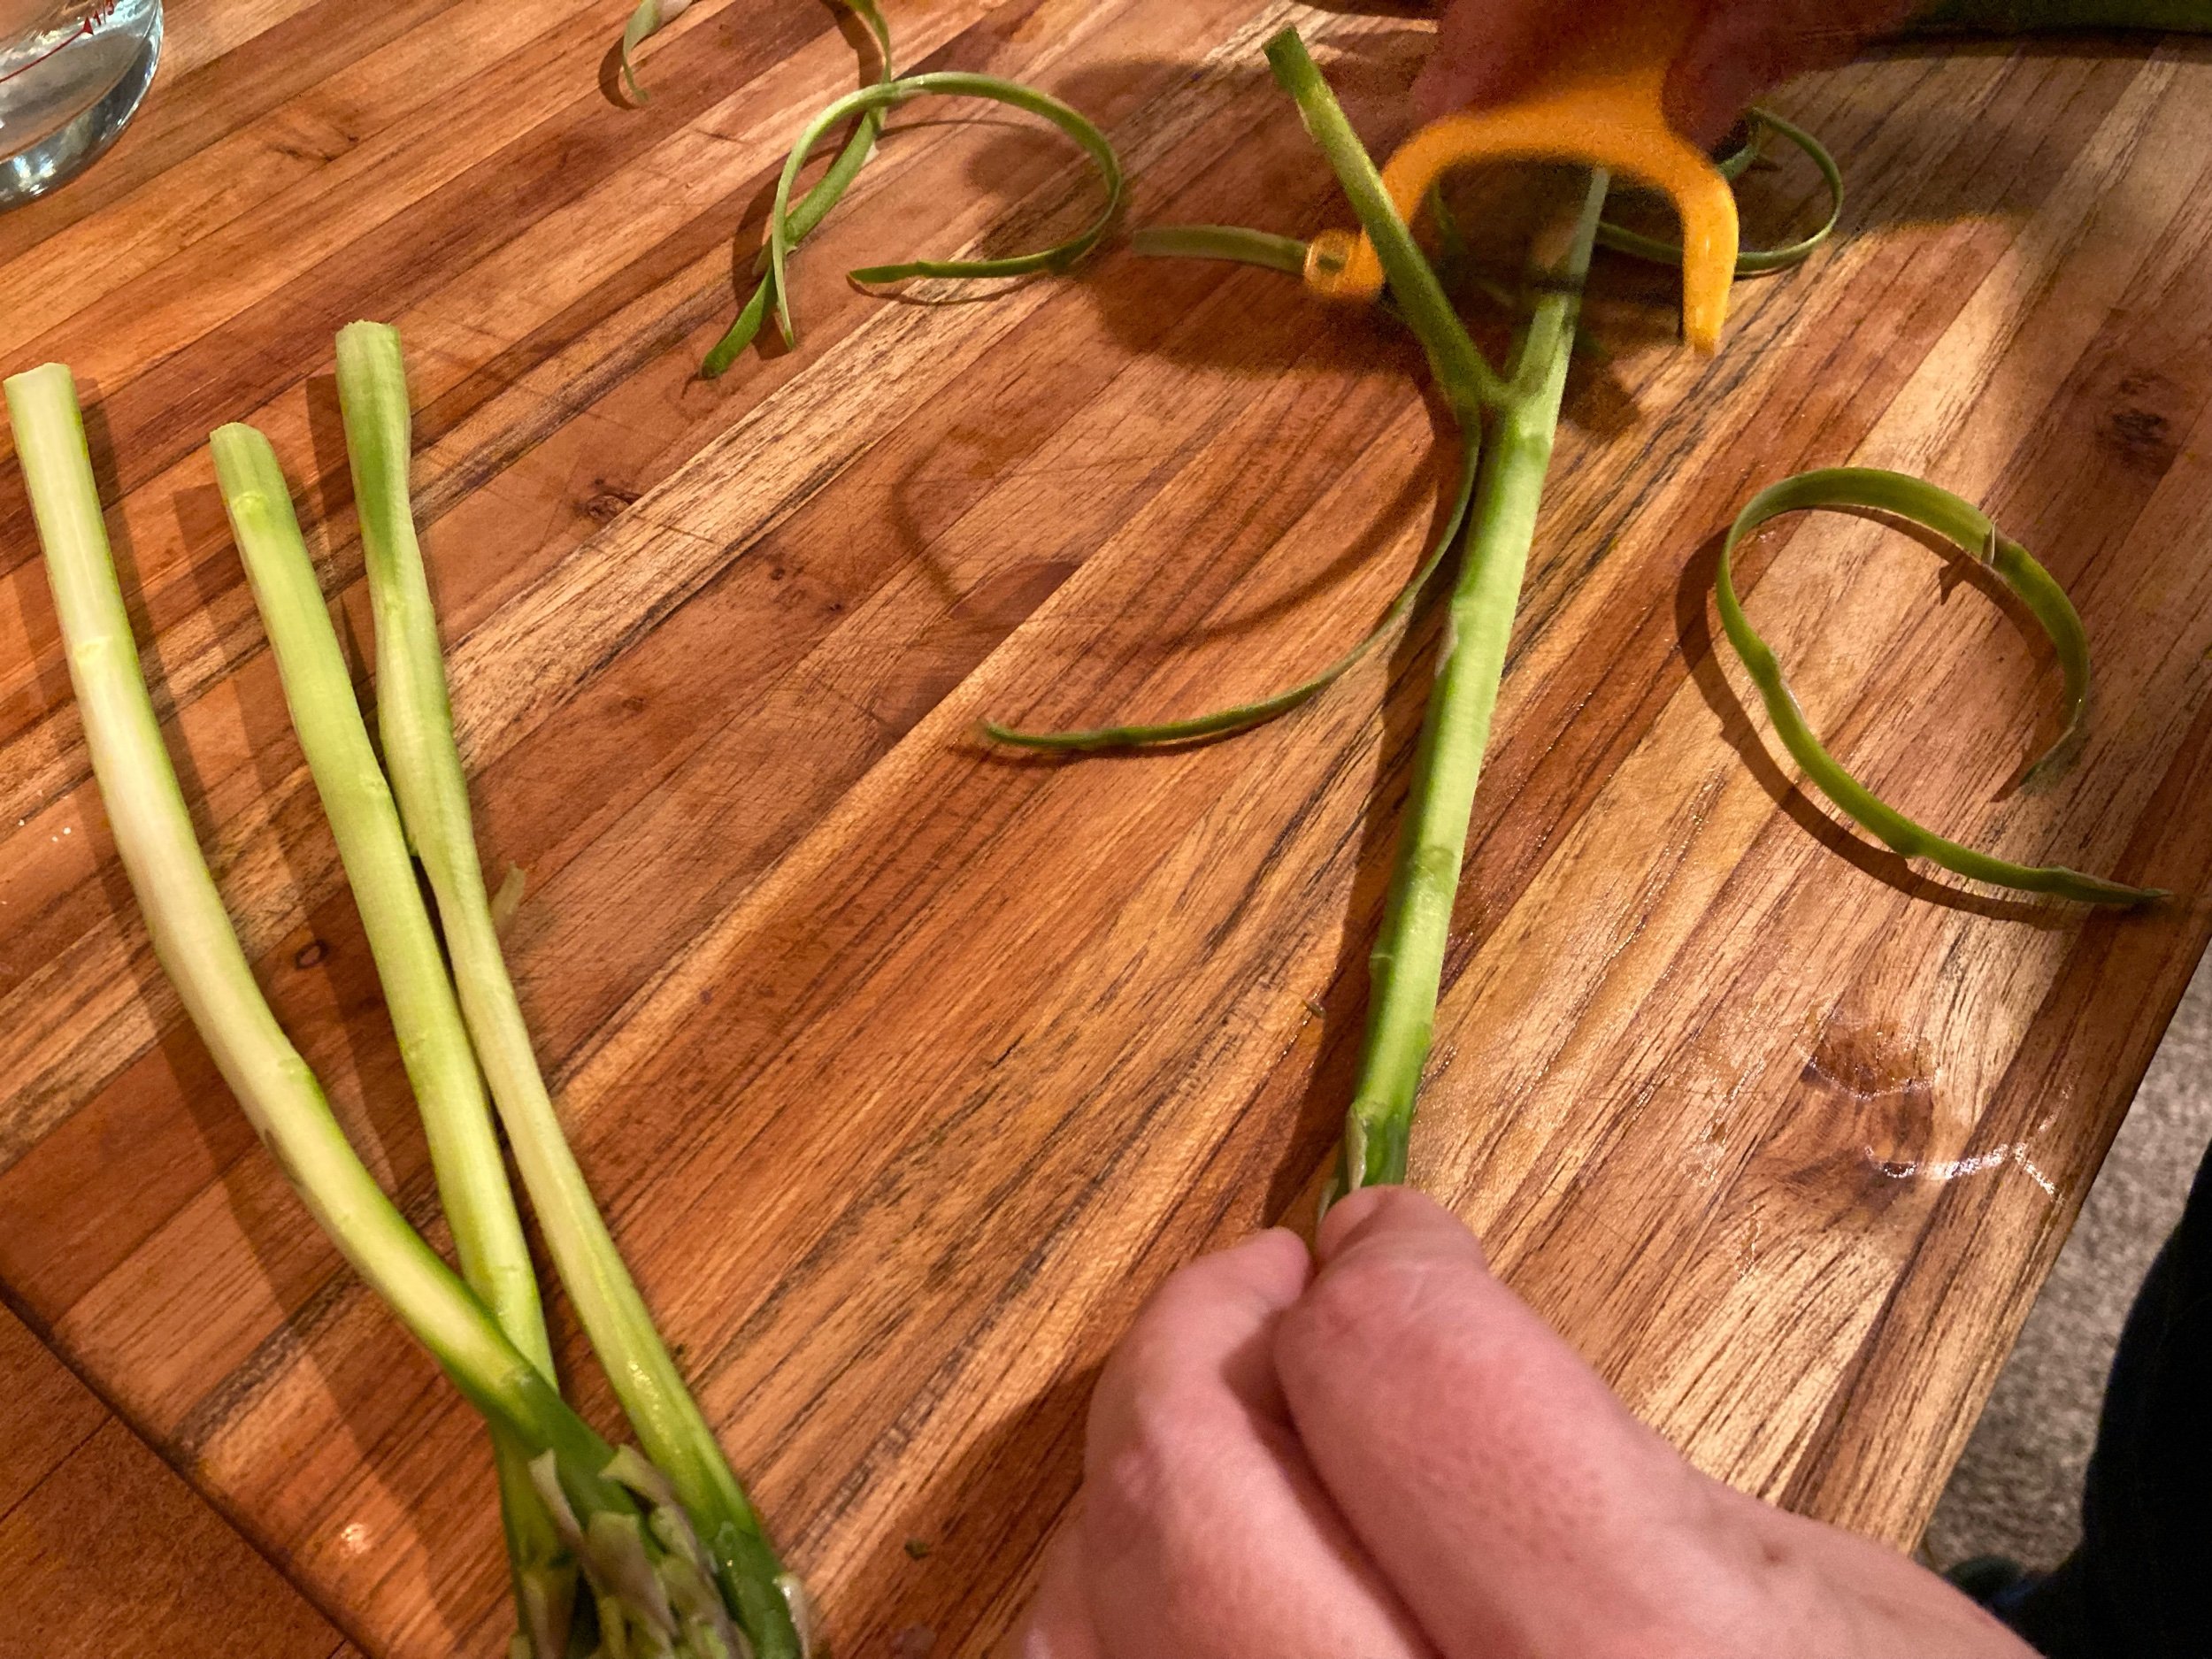
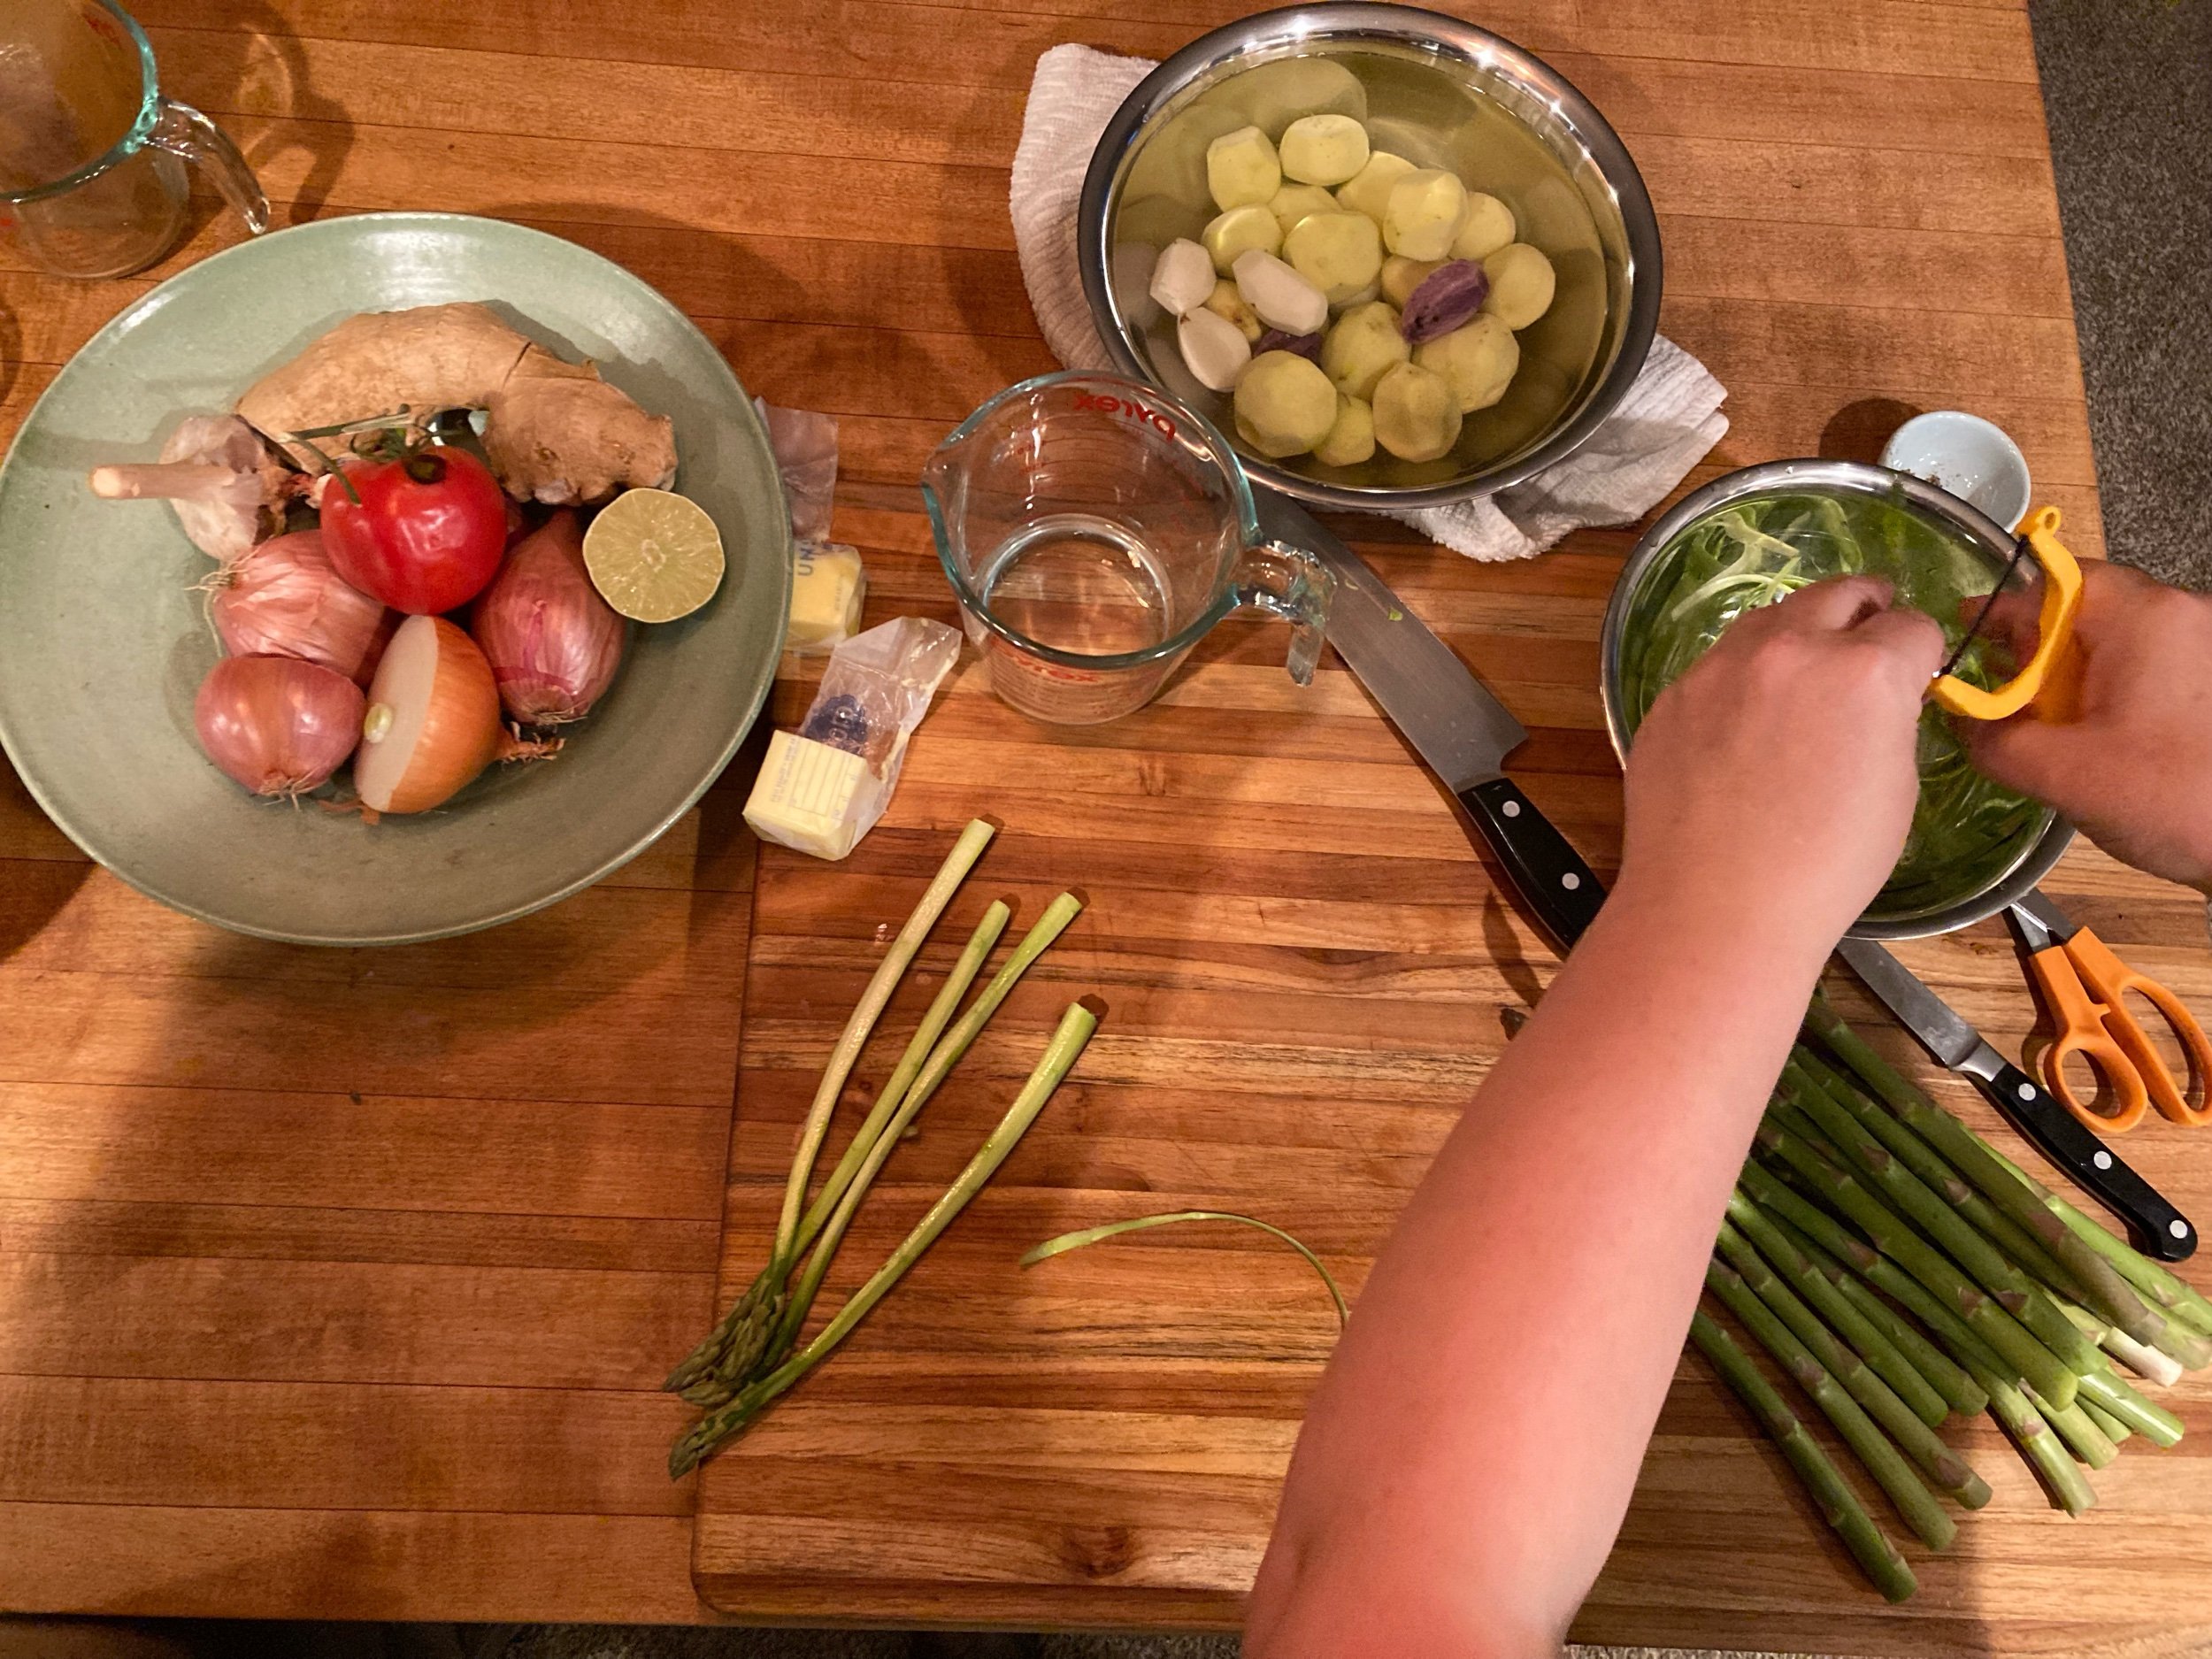
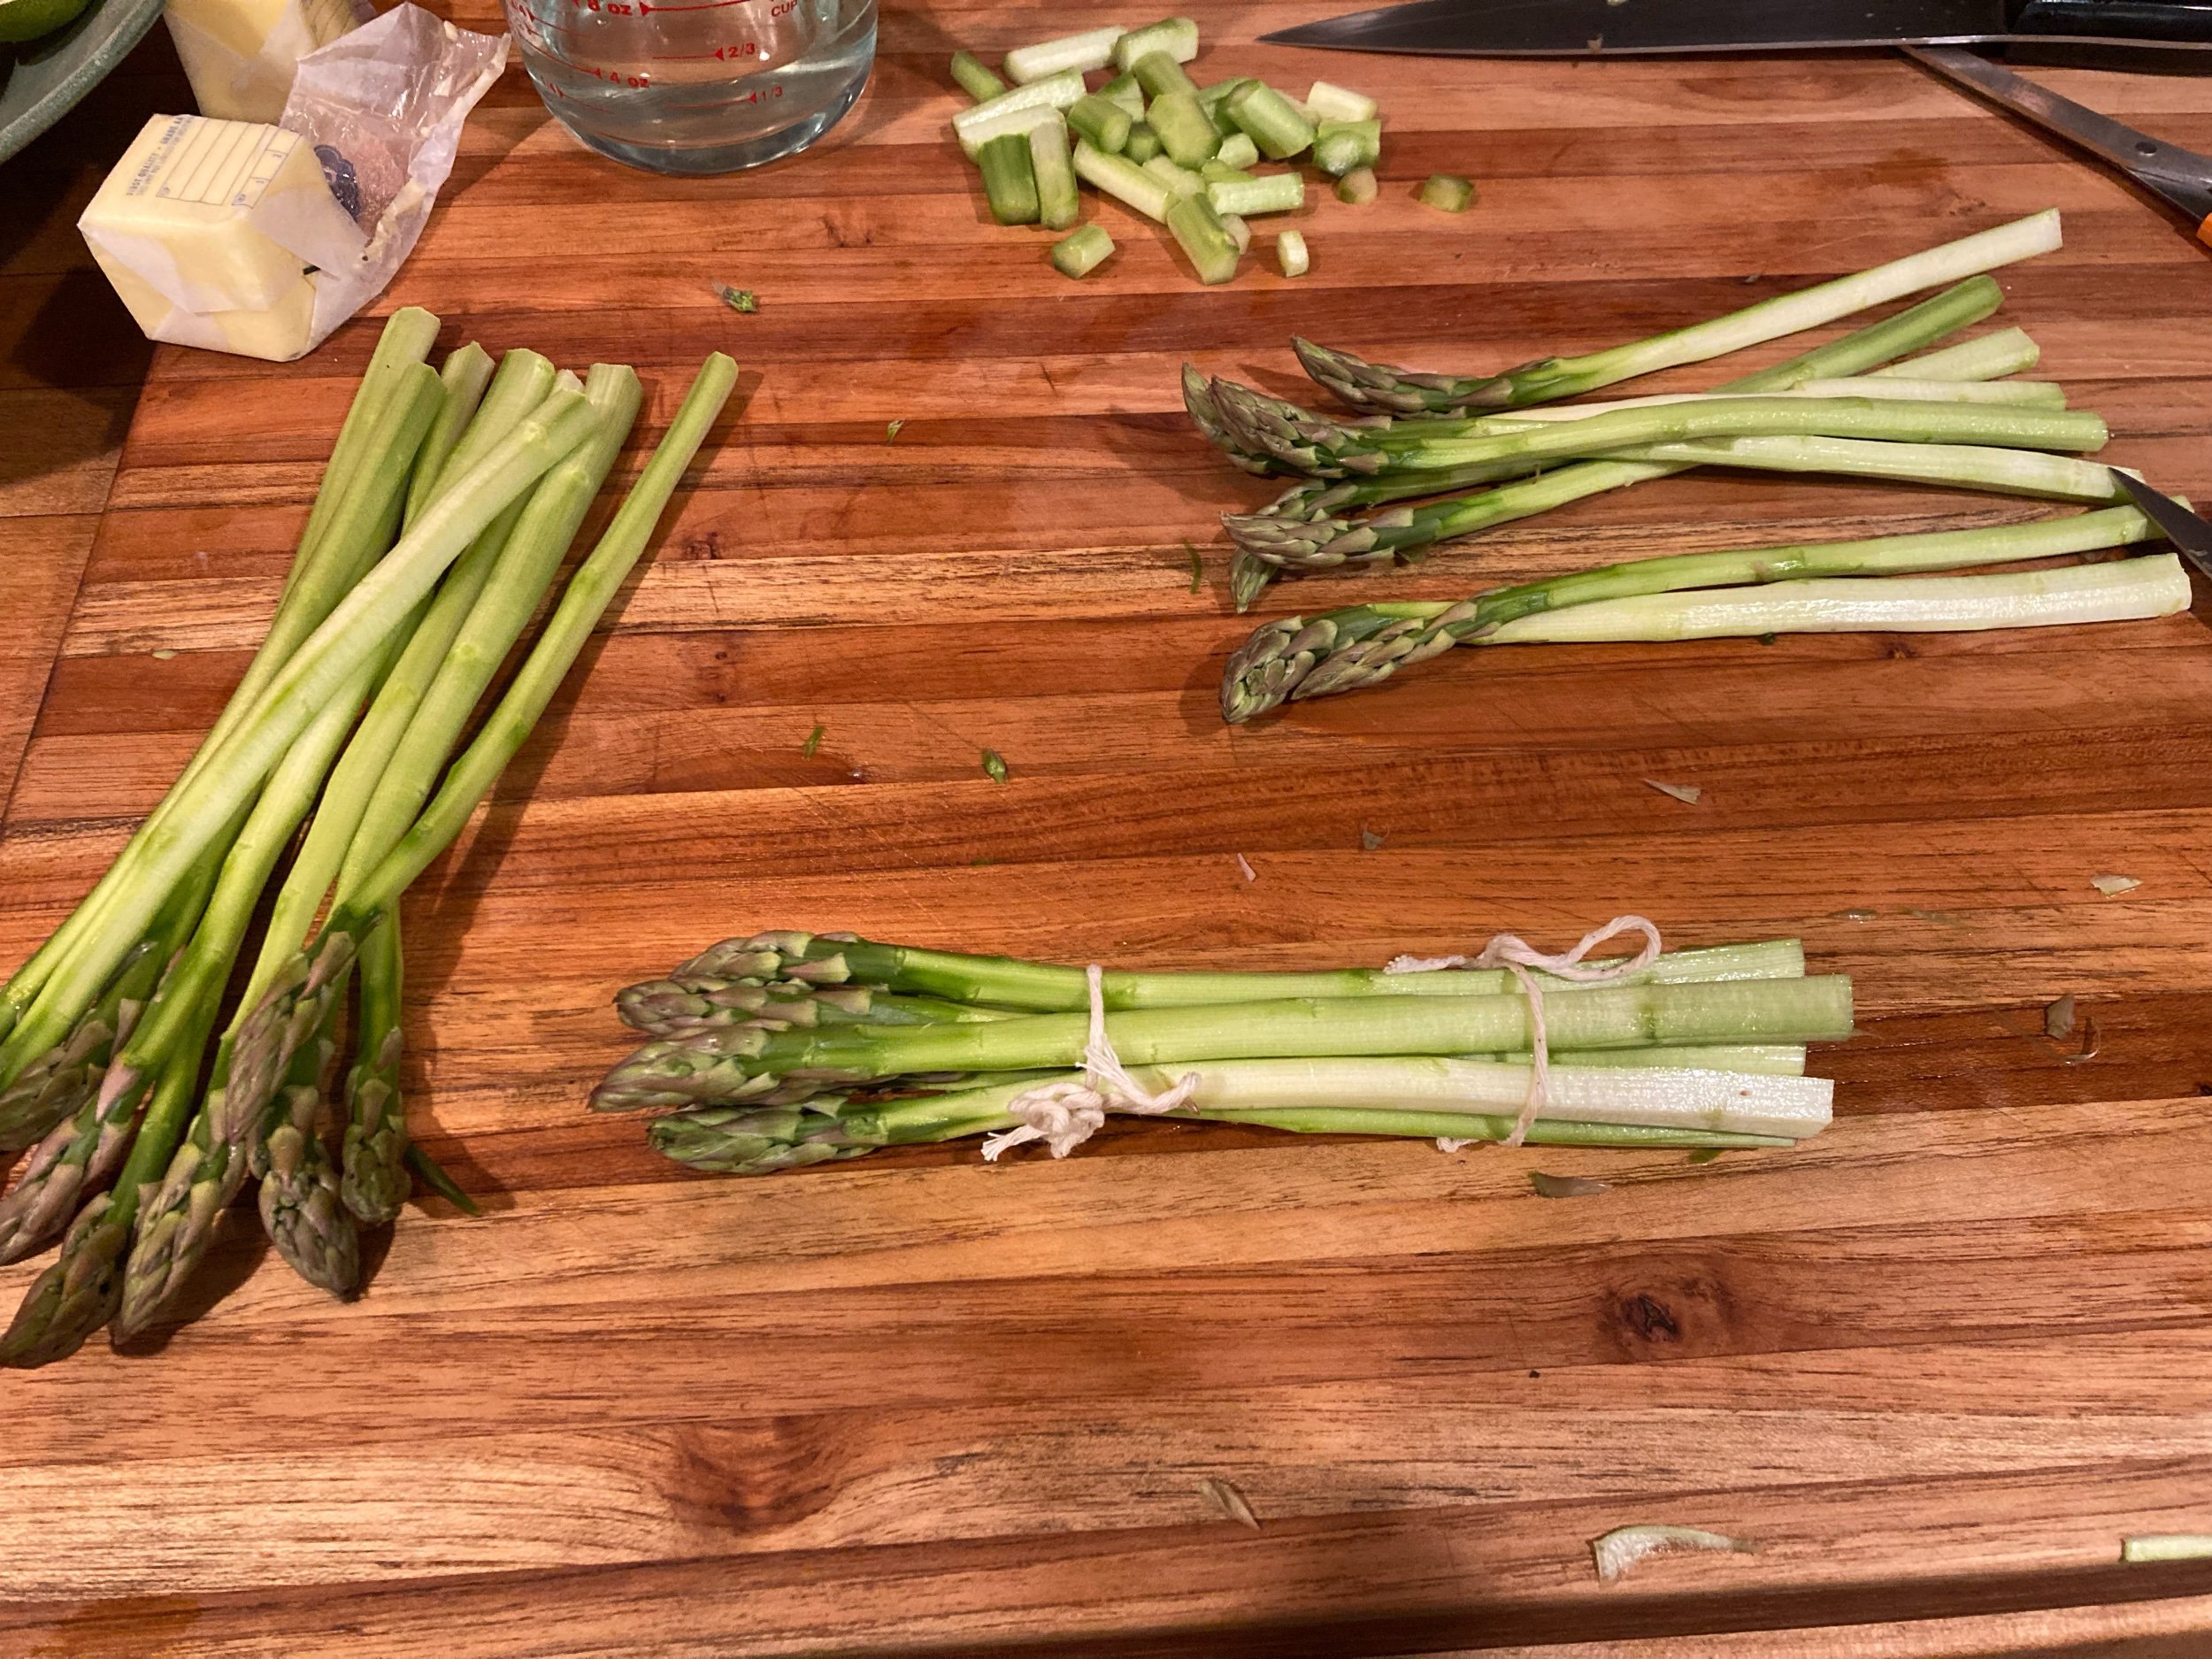
HOLD UNTIL THE BIRD IS RESTING.
Then in a pot big enough that you can put the asparagus bunches in horizontally, in enough boiling salted water to cover the bundles:
Sidebar: Uhm, I did this for 8 minutes, and I still think I over-cooked them a little. Can’t imagine what nearly twice that would have done.
Boil slowly, uncovered, for 12-15 minutes, until a knife pierces the butt end easily. The spears “should bend a little, but should not be limp or droopy. Eat the loose spear to test for doneness” (437).
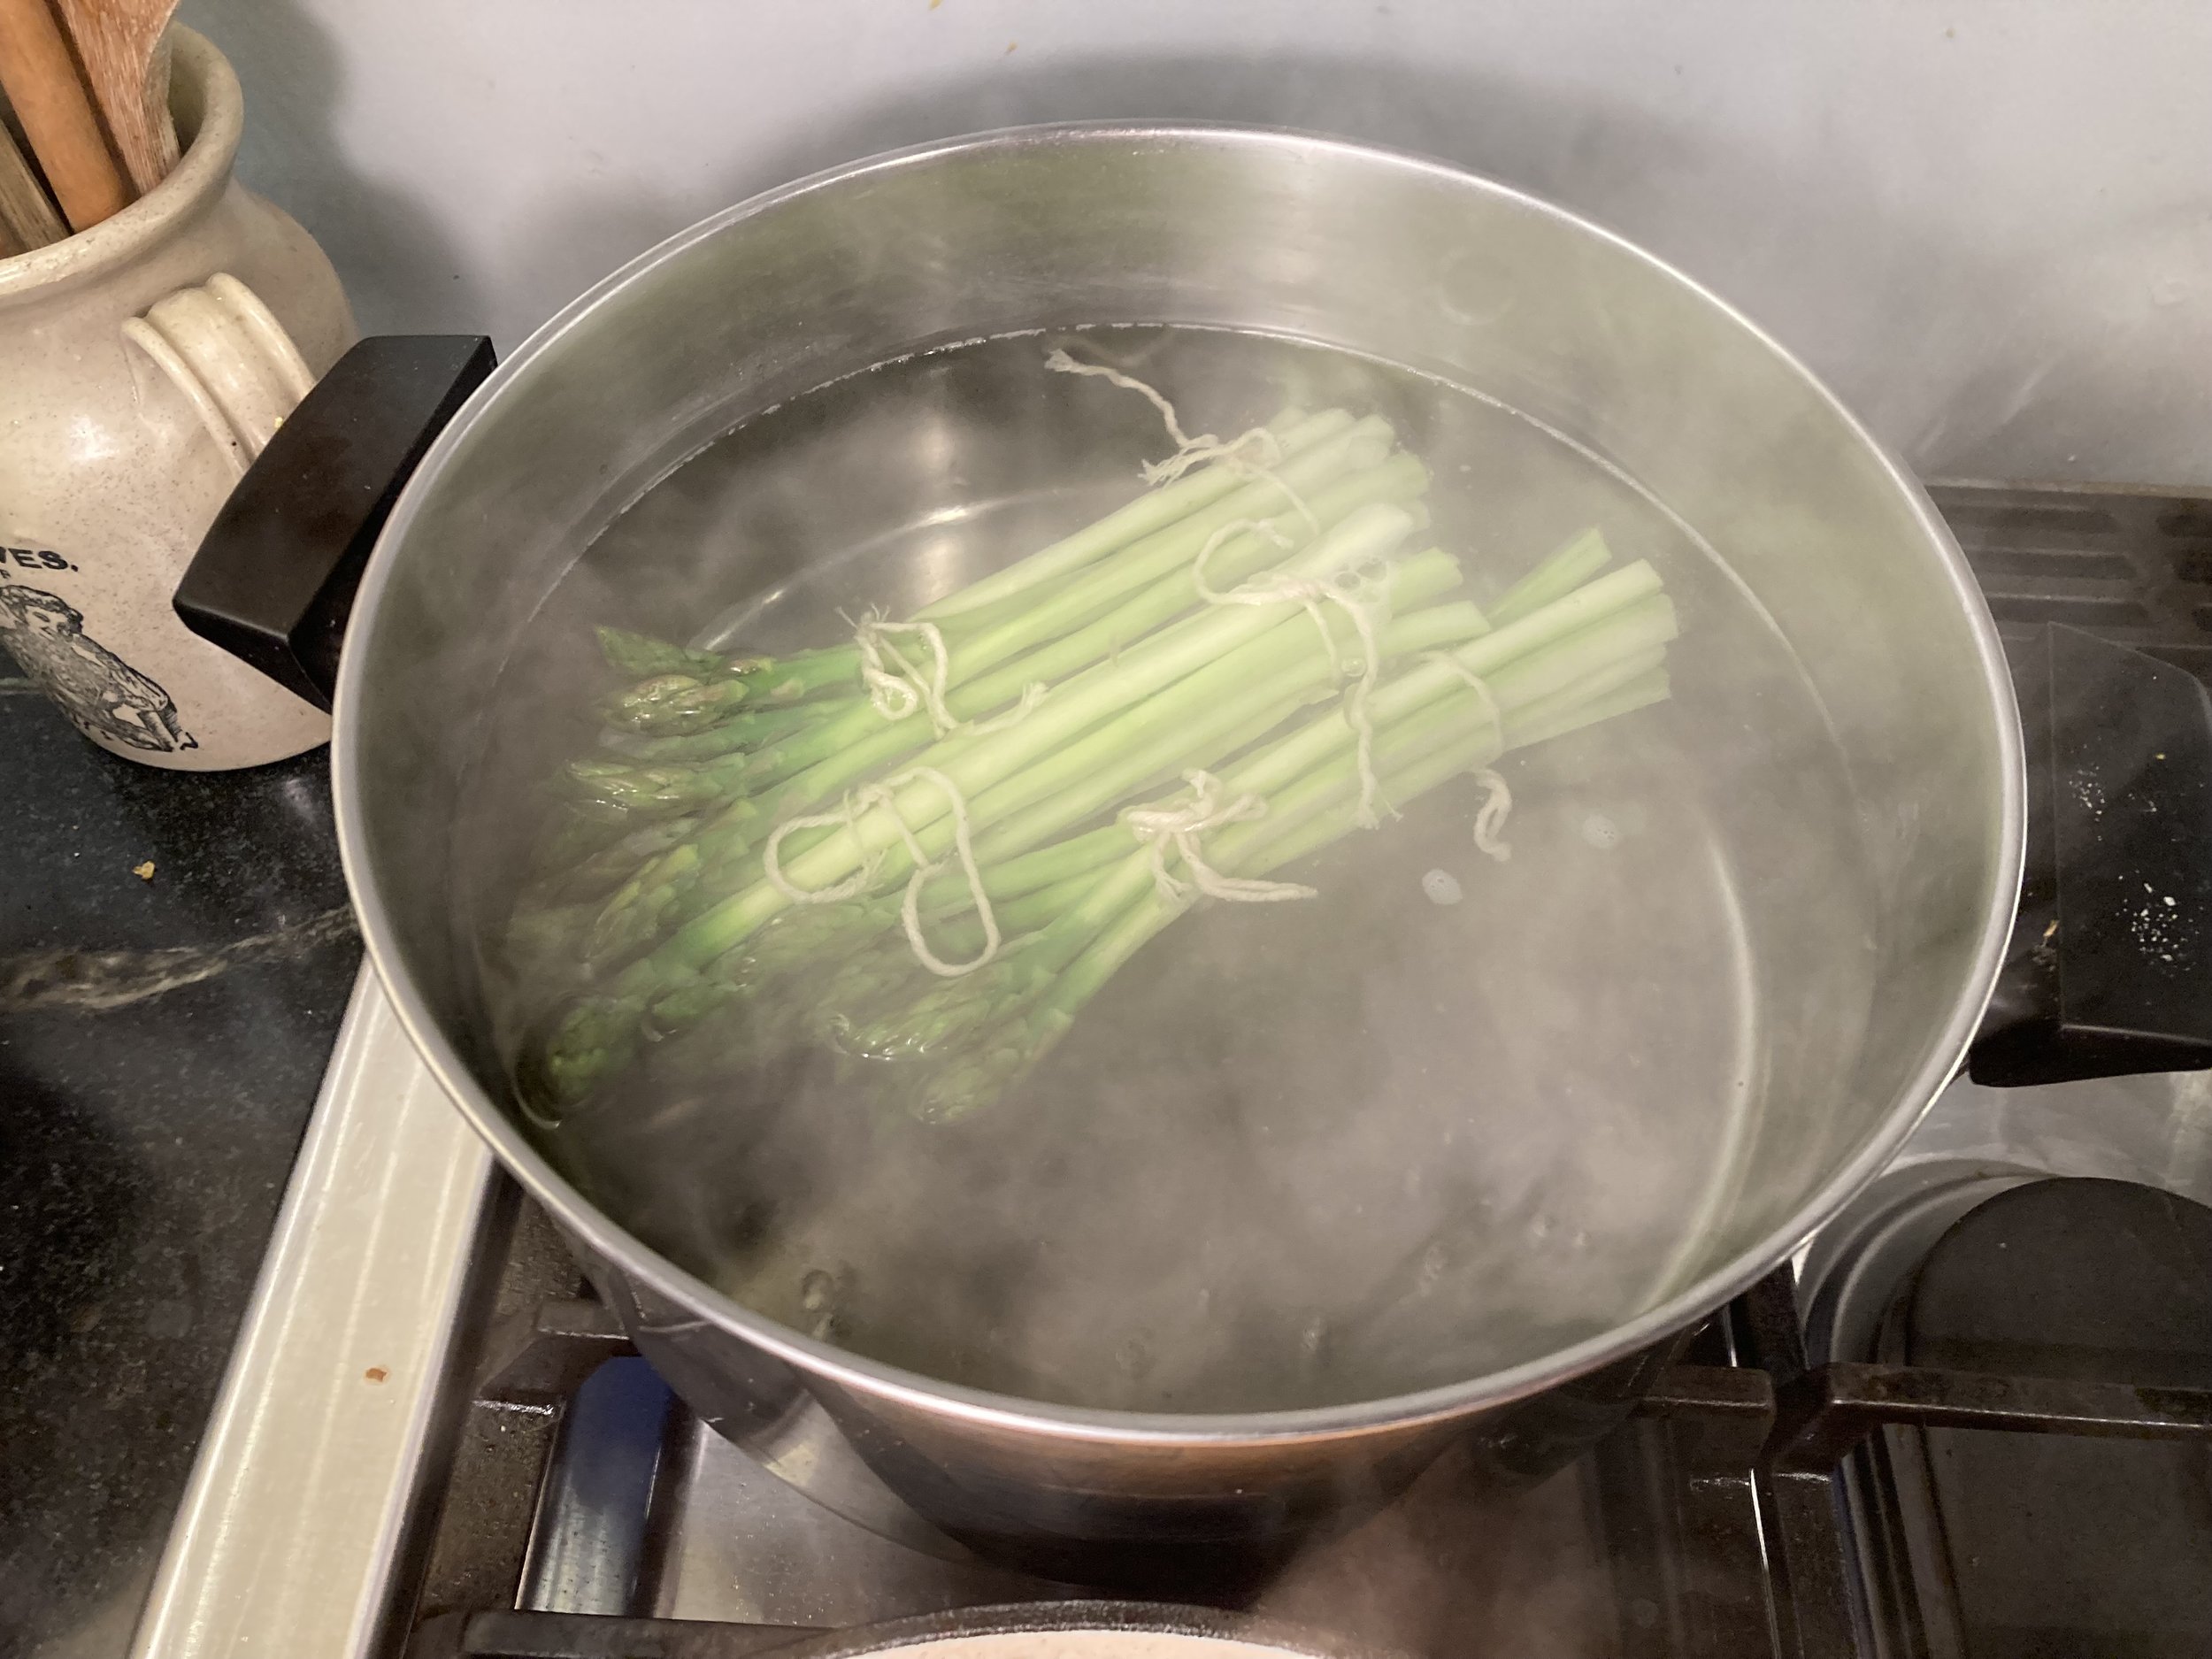
Sidebar: Yeah, this was genius. I mean, I’m always scrambling to get green veg done in the end so it doesn’t get cold. Will use this again for sure. Probably could have worked for the potatoes too.
Cut and remove the strings. If not using right away, they will keep warm for 20-30 minutes covered with a napkin. Put asparagus on a platter, then place that platter on top of the water you boiled the asparagus in, then put a napkin on the asparagus. She says.
Sauce Velouté, medium consistency (57) and Sauce Mornay (61)
The great sauce journey begins here. Bear with me, I’m learning, and I’m trying to learn with Julia.
The White Mother Sauces “stem from those two cousins, béchamel and velouté. Both use a flour and butter roux as a thickening agent but béchamel is a milk based sauce while the velouté has a fish, meat, or poultry base” read: stock (54), which is the version I’ll be doing today.
Thin Sauce or soup 1 Tb per cup of liquid
Medium, general purpose sauce 1-1/2 Tb flour per cup of liquid
Thick sauce 2 Tb flour per cup of liquid
Soufflé base 3 Tb flour per cup of liquid
And then the mornay sauce is a medium consistency velouté or béchamel with swiss cheese, or a combination of swiss and parmesan mixed in after the original sauce is completed.
2 T butter
3 T flour
2 cups boiling stock
Salt and white pepper
Instructions for Sauce Veloute from Mastering the Art of French Cooking (57):
Sidebar: Maybe my low heat is lower than Julia’s. But I had to turn this up to a medium-low to get anything to happen here. Or maybe the time here really depends on the kind of pot. I was using an enameled cast iron pot, so I upped that temp a bit. Eventually there was some light frothing, but it took forever to get there at low.
1) In a heavy bottomed [at least] 6-cup saucepan, melt the butter over low heat. Blend in the flour, and cook slowly, stirring, until the butter and flour froth together for 2 minutes without coloring. This is now a white roux.
Sidebar: Is it supposed to smell like butter cookies? I’ve heard popcorn, but mine really smelled like cookies. Hmmm.
2) Remove roux from heat. As soon as roux has stopped bubbling, pour in all the [boiling chicken stock] at once. Immediately beat vigorously with a wire whip to blend liquid and roux, gathering in all bits of roux from the inside edges of the pan.
3) Set saucepan over moderately high heat and stir with the wire whip until the sauce comes to a boil. Boil for 1 minute, stirring.
4) Remove from heat, and beat in salt and white pepper.
Now we’re gonna turn that into the Sauce Mornay with the addition of the following:
¼ cup swiss coarsely grated
¼ cup parmesan finely grated
Pinch nutmeg
Pinch cayenne (optional)
1-2T softened additional butter (optional)
1) Take the sauce veloute you made, and right after it has boiled for one minute, while it is still hot, remove from the heat and beat in the cheeses until melted and blended with the sauce.
2) Season to taste with salt, pepper, nutmeg, and optional cayenne.
3) Off heat, and just before serving, stir in optional additional butter a bit at a time, if using. (I didn’t.)
If not using right away, you can pour a thin layer of melted butter, or stock over the top to keep it from skinning over.
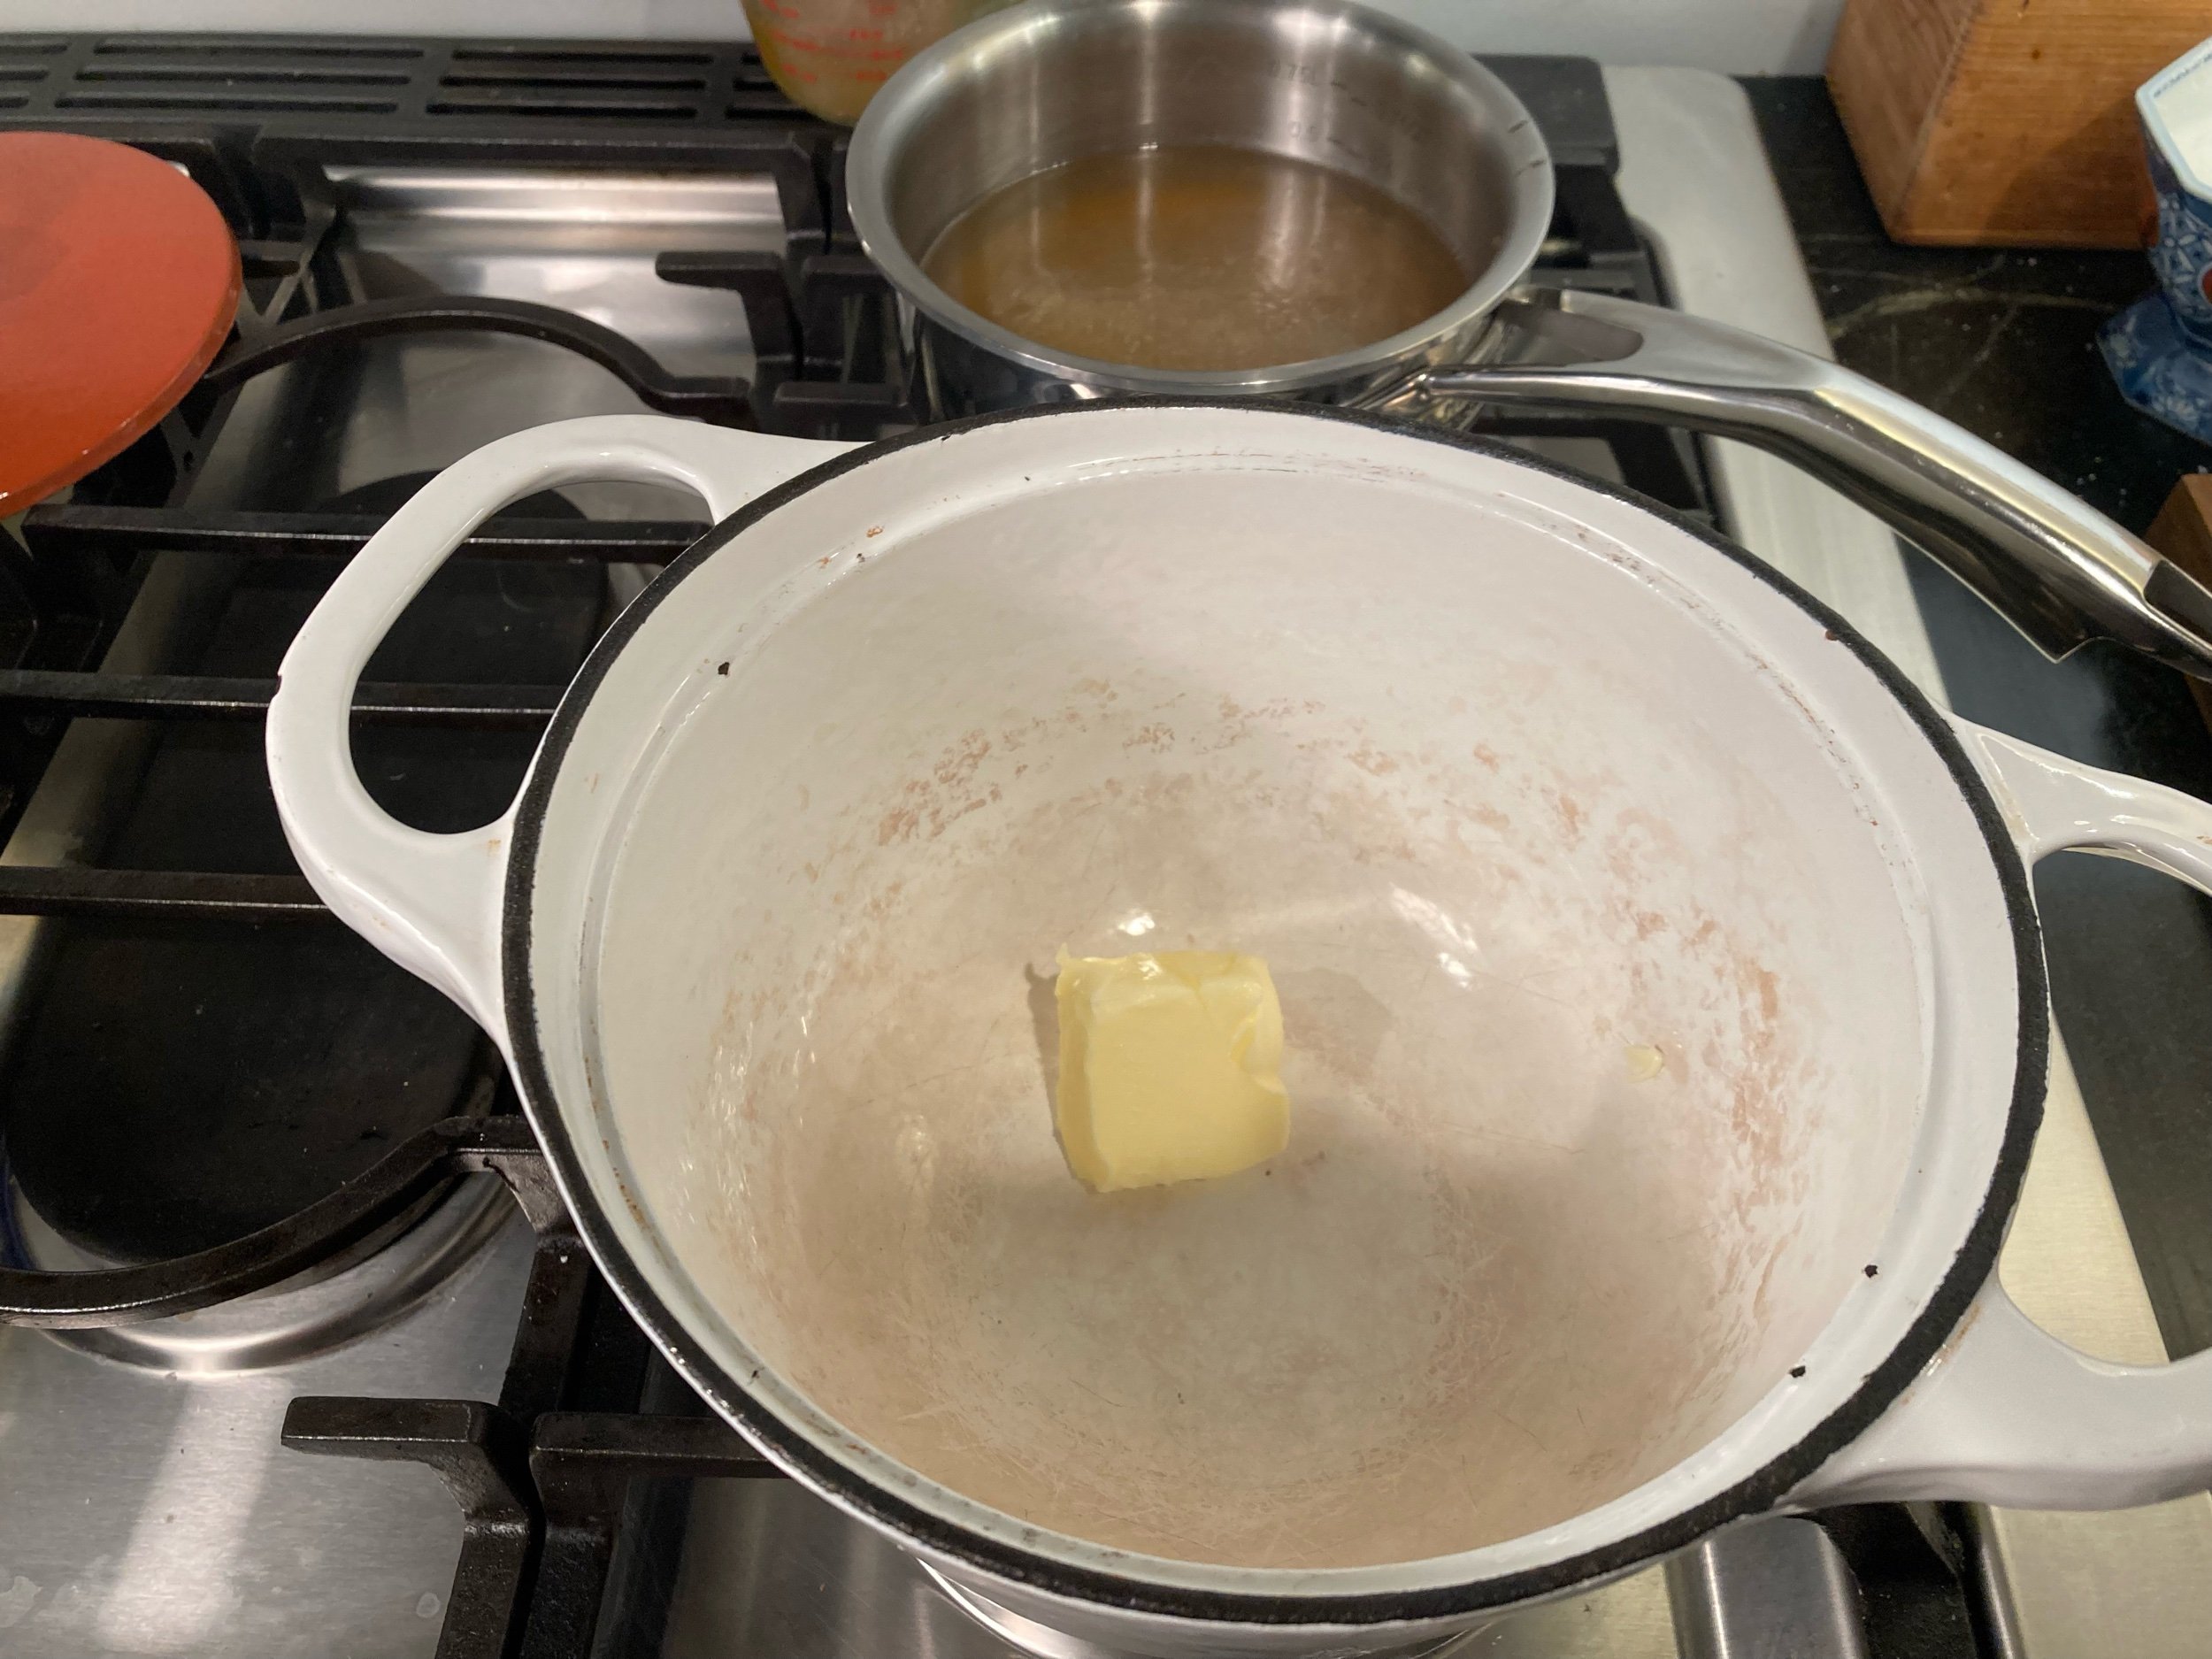
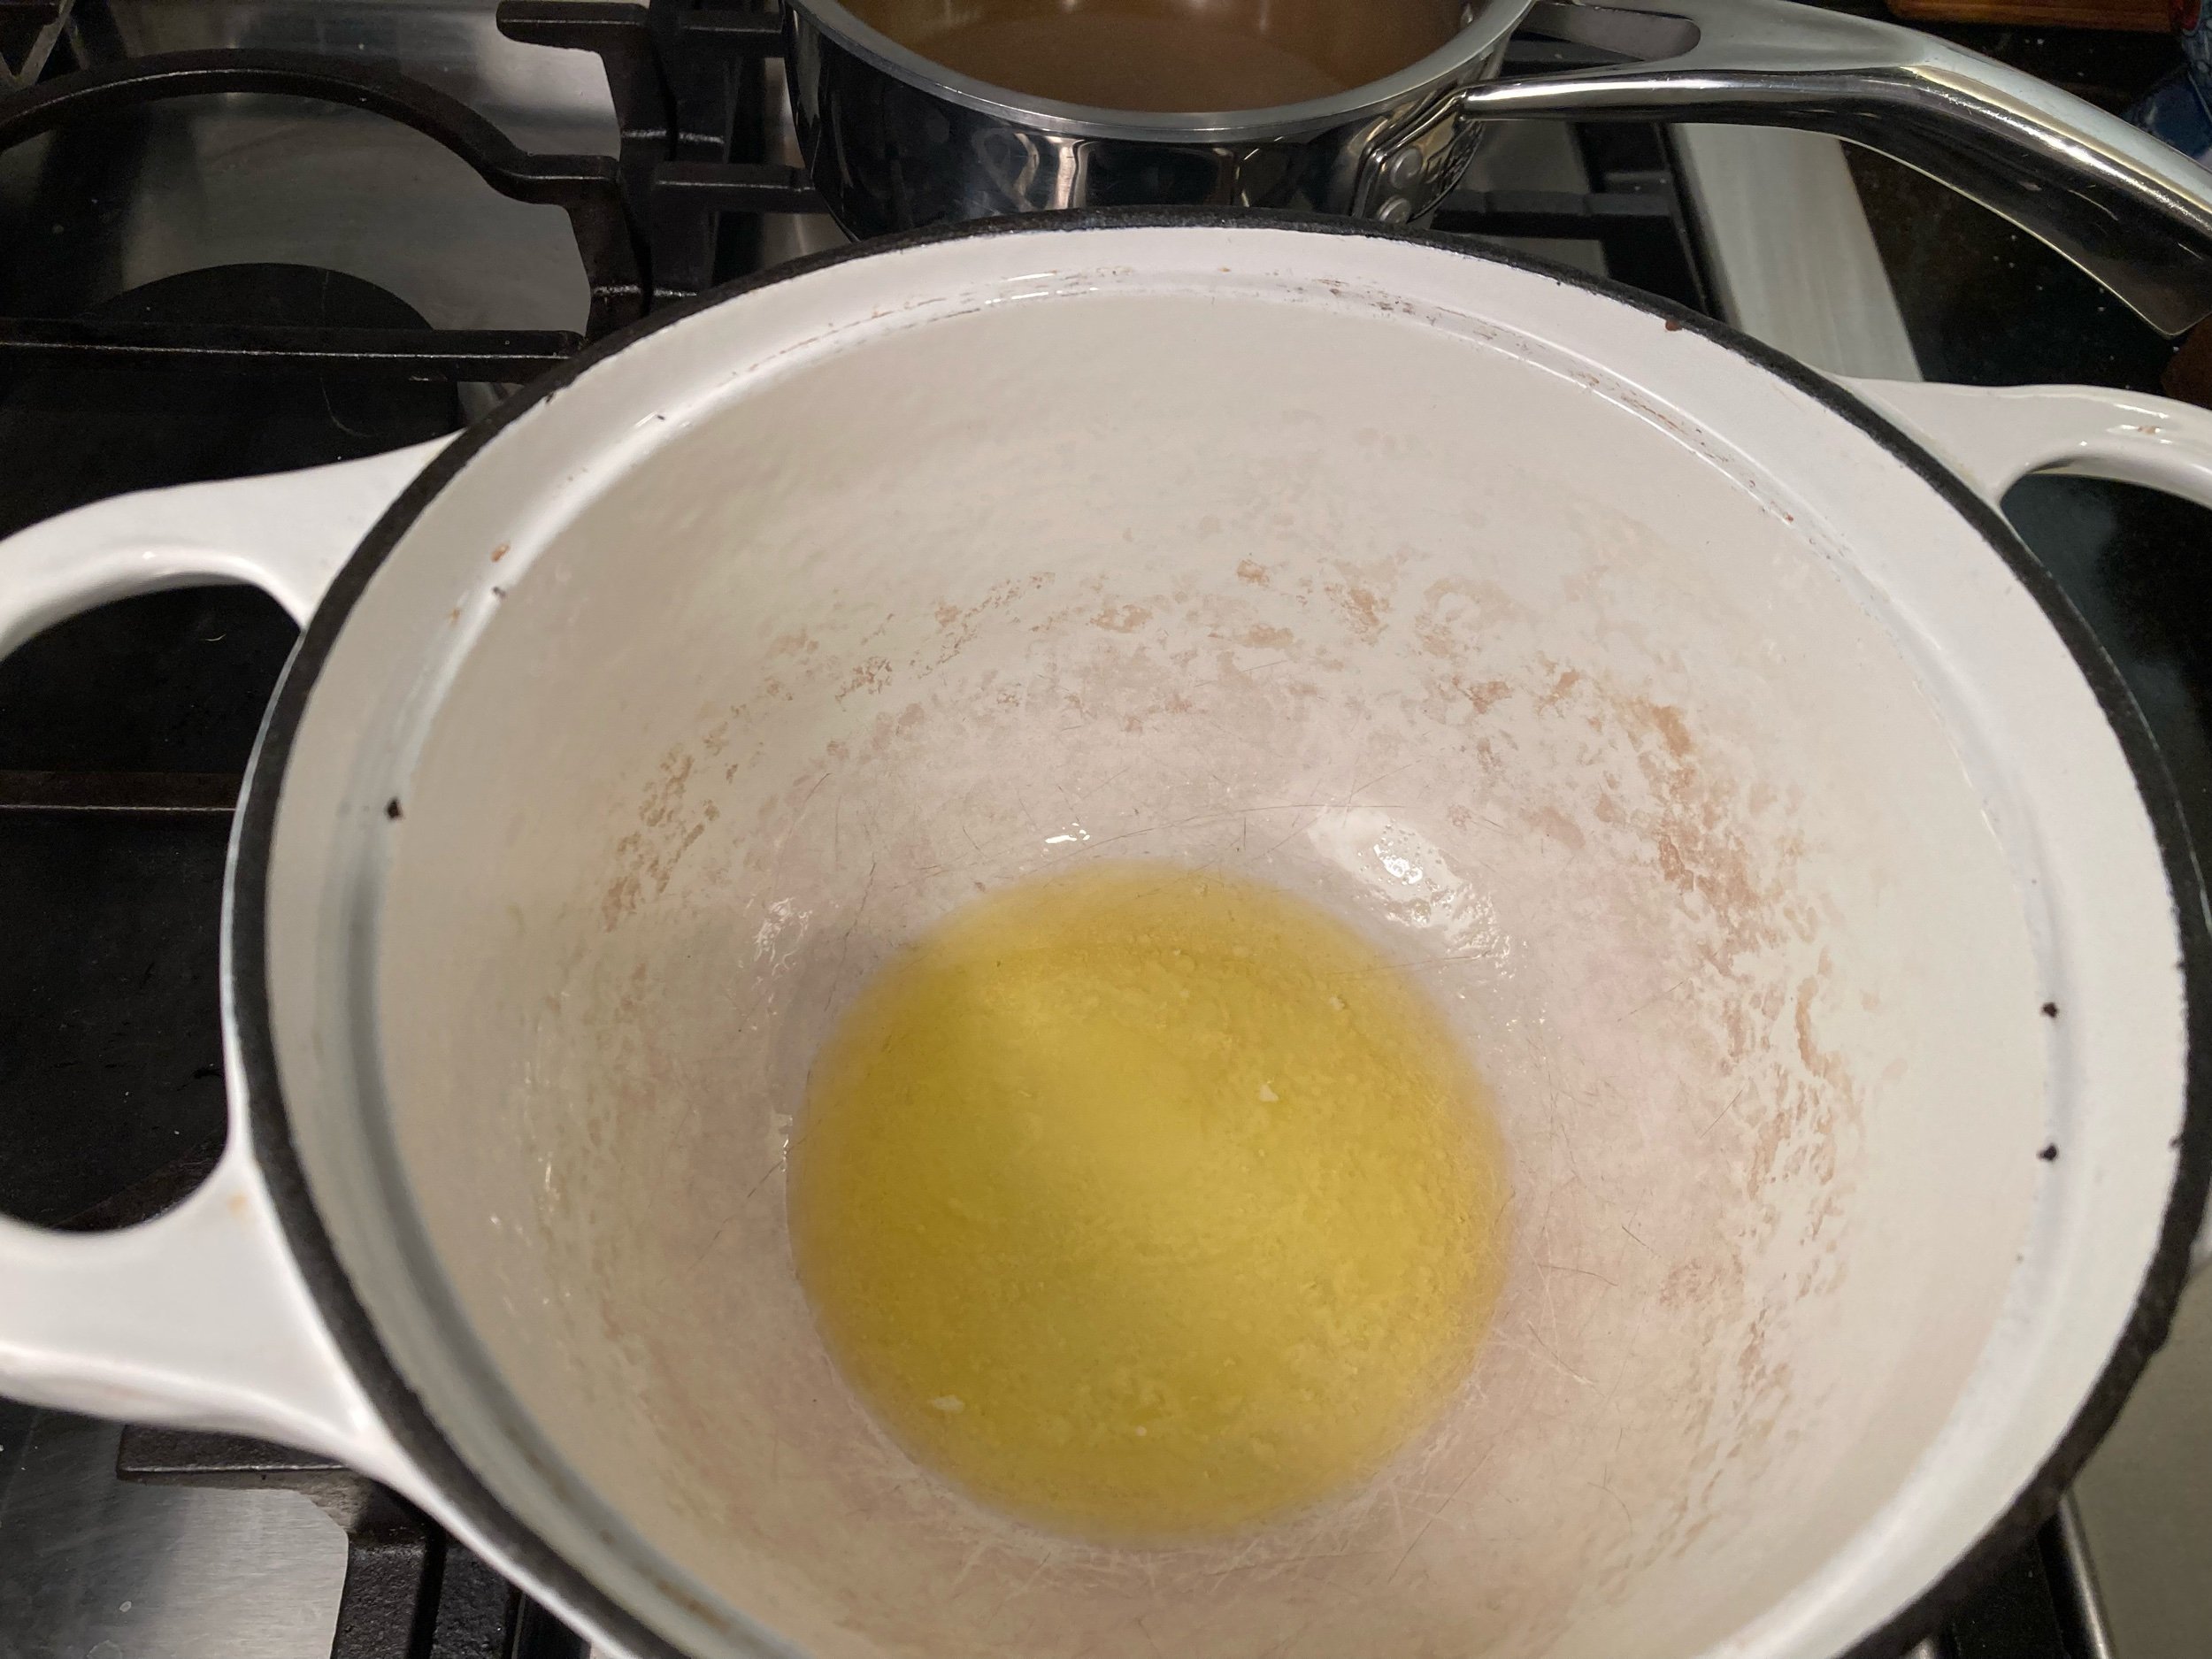
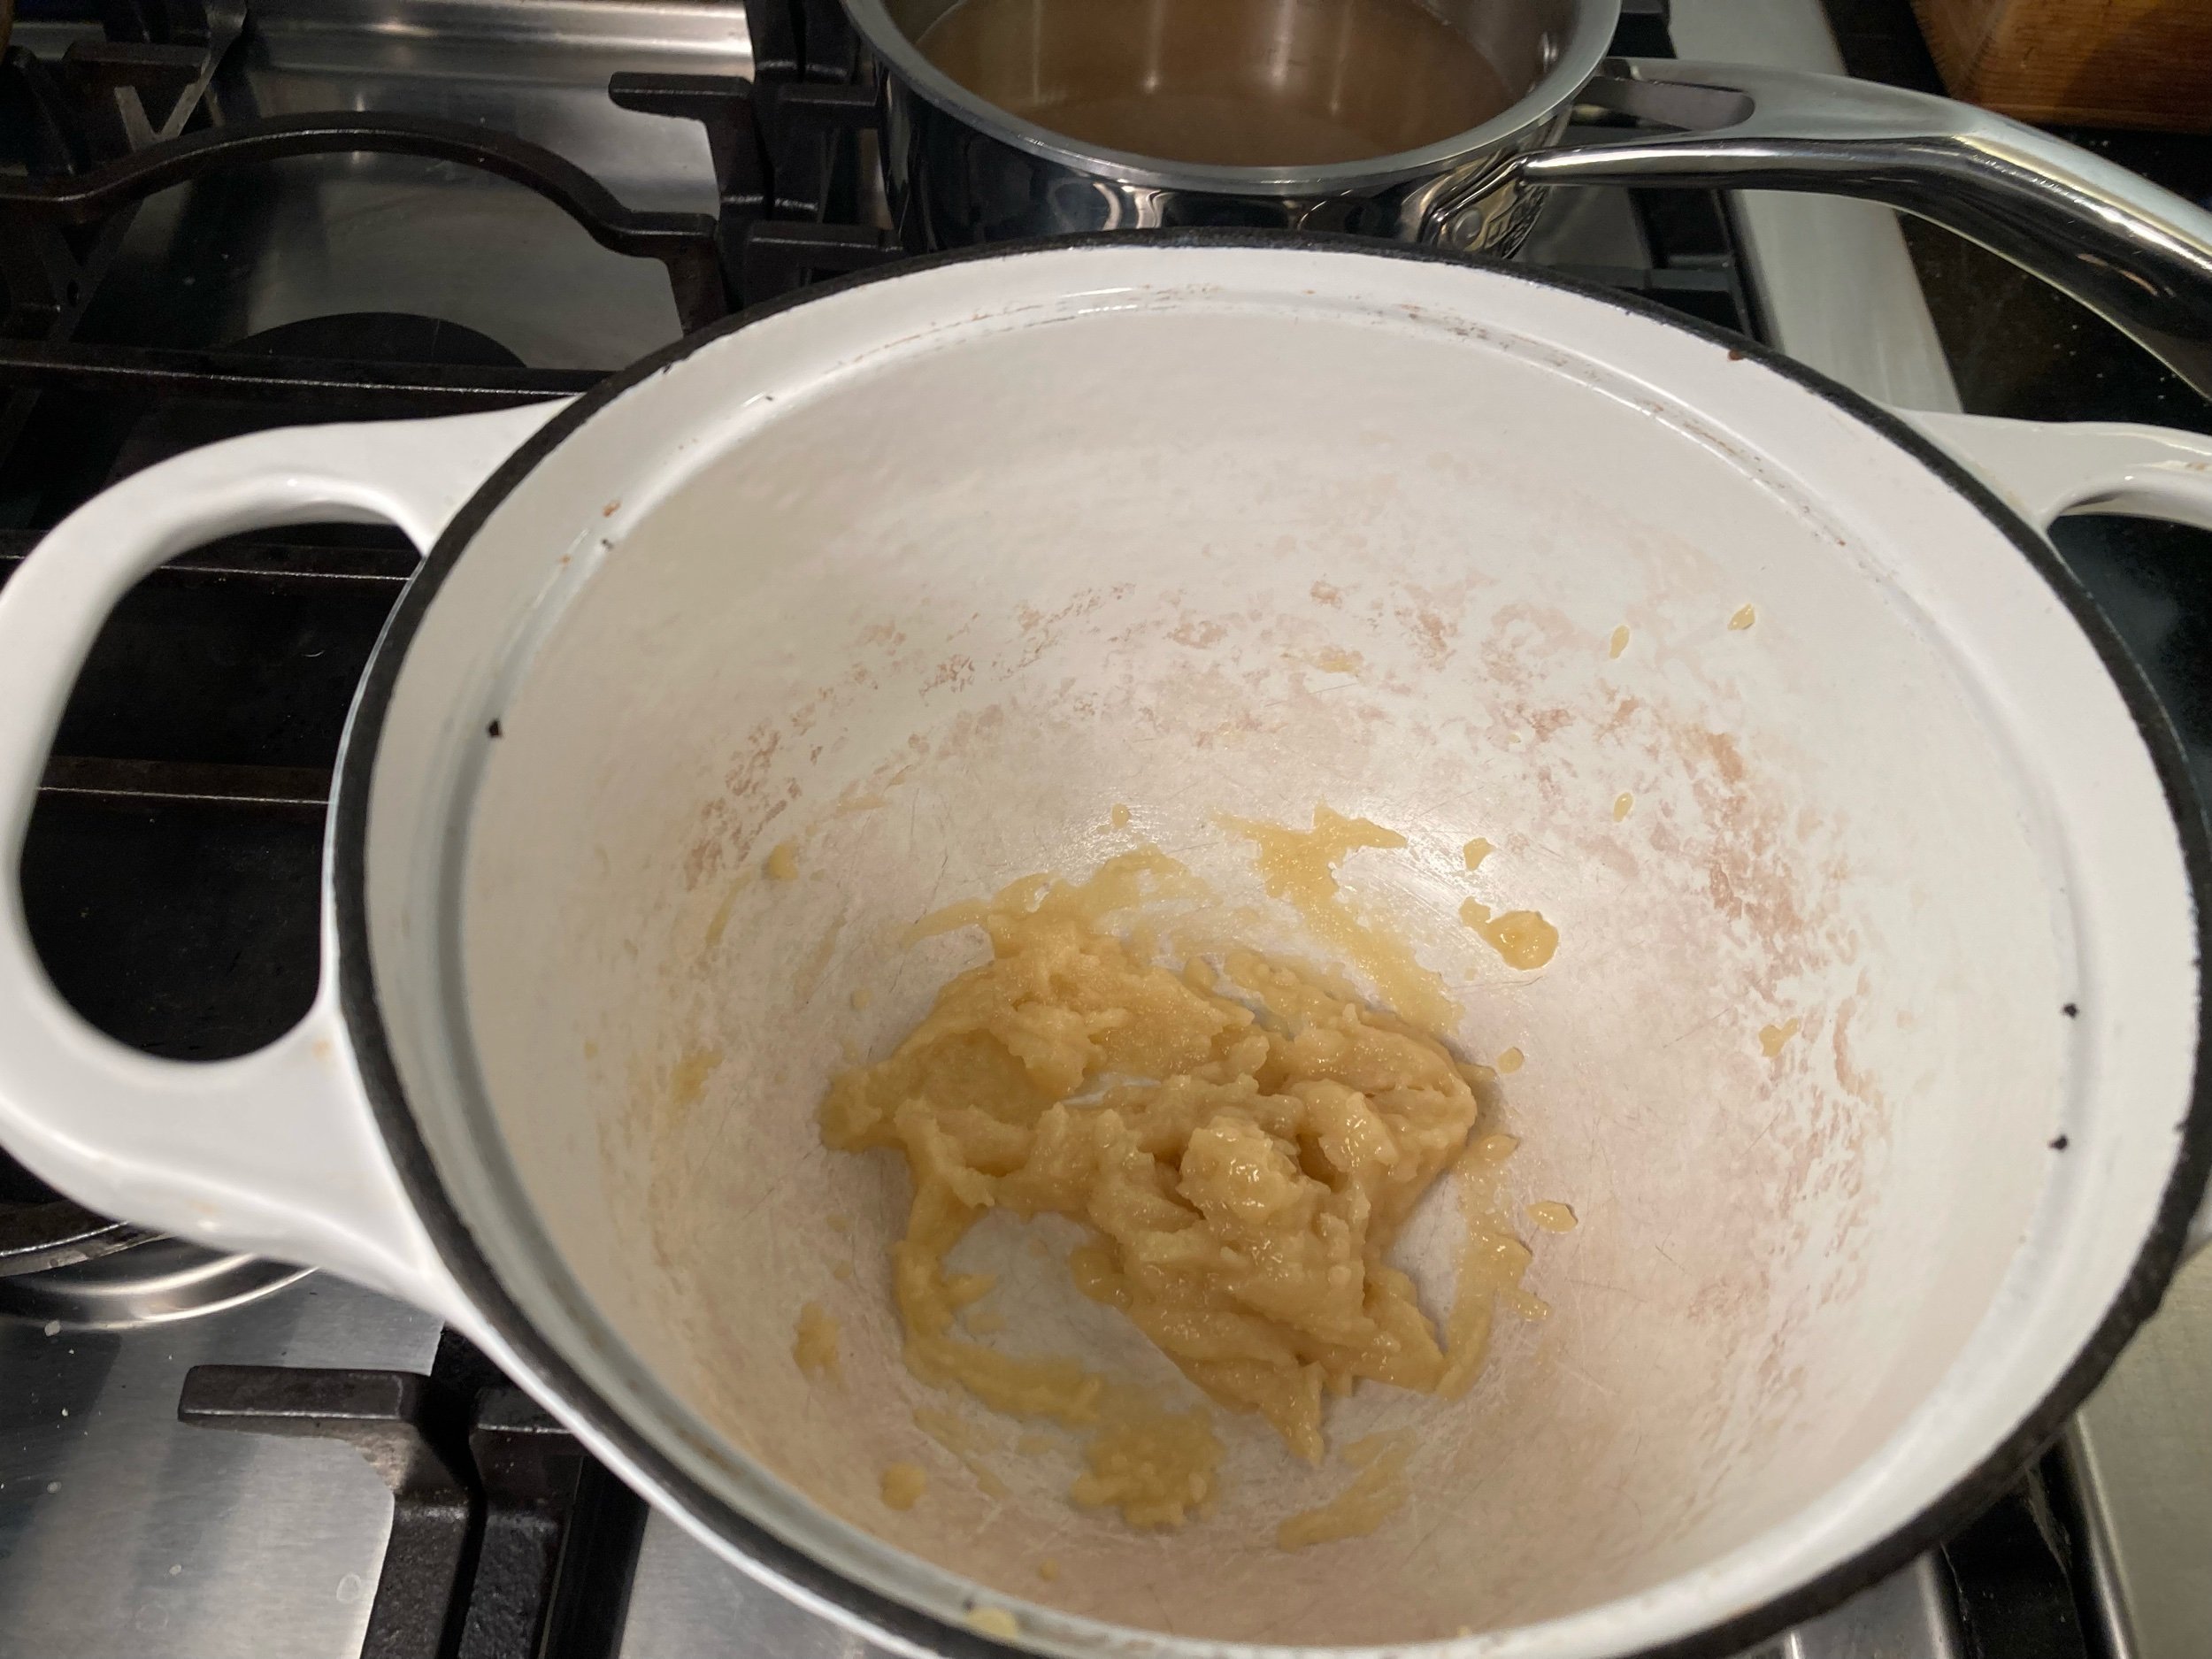
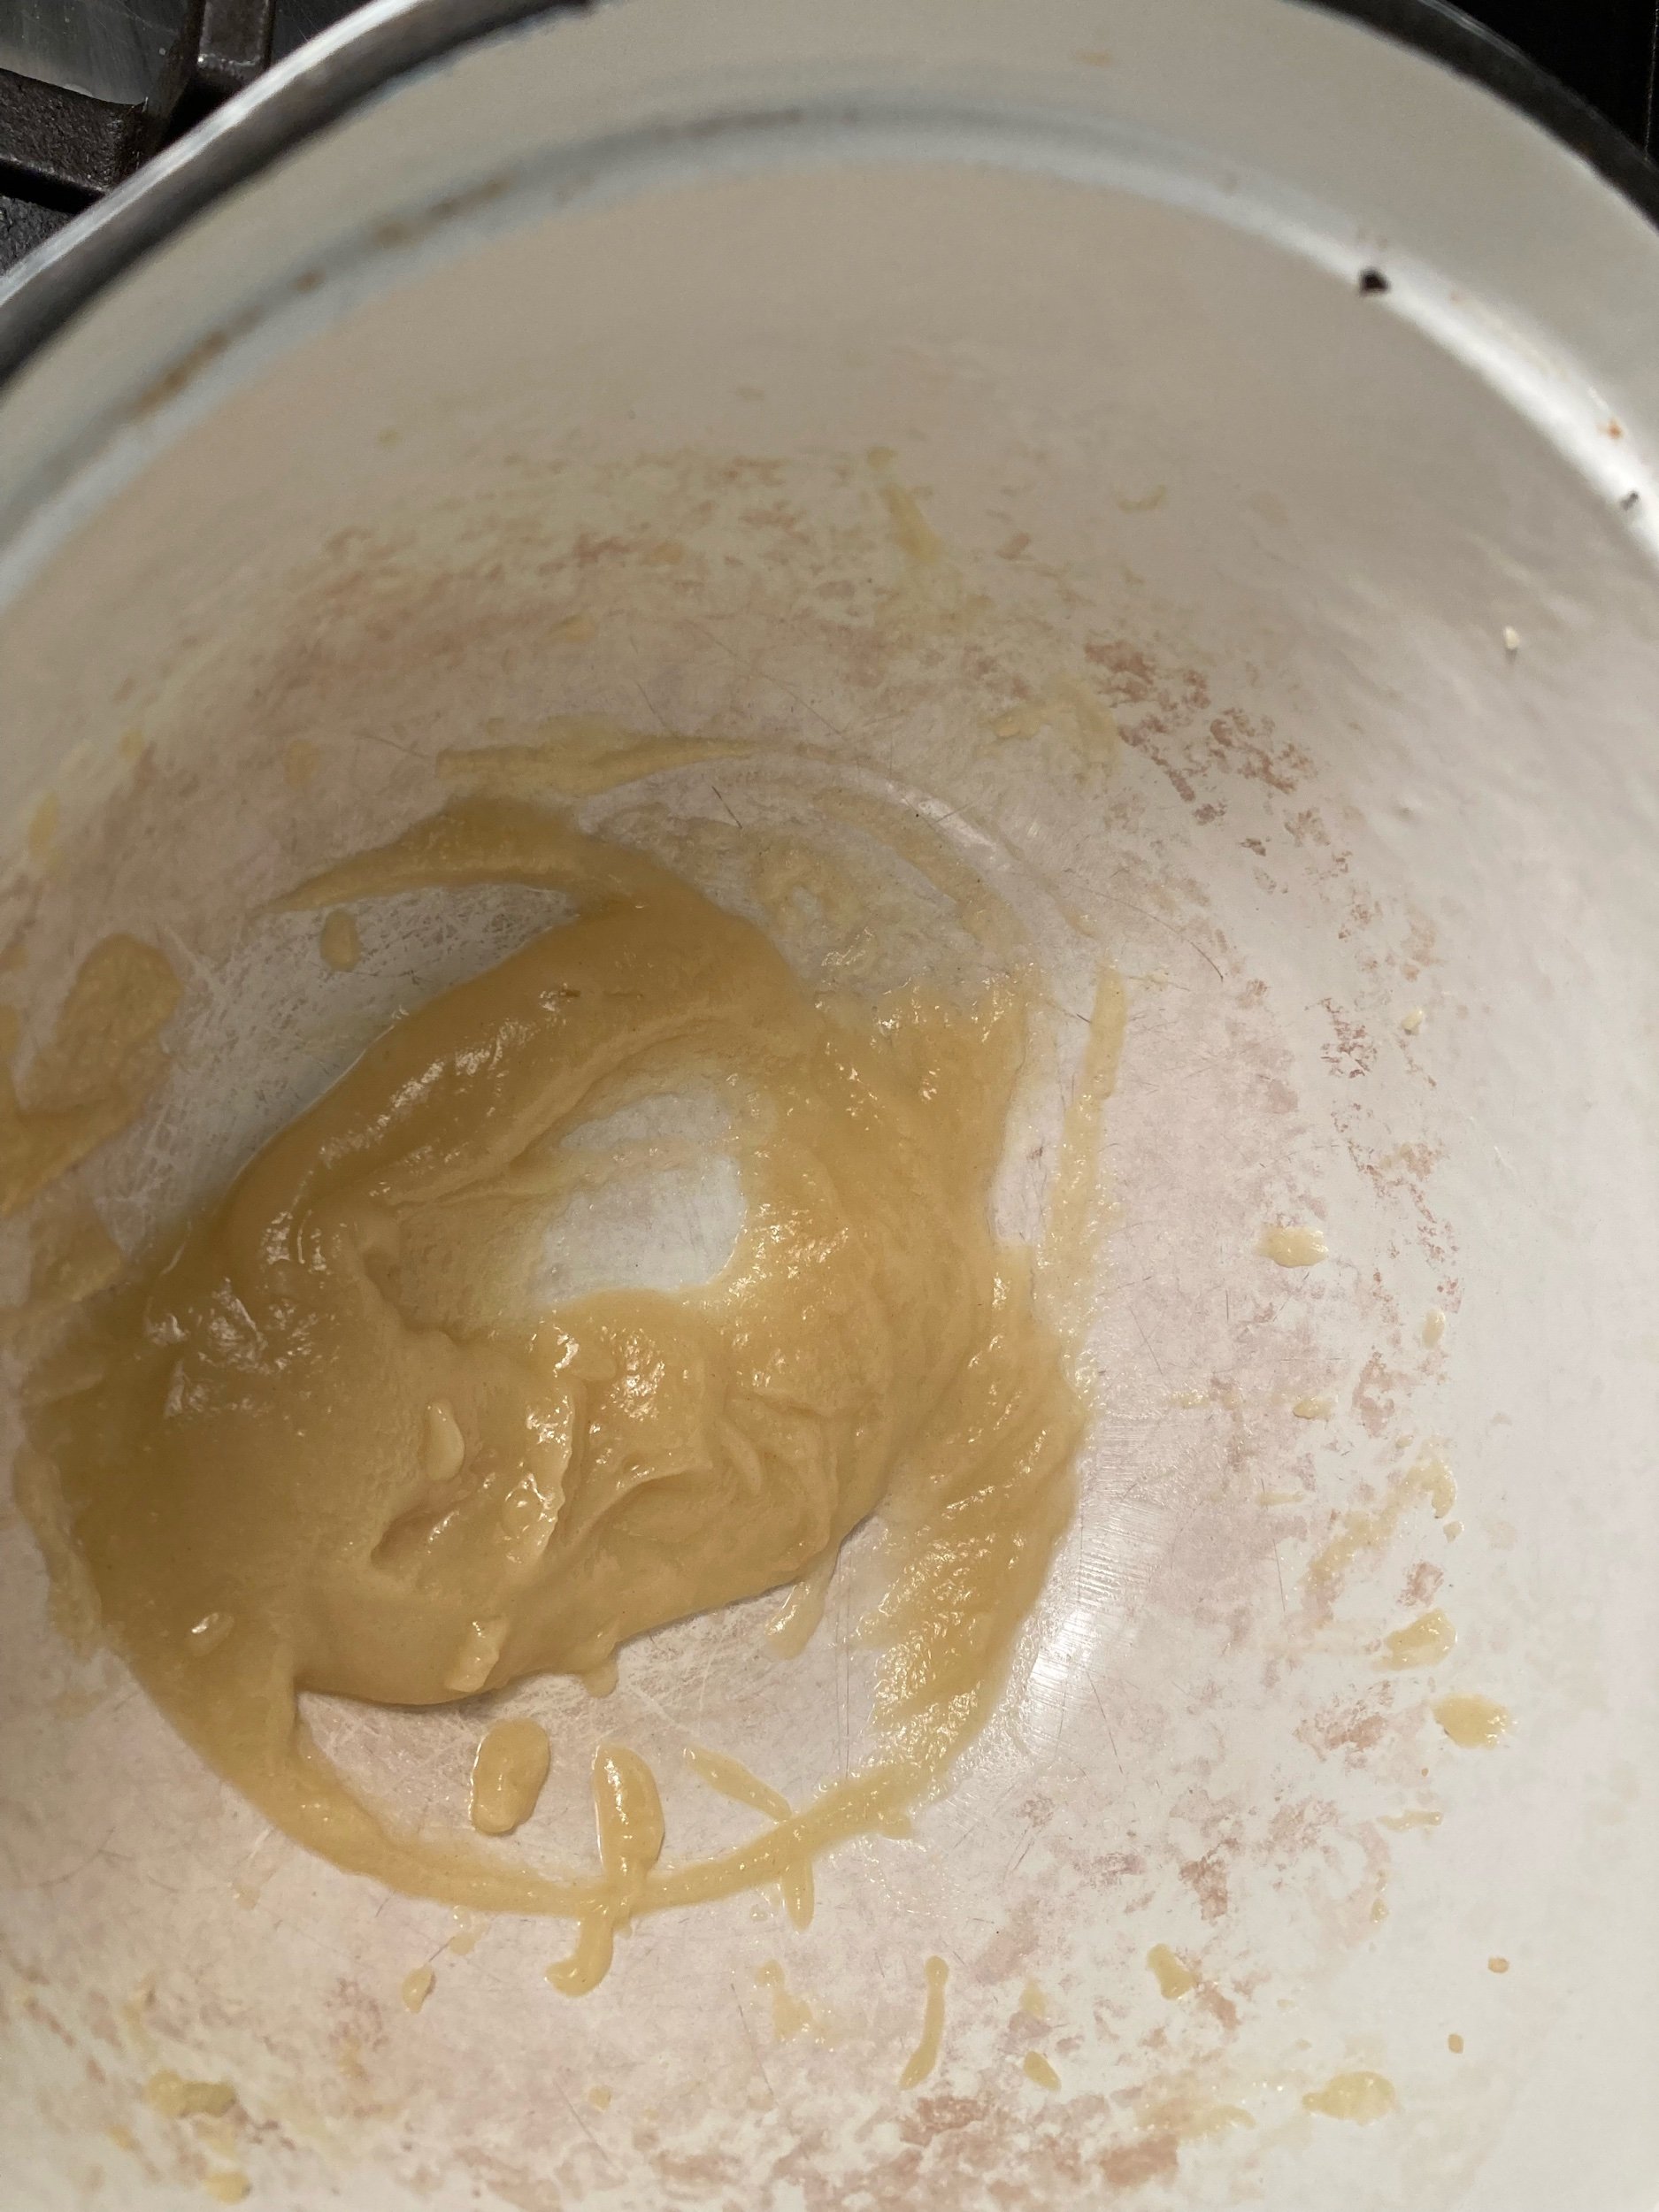
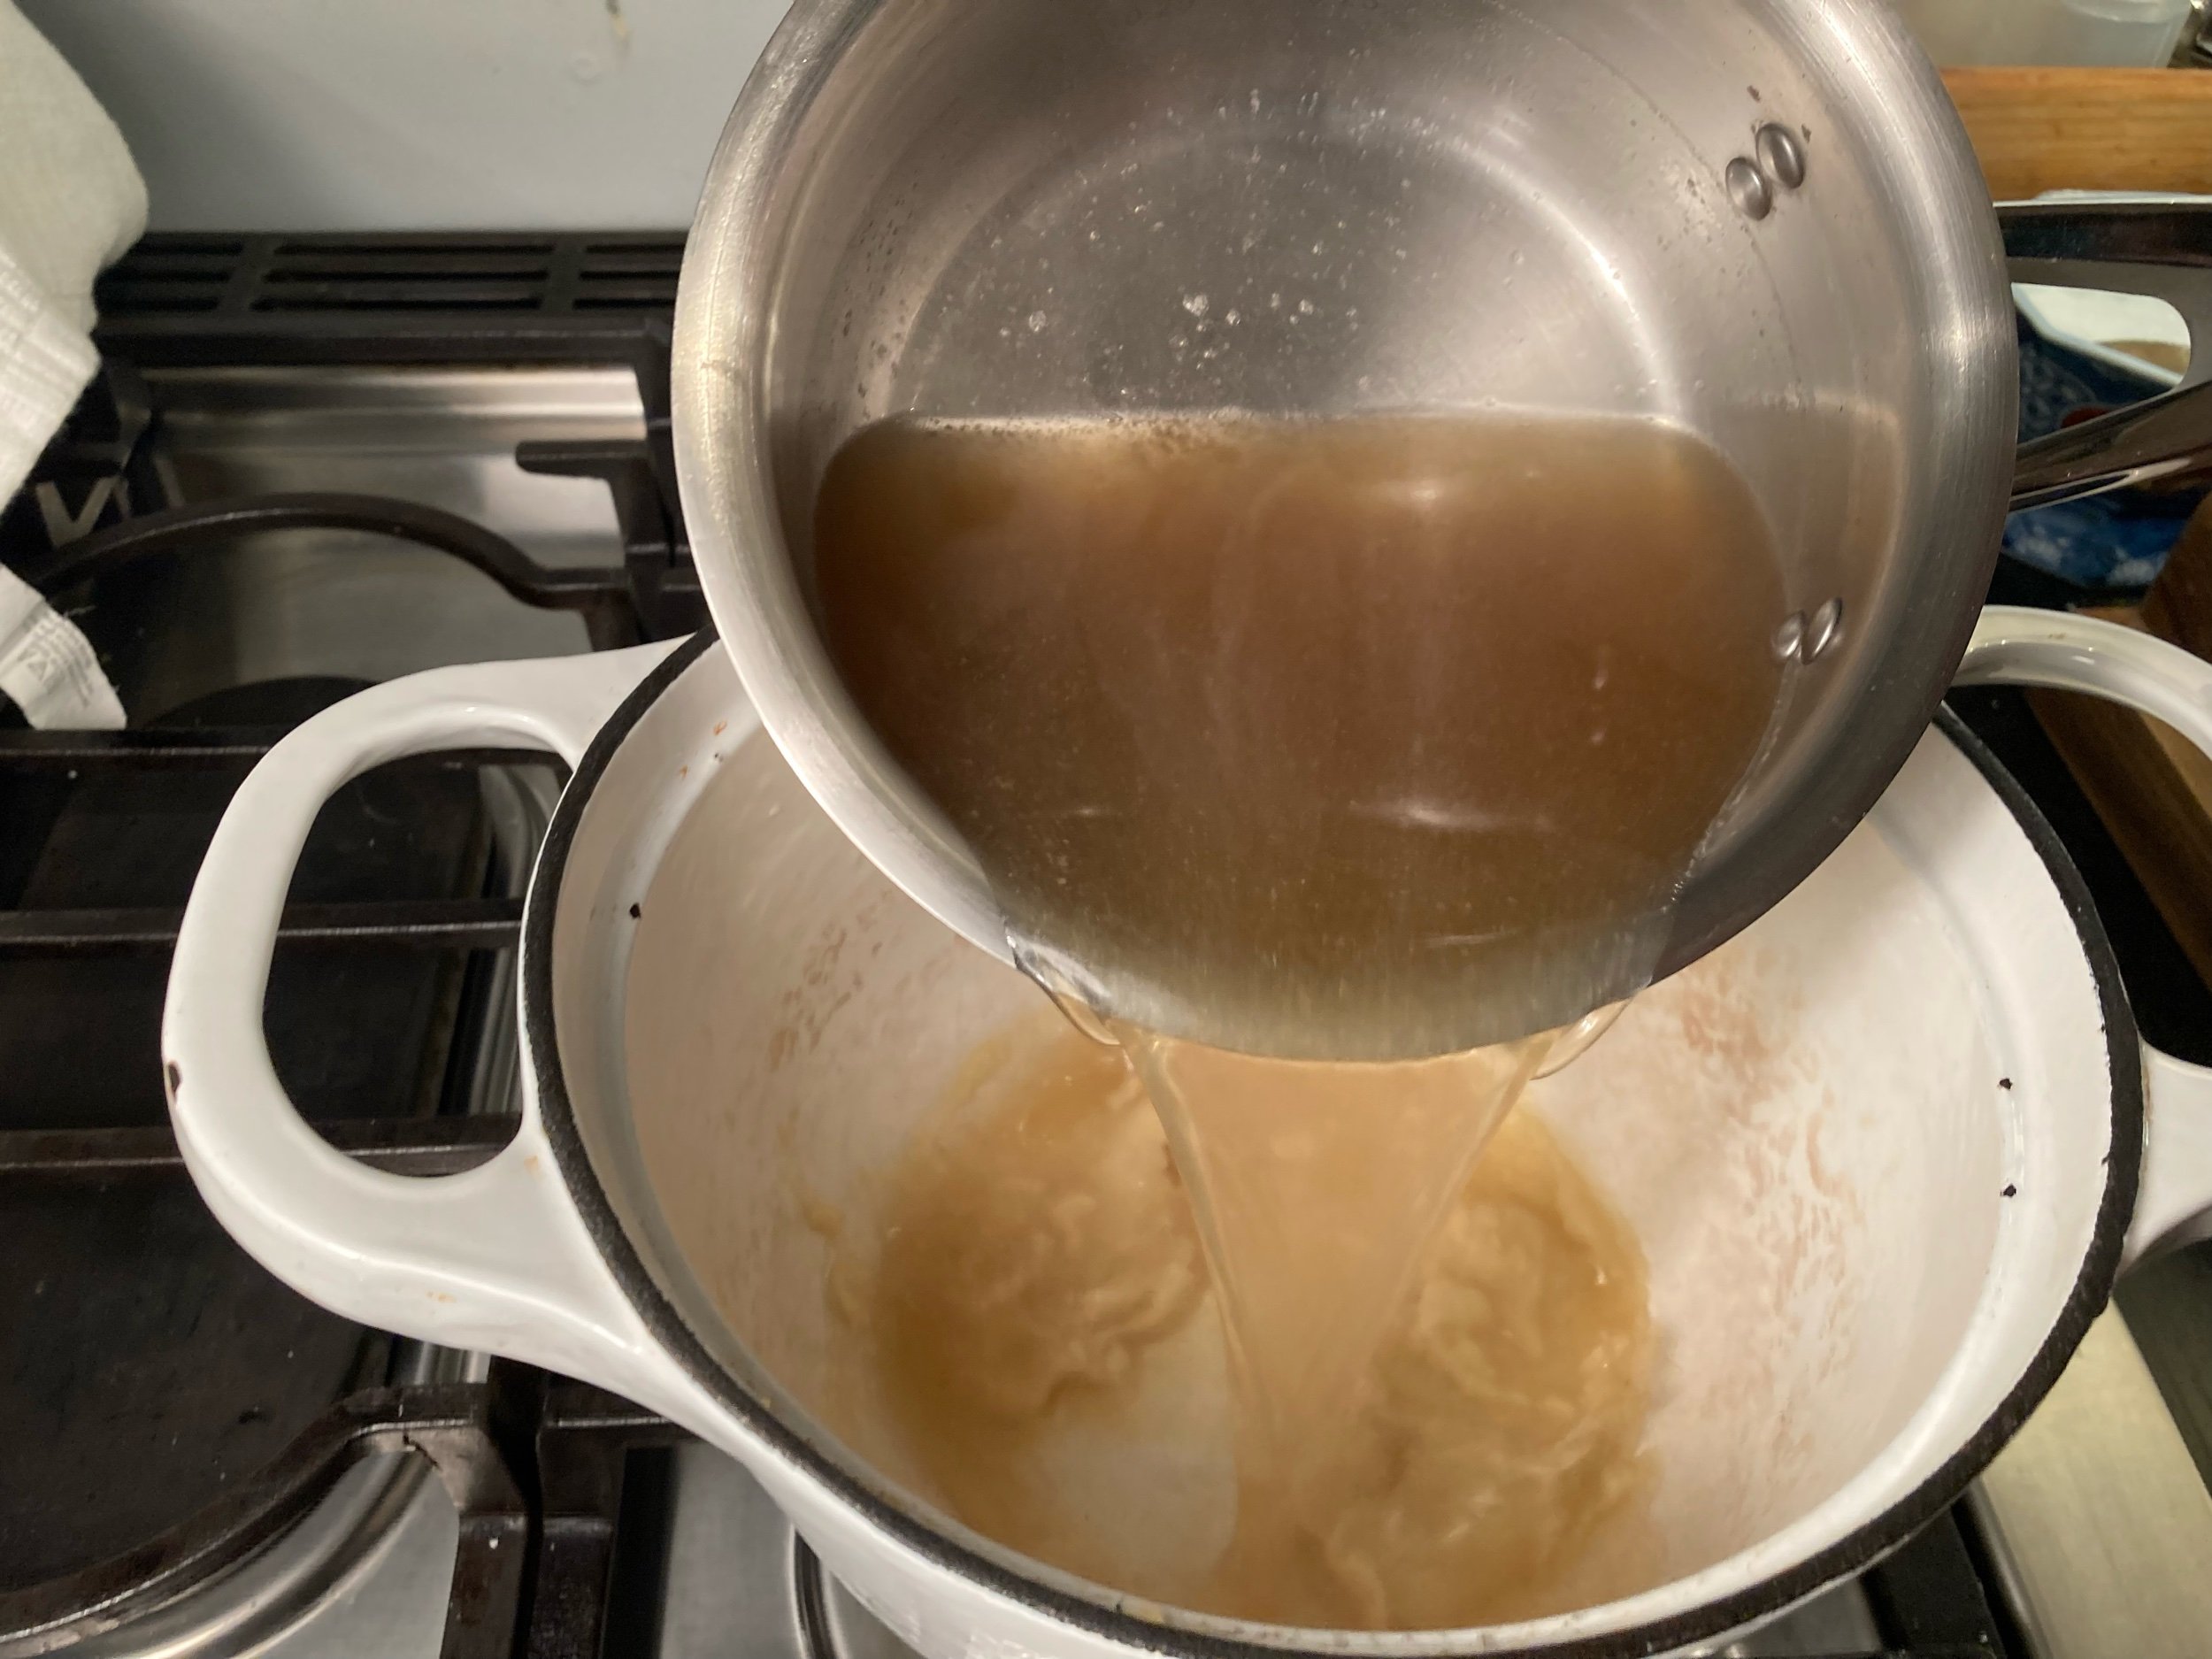
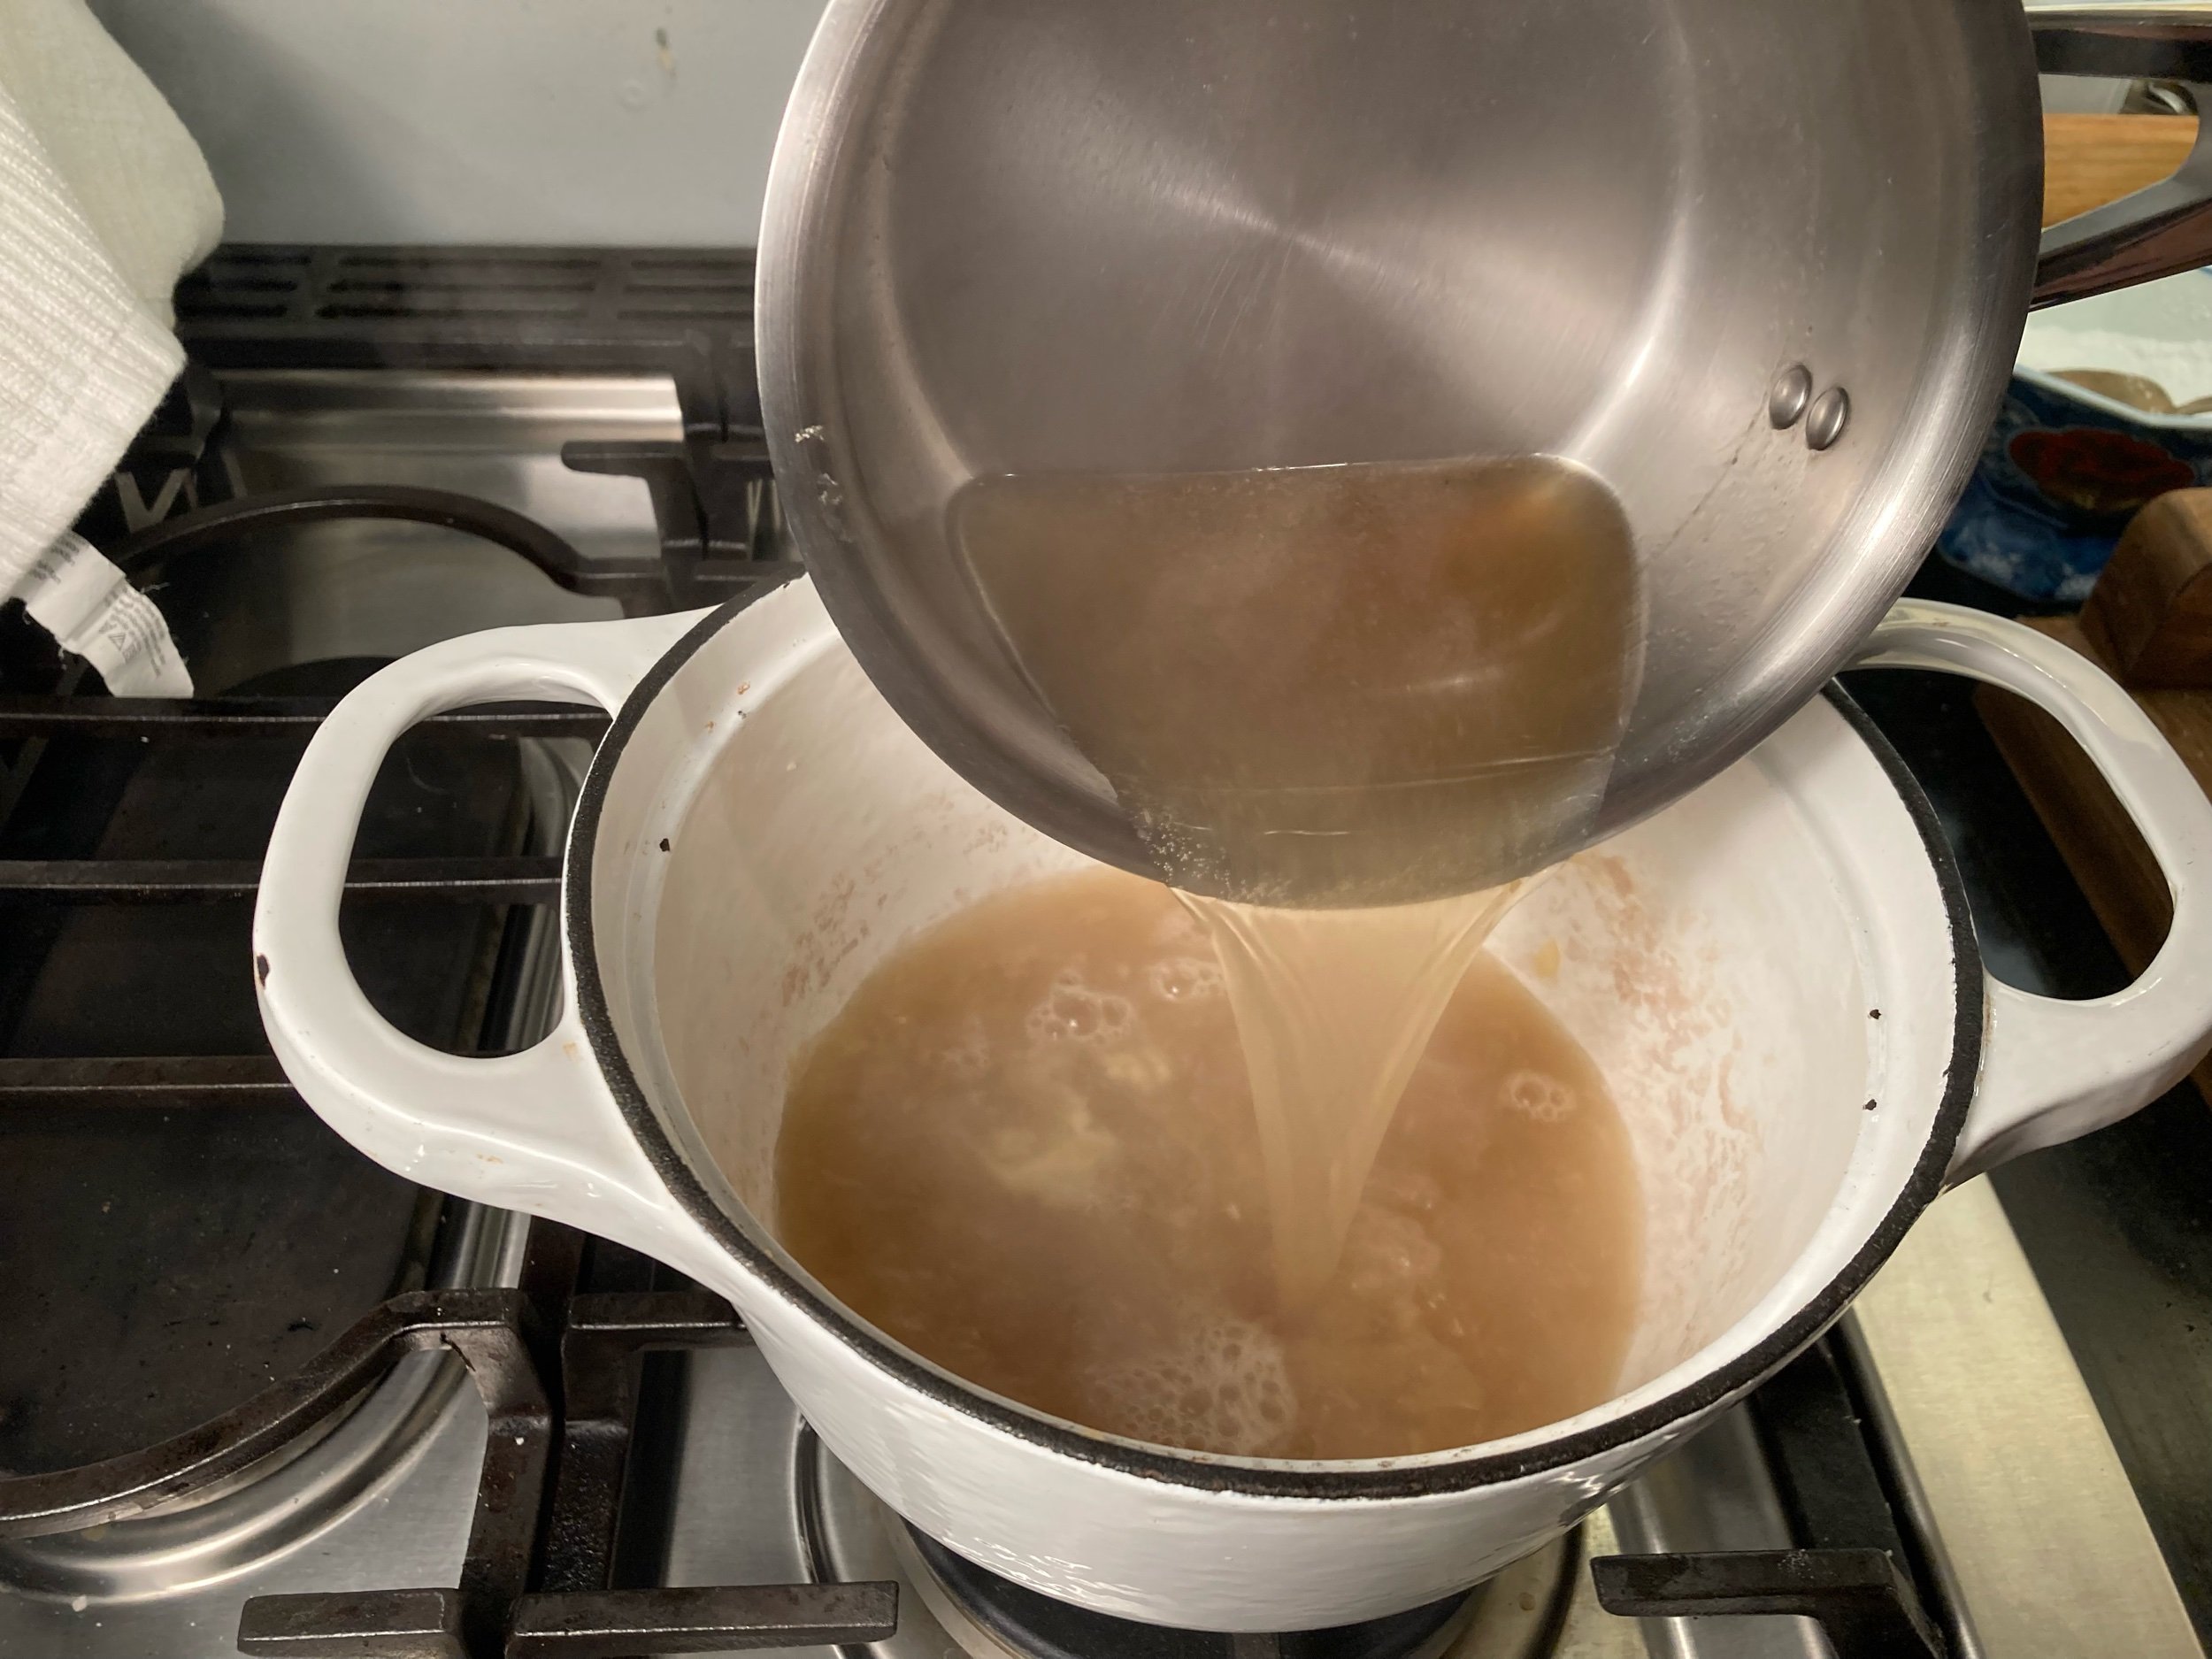
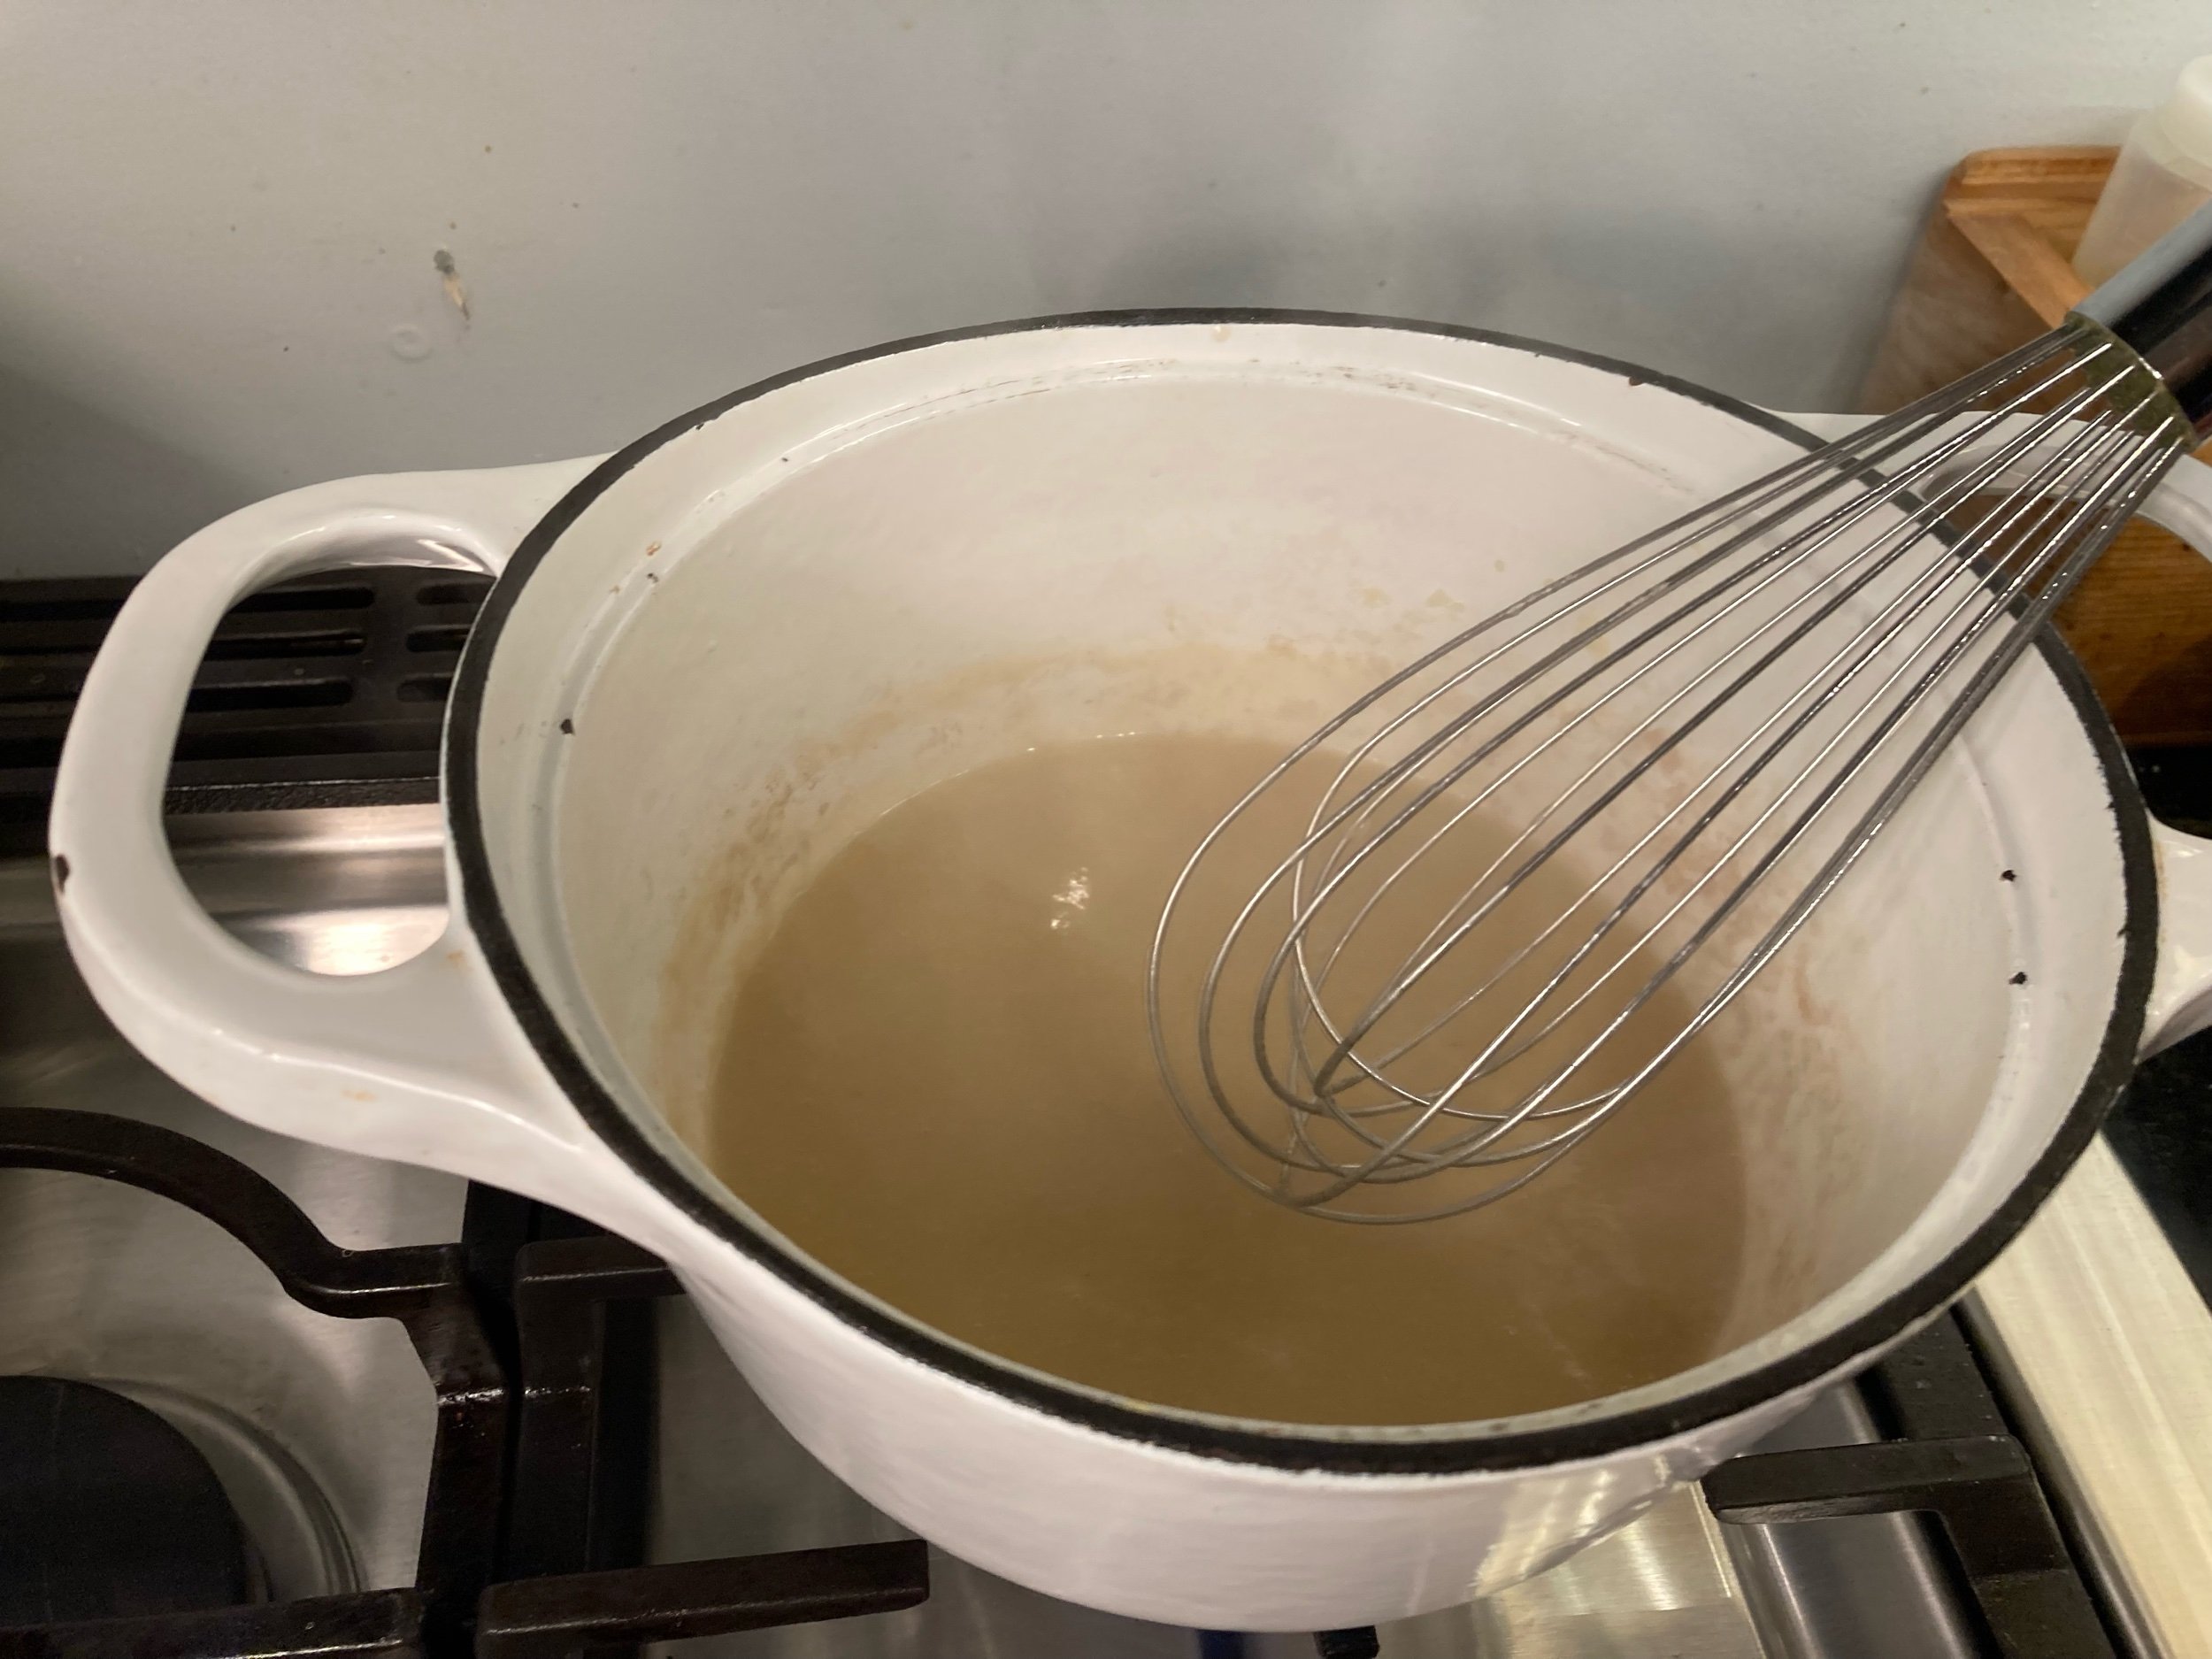
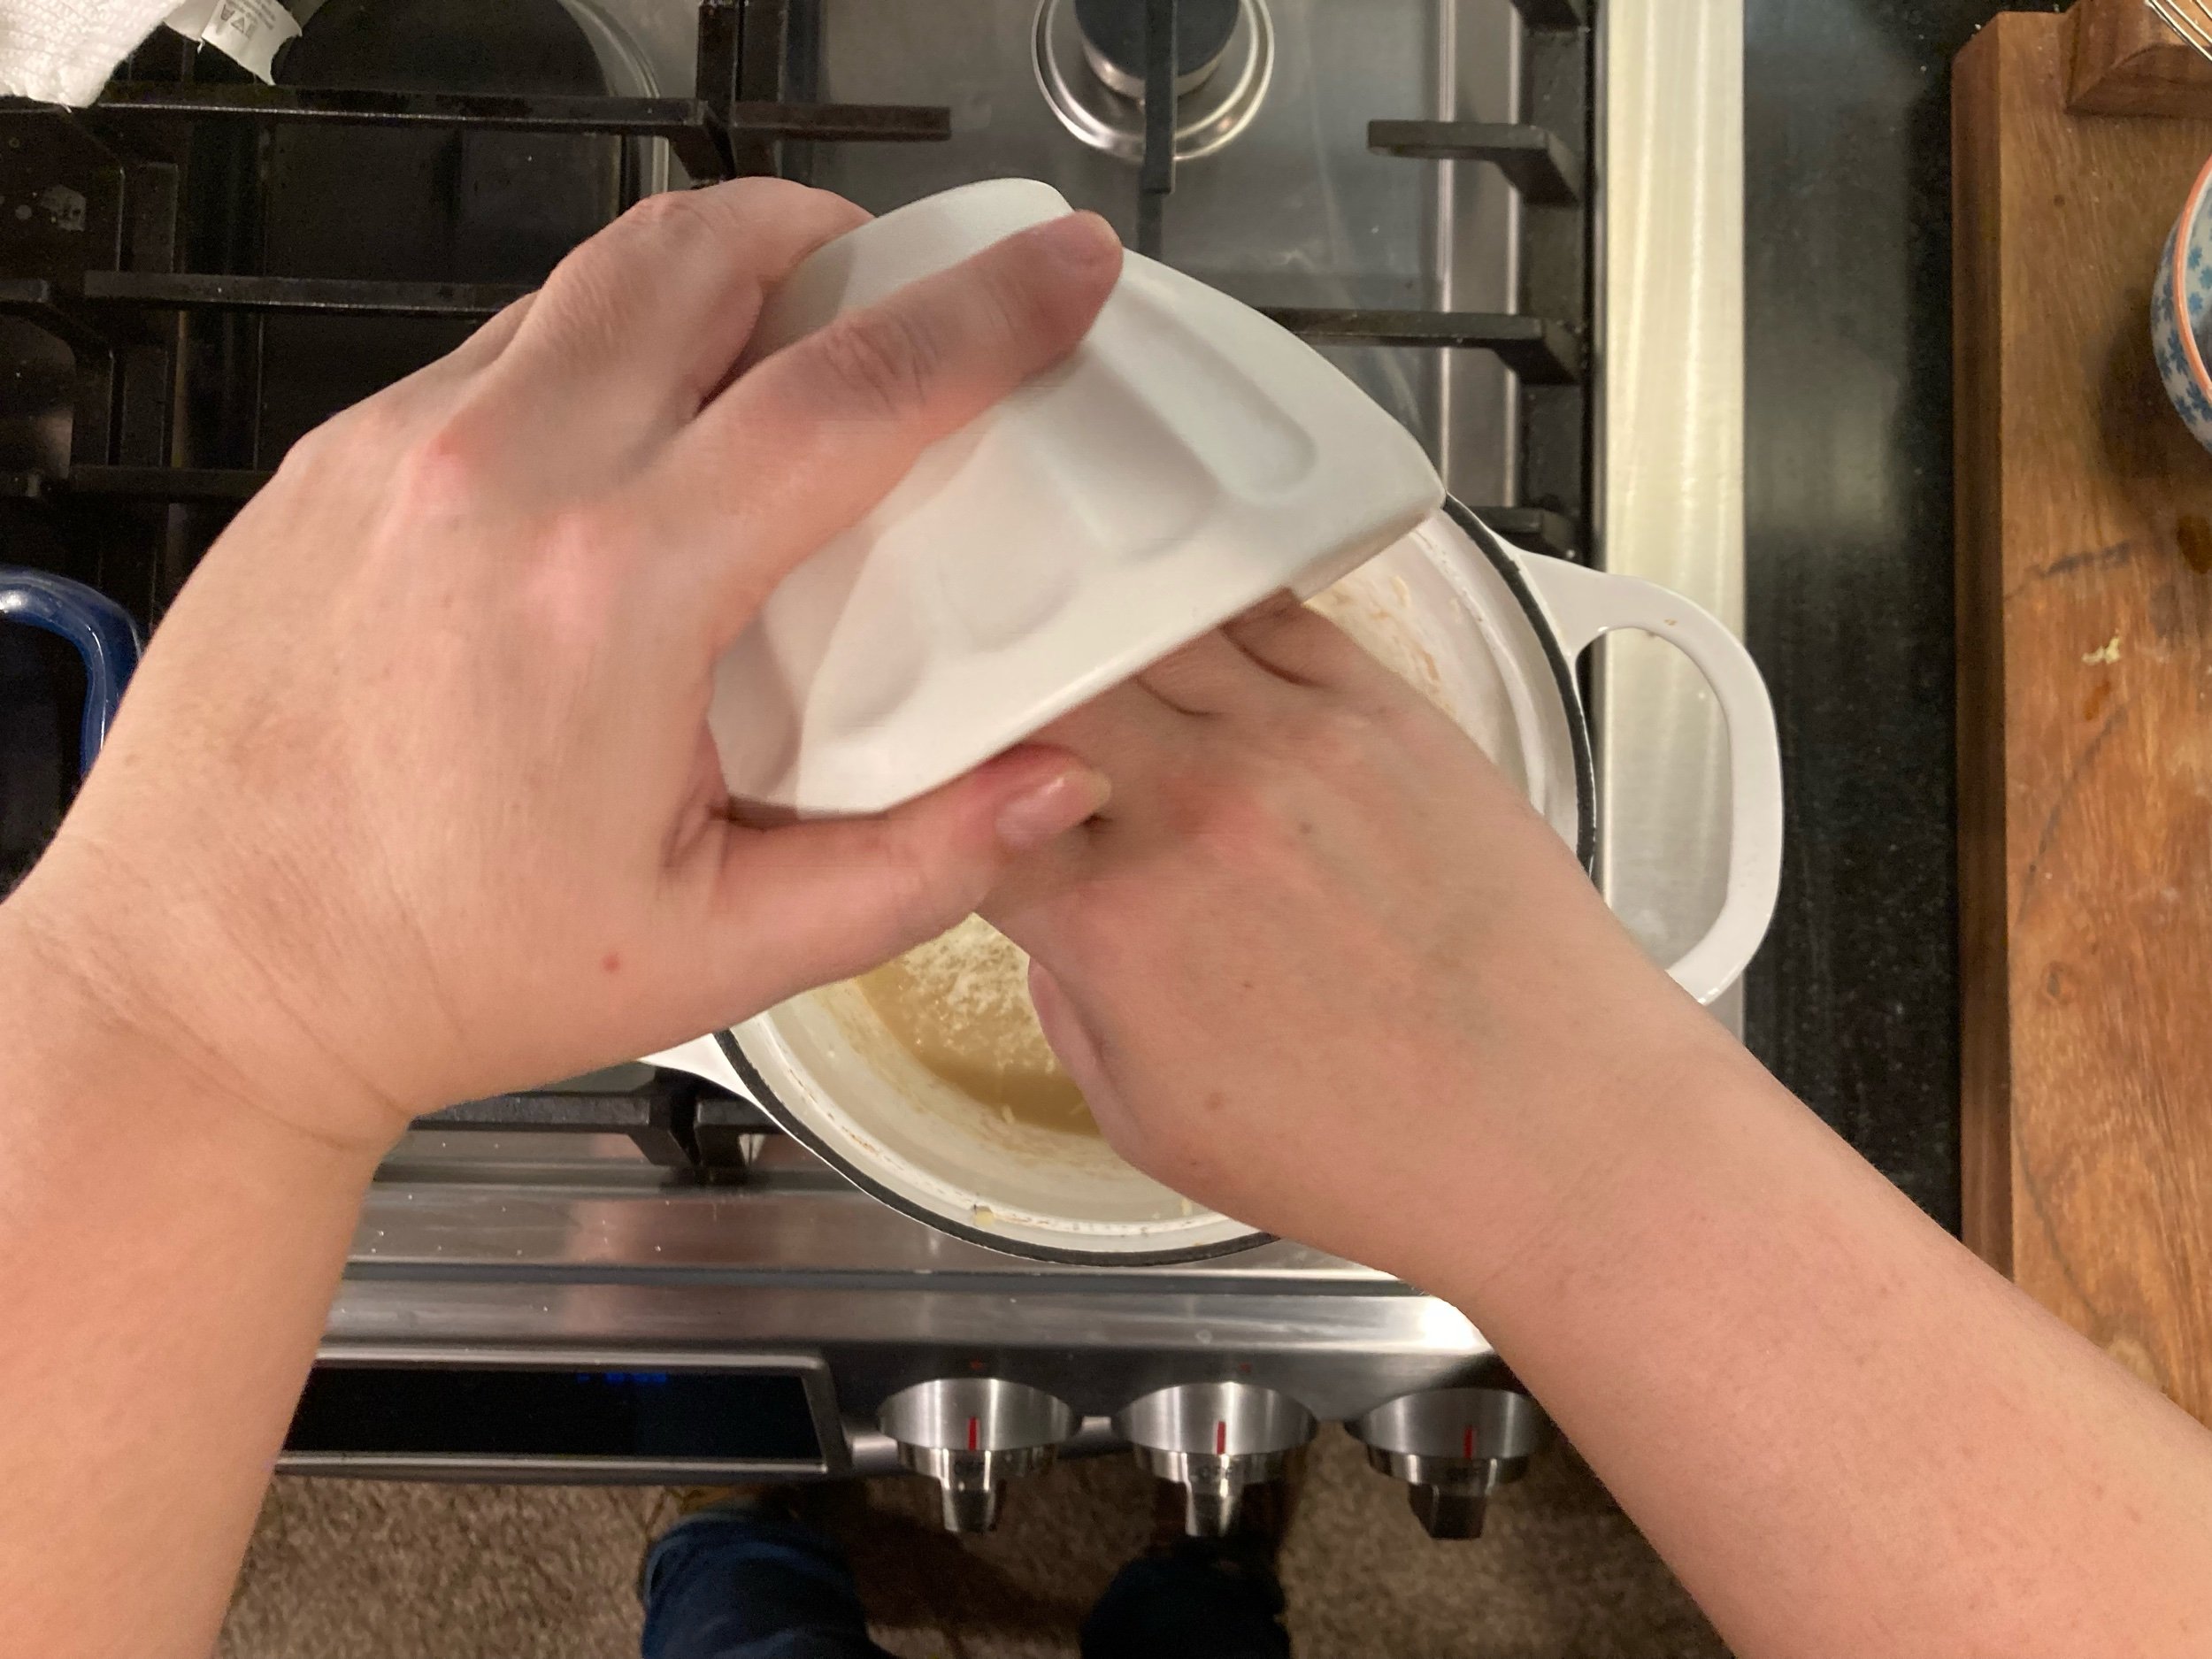
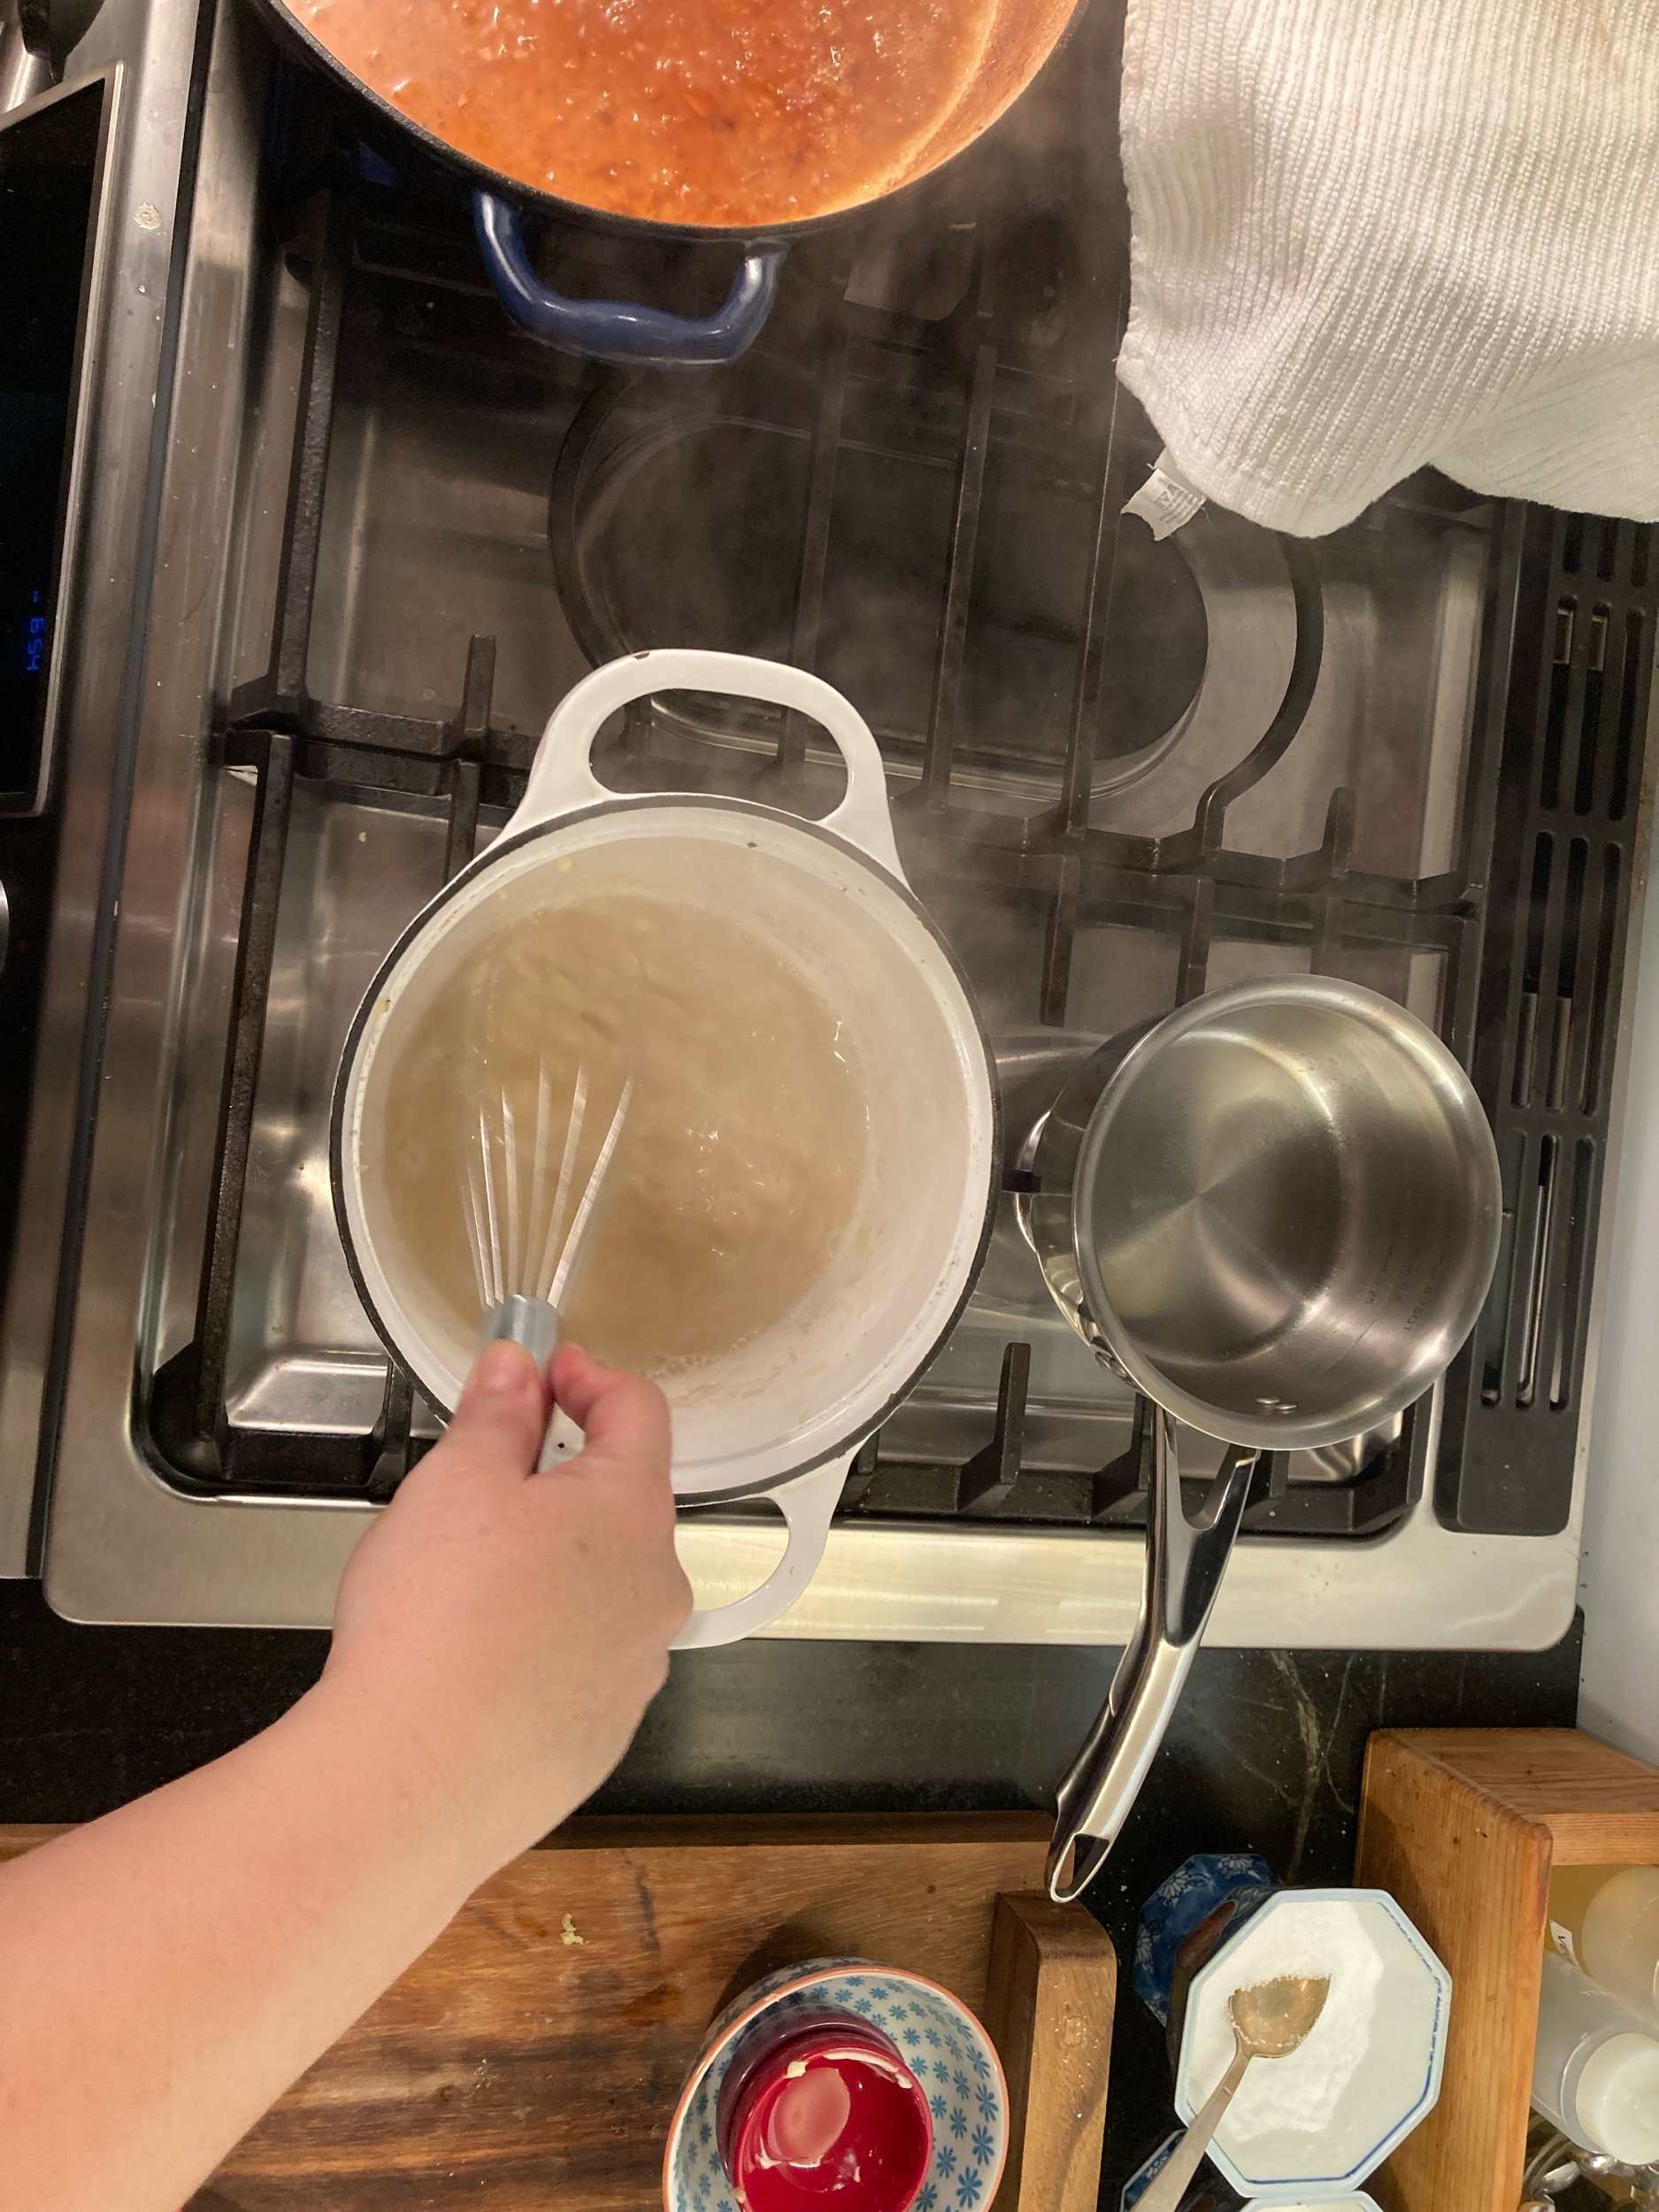
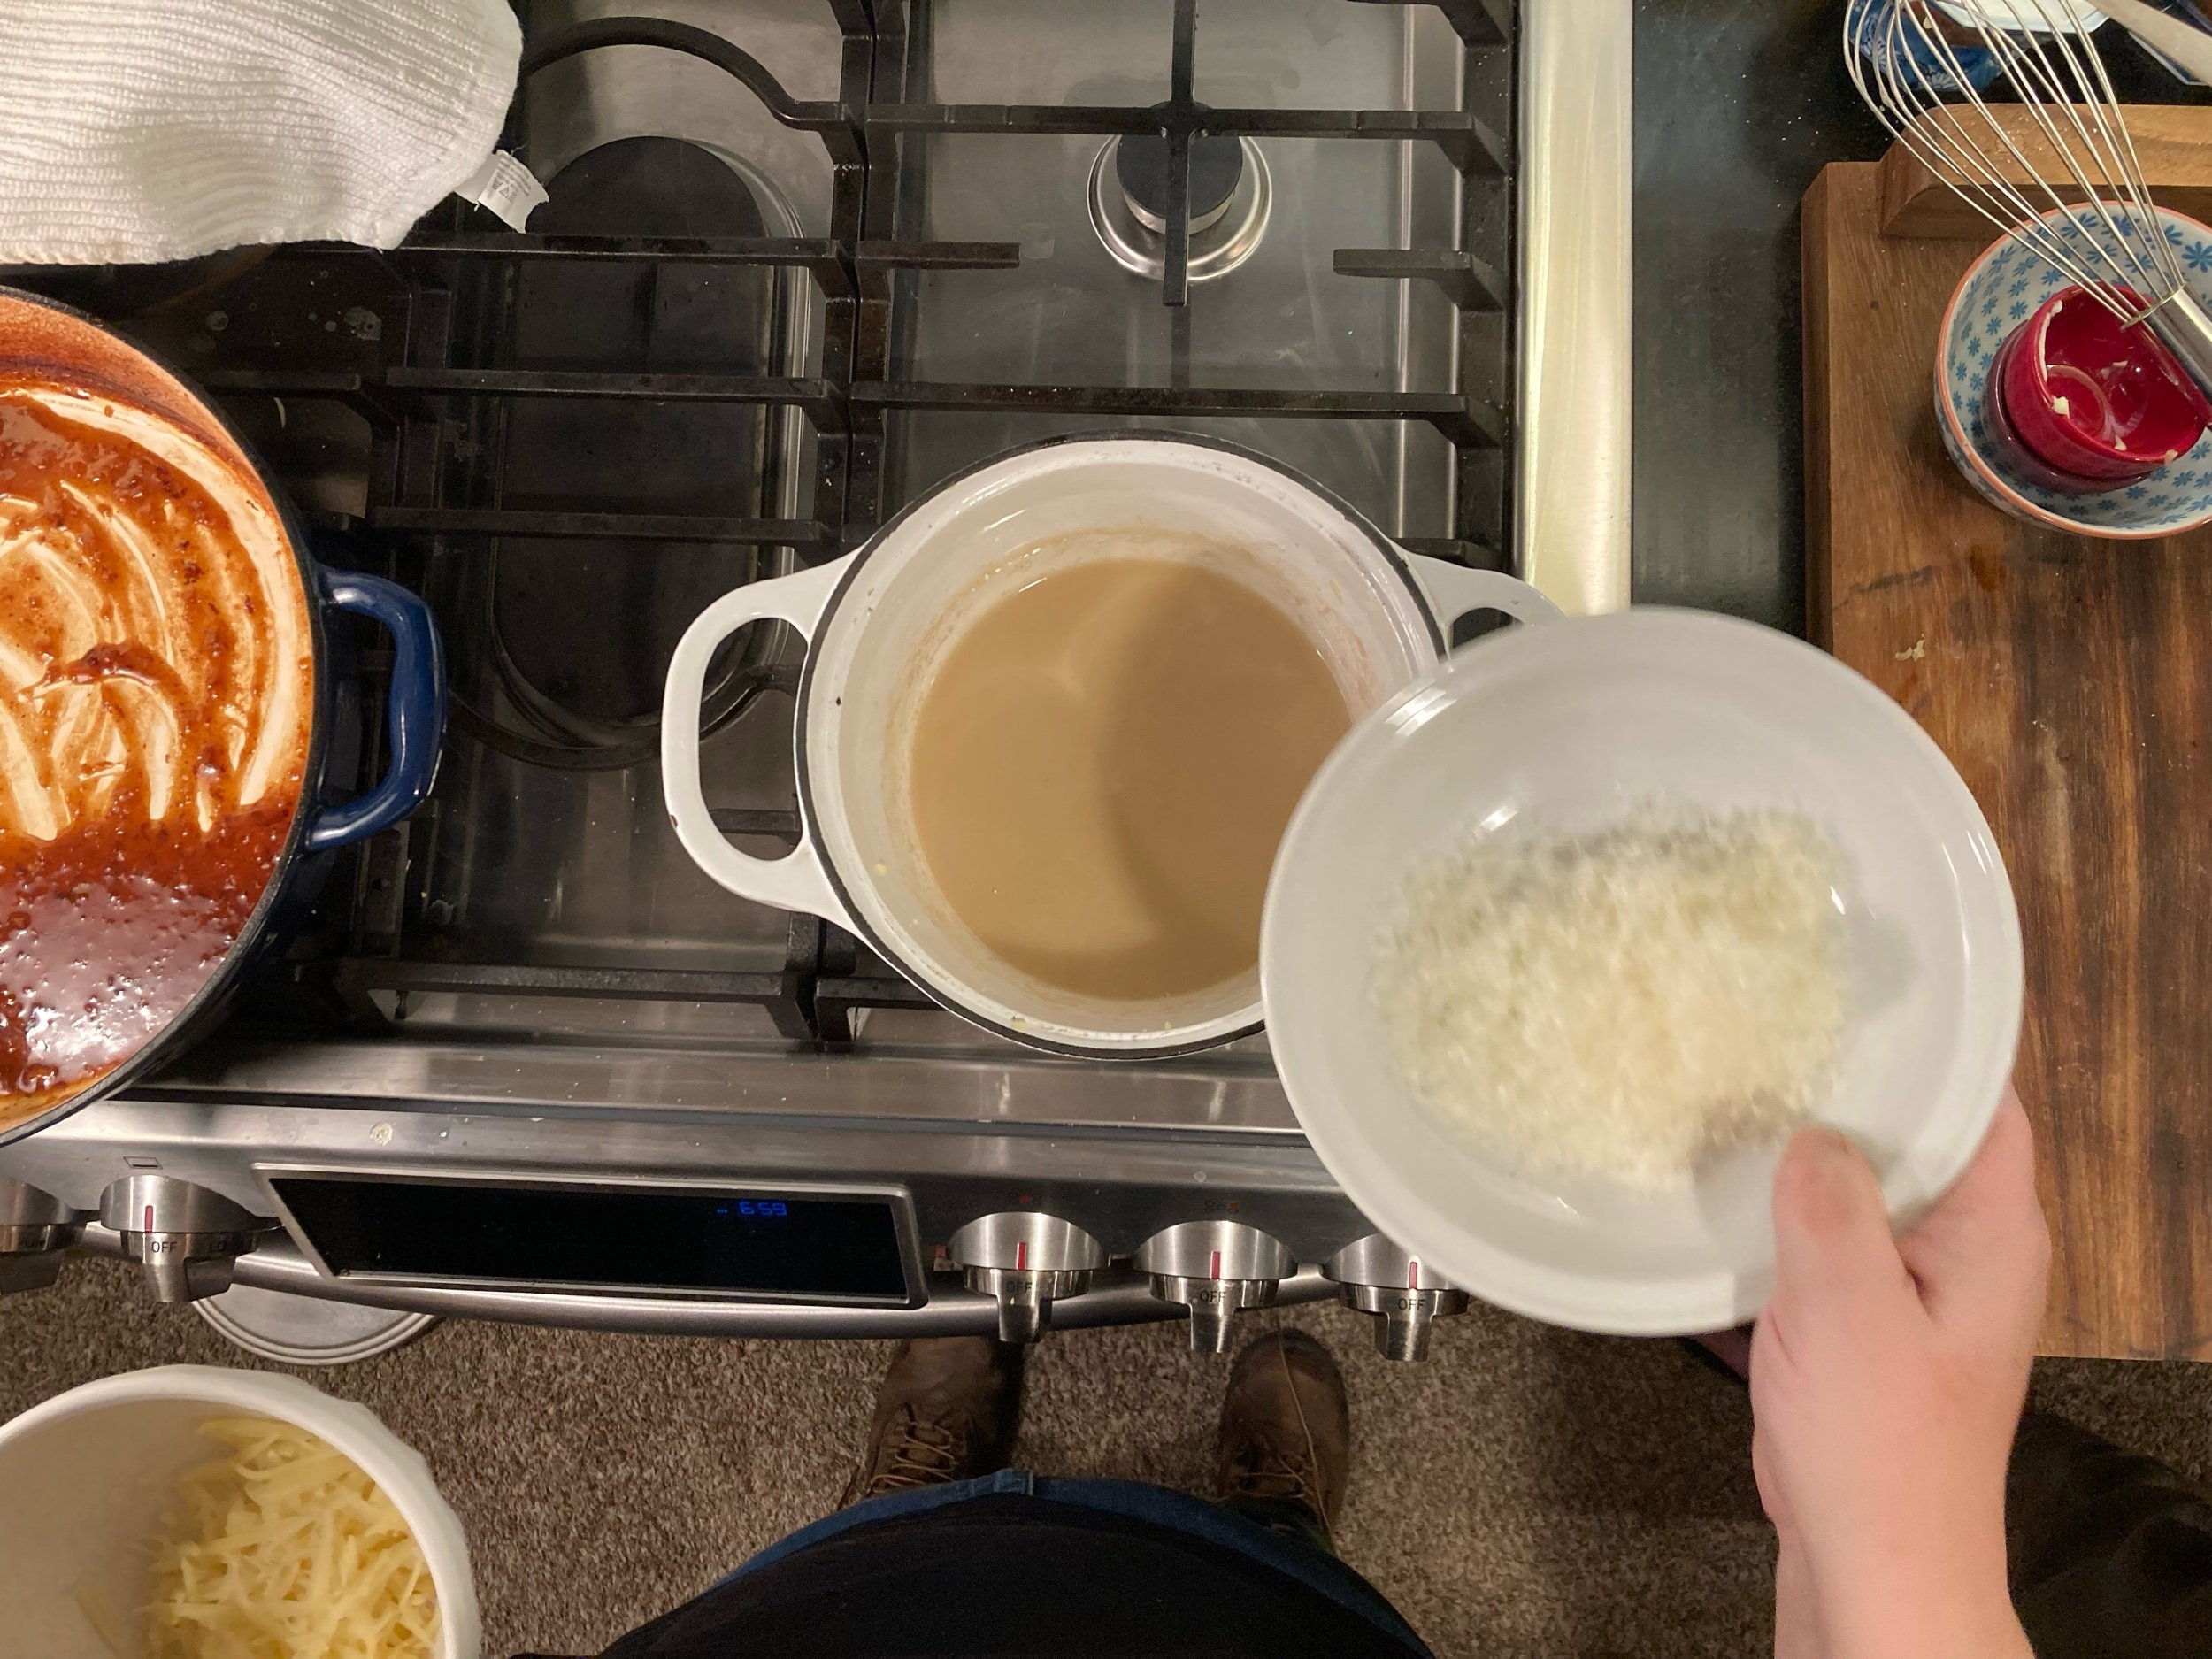
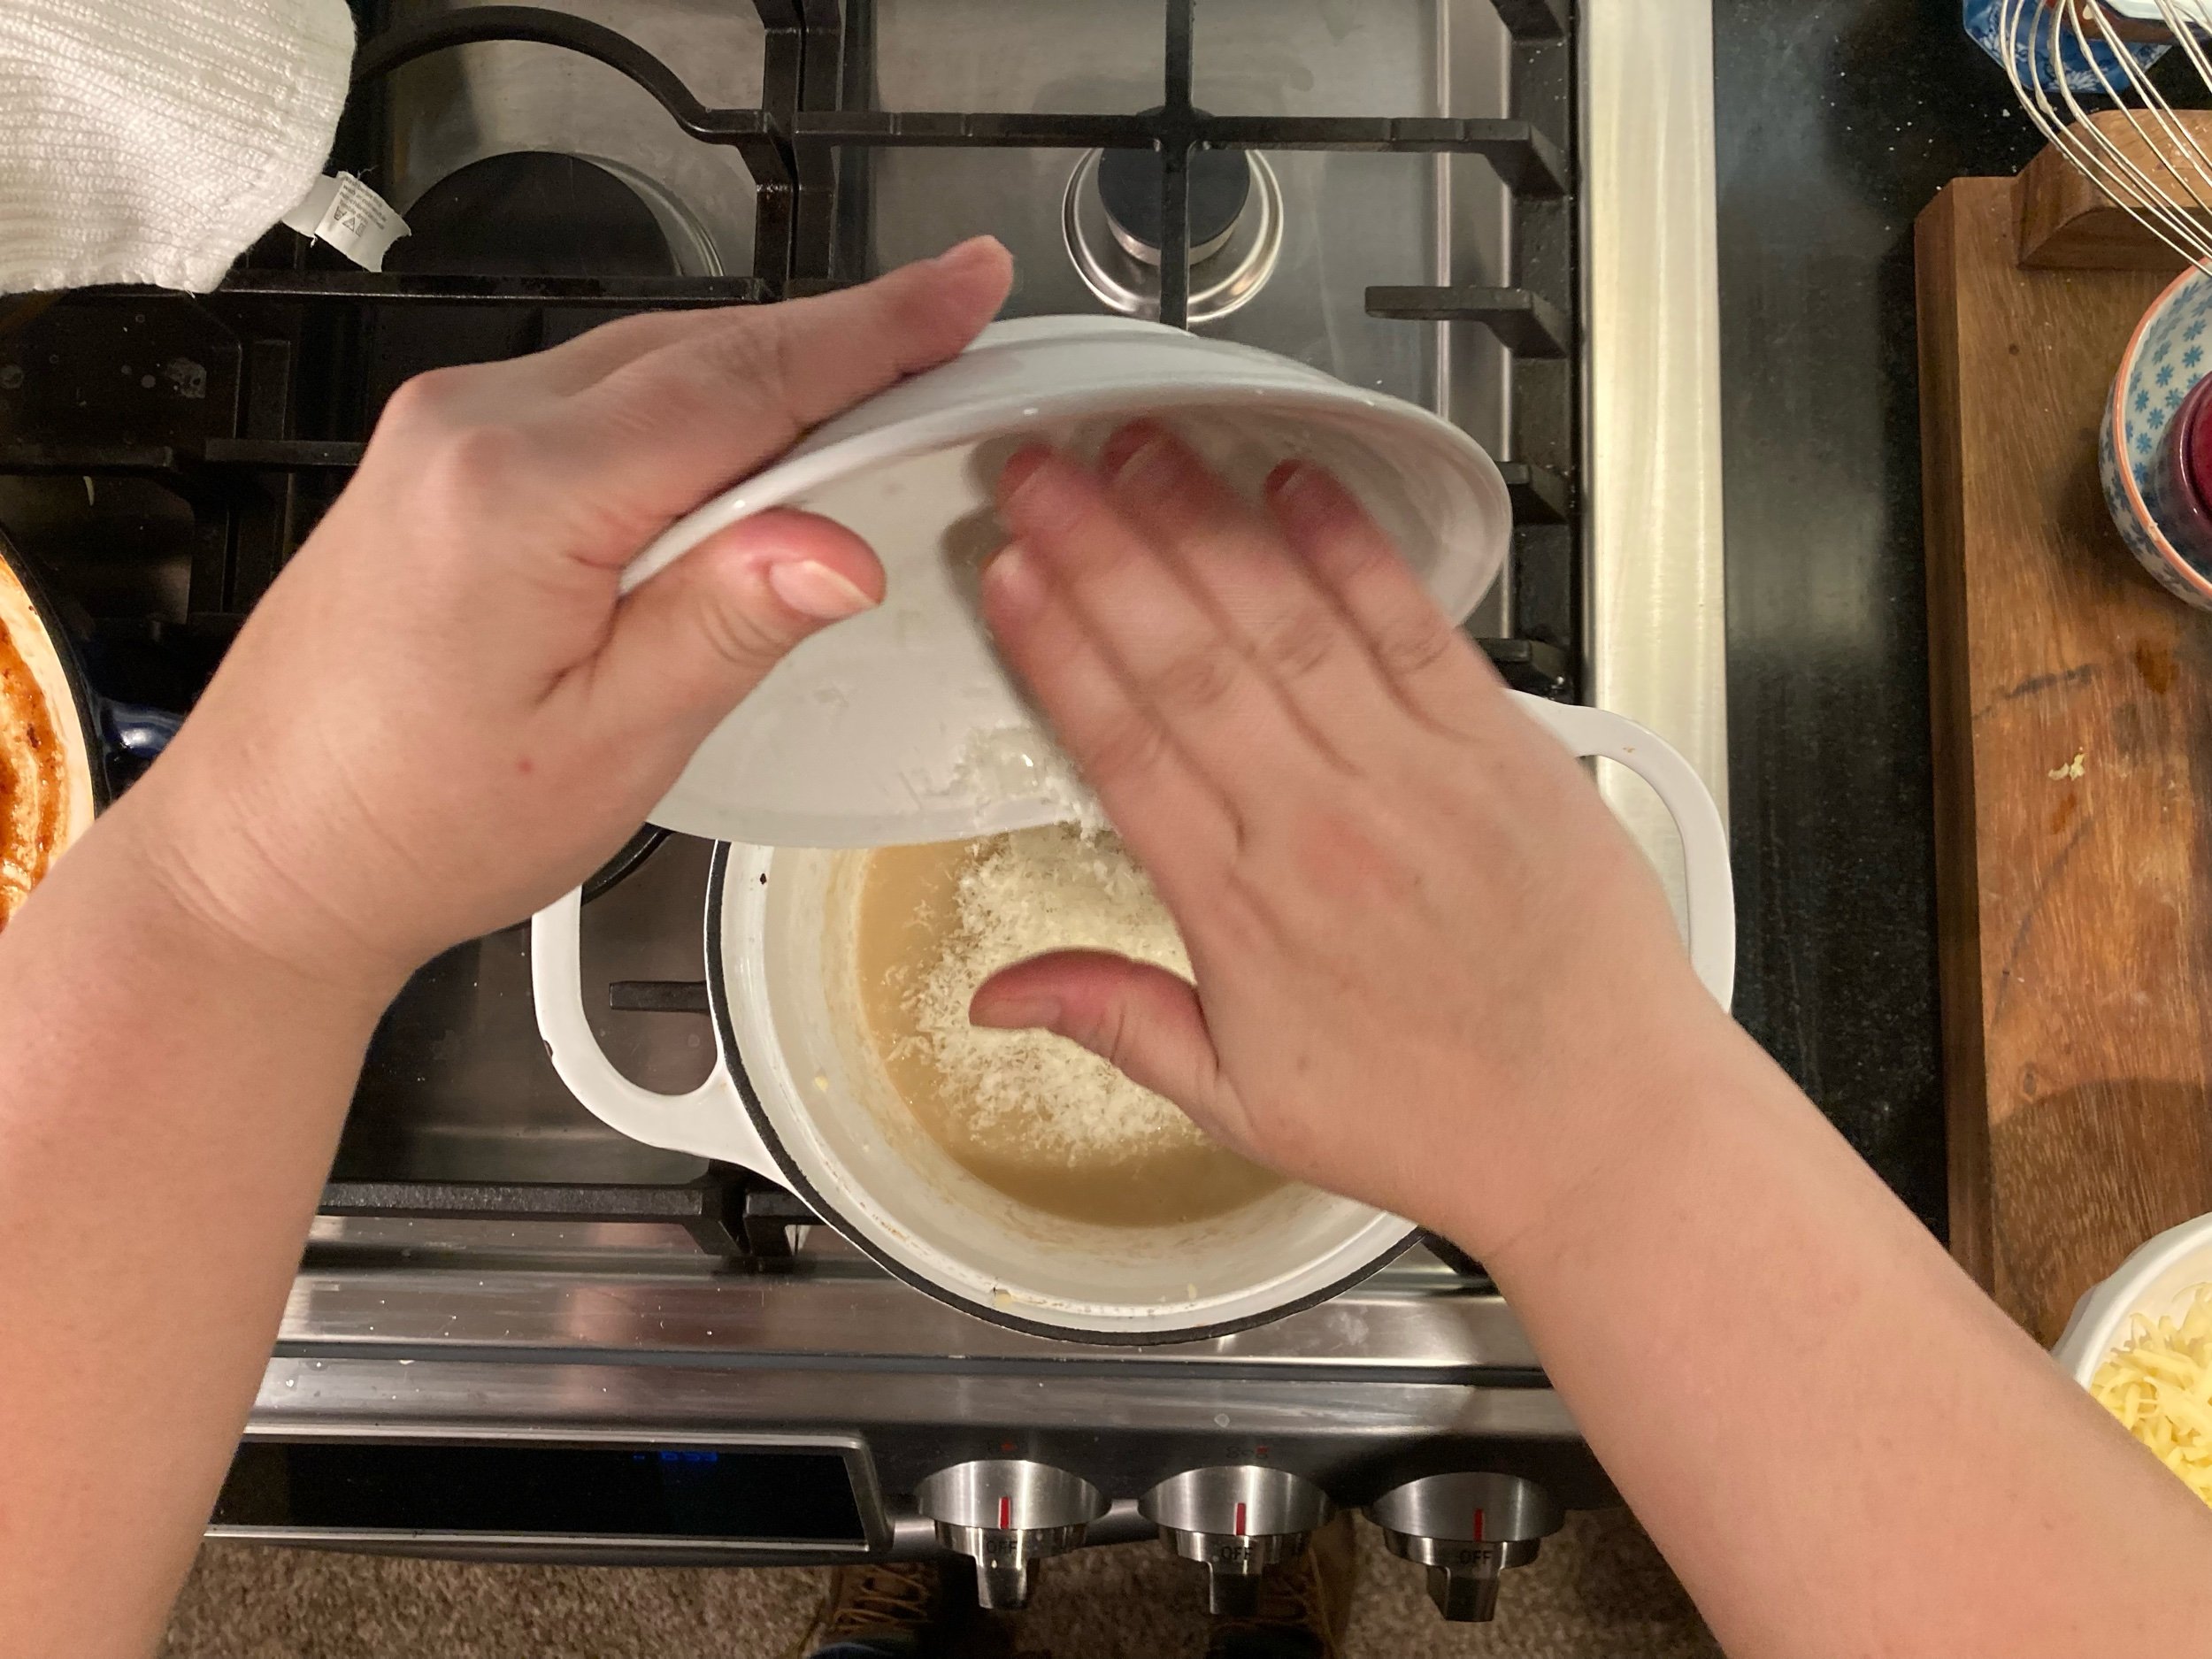
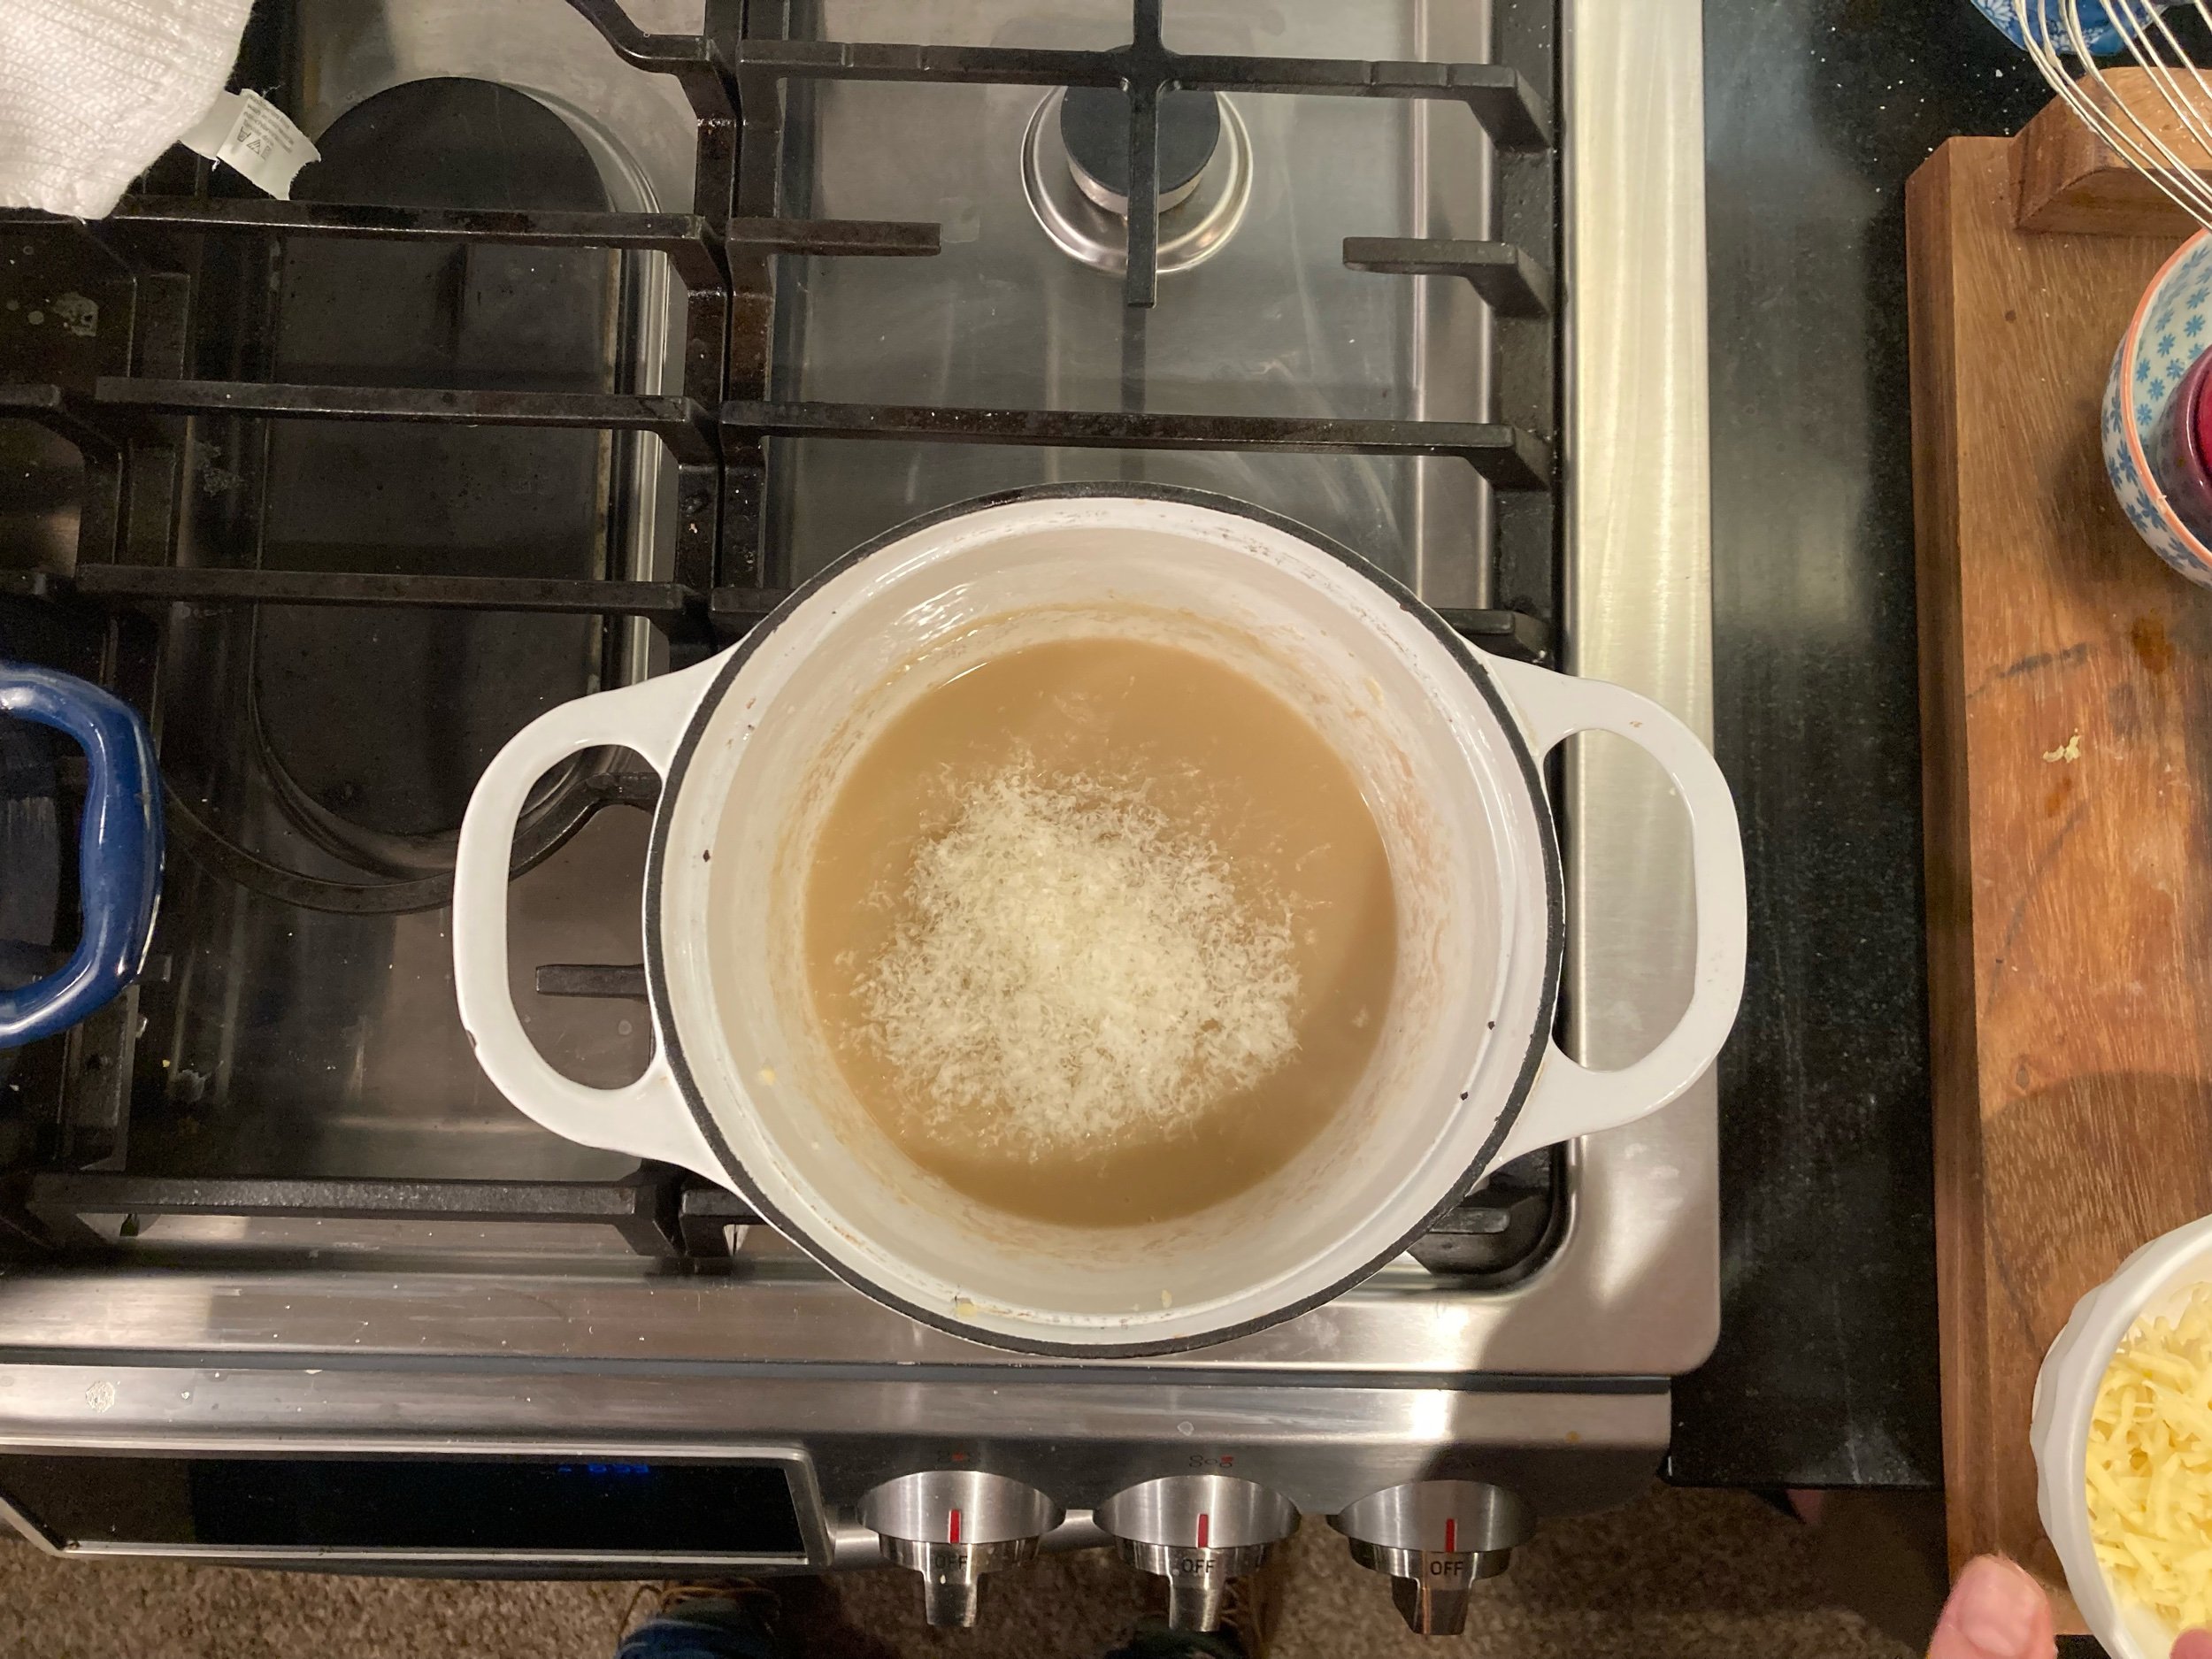
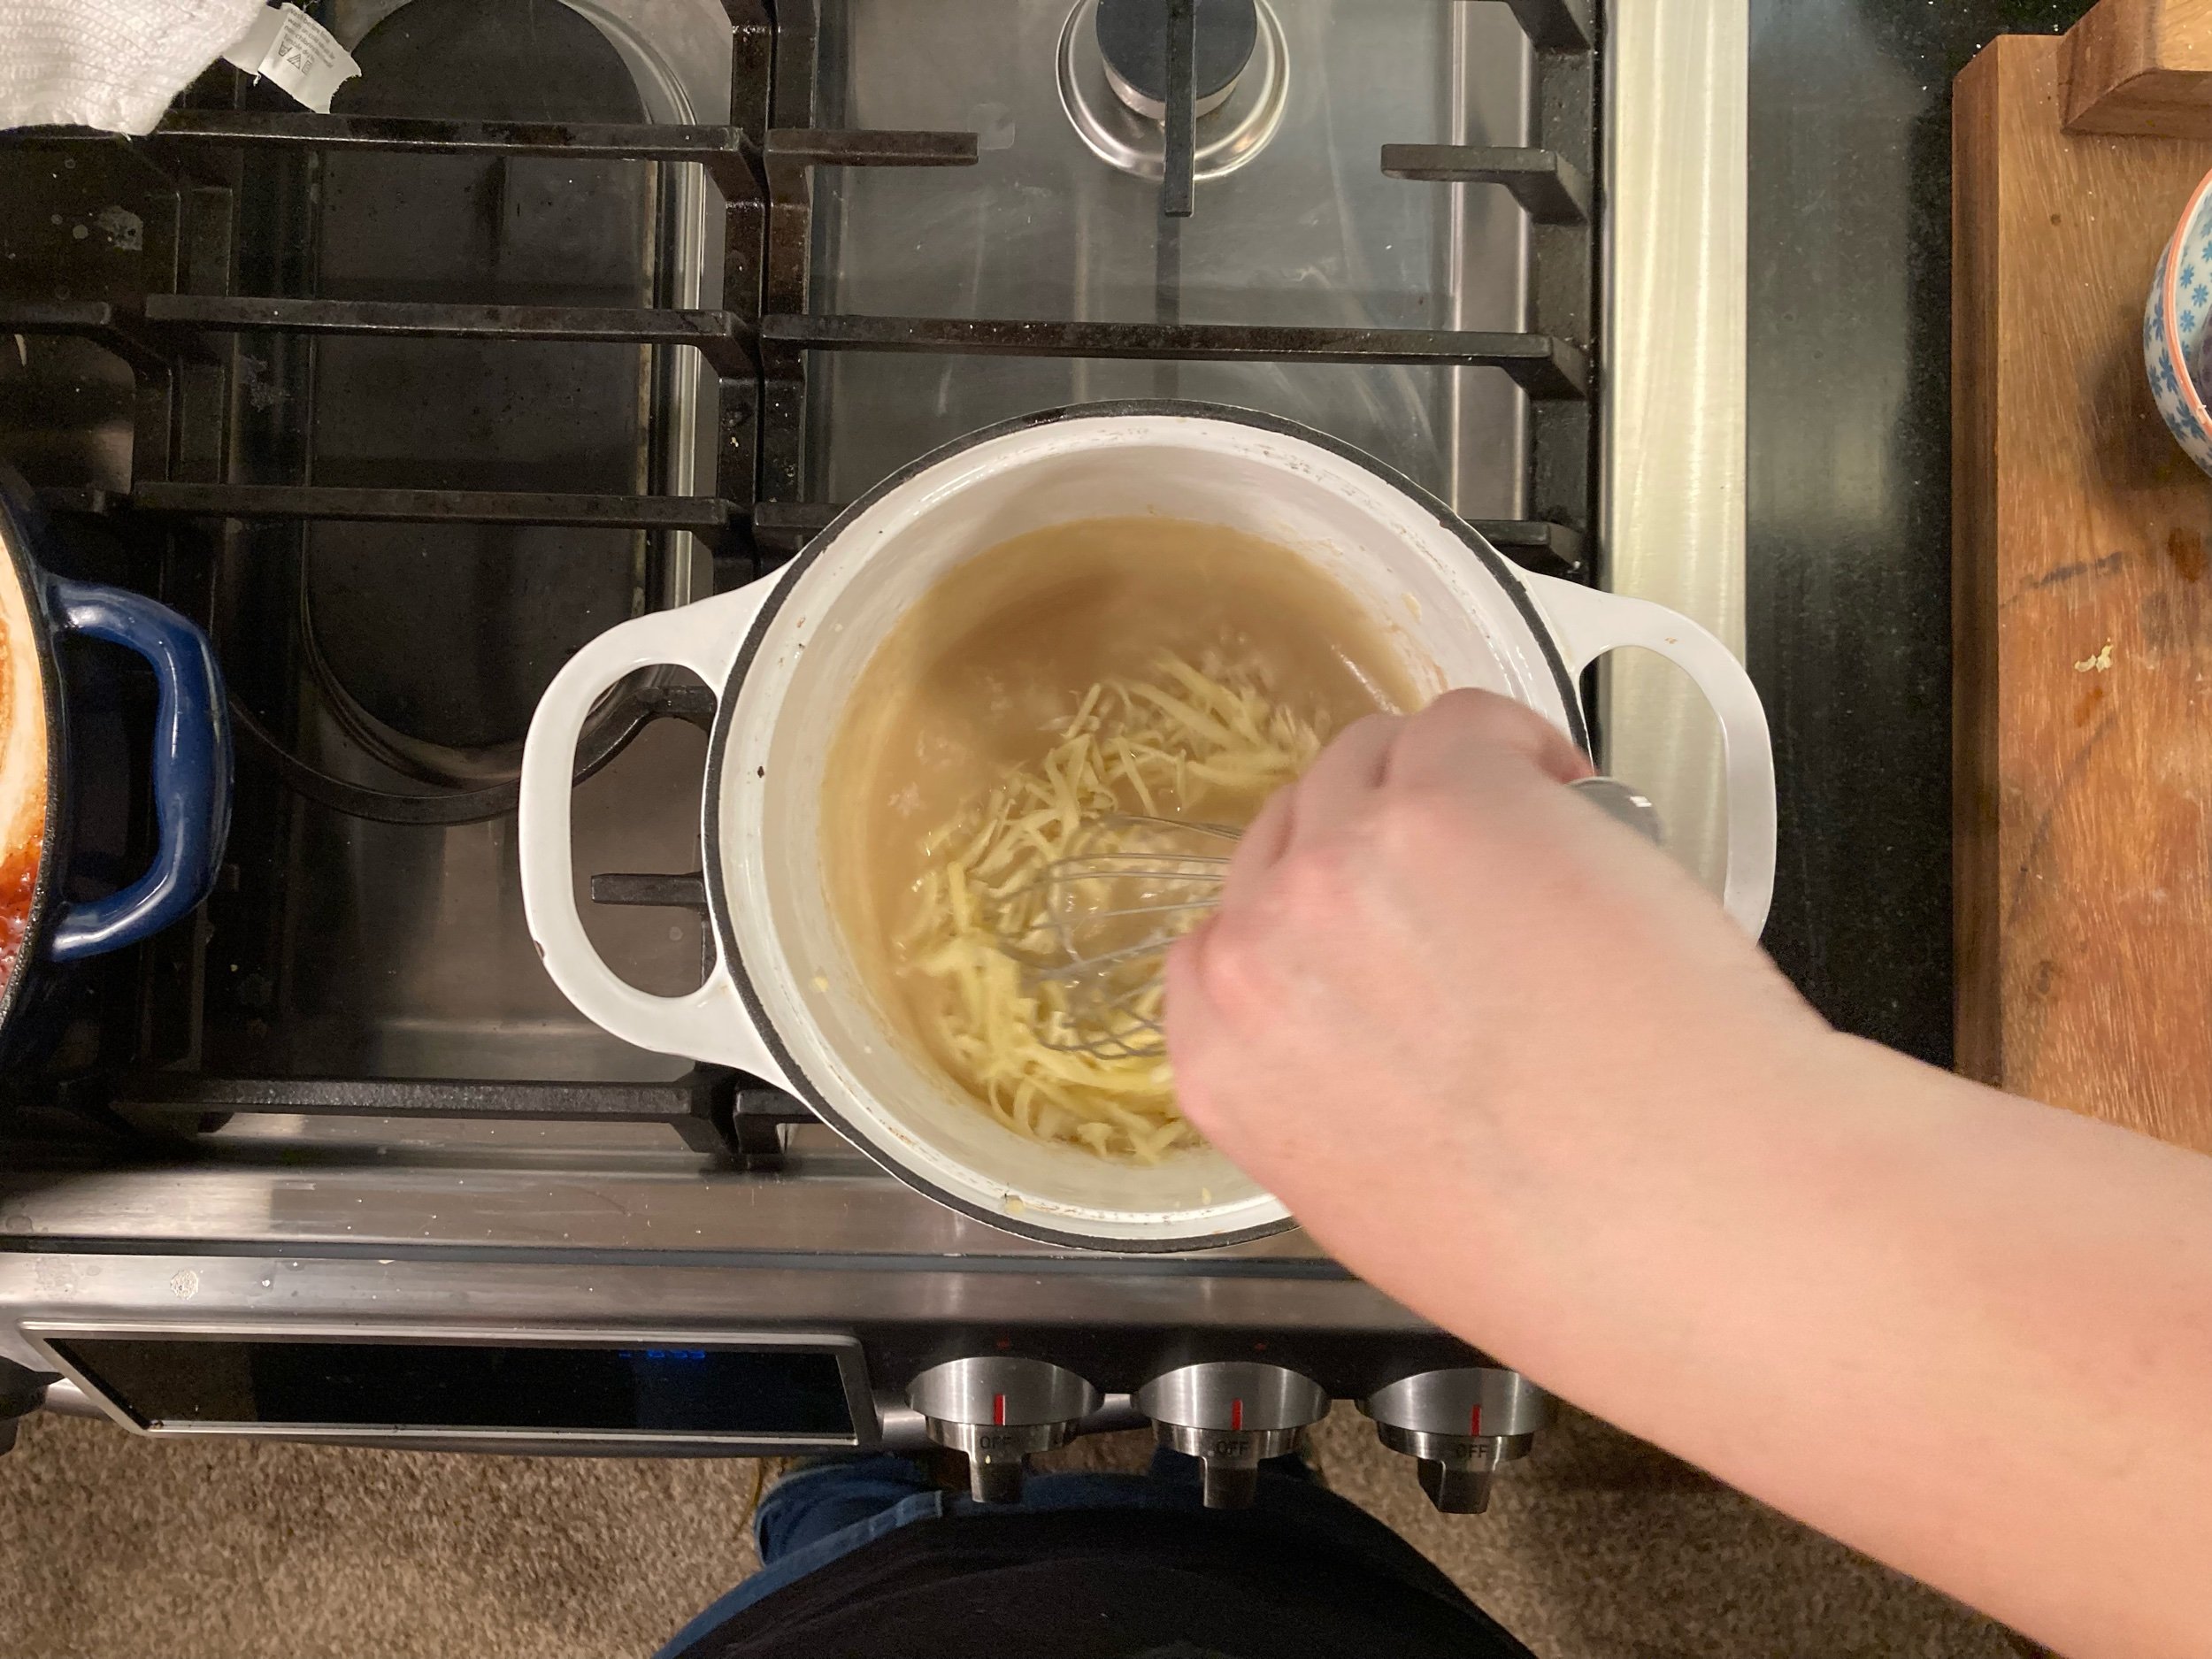
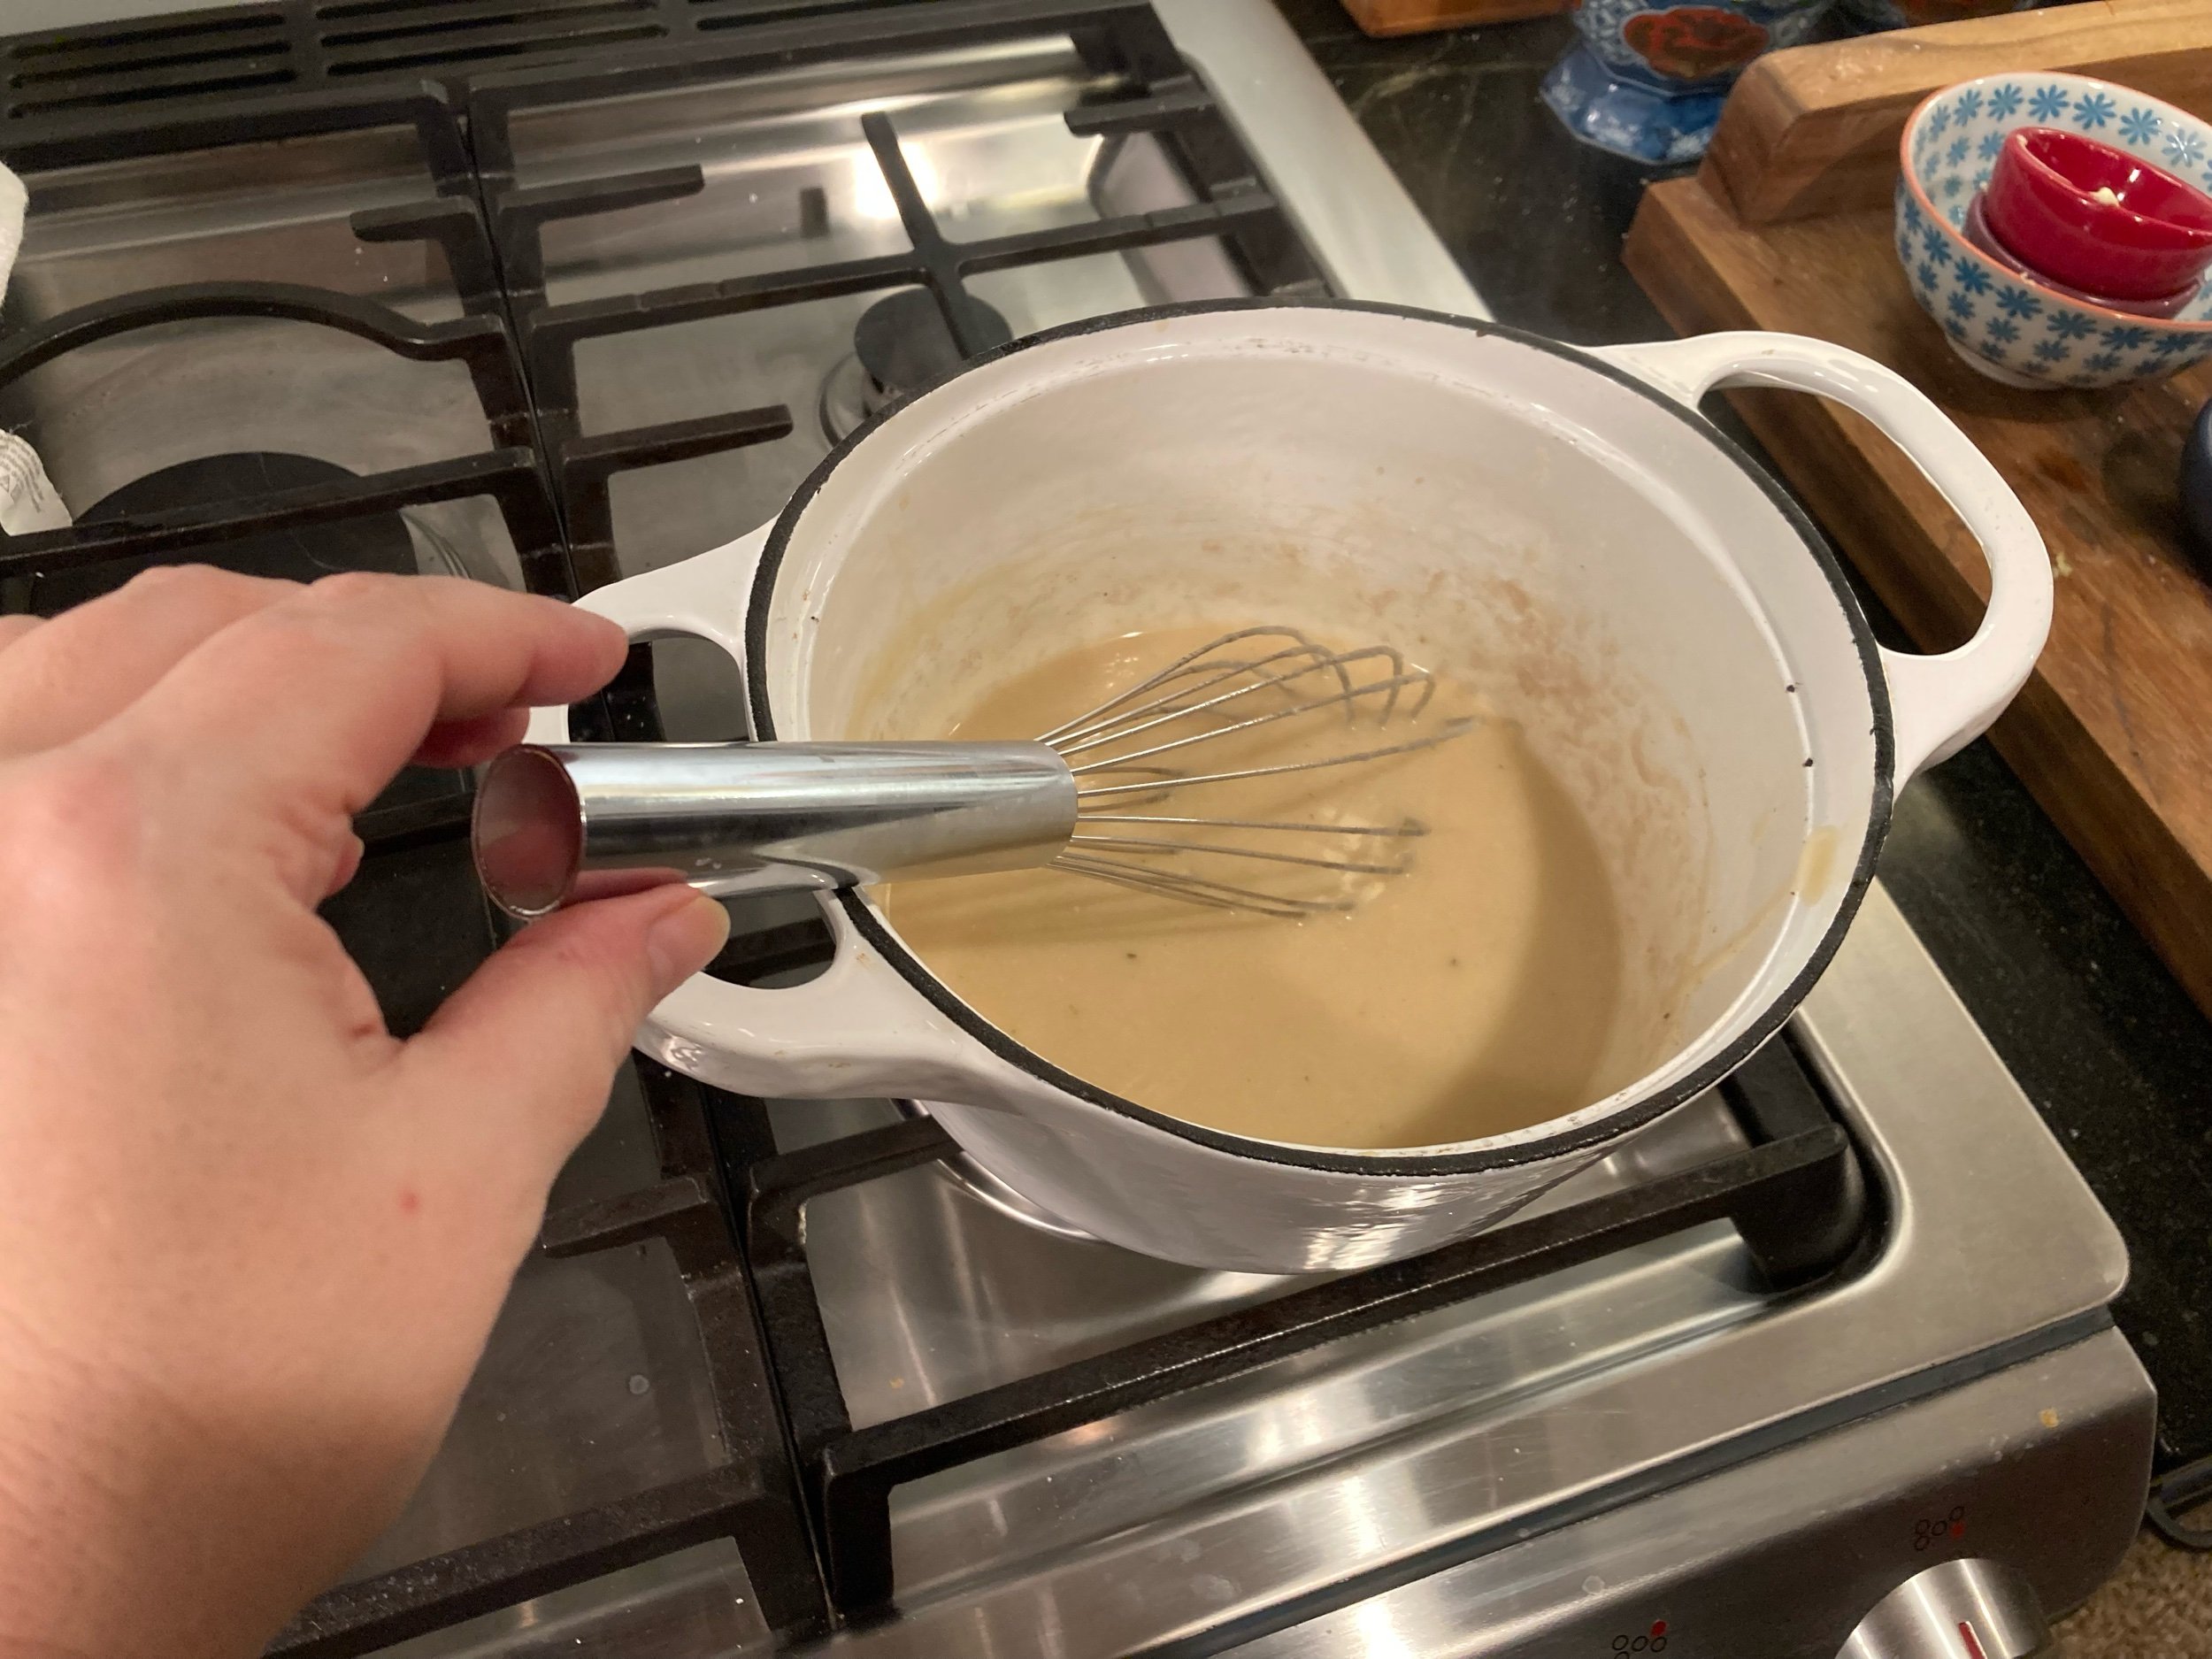
Julia’s Pan Sauce for the roasted chicken (242):
½ Tb minced shallots
1 cup chicken stock
Salt and pepper
1-2 Tb softened butter
1) While the chicken is resting, scoop the onions and carrots that are left in the roasting pan out, leaving as much liquid as possible.
2) Remove all but two Tablespoons of fat from the pan. Stir in the minced shallots and cook slowly for 1 minute. Add the stock and boil rapidly over high heat, scraping up coagulated roasting juices with a wooden spoon and letting liquid reduce to about ½ cup.
3) Season with salt and pepper
Sidebar: This is where I fucked up and just scrapped the whole thing. I was distracted trying to carve the bird, and added the butter in all at once with the pan still on the heat, and it never came together. Looked like a nice reduction until I added the butter. So yeah, do that part slowly or you’ll have a broken fatty mess. I did not serve this.
4) Off-heat, and just before serving, swirl in the enrichment butter by bits until it has been absorbed.
5) Pour a spoonful of the sauce over the chicken, and send the rest to the table in a sauceboat
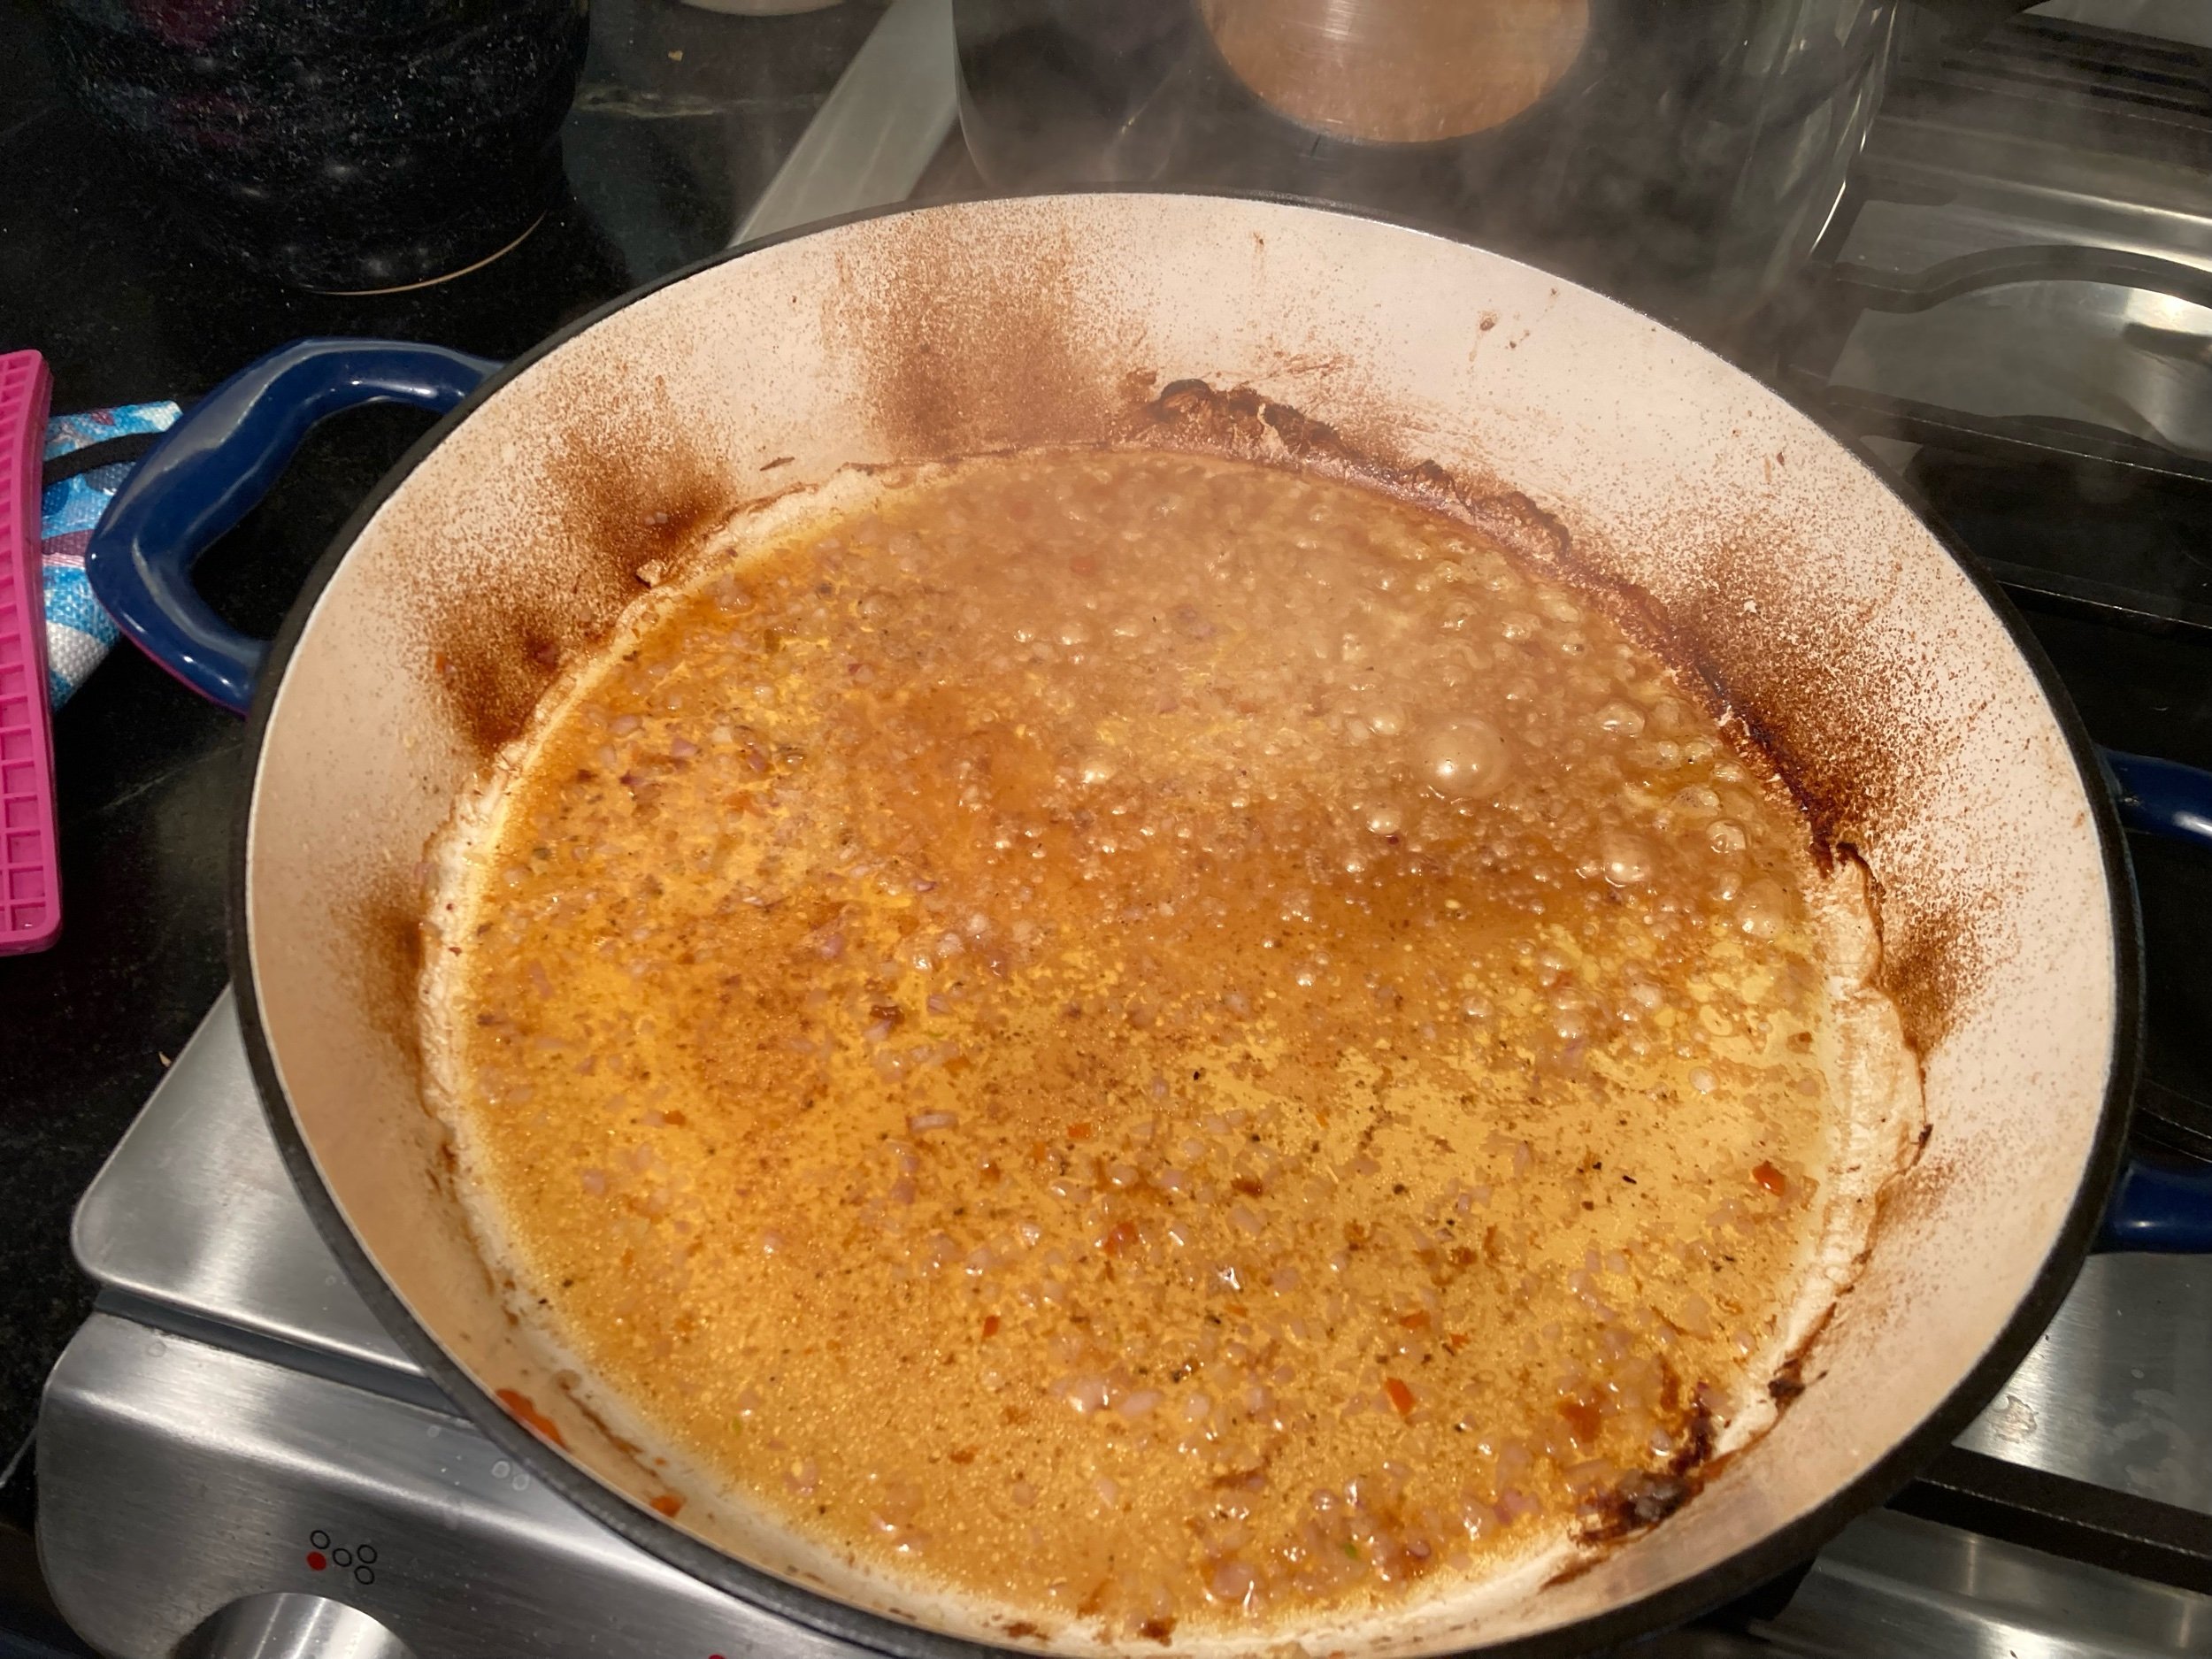

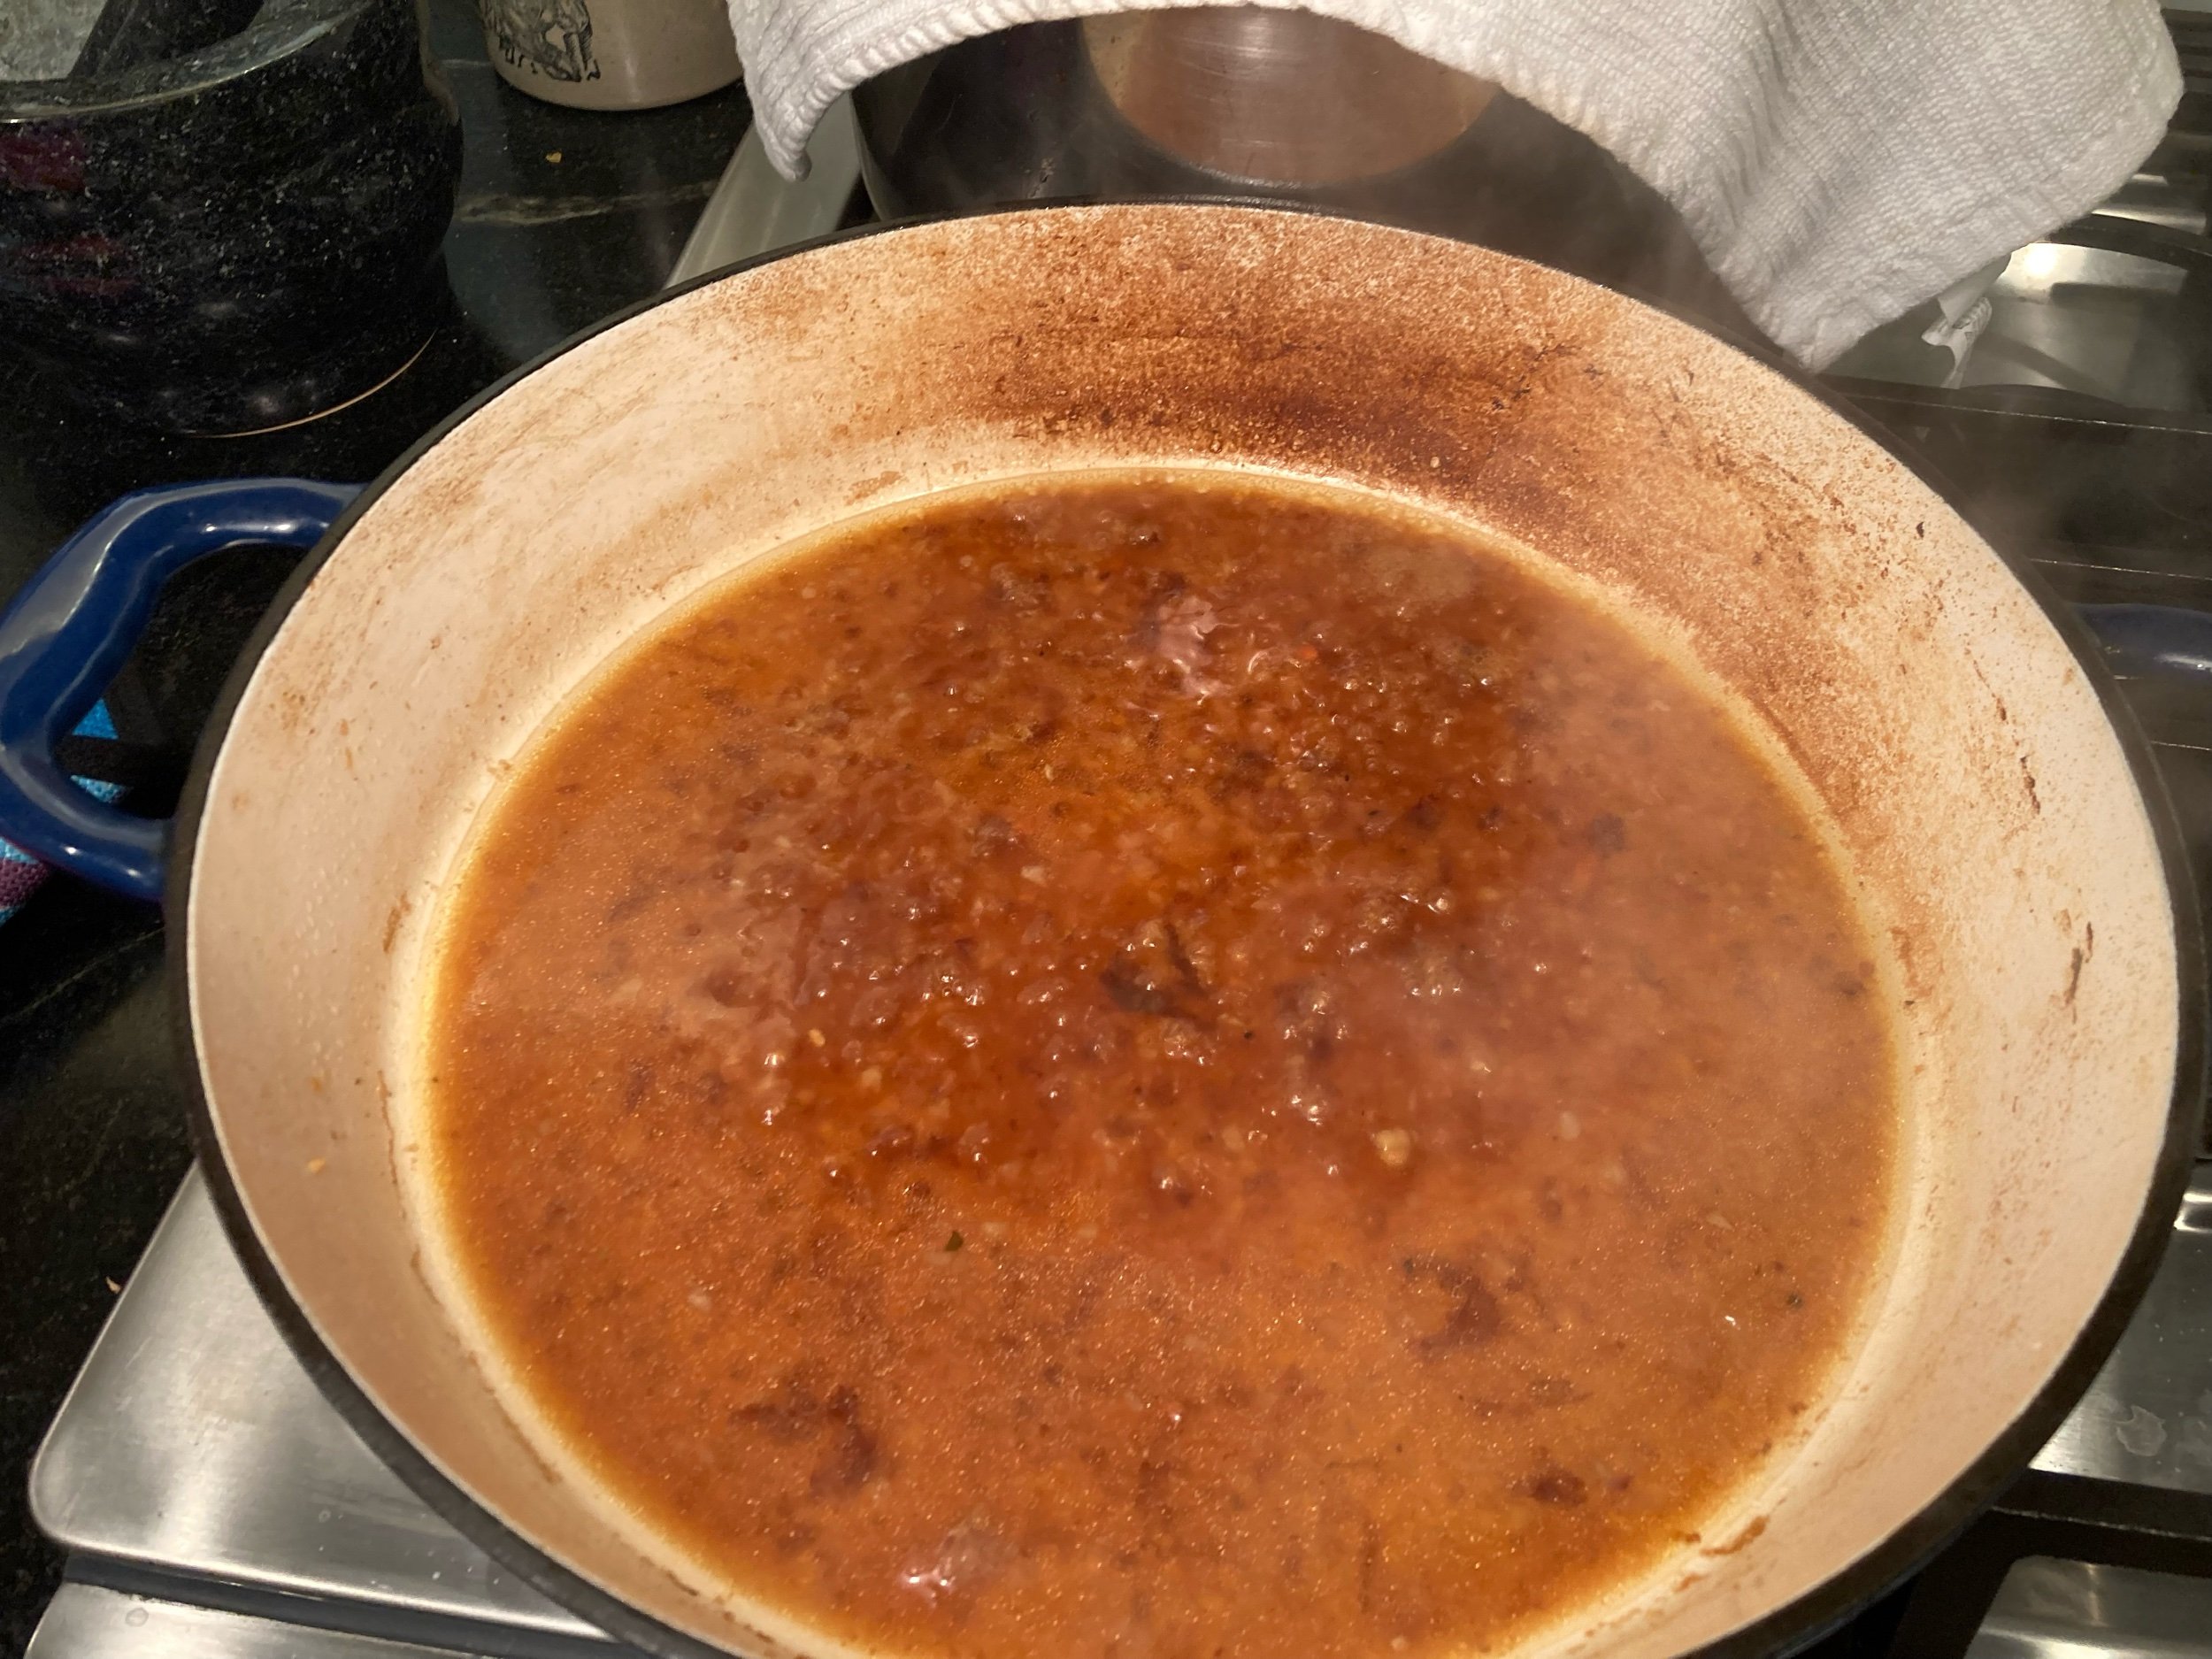
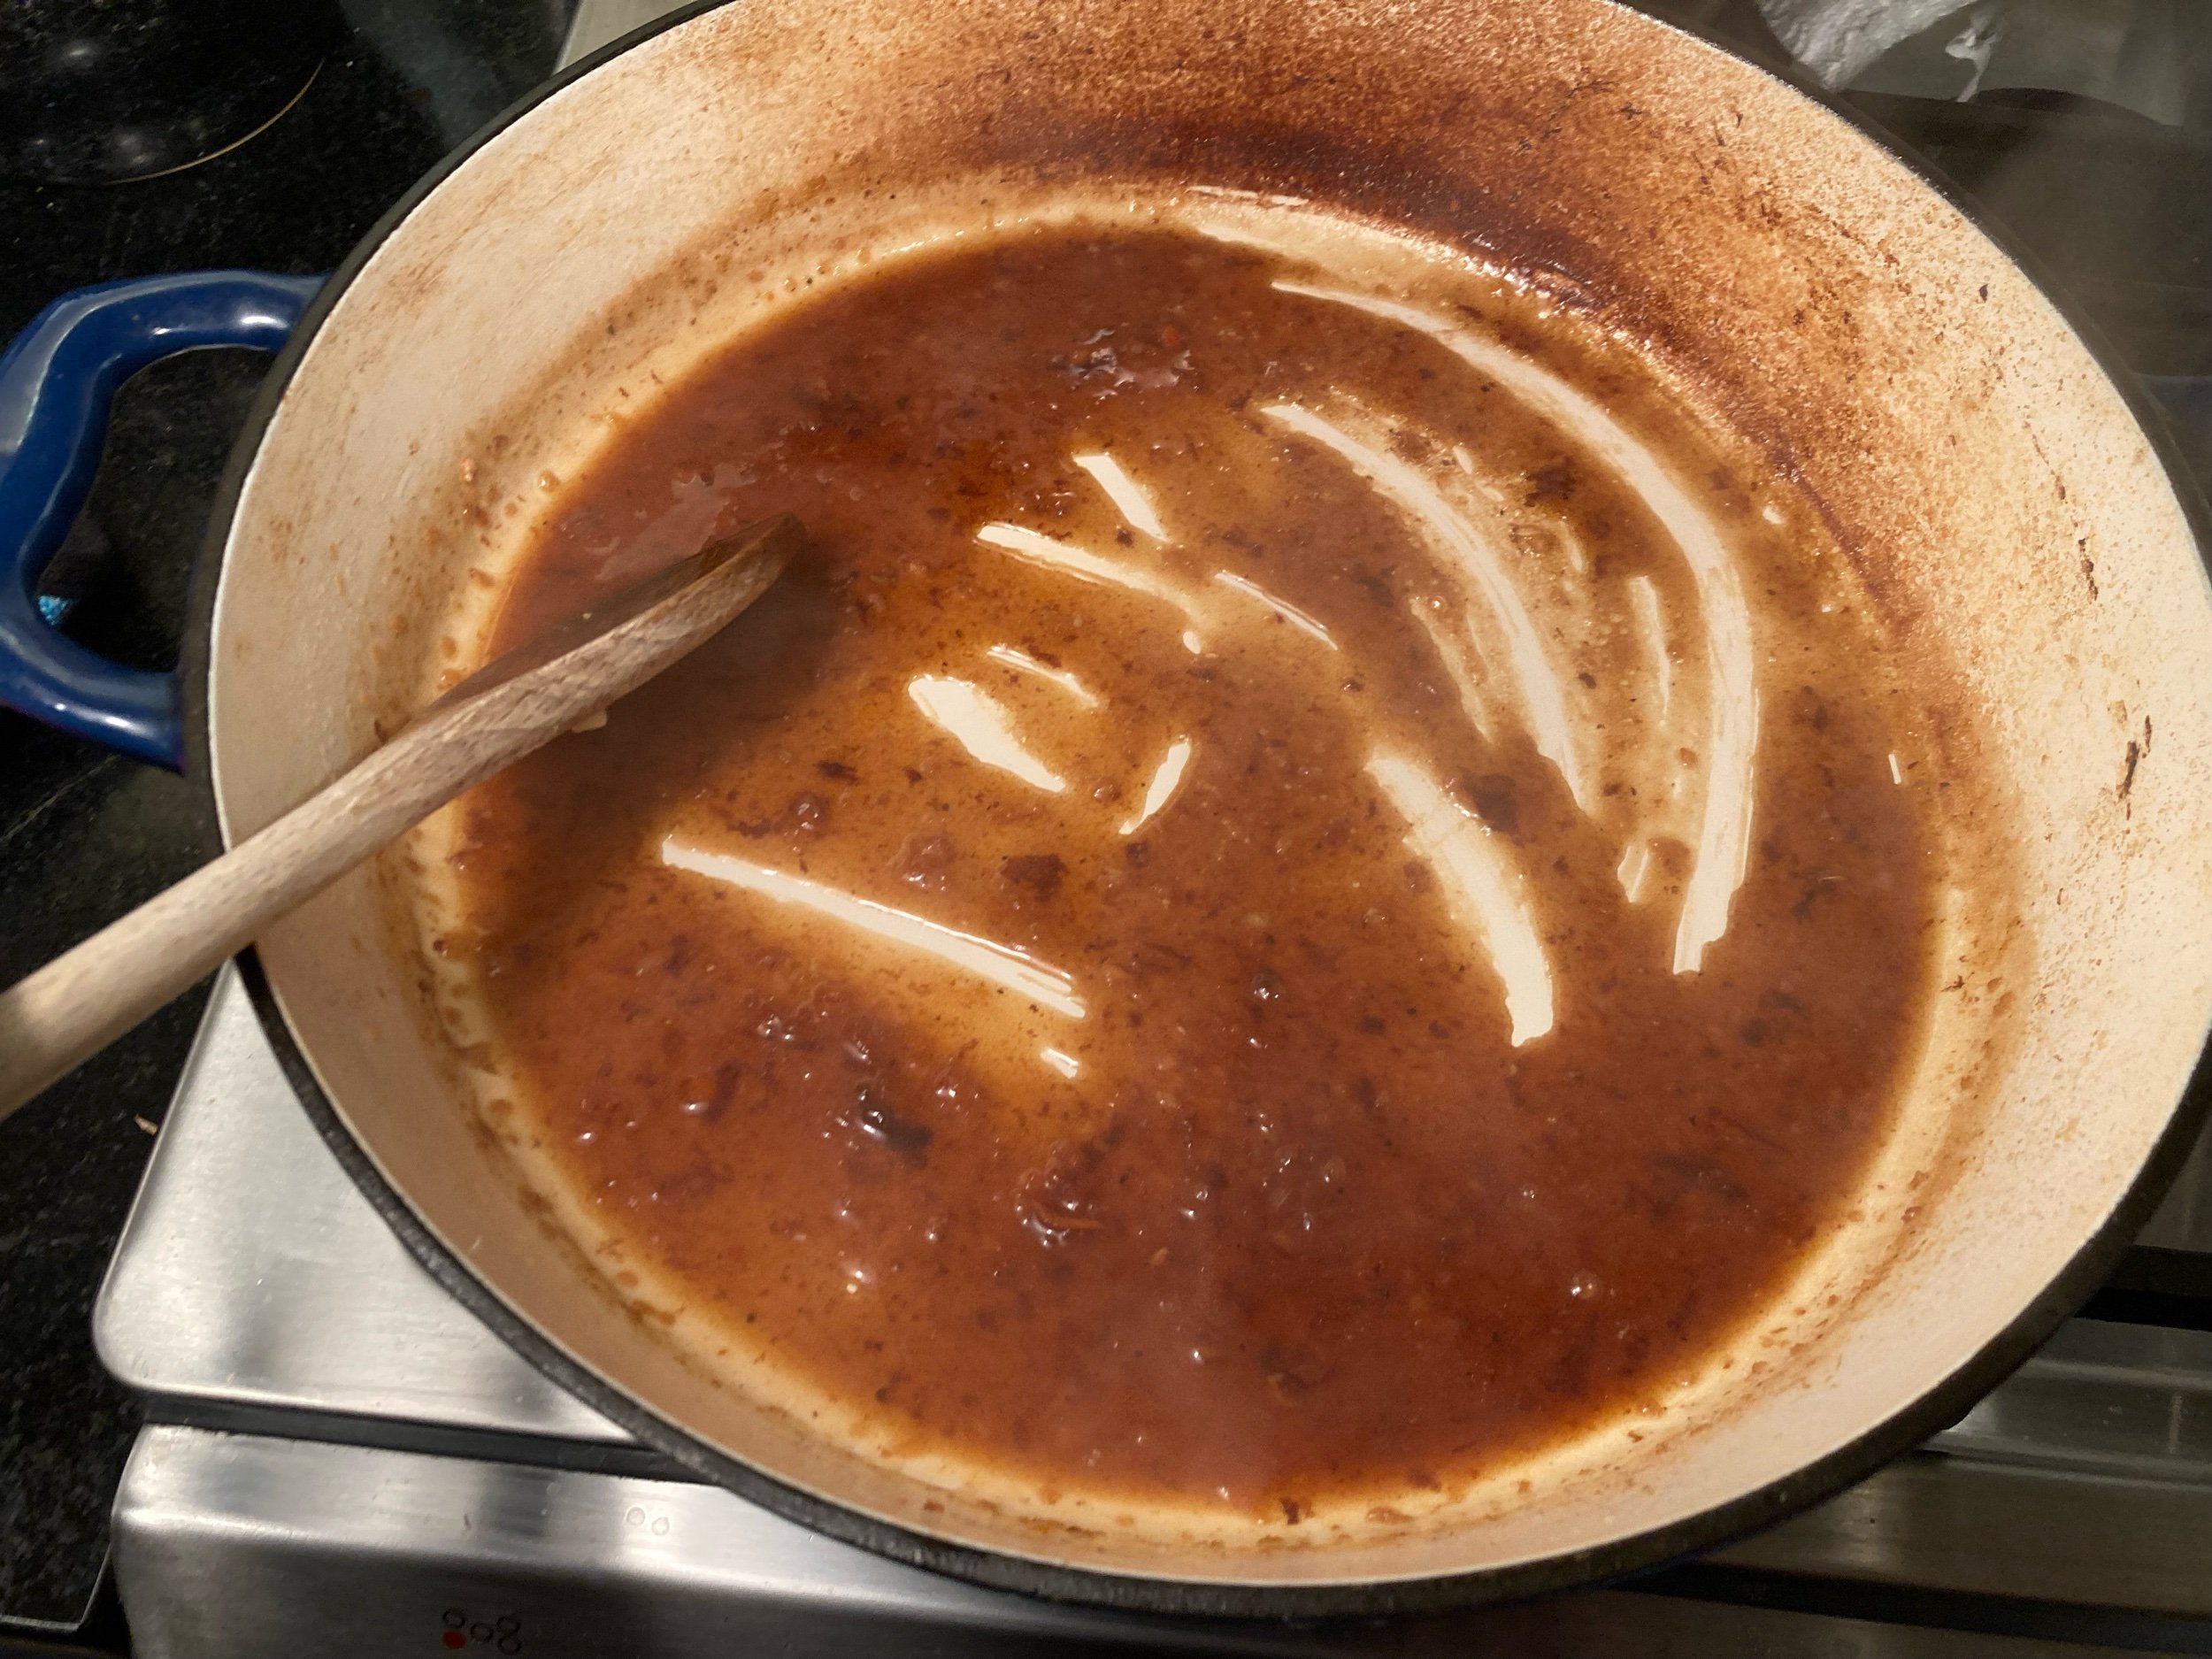
It’s off the menu. Let’s say no more about it.
Carve my damn chicken.
So I think I watched all the videos again today, plus a few more. And I think I know where I’ve been going wrong, but I was focused on the task and didn’t take any pictures.
But here are my favorite videos for learning:
Jacques Pepin Techniques: How to Carve a Roast Chicken
But here’s the thing: so easy, so fast, watched it a dozen times, but honestly he goes so fast that I need some more help.
Chris Carves a Roast Chicken | From the Test Kitchen | Bon Appetit
This one may have helped me the most this time around because he really slows down to show you the parts where you’re exploring the joints with the knife to find those connection points.
Then there’s this:
At 21:26 you can see how a Fak carves a chicken, I guess.
Here’s some notes. I let this bird rest for 20 minutes, and I think it could have gone another 10. It was still very hot, and I rushed my pan sauce and fucked it because my bird rest timer went off, and I could have ignored that and saved my pan sauce. So 30 minutes is not too long for a 5 pound bird.
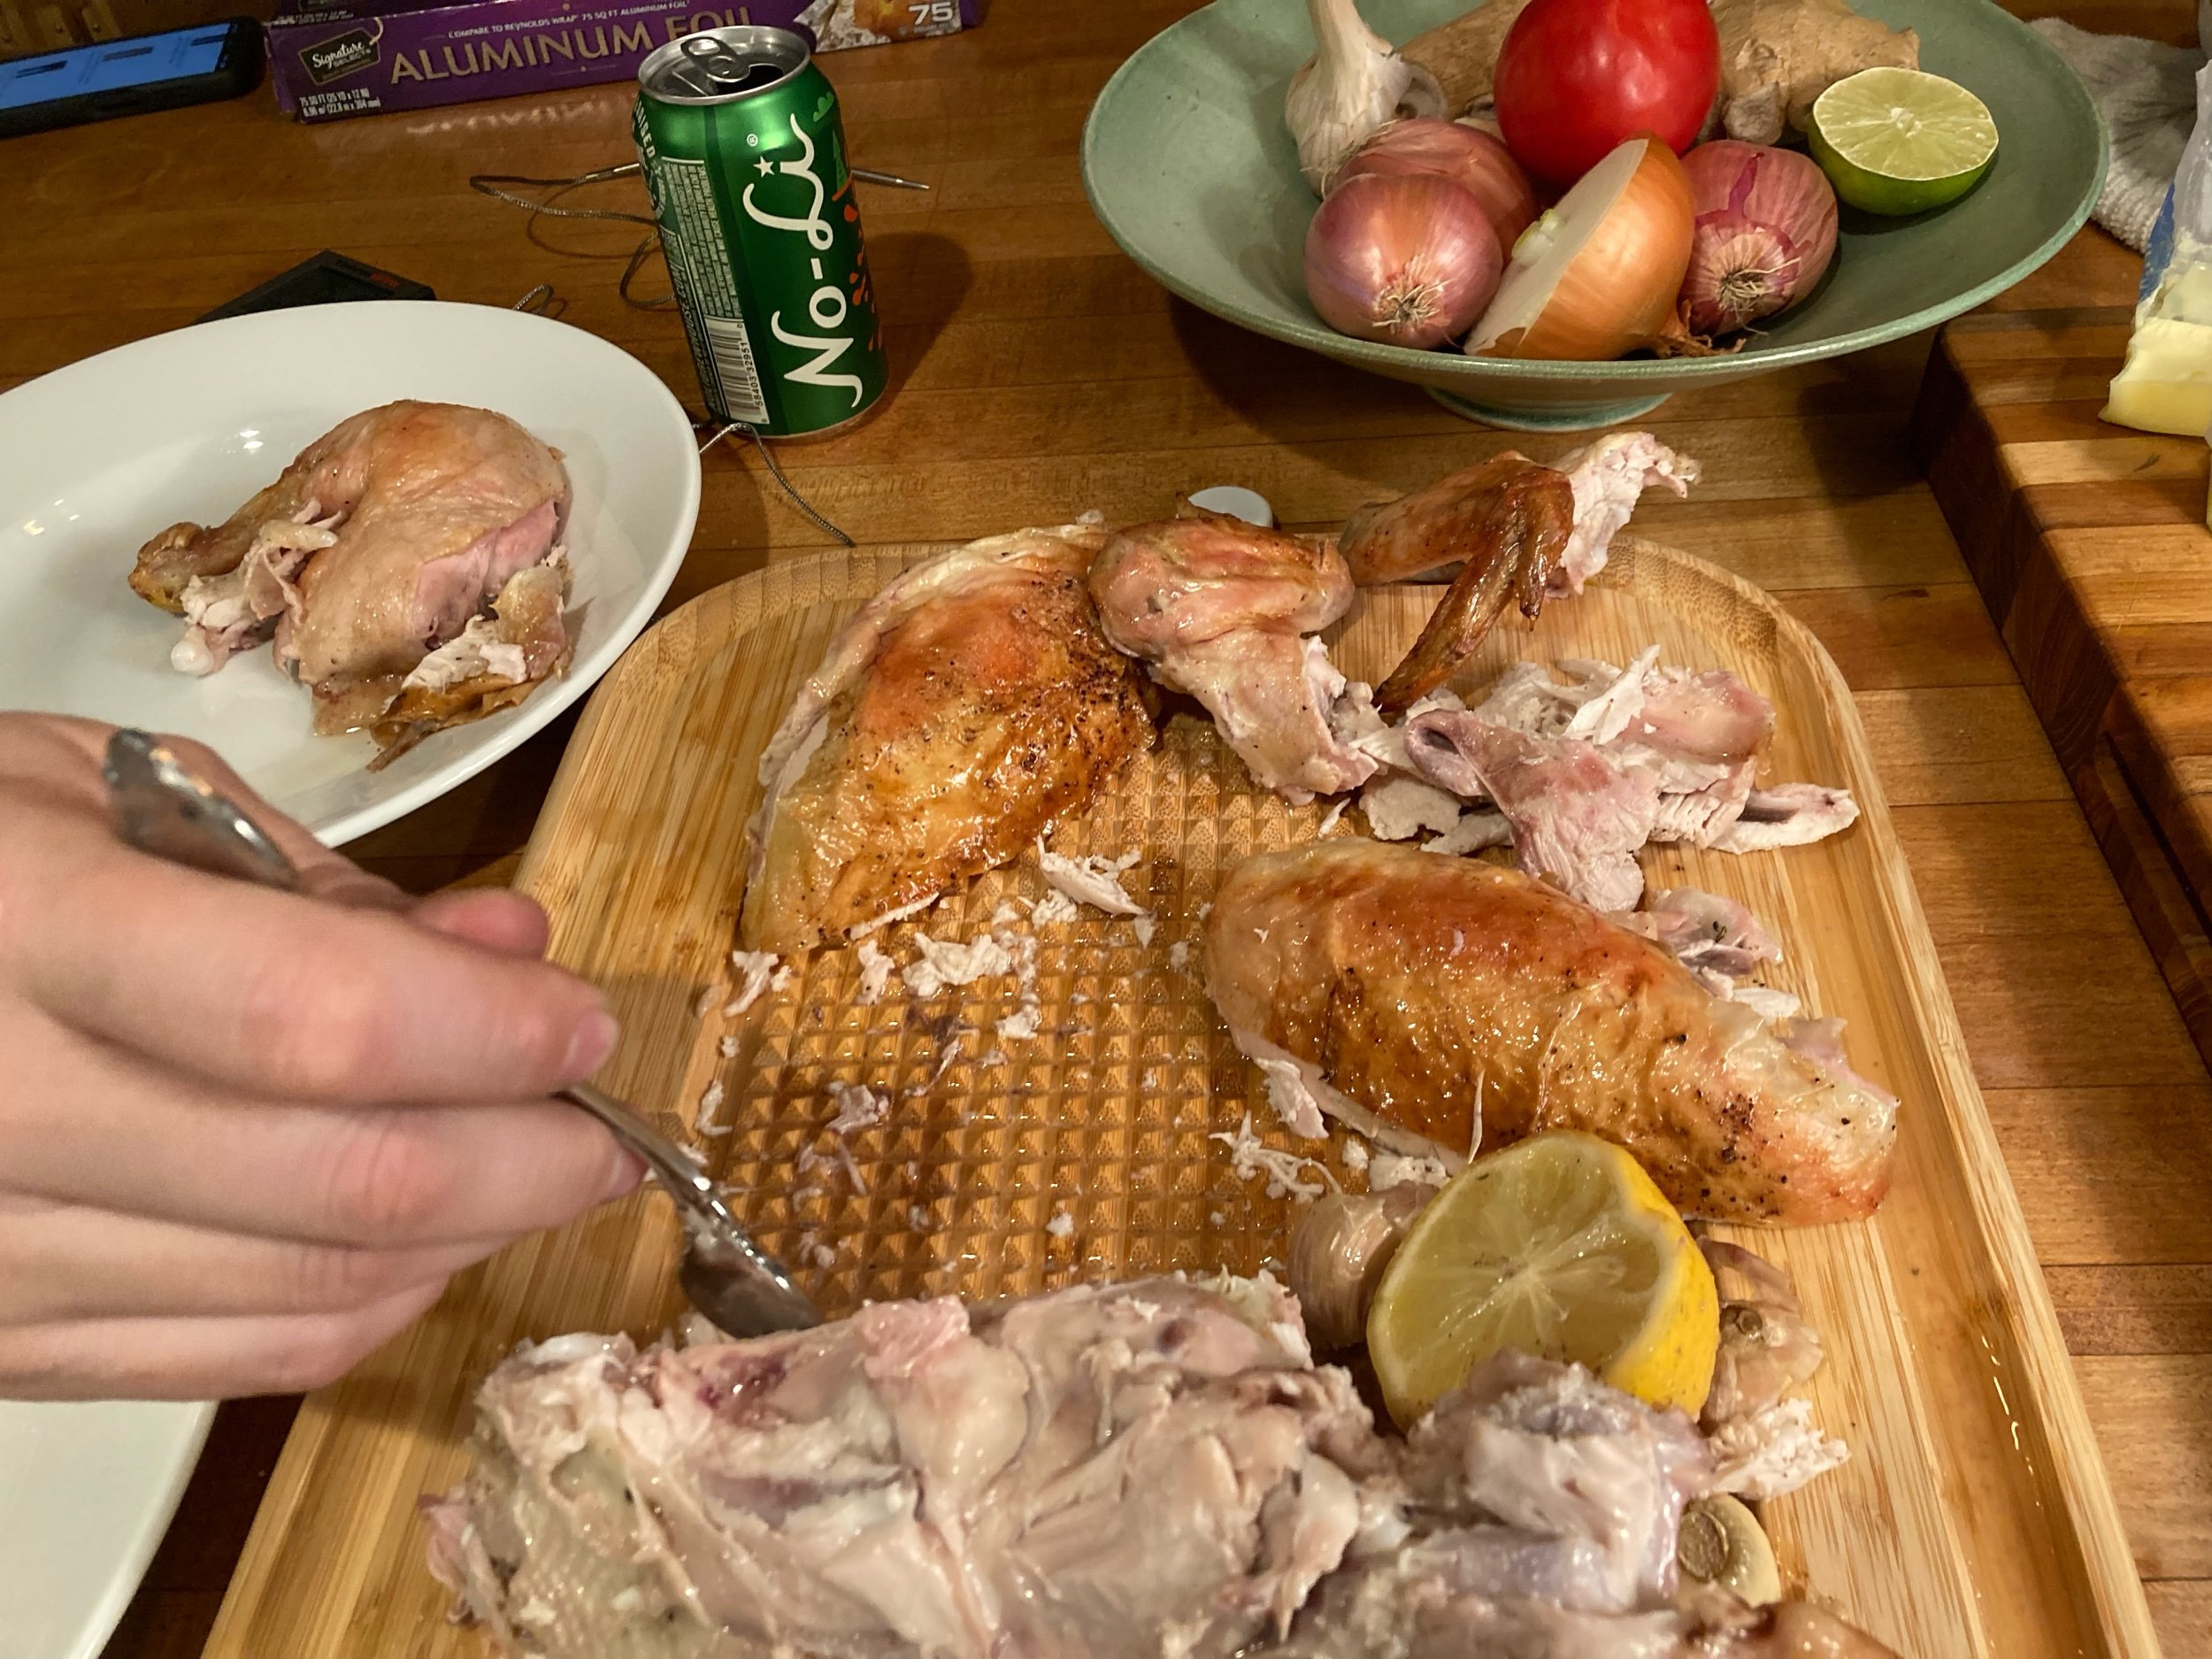
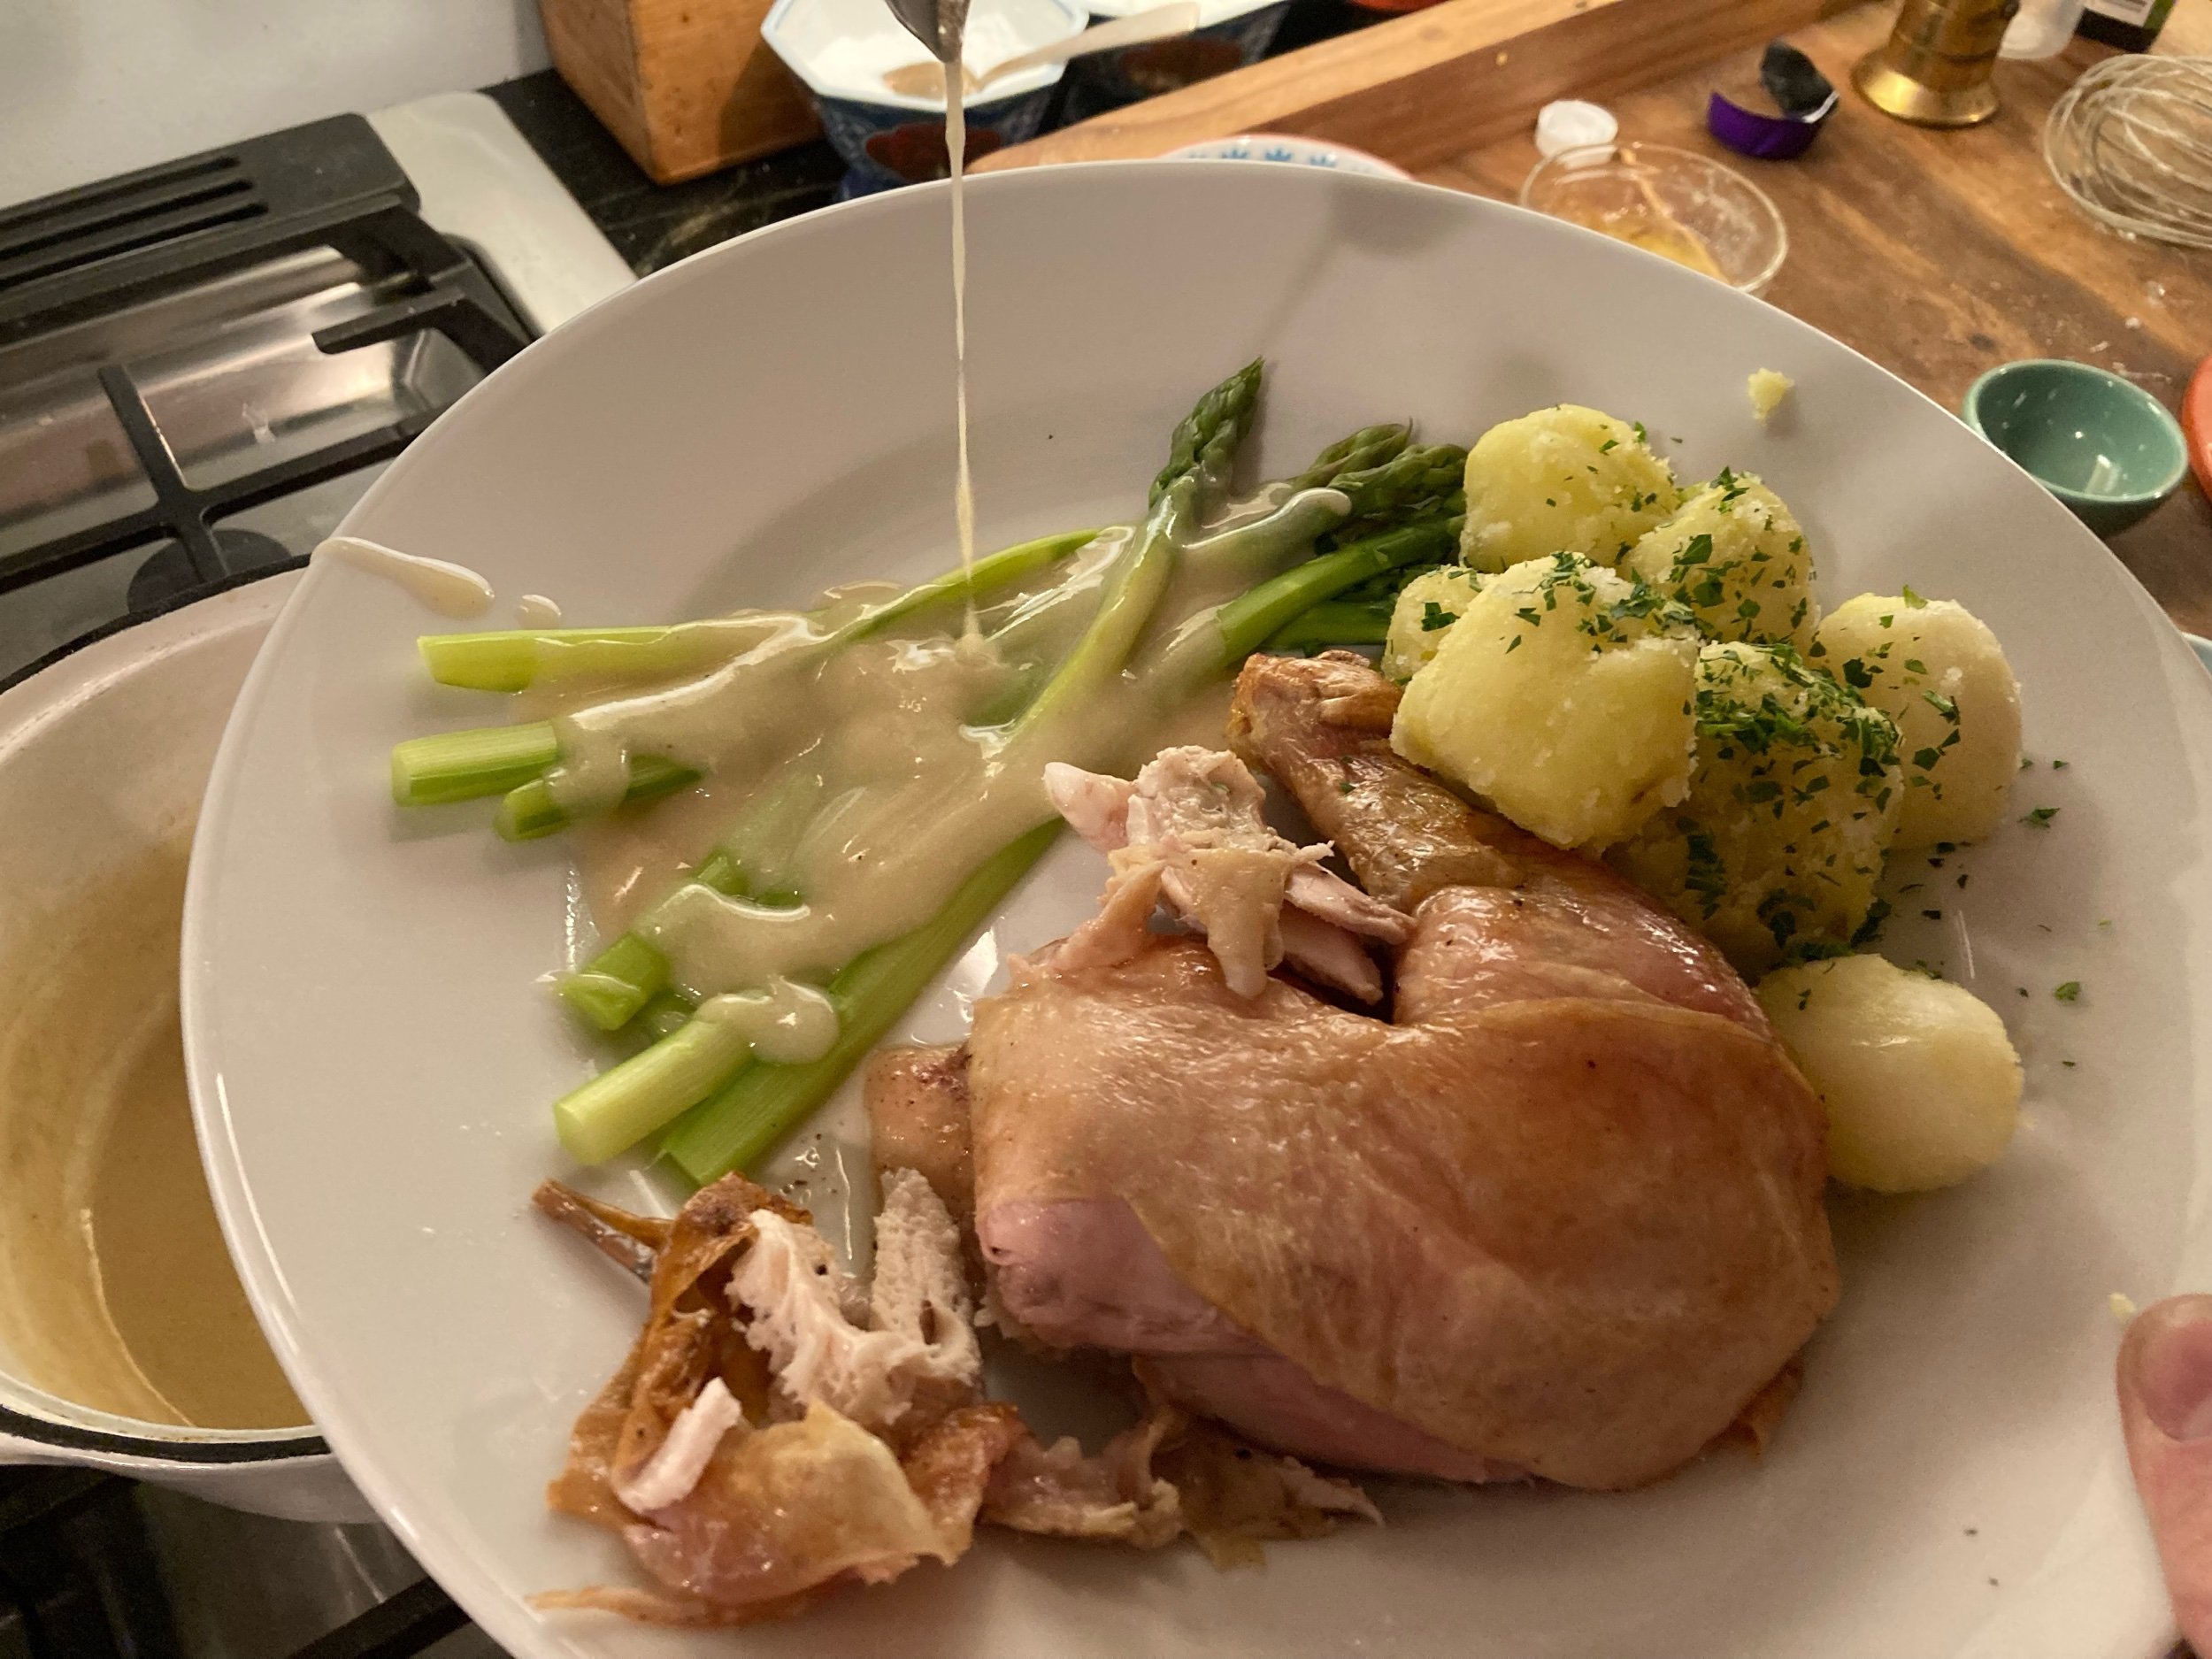
Dinnertime
Roast Chicken Dinner with Julia Child’s Asperges au Naturel [Boiled Asparagus], Sauce Mornay, roast chicken pan sauce, and boiled potatoes
So, how did it all go?
Well I think the chicken carving turned out way better than usual. I wasn’t serving it to a bunch of people, and Luke and I both wanted thigh and leg tonight, so that’s what I plated, and I didn’t bother to separate them, and I think it doesn’t quite look like a drunken monkey did it. The breasts came off fine, though perhaps I still left a lot of scrap behind, and the meat shredded a bit. The breasts were slightly overcooked as I let the chicken go in the oven the full 90 minutes, when I knew from last time I should have taken it out at 80. Not a huge deal. They sliced up nicely for leftovers.
Chicken was fucking great, even without the pan gravy. Good job Ina and good job me.
The asparagus was good, not great. I’m not sure why I would peel it, but Julia says it’s best that way.
Here’s the thing: we’ve improved vegetables a lot, even the ones we just get at basic ass stores. Has the skin on asparagus gotten less tough in the last 50 years? I kinda think maybe. I think I’m going to stick with sautéing nice thin asparagus in oil in a really hot pan. I’ll try this again when I can only get big fat asparagus. Or I won’t because I don’t love big fat asparagus.
The mornay sauce was pretty bland. I tasted it, and maybe it needed more salt, or maybe more cheese, but mostly I think it wasn’t a great pairing with the asparagus, which needed something with more vinegar I think. I thought the swiss would work with the asparagus and potatoes, but it didn’t taste like swiss. It seemed on the sweet side, and still smelled like cookies. I’ll keep working on it, and try to bring the leftover sauce back and incorporate it into a pasta with cheese, adding more cheese. Not sure what to use this sauce for, or if I made it right. But it wasn’t quite right for this.
I watched a couple videos. I don’t think my roux was cooking hot enough. I think I needed a more vigorous cook when it was the flour and the butter, but Julia said low, so low and slow I went. I’ll keep learning, but this wasn’t the shit, it was… I swear it was cookie dough. Luke thought maybe I used his Krusteaz pancake mix which we did totally have in an unlabeled Tupperware under the counter, but I know I filled my flour container from the bag and labeled it with my OCD labelmaker. Still, it was weird. And probably wrong.
Potatoes were perfect, and because they were tiny russet babies they soaked up all the chicken juices, just parsley and salt and butter. Great little potatoes I grew. Good job me again.
Nice fucking dinner, basically. But the asparagus and the mornay sauce were meh at best.
New Segment
I’ve been working on a sort of post cooking project emotional check in on a four point scale based on how motivated I feel to treat, challenge, or punish myself in the end. It goes like this:
4: Feel great, up to new challenges. I’ll make a new cocktail I’ve never tried before, and document it in another post here.
3: Feel pretty good, but not especially inspired. I’ll make a classic comfort cocktail I know by heart. Old Fashioned, Manhattan, Negroni, etc.
2: I’m OK, but whooped and can do no more. I’ll have a glass of wine or a beer, a straight whiskey, a Rum and Coke or a G&T.
1: I’m really feeling pretty fucked up about the whole thing and not good about myself at all. Like I don’t deserve good. I only deserve bad. I’ll take a shot of Malort. And I’ll have a good long think about what I’ve done.
0: I’m actually dead. The recipe finished me off. I can drink nothing and have put myself to bed. Done because me chefed too menny.
Tonight I had a beer. I wasn’t whooped, but none of the experiments turned out great. My chicken carving went better than ever before, so that was pretty dope. I still don’t know what the deal is with chicken wings.

Goodnight!
Citation
Child, Julia, Louisette Bertholle, and Simone Beck. Mastering the Art of French Cooking. 1961. 40th Anniversary ed., Knopf, 2009.
Garten, Ina. “Perfect Roast Chicken.” Barefoot Contessa, 1999, https://barefootcontessa.com/recipes/perfect-roast-chicken

Look at that cutie. I think she lifts.
I’m not gonna keep doing the thing where I put the whole ingredient list down at the bottom. Y’all can read. It’s all up there.
![French Onion Soup or Soupe a l’Oignon Gratinee de Trois Gourmandes [Onion Soup Gratineed de Luxe] from Mastering the Art of French Cooking by Julia Child et al.](https://images.squarespace-cdn.com/content/v1/54c97b77e4b002ff91c0d532/1705955119871-S22M37XUZYQCFKCVAIFA/IMG_9754.jpeg)
French Onion Soup or Soupe a l’Oignon Gratinee de Trois Gourmandes [Onion Soup Gratineed de Luxe] from Mastering the Art of French Cooking by Julia Child et al.
This is one of the expansion/escalation “serving ideas” Julia shares that starts with the regular Soupe a l’Oignon, but a gratin version of onion soup is generally what we consider French Onion Soup (in that if I ordered French Onion Soup in a restaurant and it did not come with beautifully browned ooey-gooey melted cheese and toast layered on top, I would, like, I don’t know, cry maybe, or just be real sad.*
Julia says
The onions for an onion soup need a long, slow cooking in butter and oil, then a long slow simmering in stock for them to develop the deep, rich flavor which characterizes a perfect brew. 43
So that’s what we’re gonna do.
I’m doing all of this in my Dutch oven. While some of the versions of this soup can be served in individual pots, as a French Onion Soup bowl, you really can’t do this version easily that way as you have to mix in some final ingredients, an additional enrichment Julia calls the “final fillip.” And my 2-quart Corningware says it’s not broiler-safe, so I’m using the Dutch oven.
The way Julia stacks these recipes is confusing in the cookbook because of all the variations, but in broad strokes for this version:
1) Caramelize the onions
2) Make the Soup
3) Make the croutes
(Or stop here, see HINDSIGHT NOTE)
4) Build the gratin
5) Add the “final fillip”
Go to the bottom for the full ingredient and equipment list. I’ll do this in stages here as it made the most sense to me. I’m not going to do this recipe like this again though, and I’ll put my thoughts and changes in sidebars and the “hindsight note” below.
1) Caramelize the onions for the soup (allow 60-90 min):
1-1/2 lbs or about 5 cups of thinly sliced yellow onions
3 Tb butter
1 Tb oil
1 tsp salt
¼ tsp sugar
3 Tb flour
A heavy-bottomed, 4-quart (or larger) saucepan (or oven-safe Dutch oven).
Melt butter and oil in your saucepan over medium heat, add onions, then cover and cook for 15 minutes.
Uncover, lower heat as low as you can, add salt and sugar. Cook very gently for 60-90 minutes stirring occasionally for the first 45, then every 5-10 minutes until onions have reached a rich deep brown. Less time means slightly higher heat, but also watch more closely and stir more often. Be warned.**
Sprinkle in flour and stir for 3 minutes.
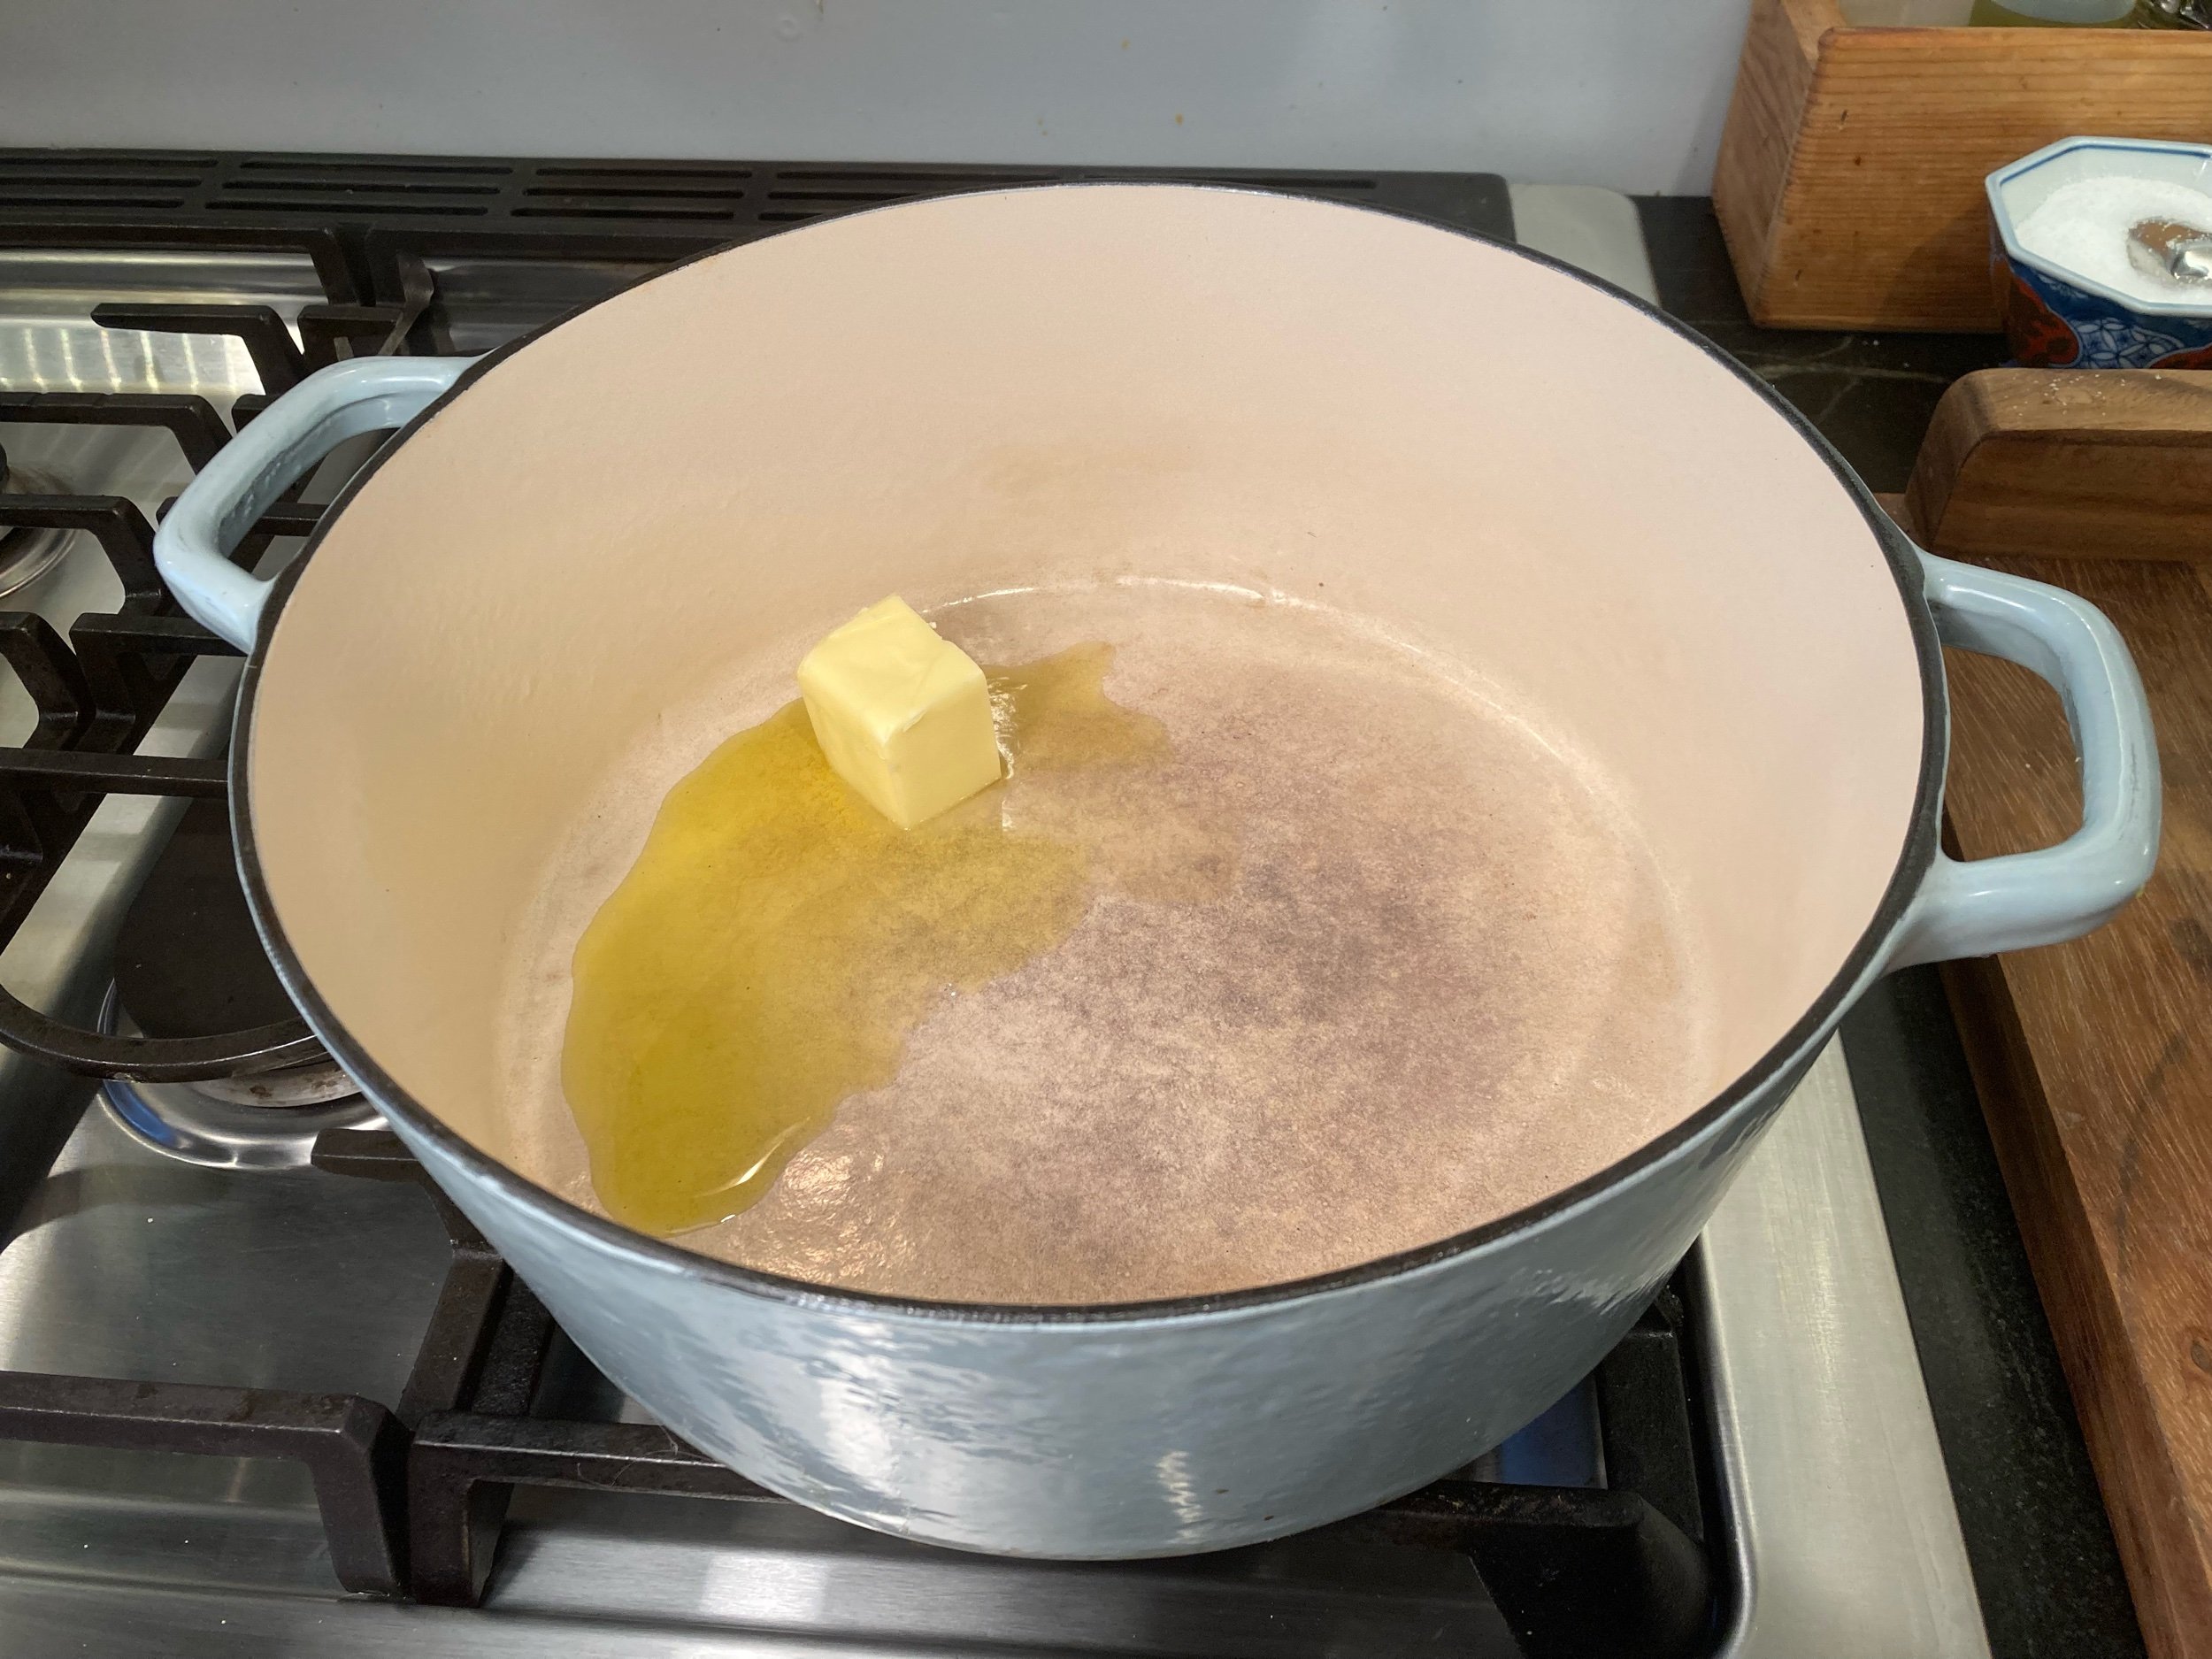

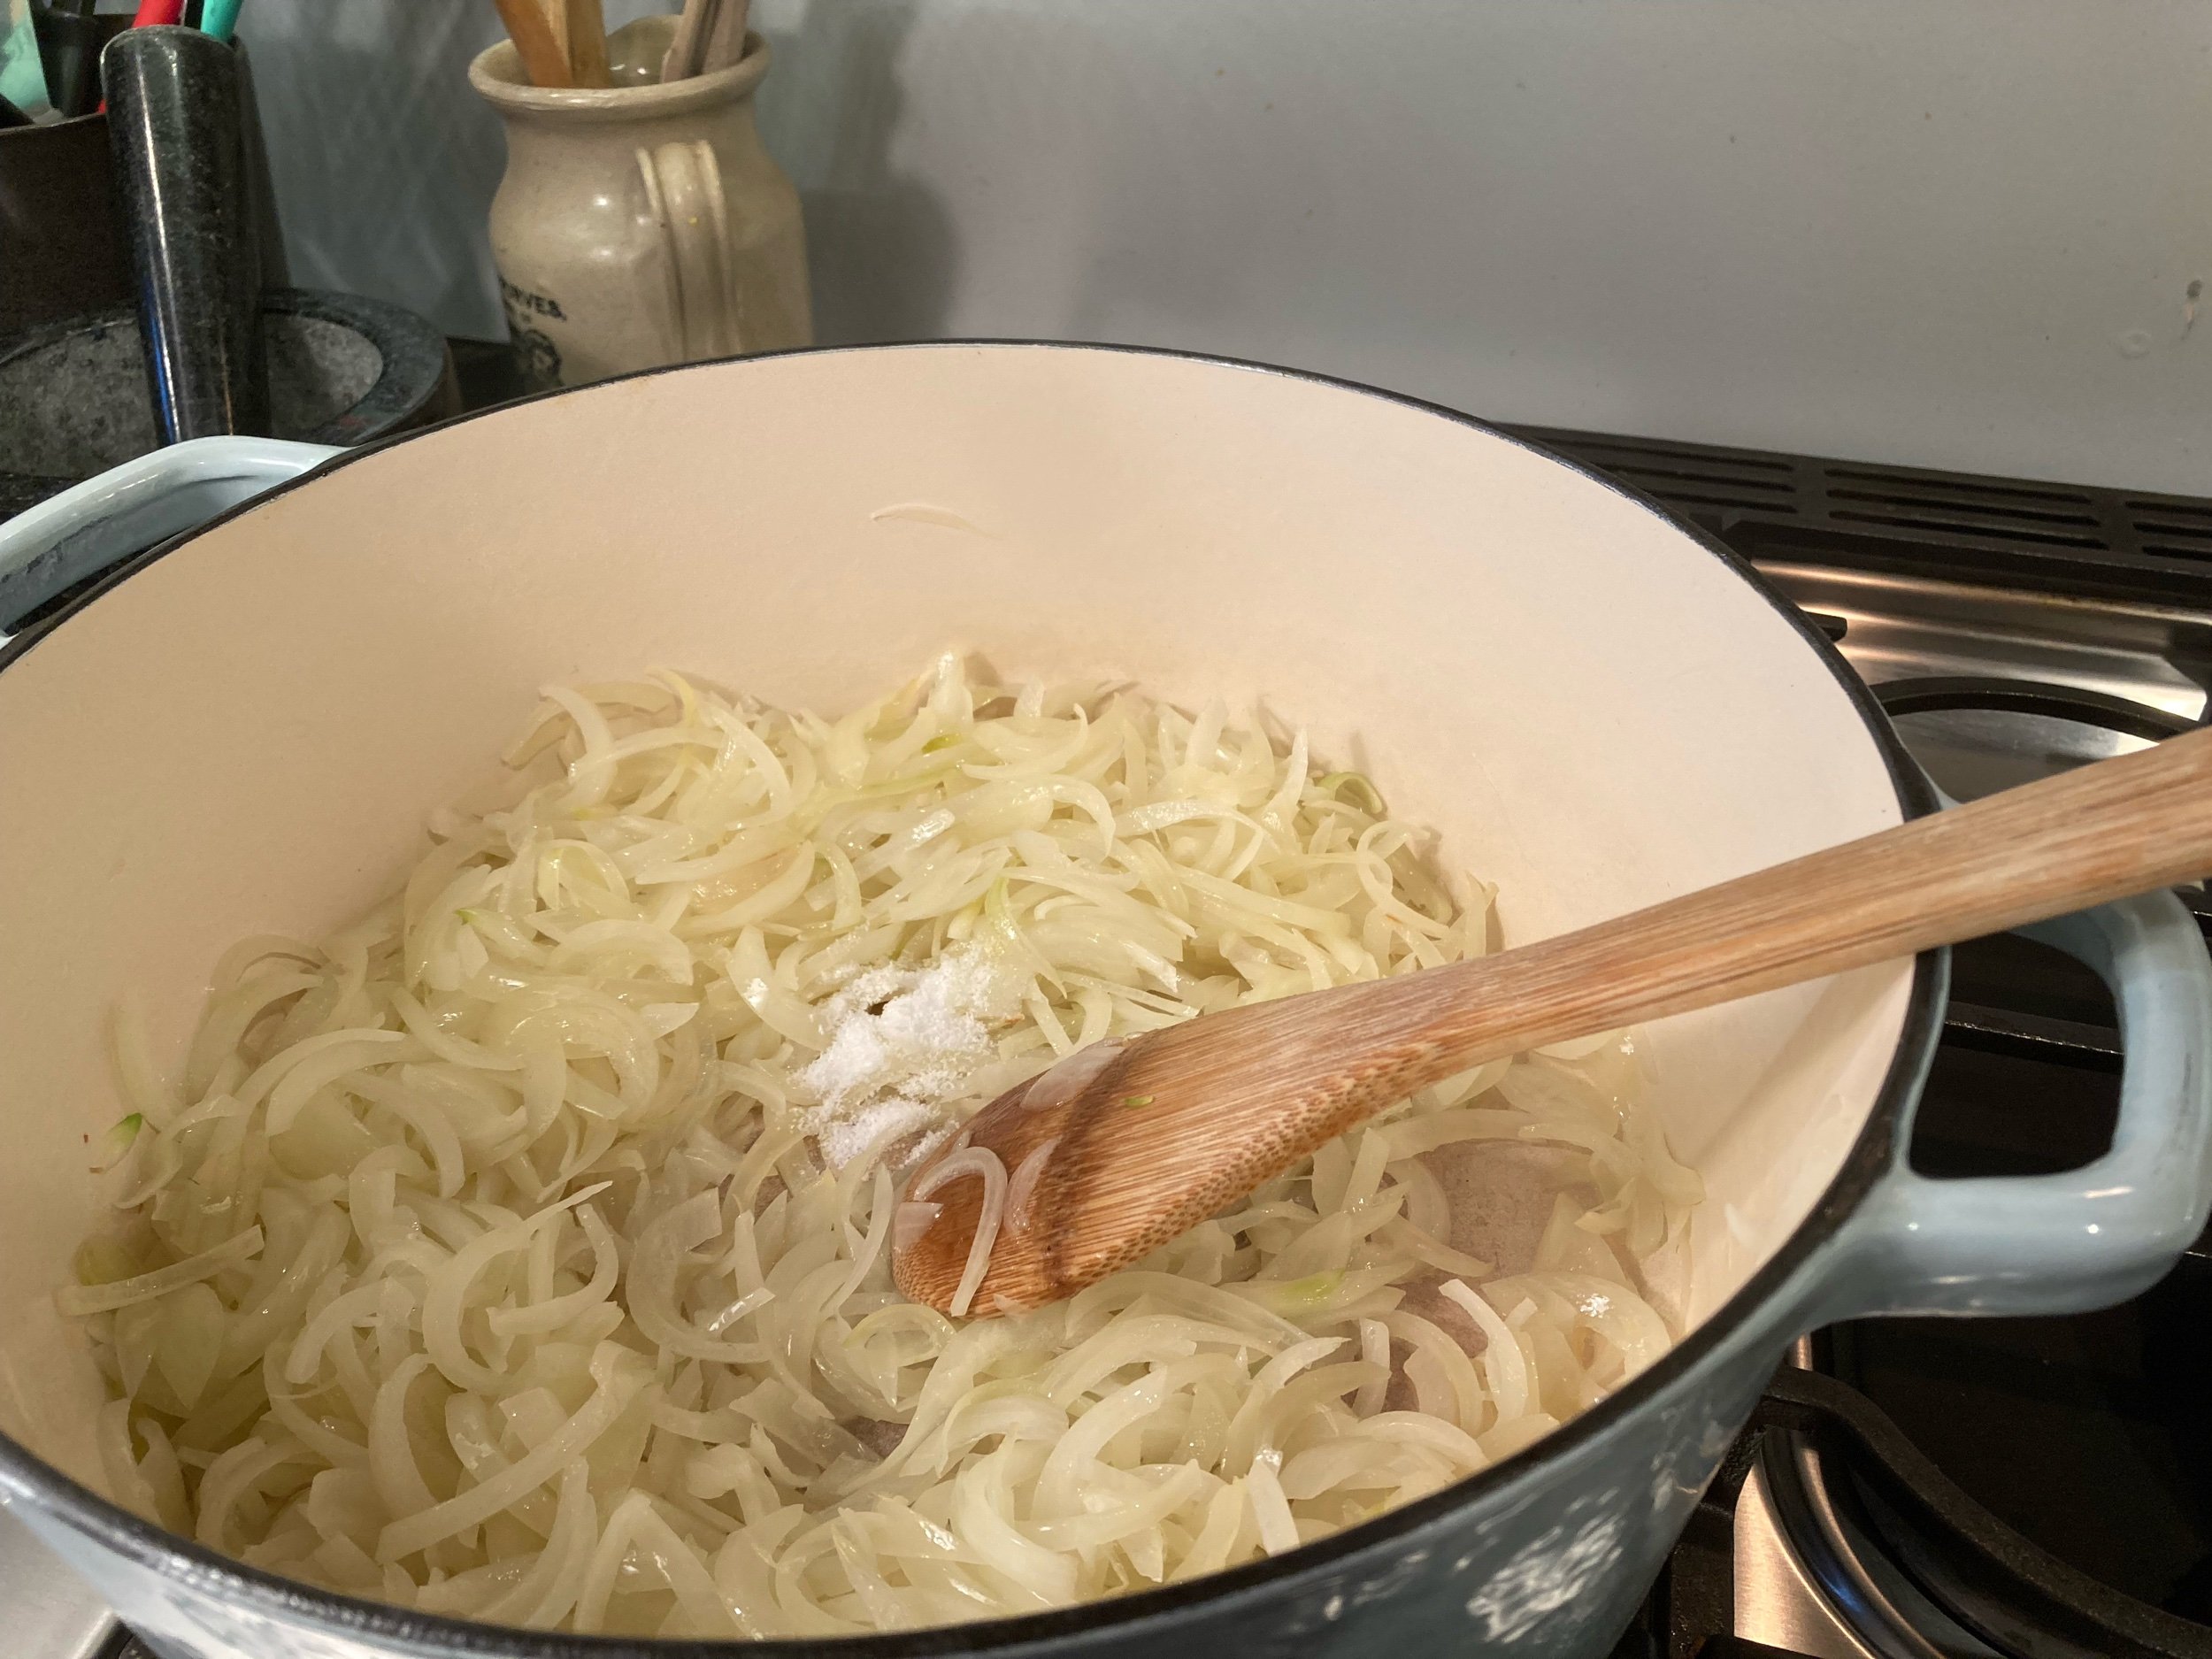
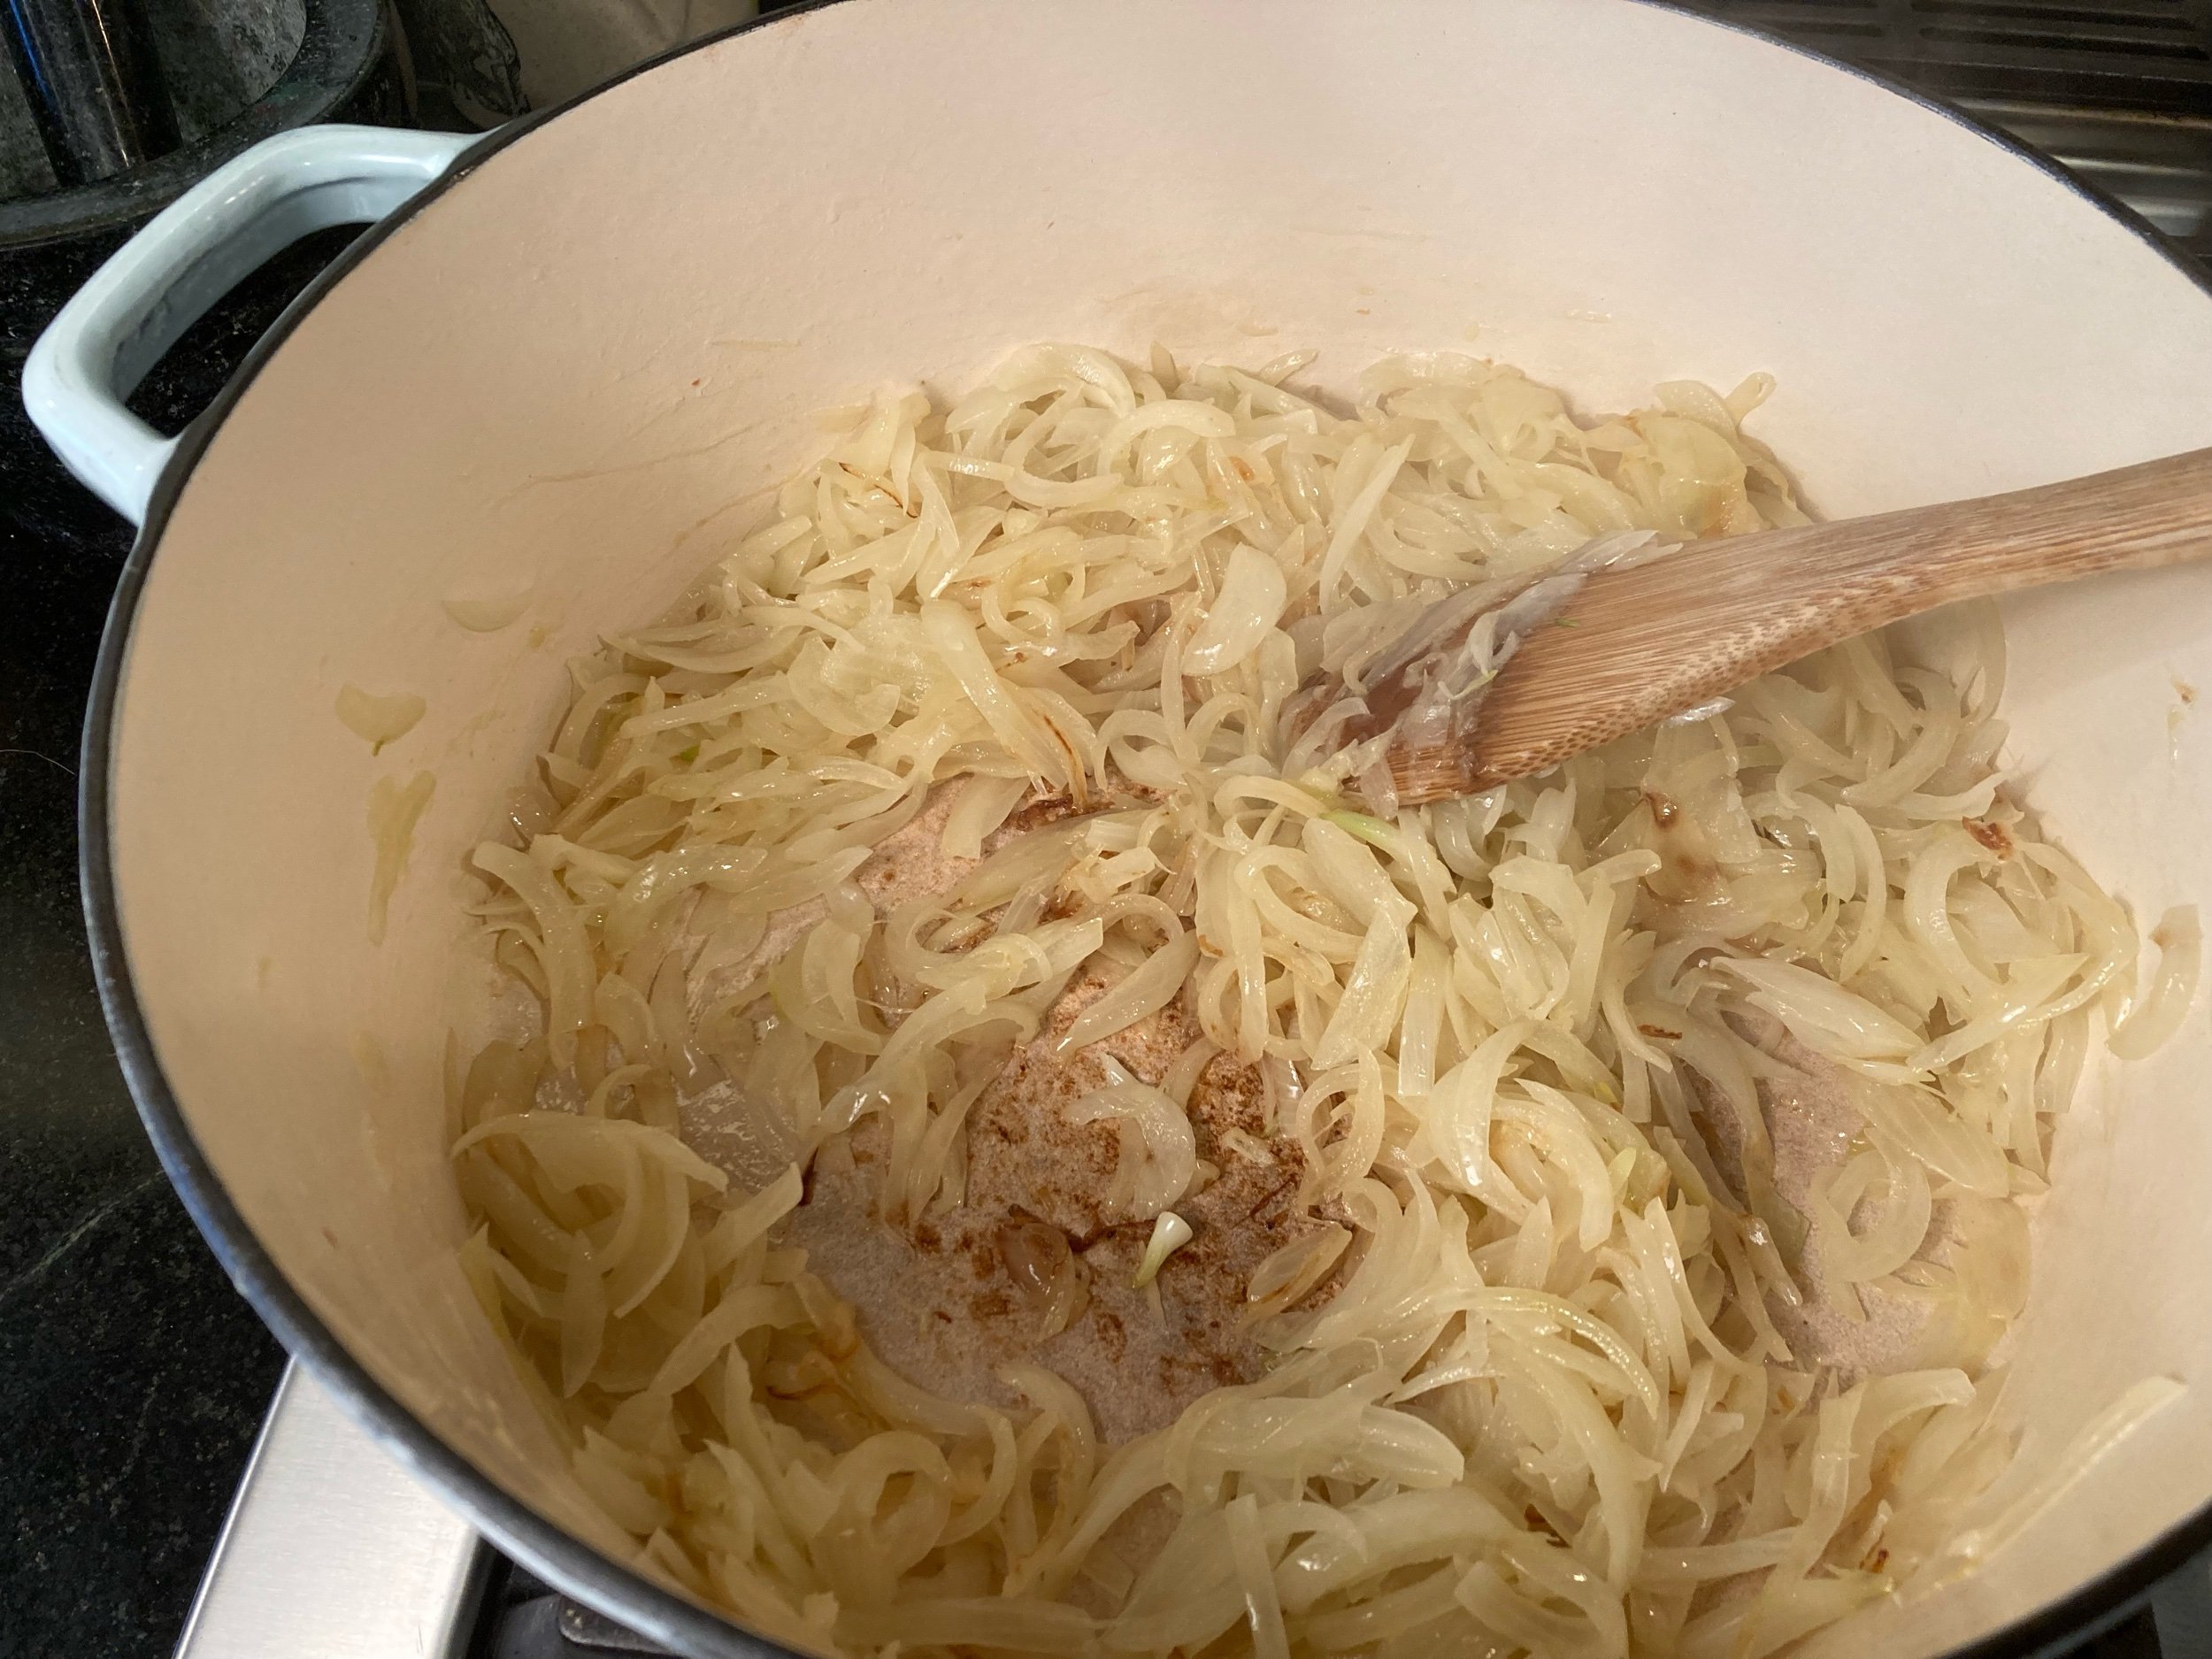
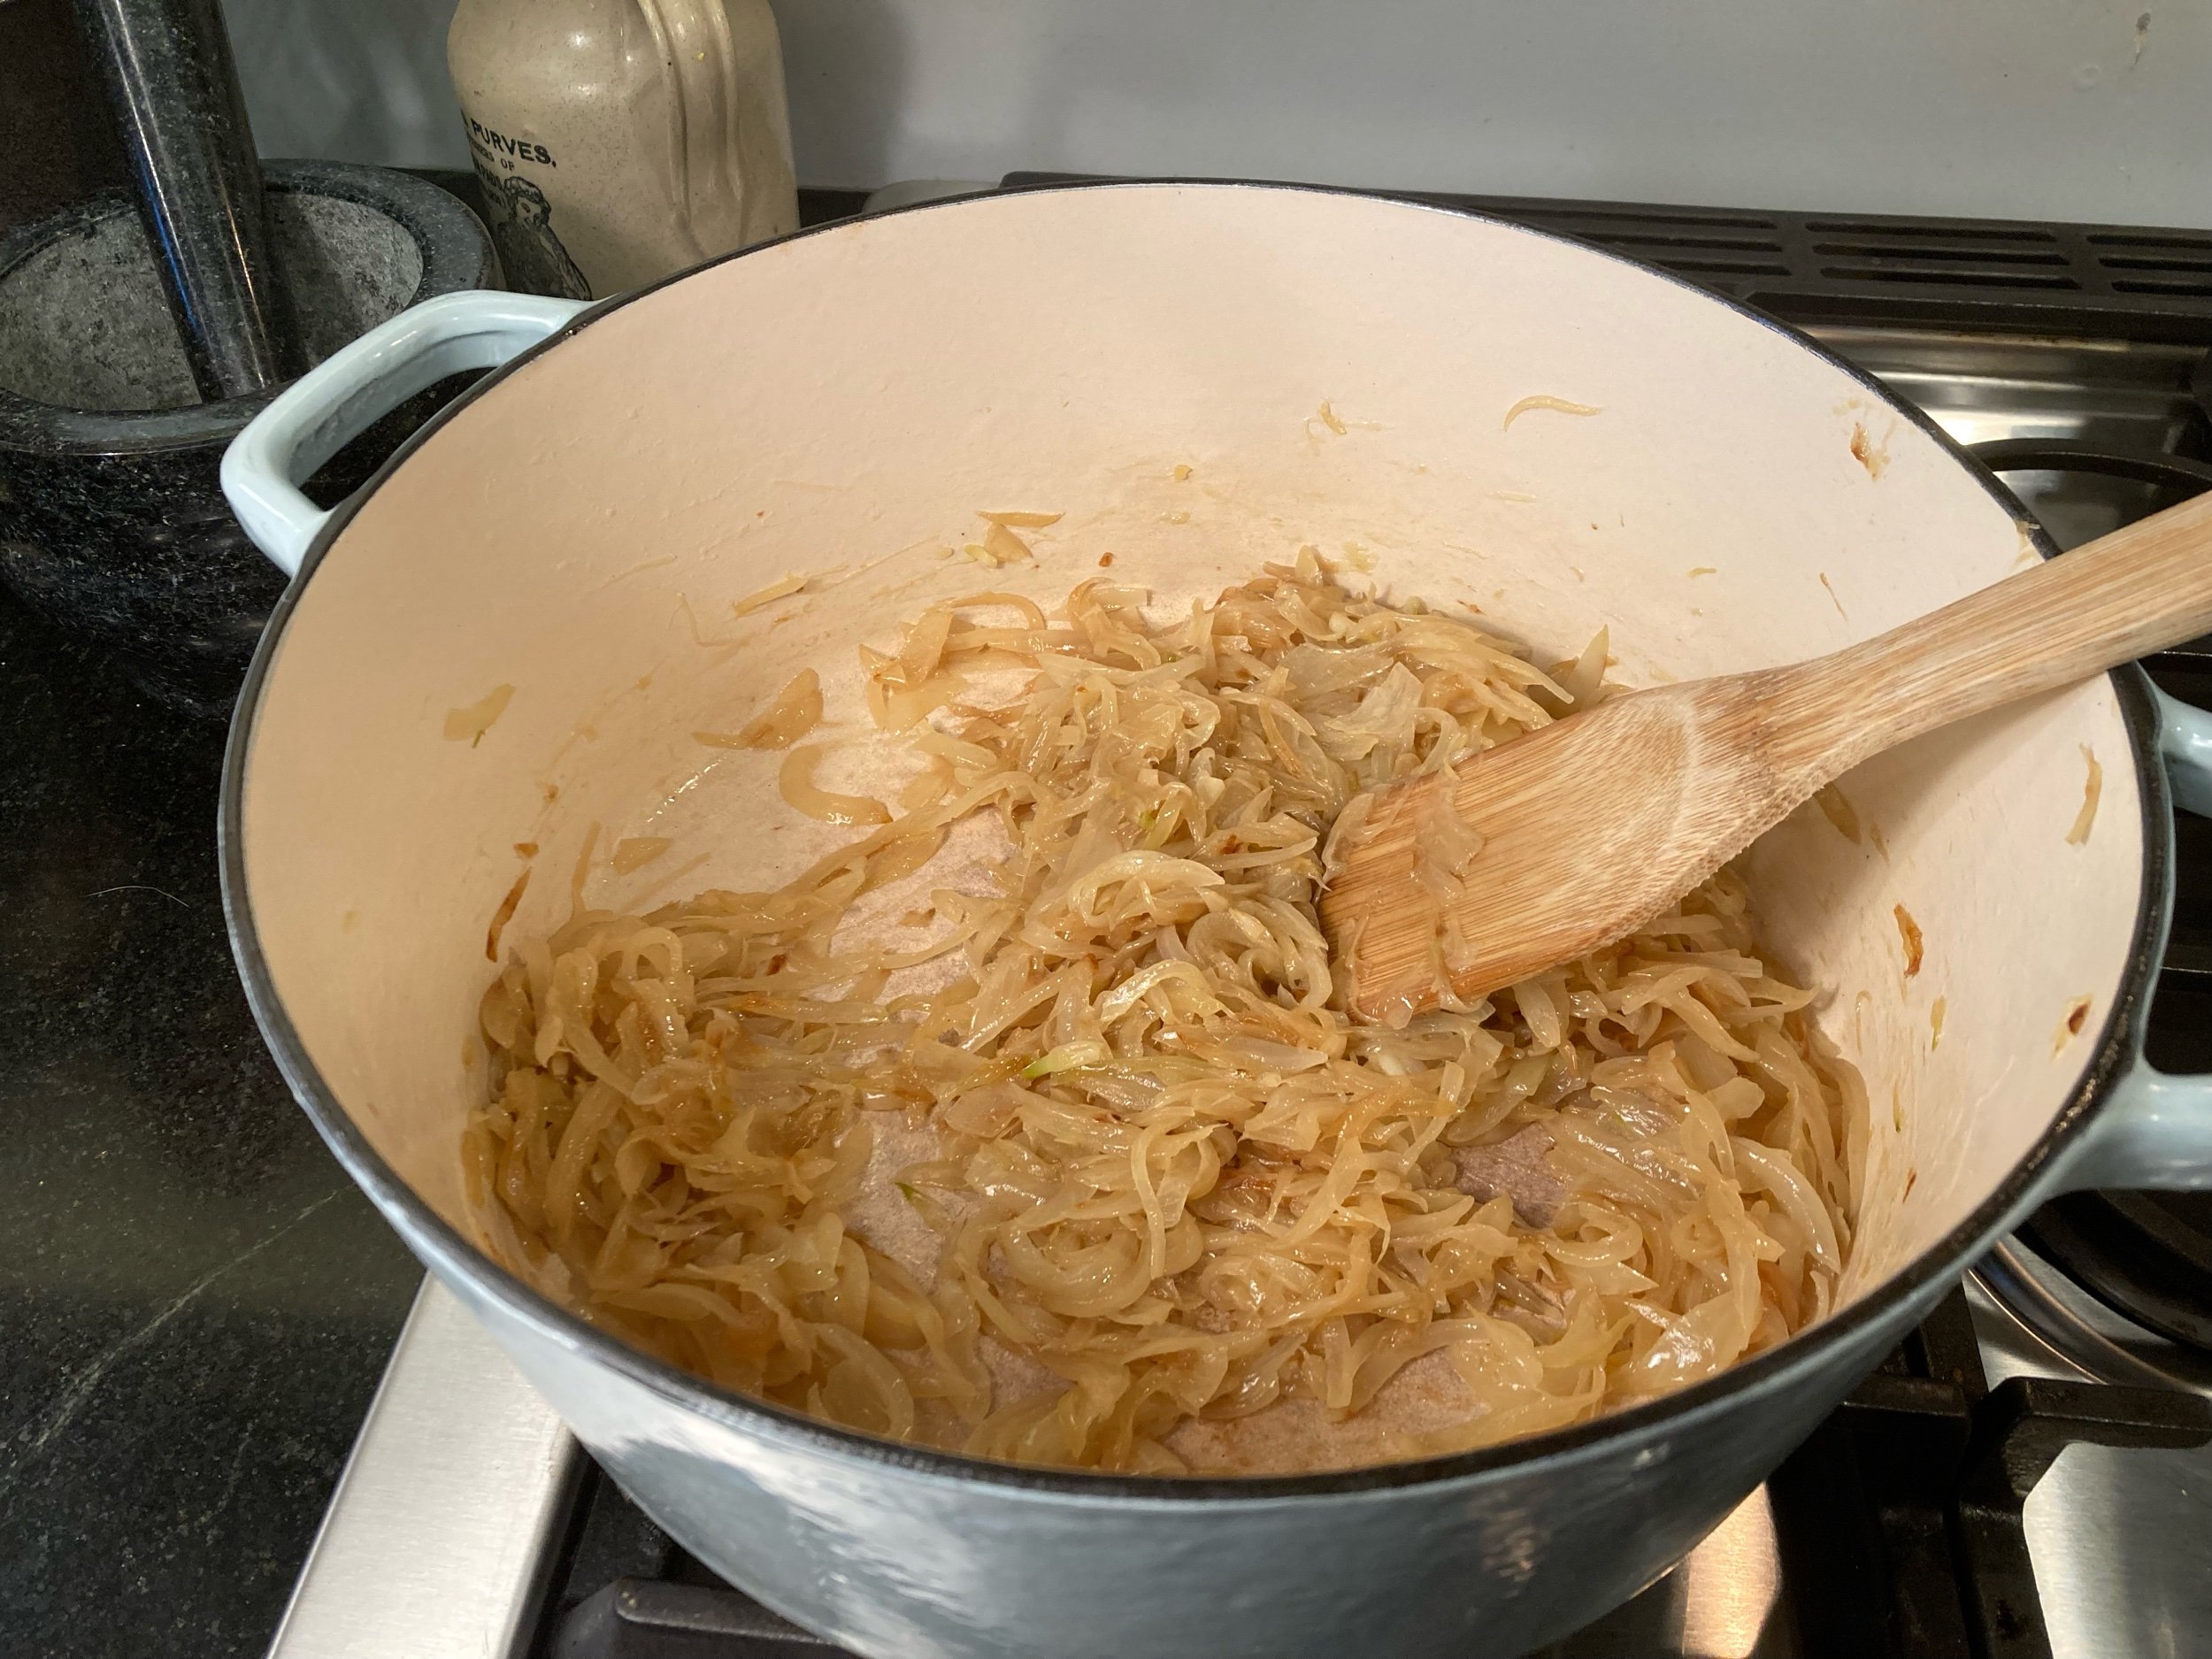
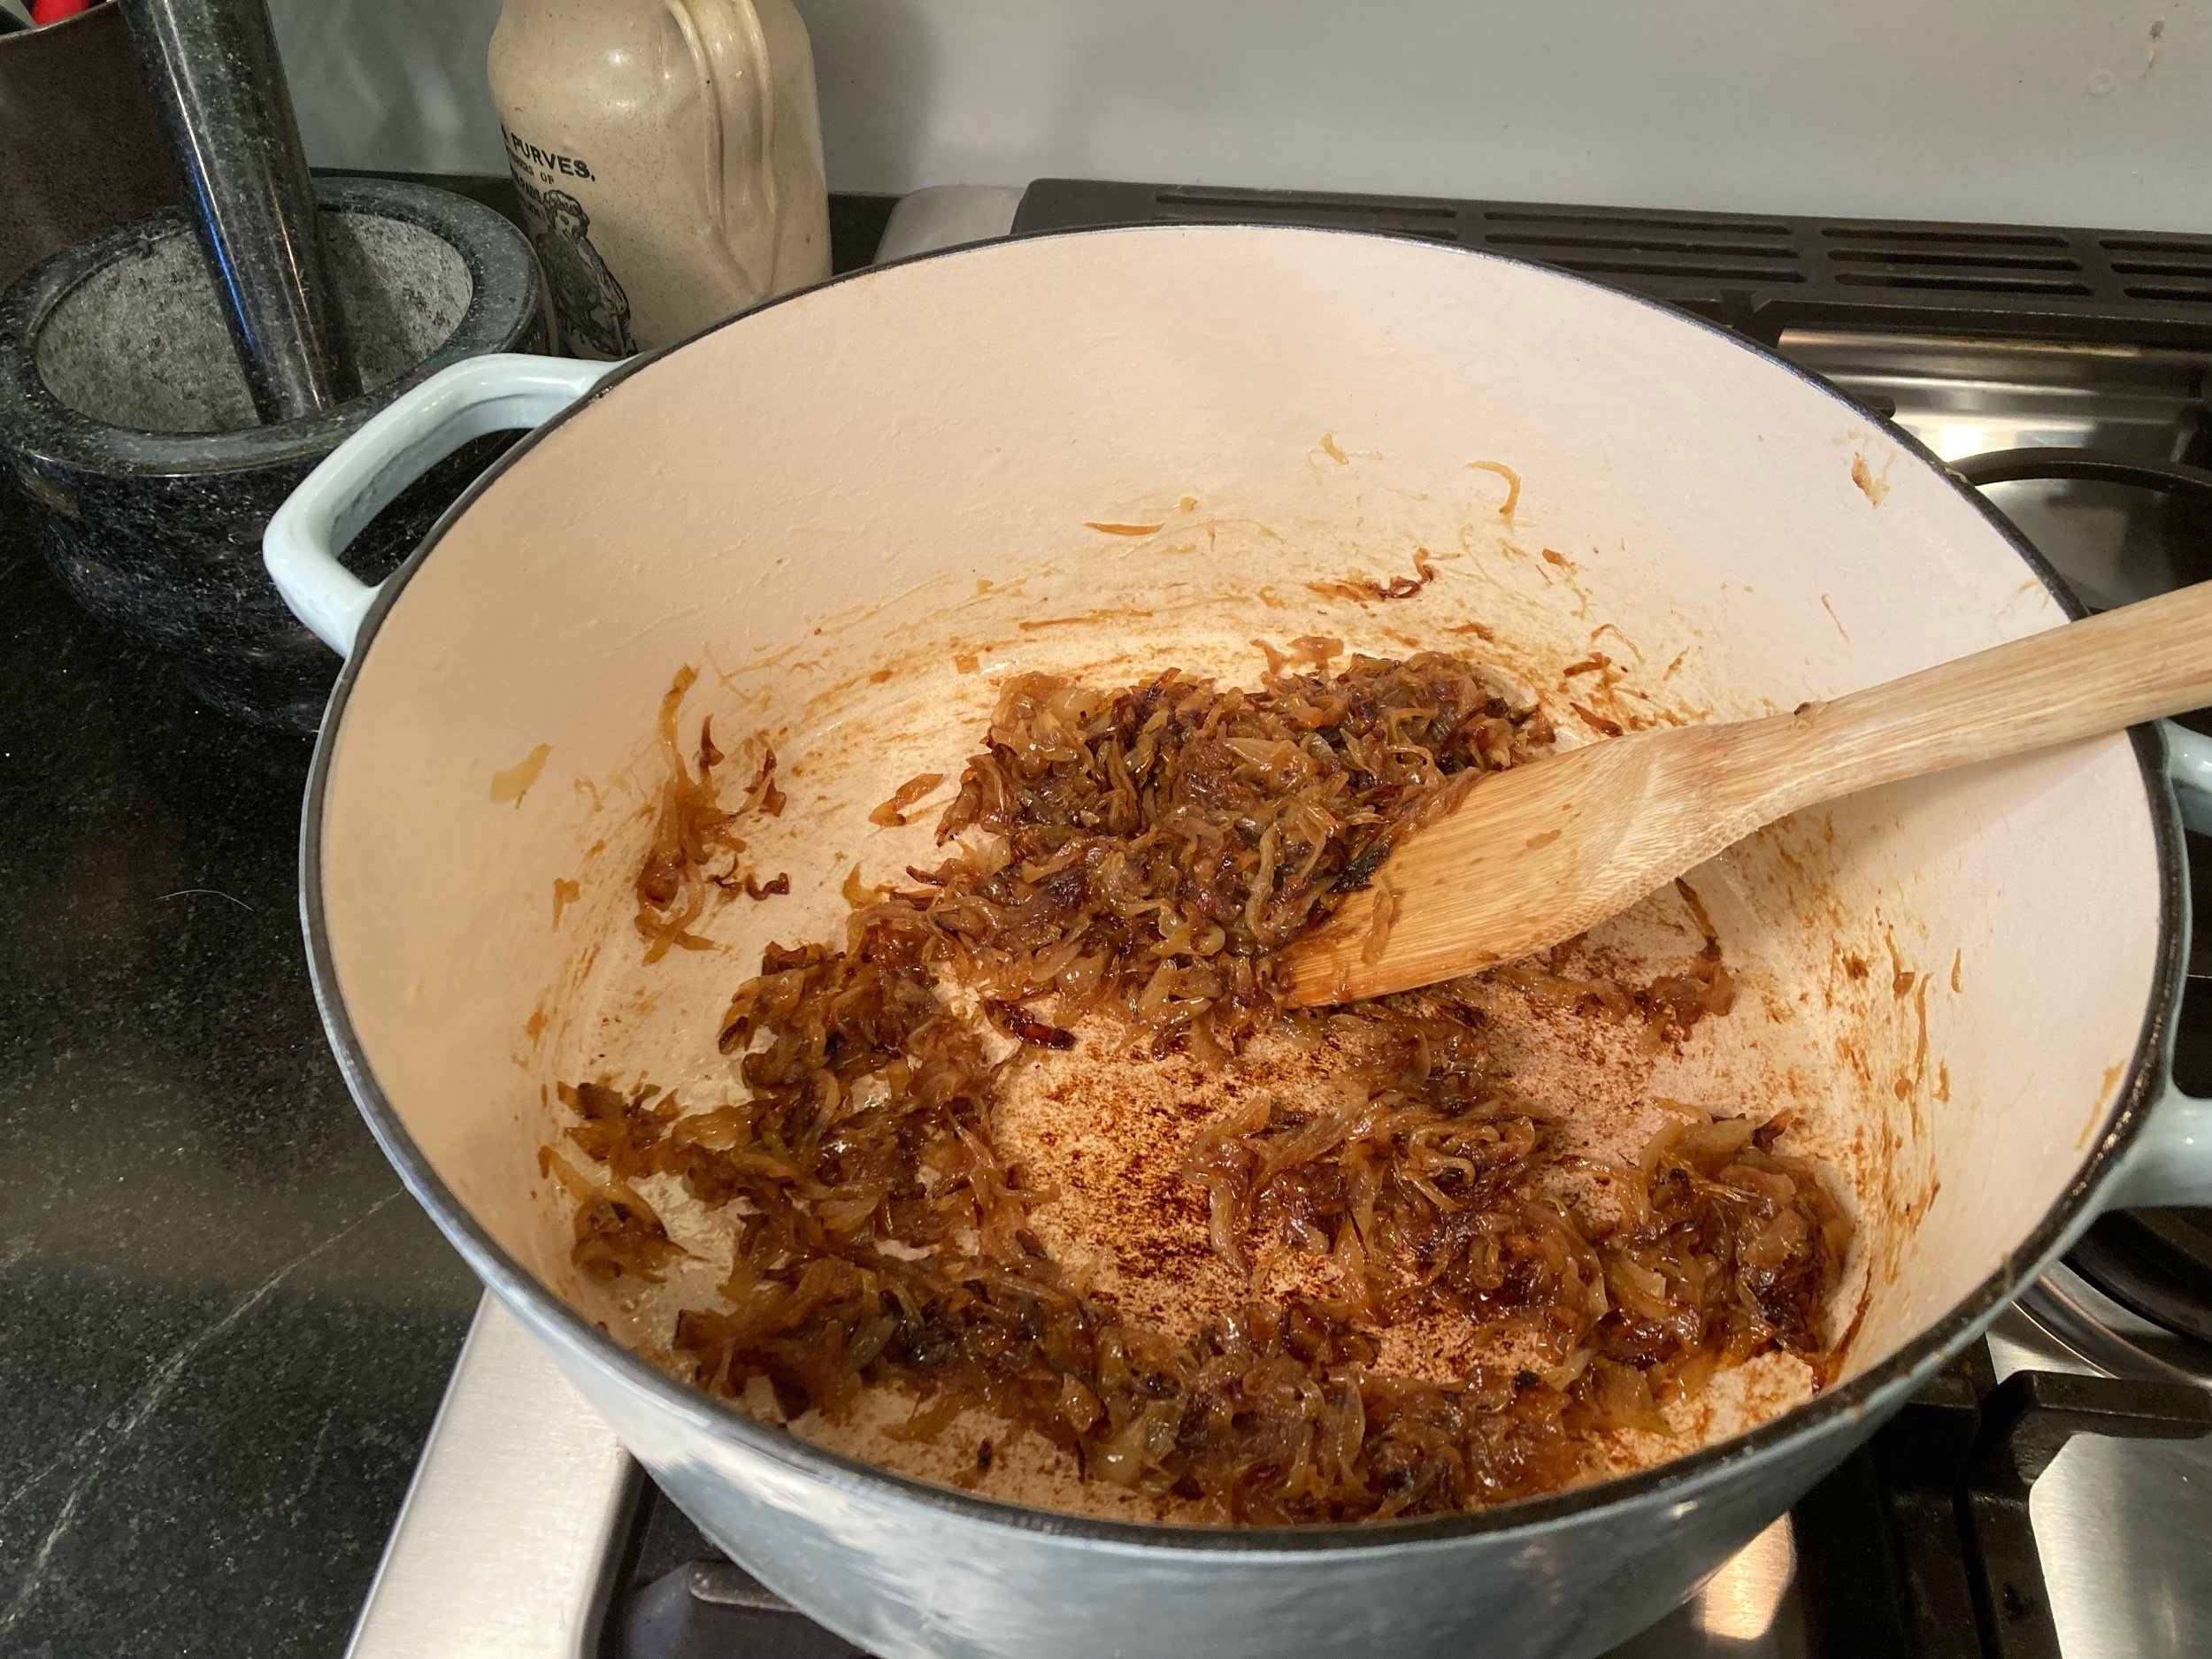
2) Make the soup
Add all of the following to your onions:
Sidebar: I think this needs thyme. Add a large sprig or three here, and fish out before you build your gratin. Don’t gotta, but I will next time.
2 quarts boiling brown stock
½ cup dry white wine or dry white vermouth
Salt and pepper to taste
Add 1-2 ladlefuls of your stock to your onions, deglazing the pan, scraping up all the fond that has accumulated on the bottom and loosening your onion and flour mixture. Then pour in the rest of your boiling stock and add the white wine to your onions.
Simmer, partially covered for 30-40 min. Taste for seasoning.
You can stop right here and just eat this and it’s delicious onion soup. Or…
You can add 3T of cognac before serving and it’s delicious onion soup with cognac in it. Or…
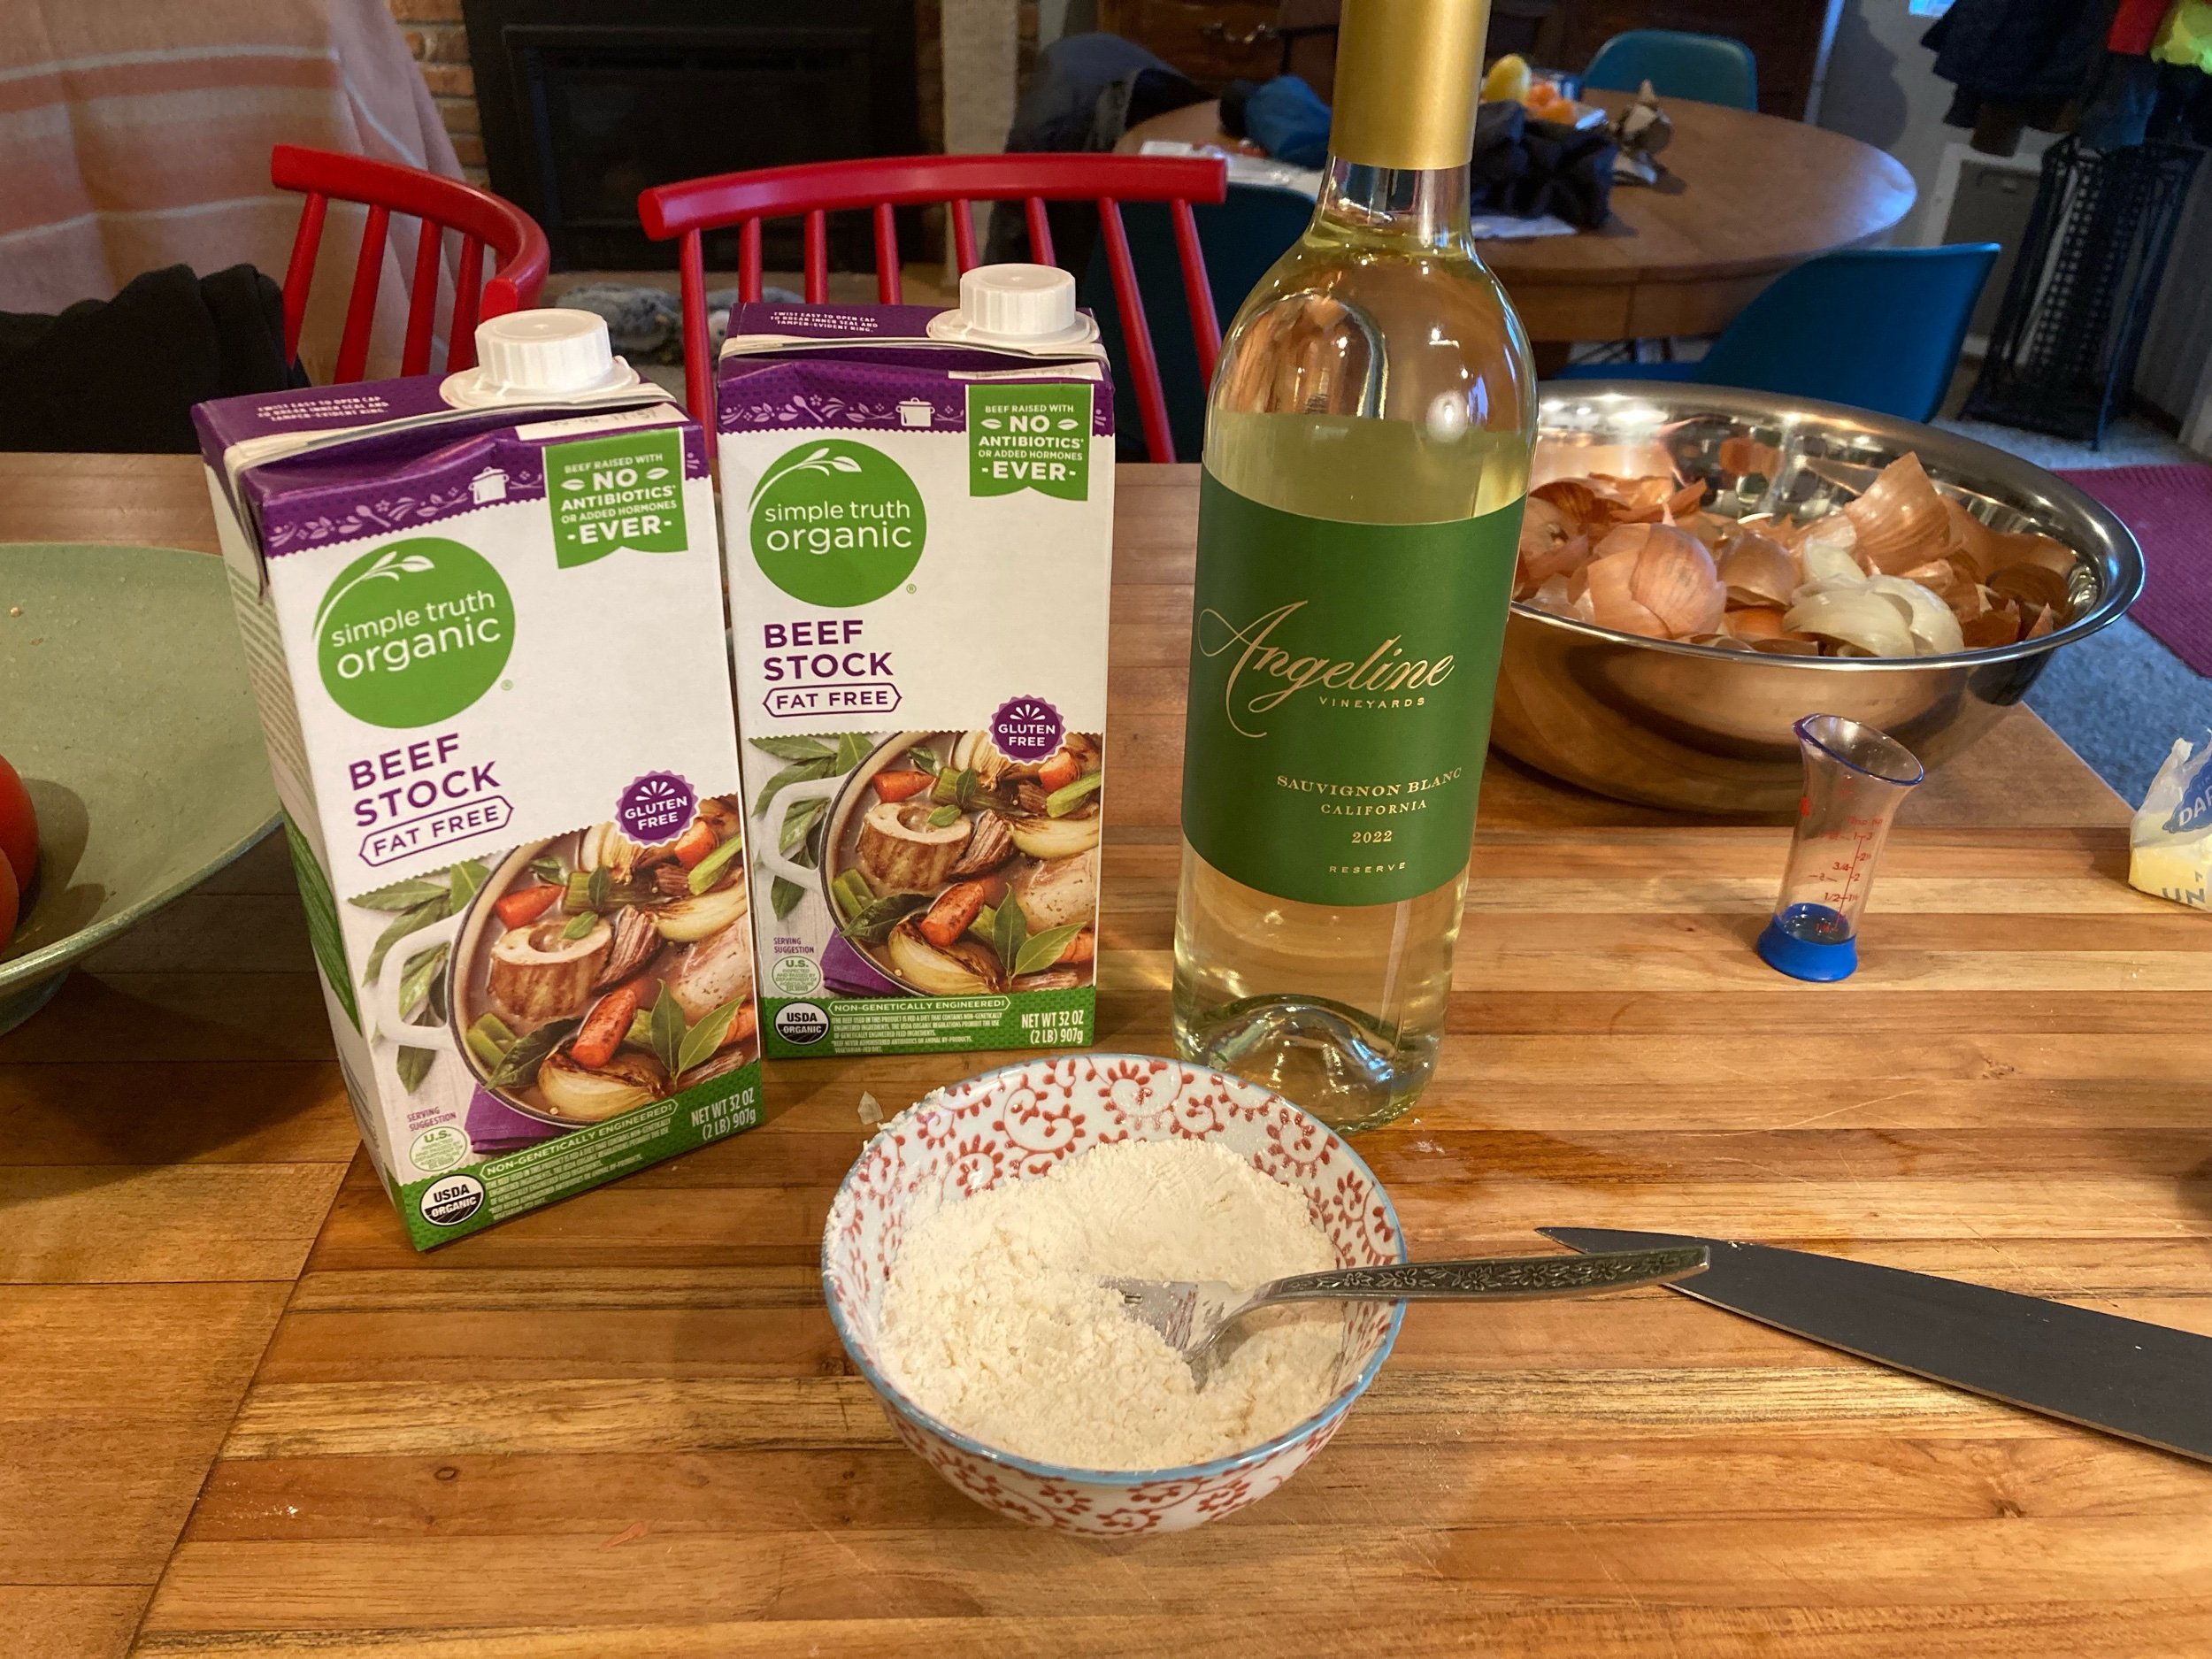
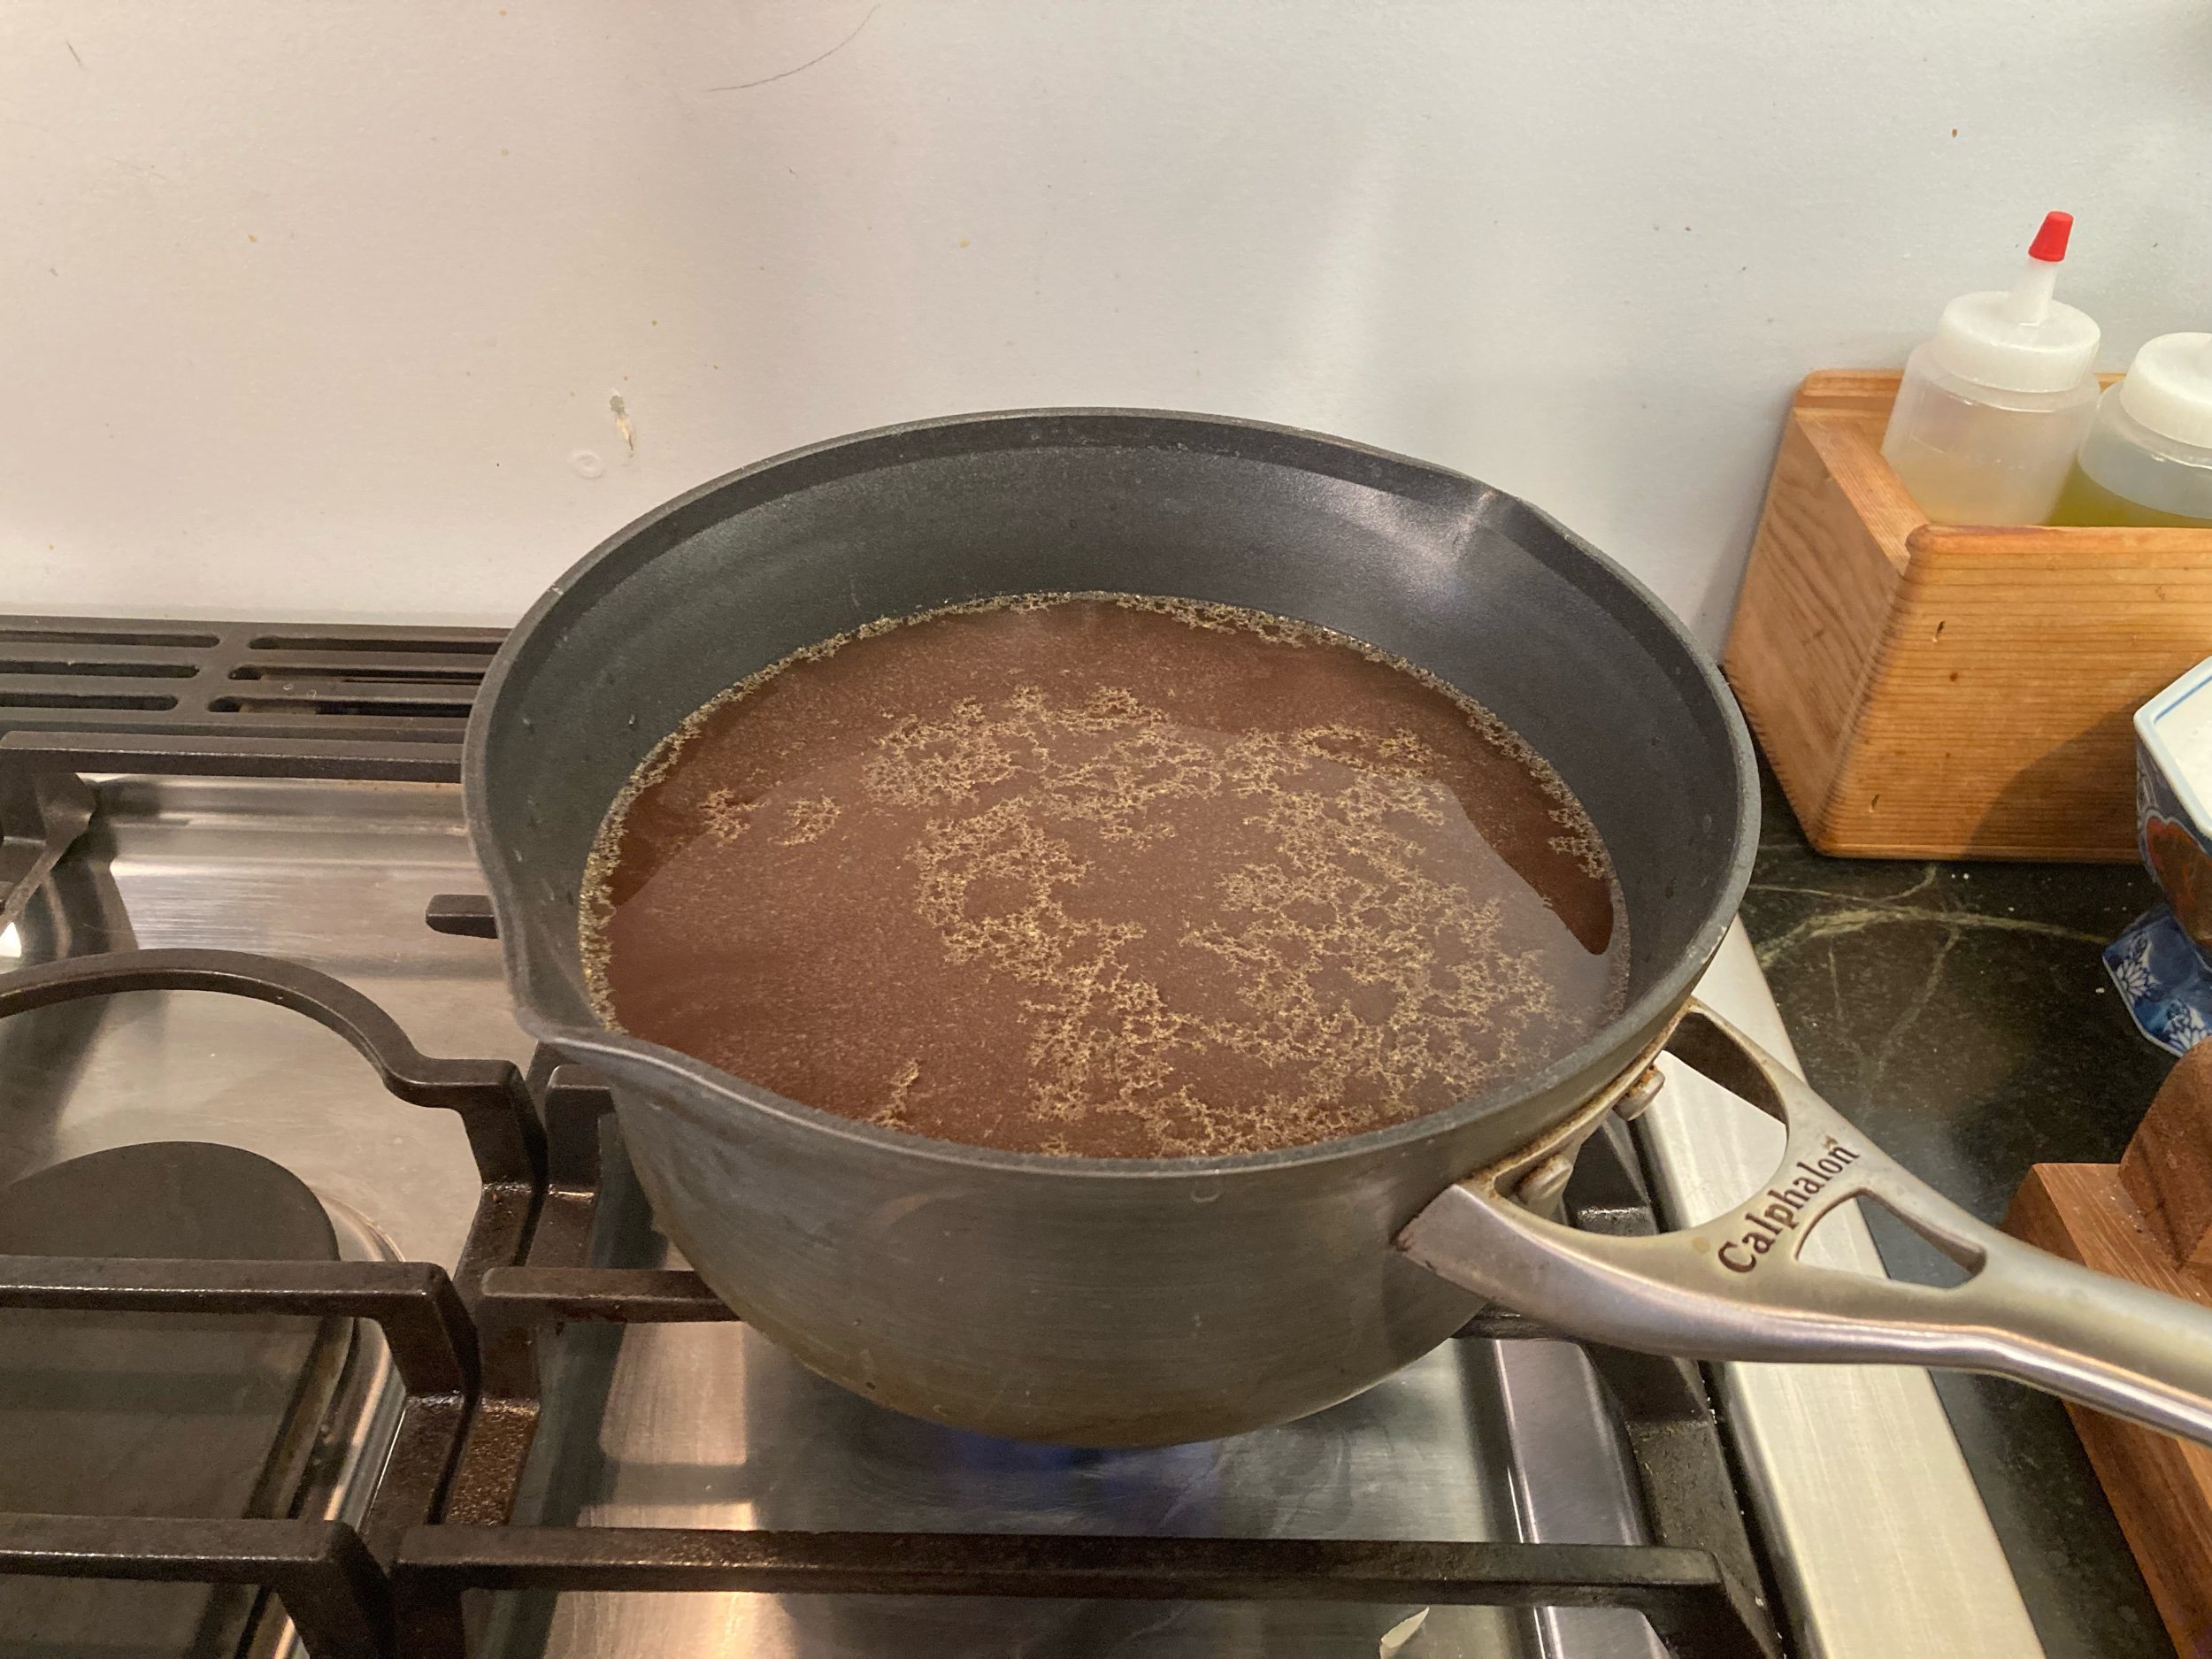
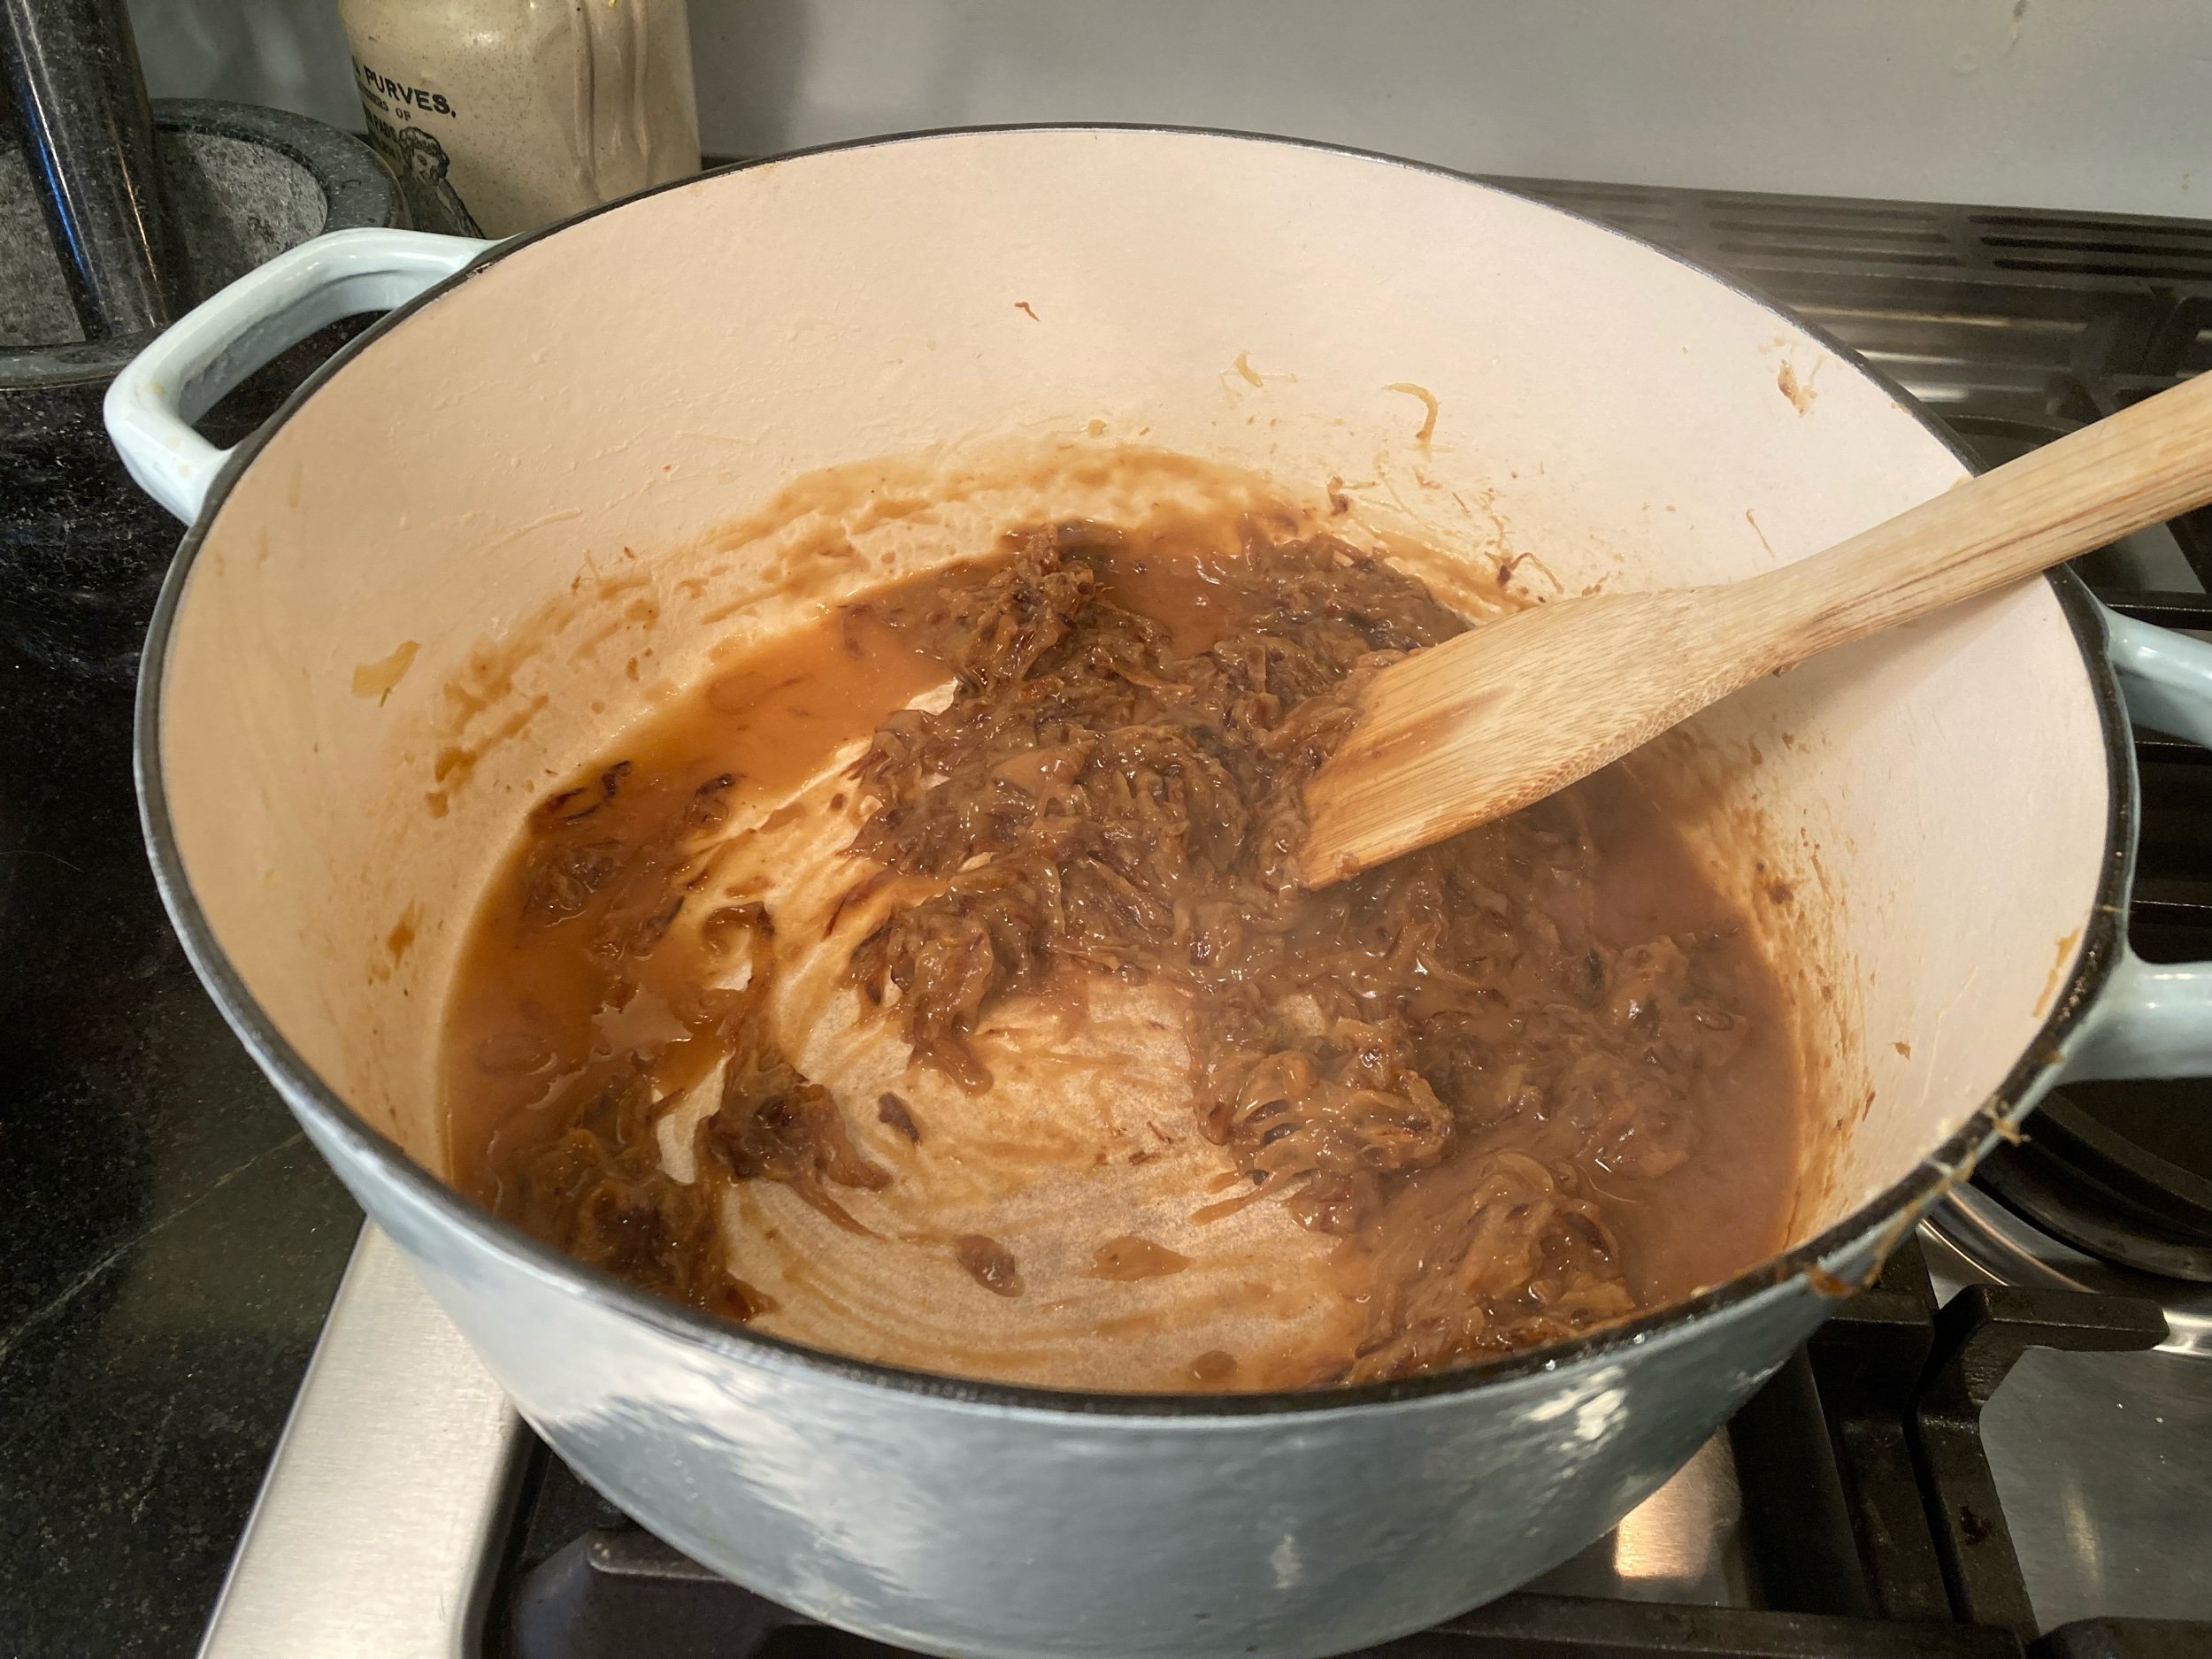
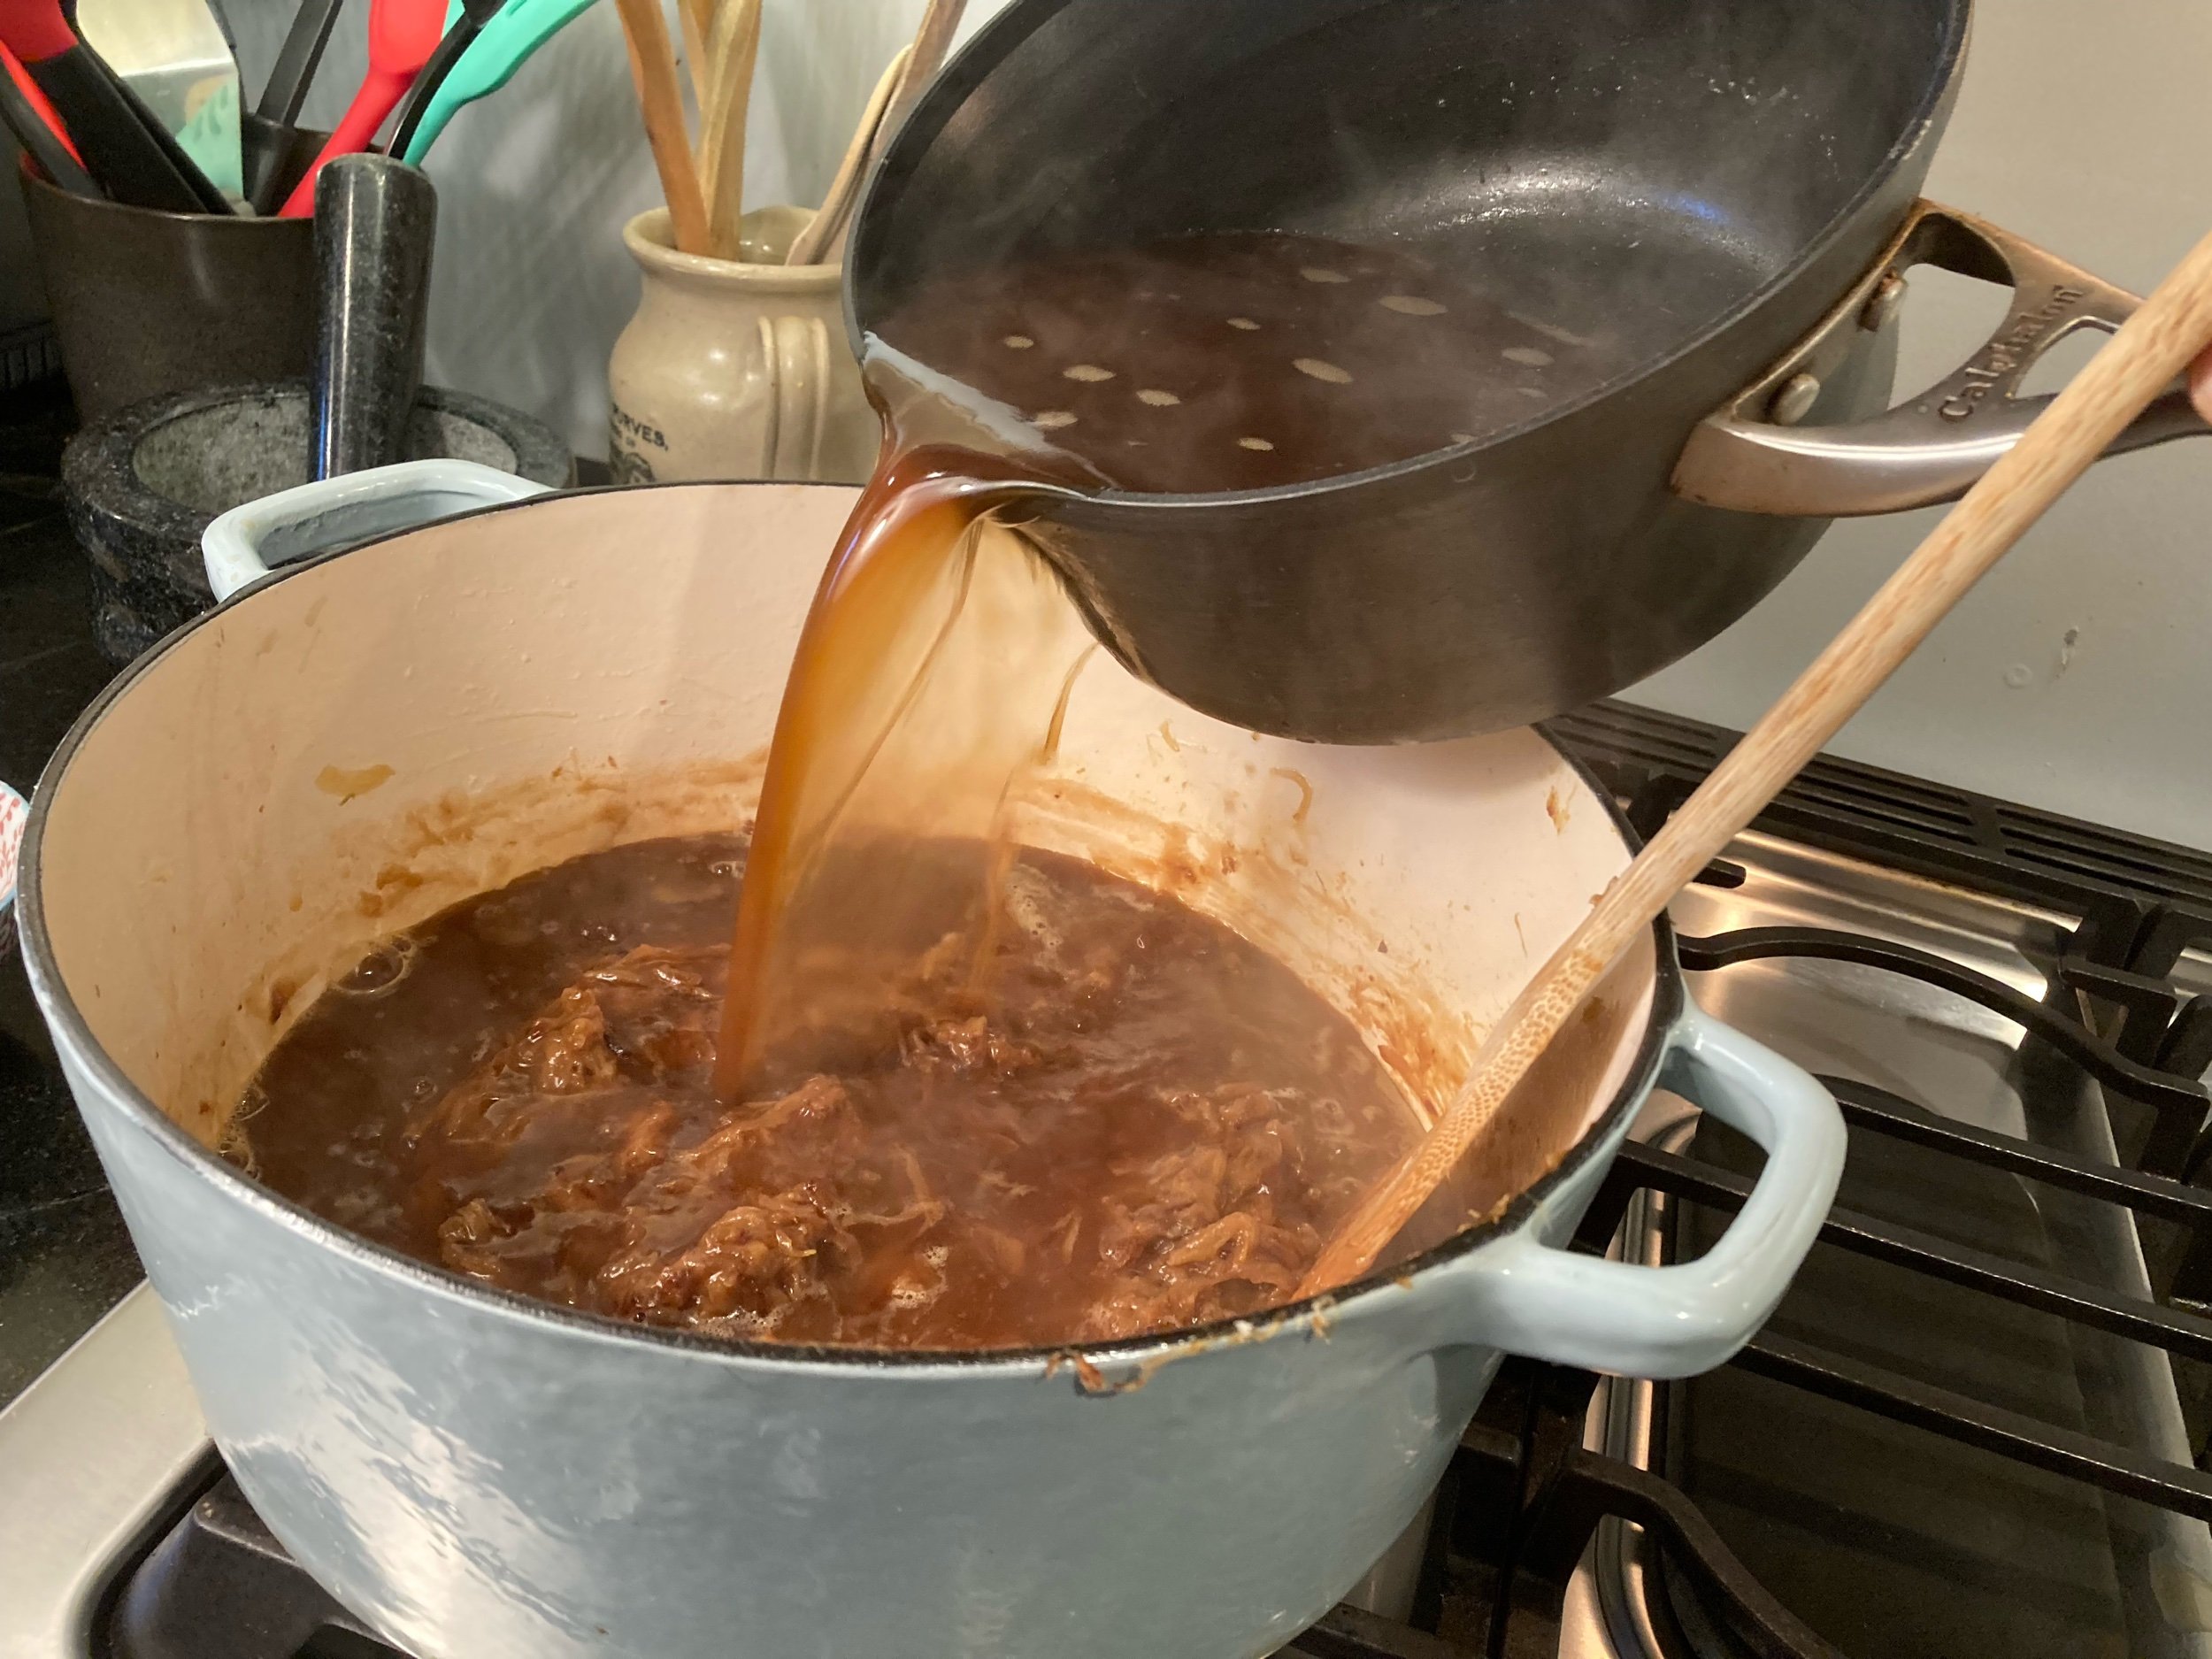
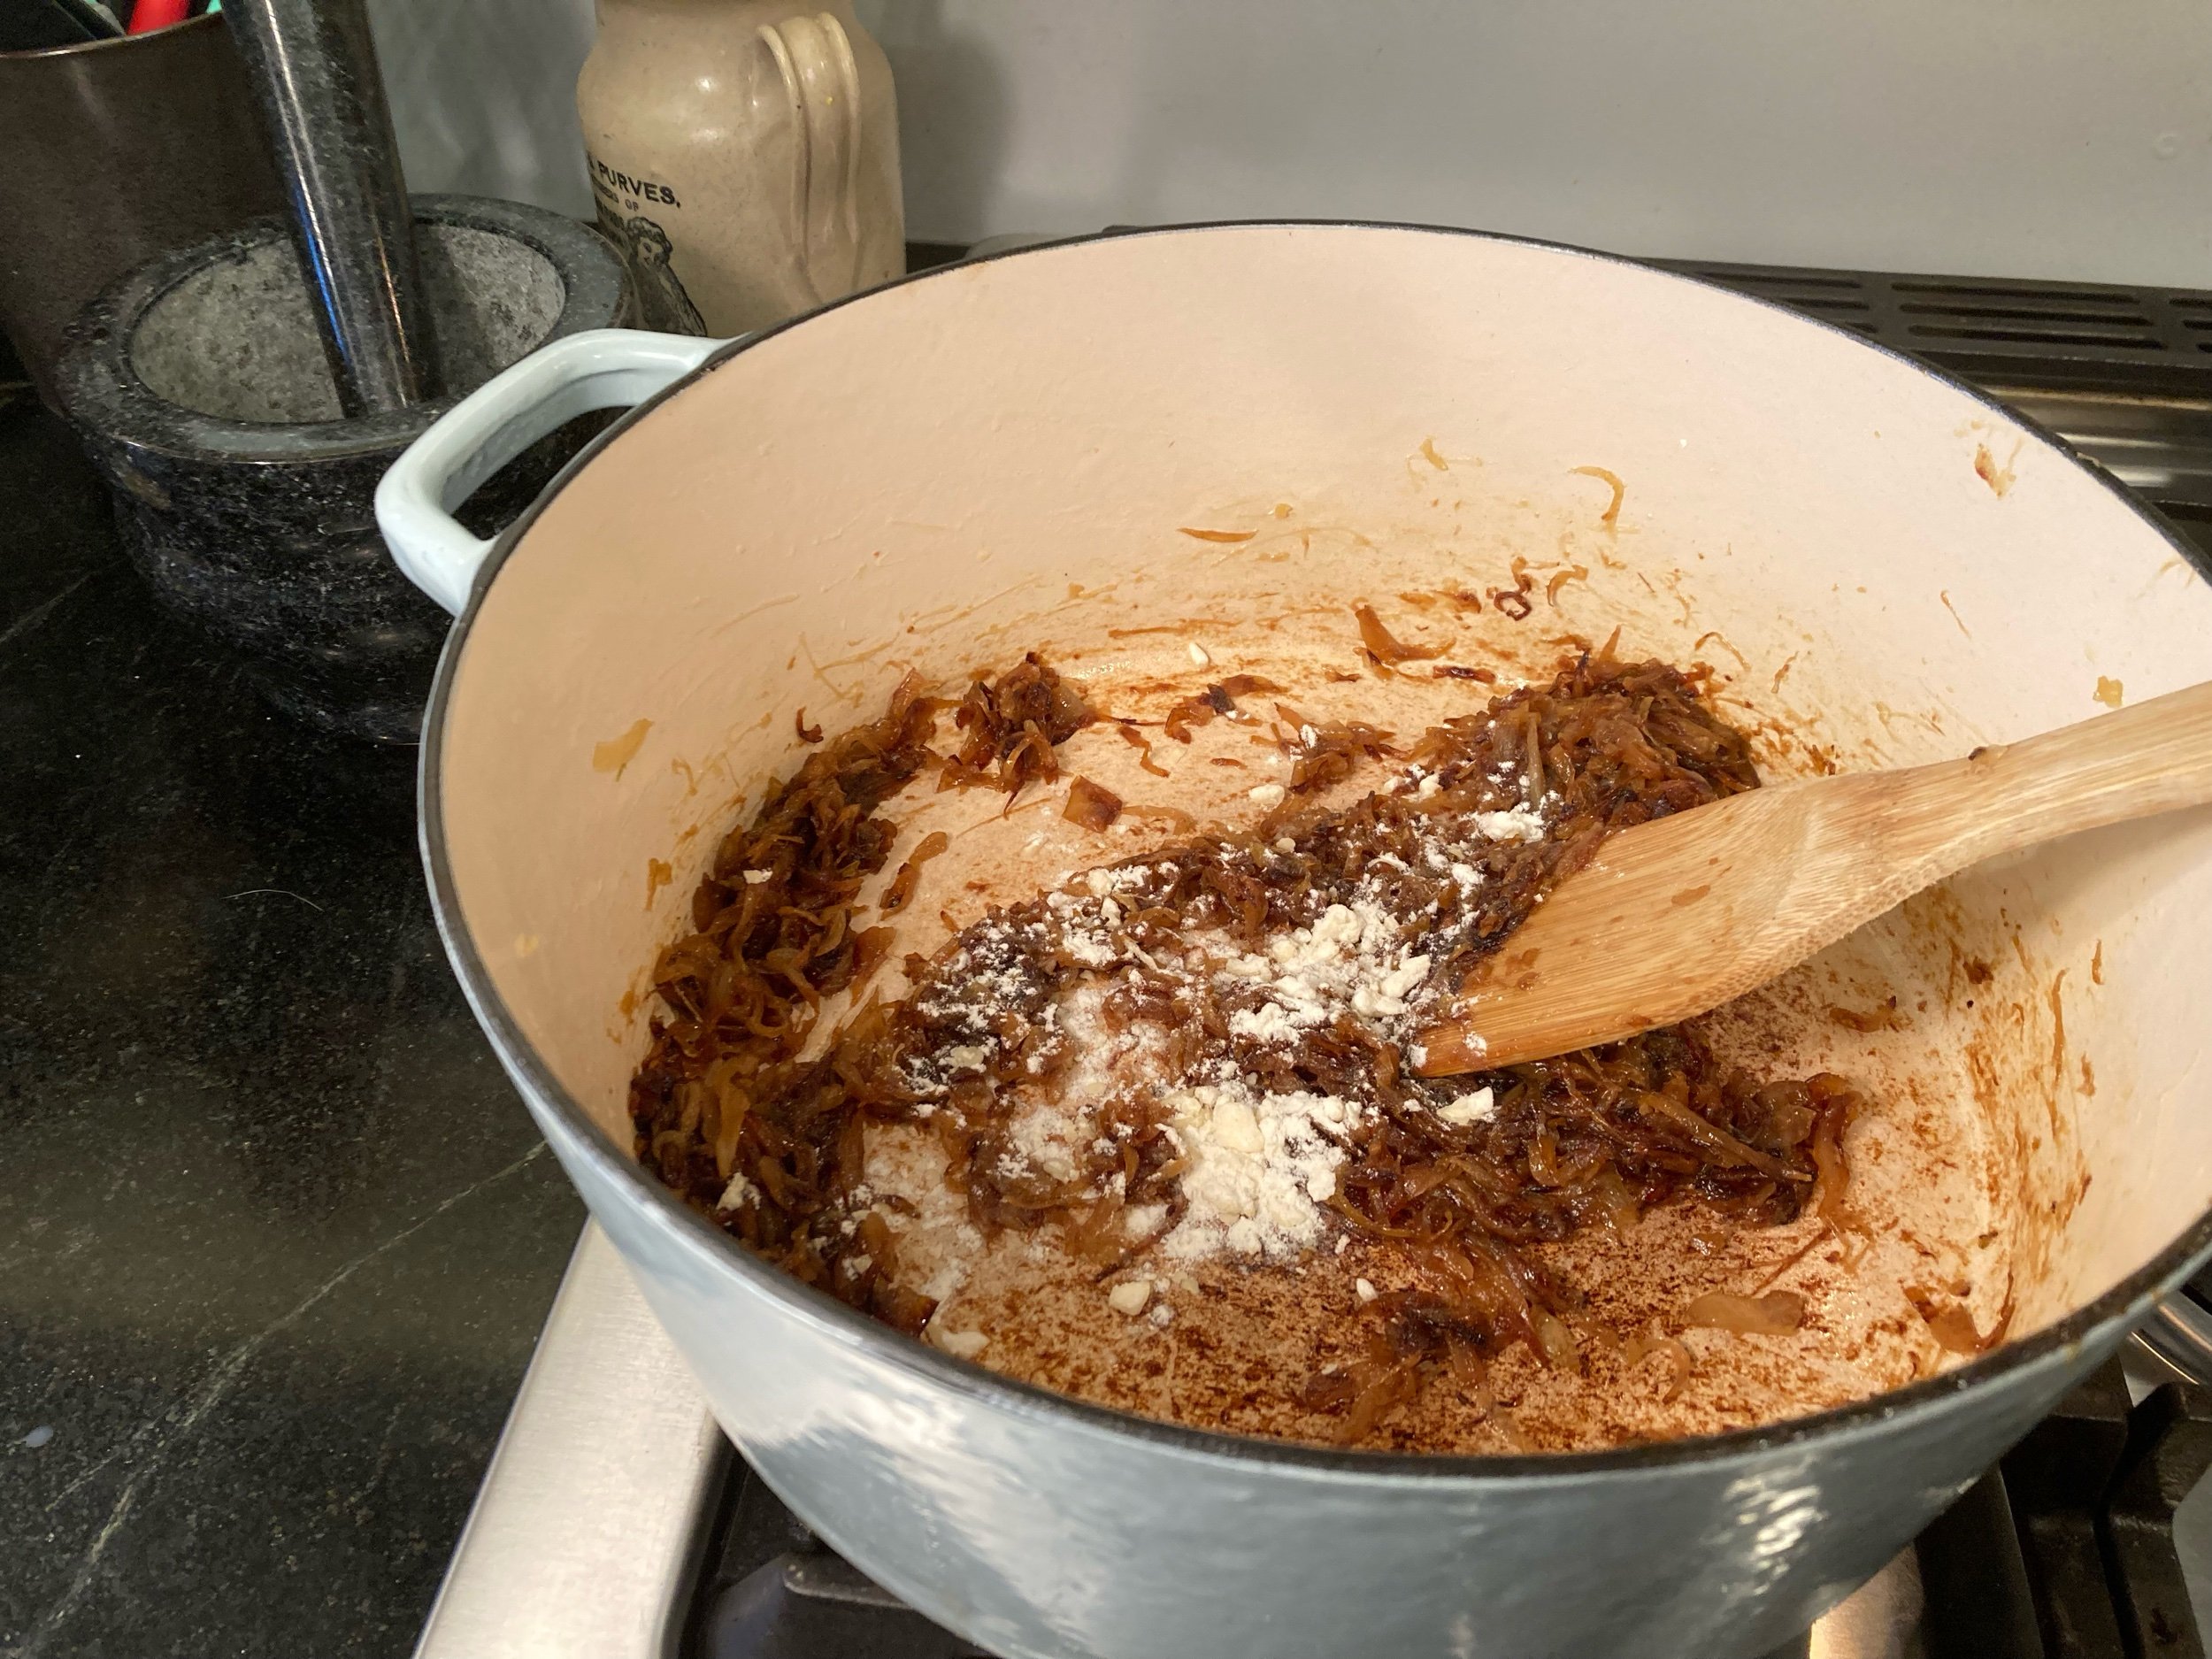
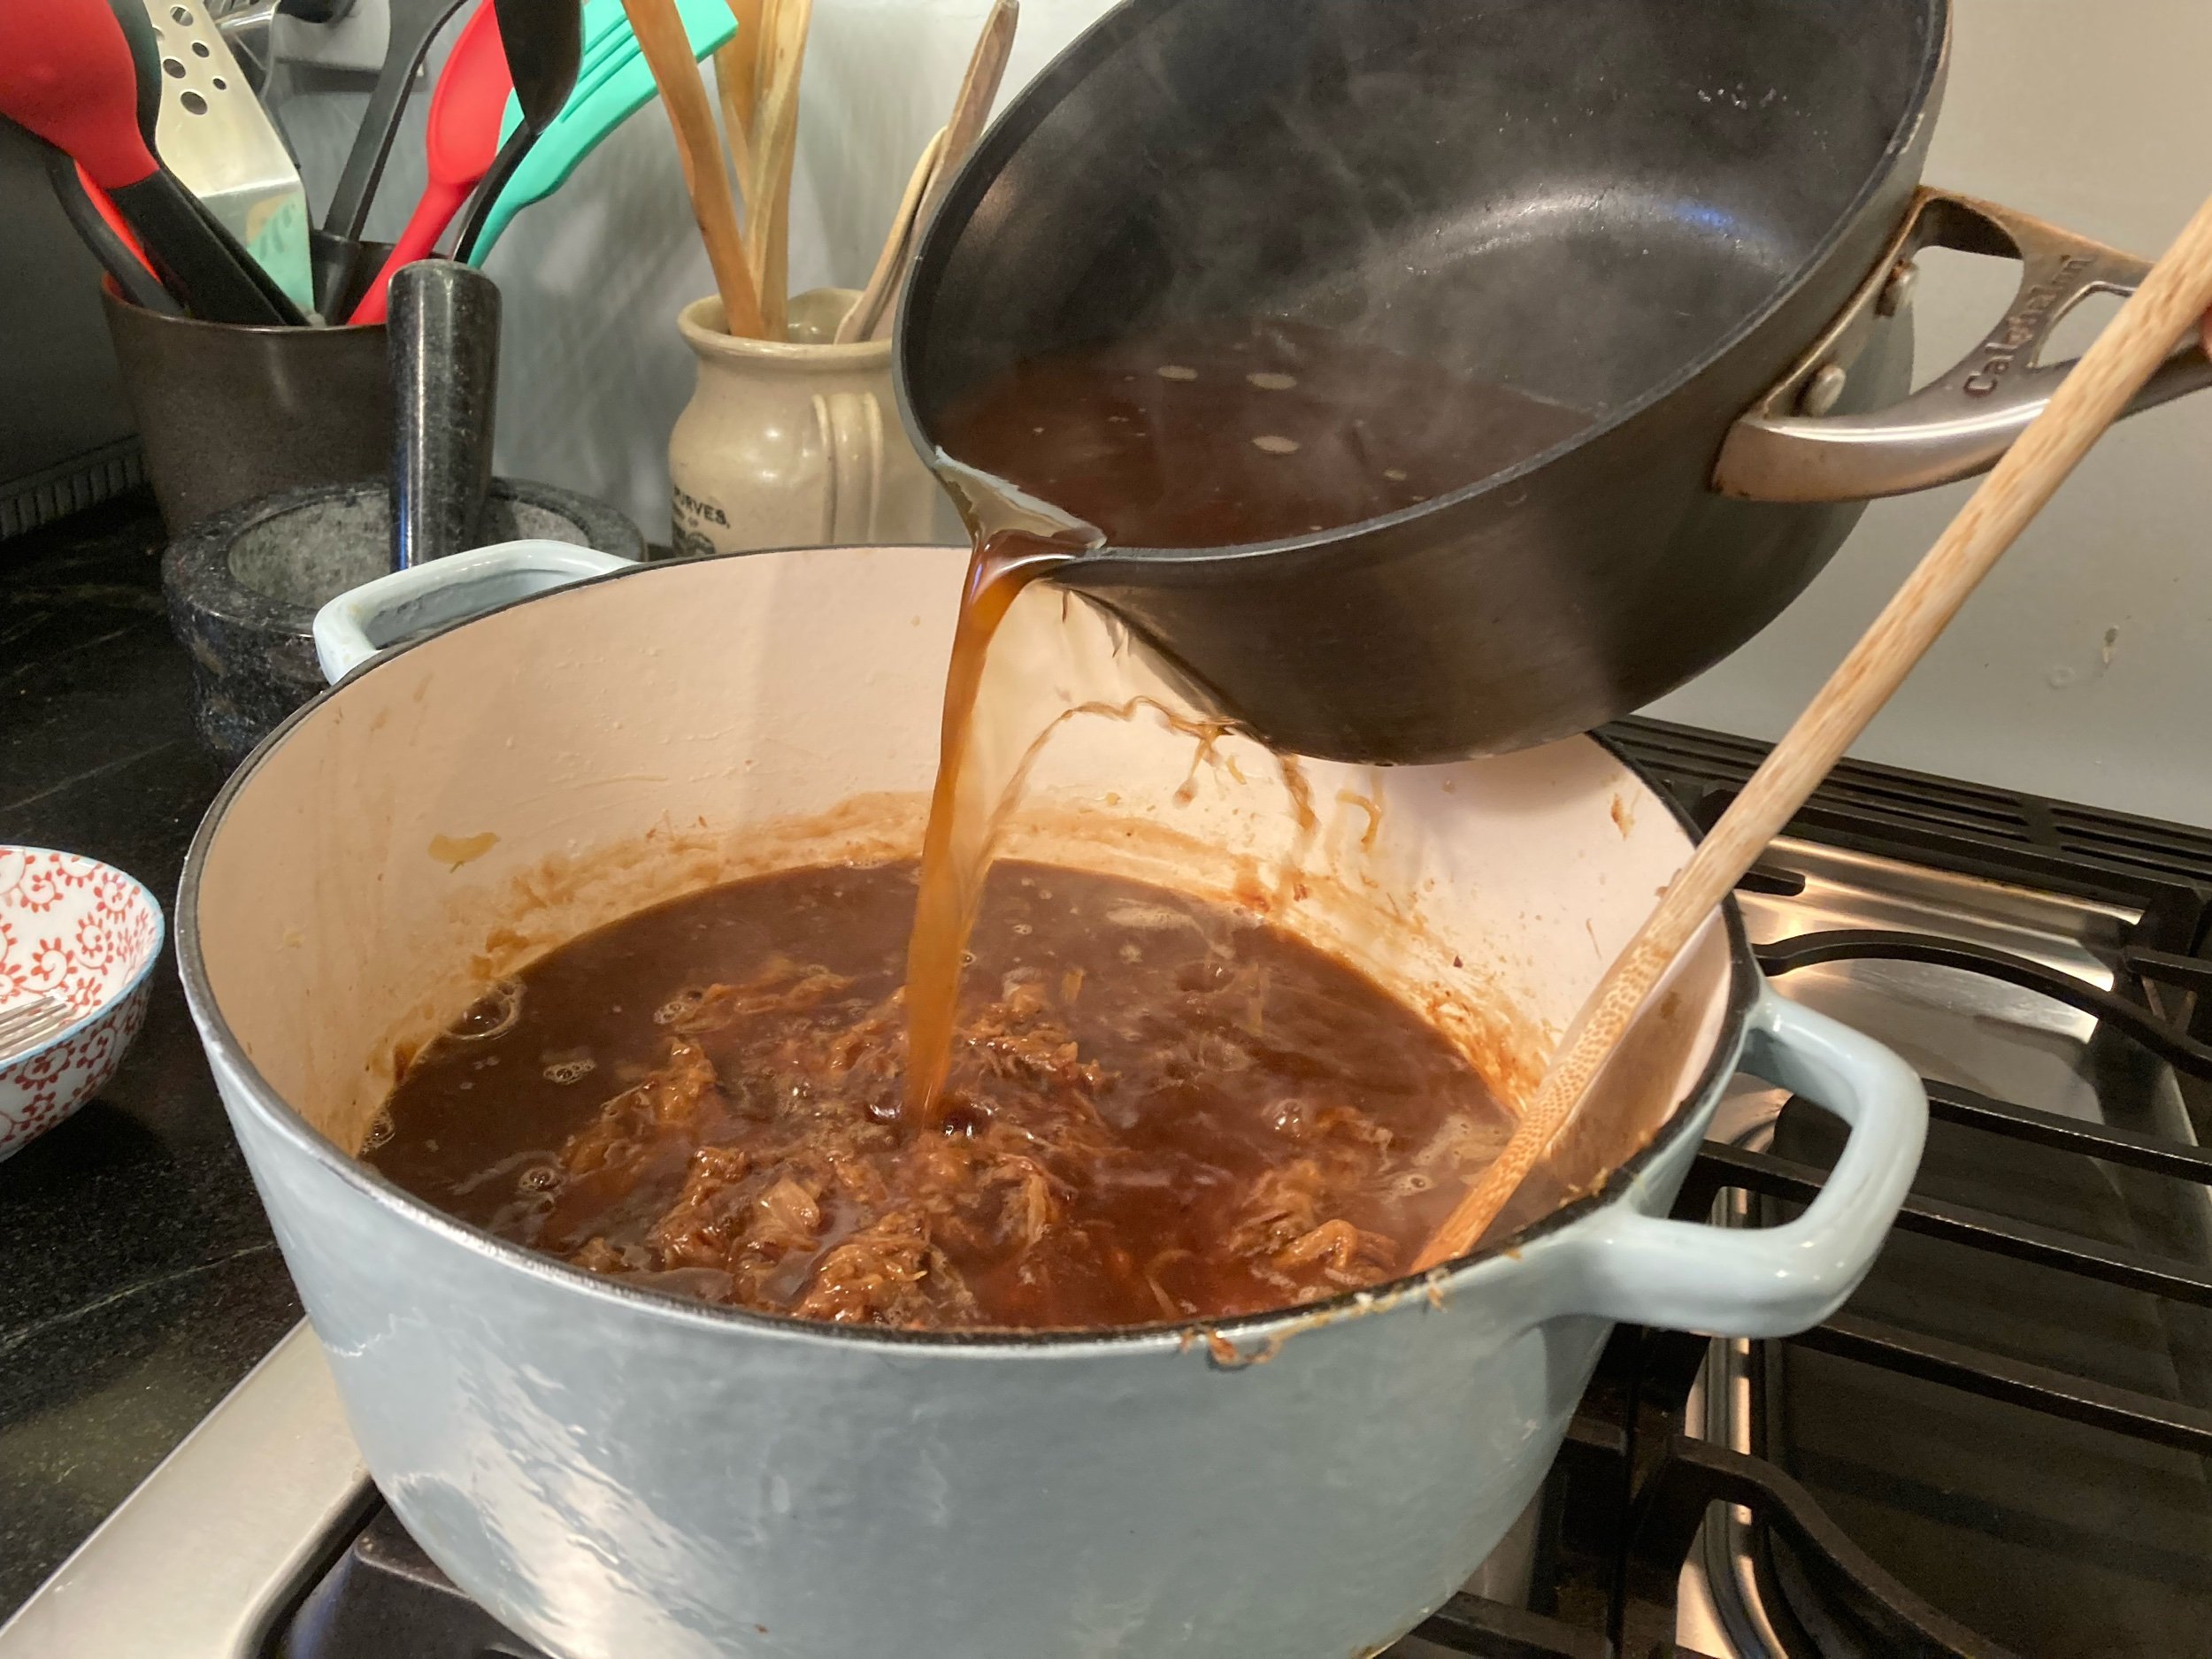
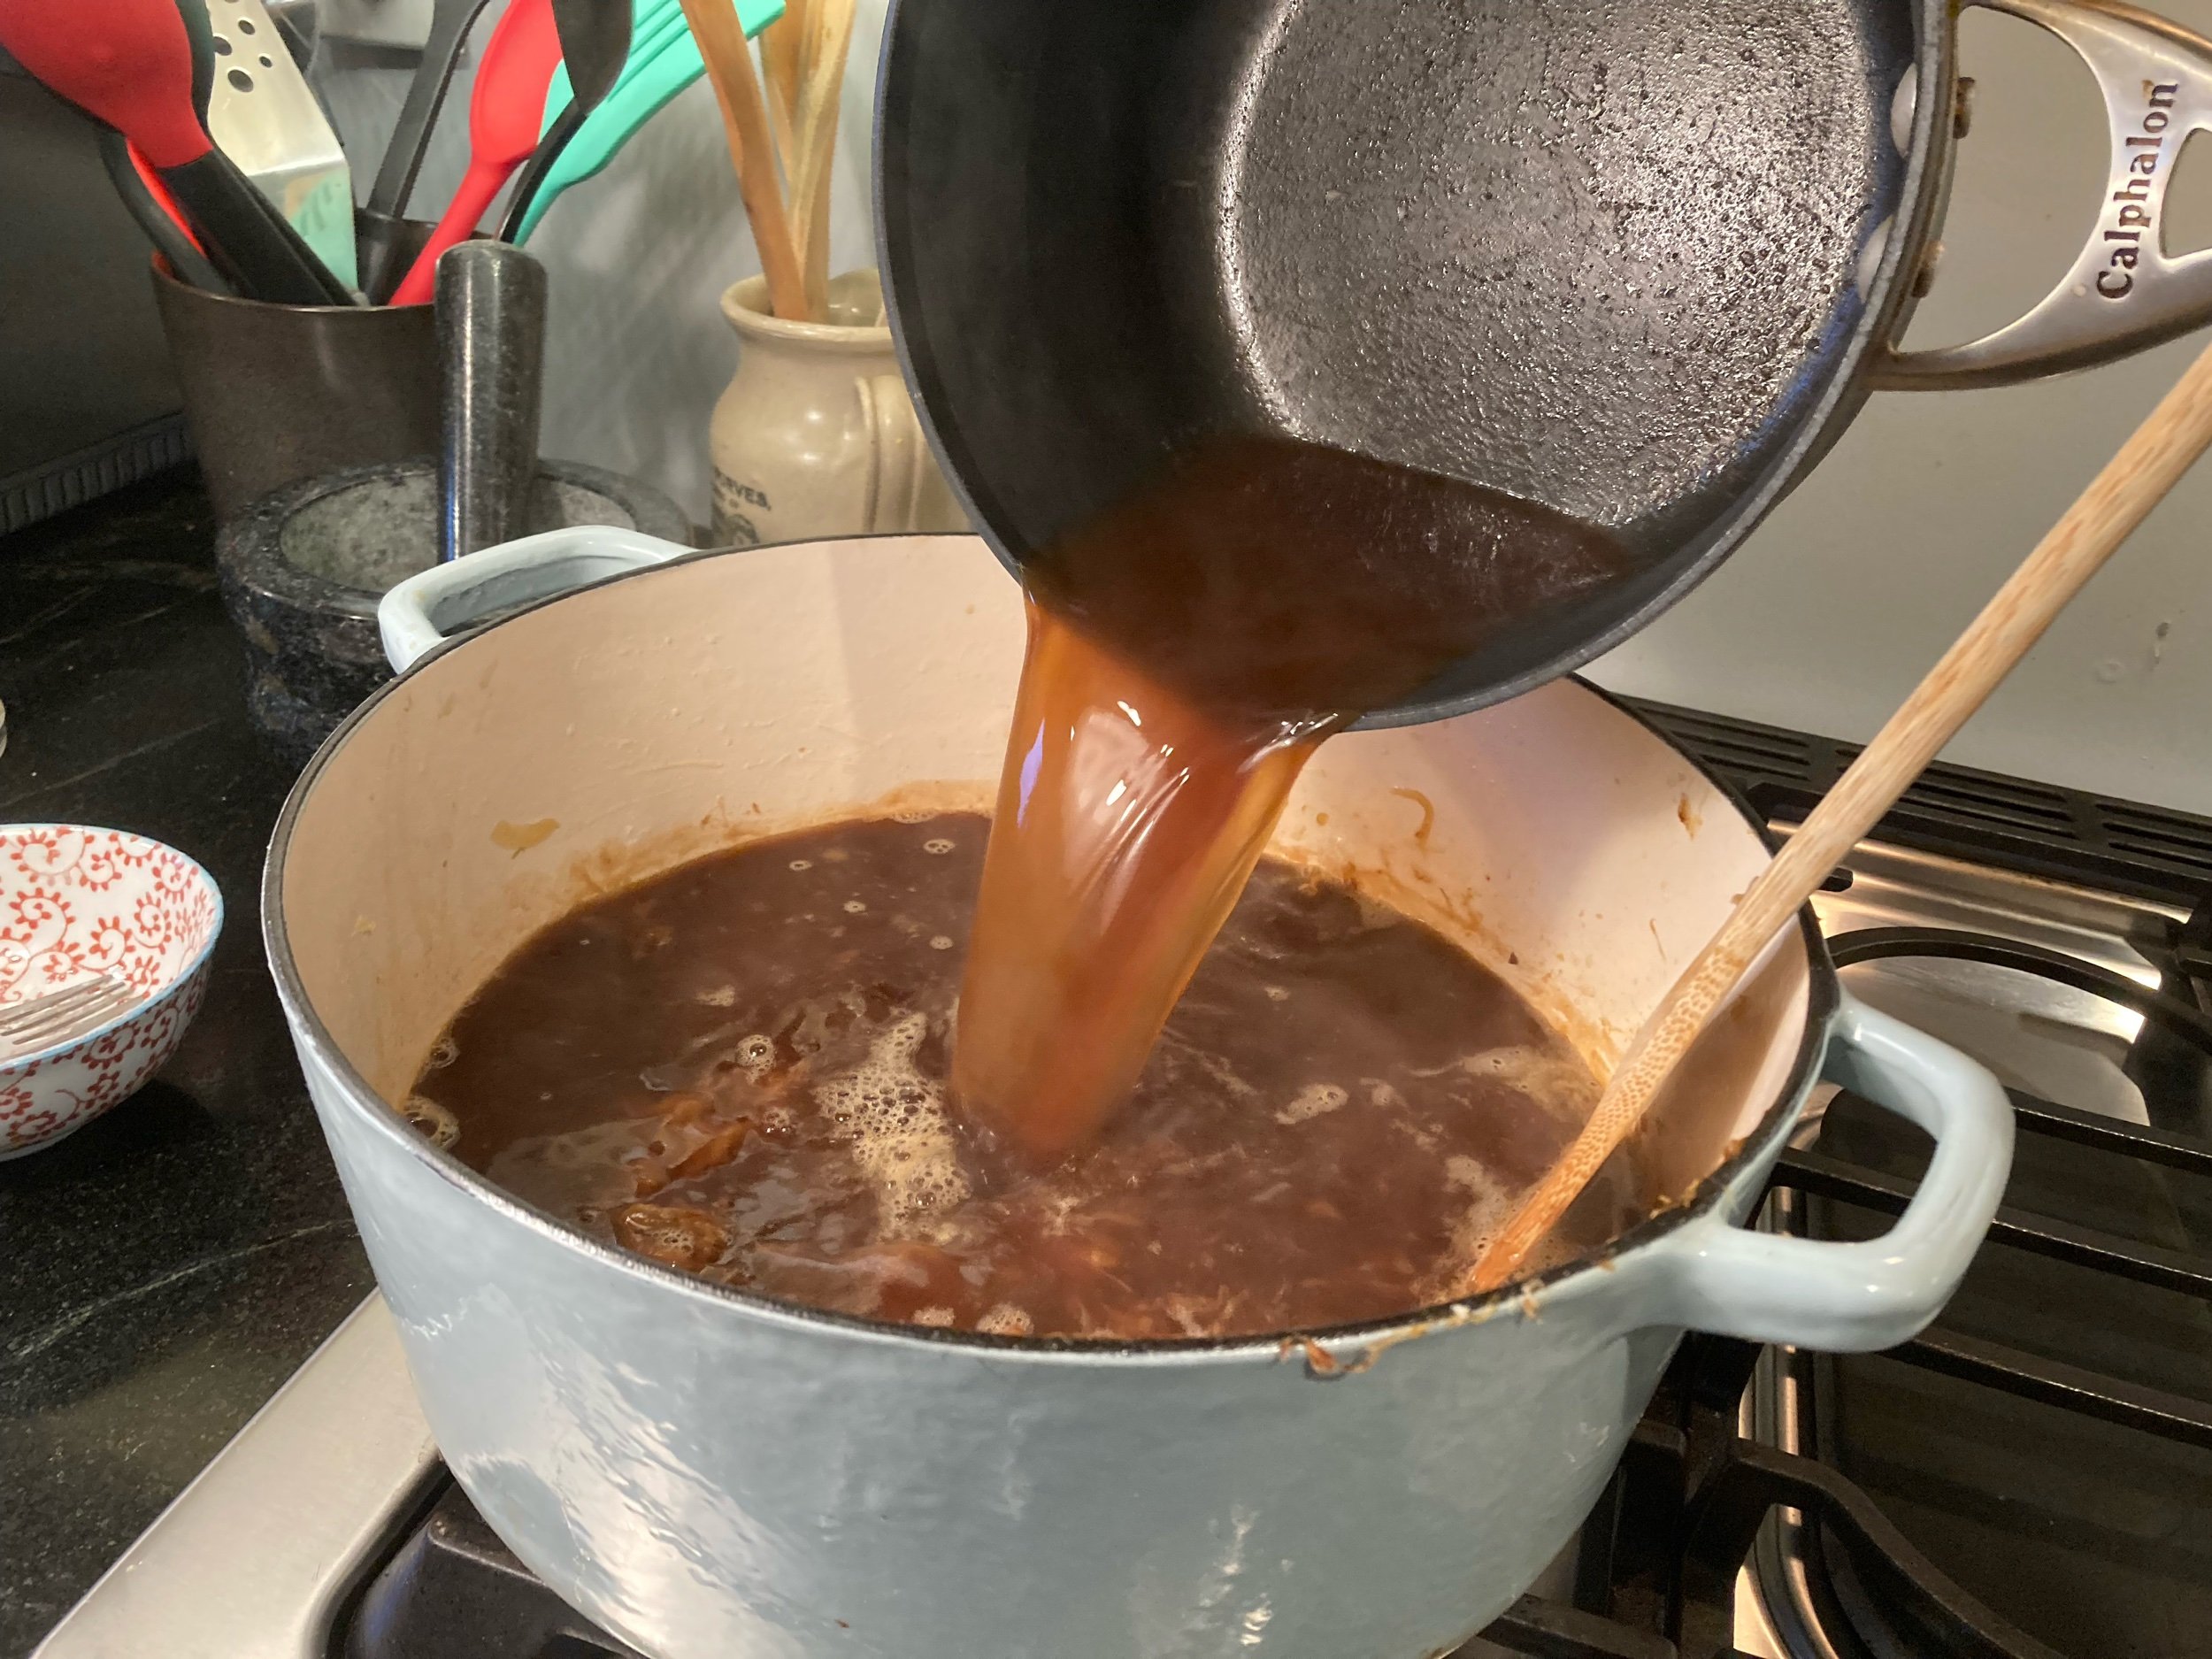
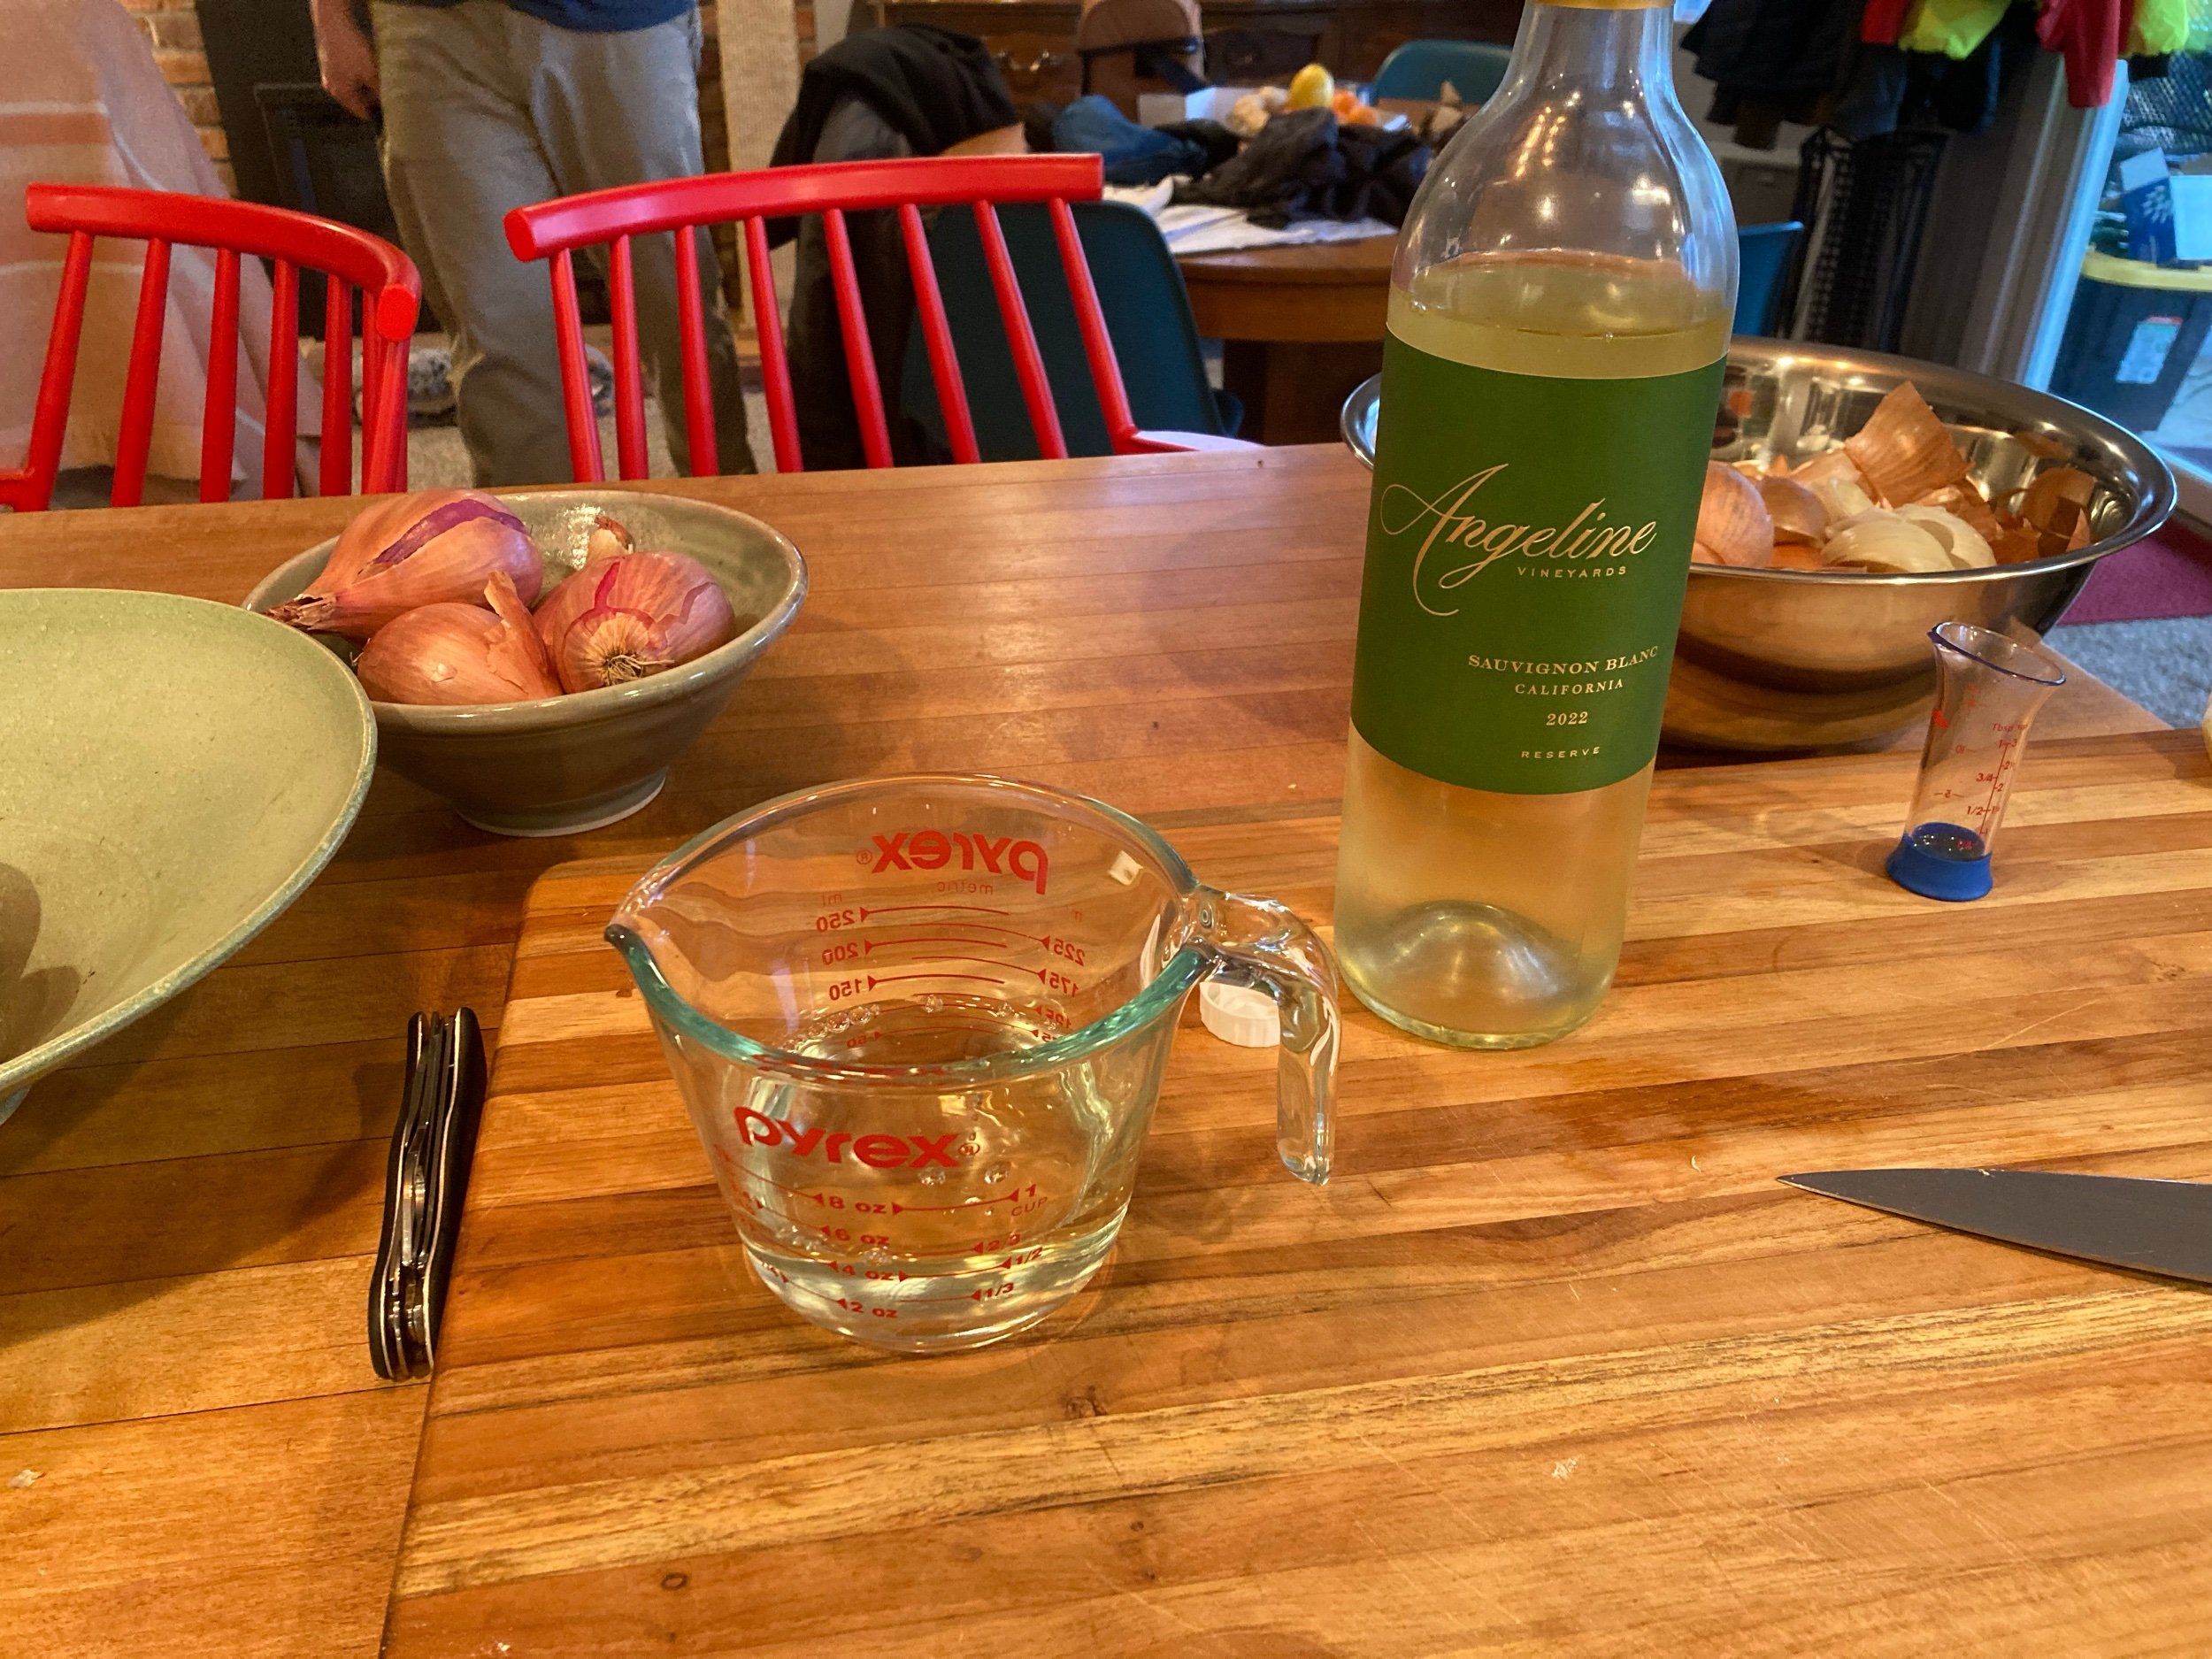
3) Make the croutes:
12-16 slices French bread, cut 3/4” – 1” thick
Olive oil or beef drippings
1 cut clove of garlic
Sidebar: OK JULIA, STOP RIGHT THERE! We’re talking about 24-32 teaspoons of olive oil!!?? So 8-10+ Tablespoons. That’s 4-5 oz of olive oil!? Half a cup of olive oil?! For the toast?! The toast I’m gonna smother in cheese?
Sweet Charlie Brown!
I’m using way less, and you have my permission to do so as well, or put half a cup of olive oil on your bread, that’s fine, too. Do you.
Also, is the garlic rubbing strictly necessary? Probably not.
Preheat oven to 325-degrees. Place the bread in one layer in a roasting pan or on a baking sheet for 15 minutes (the bread will be in the oven for 30 minutes total, but you’re going to remove halfway through to brush with olive oil). Remove bread and then “each side may be basted with a teaspoon of olive oil or beef drippings” (44).
Bake 15 more minutes after your generous or otherwise “basting.”
Remove from oven, and rub each piece with garlic.
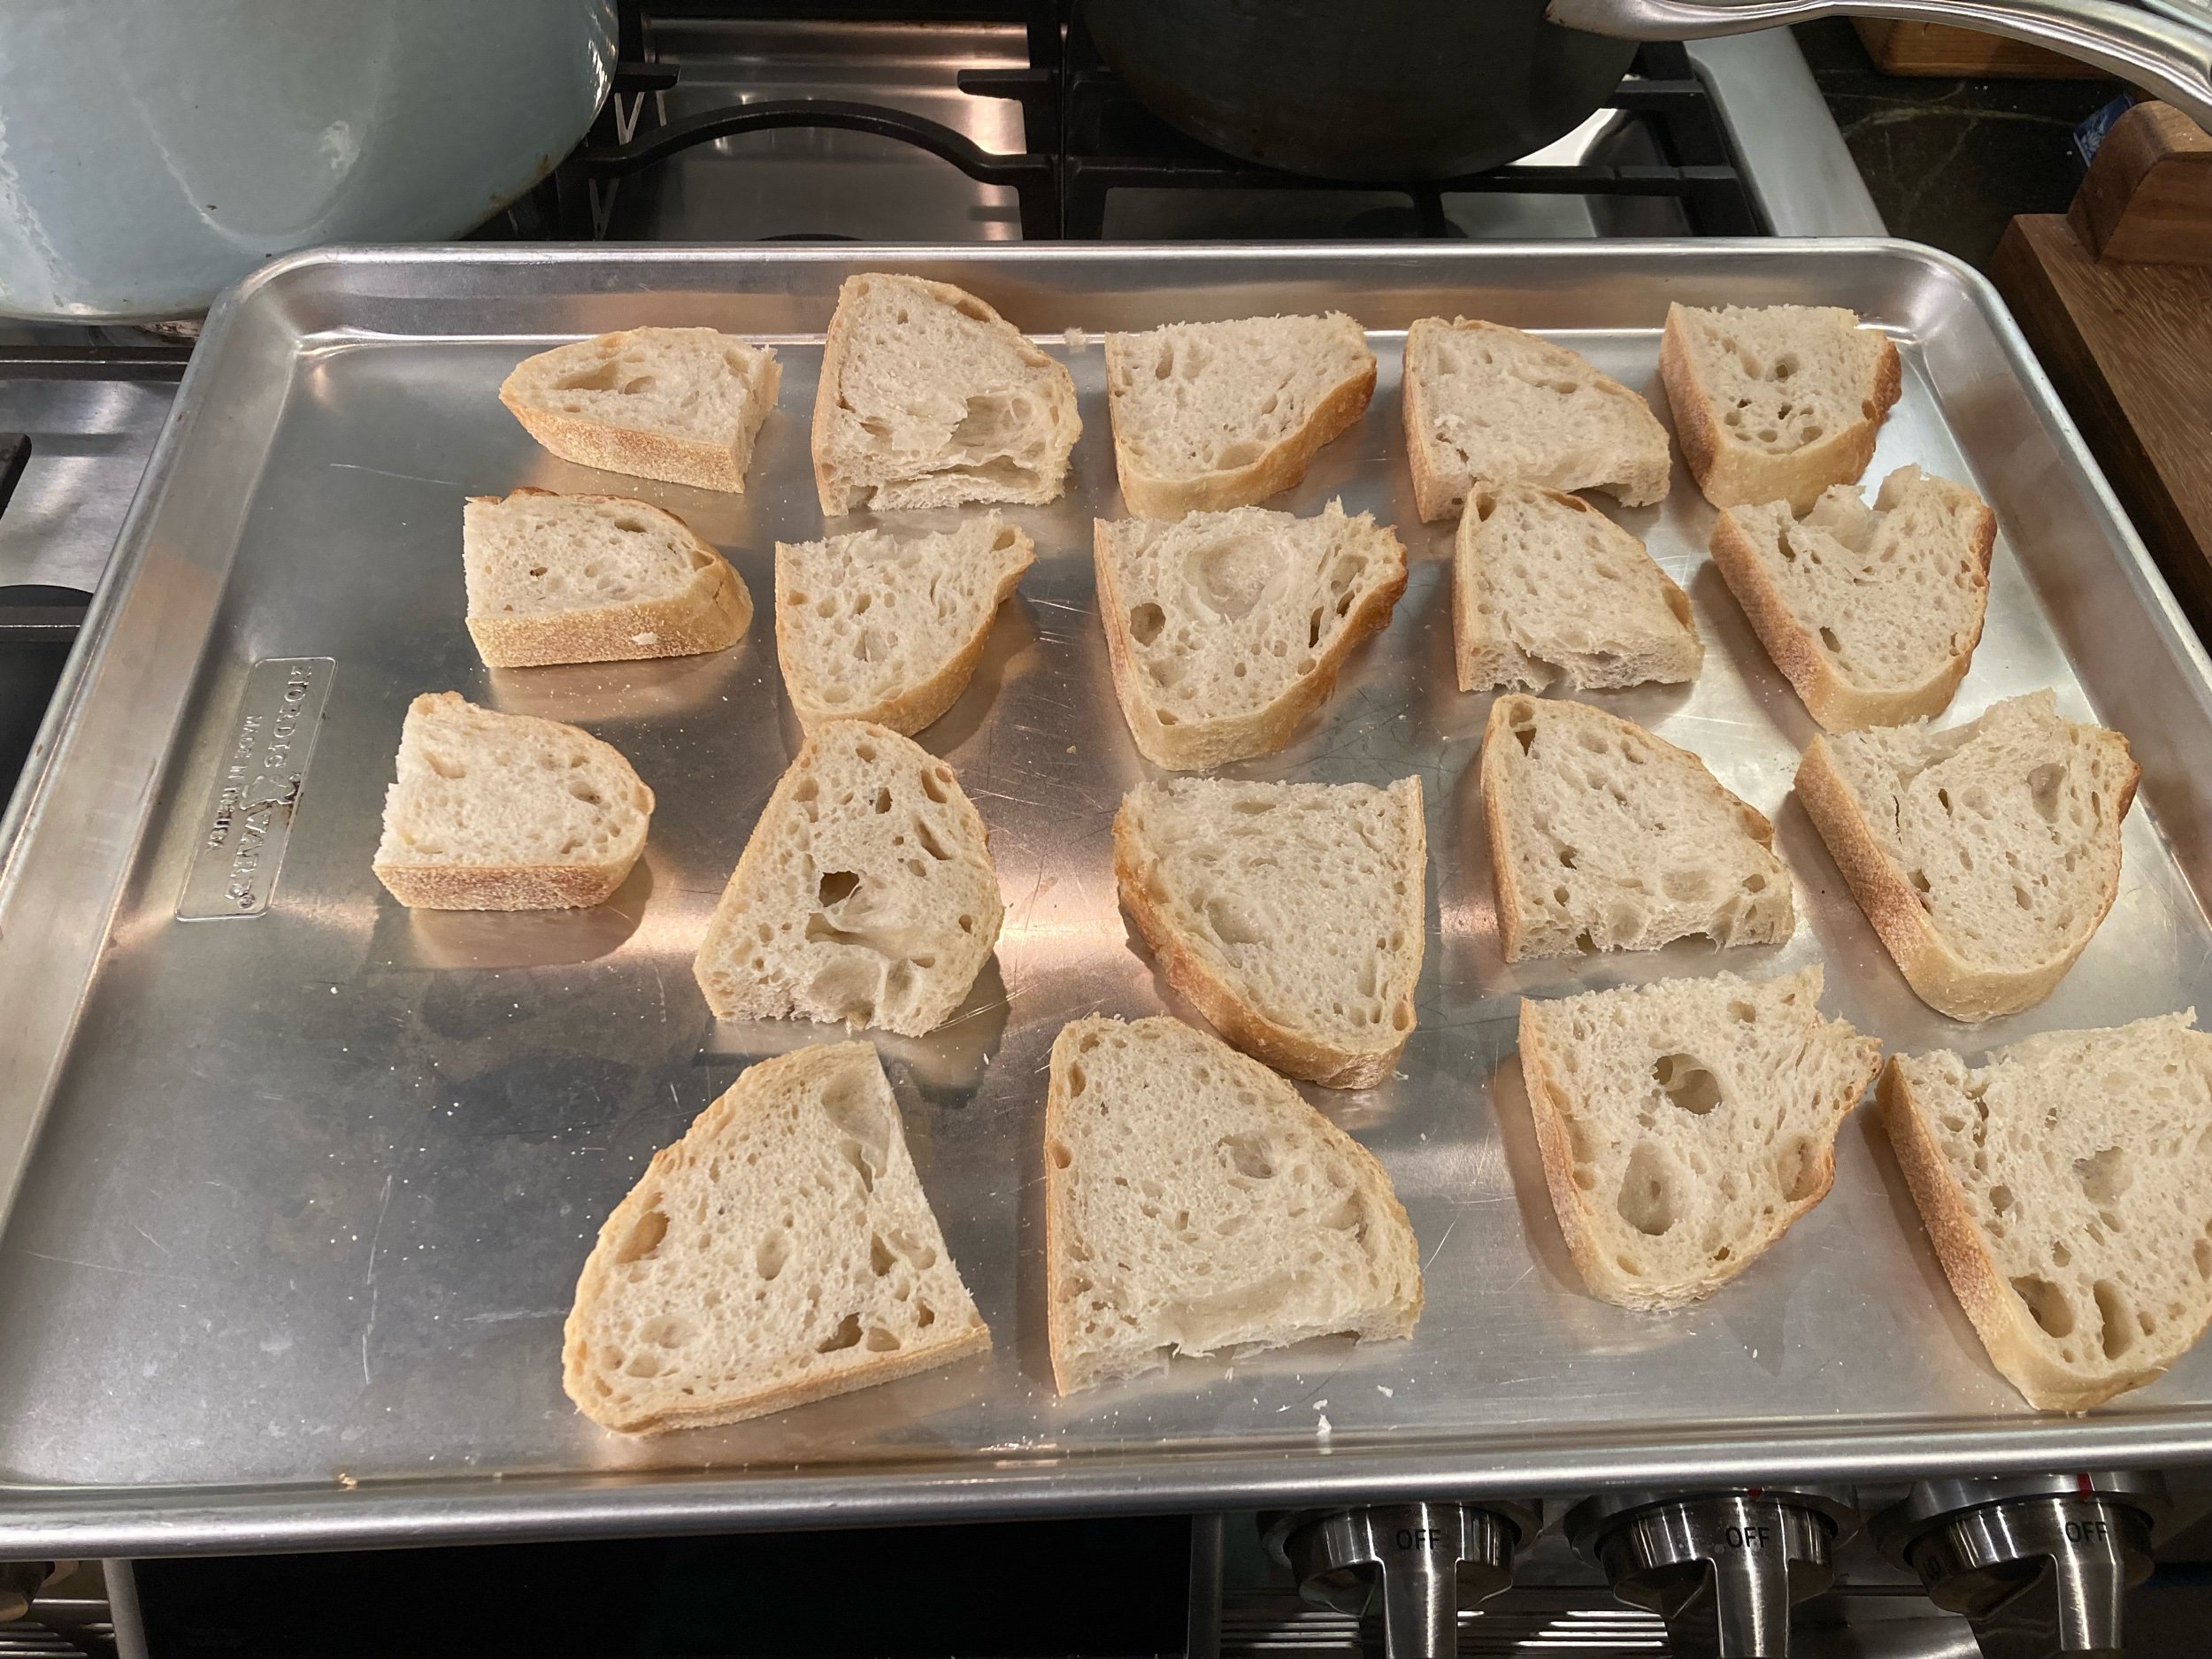
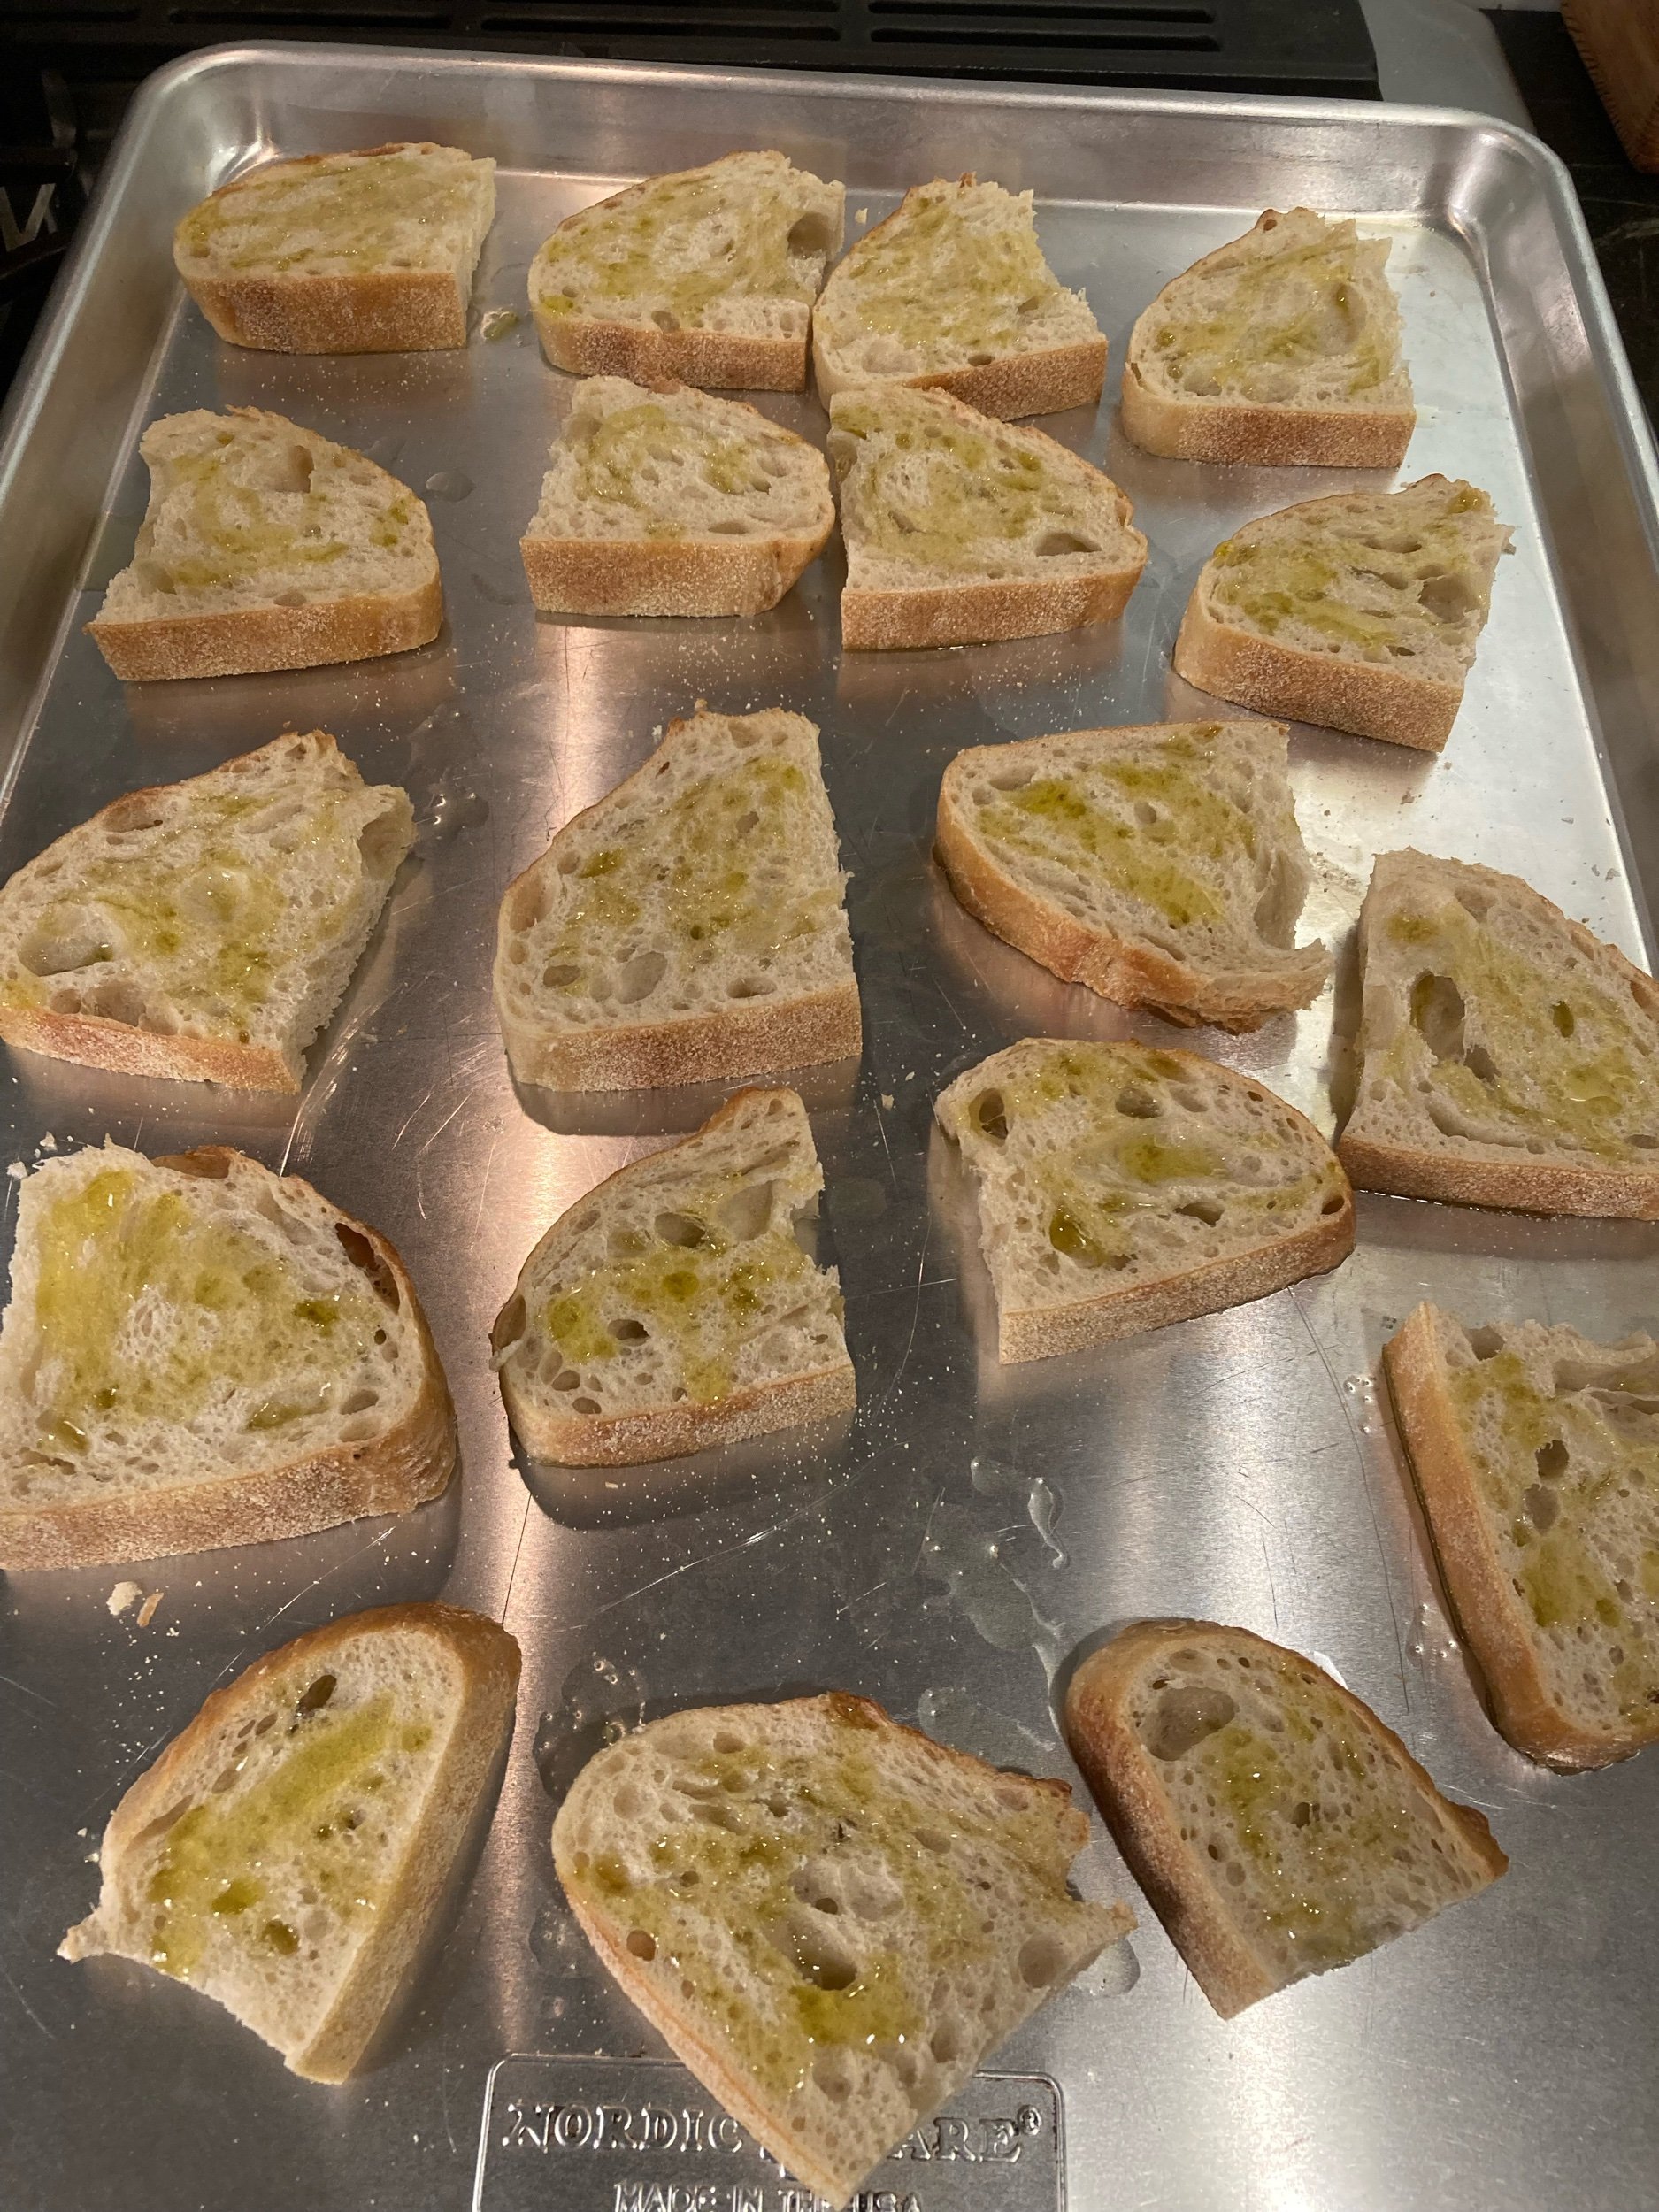
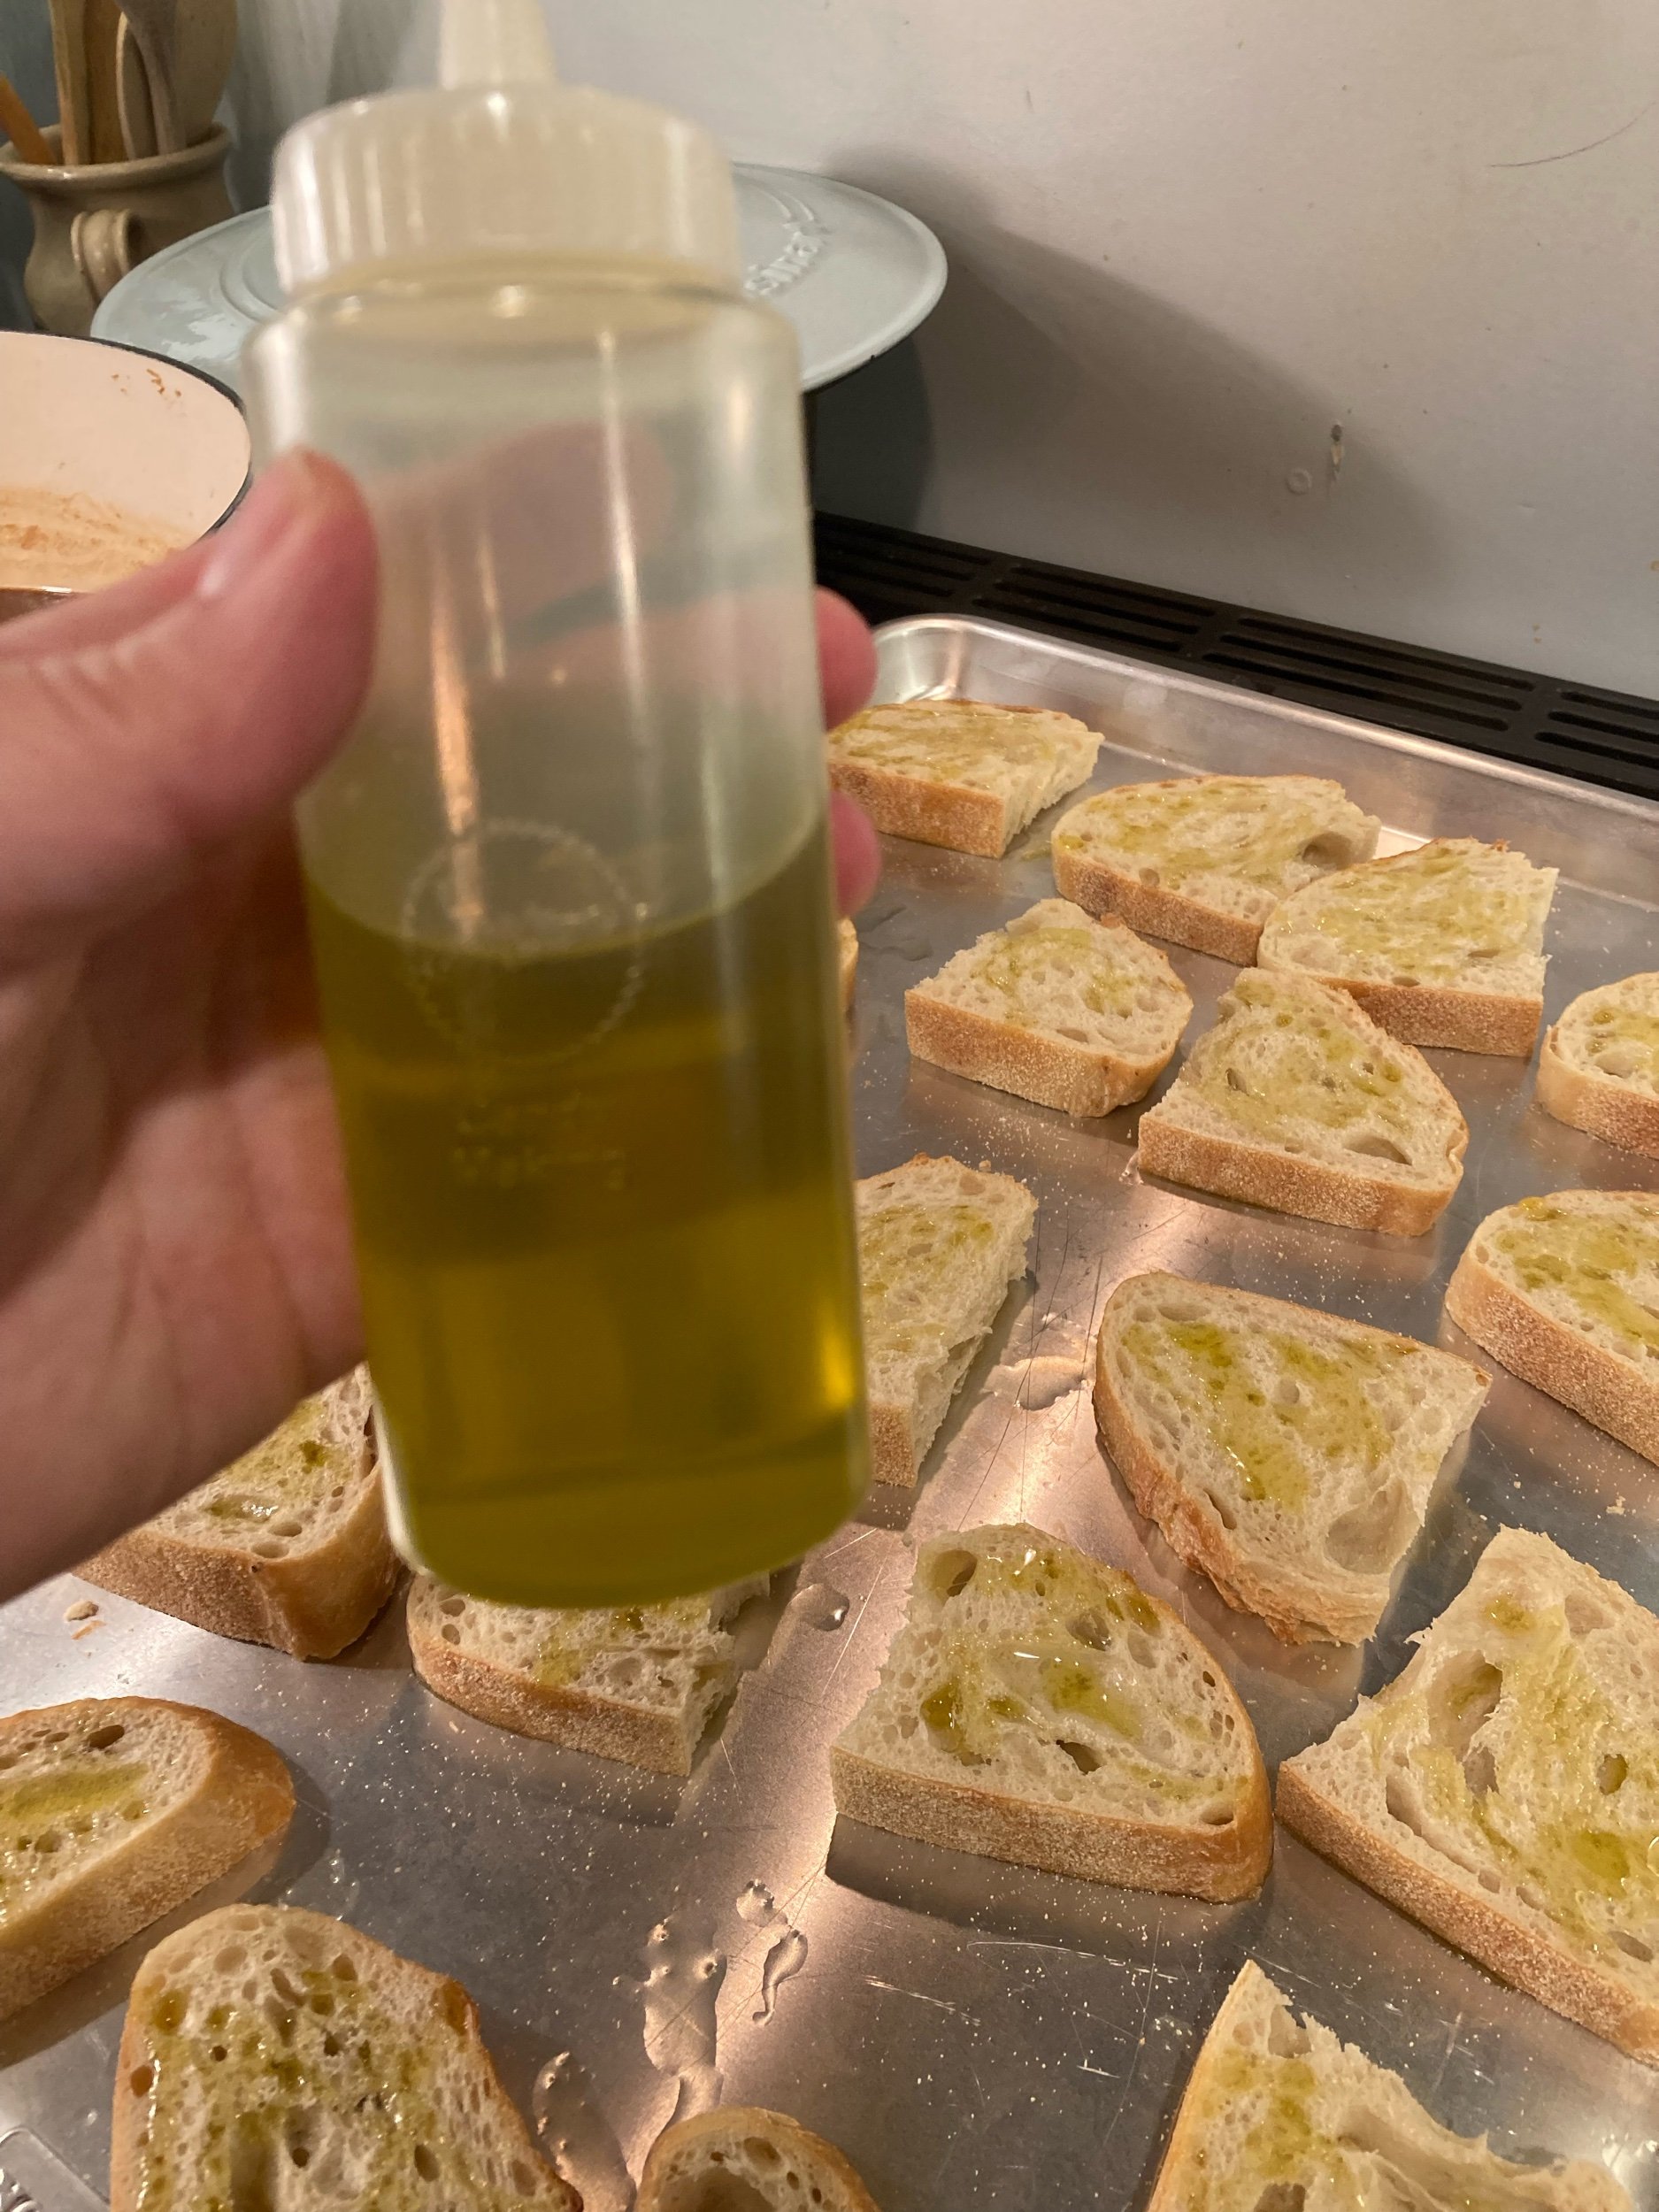
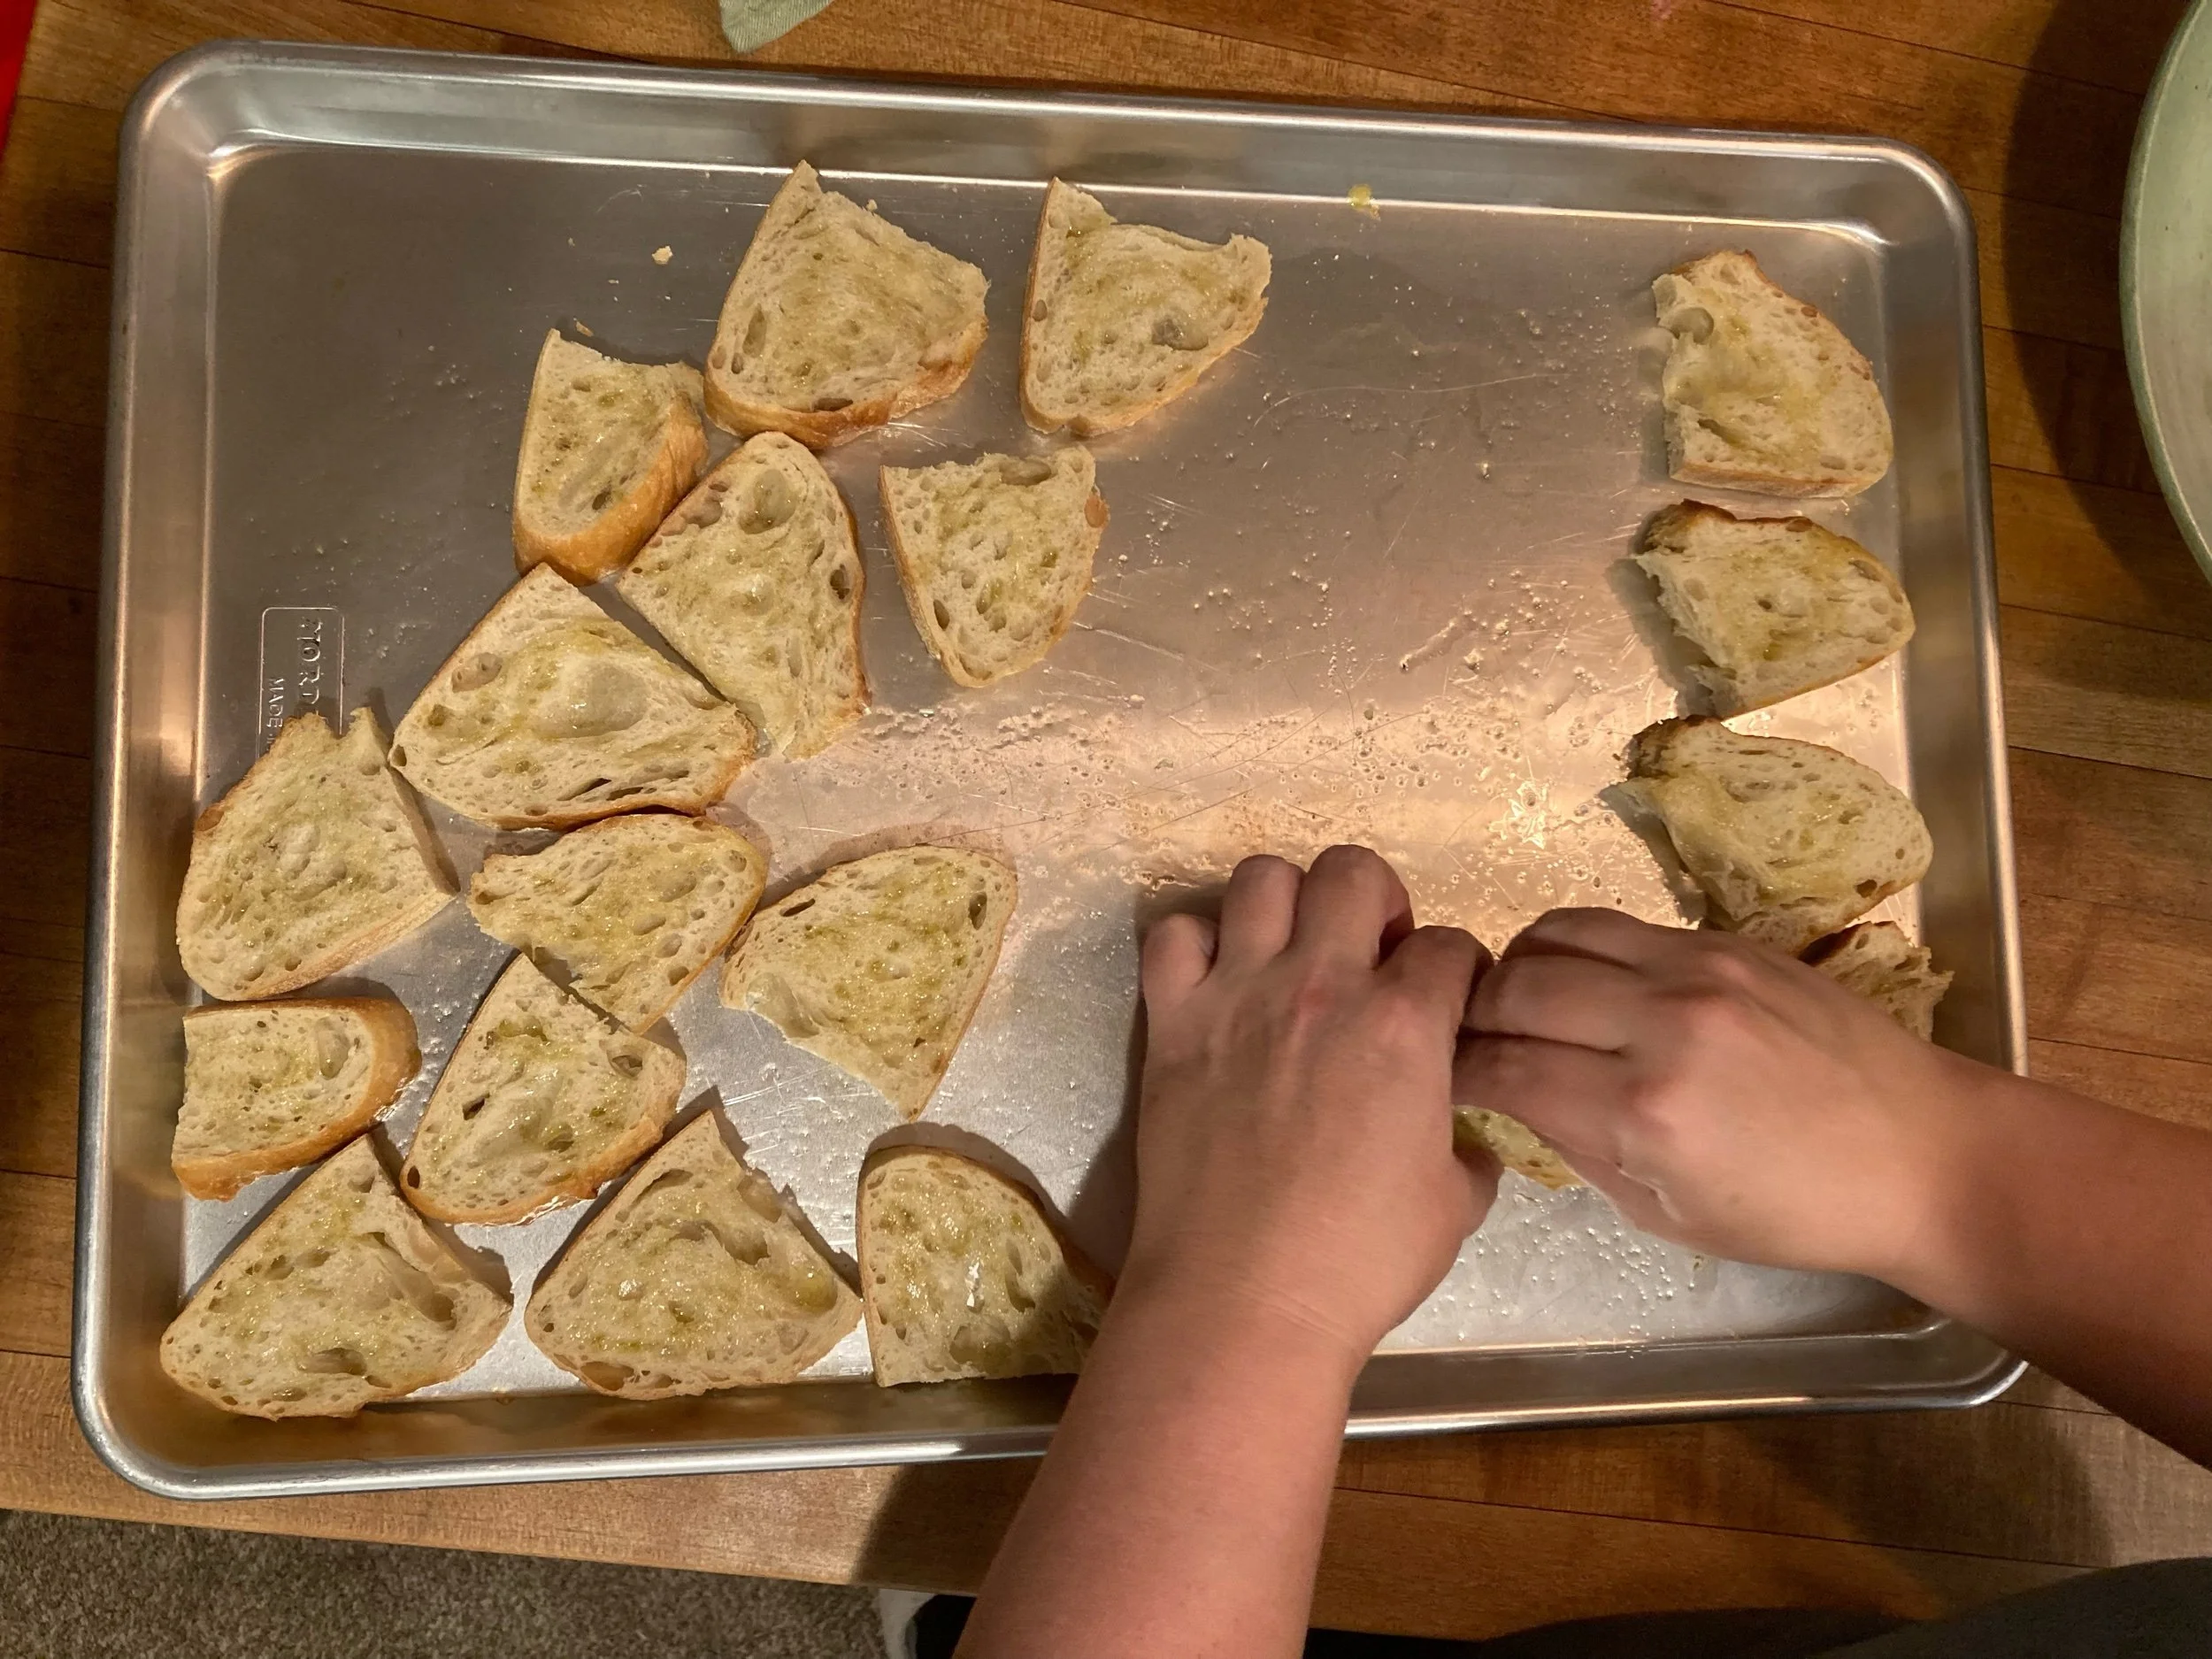
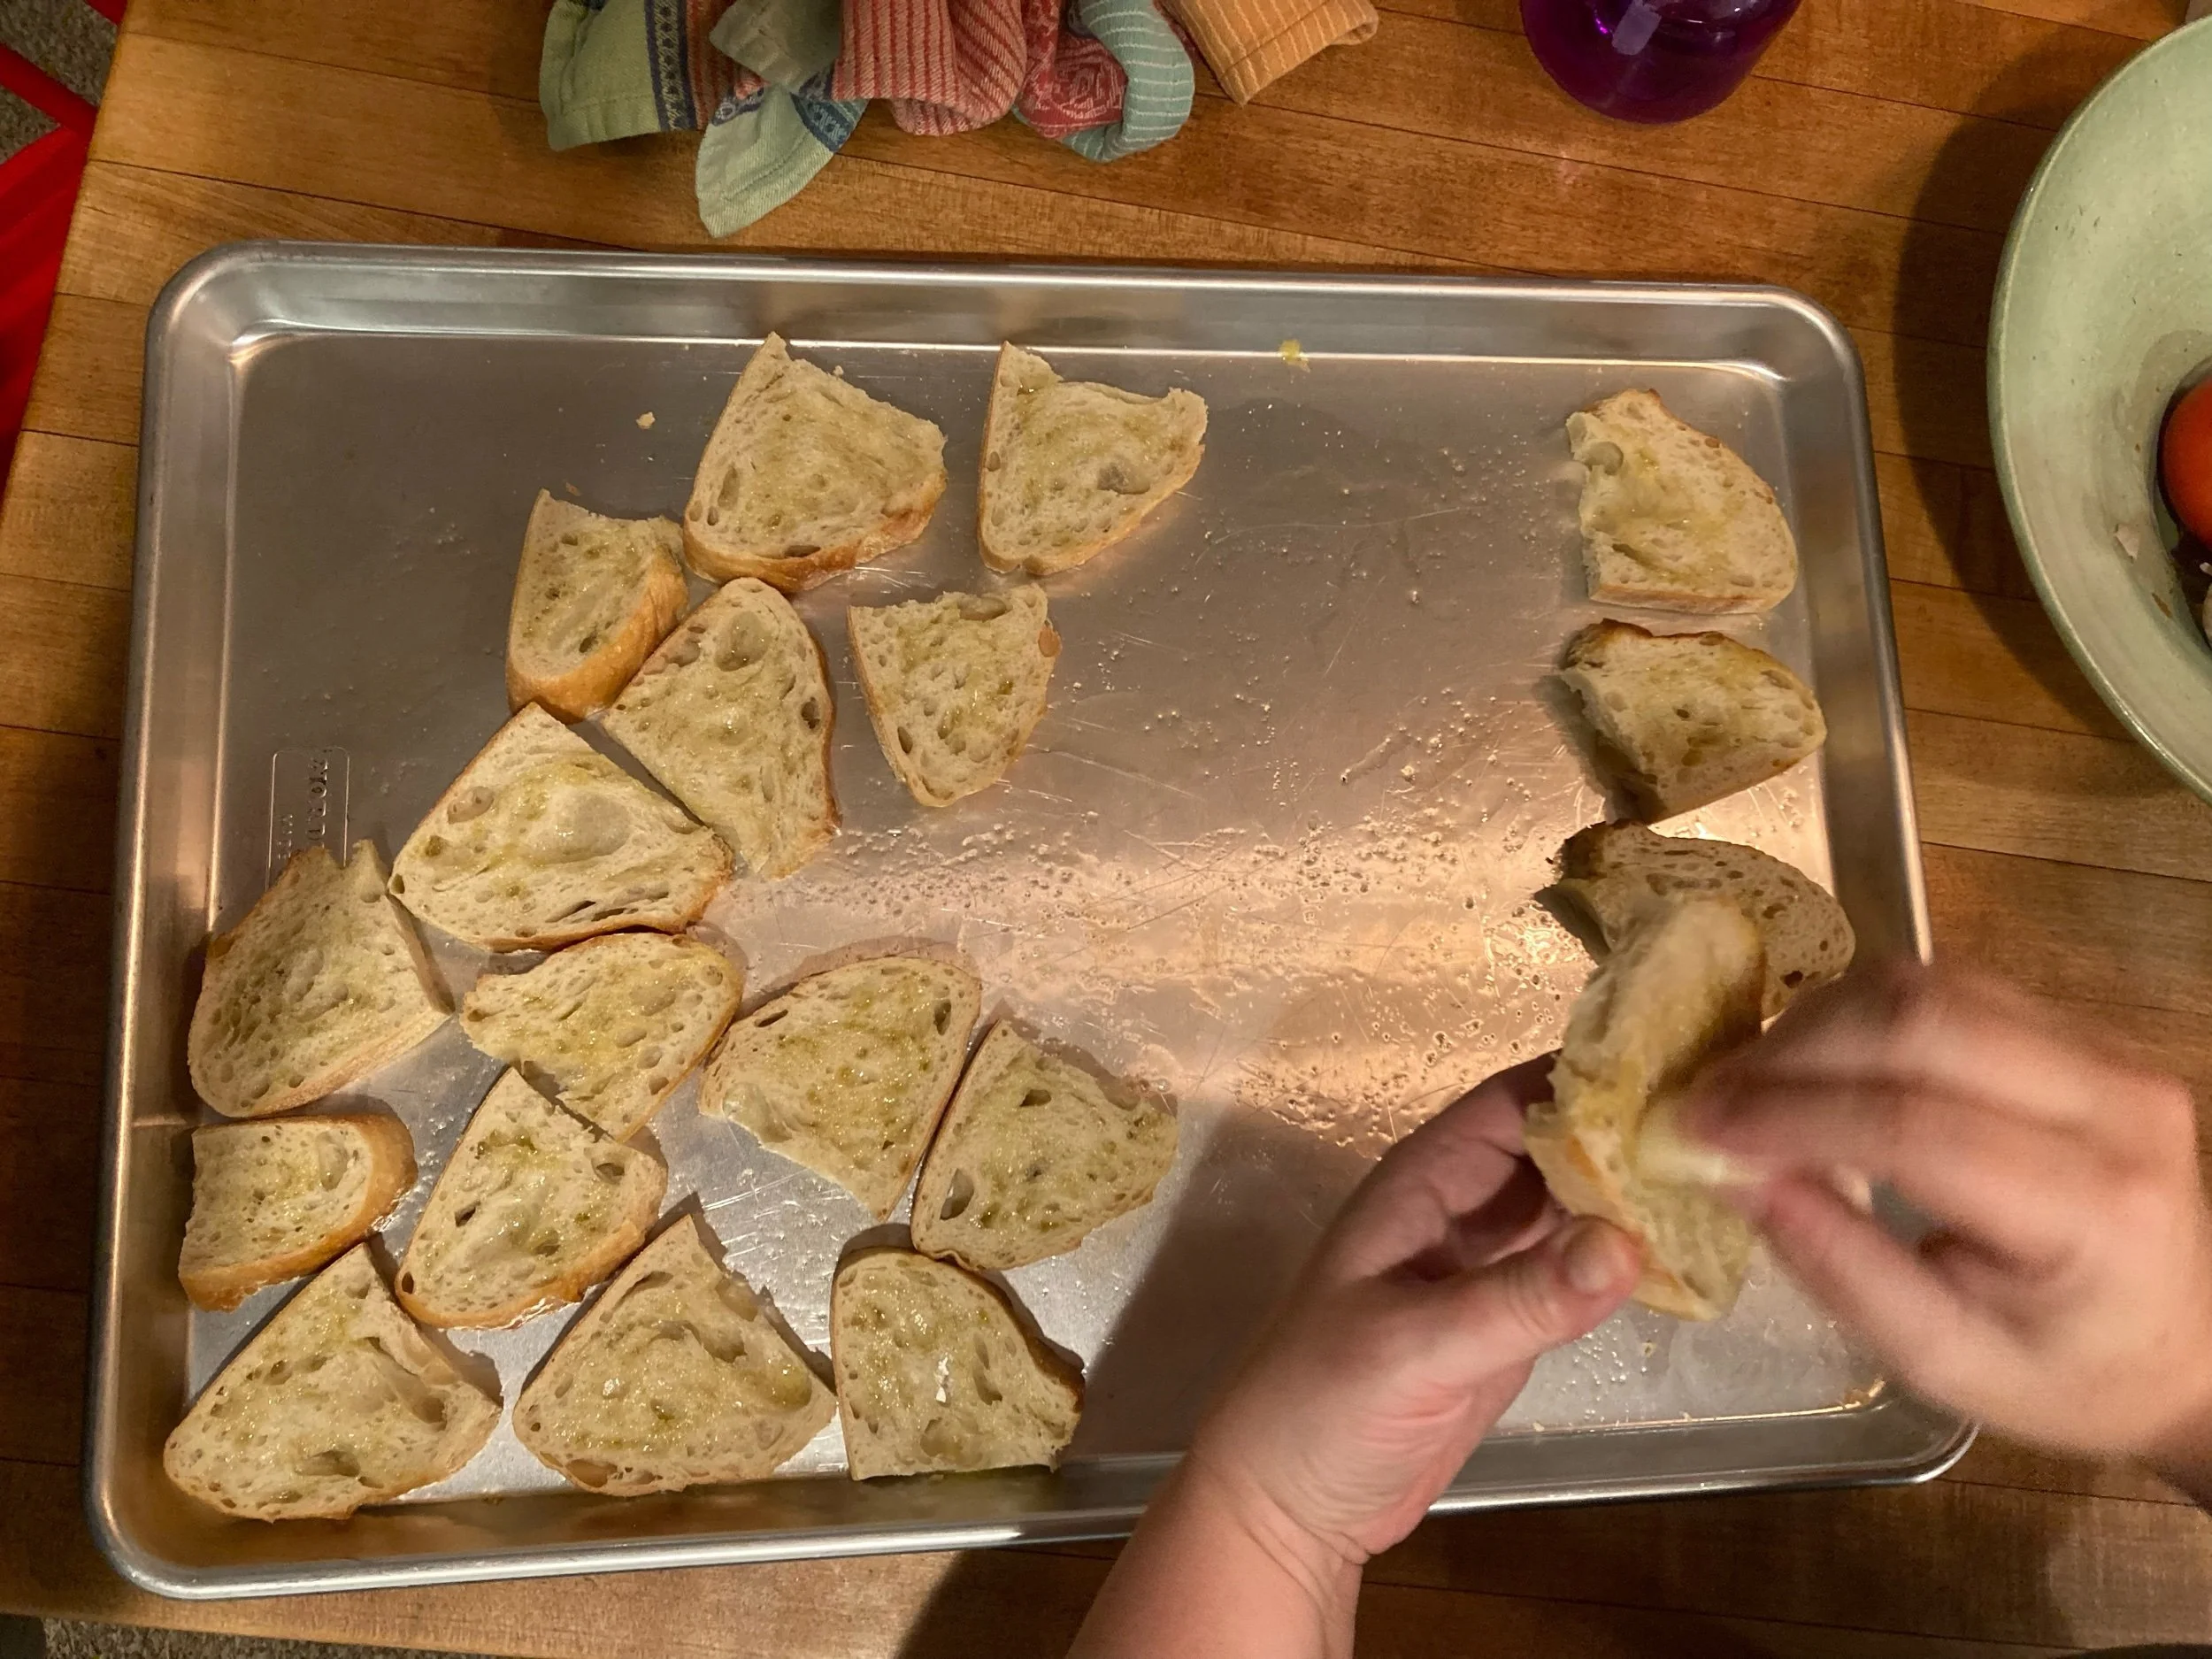
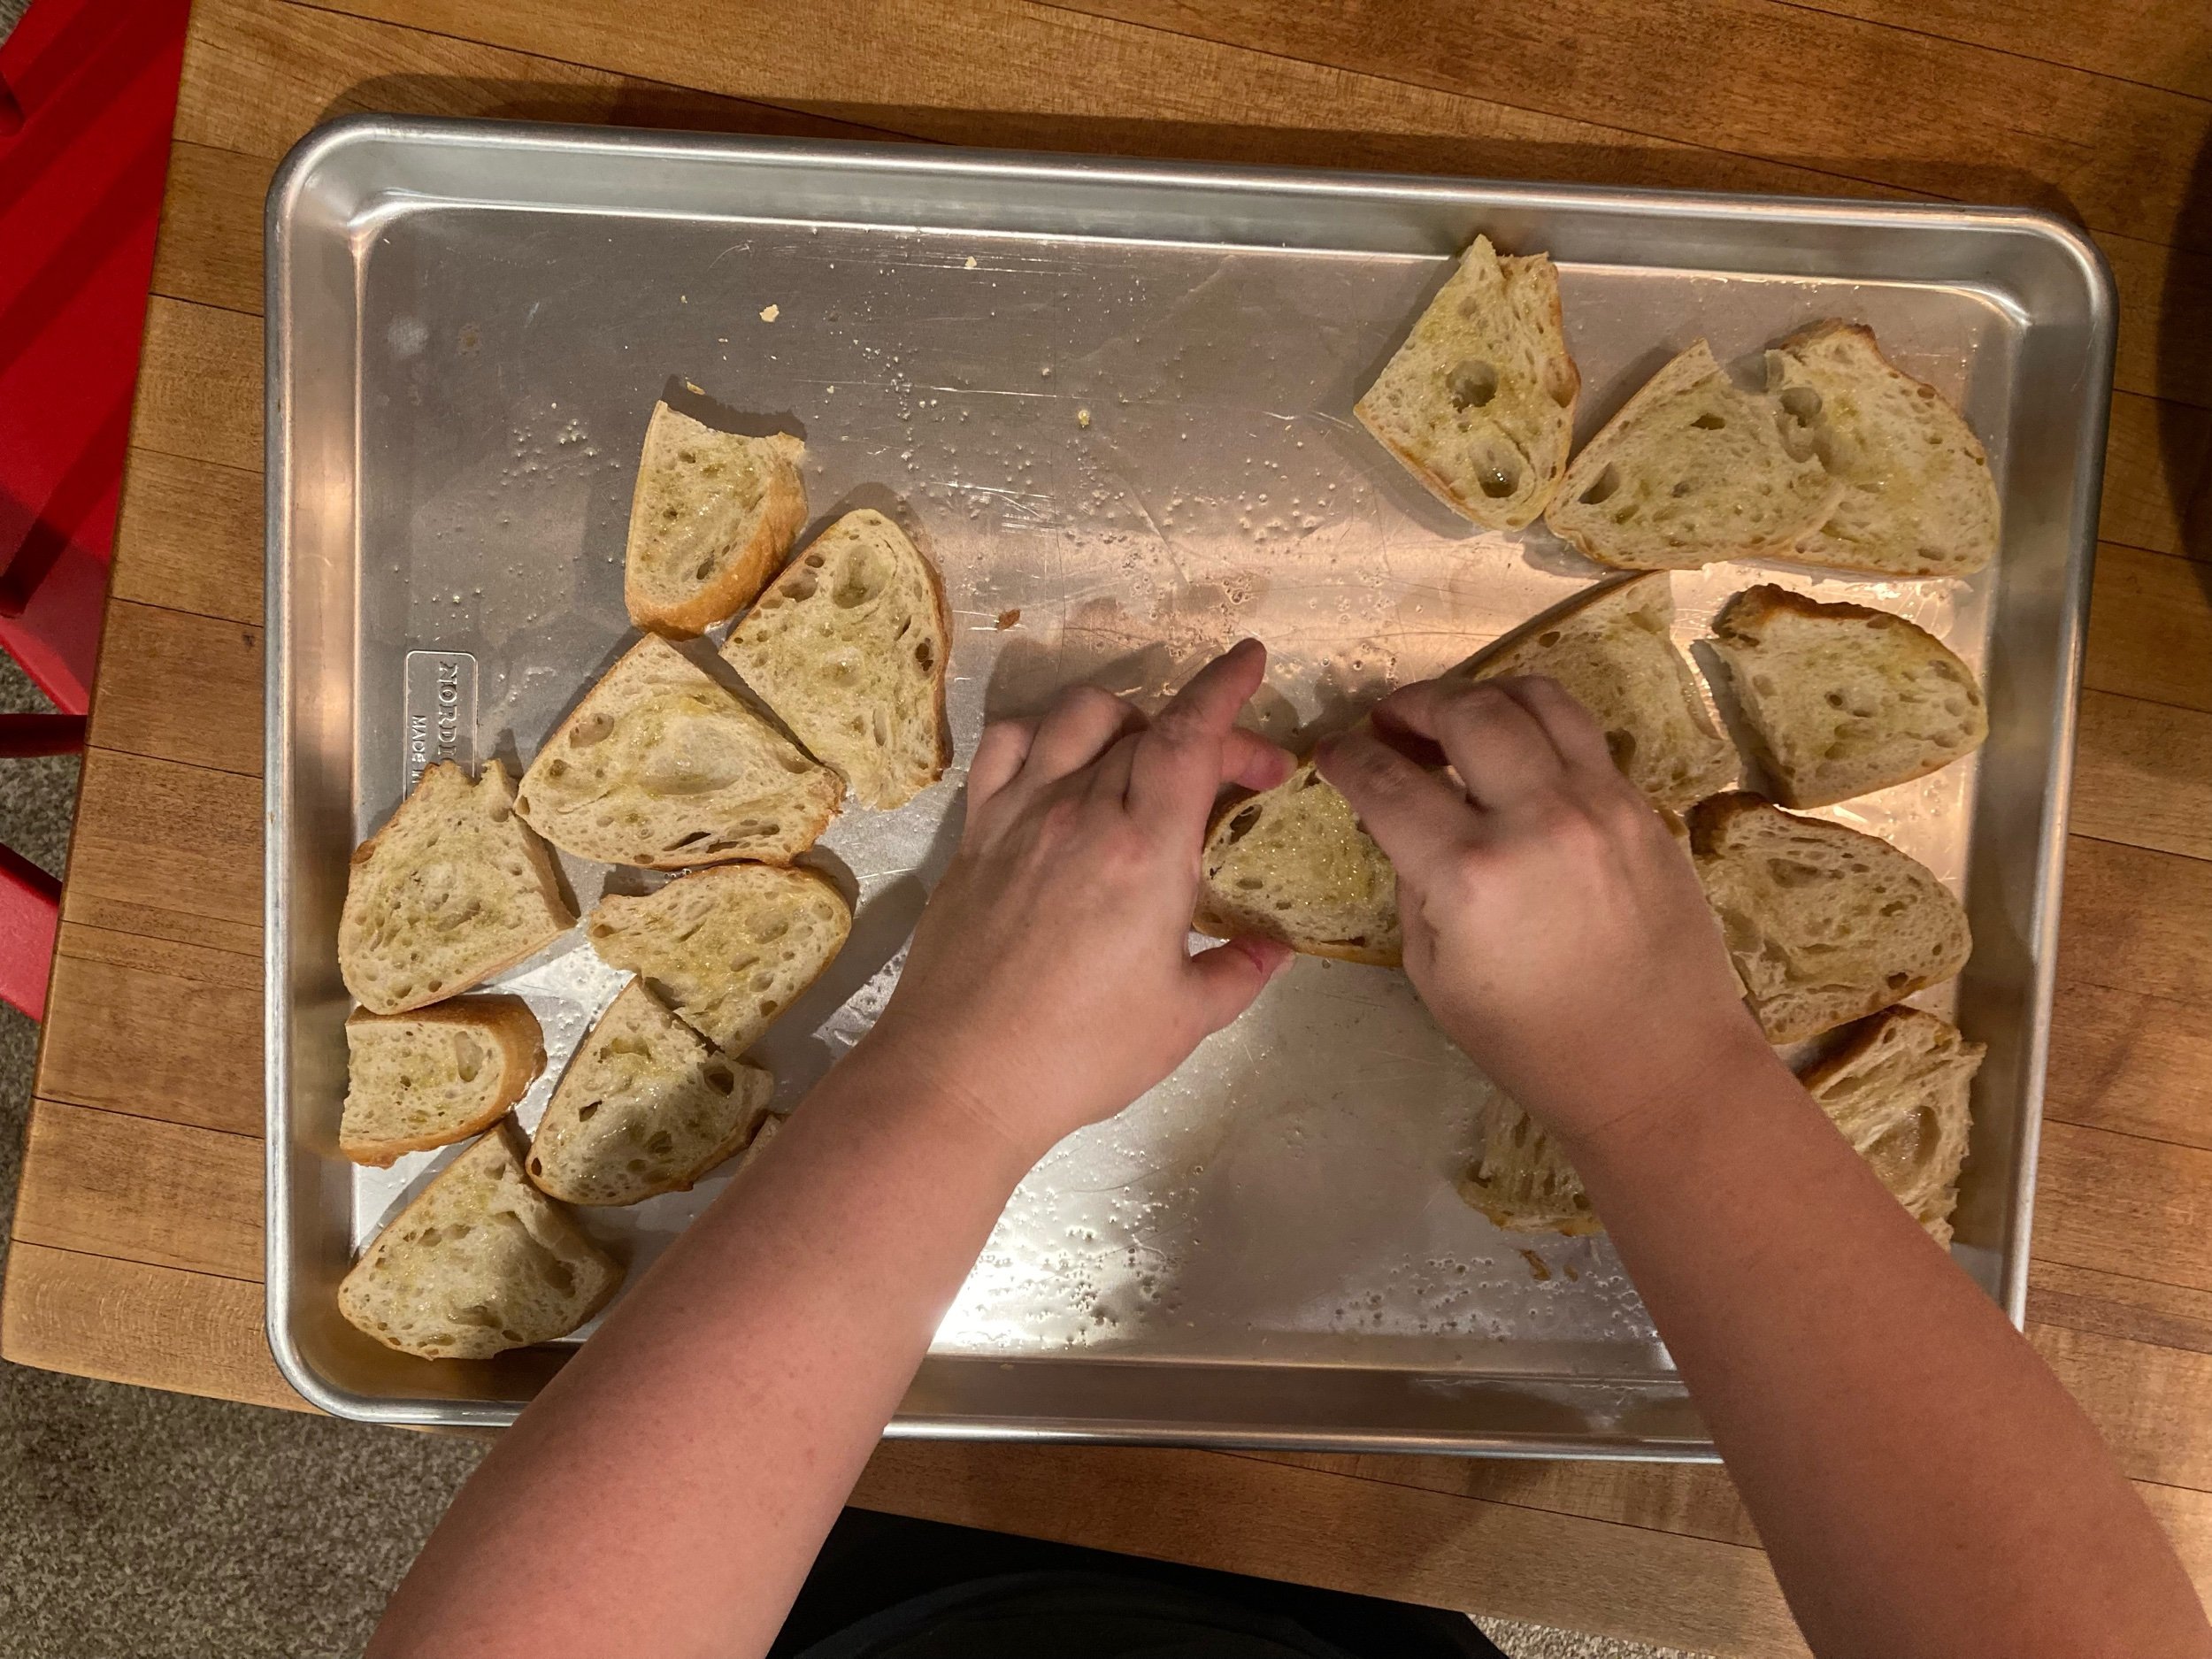
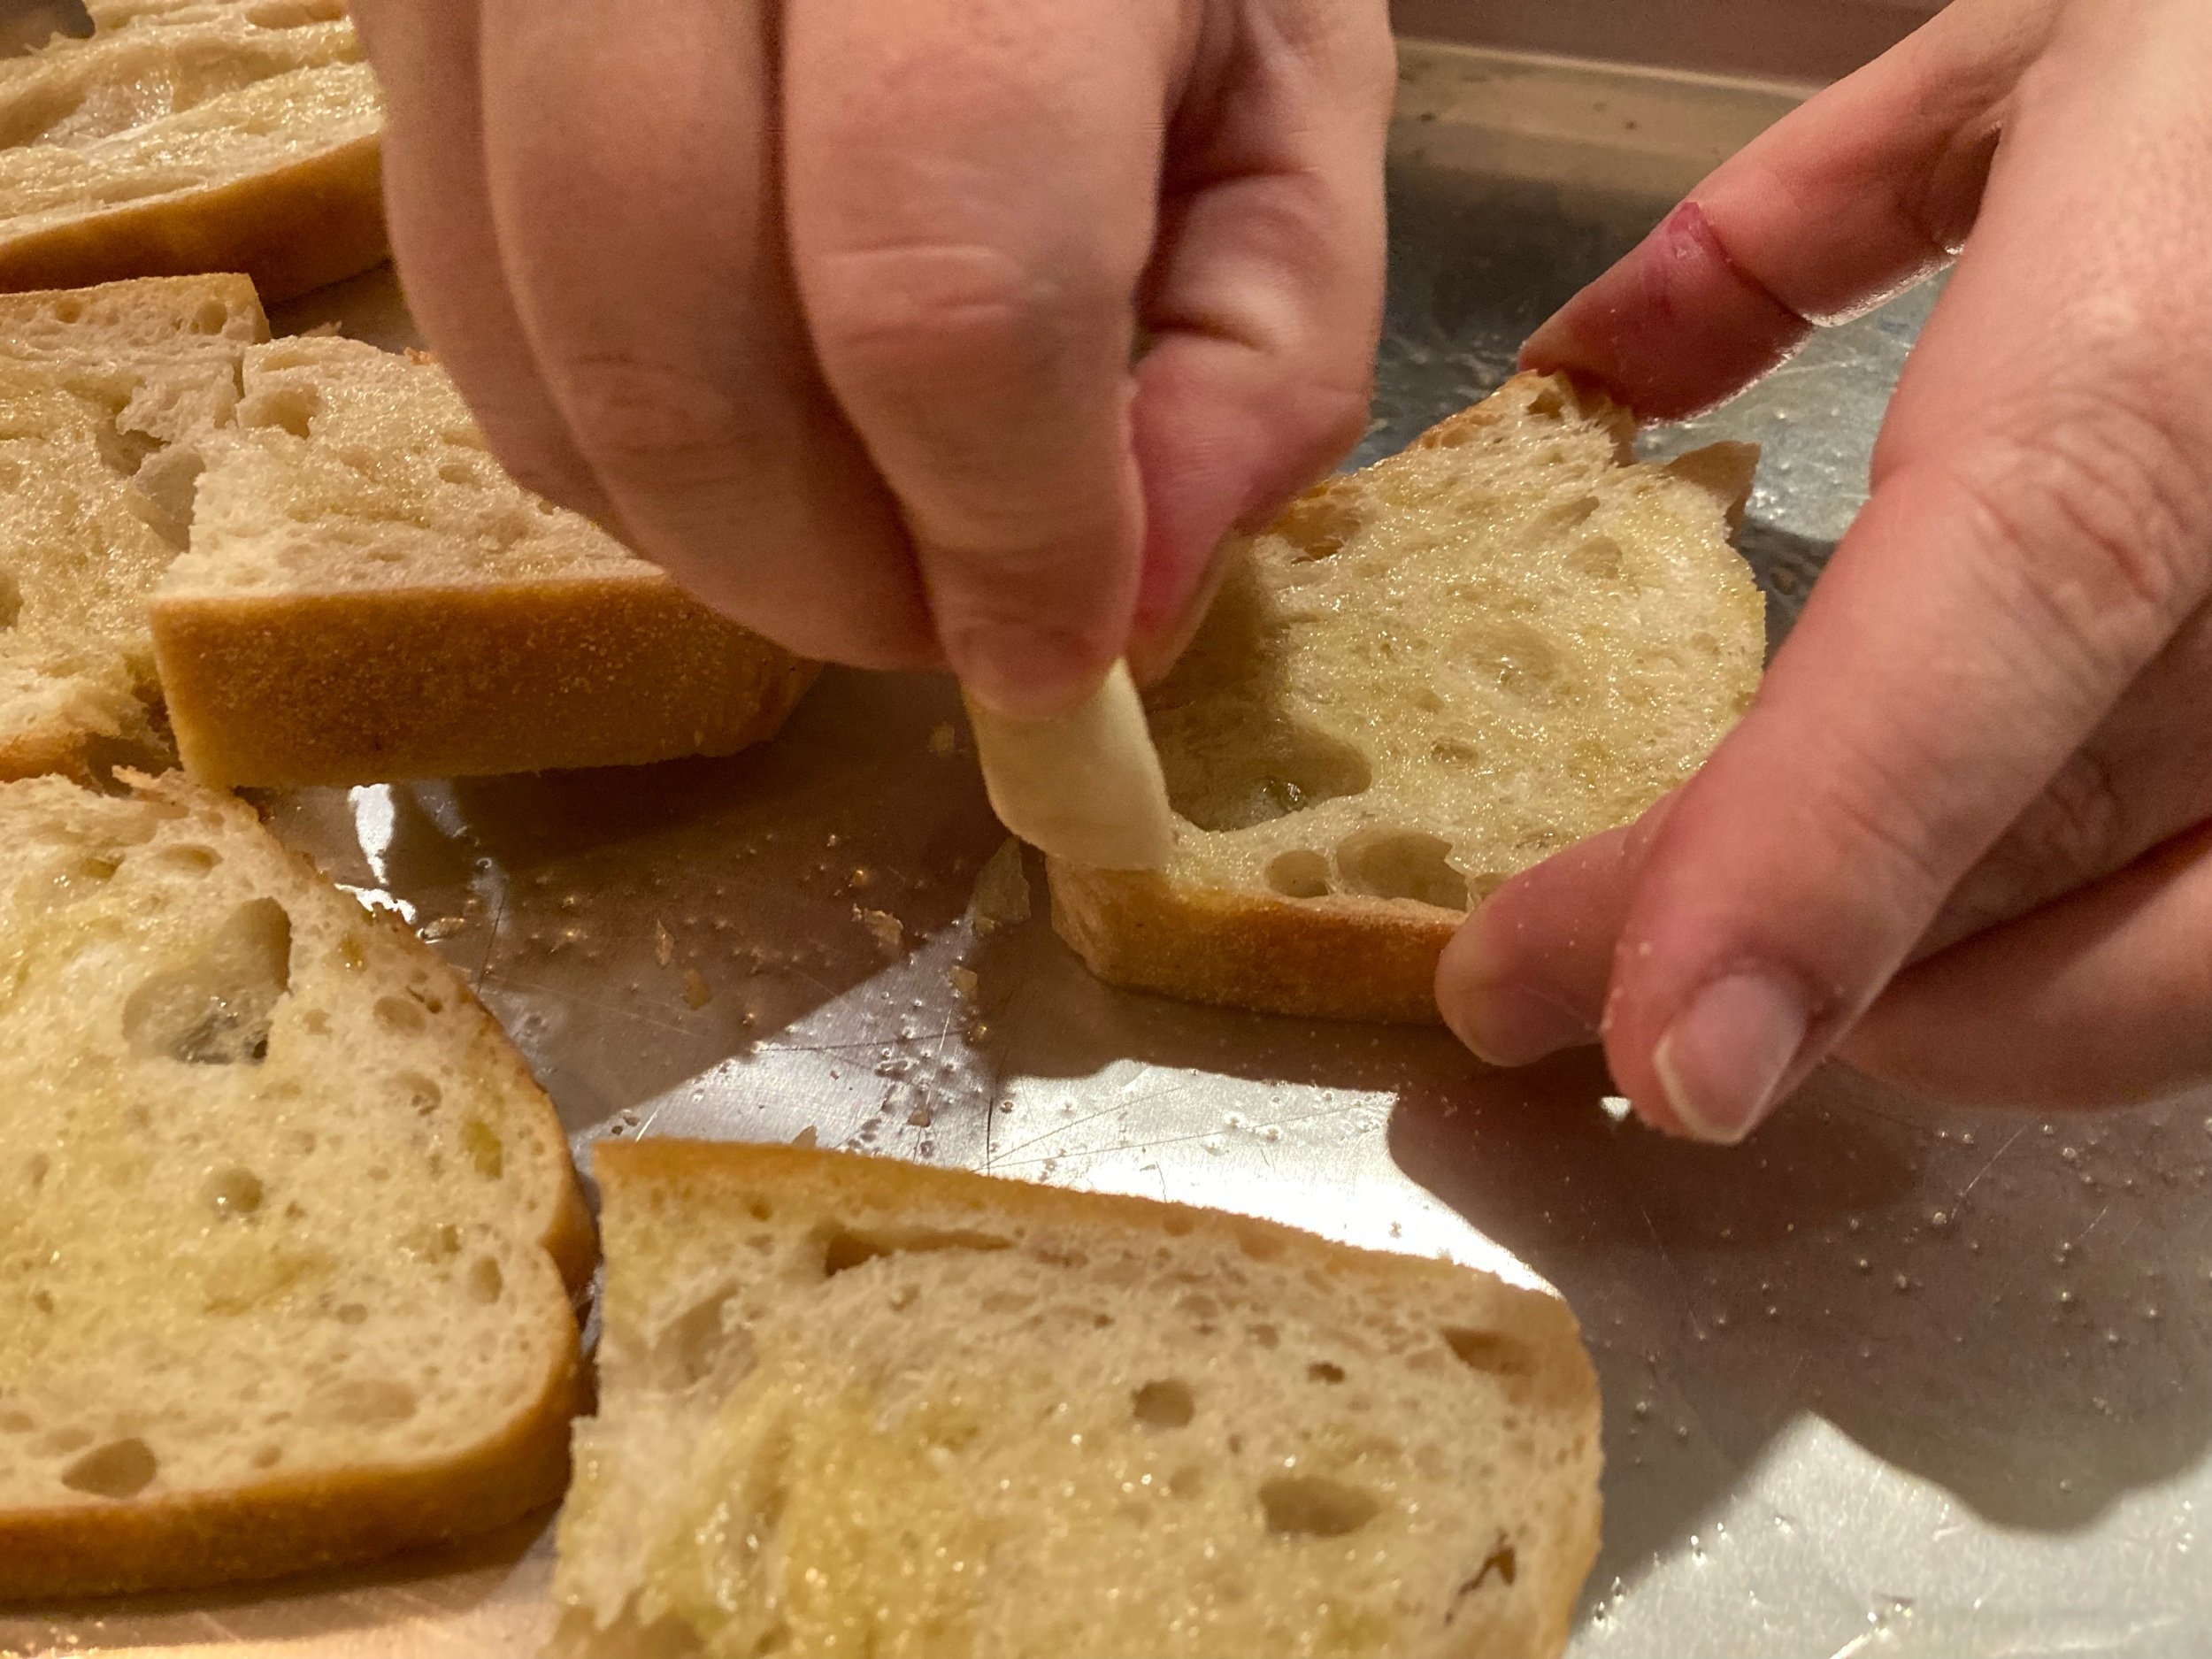
HINDSIGHT NOTE: Next time I make this, I’m going to stop here and proceed differently. I won’t gratin the dish at all. I’ll make the croutes as below, but broil briefly with the cheese to melt it on top of the bread on the baking tray, then serve the toast with the melted cheese atop the soup in each individual serving bowl.
If you are serving this for a party, and intend to serve all of it, go ahead and continue as Julia instructs. But here’s the thing: you have to sneak under the crust you make in step 4 to add the ingredients in step 5, but my crust didn’t “lift” that easily to allow me to add the final slurry of ingredients, and those ingredients include cornstarch, which thickens the soup quite a bit, and the bread soaks the soup up quite a bit, so it’s not conducive to leftovers like this. And it’s a lot of bread for this soup. (We had leftover bread with no accompanying soup to have it with.)
I would add the cognac and Worcestershire from step 5 here! (Don’t bother with egg and cornstarch—the soup is thick enough!) Make as many croutes as I intend to serve now, melt the cheese on top of them in the broiler, and add the now ooey-gooey toast to the top of the soup at serving time.
ALSO, next time I’ll double the soup recipe to just have leftover Onion Soup. Once you’re spending 3 hours making soup you may as well be able to have some for lunch or dinner the next day. Make it 3 lbs onions, and 4 quarts stock, or 2 quarts and a bottle of red wine. And you can always melt more cheese on toast to serve the next day. Or just eat delicious onion soup.
This is your make ahead point. You can set the soup and croutes aside here until ready to serve.
You can add cognac here, and just put the bread in the bottom of bowls and serve your onion soup just ladled over the top of it just like this and pass some grated cheese around the table. Or…
4) Build the gratin:
Fireproof tureen, ovenproof casserole, or Dutch oven (needs to be able to be put under the broiler, not just in the oven)
Onion soup you made
1 T grated raw onion
2 oz Swiss cheese cut into very thin slivers
12-16 croutes you made
1-1/2 cups grated Swiss cheese, or a mixture of Swiss and Parmesan
1 Tb olive oil or melted butter
Preheat oven to 325-degrees. Bring the onion soup back up to a boil. Stir in the grated onion and the slivered cheese (super doesn’t matter if it’s slivered—it can just be grated like the rest of the cheese).
Float the croutes on top, and cover with the grated cheese. Sprinkle with the oil or melted butter.
Bake for 20 minutes, then remove, and preheat broiler, and broil 2 minutes more.
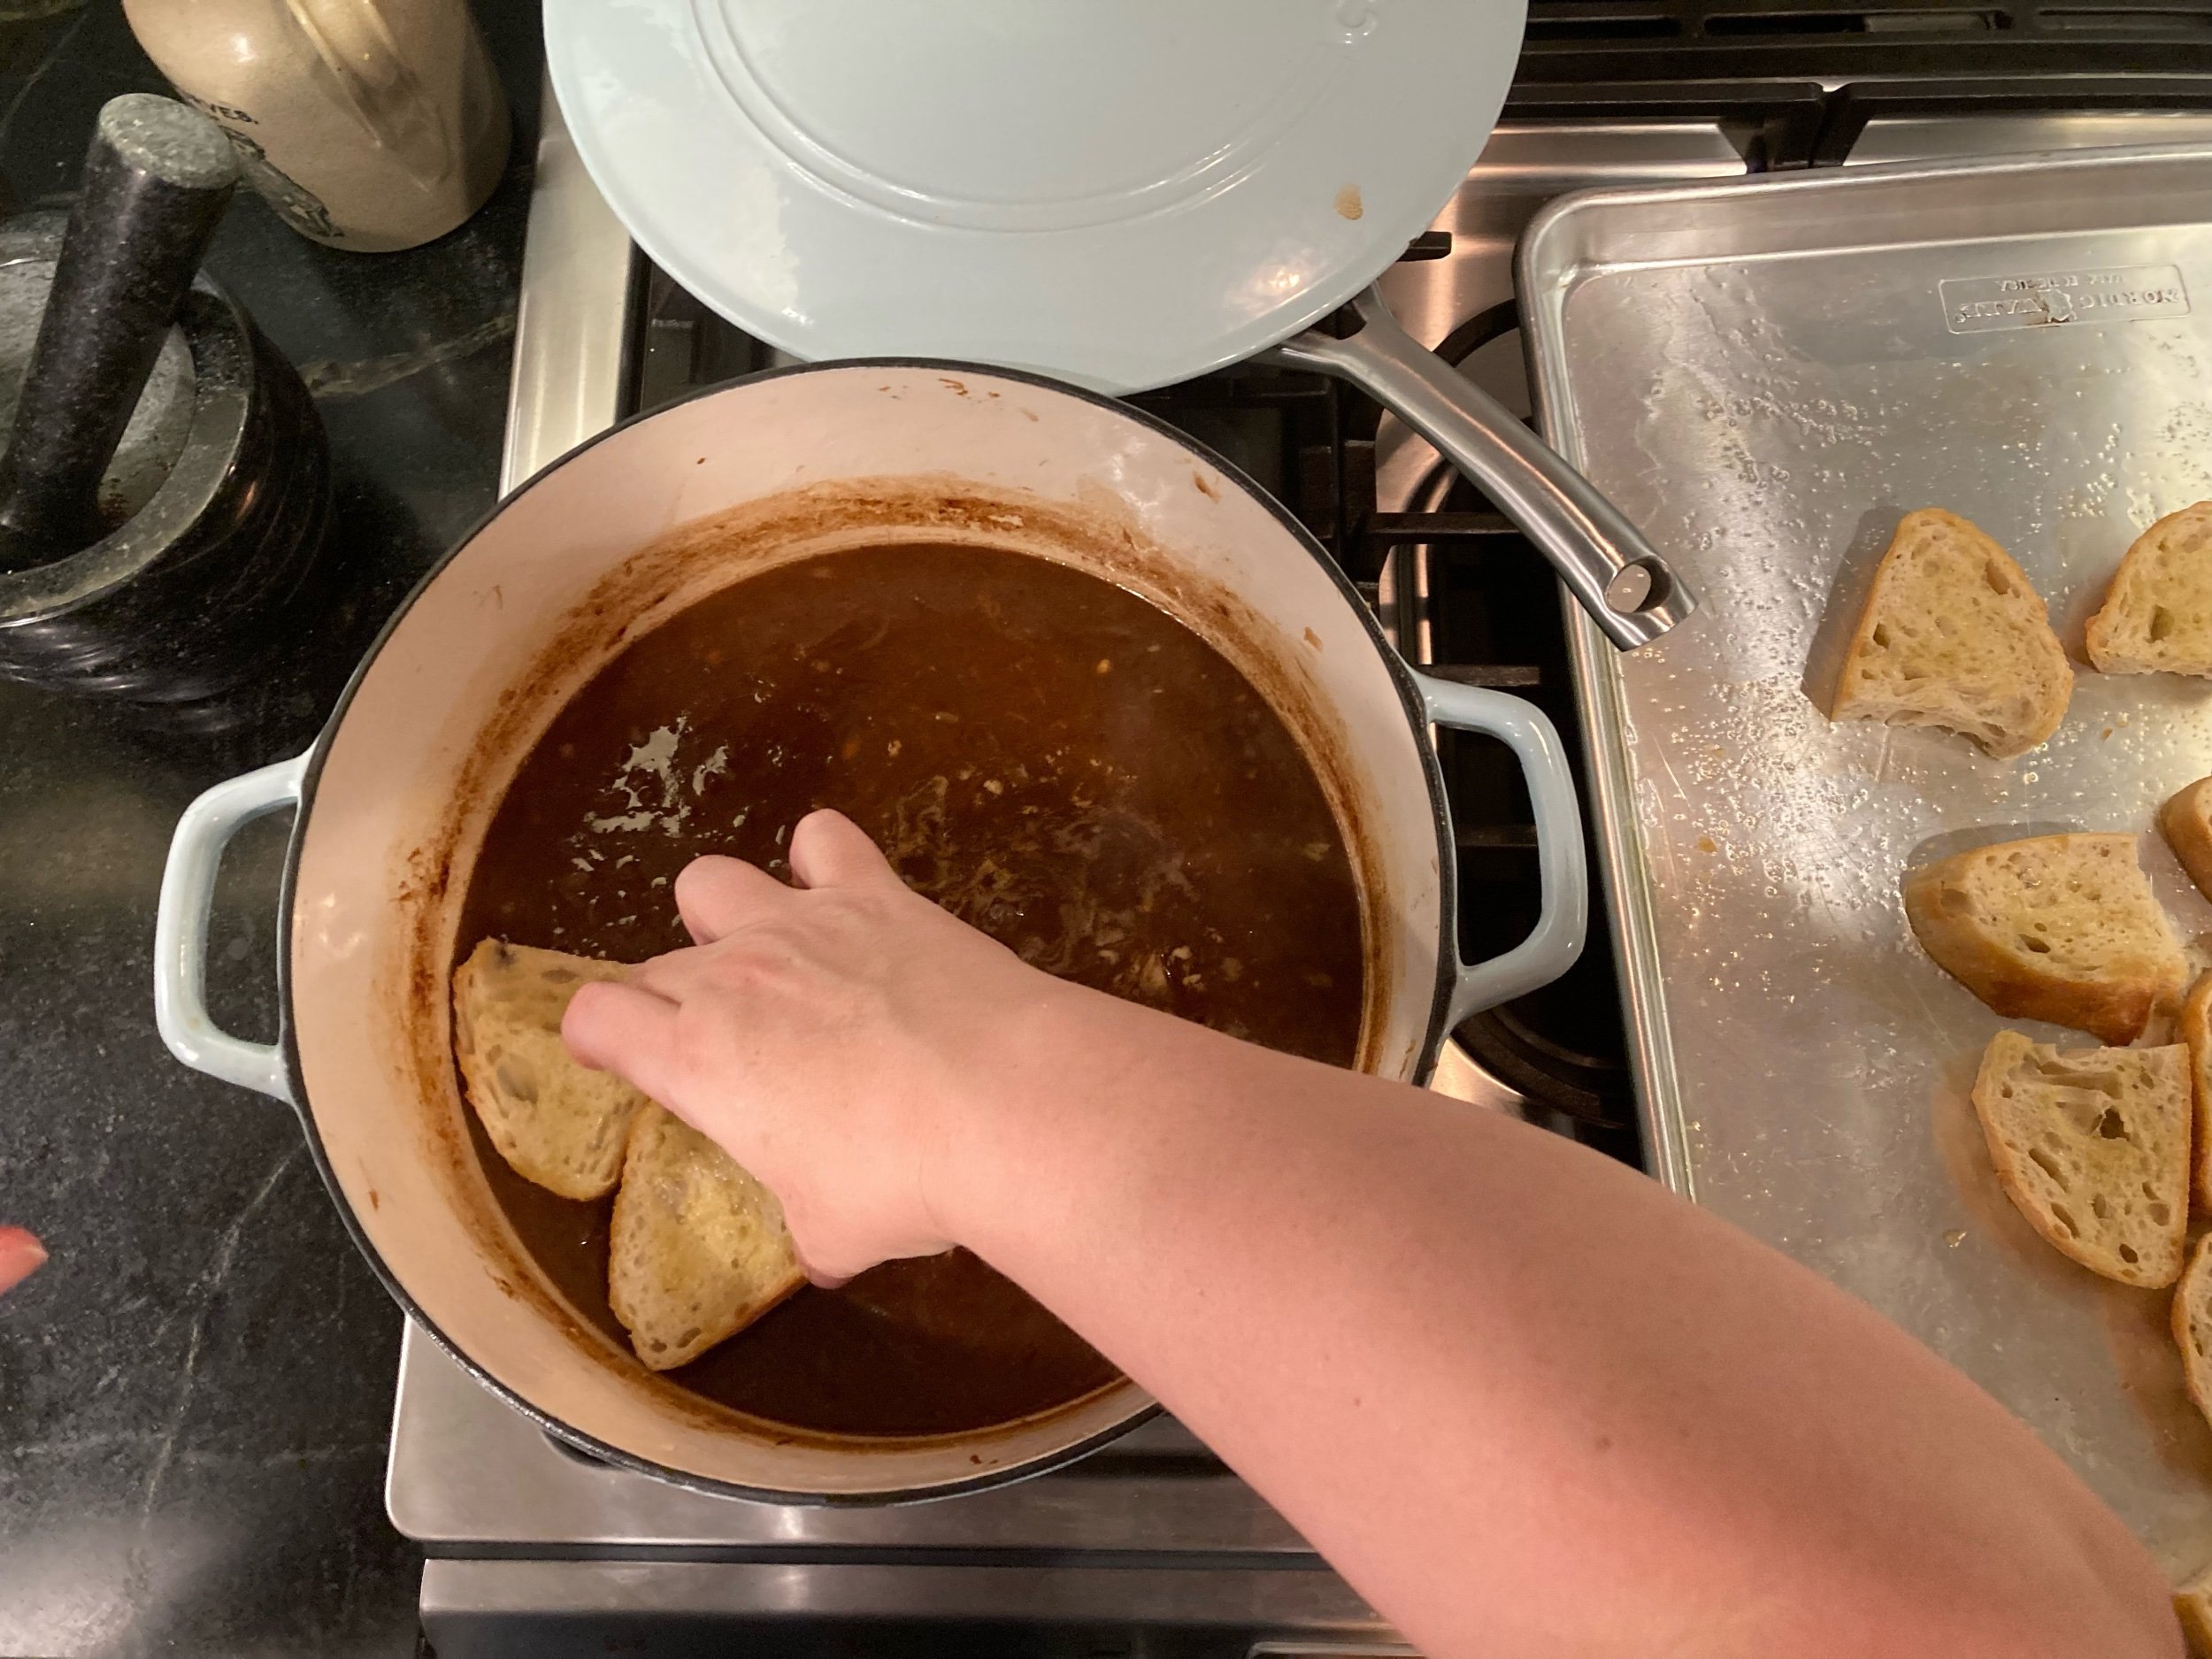
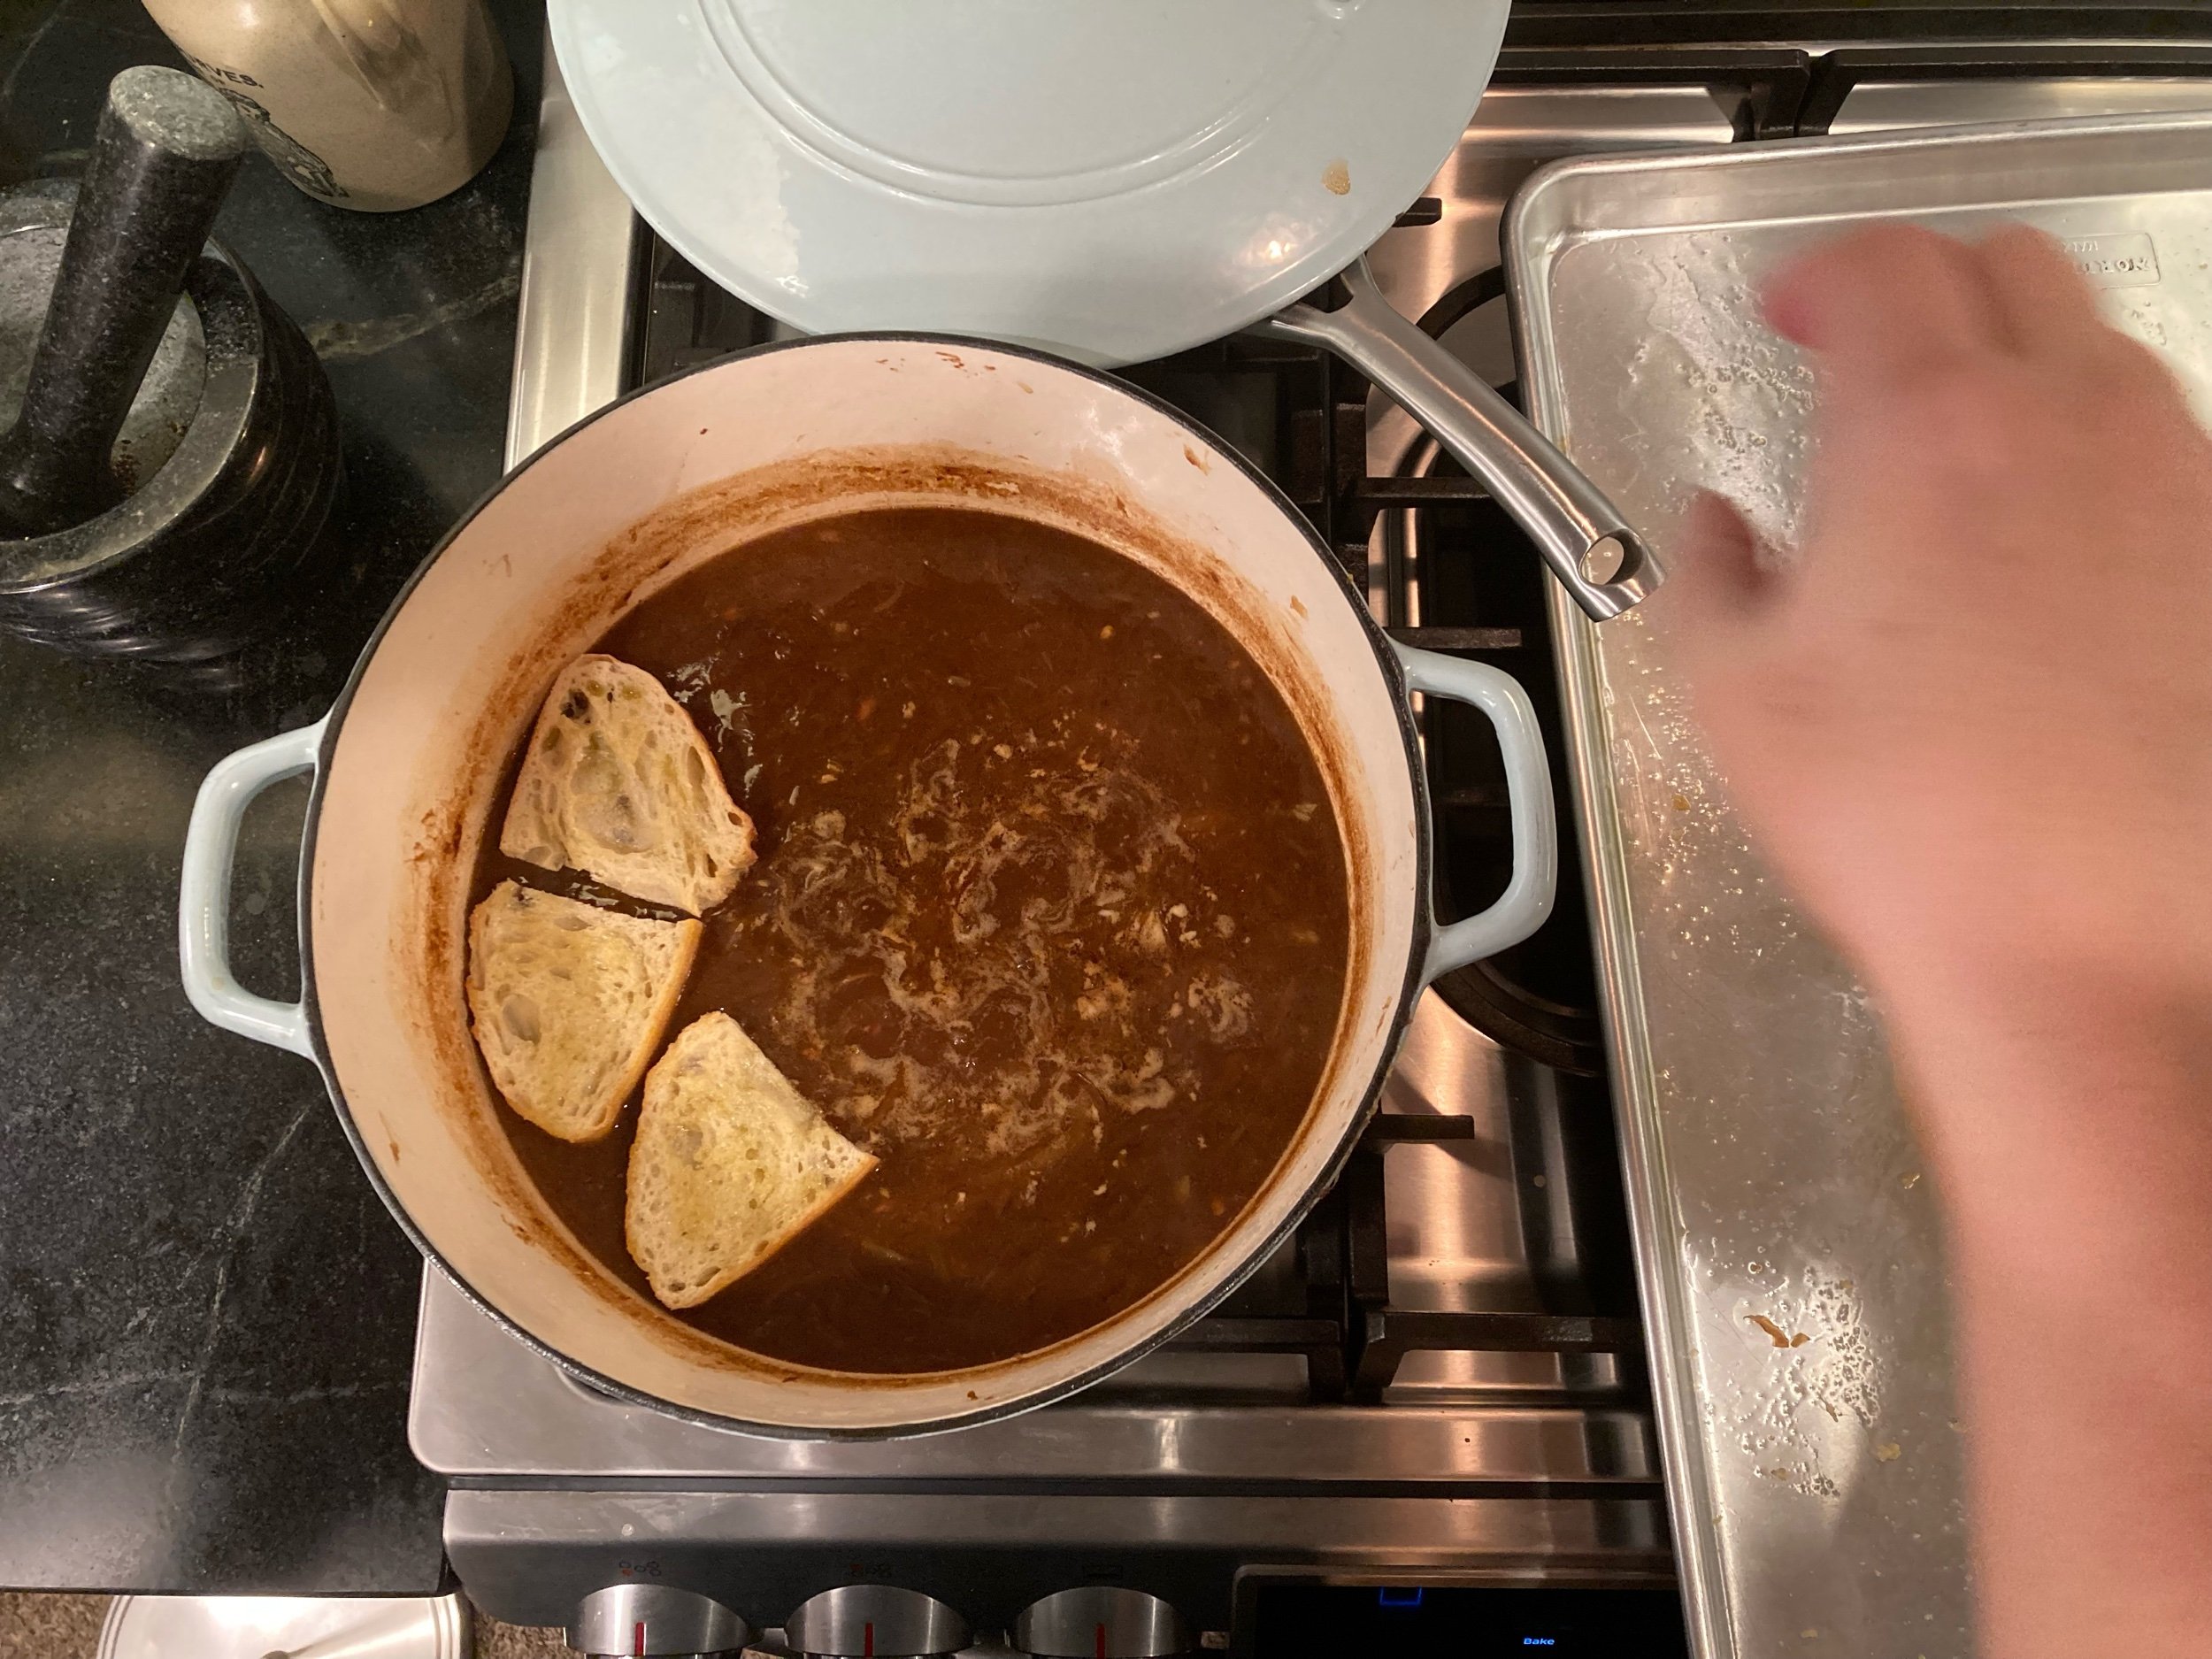
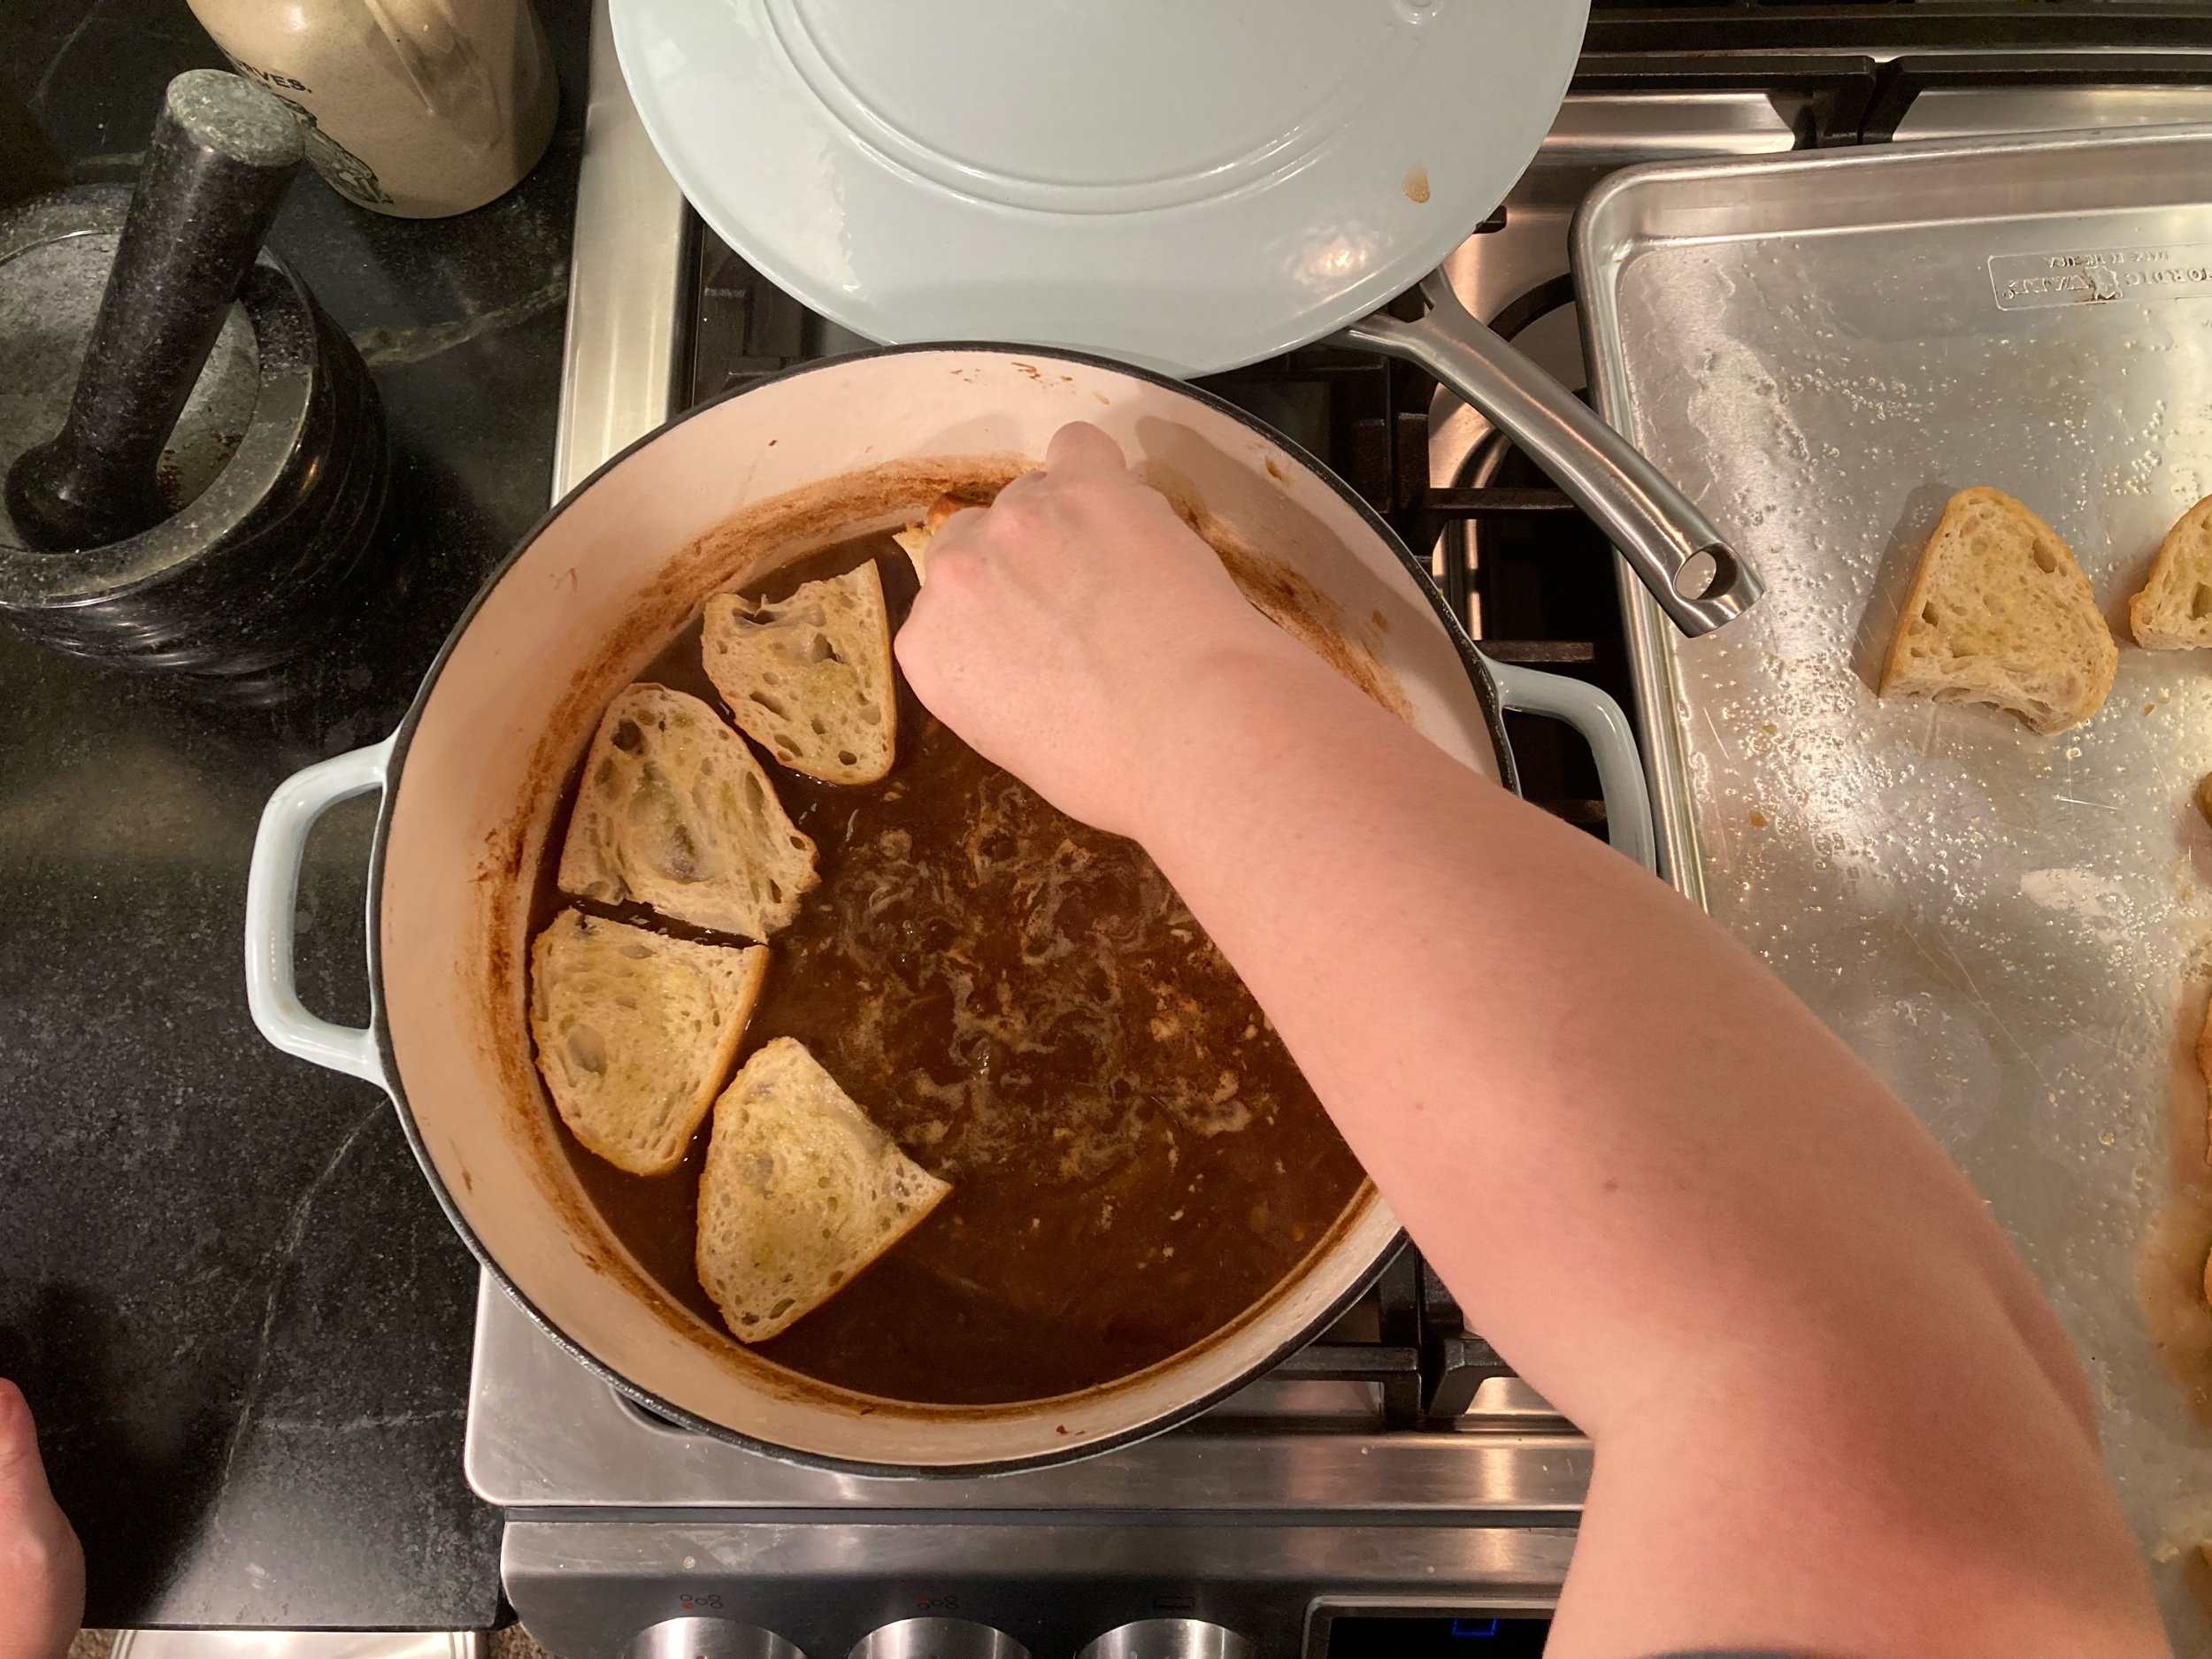
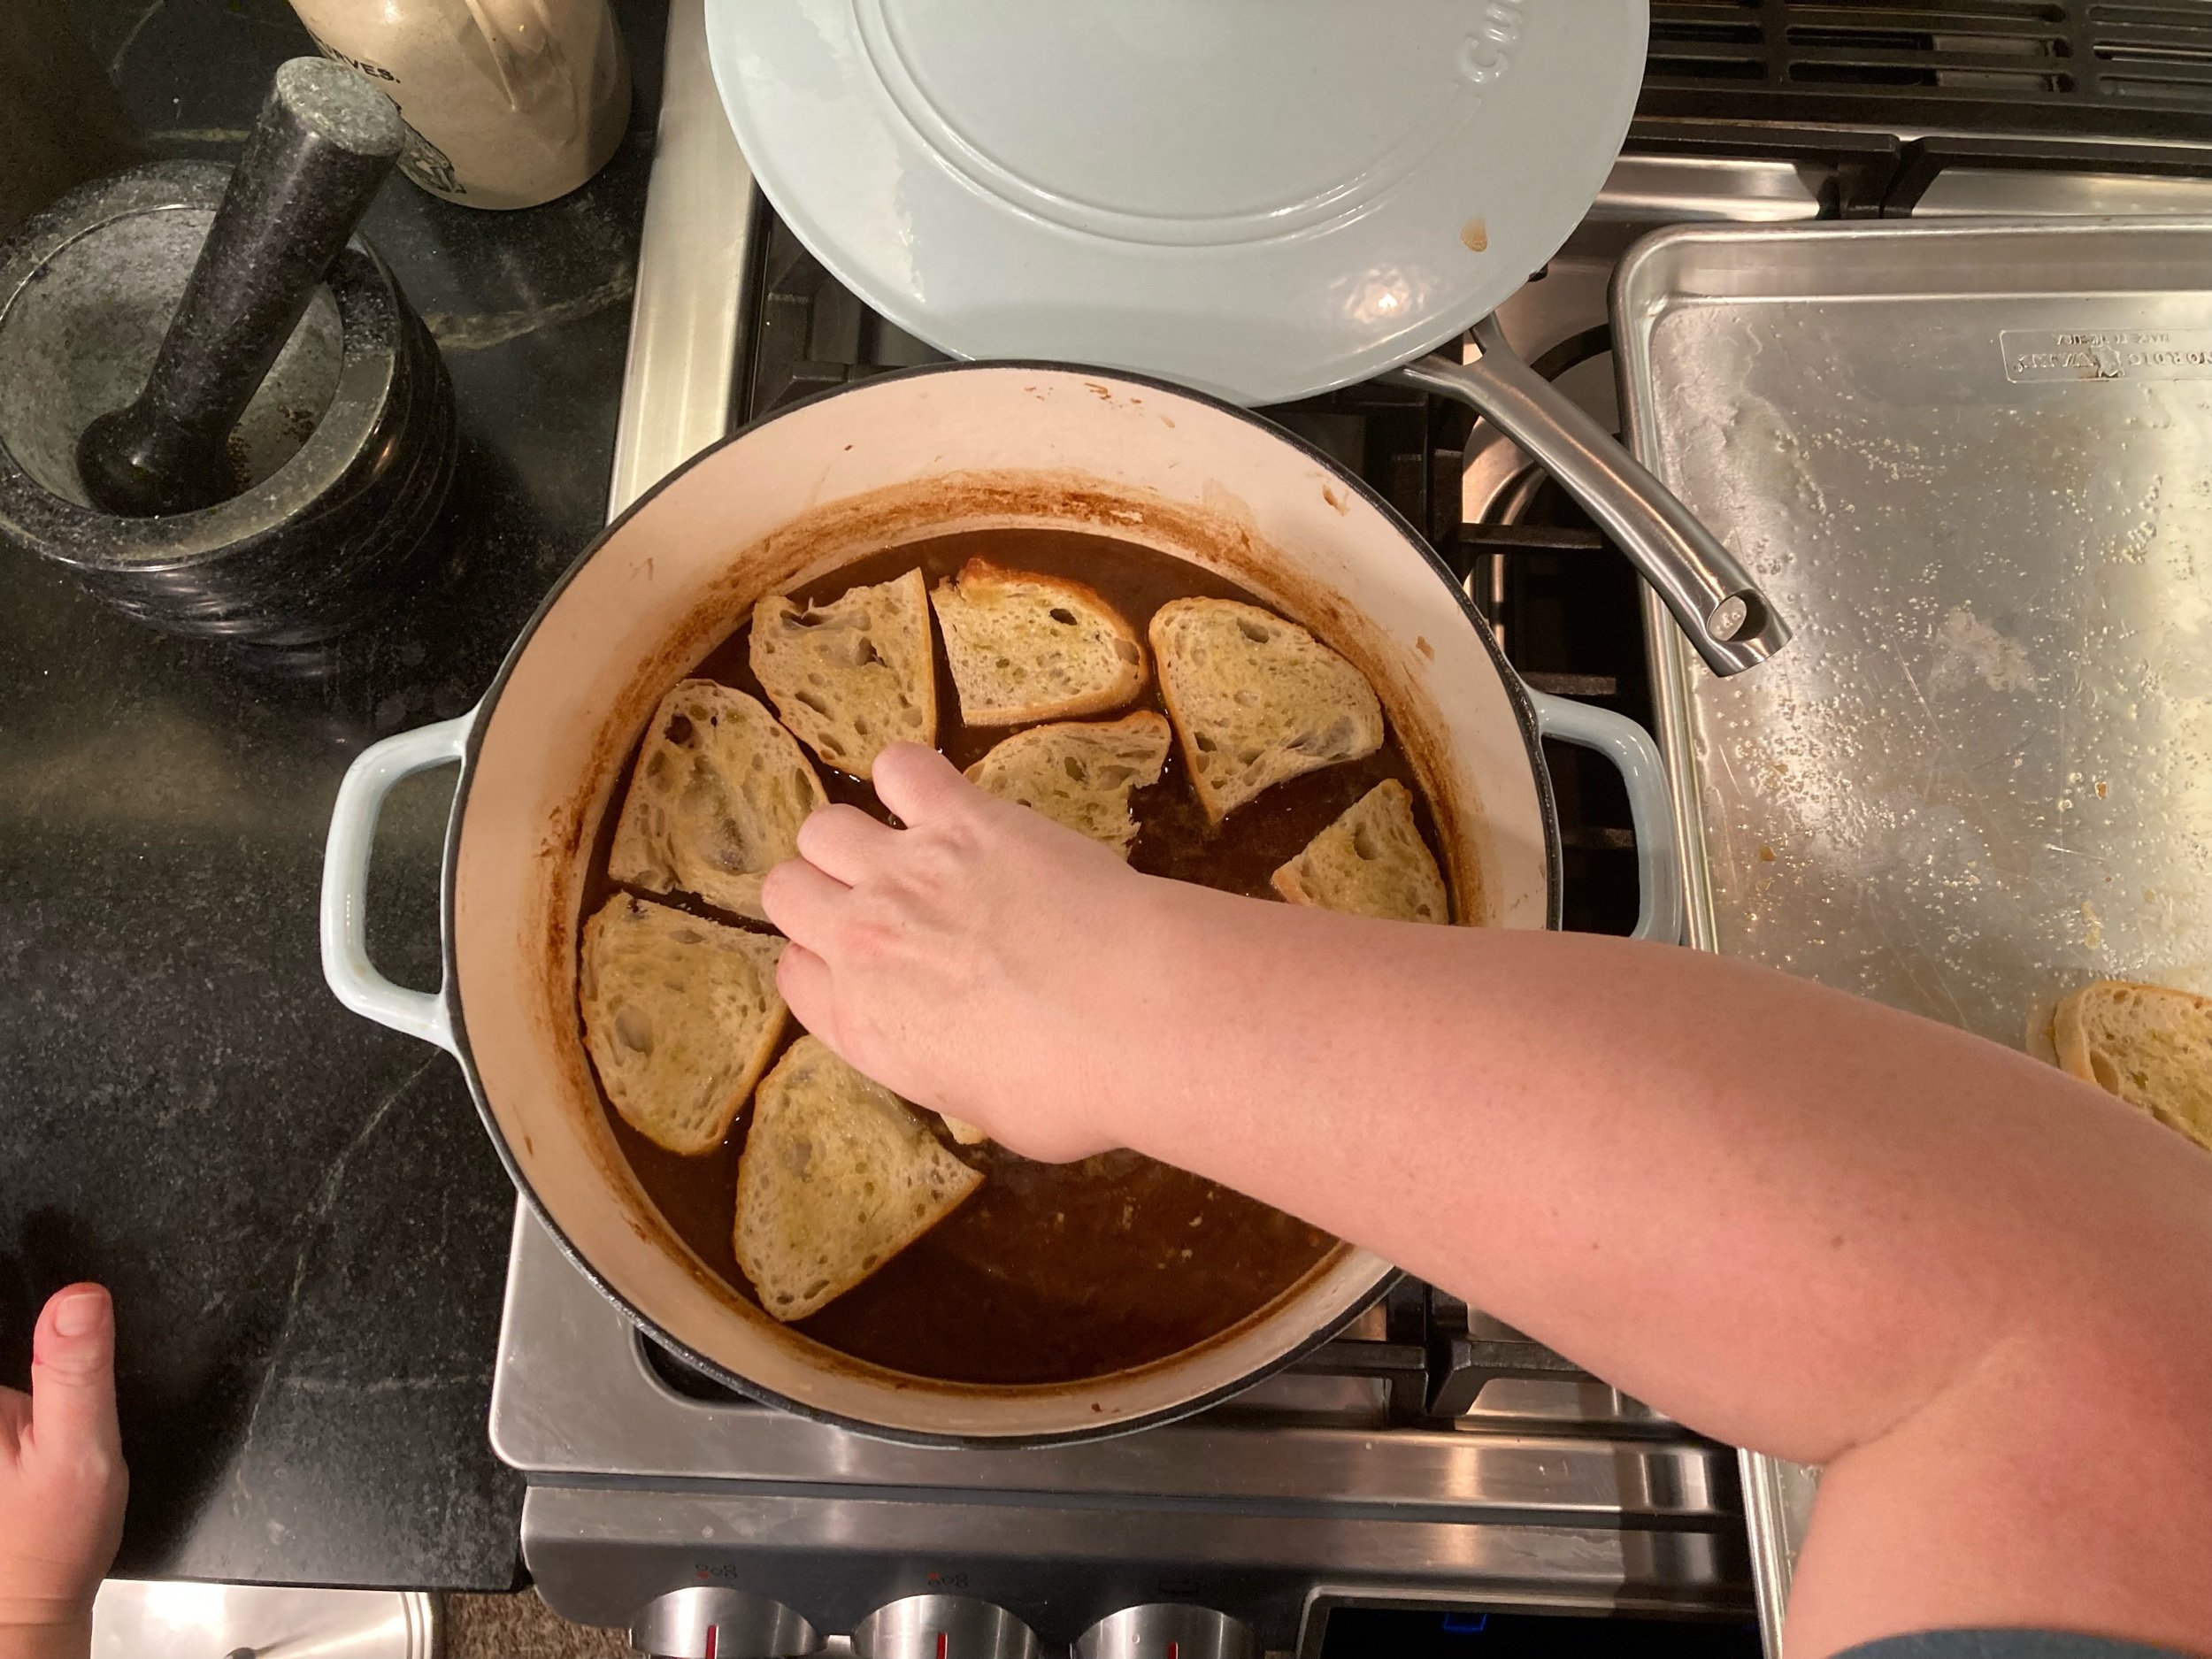
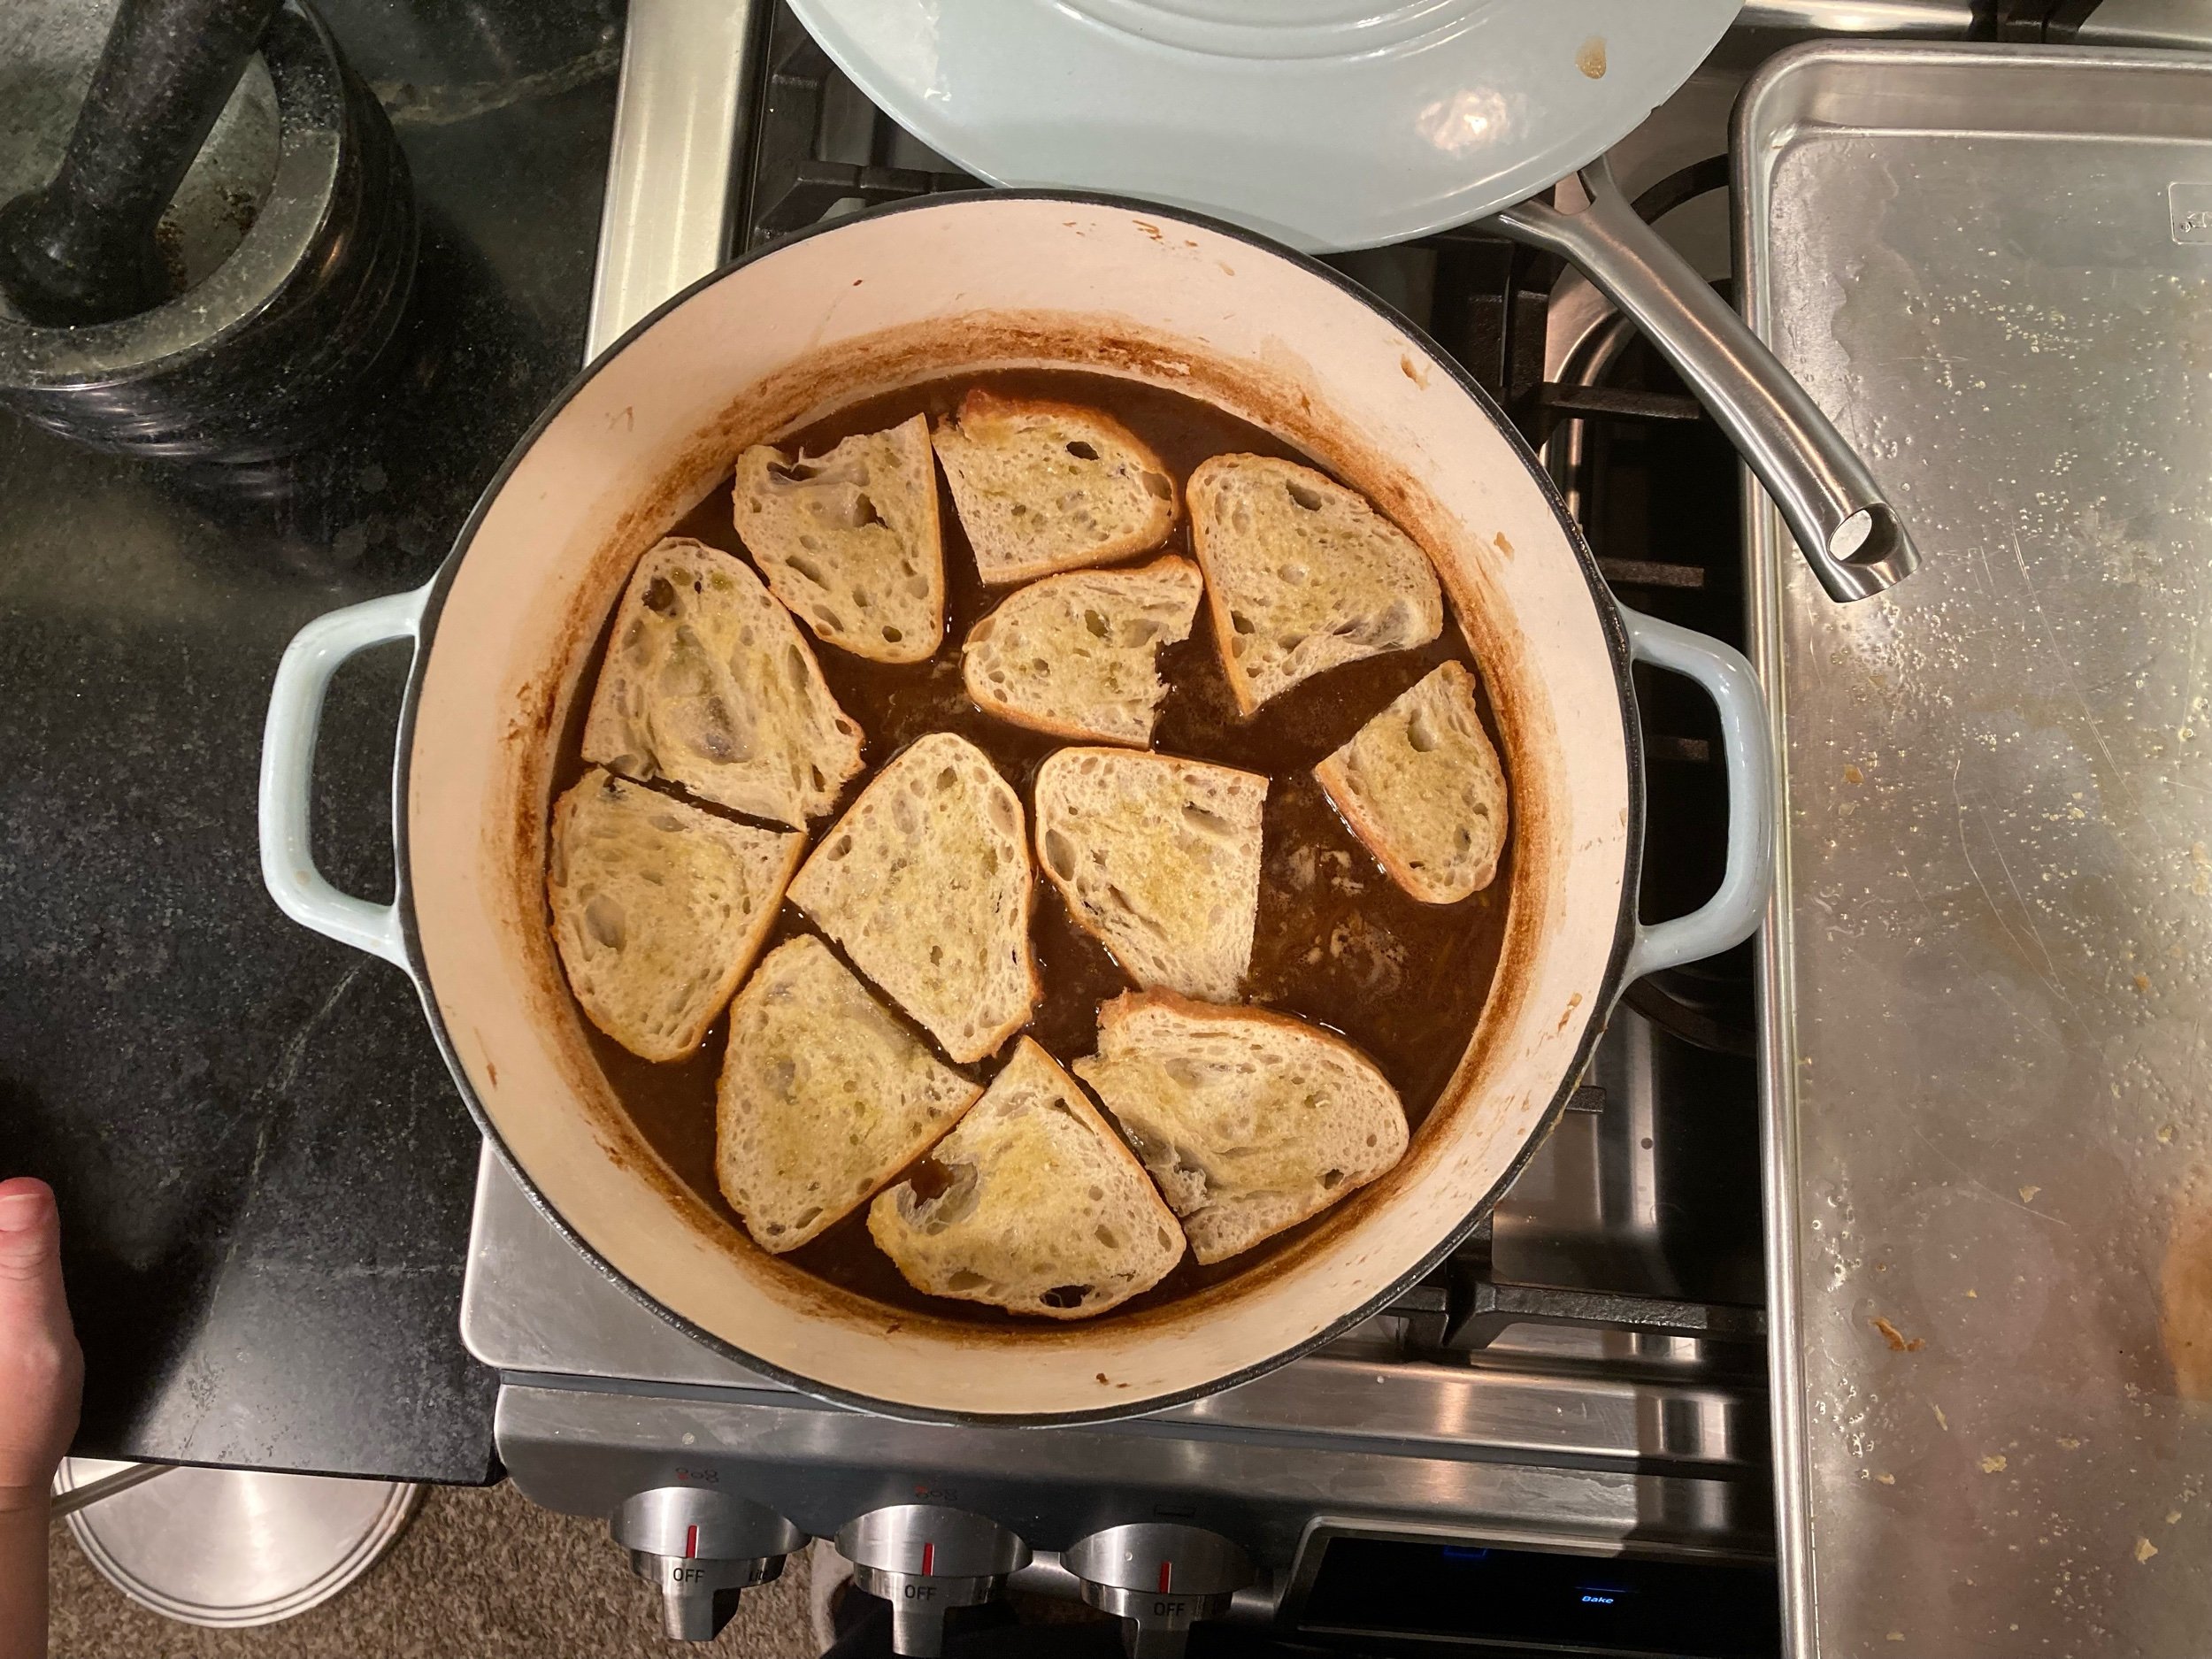
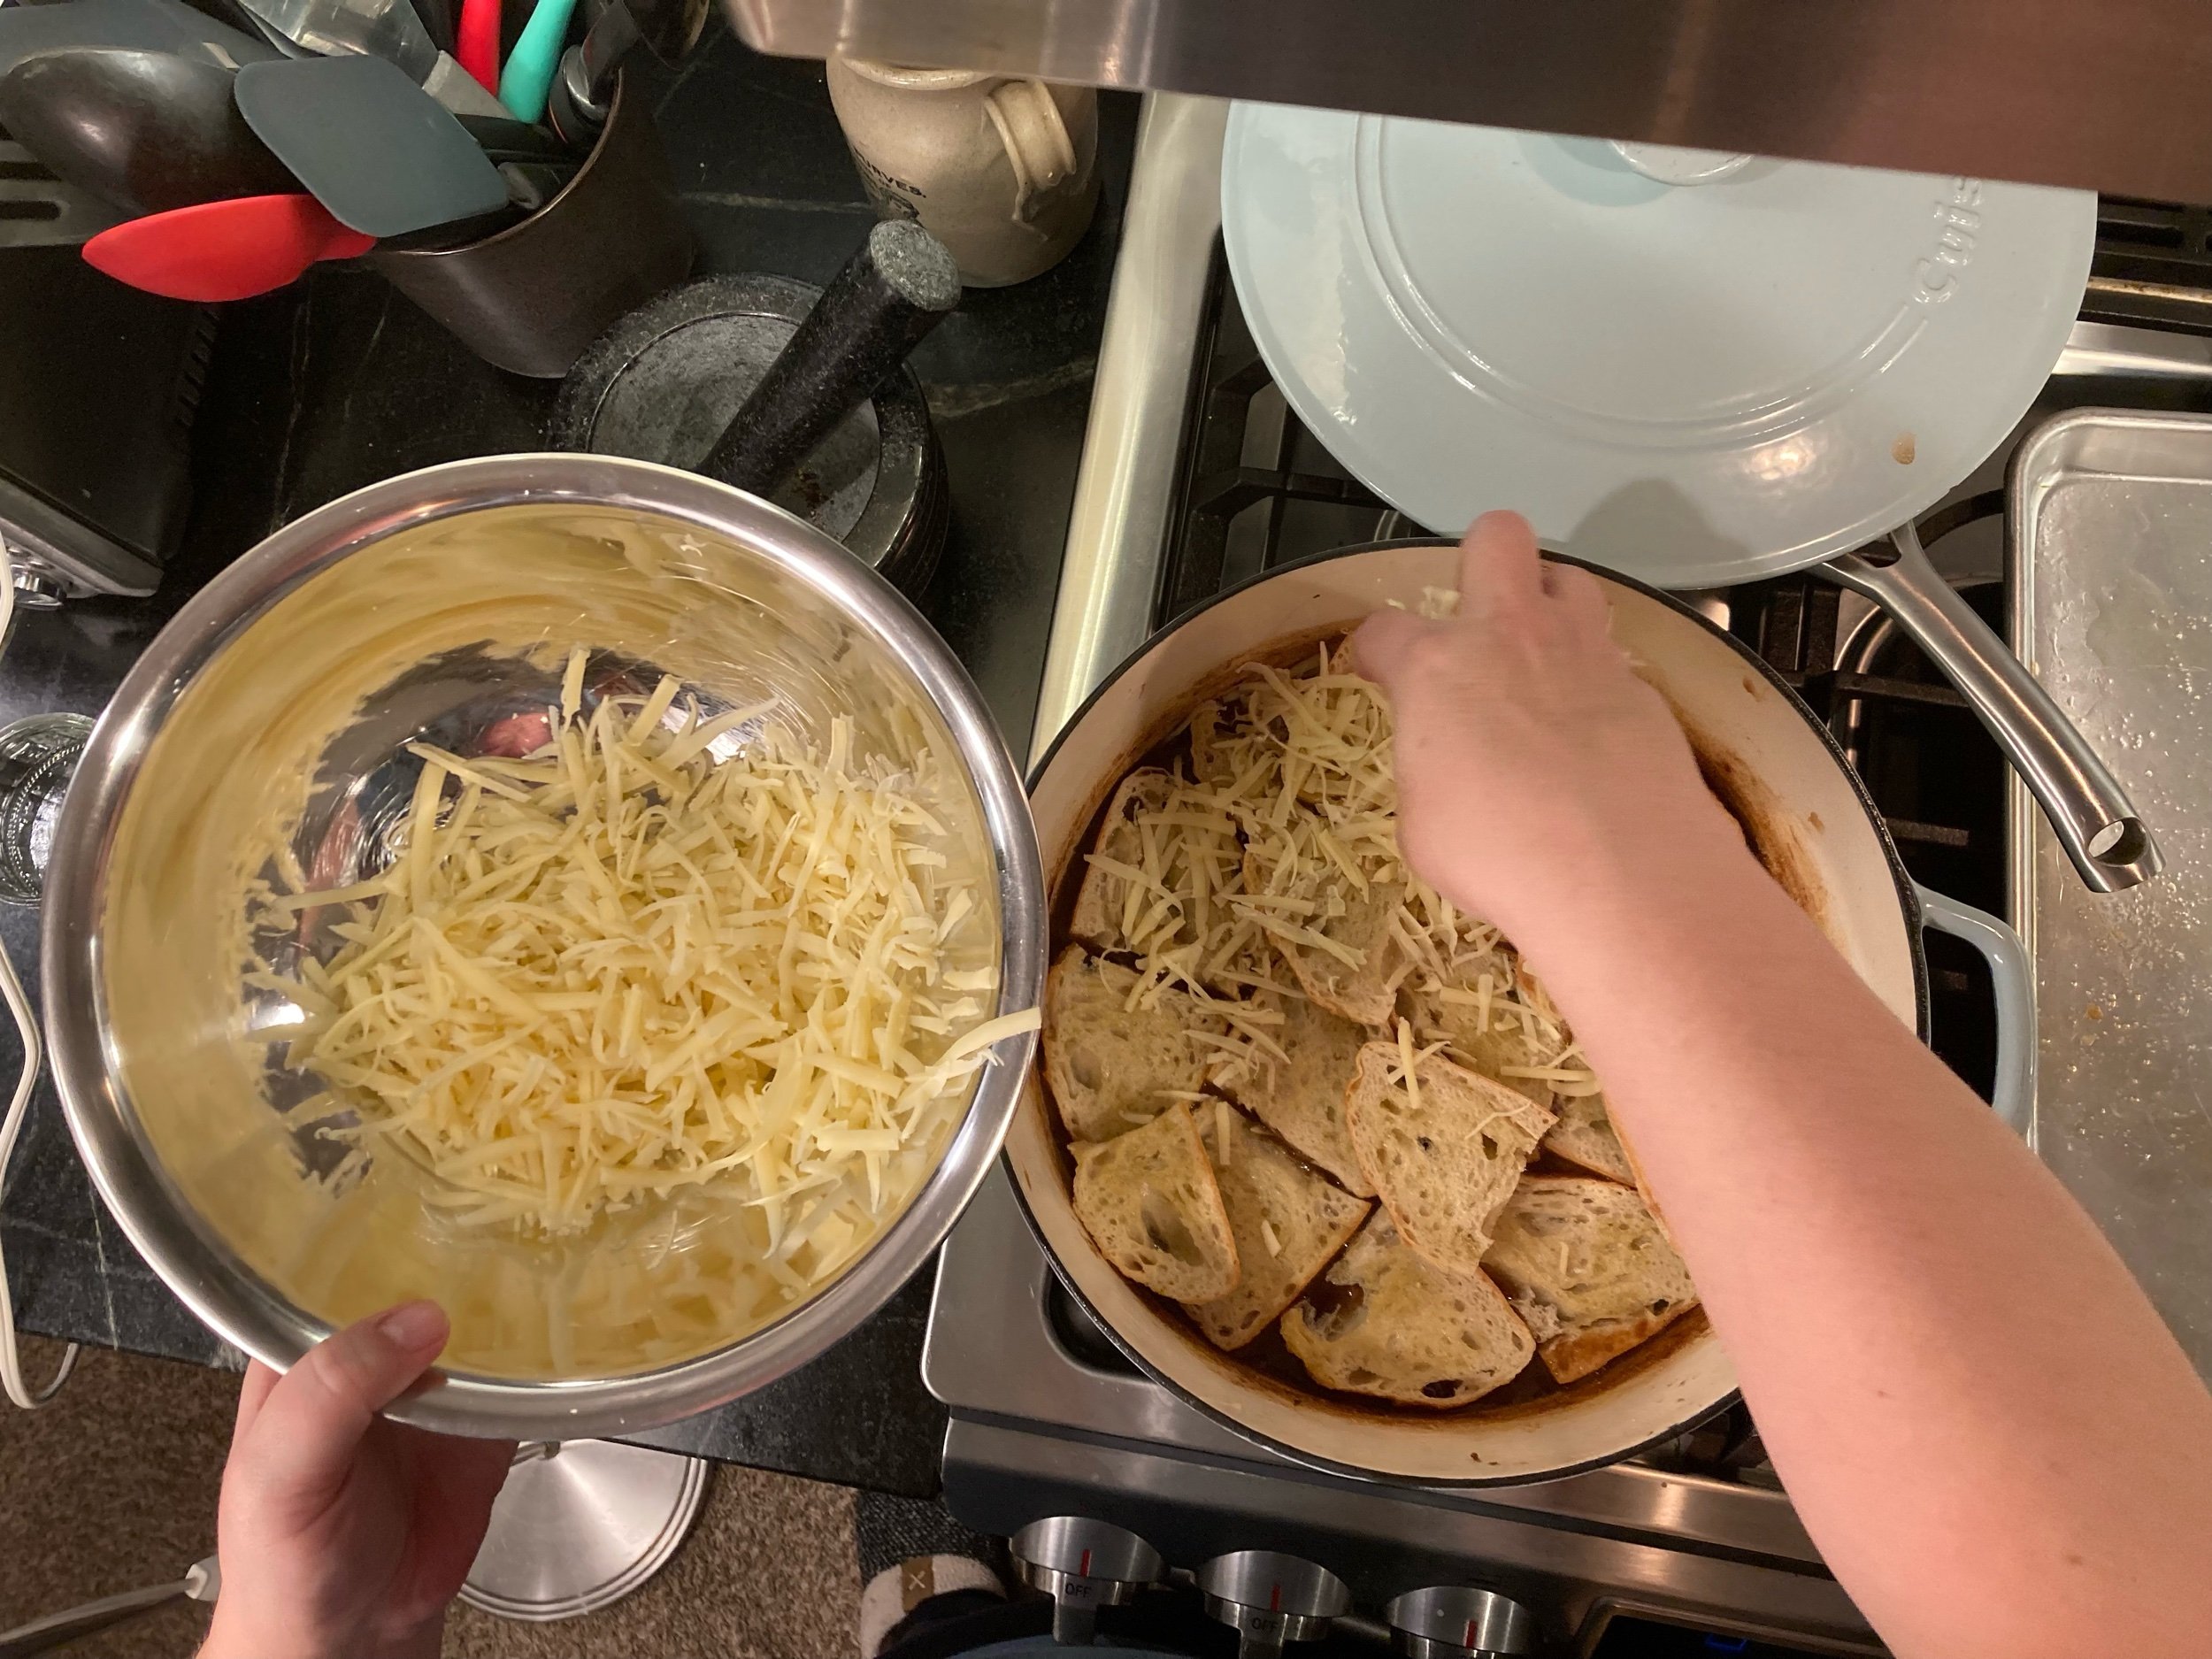
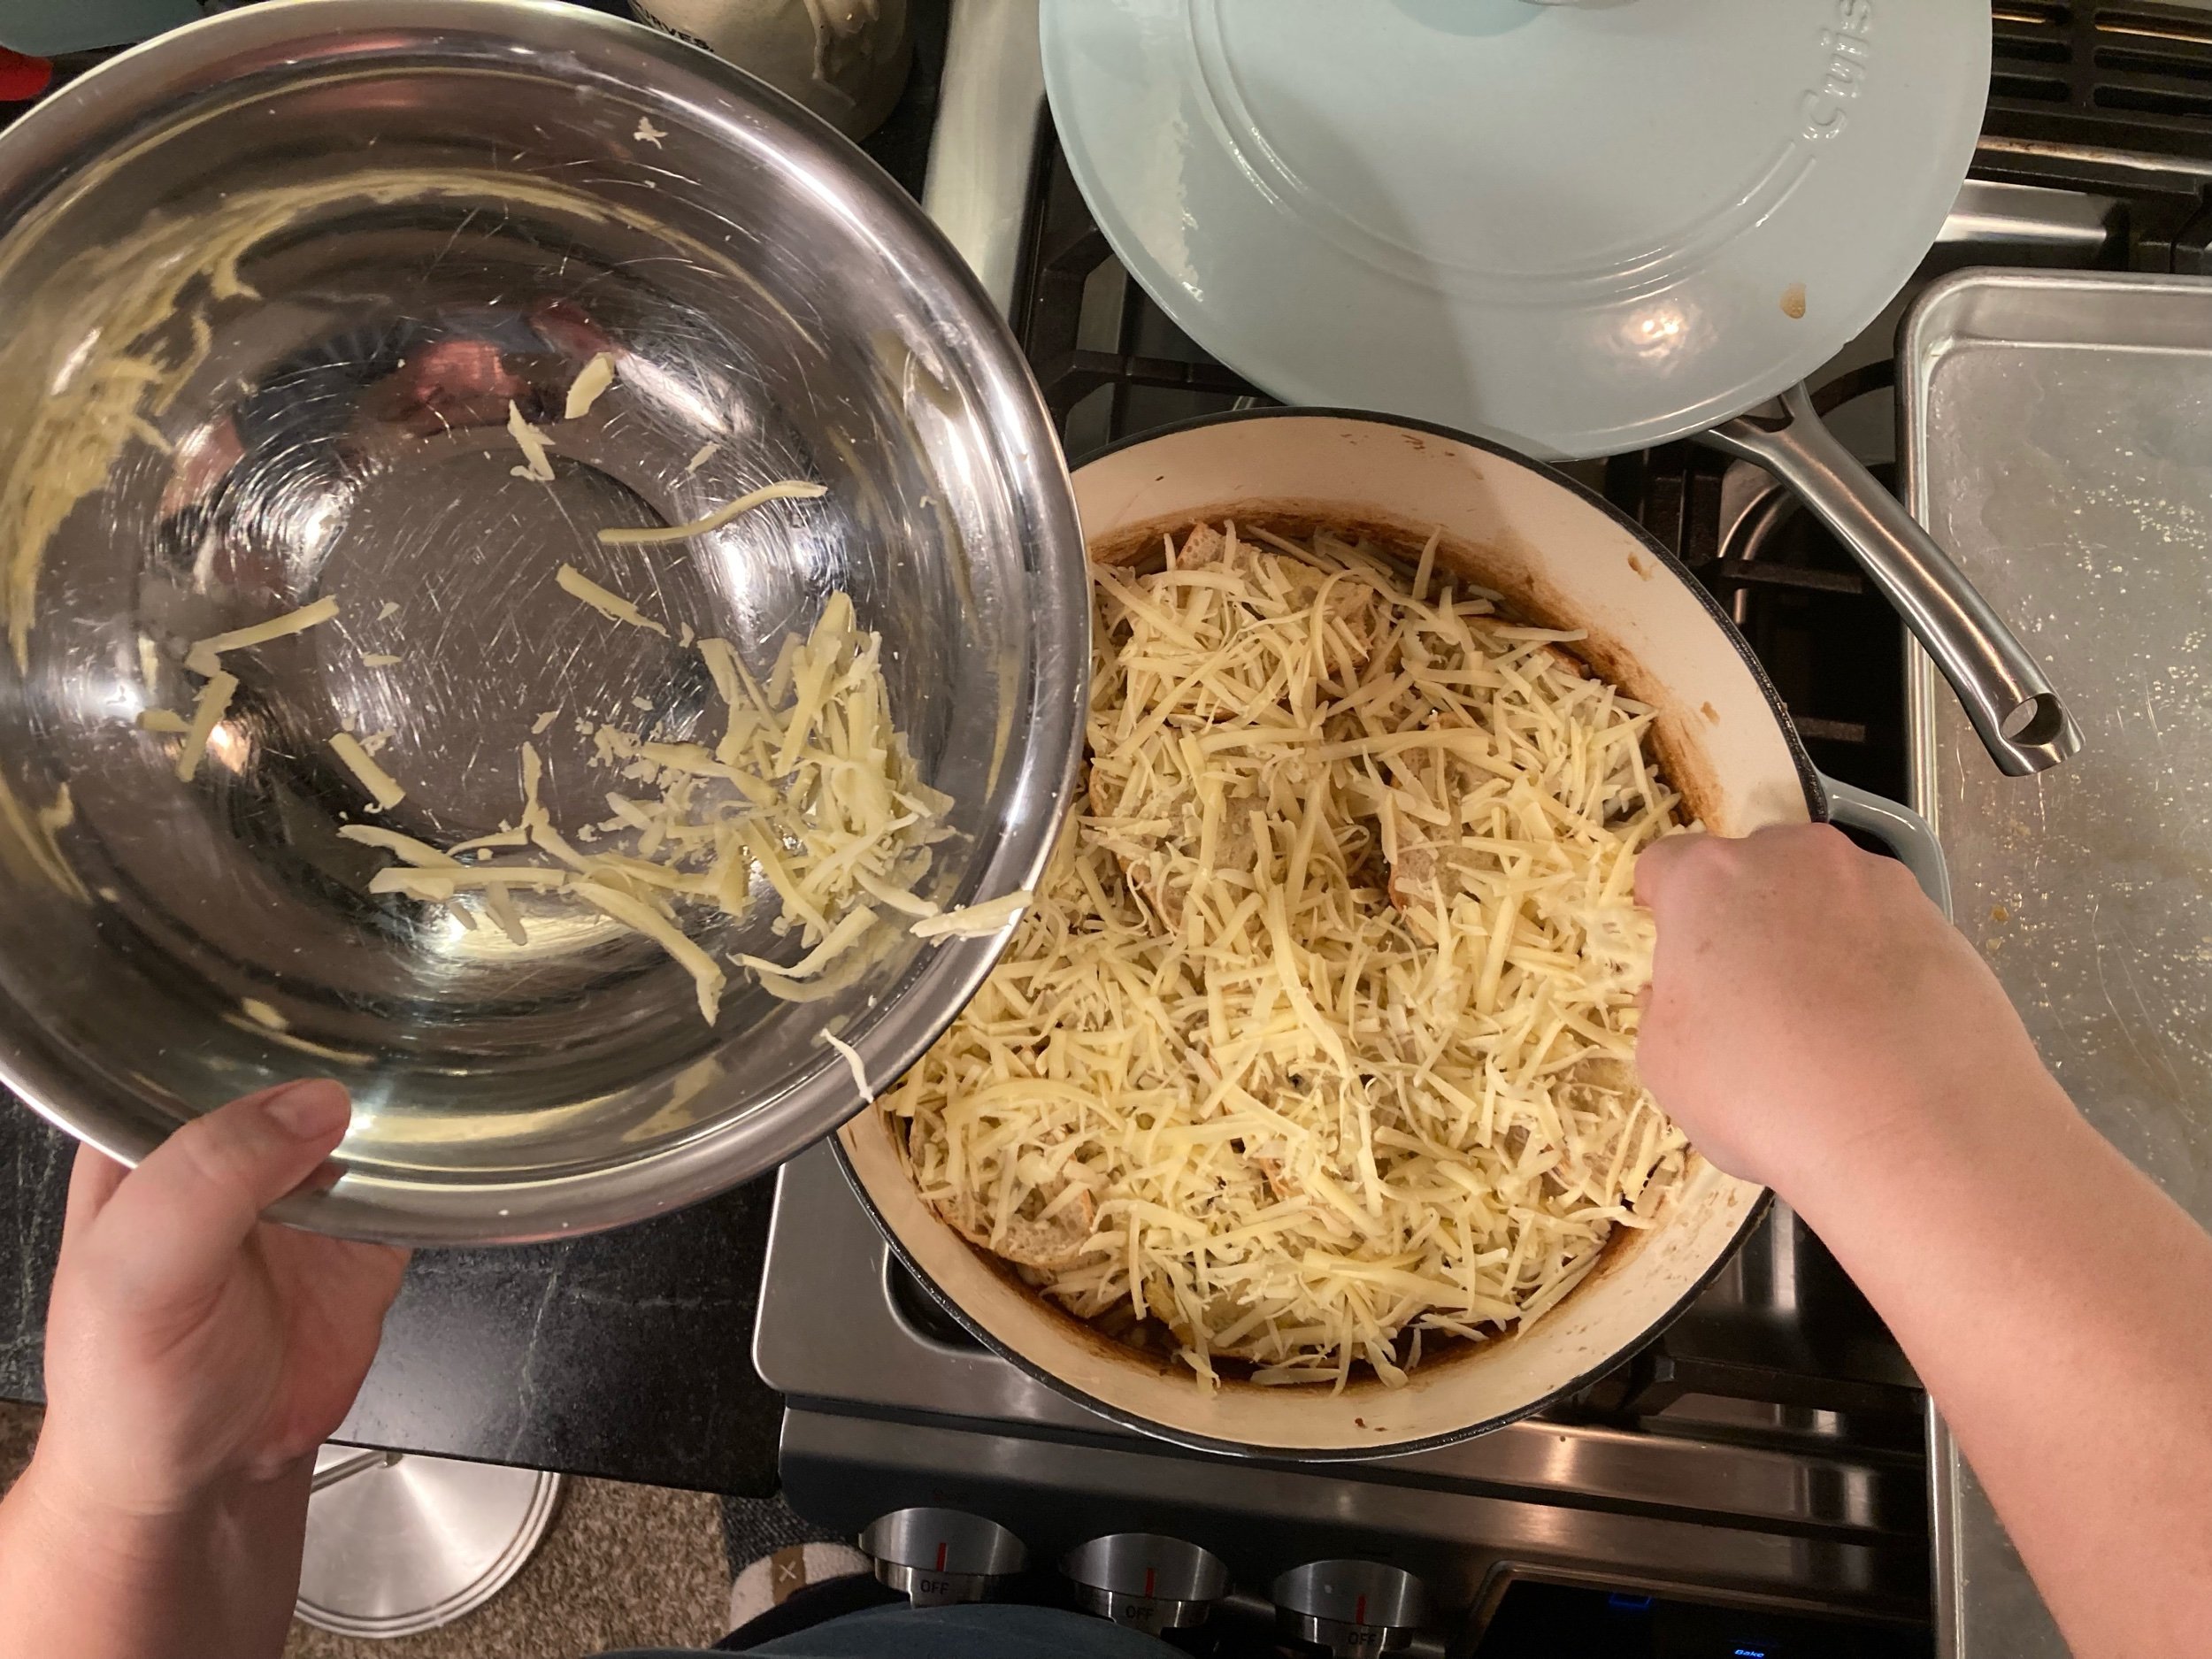
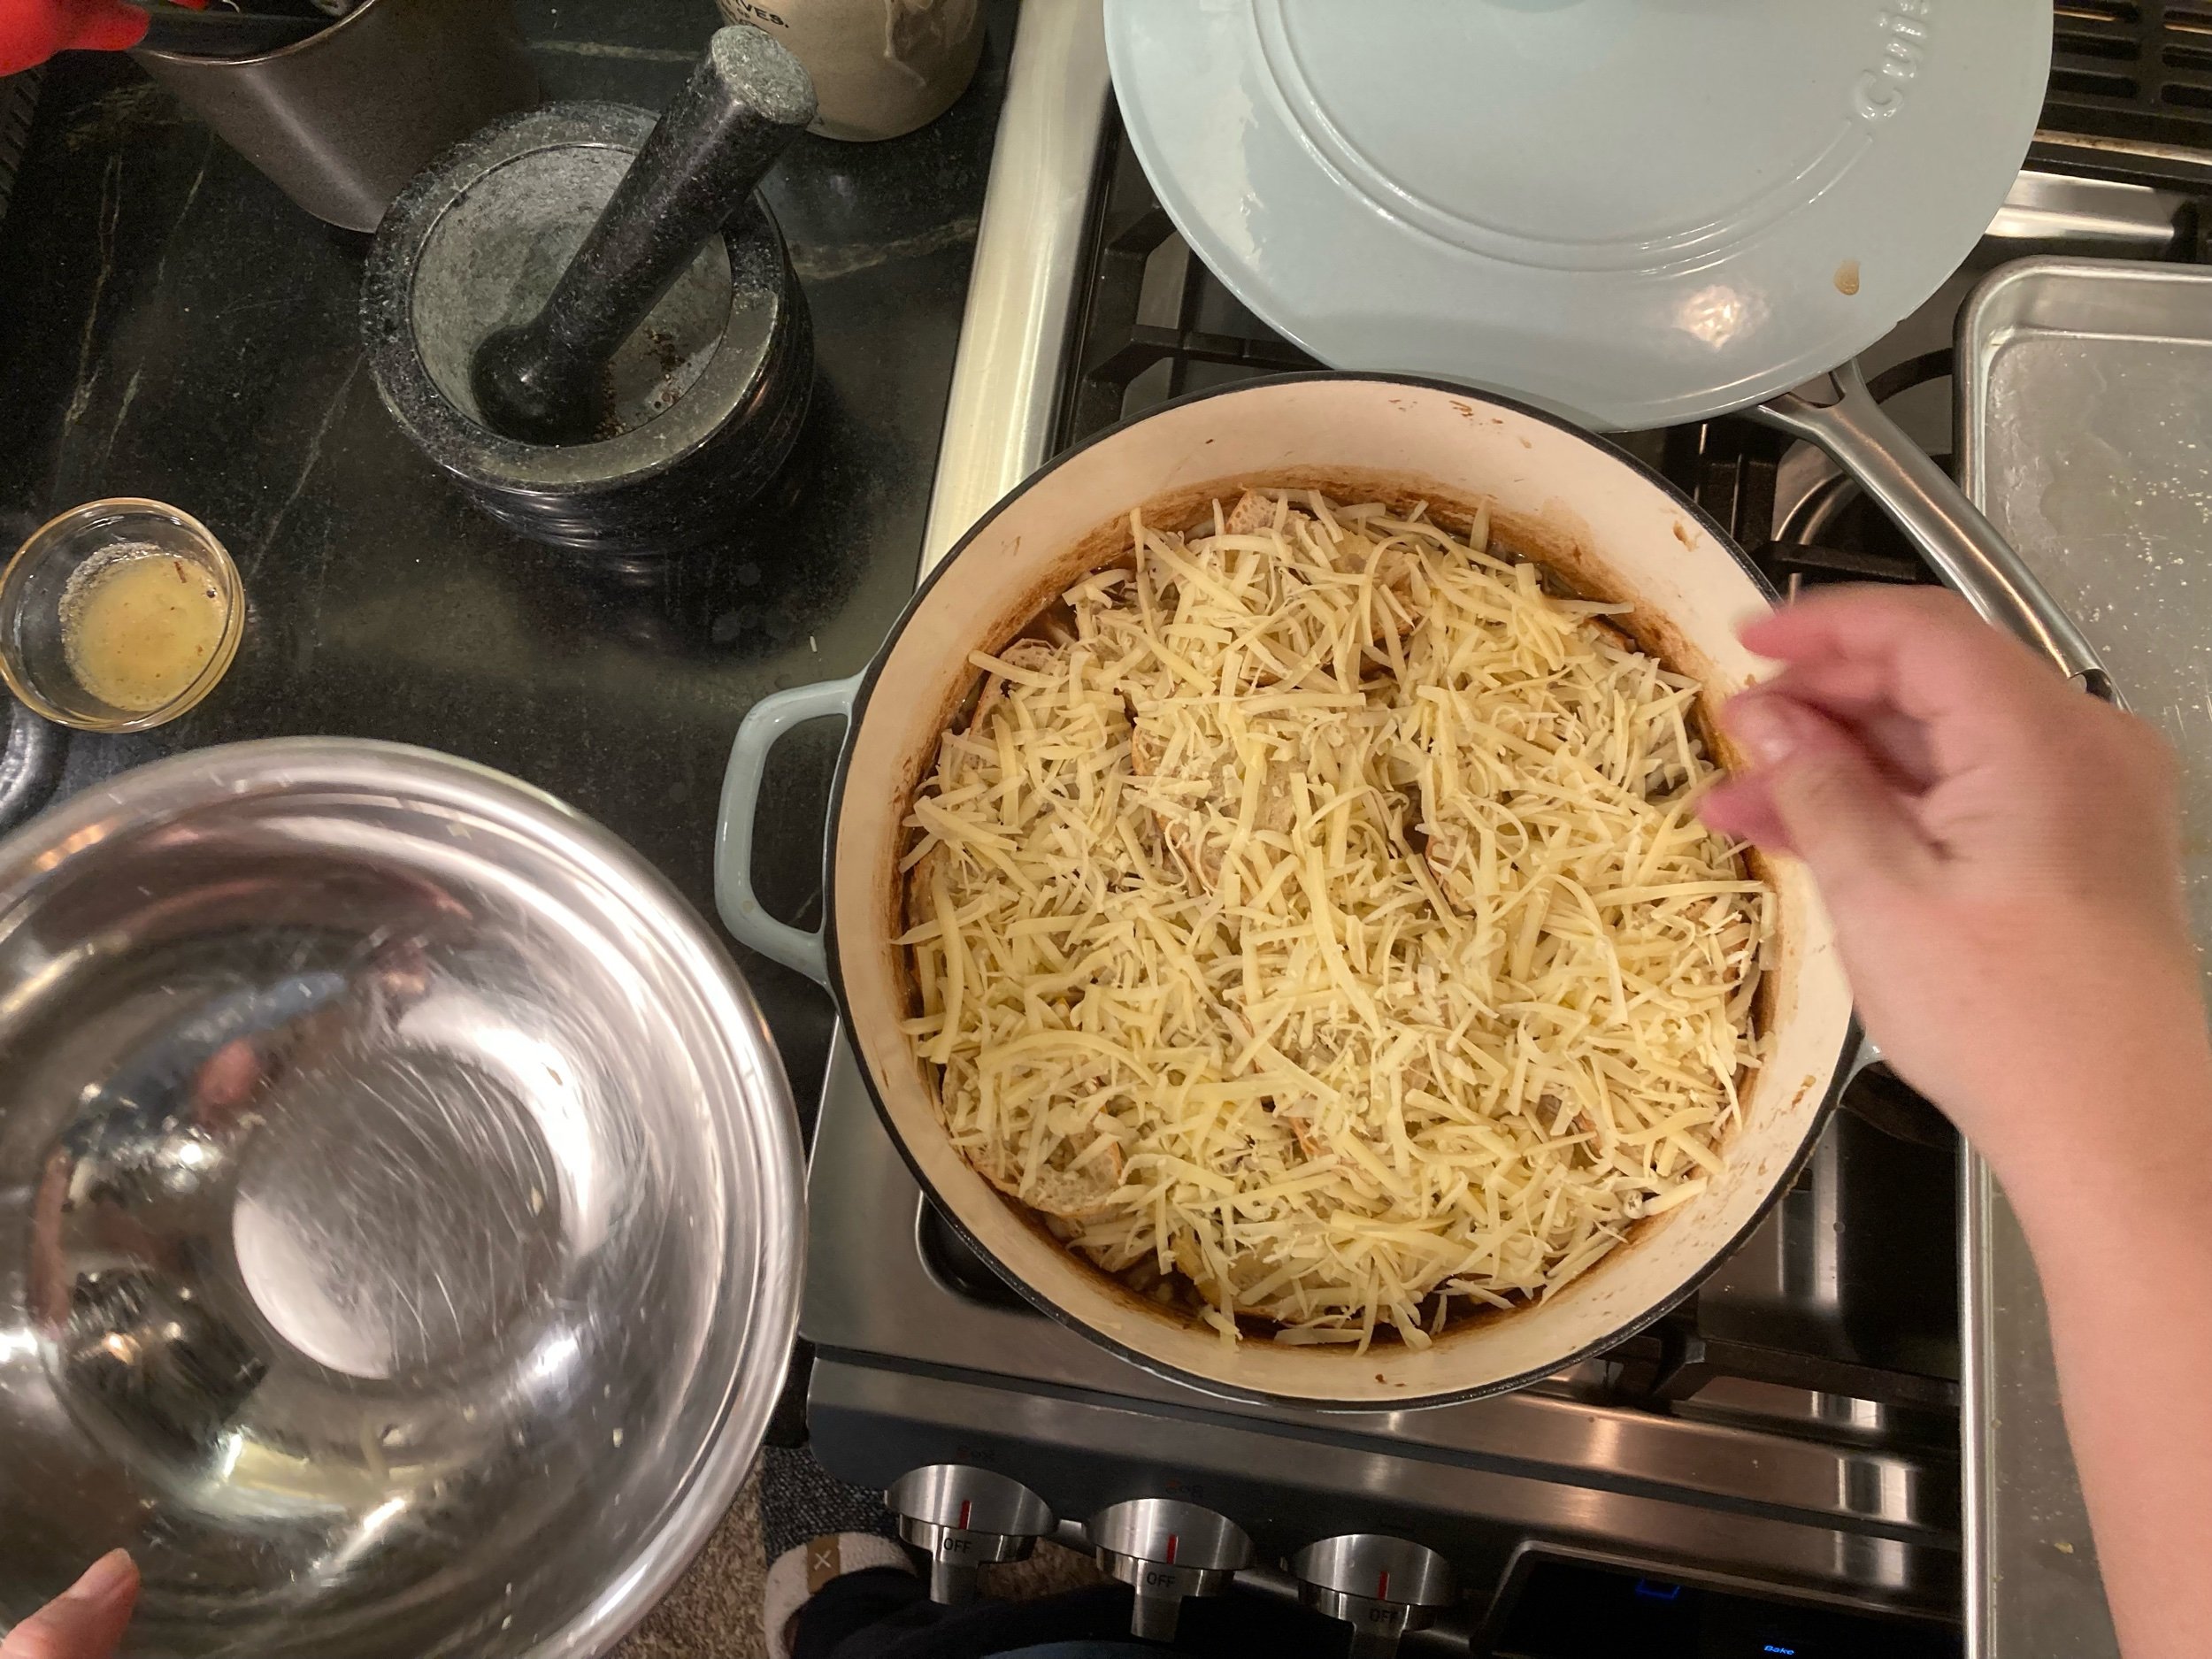
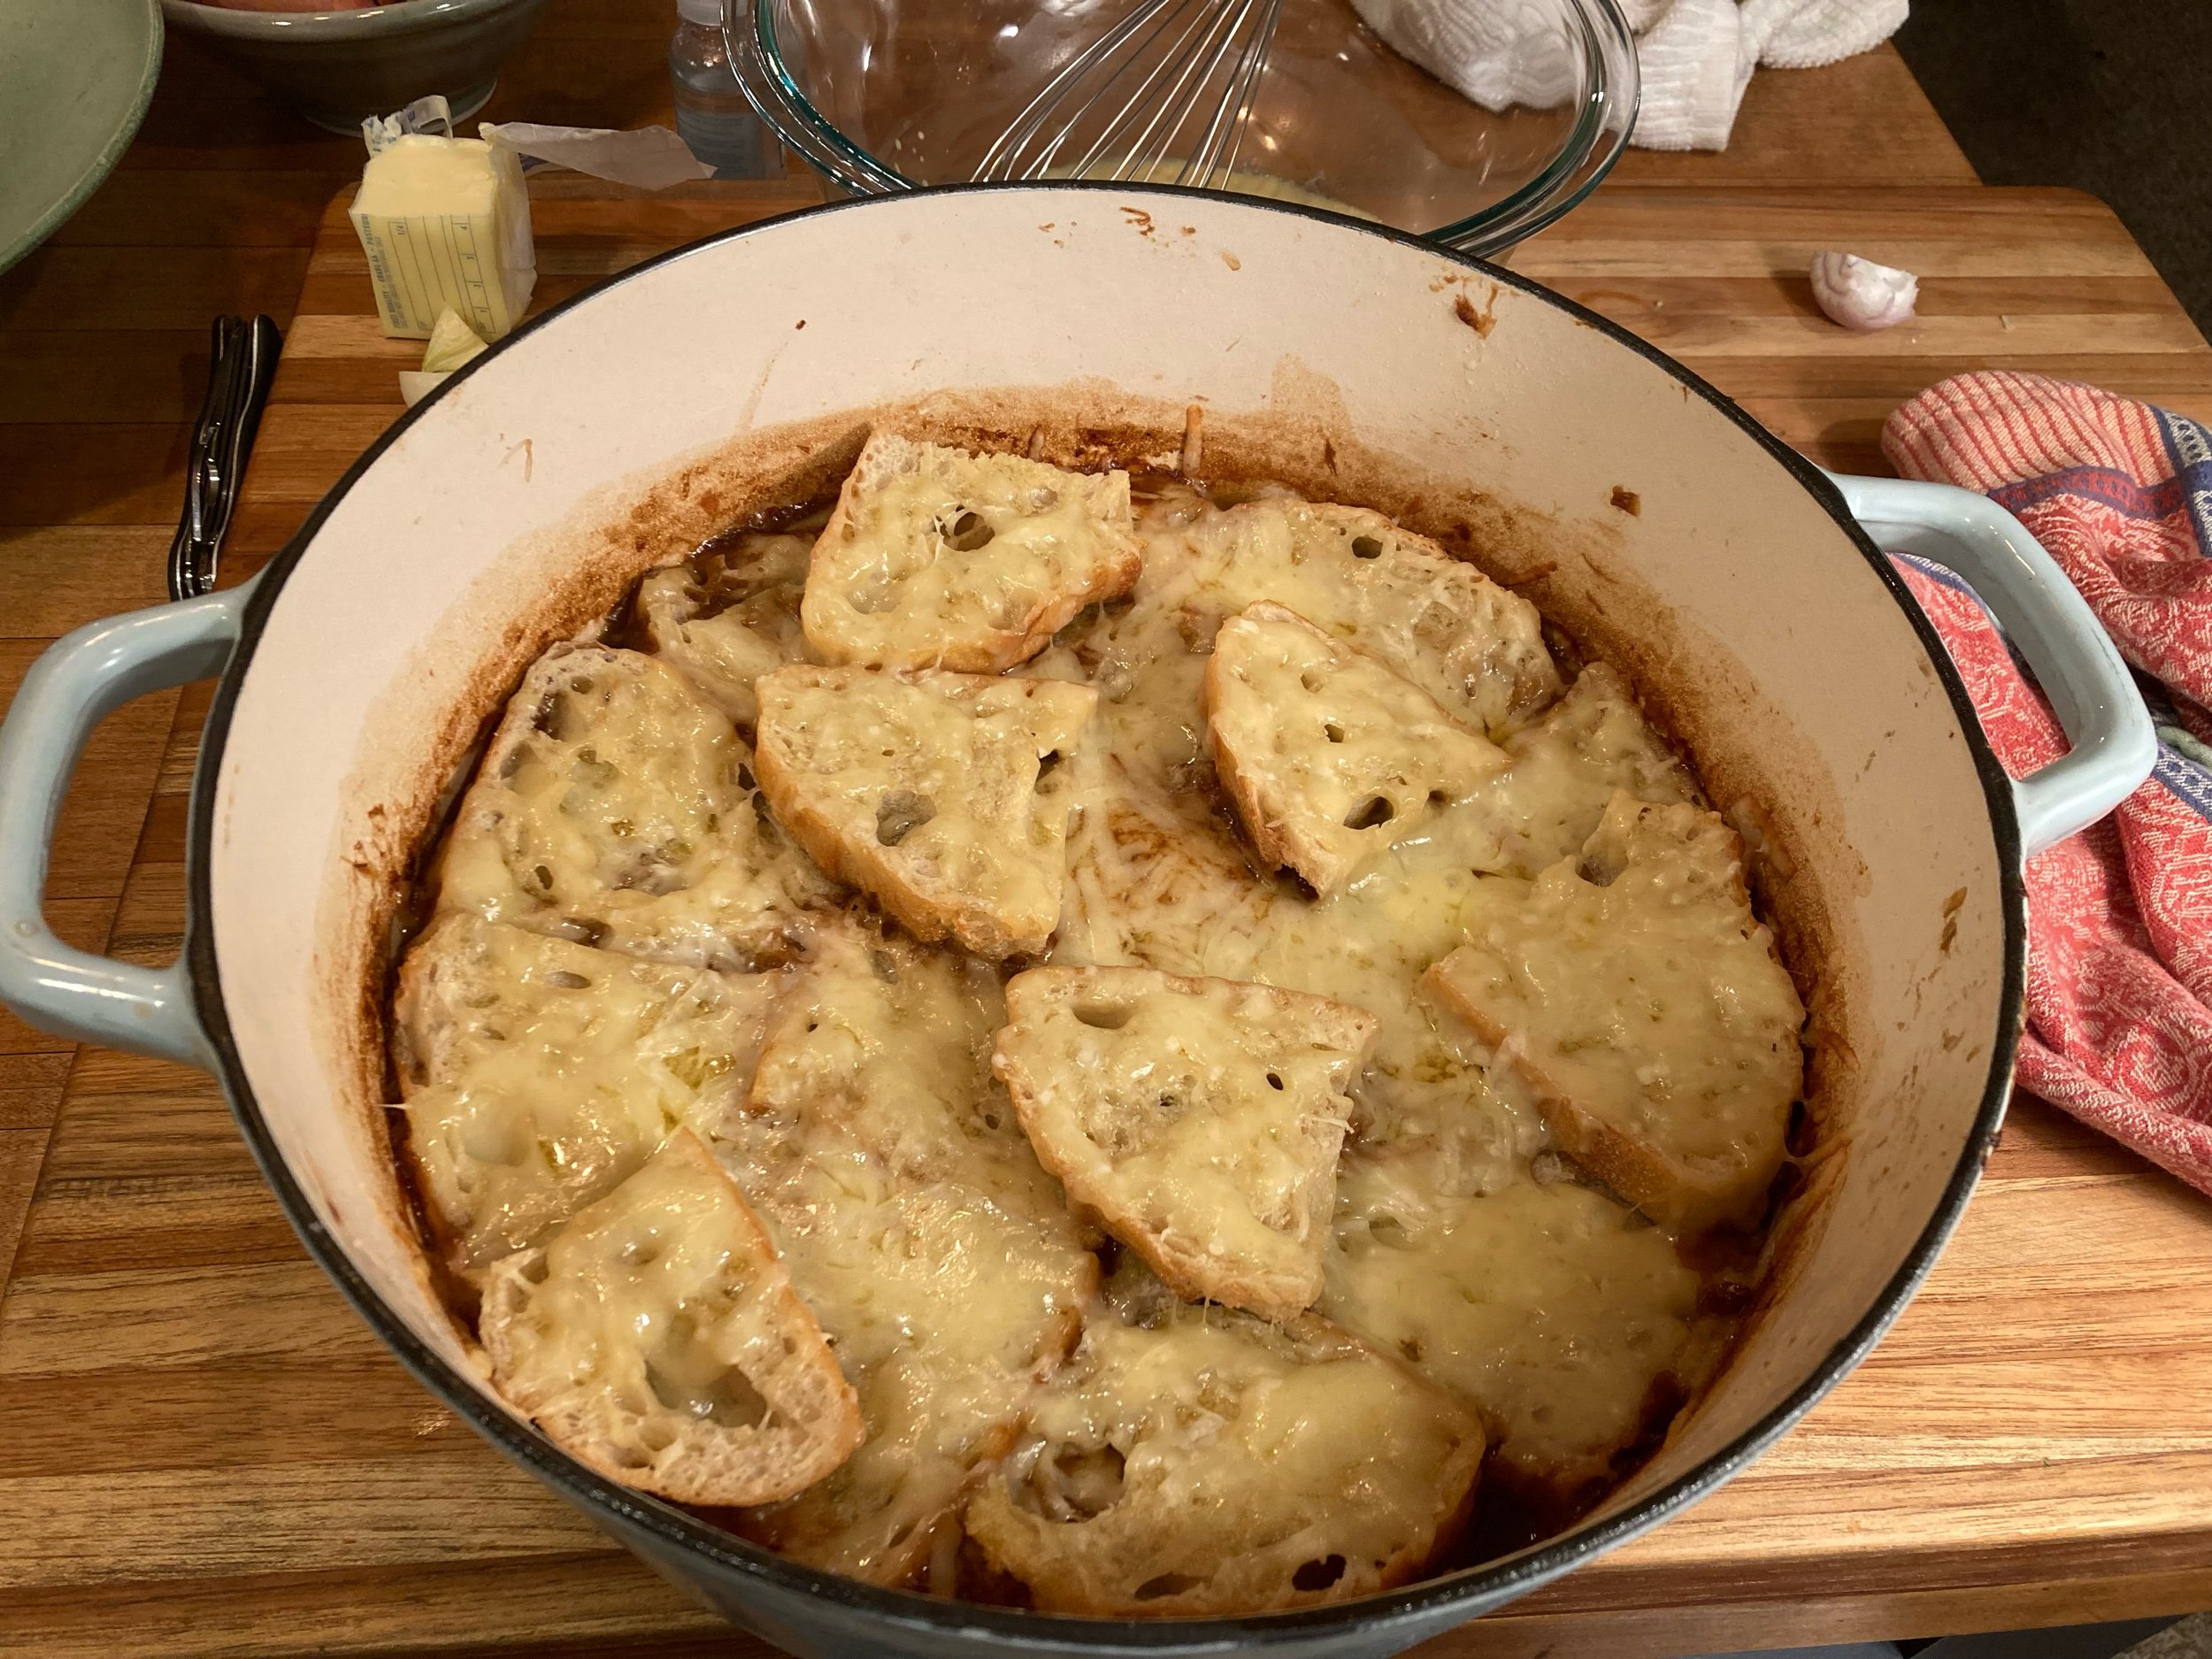
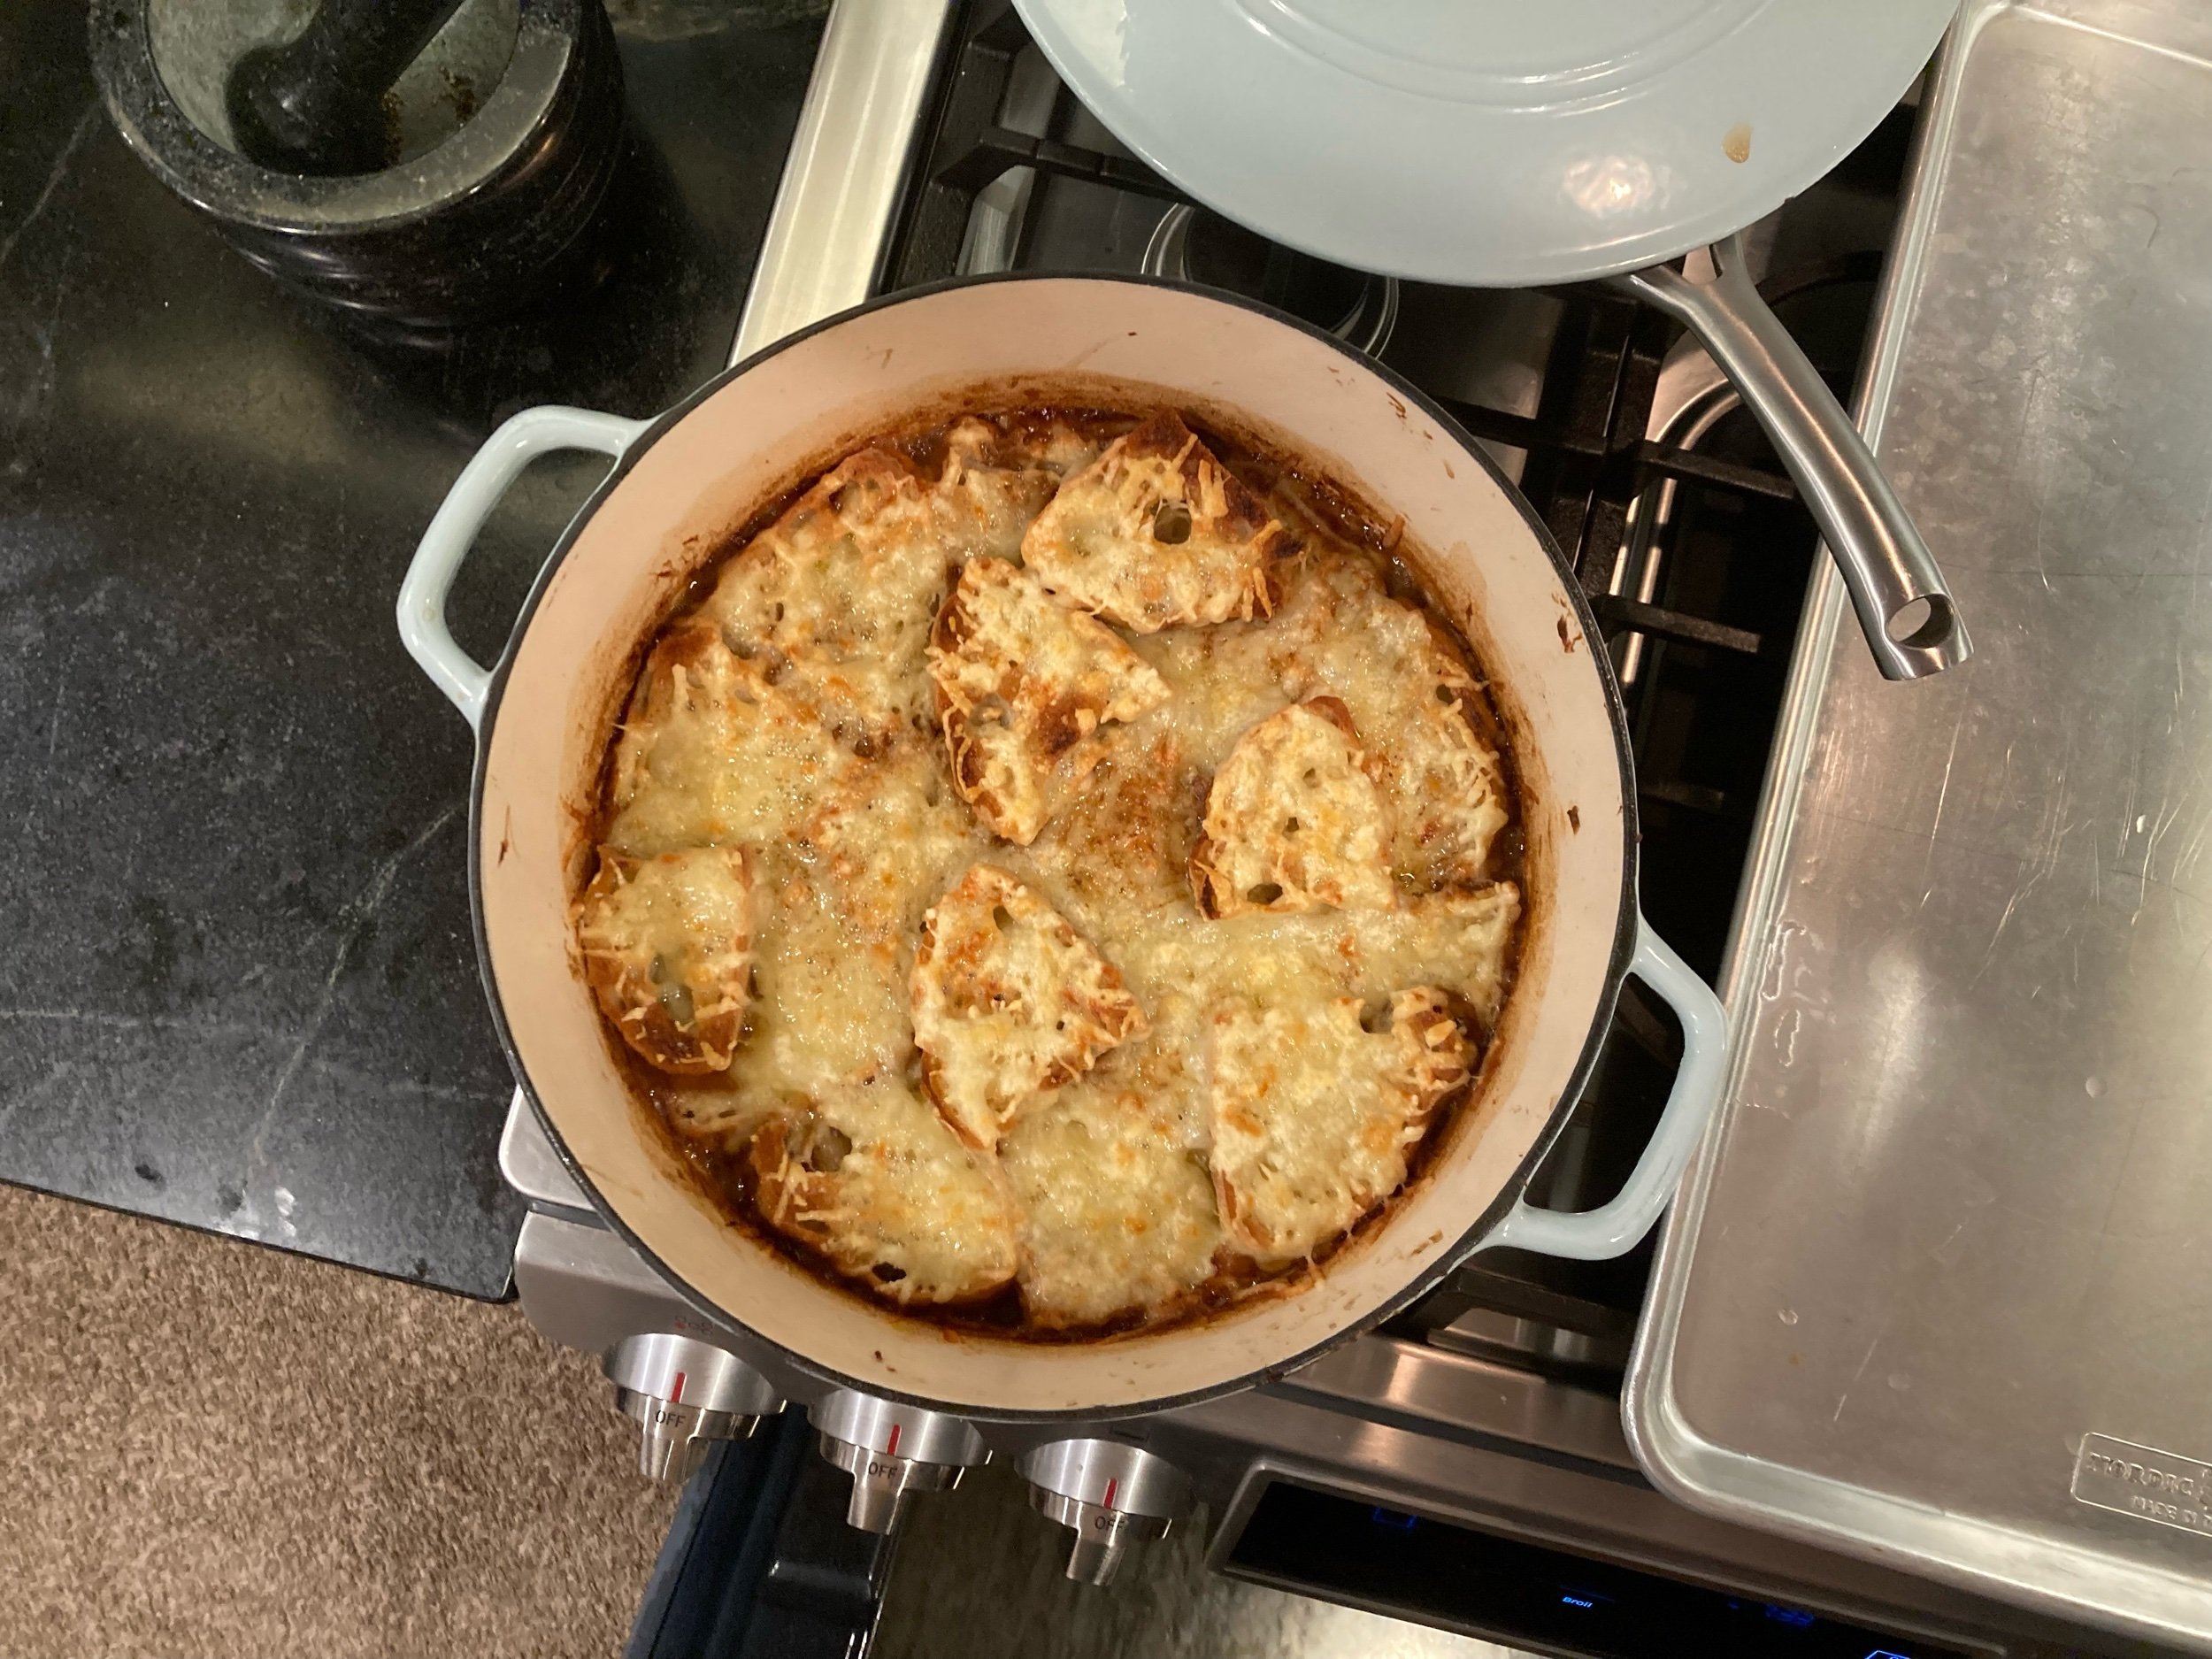
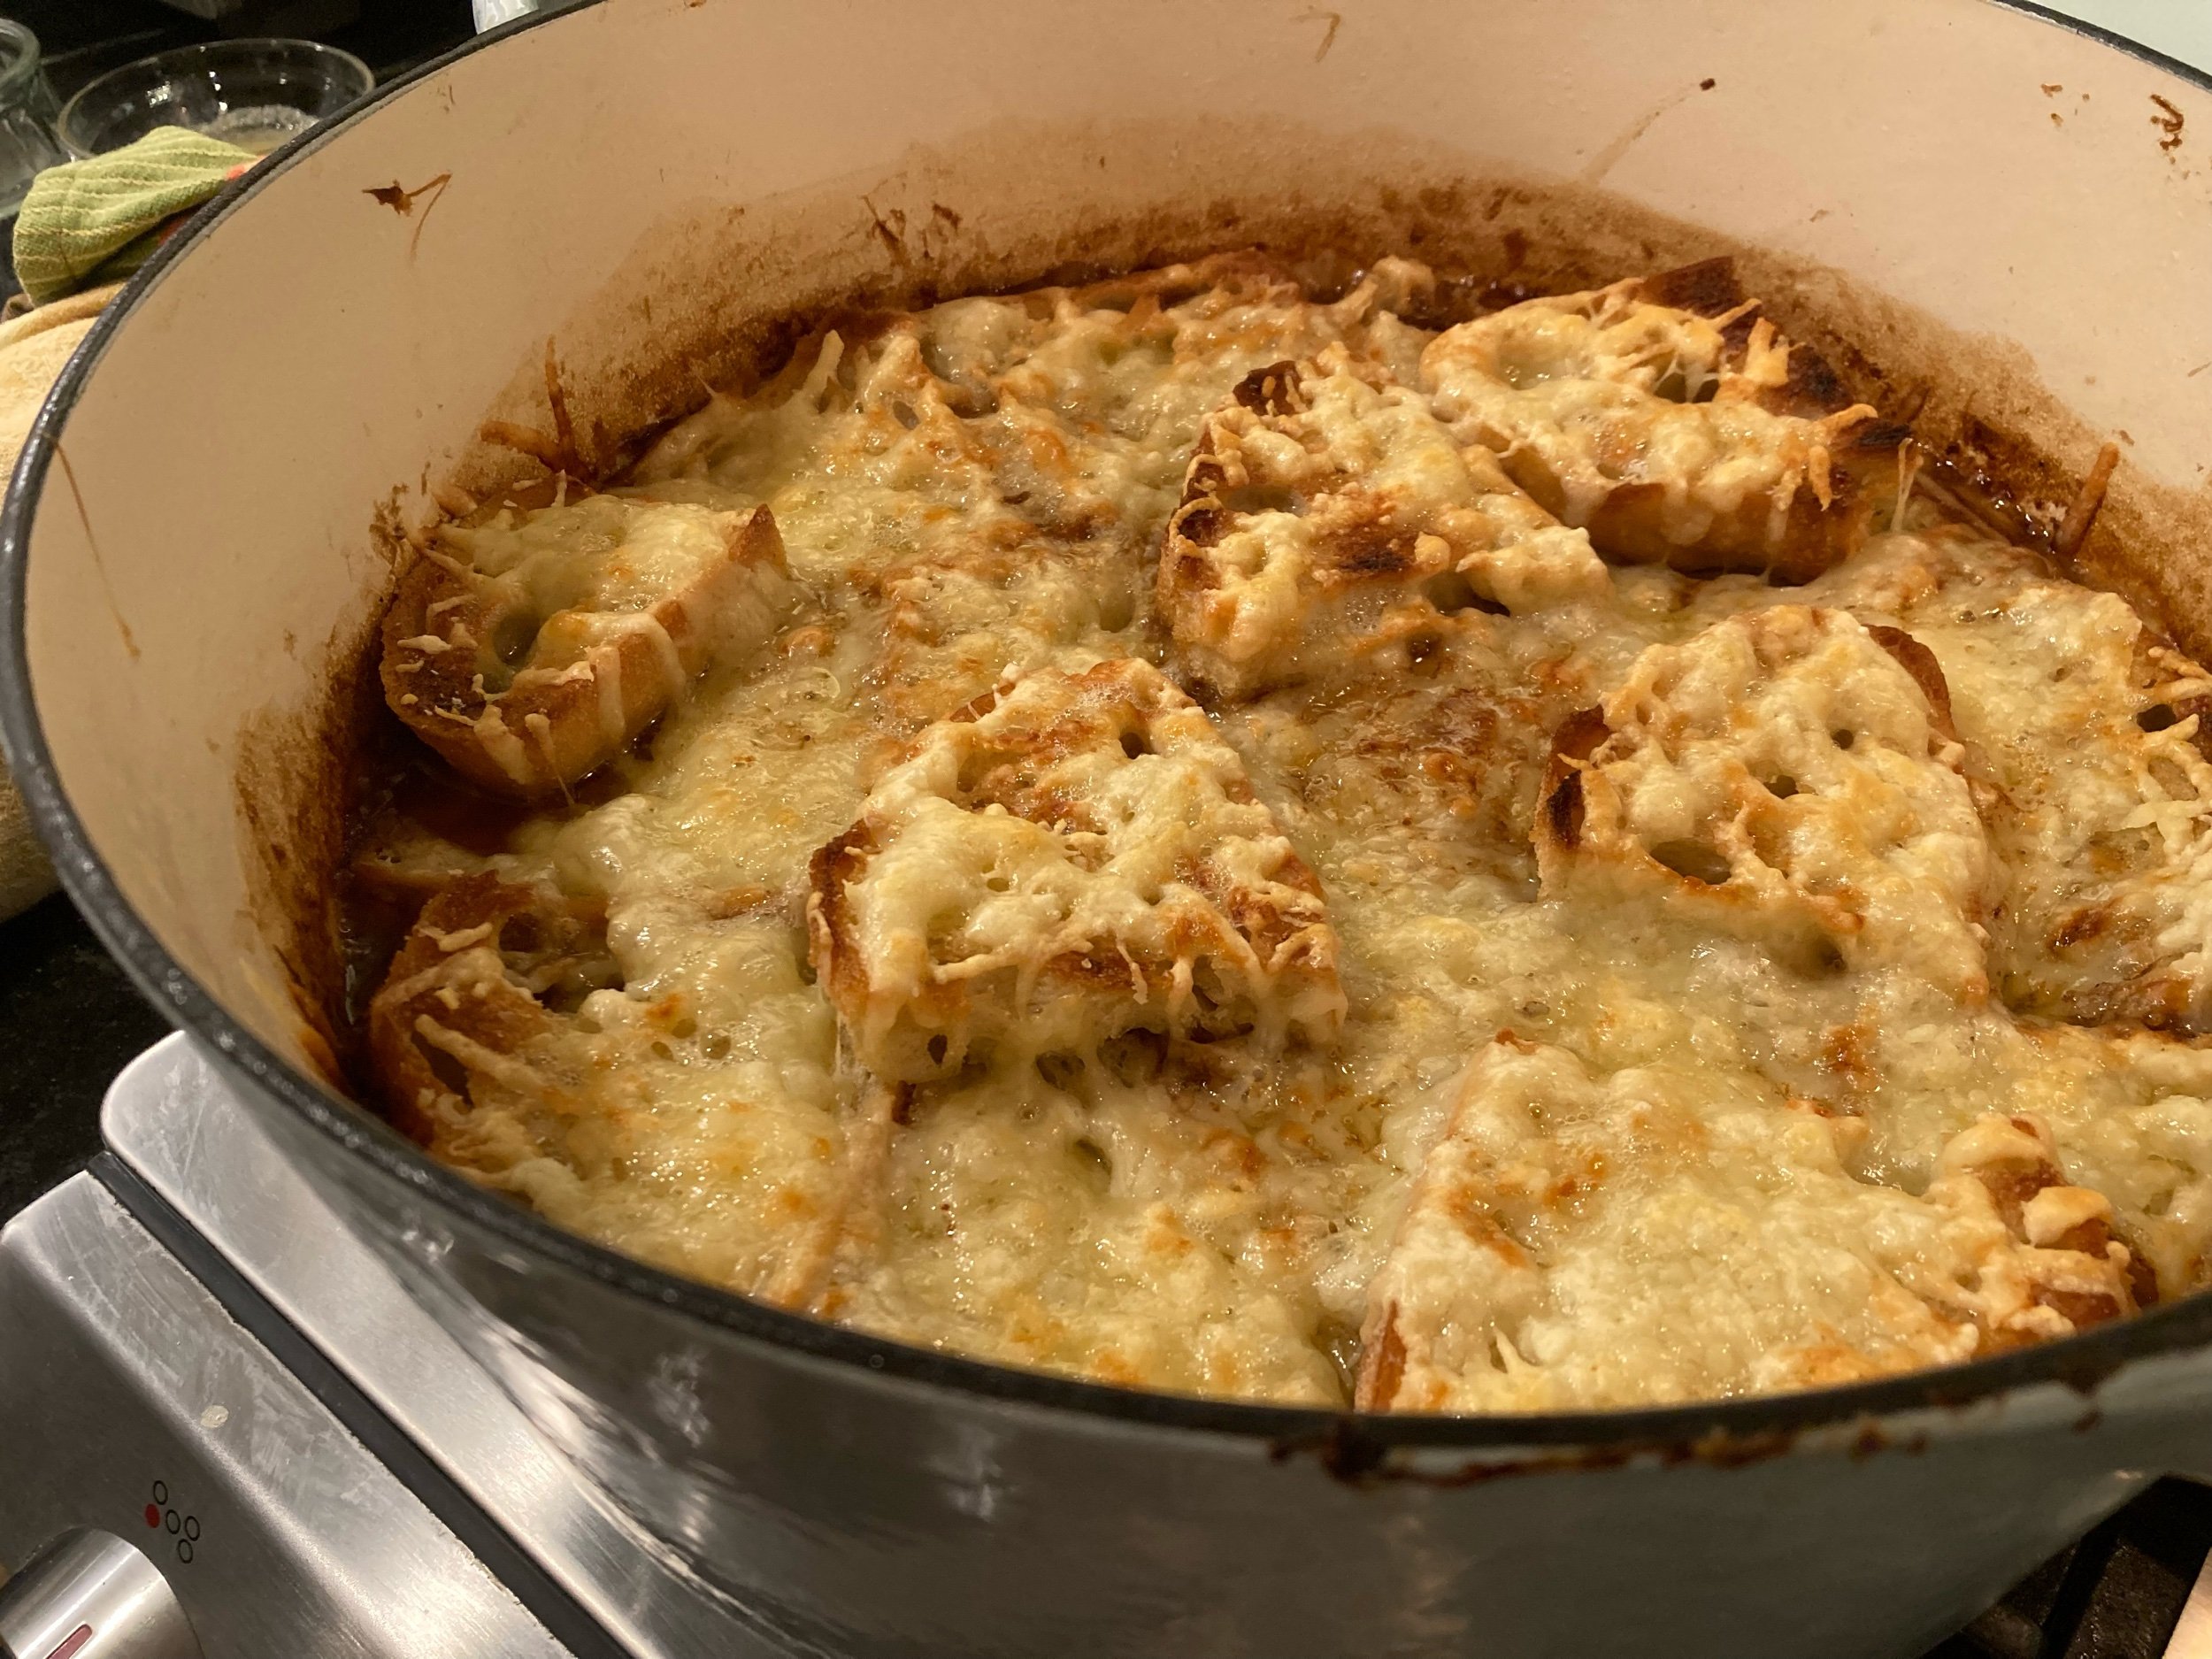
You can serve the soup now just like this or…
5) The “final fillip” (45) aka that which makes it Onion Soup Gratineed de Luxe (and not just Gratineed)
A 2-quart bowl
1 tsp cornstarch
1 egg yolk
1 tsp Worcestershire sauce
3 Tb cognac
Sidebar: This was not that easy, the lifting the crust part. Maybe I didn’t toast my bread enough, because it stated soaking up the soup almost immediately. And this really thickened the soup quite a bit because of the cornstarch. Next time I’m just going to try to stir in the cognac and Worcestershire sauce by themselves right before serving, and add the toast as described above.
Combine cornstarch, egg yolk, Worcestershire sauce and cognac into the bowl, and whisk to combine. Just before serving the soup, lift up an edge of the crust with a carving fork, remove a ladleful of soup, and add to the egg mixture. Whisk together to combine, then add a couple more ladlefuls of soup. Stir together, then pour back into the soup under the crust, stir to combine, and serve.

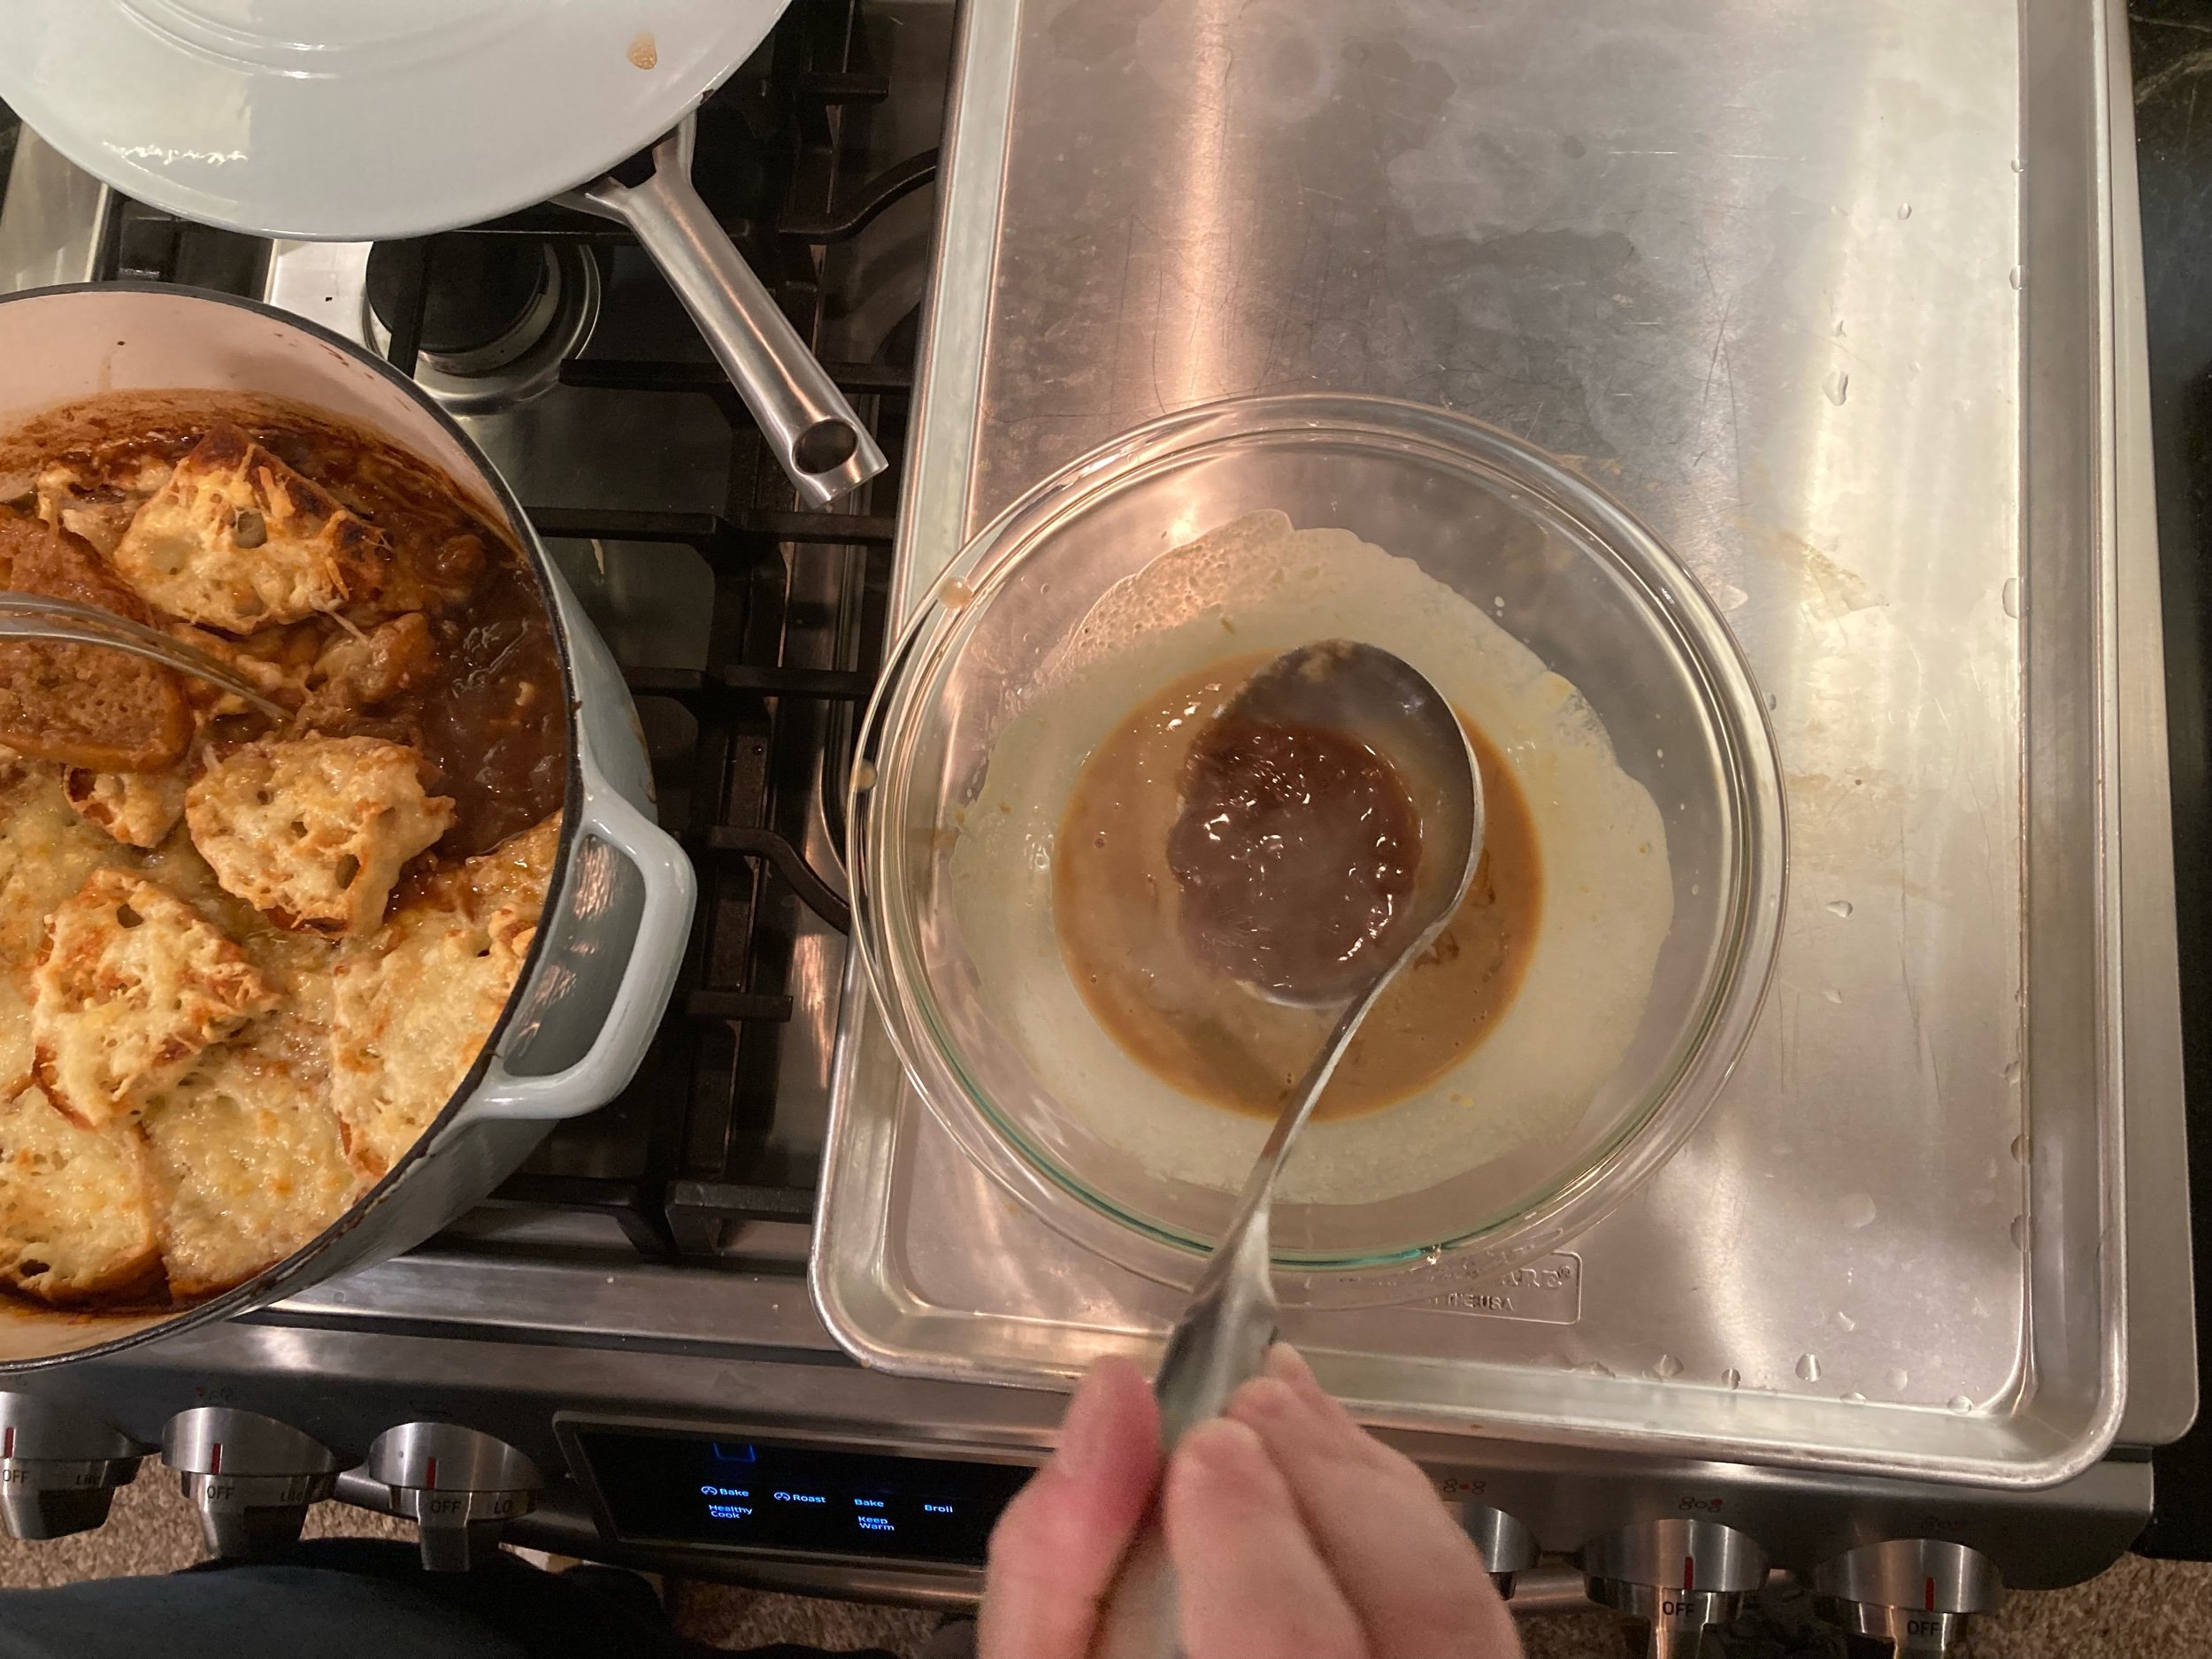
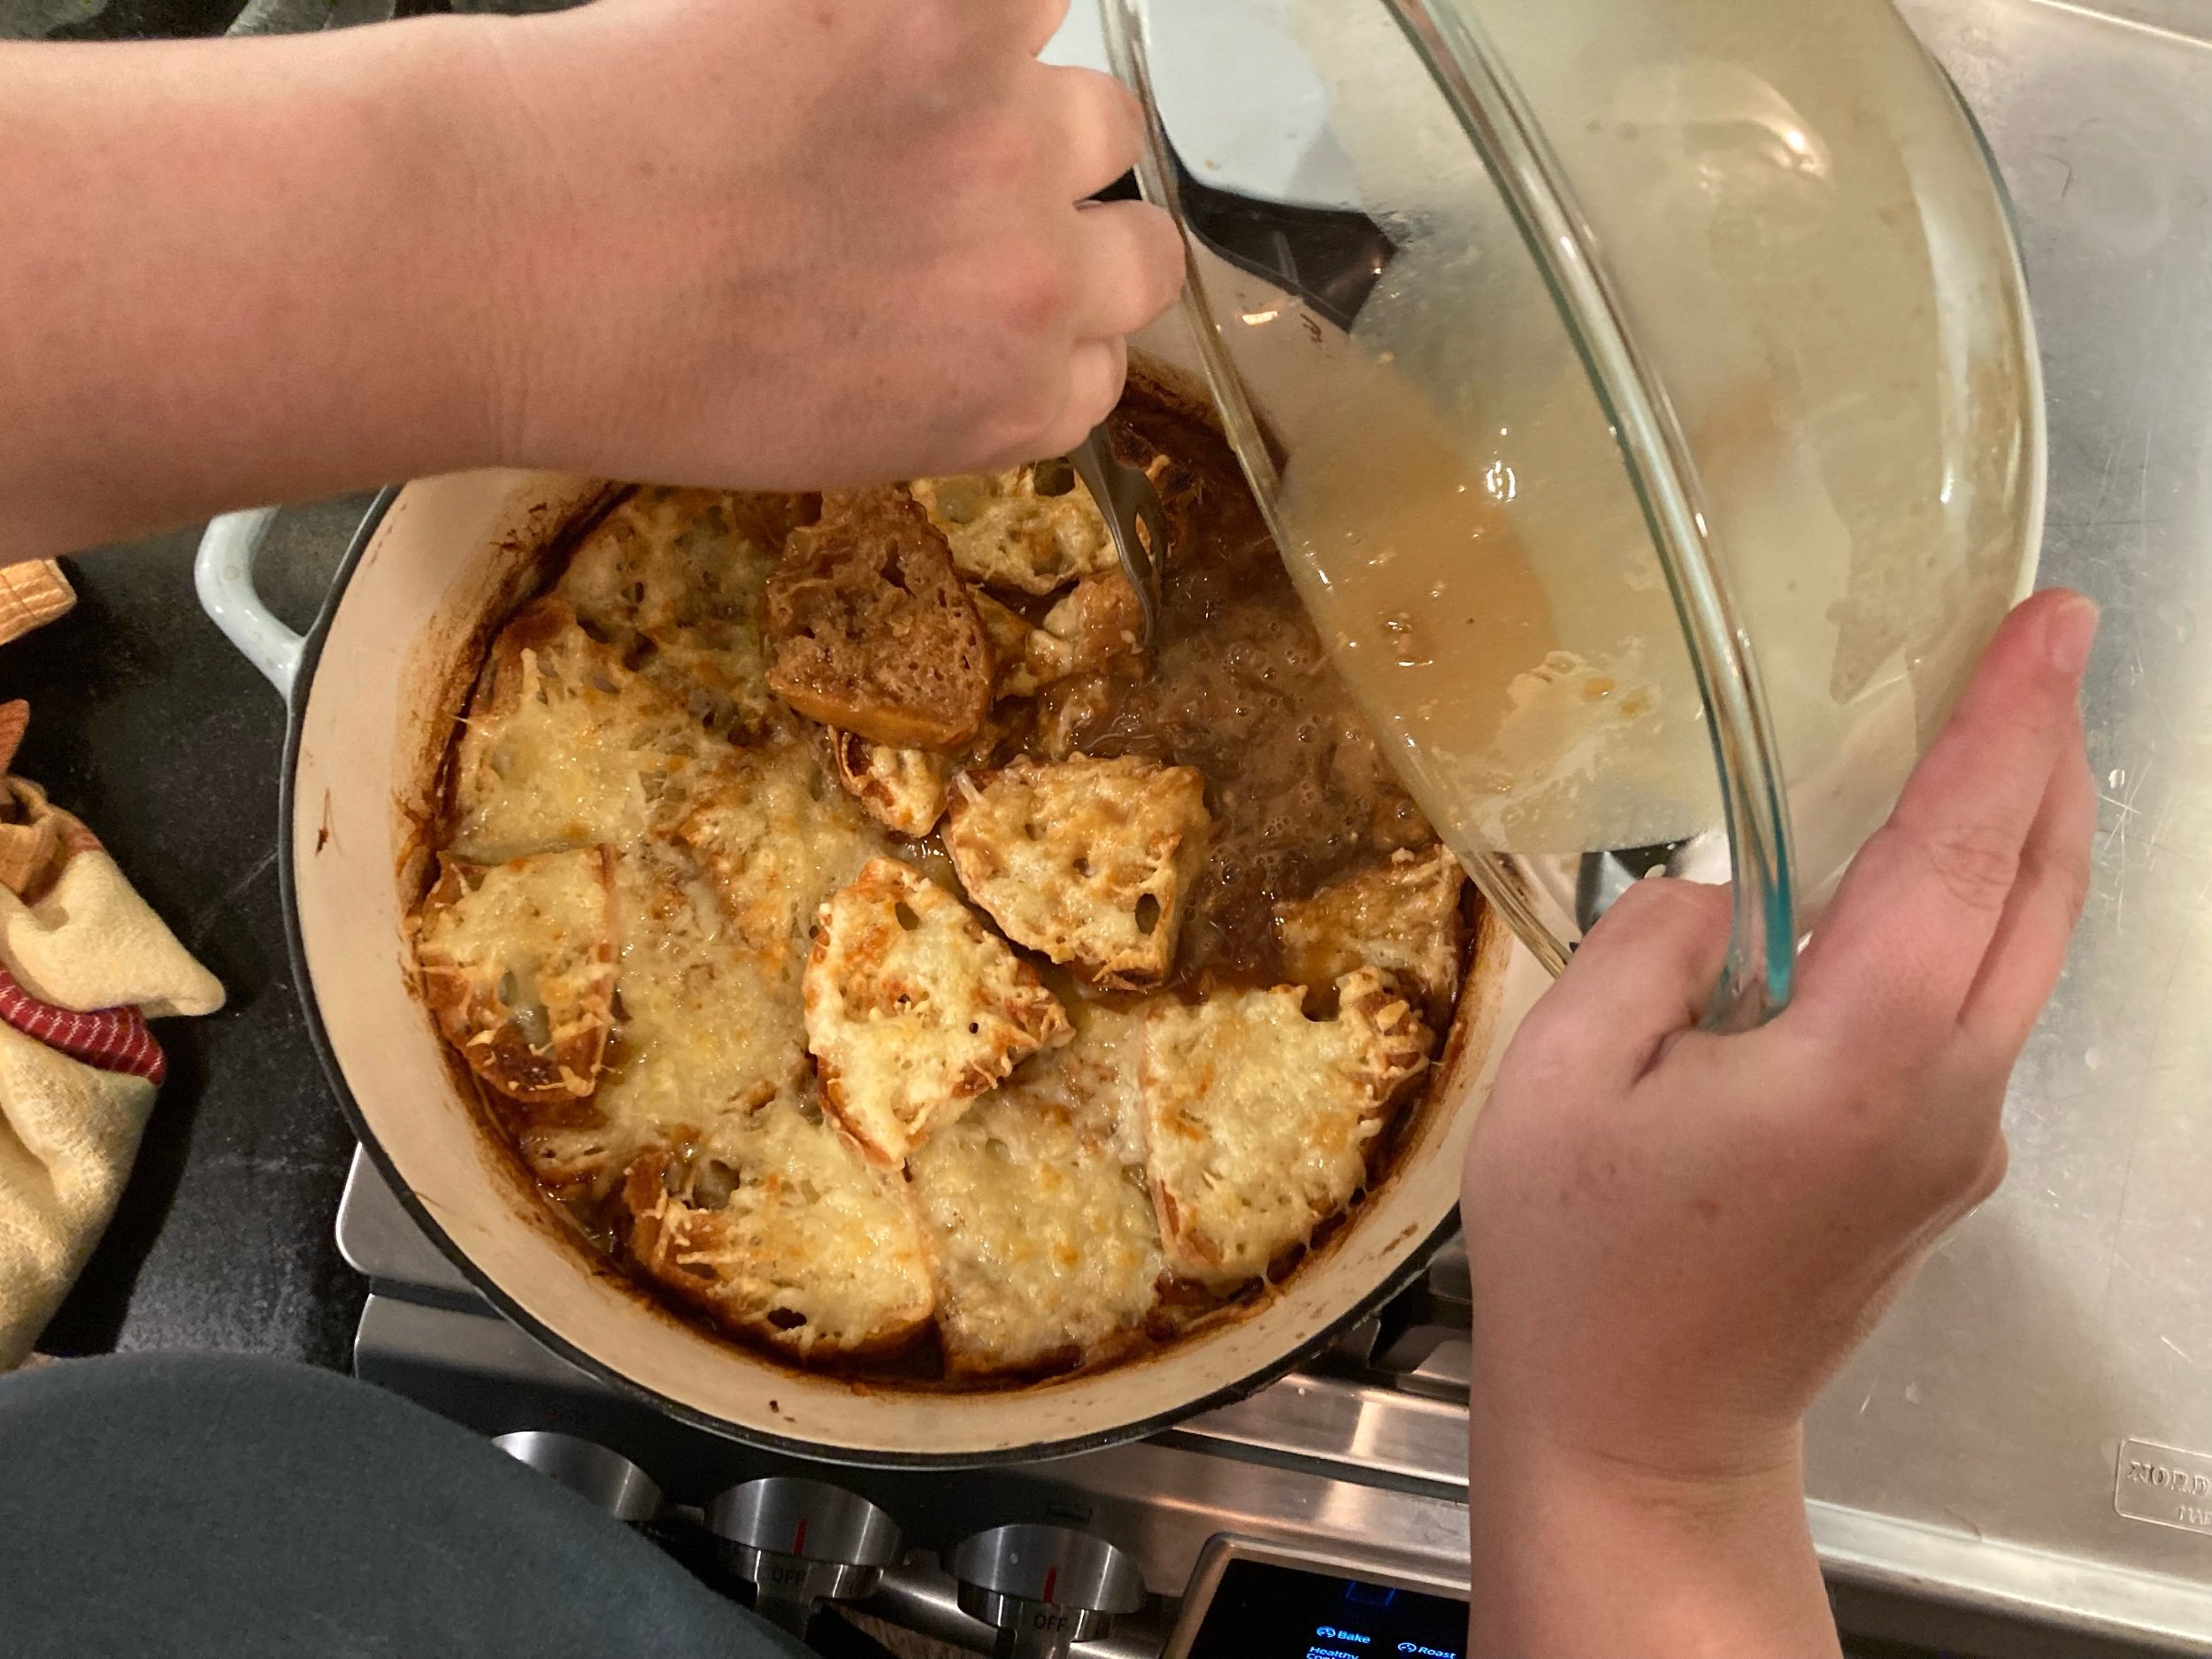
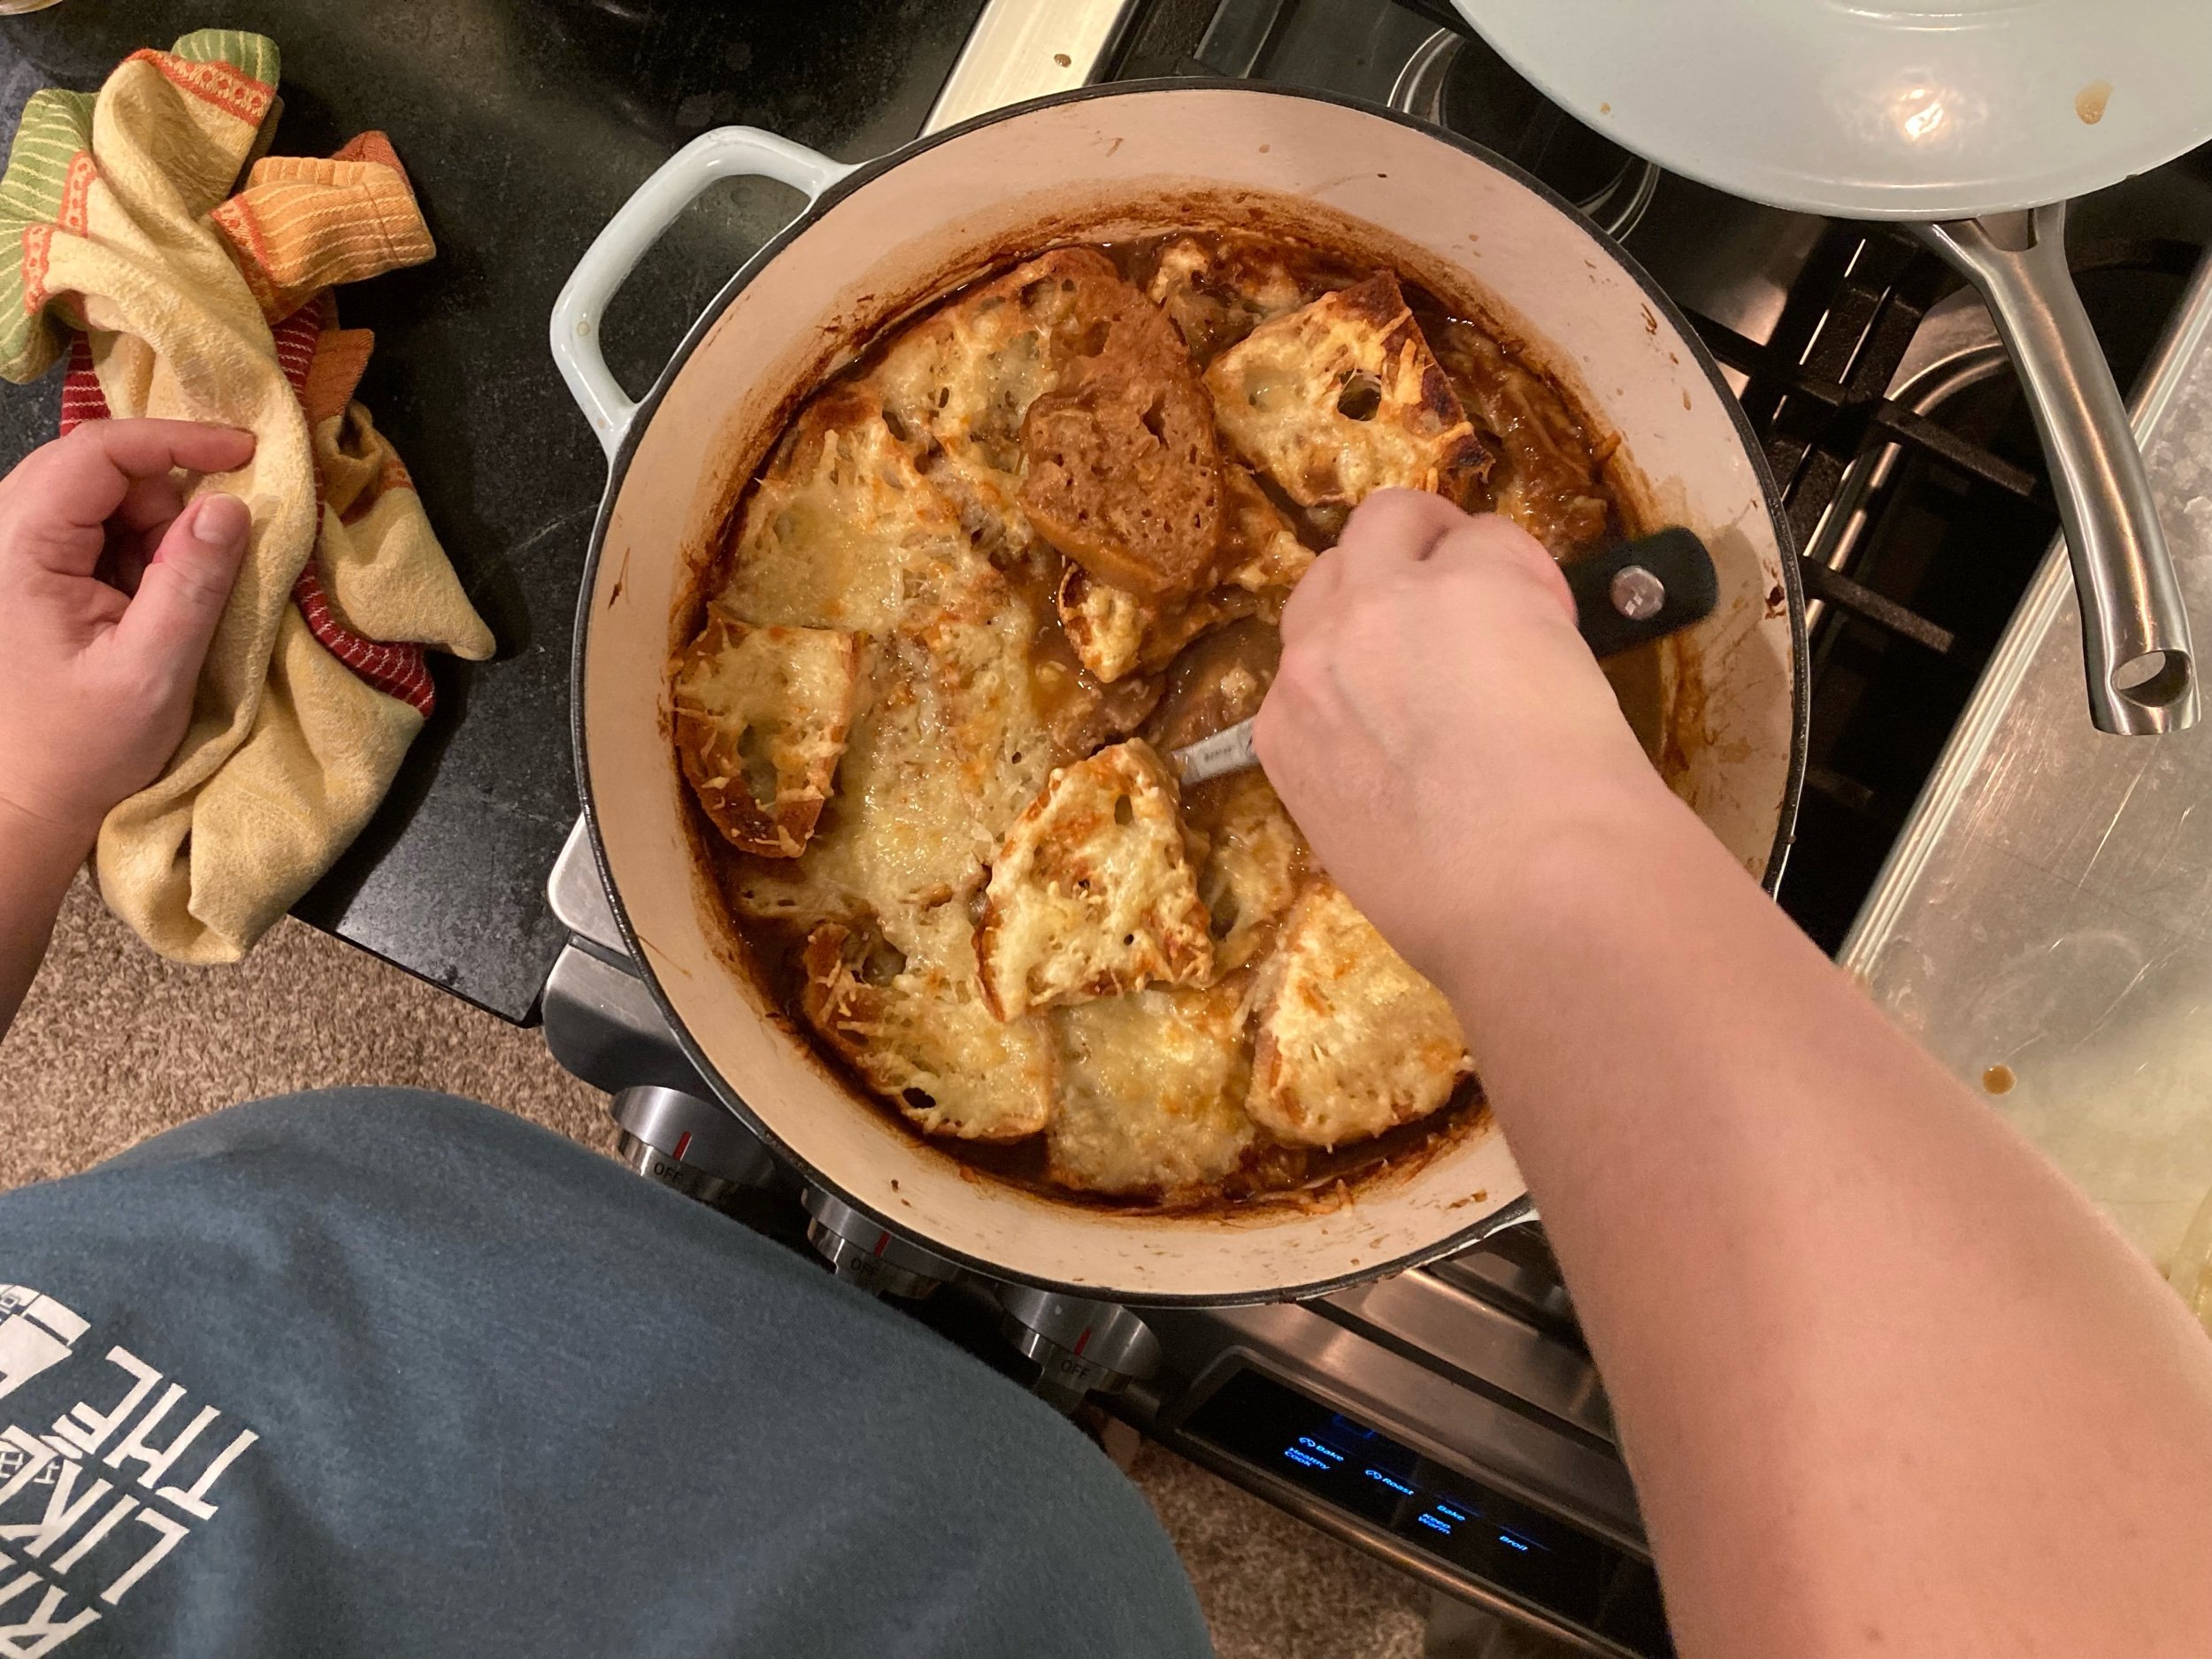

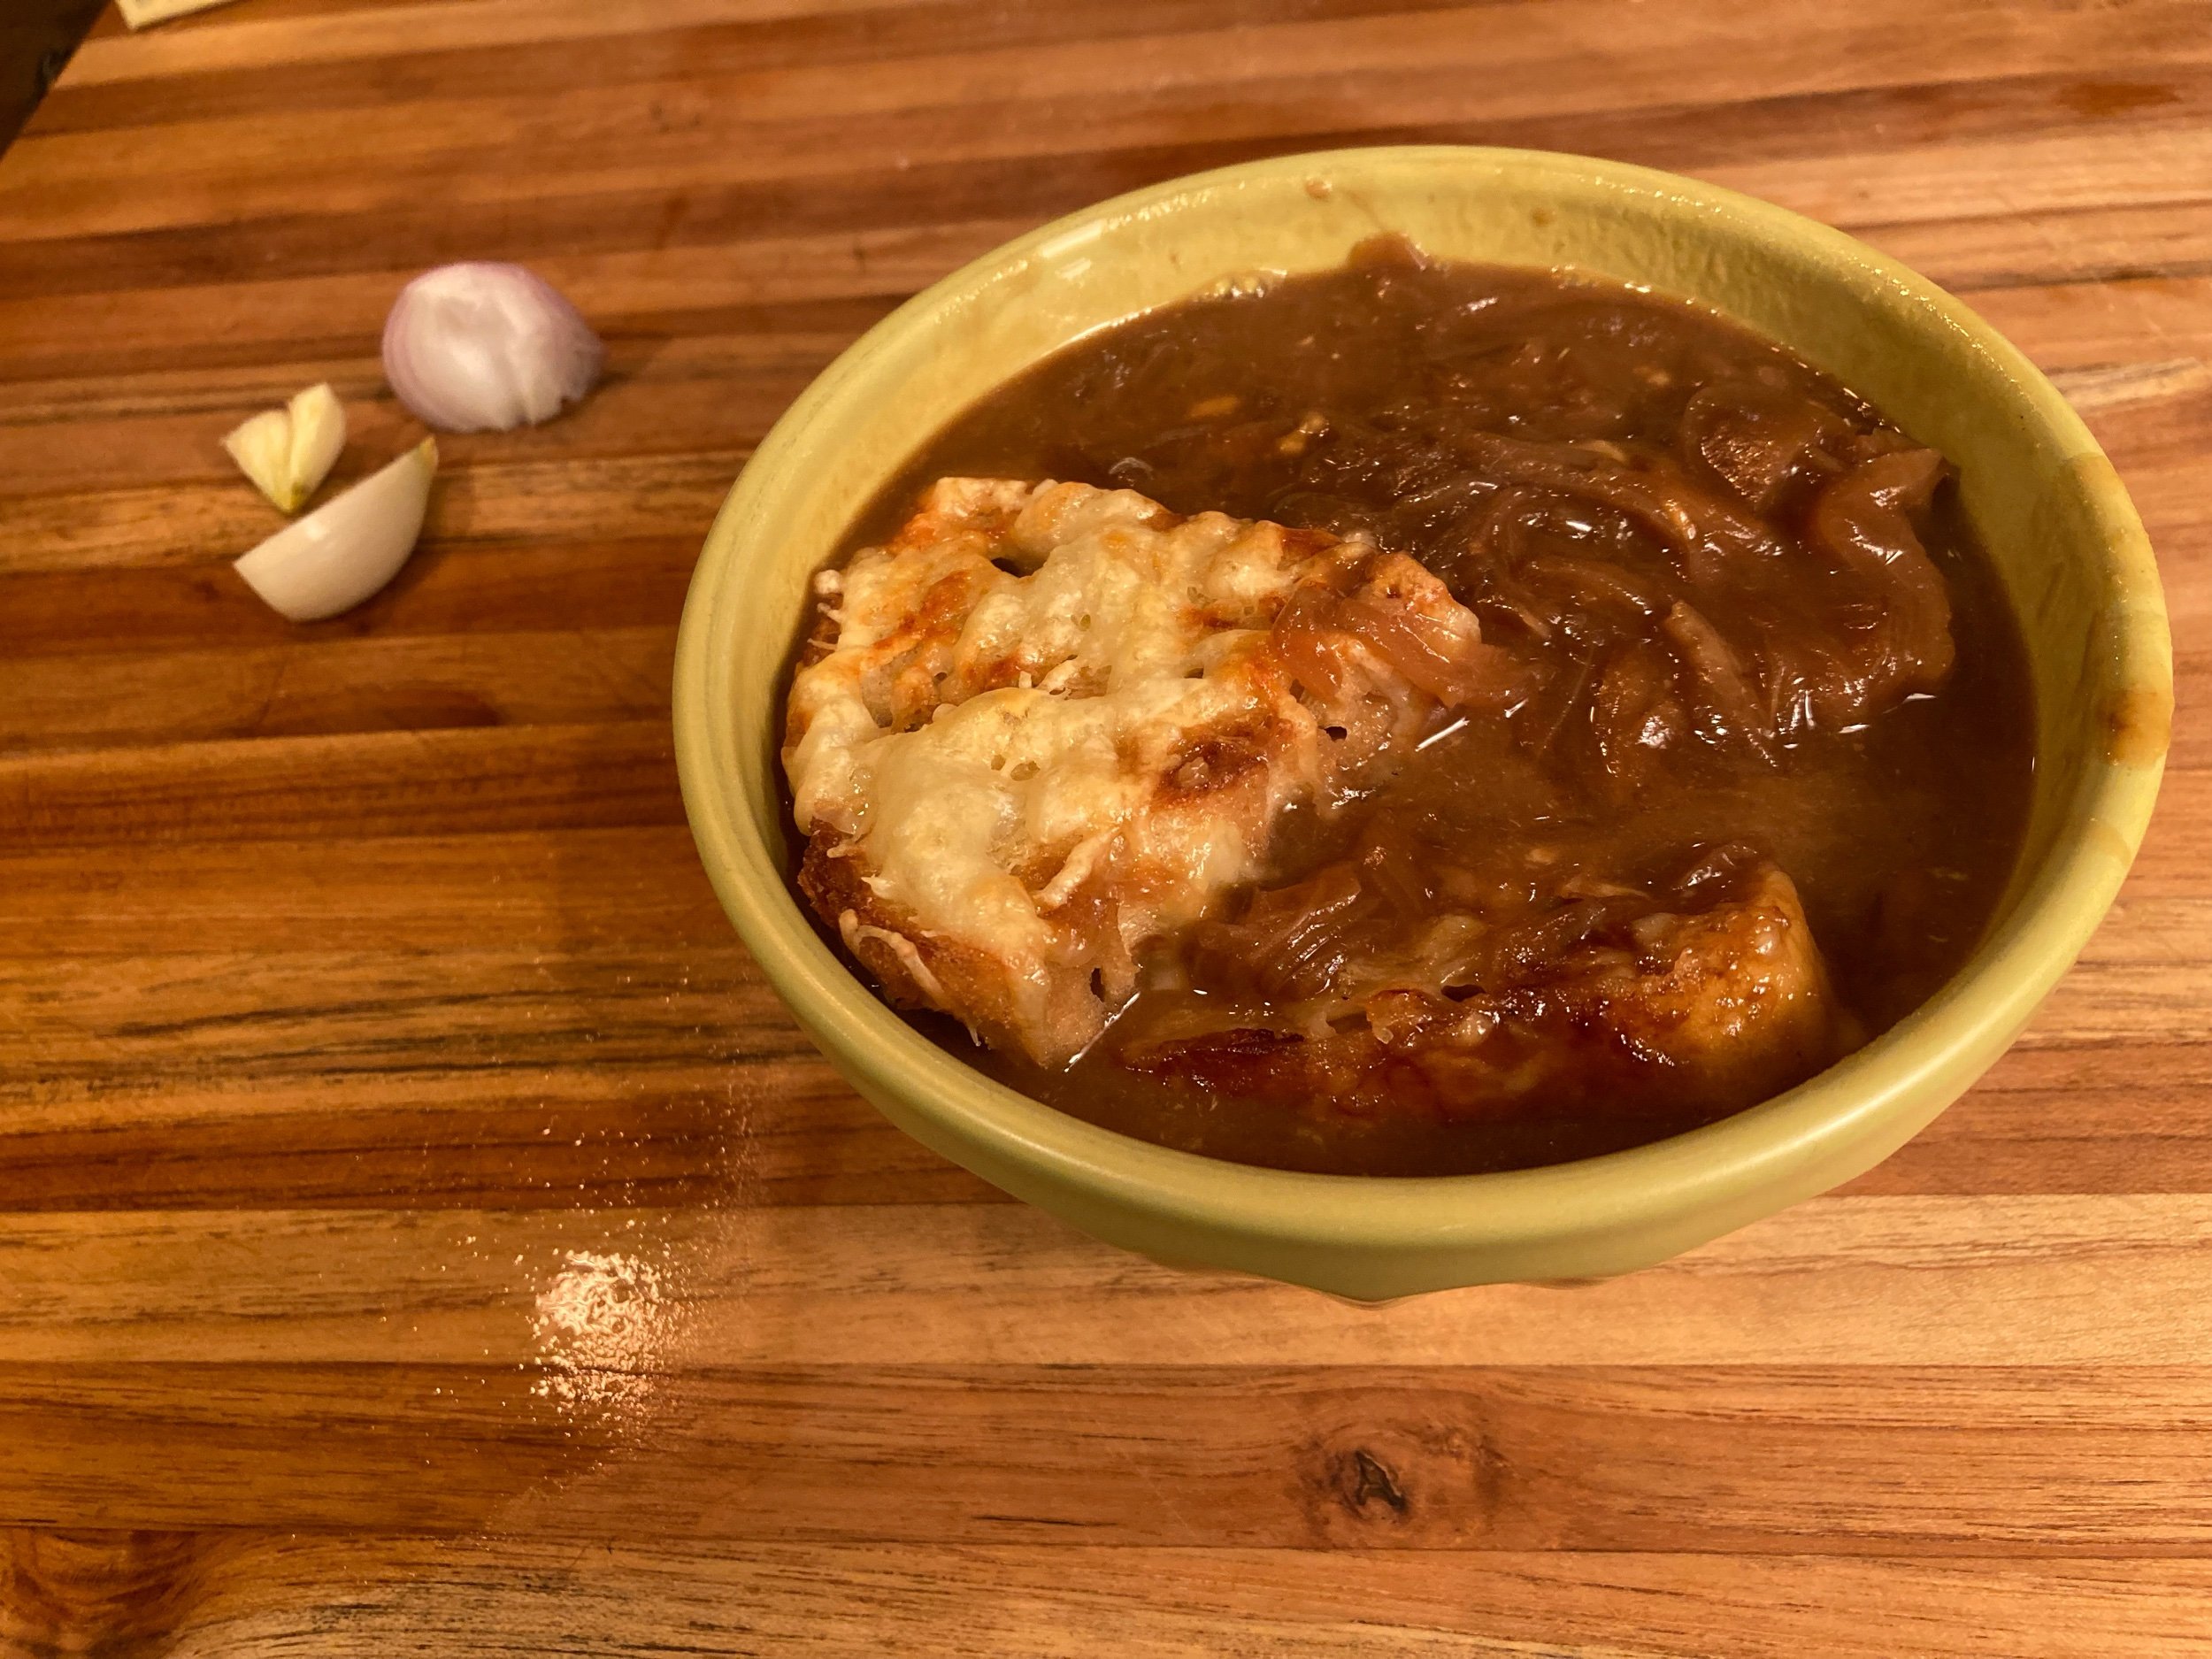
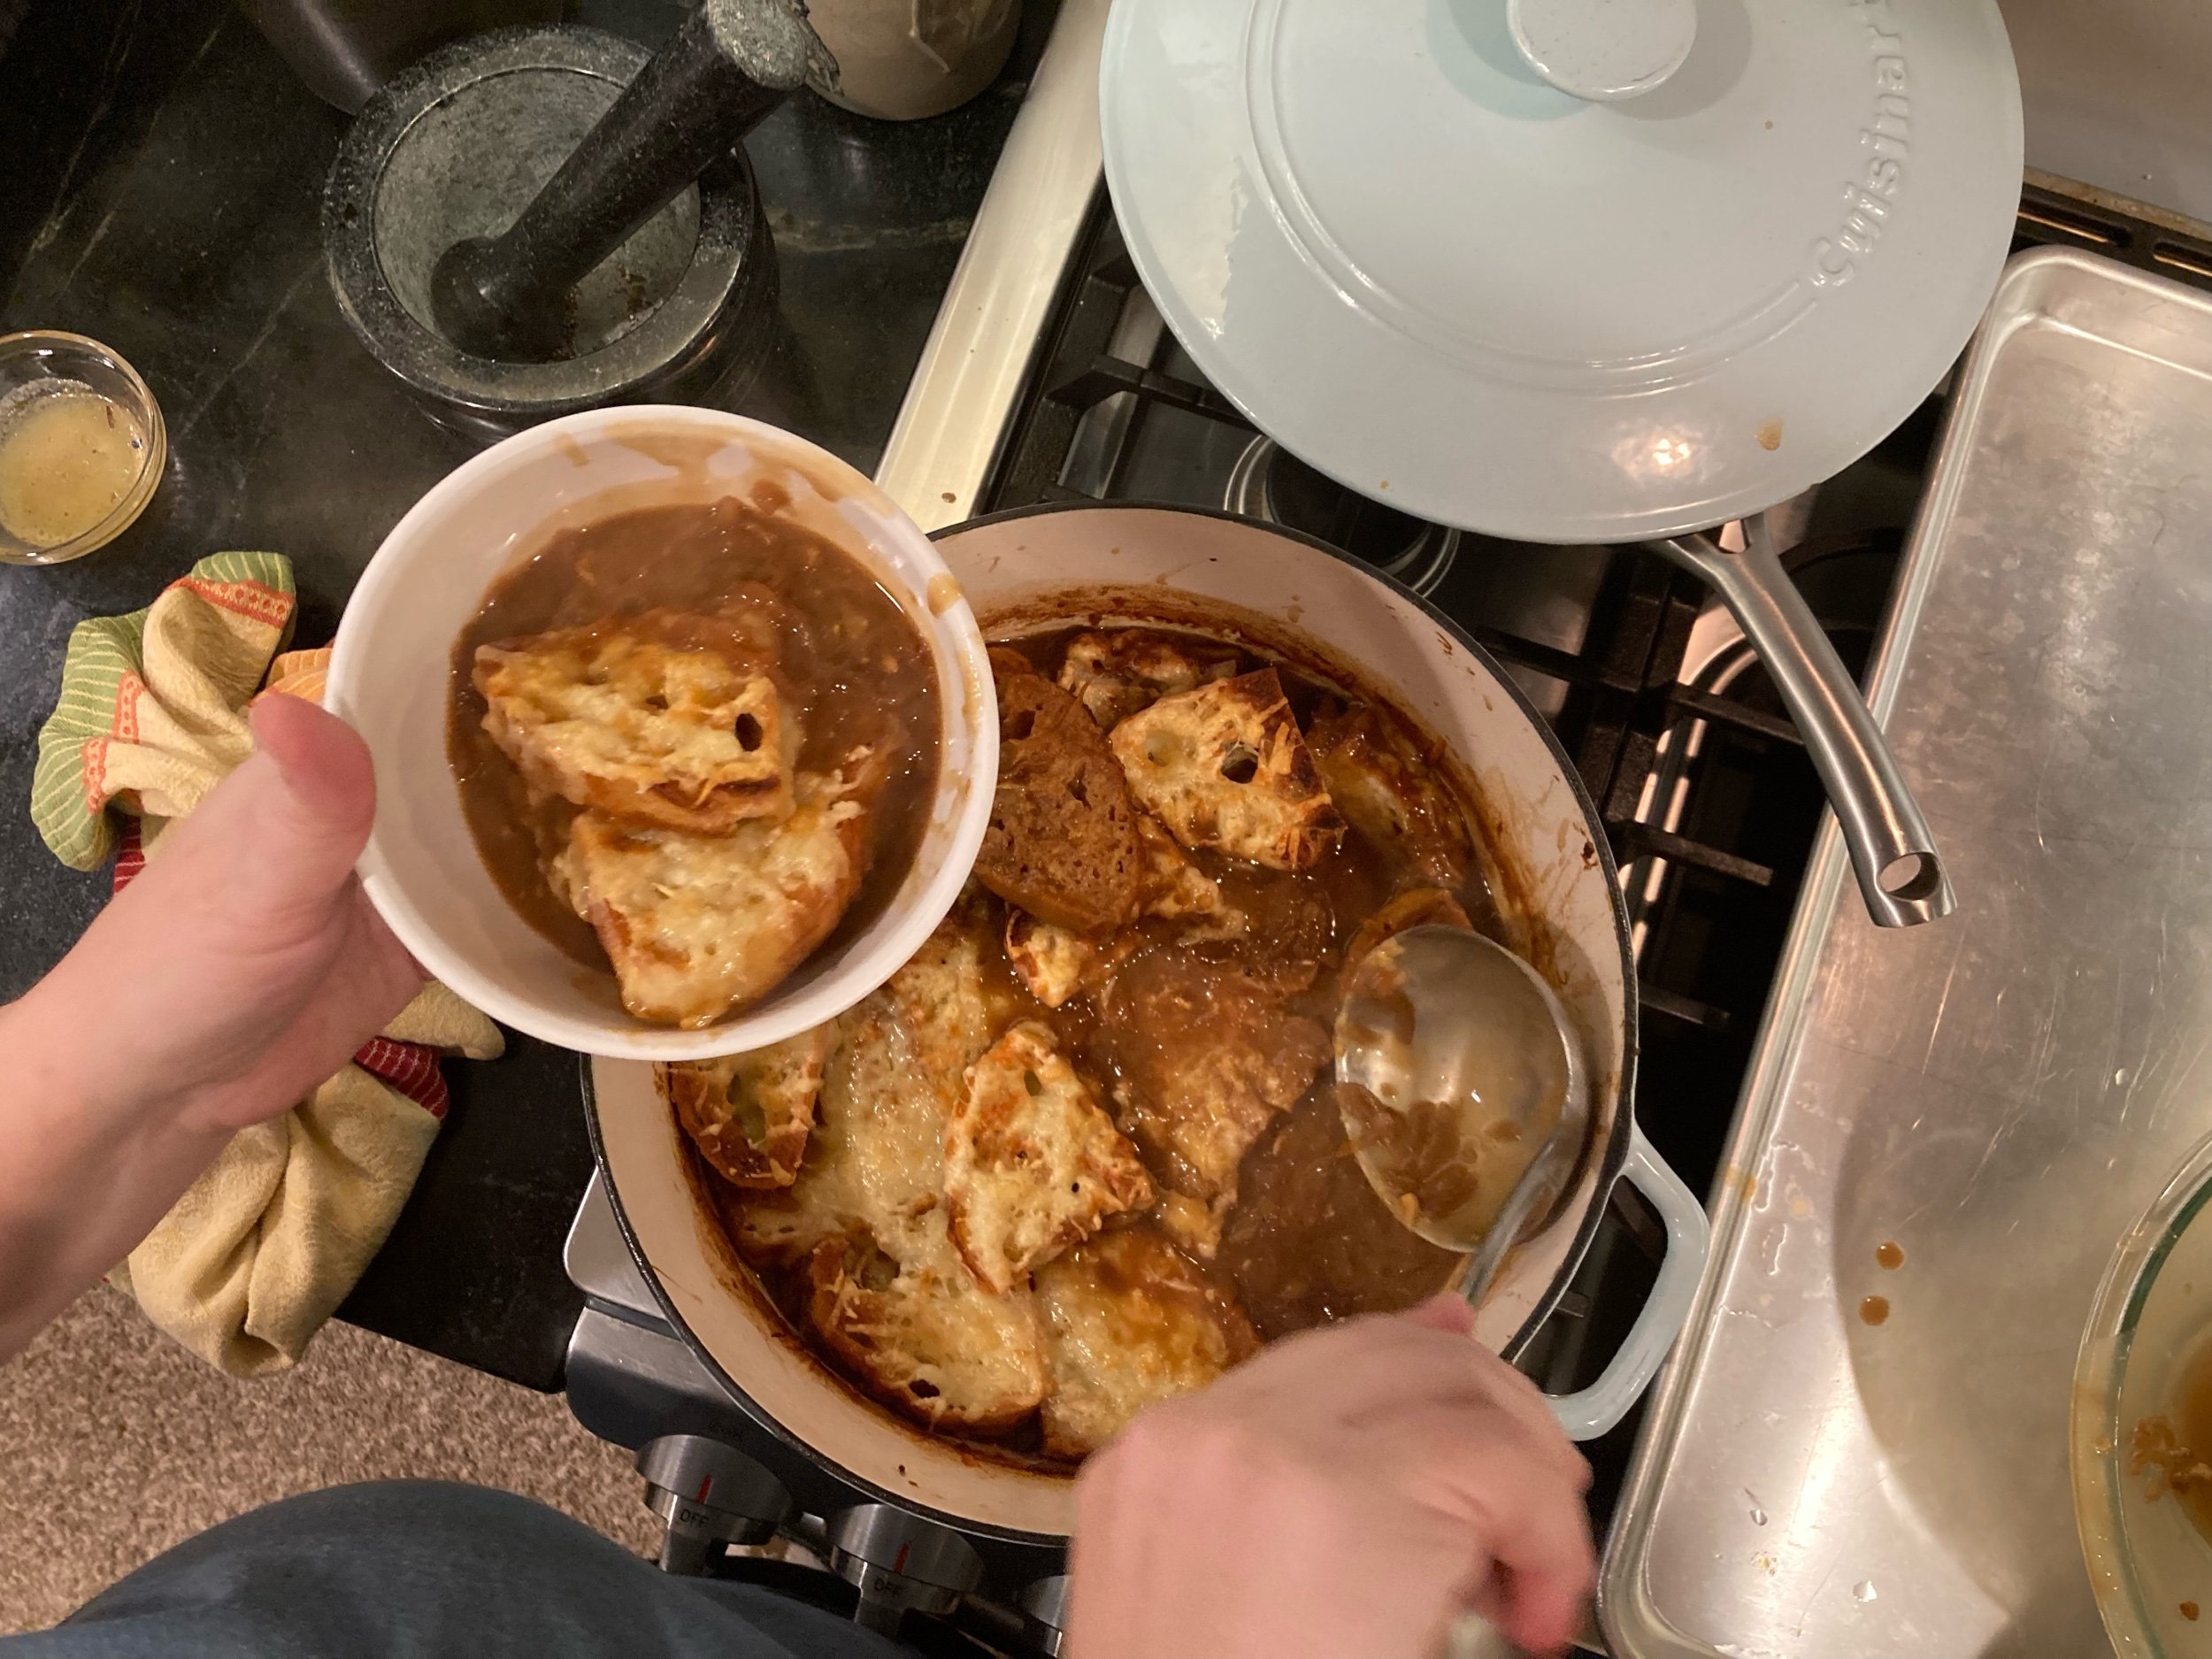
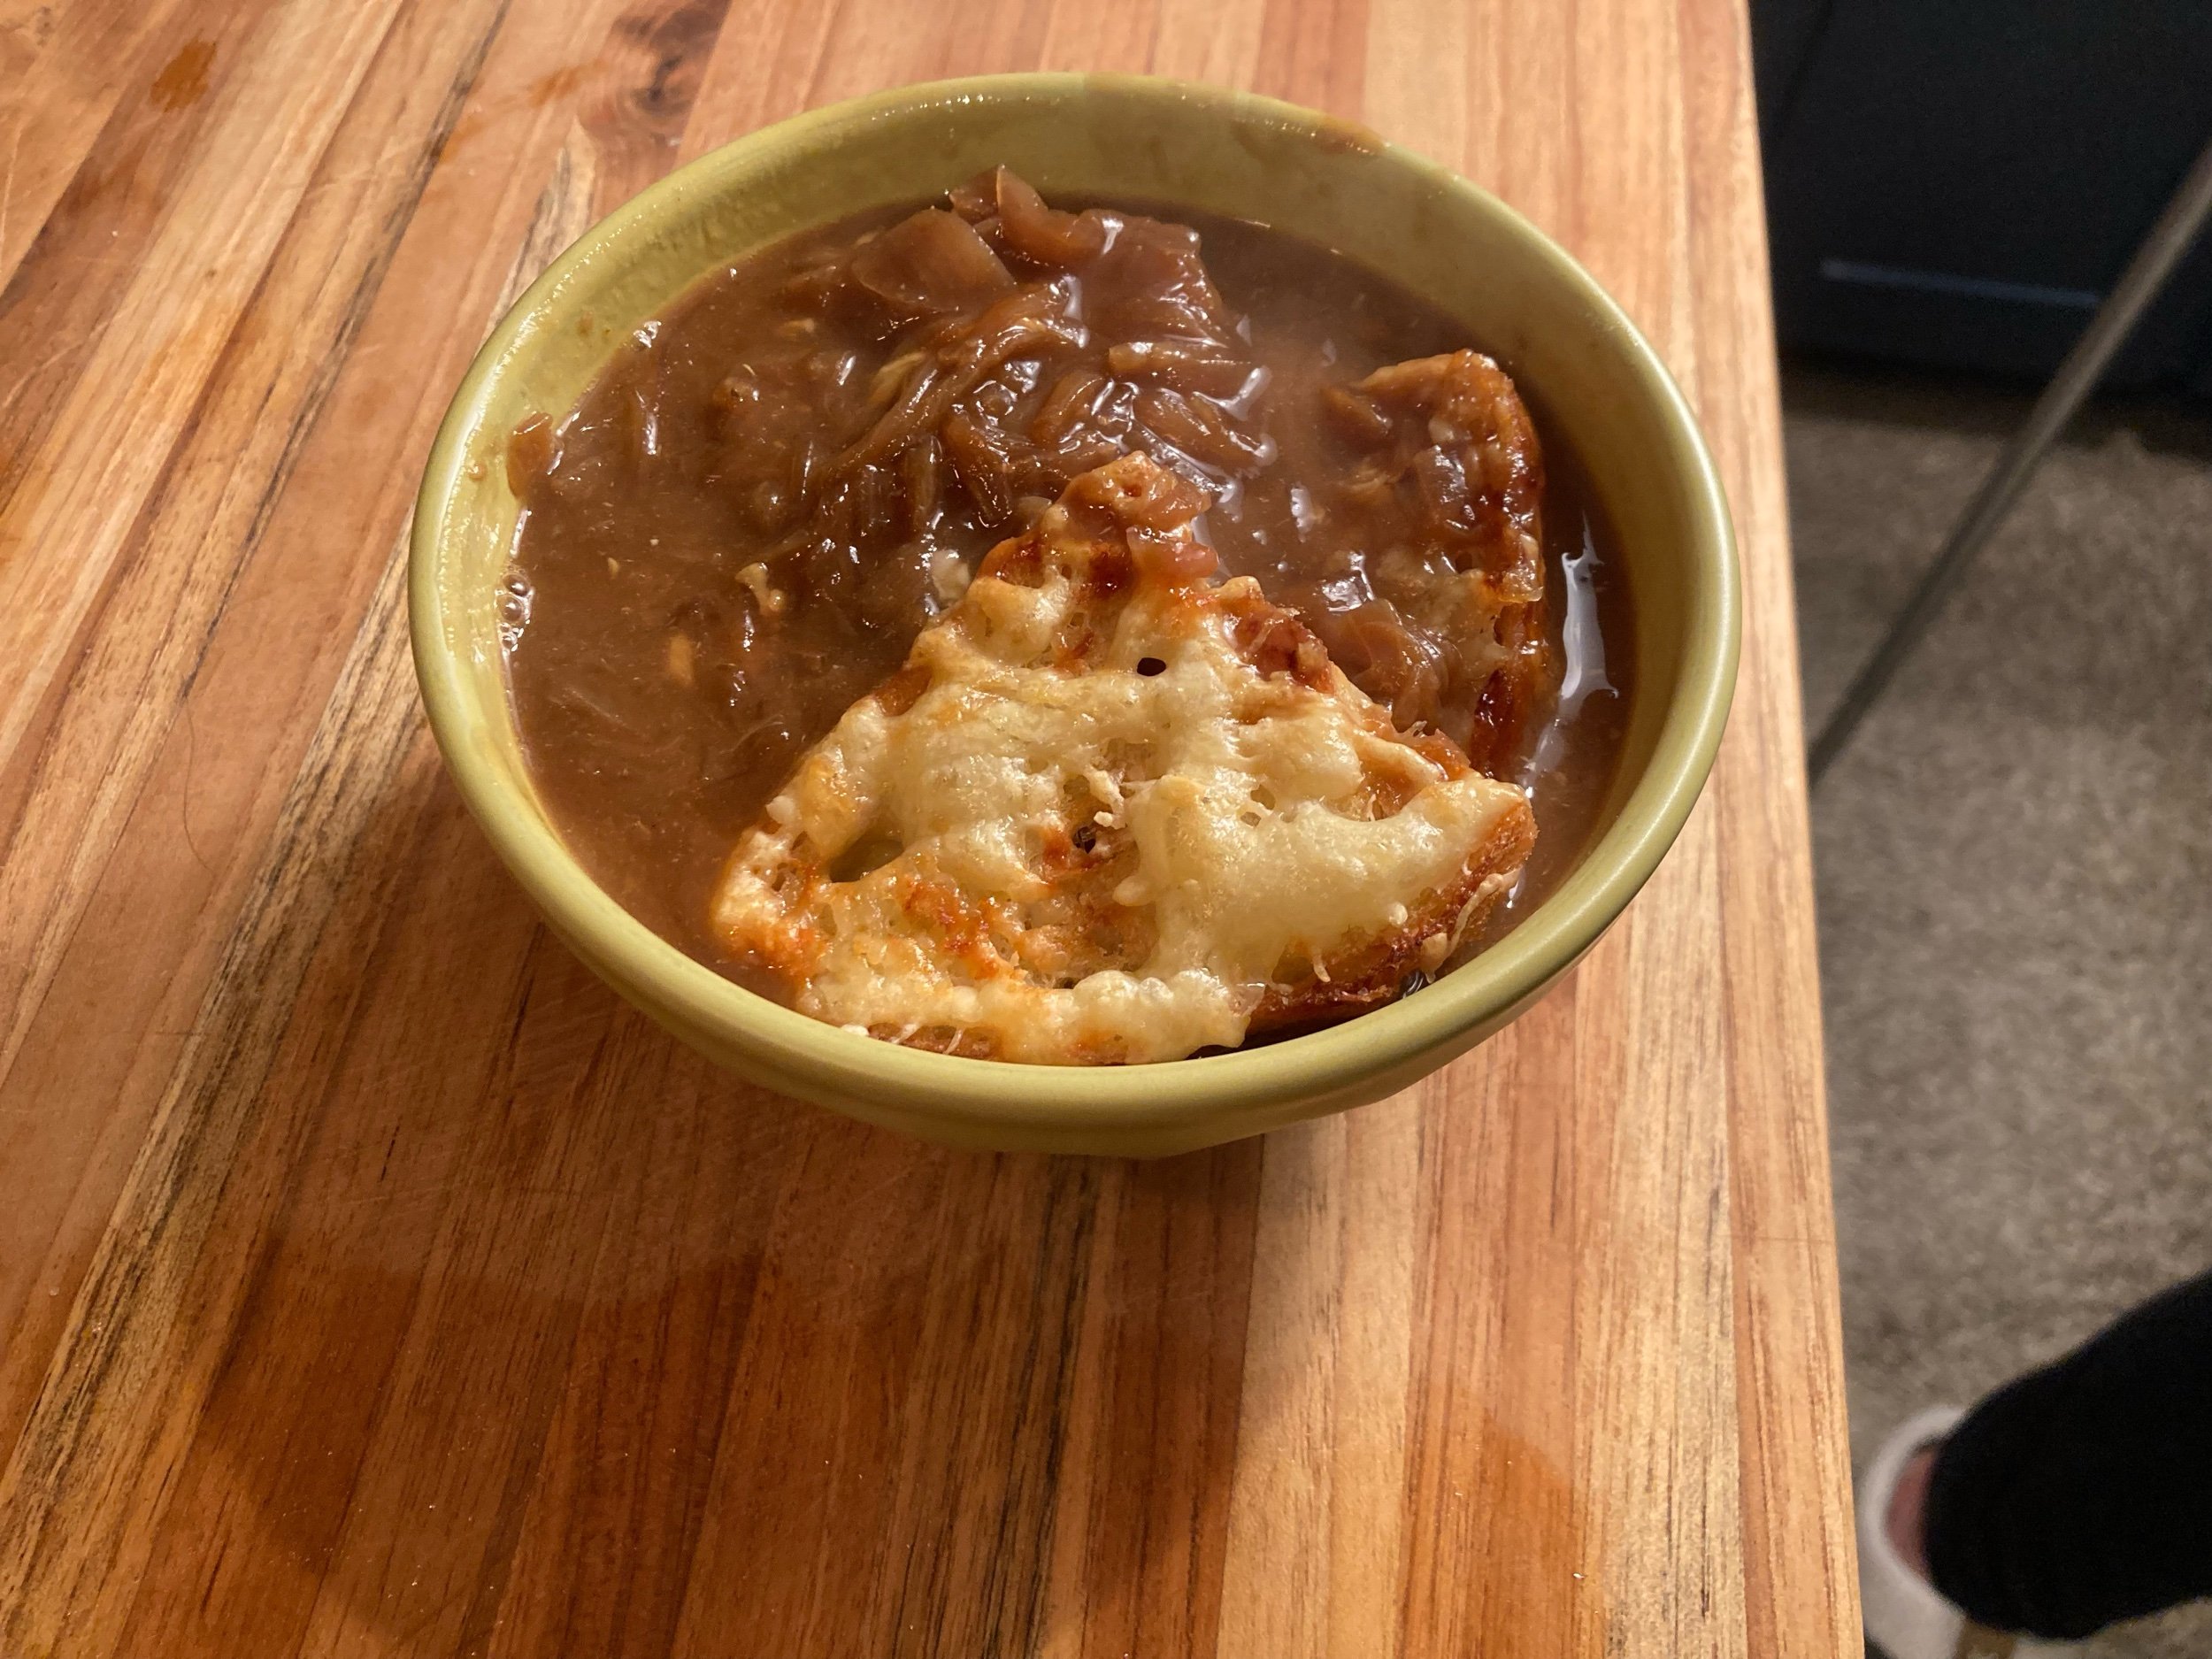
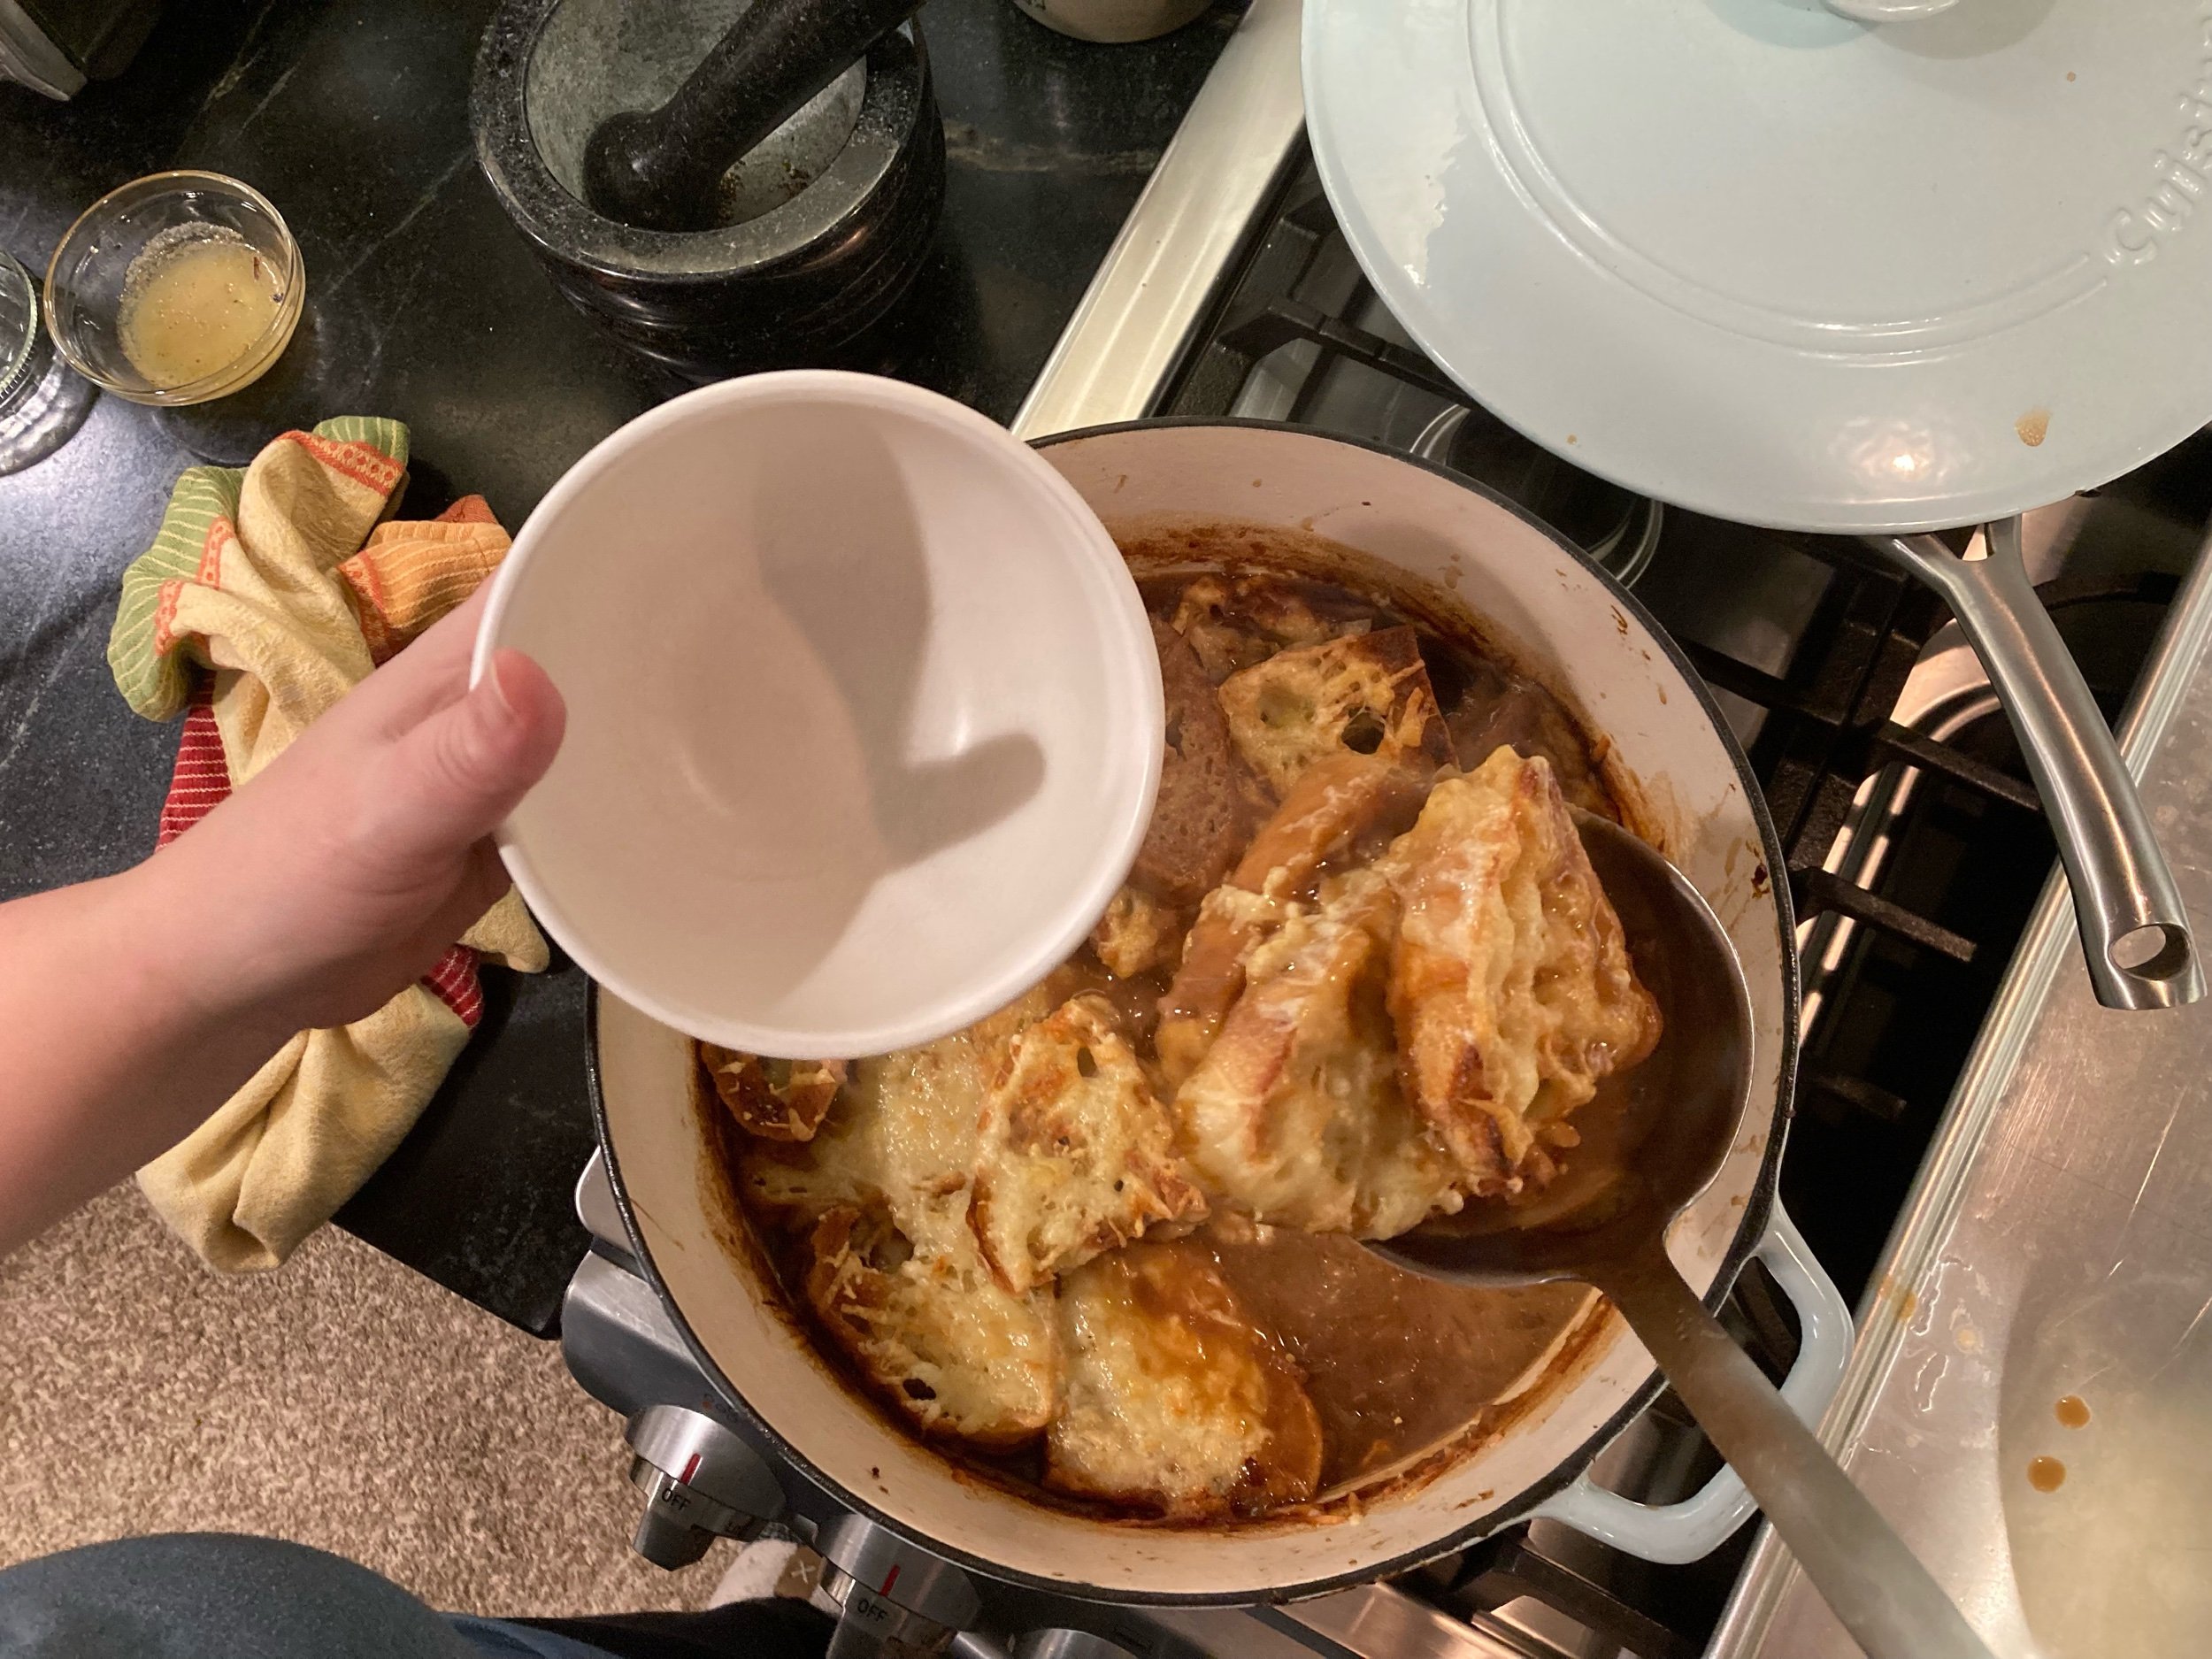
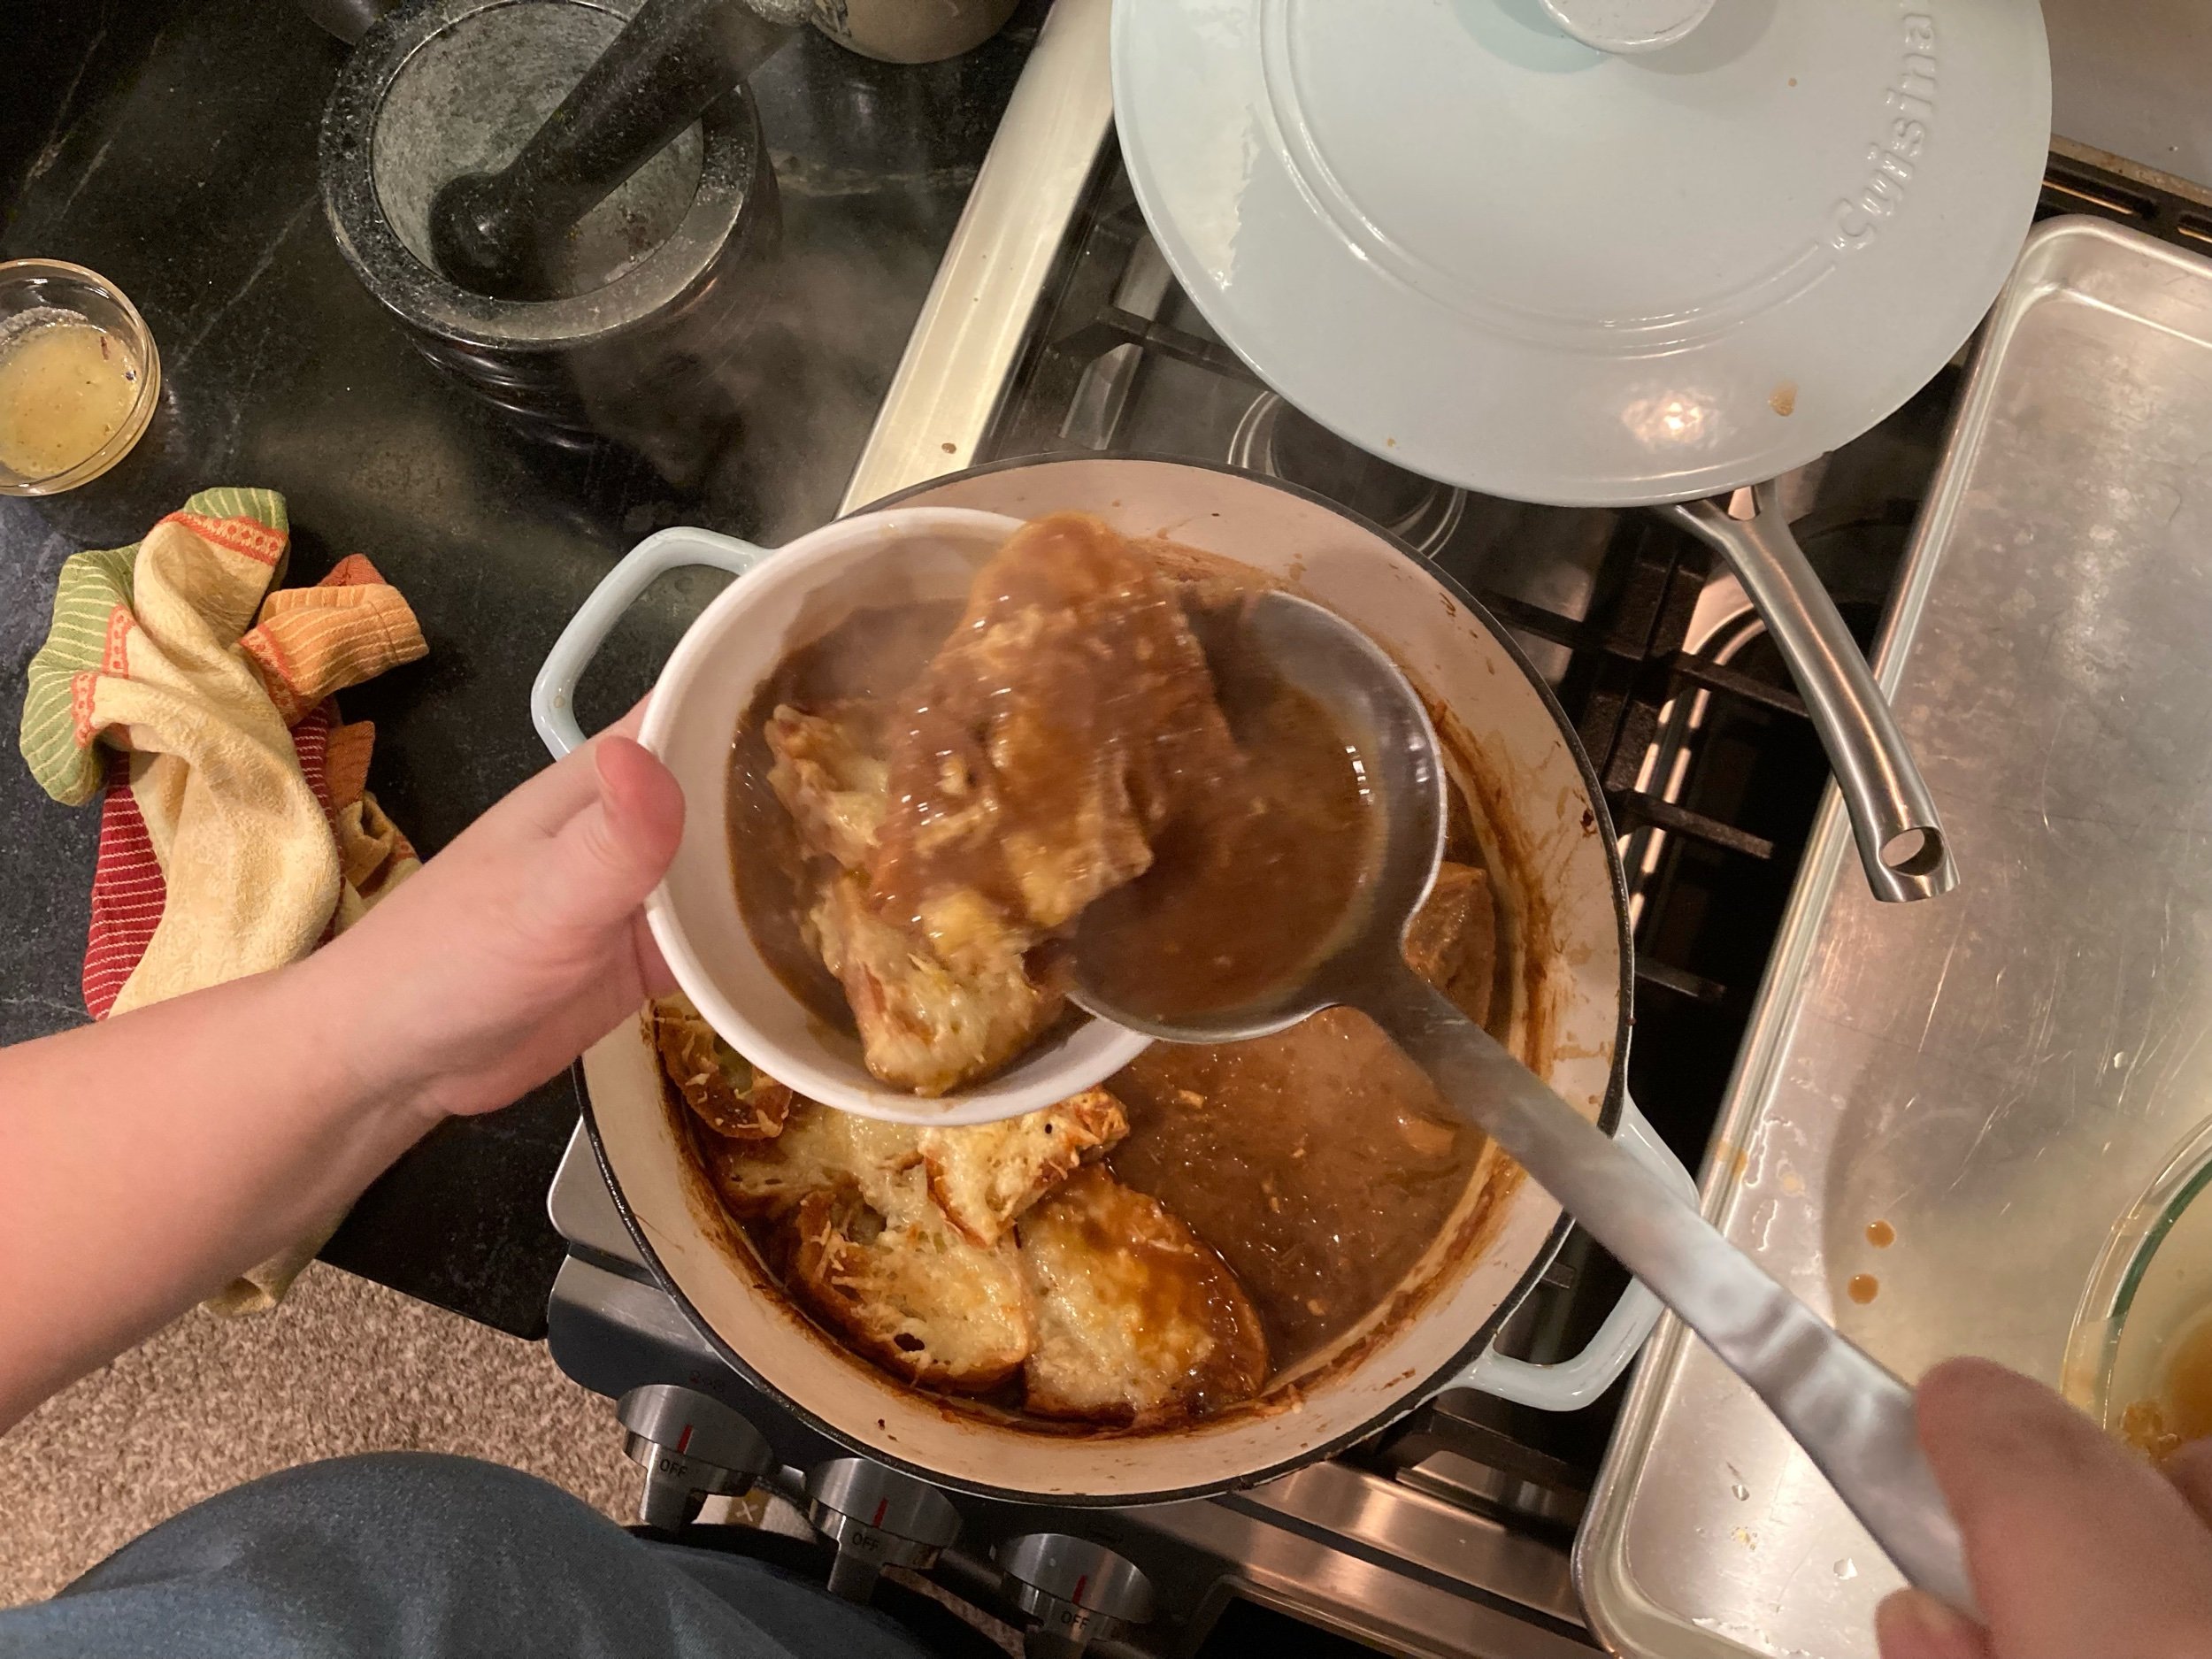
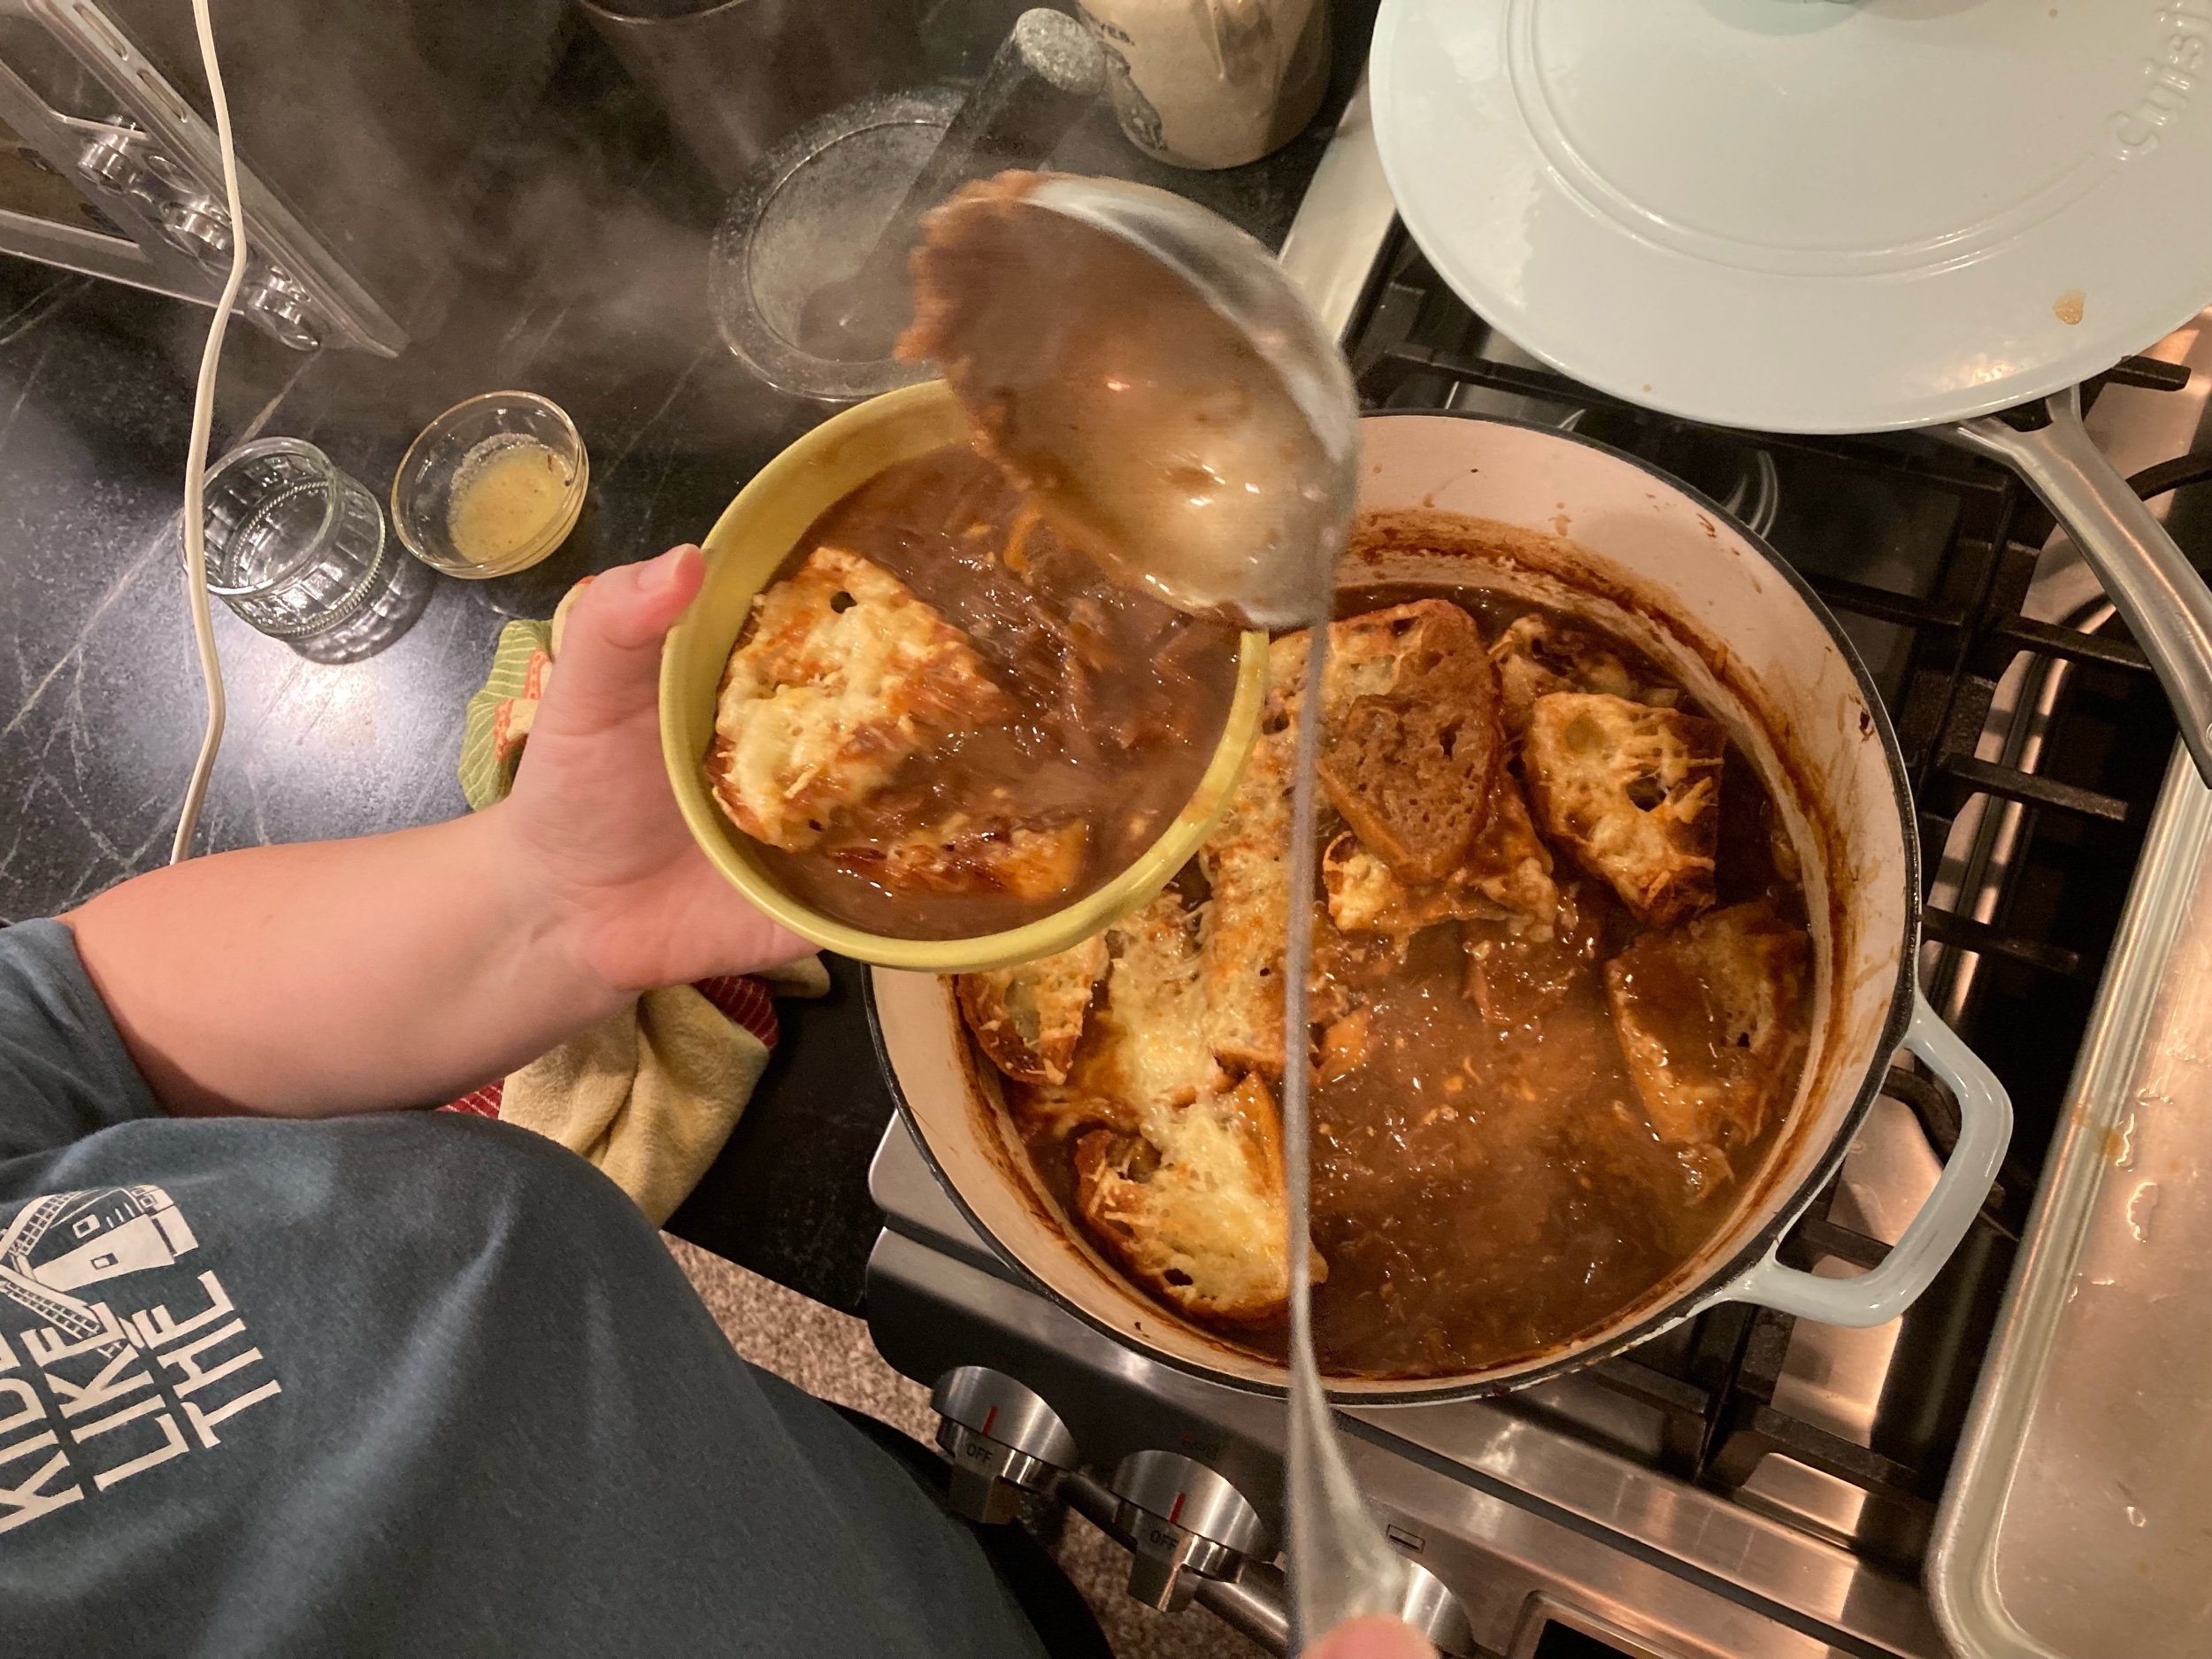
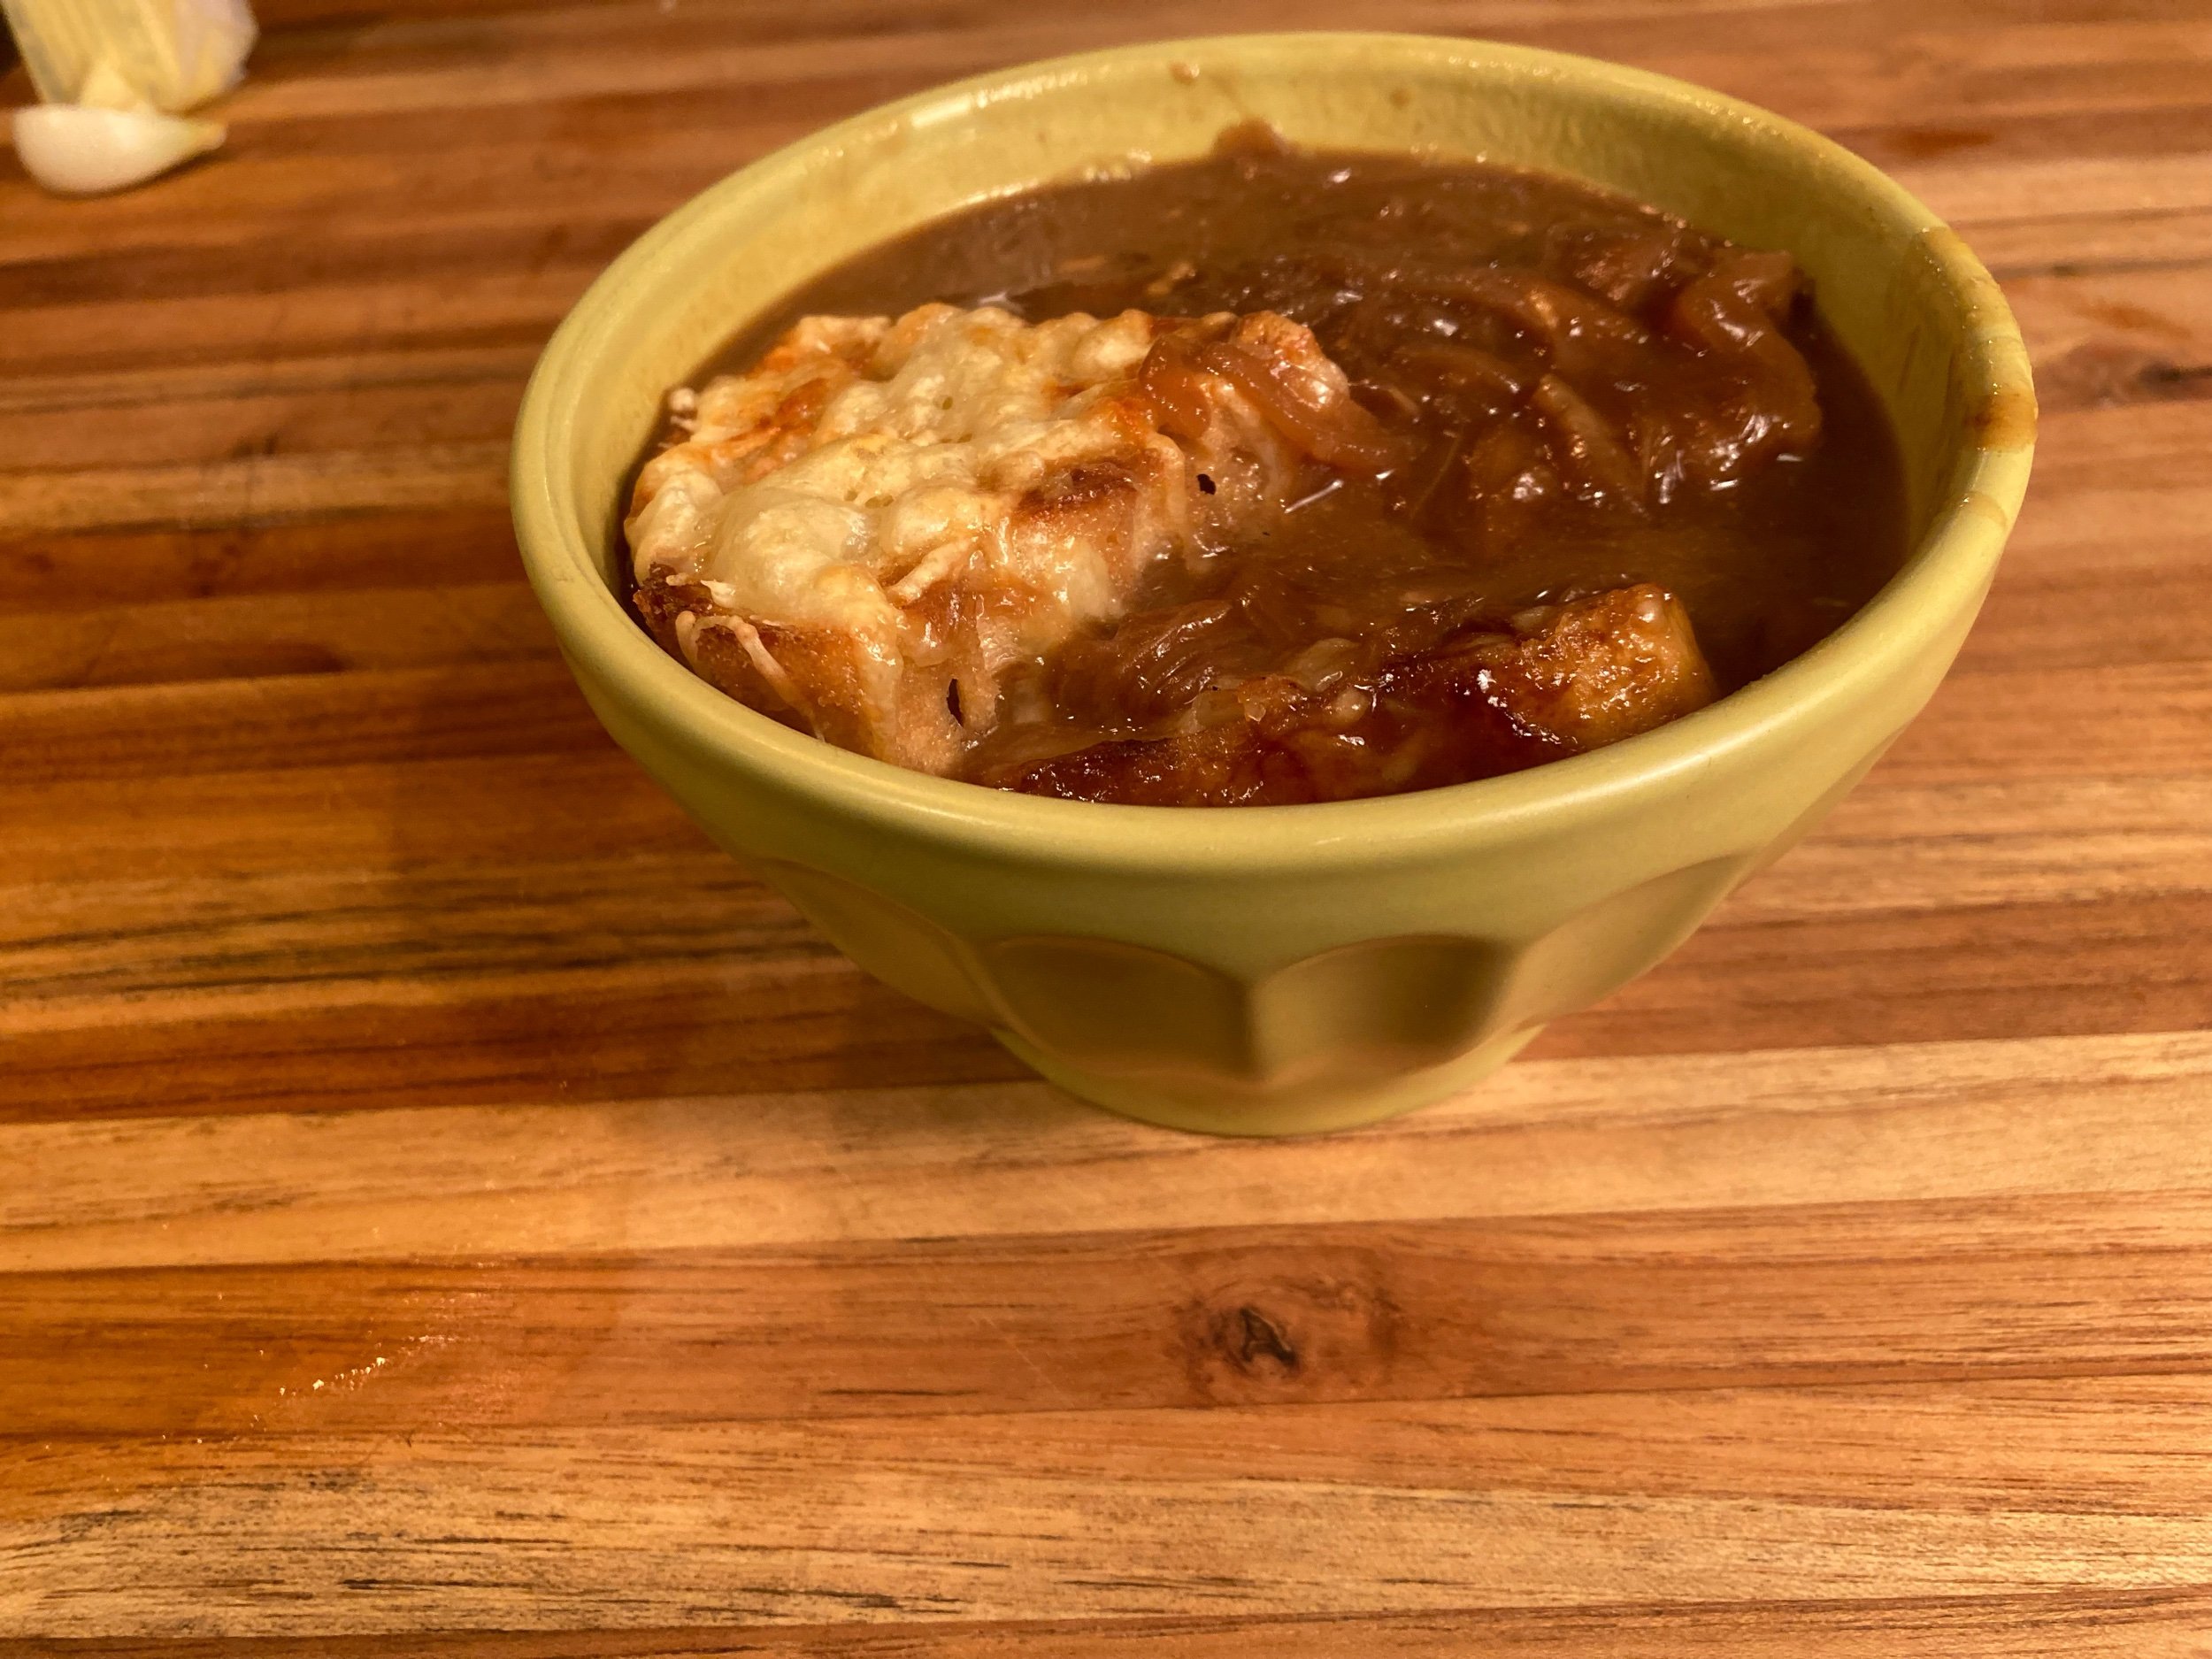
* I started by saying I would throw it on the ground and walk out, but I’ve never so much as sent food back at a restaurant. Even when I got a beef burger when I was a vegetarian and I know I ordered a veggie burger, I just told the concerned waiter who was wondering why I was looking at my food all sad and shit that I just realized I was really full and I asked for a to-go container to take it home where I threw it away and made buttered noodles or like Morningstar Farms “chicken” nuggets or something.
**I disagree with Julia here on heat and timing. Julia says moderate heat for 30-40 minutes for the onions after the initial covered 15 minutes. You can get some decent color this way and much faster than my method, but it’s far too easy to burn your onions as you really need to stir CONSTANTLY at this kind of heat. And you cried too hard to slice a pound and a half of onions to ruin them now. So: Cook covered on moderate heat with butter and oil for 15 minutes, uncover, and just turn your burner down low, stir occasionally for the first 45 minutes, and then set yourself a timer for every 10 minutes to stir, scrape up the little browned bits and fond that accumulate at the bottom. When it starts getting close, you’ll want to stir every 5 minutes so they don’t start to get frizzled. Just take it the fuck easy on the heat. It’s a rainy day soup for a reason. Let it take some time.
Soupe Gratinee des Trois Gourmandes [Onion Soup Gratineed de Luxe] from Mastering the Art of French Cooking by Julia Child et al.
Ingredients
to make Soupe a l’Oignon [Onion Soup]
1-1/2 lbs or about 5 cups of thinly sliced yellow onions
3 Tb butter
1 Tb oil
1 tsp salt
¼ tsp sugar
3 Tb flour
2 quarts boiling brown stock
½ cup dry white wine or dry white vermouth
Salt and pepper to taste
to make Croutes [hard toasted French bread]
12-16 slices French bread, cut 3/4” – 1” thick
Olive oil or beef drippings
1 cut clove of garlic
to make Onion Soup Gratineed with Cheese
The onion soup you made
1 T grated raw onion
2 oz Swiss cheese cut into very thin slivers
12-16 croutes you made
1-1/2 cups grated Swiss cheese, or a mixture of Swiss and Parmesan
1 Tb olive oil or melted butter
to make Onion Soup Gratineed de Luxe
1 tsp cornstarch
1 egg yolk
1 tsp Worcestershire sauce
3 Tb cognac
Equipment
A heavy-bottomed, 4-quart (or larger) saucepan (or oven-safe Dutch oven)
Cookie sheet or sheet cake pan
A wire whisk
A soup ladle
A serving fork
A 2 quart bowl
A wooden spatula or flat edge spoon
Citation
Child, Julia, Louisette Bertholle, and Simone Beck. Mastering the Art of French Cooking. 1961. 40th Anniversary ed., Knopf, 2009.

Mr. Boston's Millionaire Cocktail
Millionaire Cocktail from the Old Mr. Boston Deluxe Official Bartenders Guide
1 egg white
1/4 tsp Grenadine
1/2 oz Triple Sec
1-1/2 oz Old Mr. Boston Blended Whiskey
Shake with ice and strain into cocktail glass.
Why this?

I’m waiting for Luke to get home, and I have 3 egg whites left over from making Julia Child’s Garlic Soup. I literally just opened the book until I found something with an egg white that I had all the other ingredients for. And this chick looks like she’s having f.u.n. FUN.
I’m guessing this book is in the public domain at this point. This is my parent’s old copy, and is how I learned about coctails. I marked it all up when I was a teenager. Looks like you can get it on ebay, though don’t get it just to make this recipe.


Yeah, it was bad. Like, almost terrible. The color was… just a little pink, but not pink enough to be pink, and like, whitish pink. It reminded my of a scene from Dead Alive that I’d prefer to stop thinking about. And it tasted like basically nothing. You could smell a little whiskey coming off of it, but there wasn’t enough sweet or flavor from the grenadine or the triple sec to do anything but deaden the taste of the whisky, so I couldn’t even really taste that anymore. So yeah, that’s a skip for me. Maybe it was because I burned my tongue on the garlic soup a little, but honestly, I couldn’t taste anything. Also a Donald Trump courtroom sketch managed to creep into my photos from the news in the background. Millionaire Cocktail indeed. Skip this one.
Citation
Mr. Boston Deluxe Official Bartender’s Guide. 1935. Boston, Mr. Boston Distiller Co., 1977.
![Julia Child's Aigo Bouido [Garlic Soup] from Mastering the Art of French Cooking](https://images.squarespace-cdn.com/content/v1/54c97b77e4b002ff91c0d532/5baa6091-f446-4c66-9481-5df6b5efc491/IMG_9671.jpg)
Julia Child's Aigo Bouido [Garlic Soup] from Mastering the Art of French Cooking
Today I’m going to make Julia Child’s Garlic Soup from Mastering the Art of French Cooking. Mine is the 40th Anniversary Edition. They’re into the 50th now.
Julia says that
because the garlic is boiled, its after-effects are at a minimum, and its flavor becomes exquisite, aromatic, and almost indefinable. Along the Mediterranean an aigo bouido is considered to be very good indeed for the liver, blood circulation, general physical tone, and spiritual health. (40th Anniversary Edition p 46-47)
Well, I could use some tone and spiritual health, so let’s get going.
With the garlic, the actual first listed ingredient, I run into my first big question – yes, the garlic part of the garlic soup throws the first wrench. She says “one separated head or approx. 16 cloves of garlic.” So I haven’t counted a store bought head of garlic in a while, and I’m using homegrown. Store bought will be softneck, I’m using hardneck, looks like a Chesnock Red or Russian Red, but my row markers all washed out. And my cloves are ENORMOUS, like one head of garlic will be 5 cloves, and they’re all quite big. So I’m using 1-1/2 heads, it’s 9 cloves, and weighs 2.8 oz (before peeling). Or maybe 3 more making it two whole heads? Julia says “A head of garlic is not at all too much for 2 quarts of soup. For some addicts, it’s not even enough” (47) so maybe I should do 2 heads?

Biiig garlic.
Julia, how big was your garlic??
Ok, I’m doing 2 heads, 12 cloves, 3.7 oz. Am I gonna regret it? Probably, I regret most things. Have I ever regretted using too much garlic? Not to the best of my recollection, your honor.
I have to assume that the changes in quality, type, clove size, freshness of the garlic itself could have a huge impact on the flavor of this recipe. This is probably a great tester of garlic harvests and varieties, so if you’re growing your own garlic, or buying from your local growers or farmers markets, this could be a good first recipe to try to assess a new variety.
Julia wants me to drop the cloves into boiling water, boil for 30 seconds, drain, run under cold water, and peel.
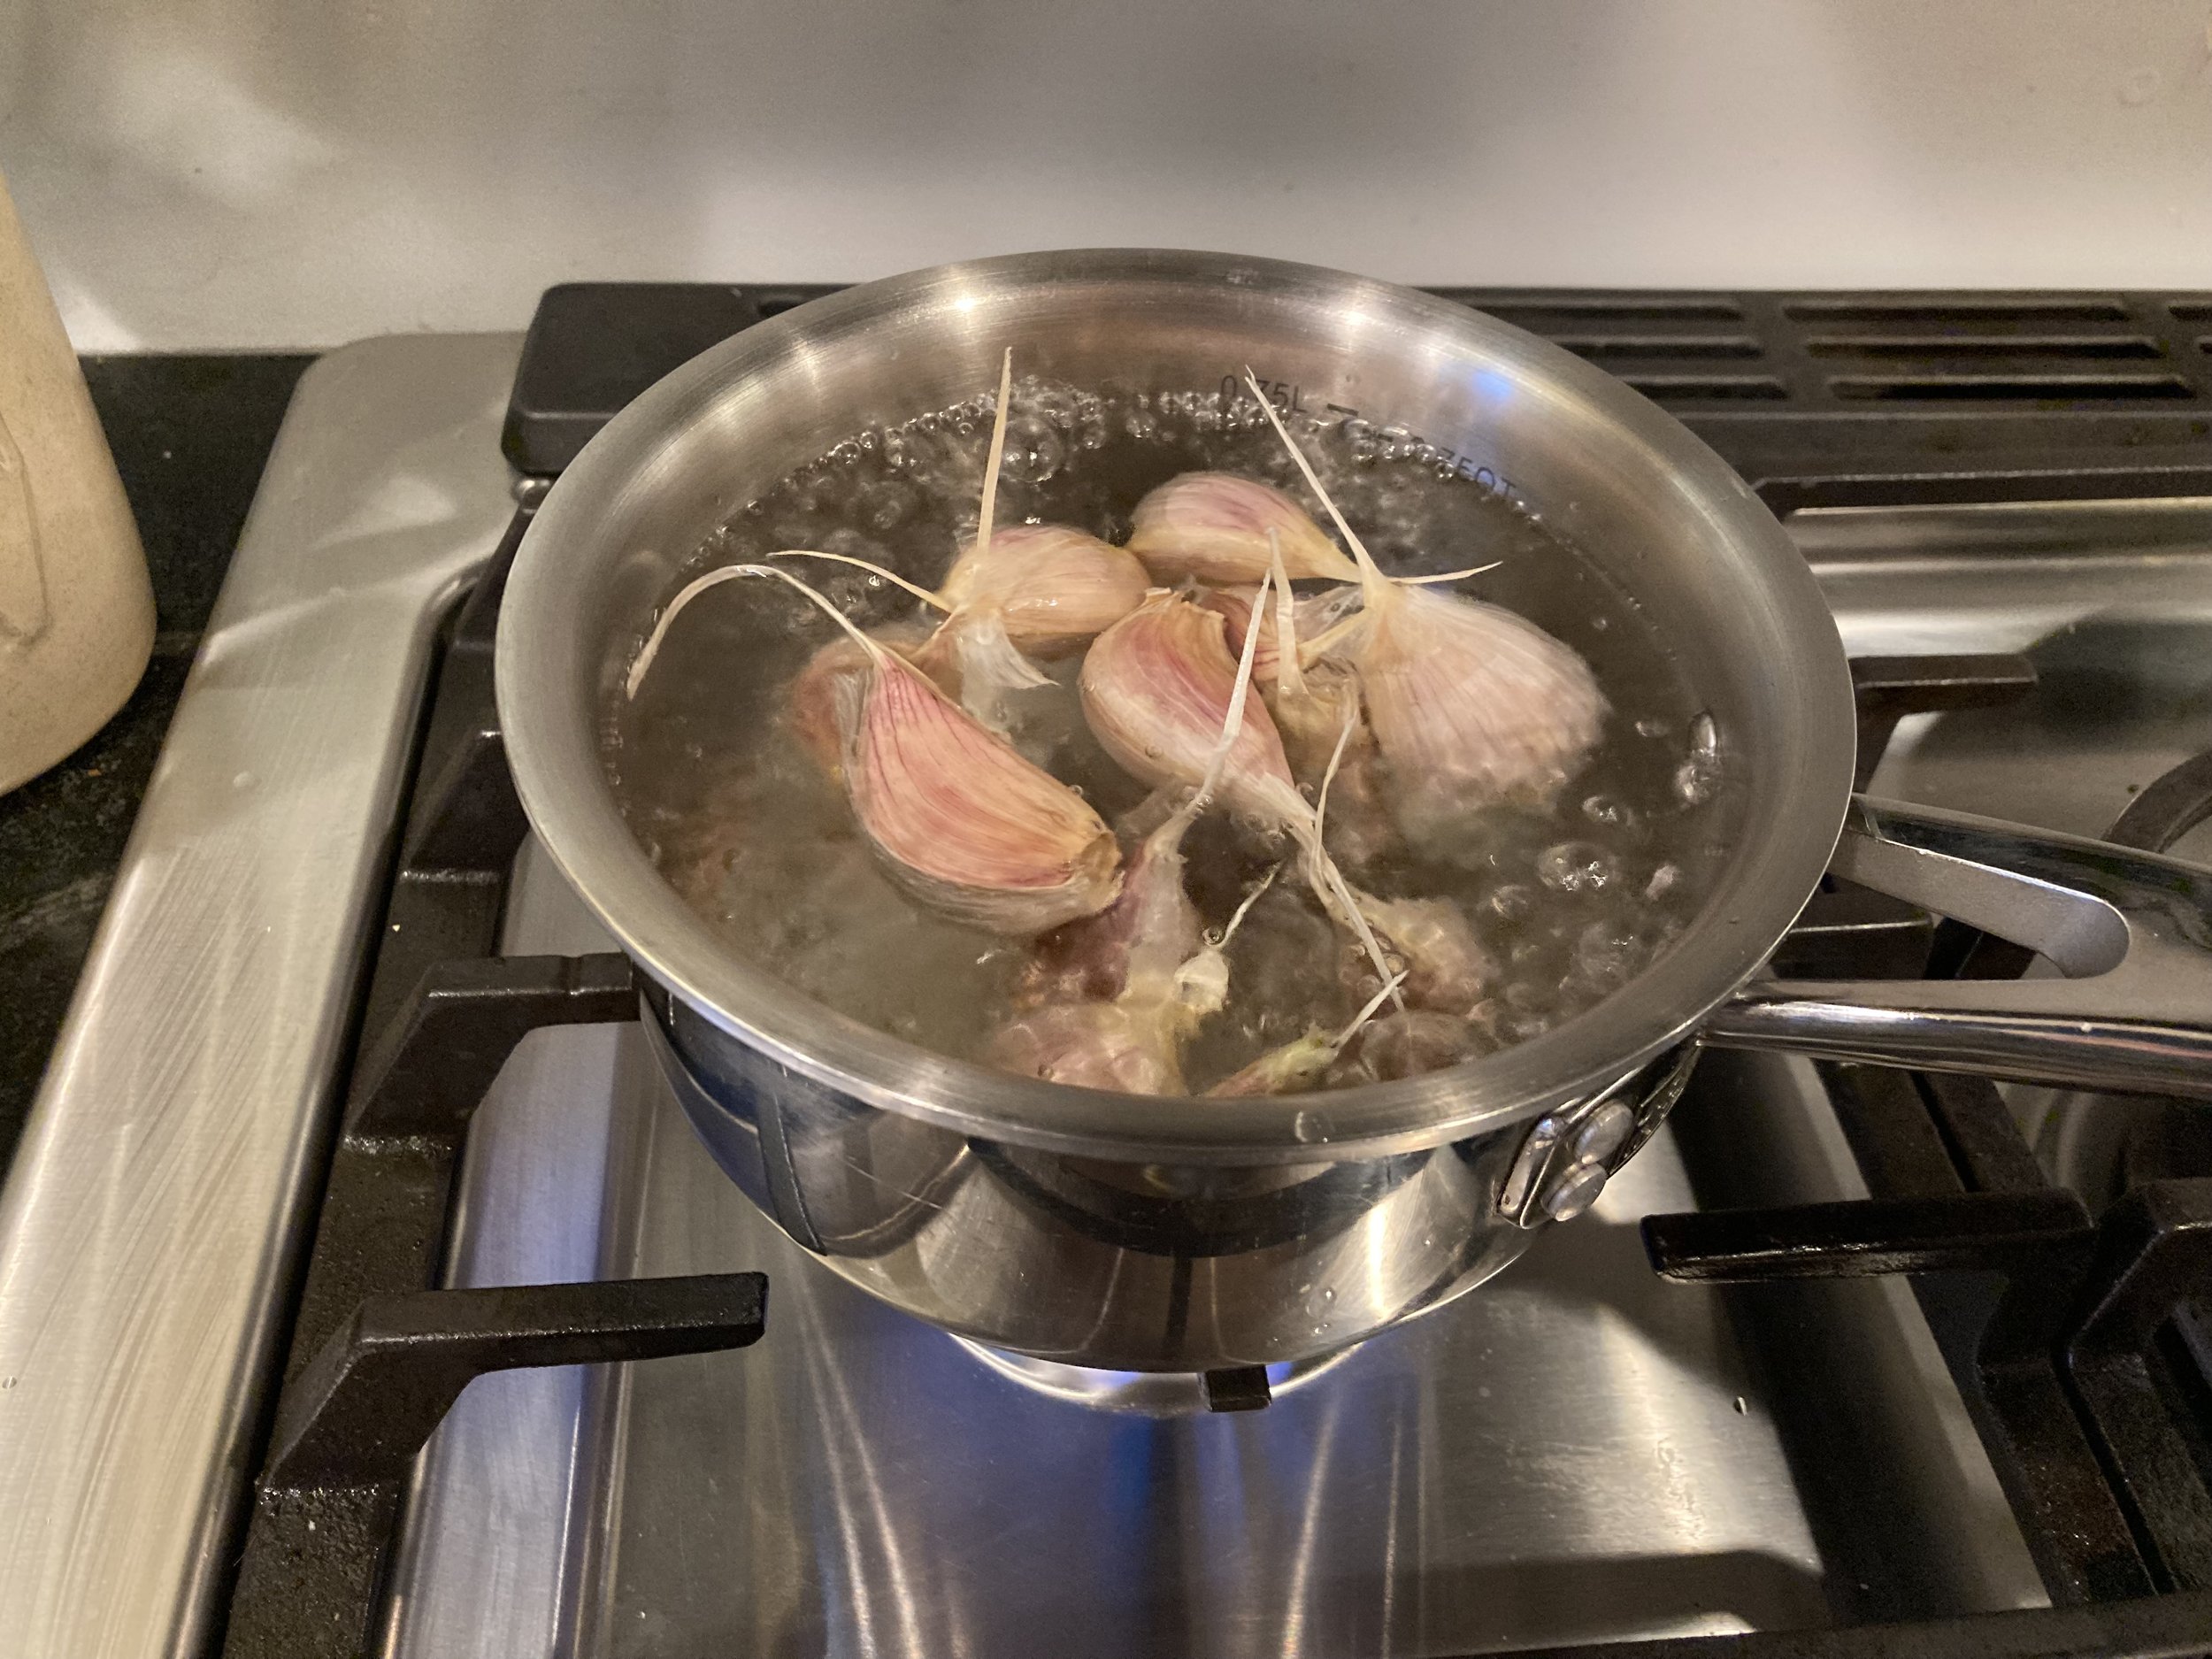
Done.
Other ingredients have been gathered.
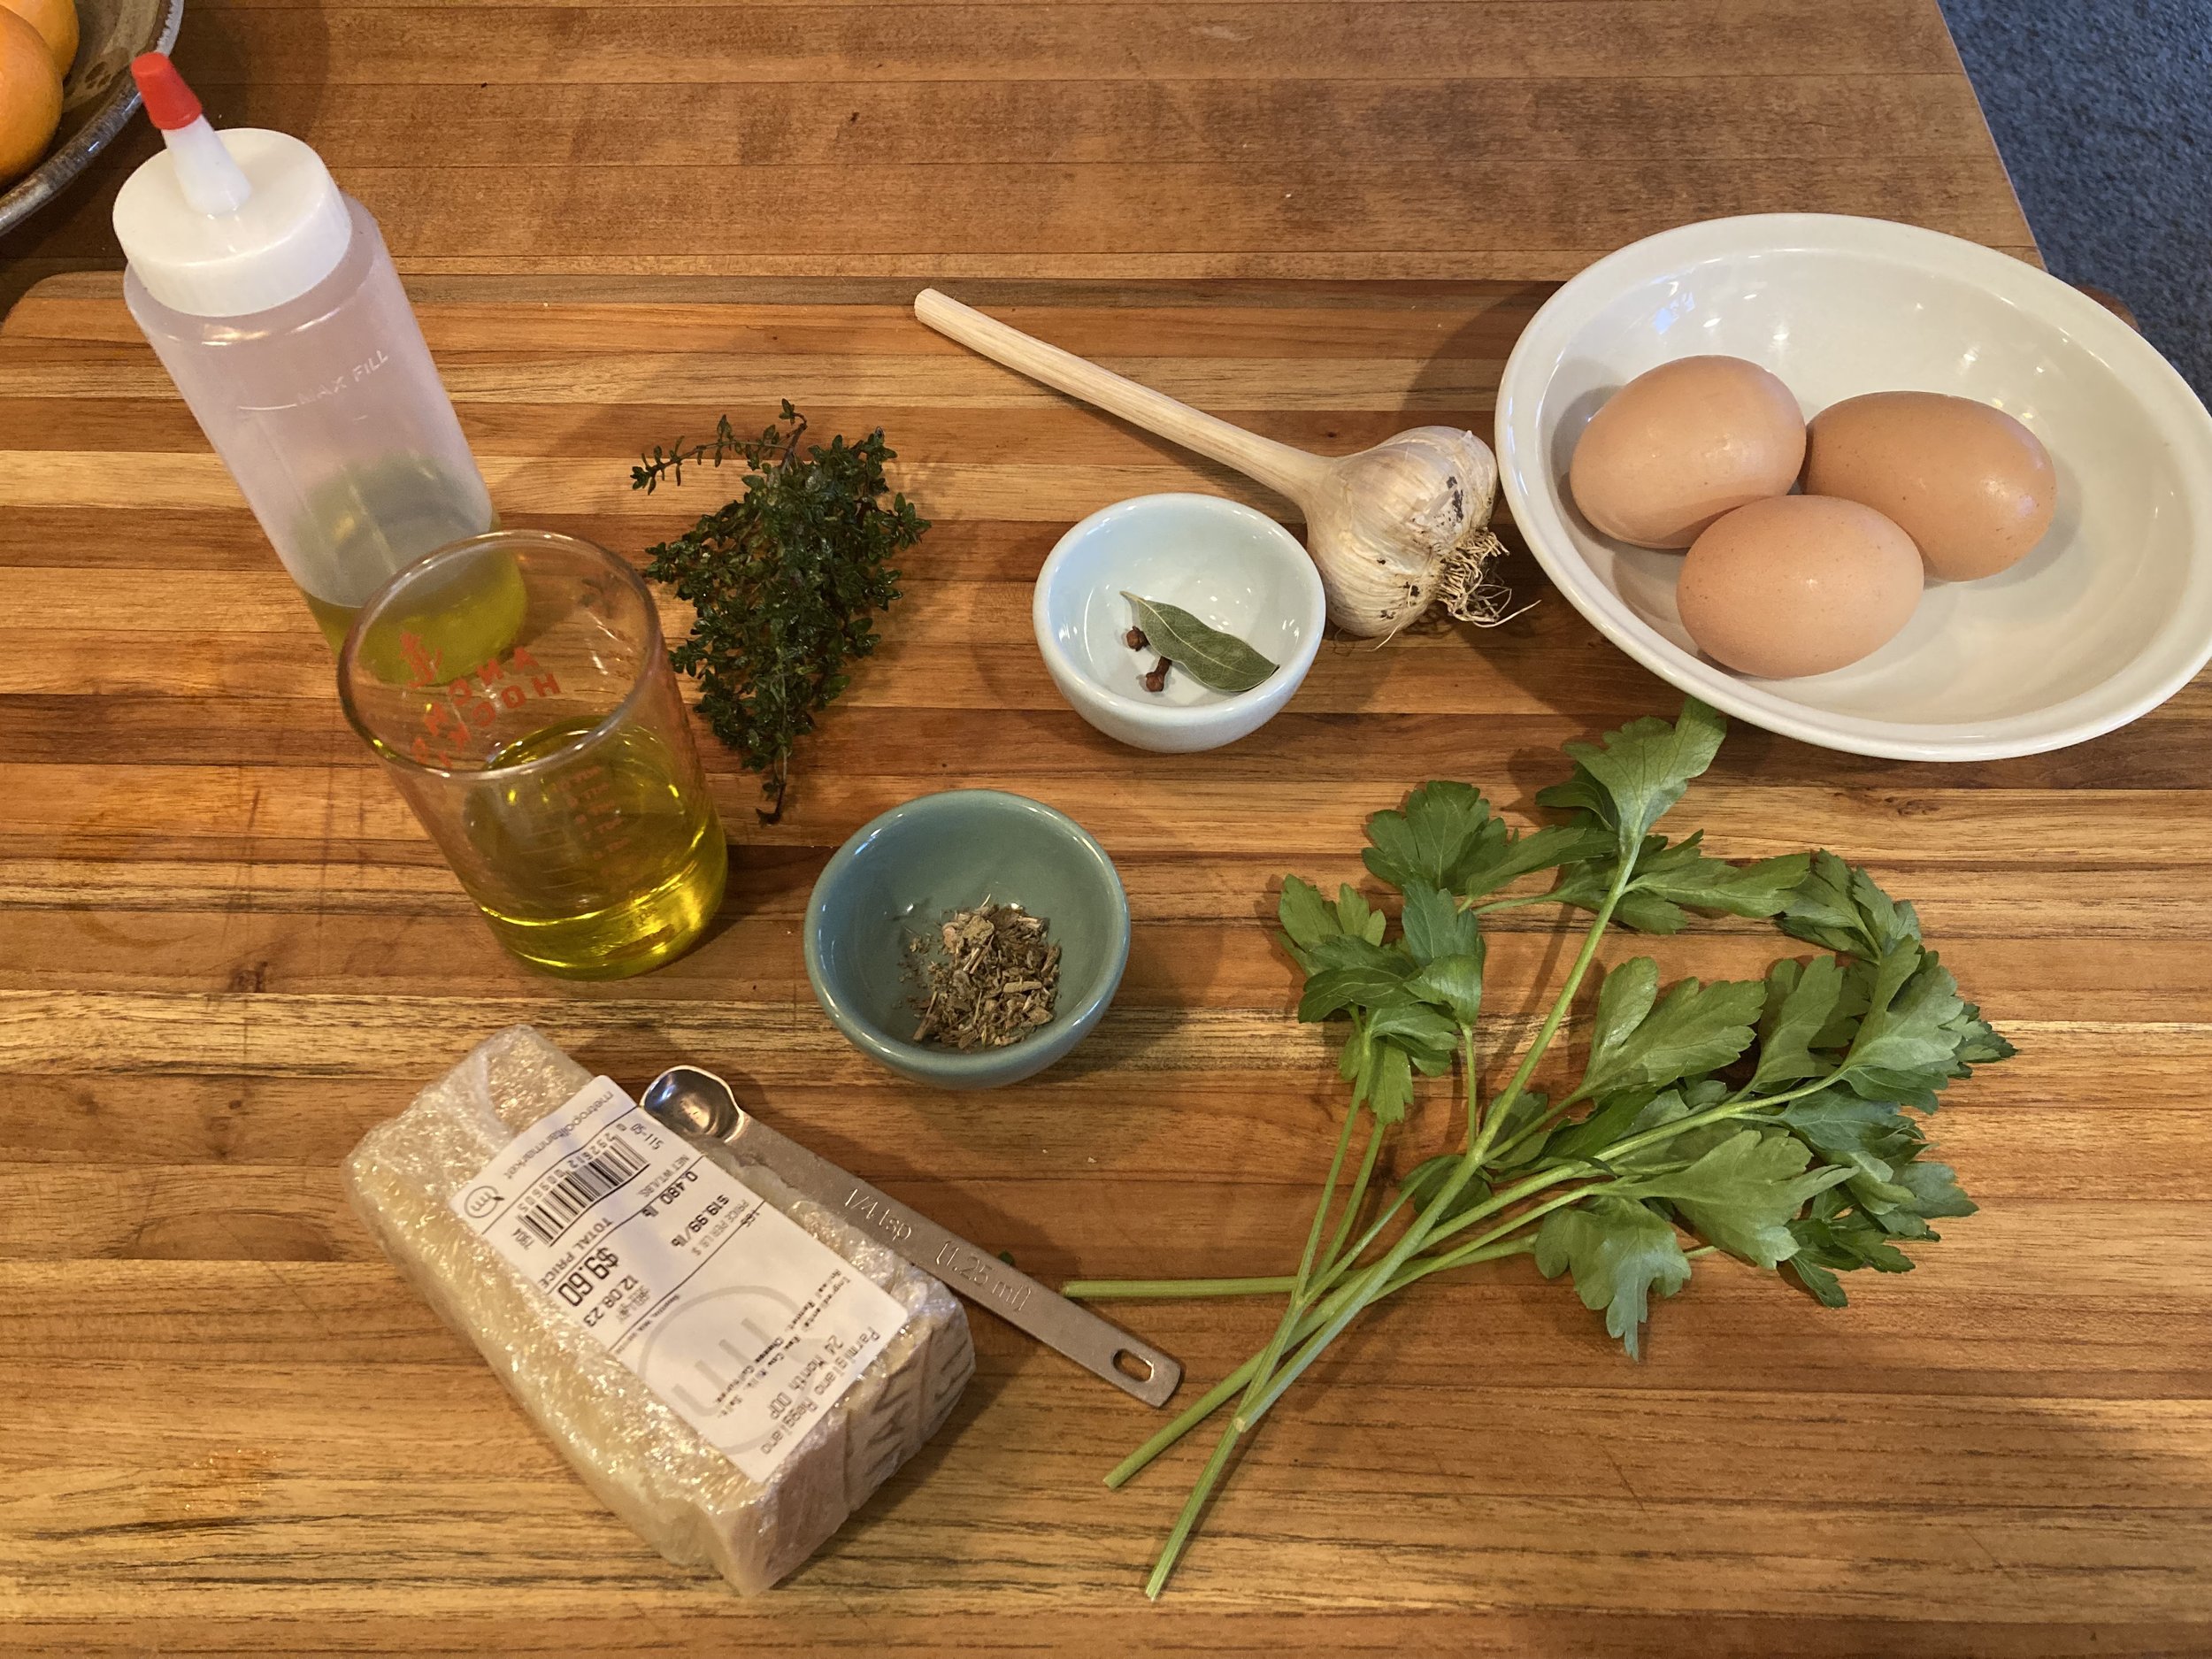
Added all of the following: water, salt, pepper, cloves, sage (mine is old, so I’m doubling what Julia says) bay leaf, parsley sprigs, first 3 T olive oil to a 3-quart saucepan (I’m using my big ole dutch oven, though Julia says use a 3-quart saucepan, but mine is ugly and non-stick, and the coating is failing, plus I think it will be prettier in the white enameled lining.)
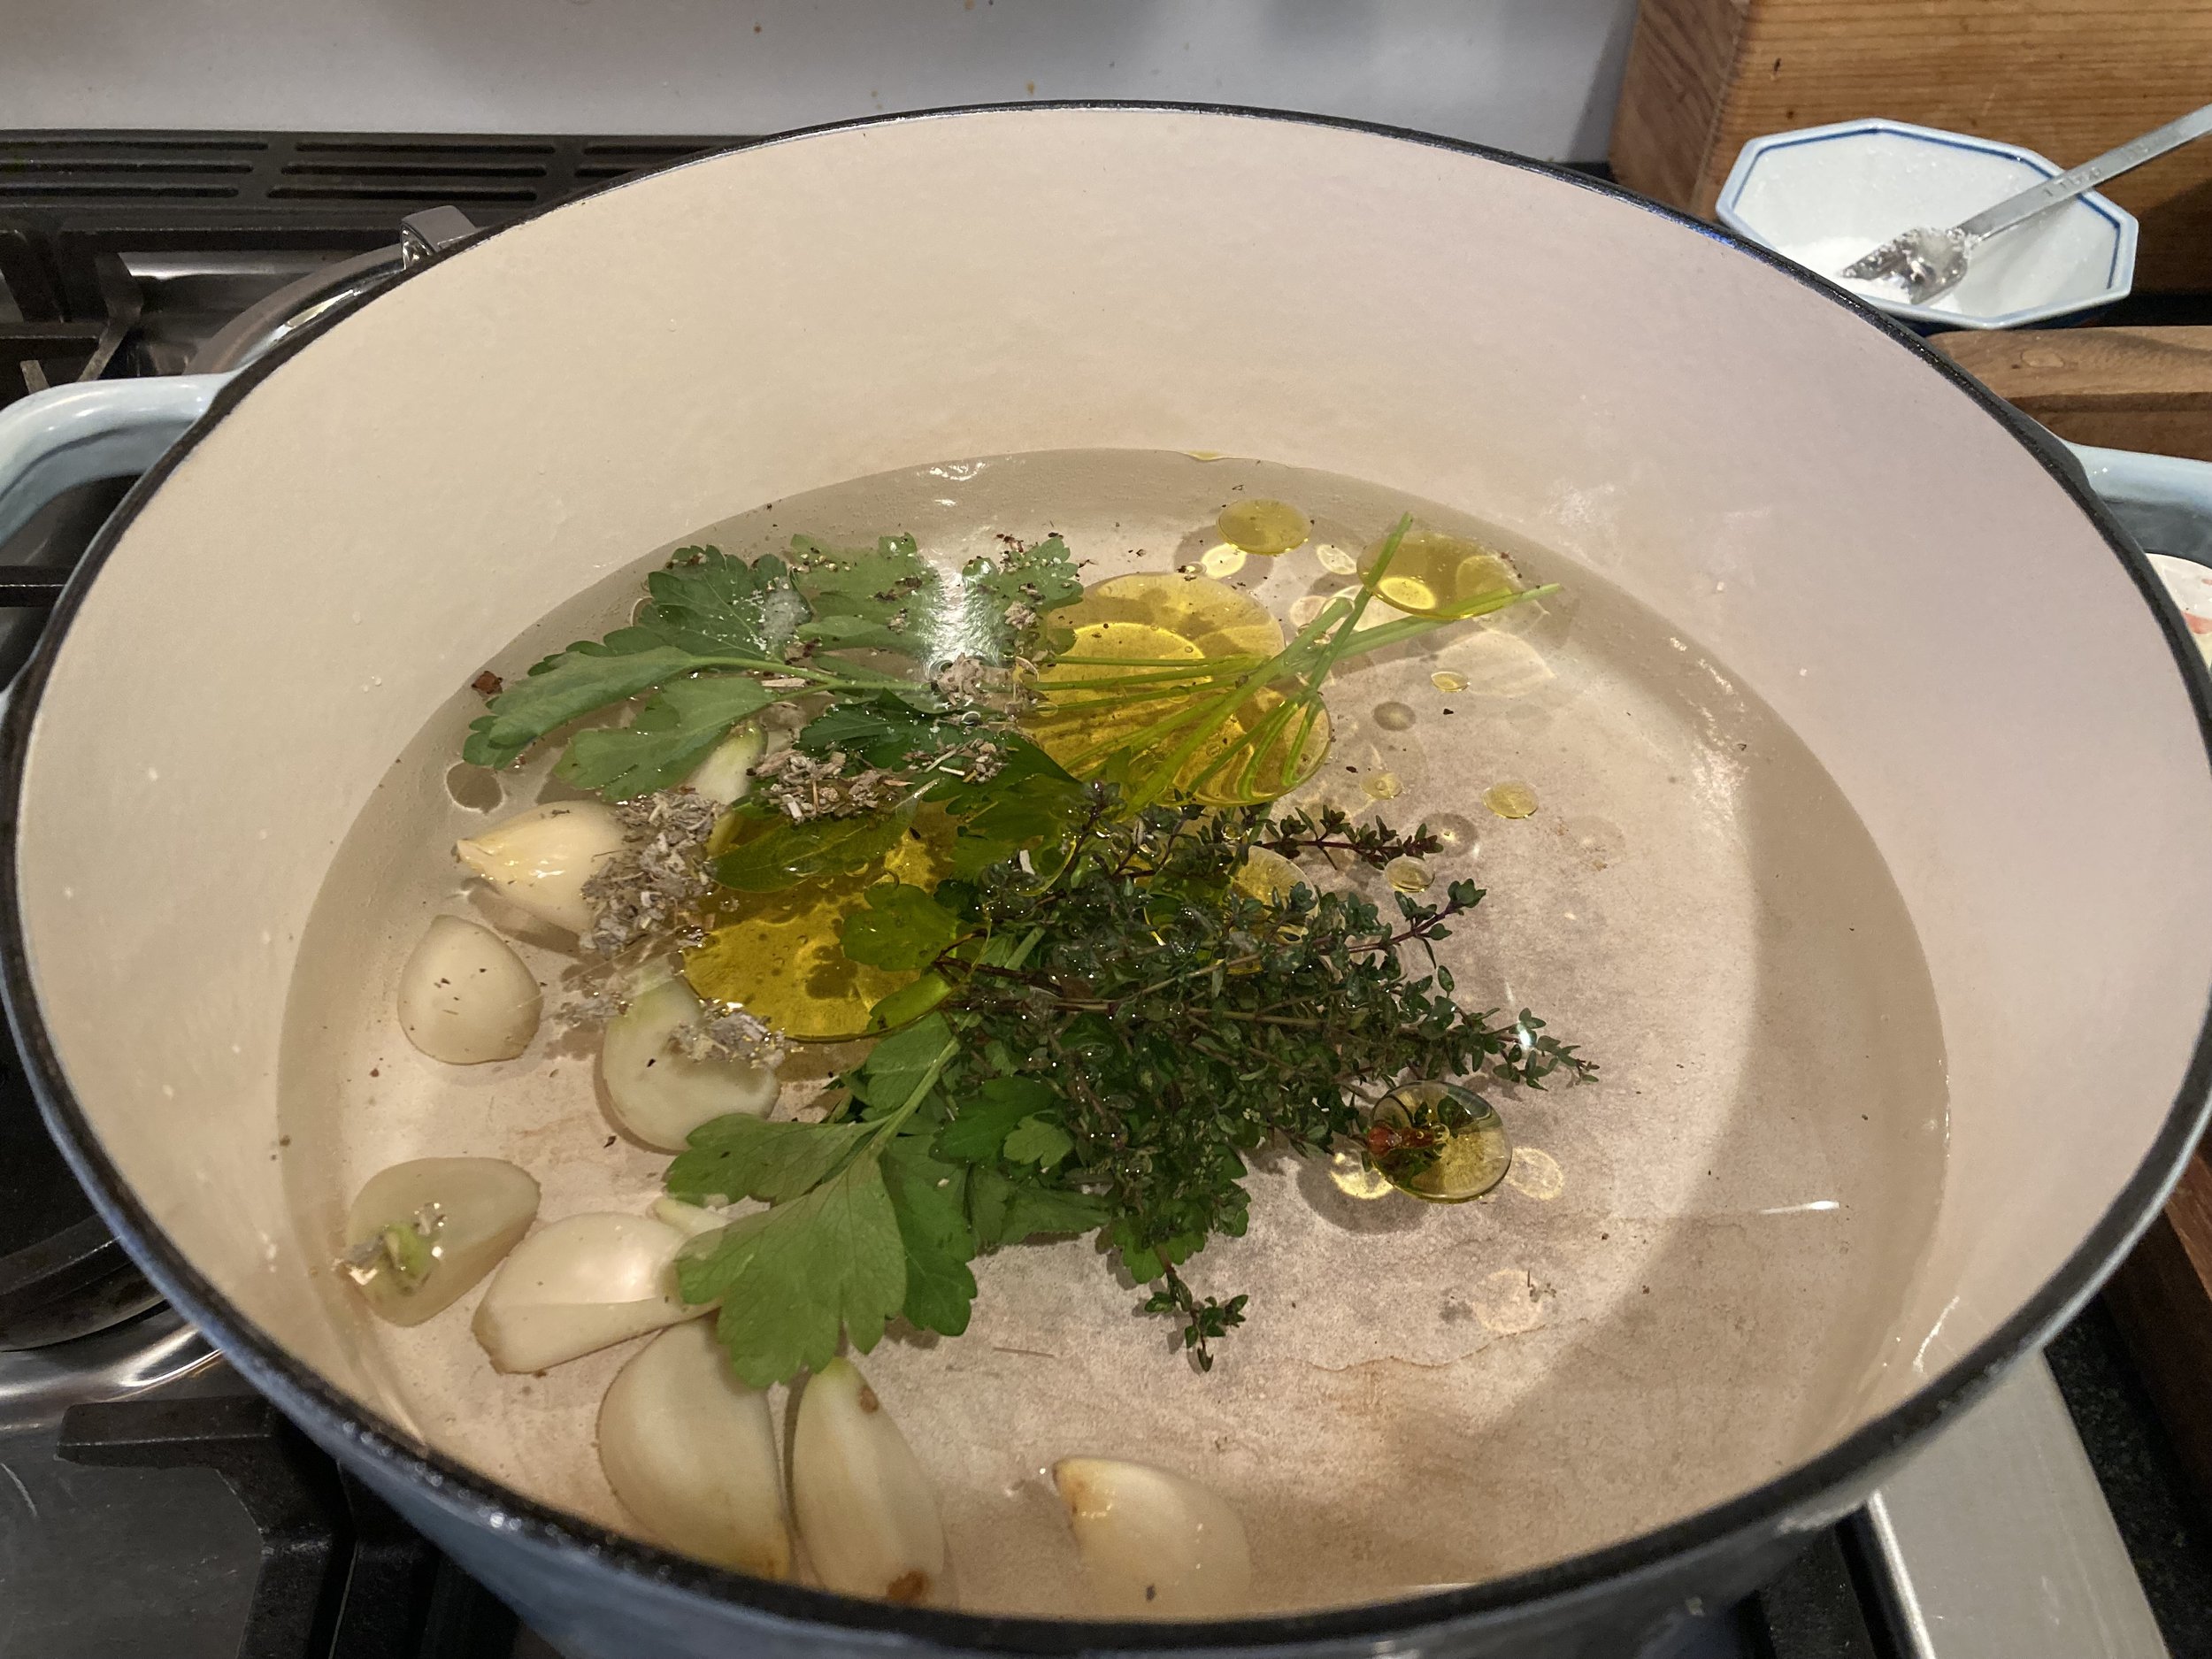
Bring to a boil, and simmer slowly for 30 minutes.
By which time the gigantic cloves of garlic were still very much not soft, so I would say simmer until your garlic is cooked through, because you’re going to have to push it through a sieve, and you can’t do that if it is still crunchy, needs to be something where you can, like, smoosh it easily with a fork.

Taste, burn the fuck out of your tongue, wonder why you are this way, sulk, ice tongue. Keep simmering.
And here I had to let the soup sit in the pot for several hours because Luke’s saxophone repair tech called, and he had to go pick up his horn. But I think that’s ok because Julia said “when you are ready to serve…” you do the part where you beat the egg yolks and dribble in oil like you’re making mayo, which suggests that the soup can wait at this stage until it is ready to serve. So it did. But it also meant I could taste it for seasoning without burning my tongue, and make a cocktail that uses one of the egg whites I didn’t use.
Maybe I’ll do a Mr Boston Bartender’s Guide drink-along series. Tell me what you think in the comments. Oh wait, no one is reading this. Drink I shall.
The cocktail was a disappointment.
Ok, so the next step is to essentially make a mayonnaise in your serving bowl. Whip the egg yolks, then slowly add the remaining olive oil, just whip whip, dribble dribble, until you’ve added 3T (which was plenty). Then add a ladelfull of the soup into your fine mesh strainer over your tureen or serving bowl. You need to do the first ladelfull then whip it up a bit still to stabilize it. After that you you can add the rest of the soup, pushing it through the sieve, mashing up all that good garlic, and use a bowl scraper to get all the bits that have pushed through the sieve.
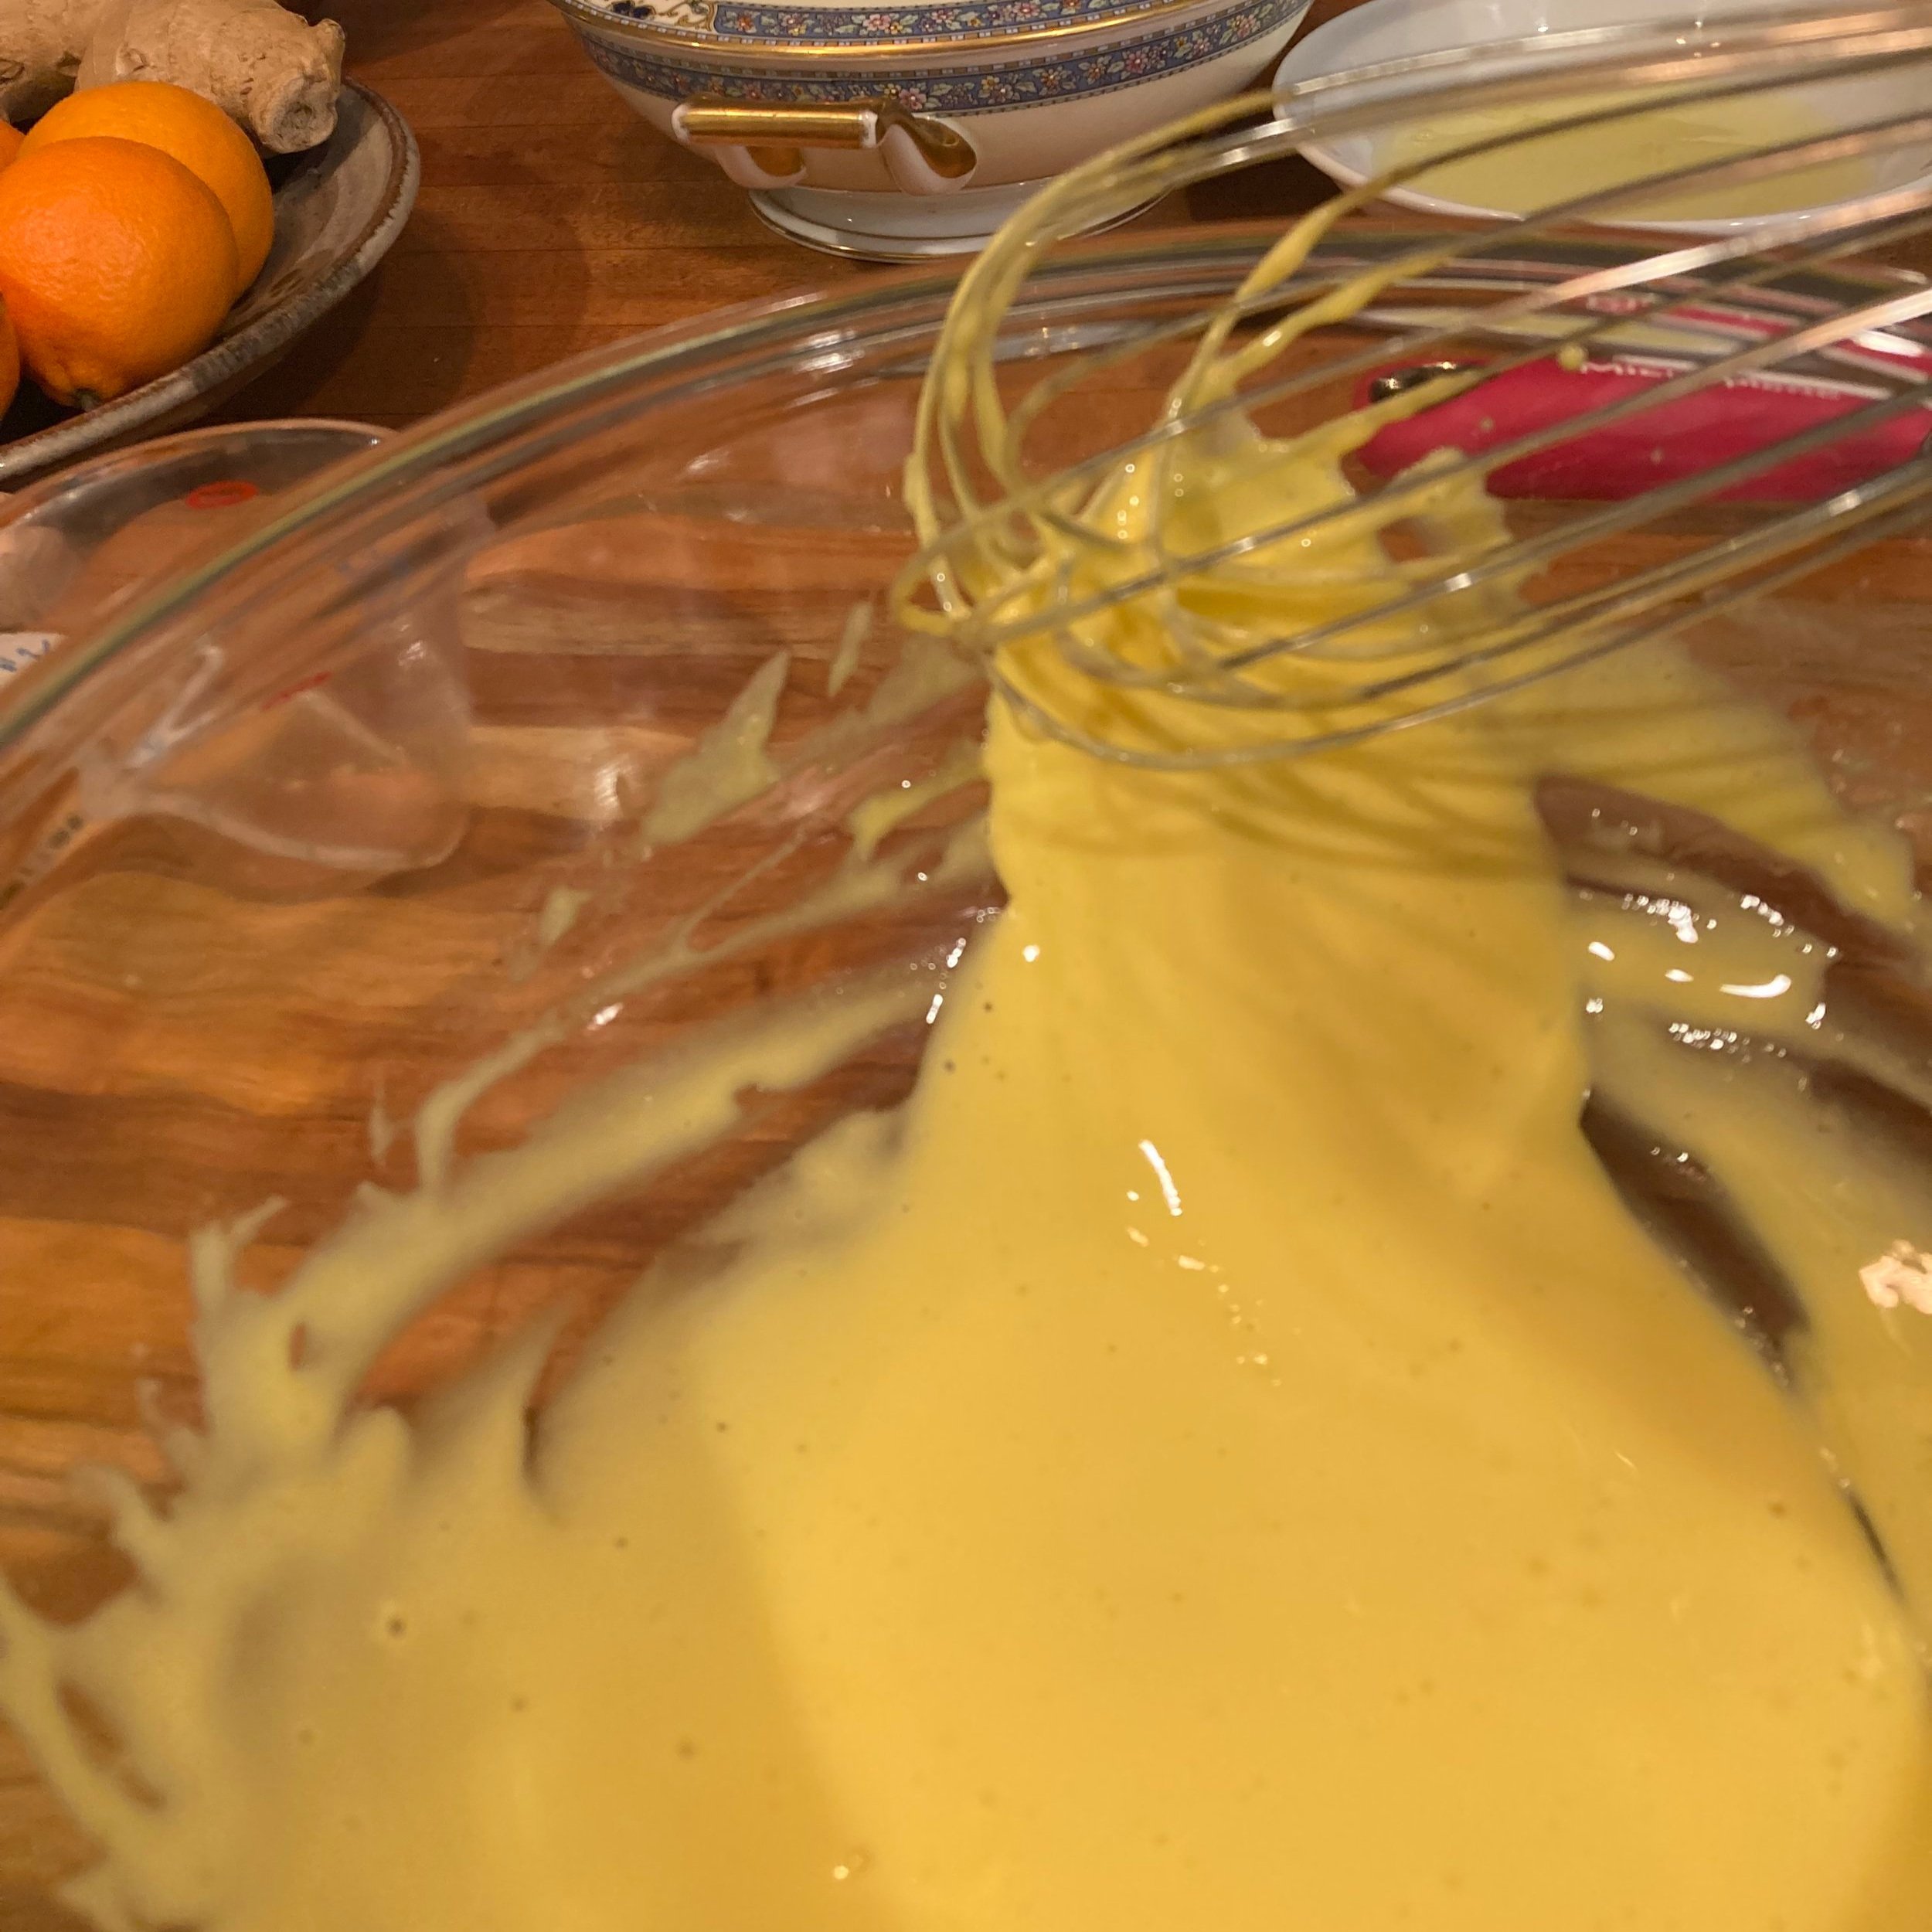
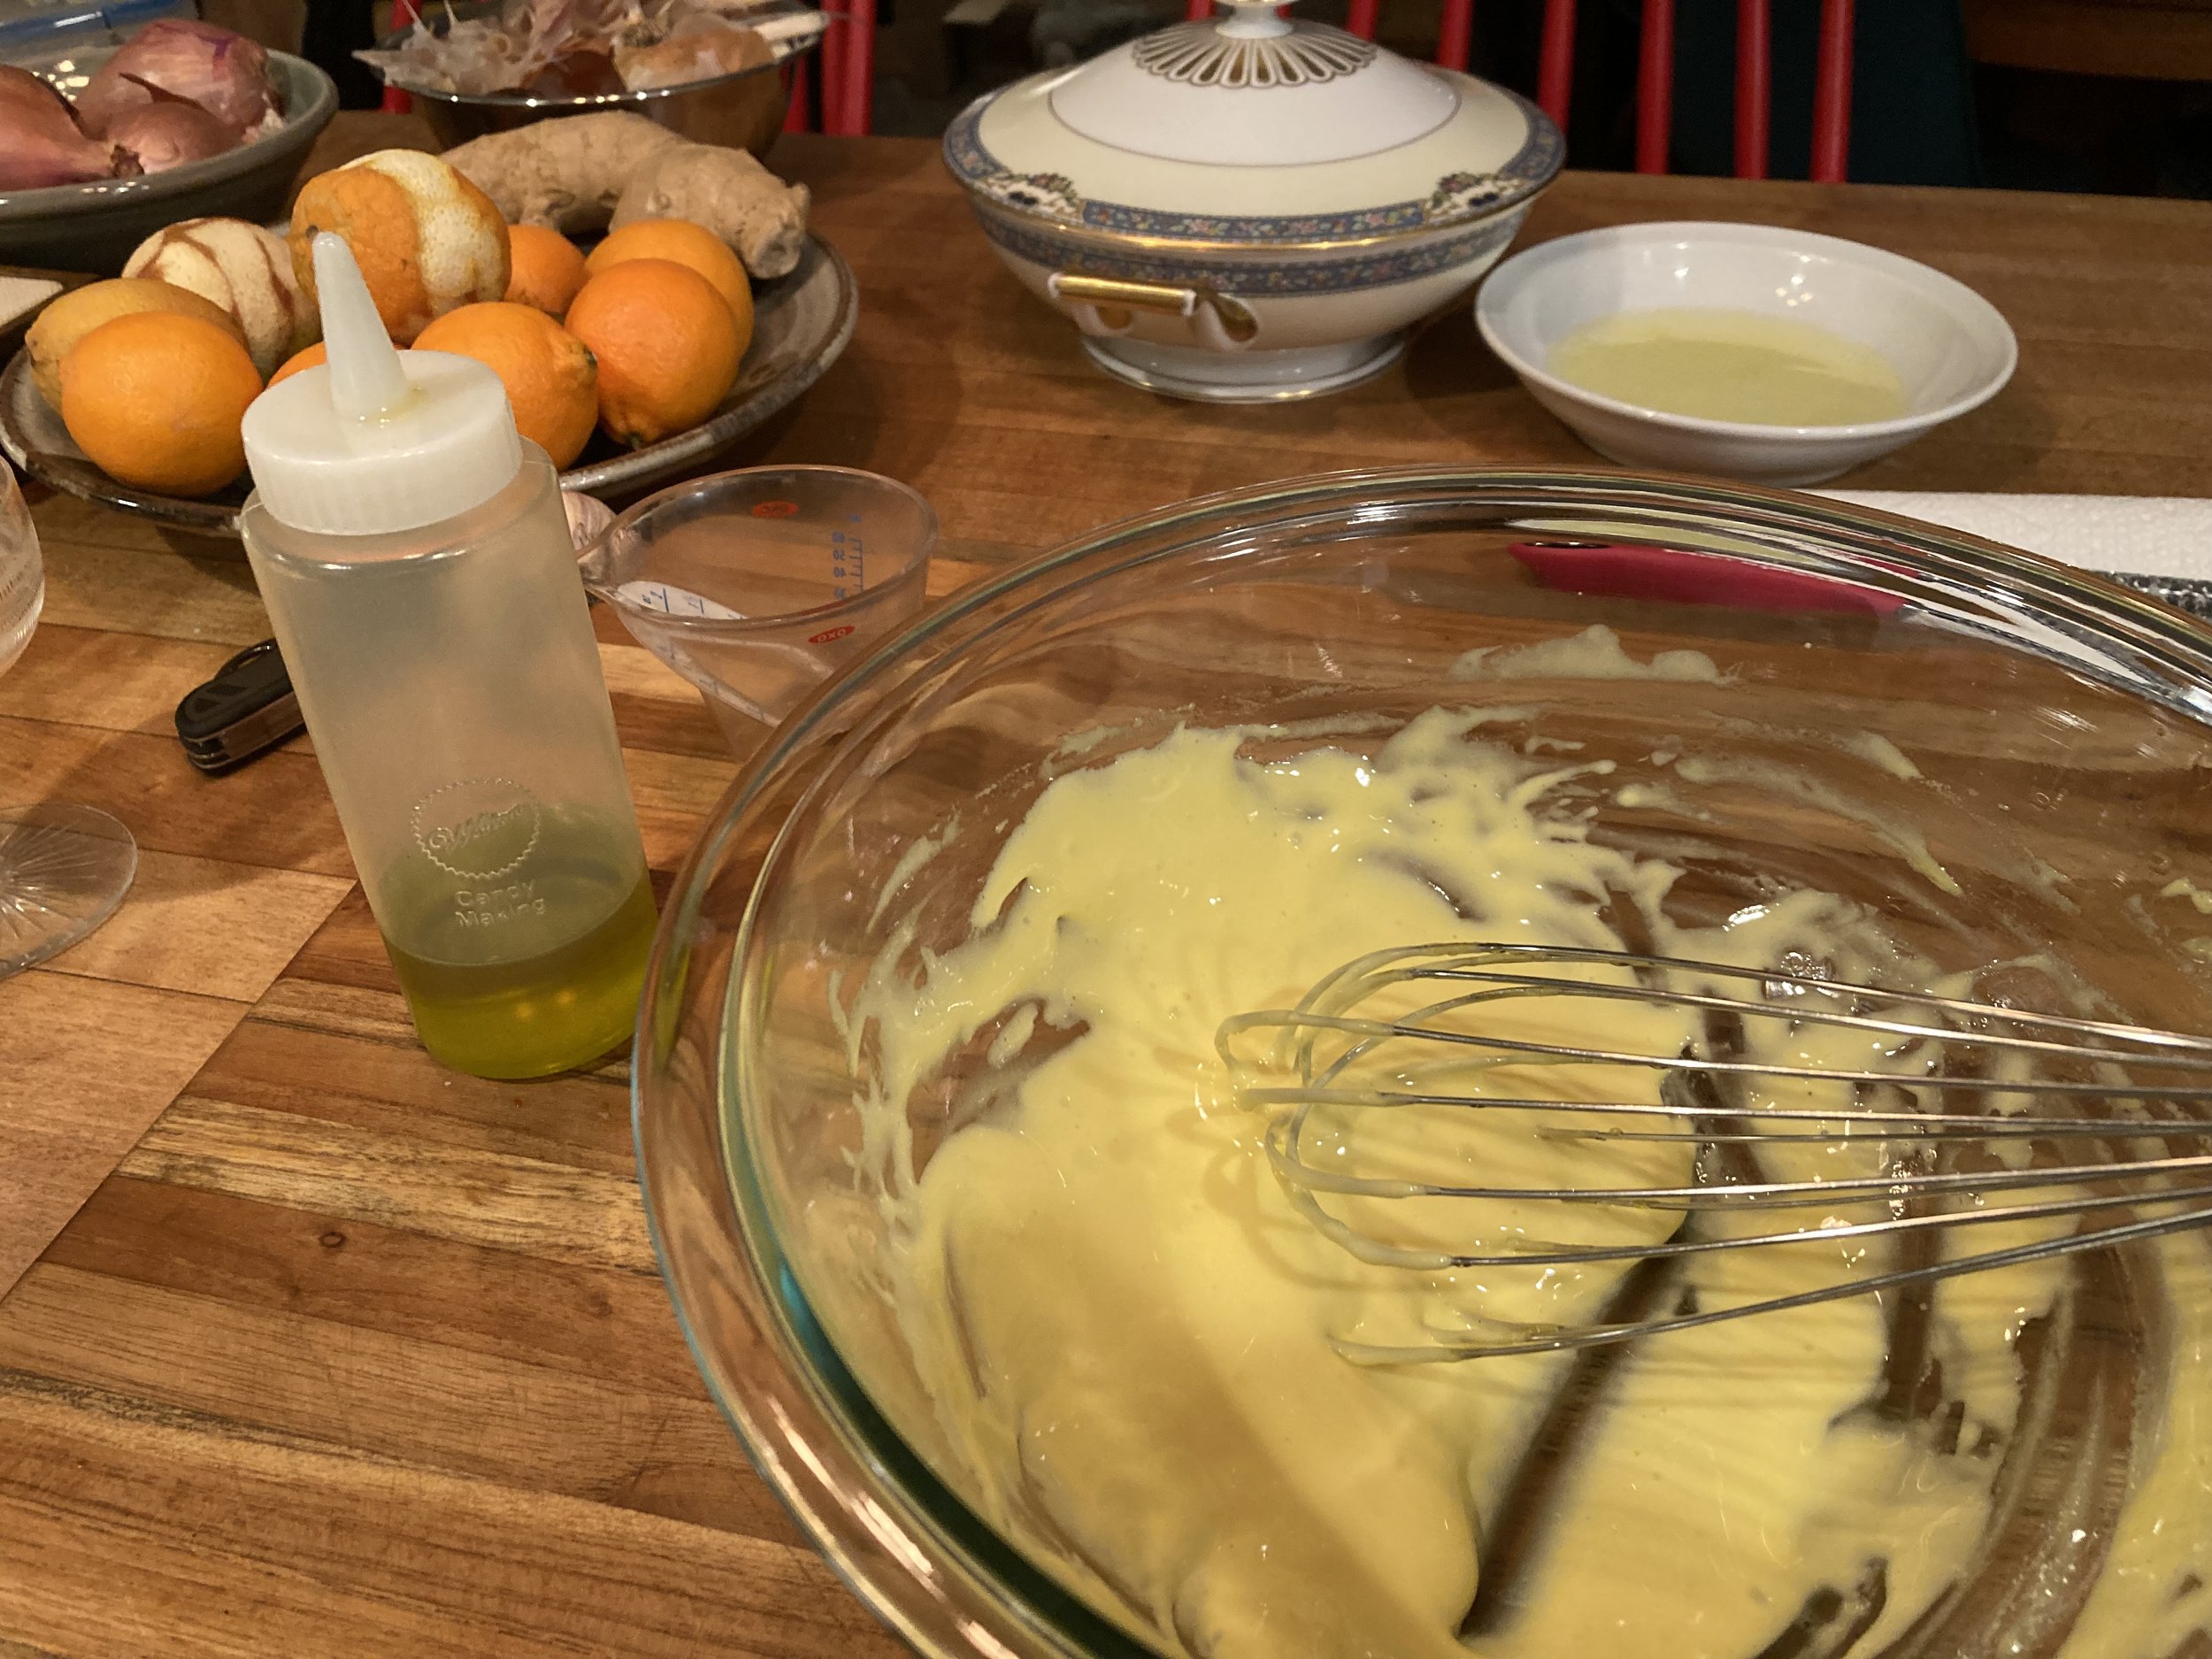

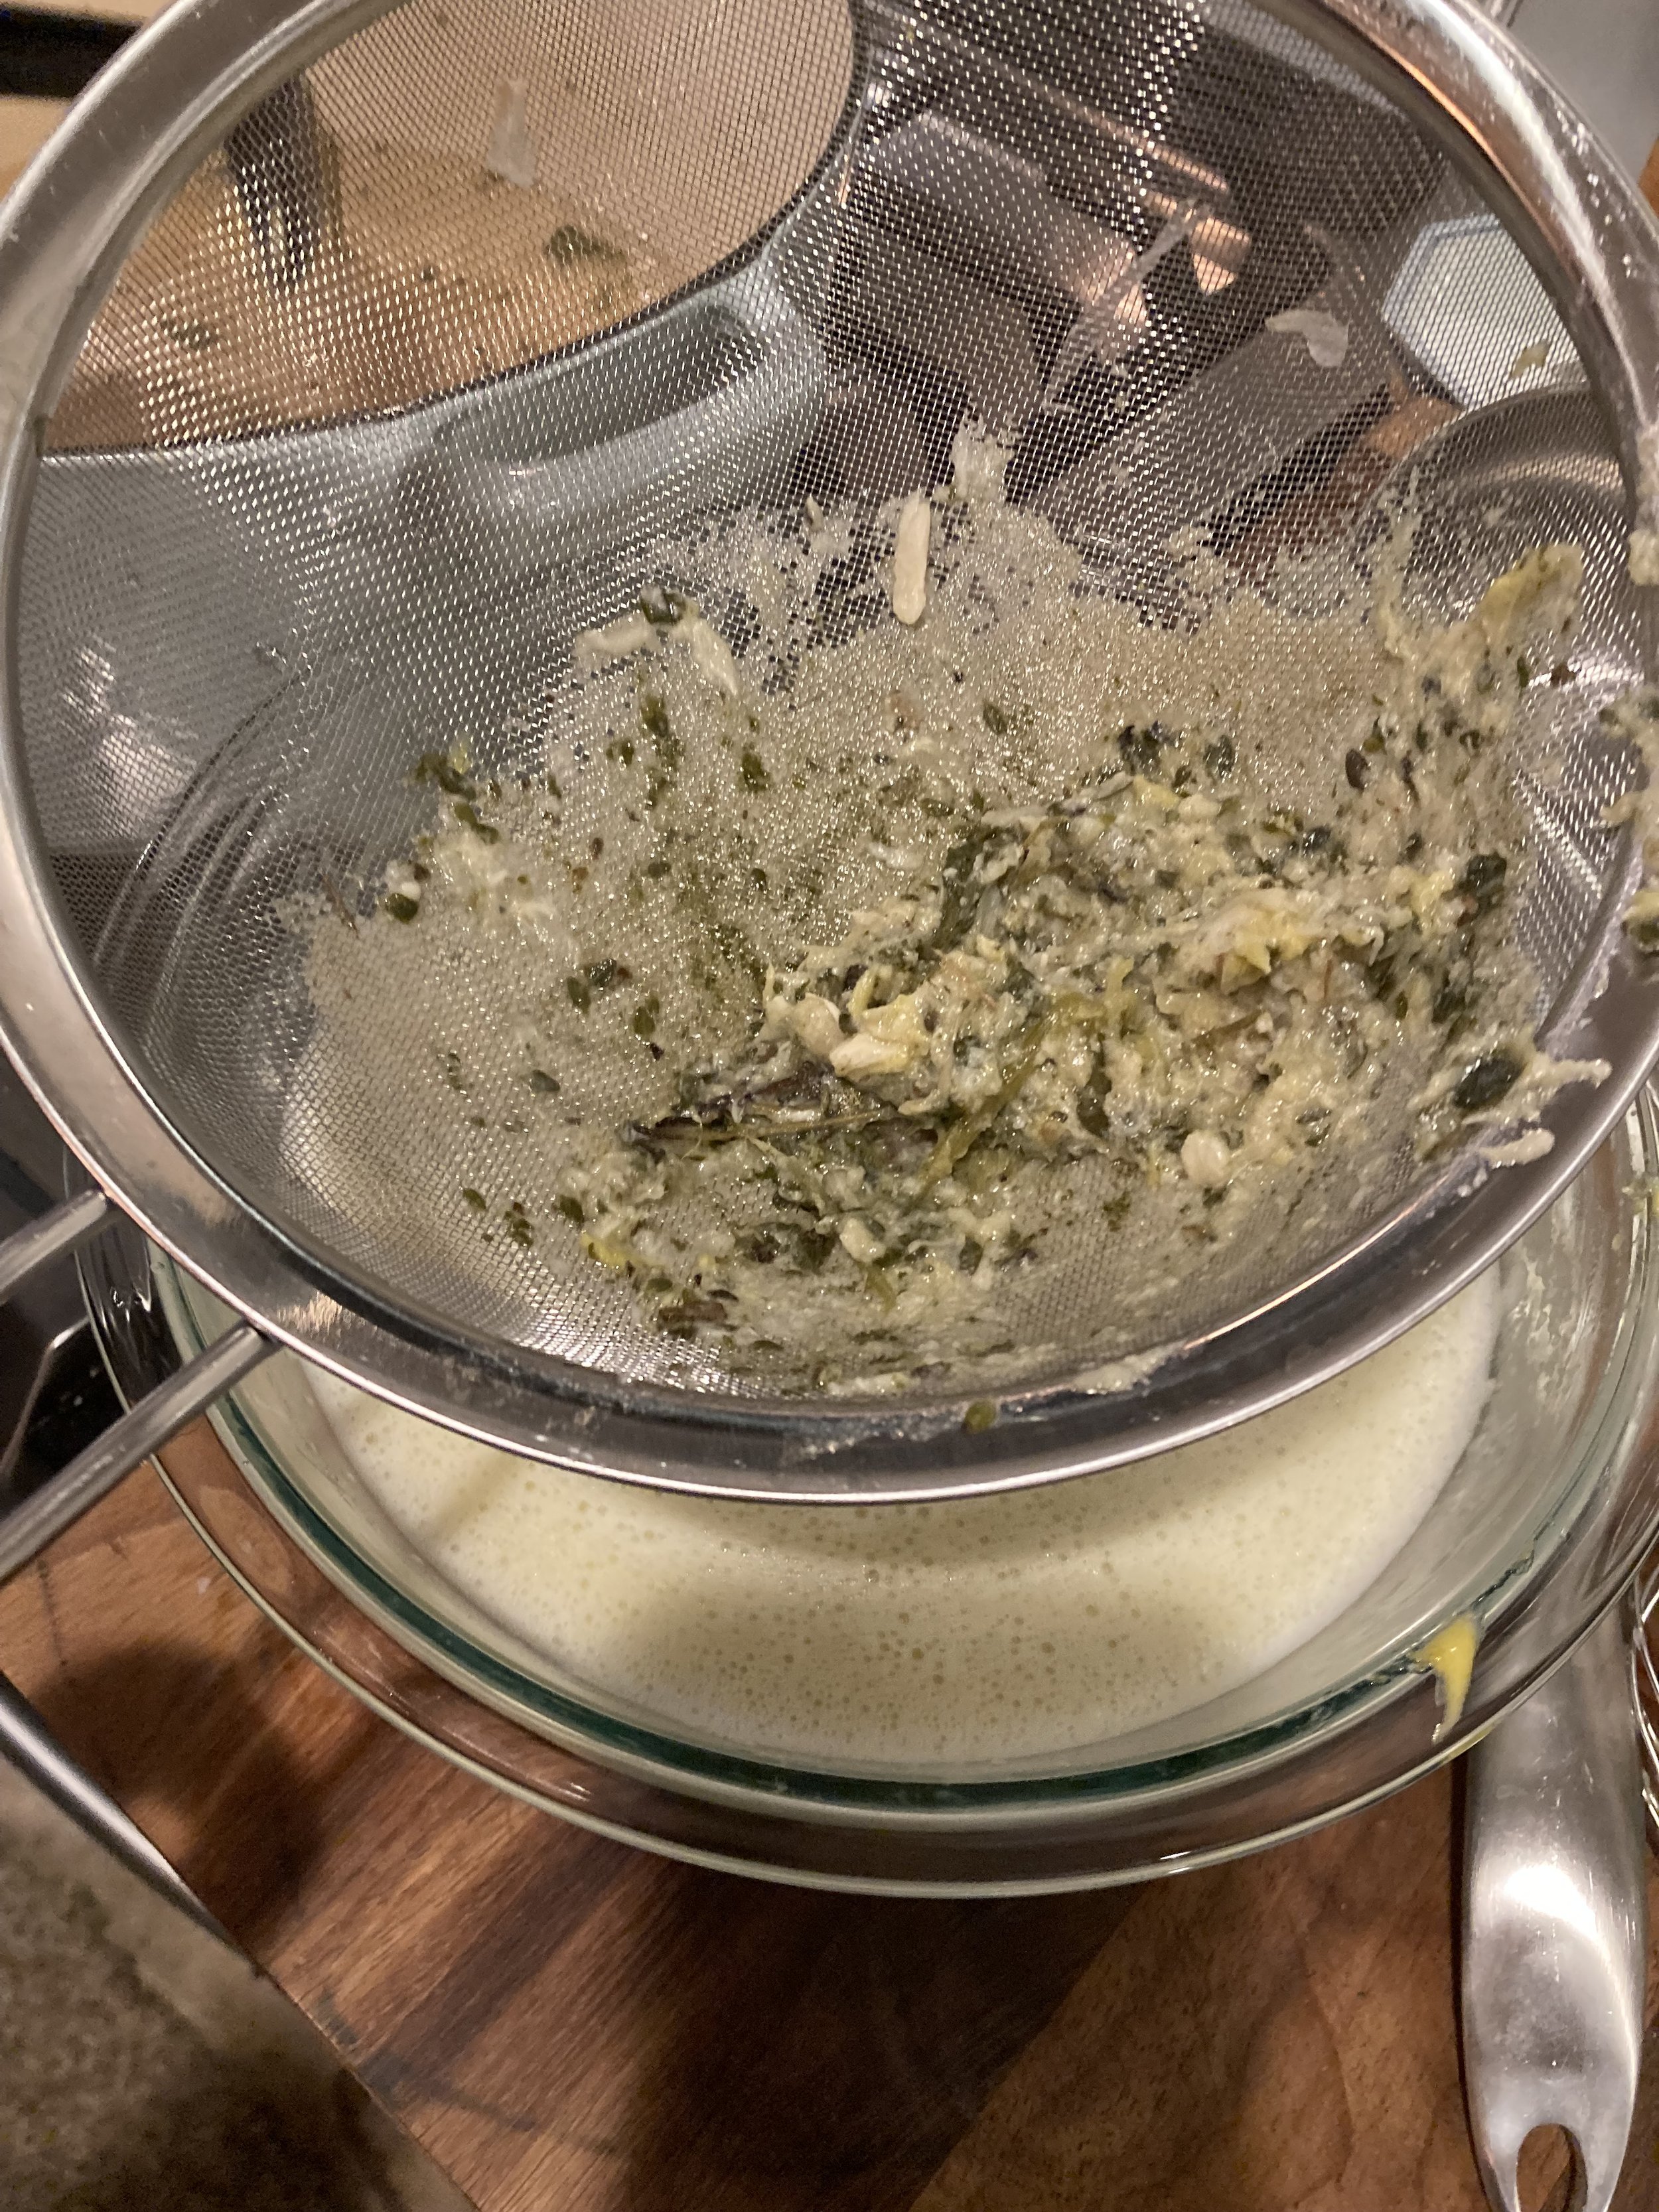
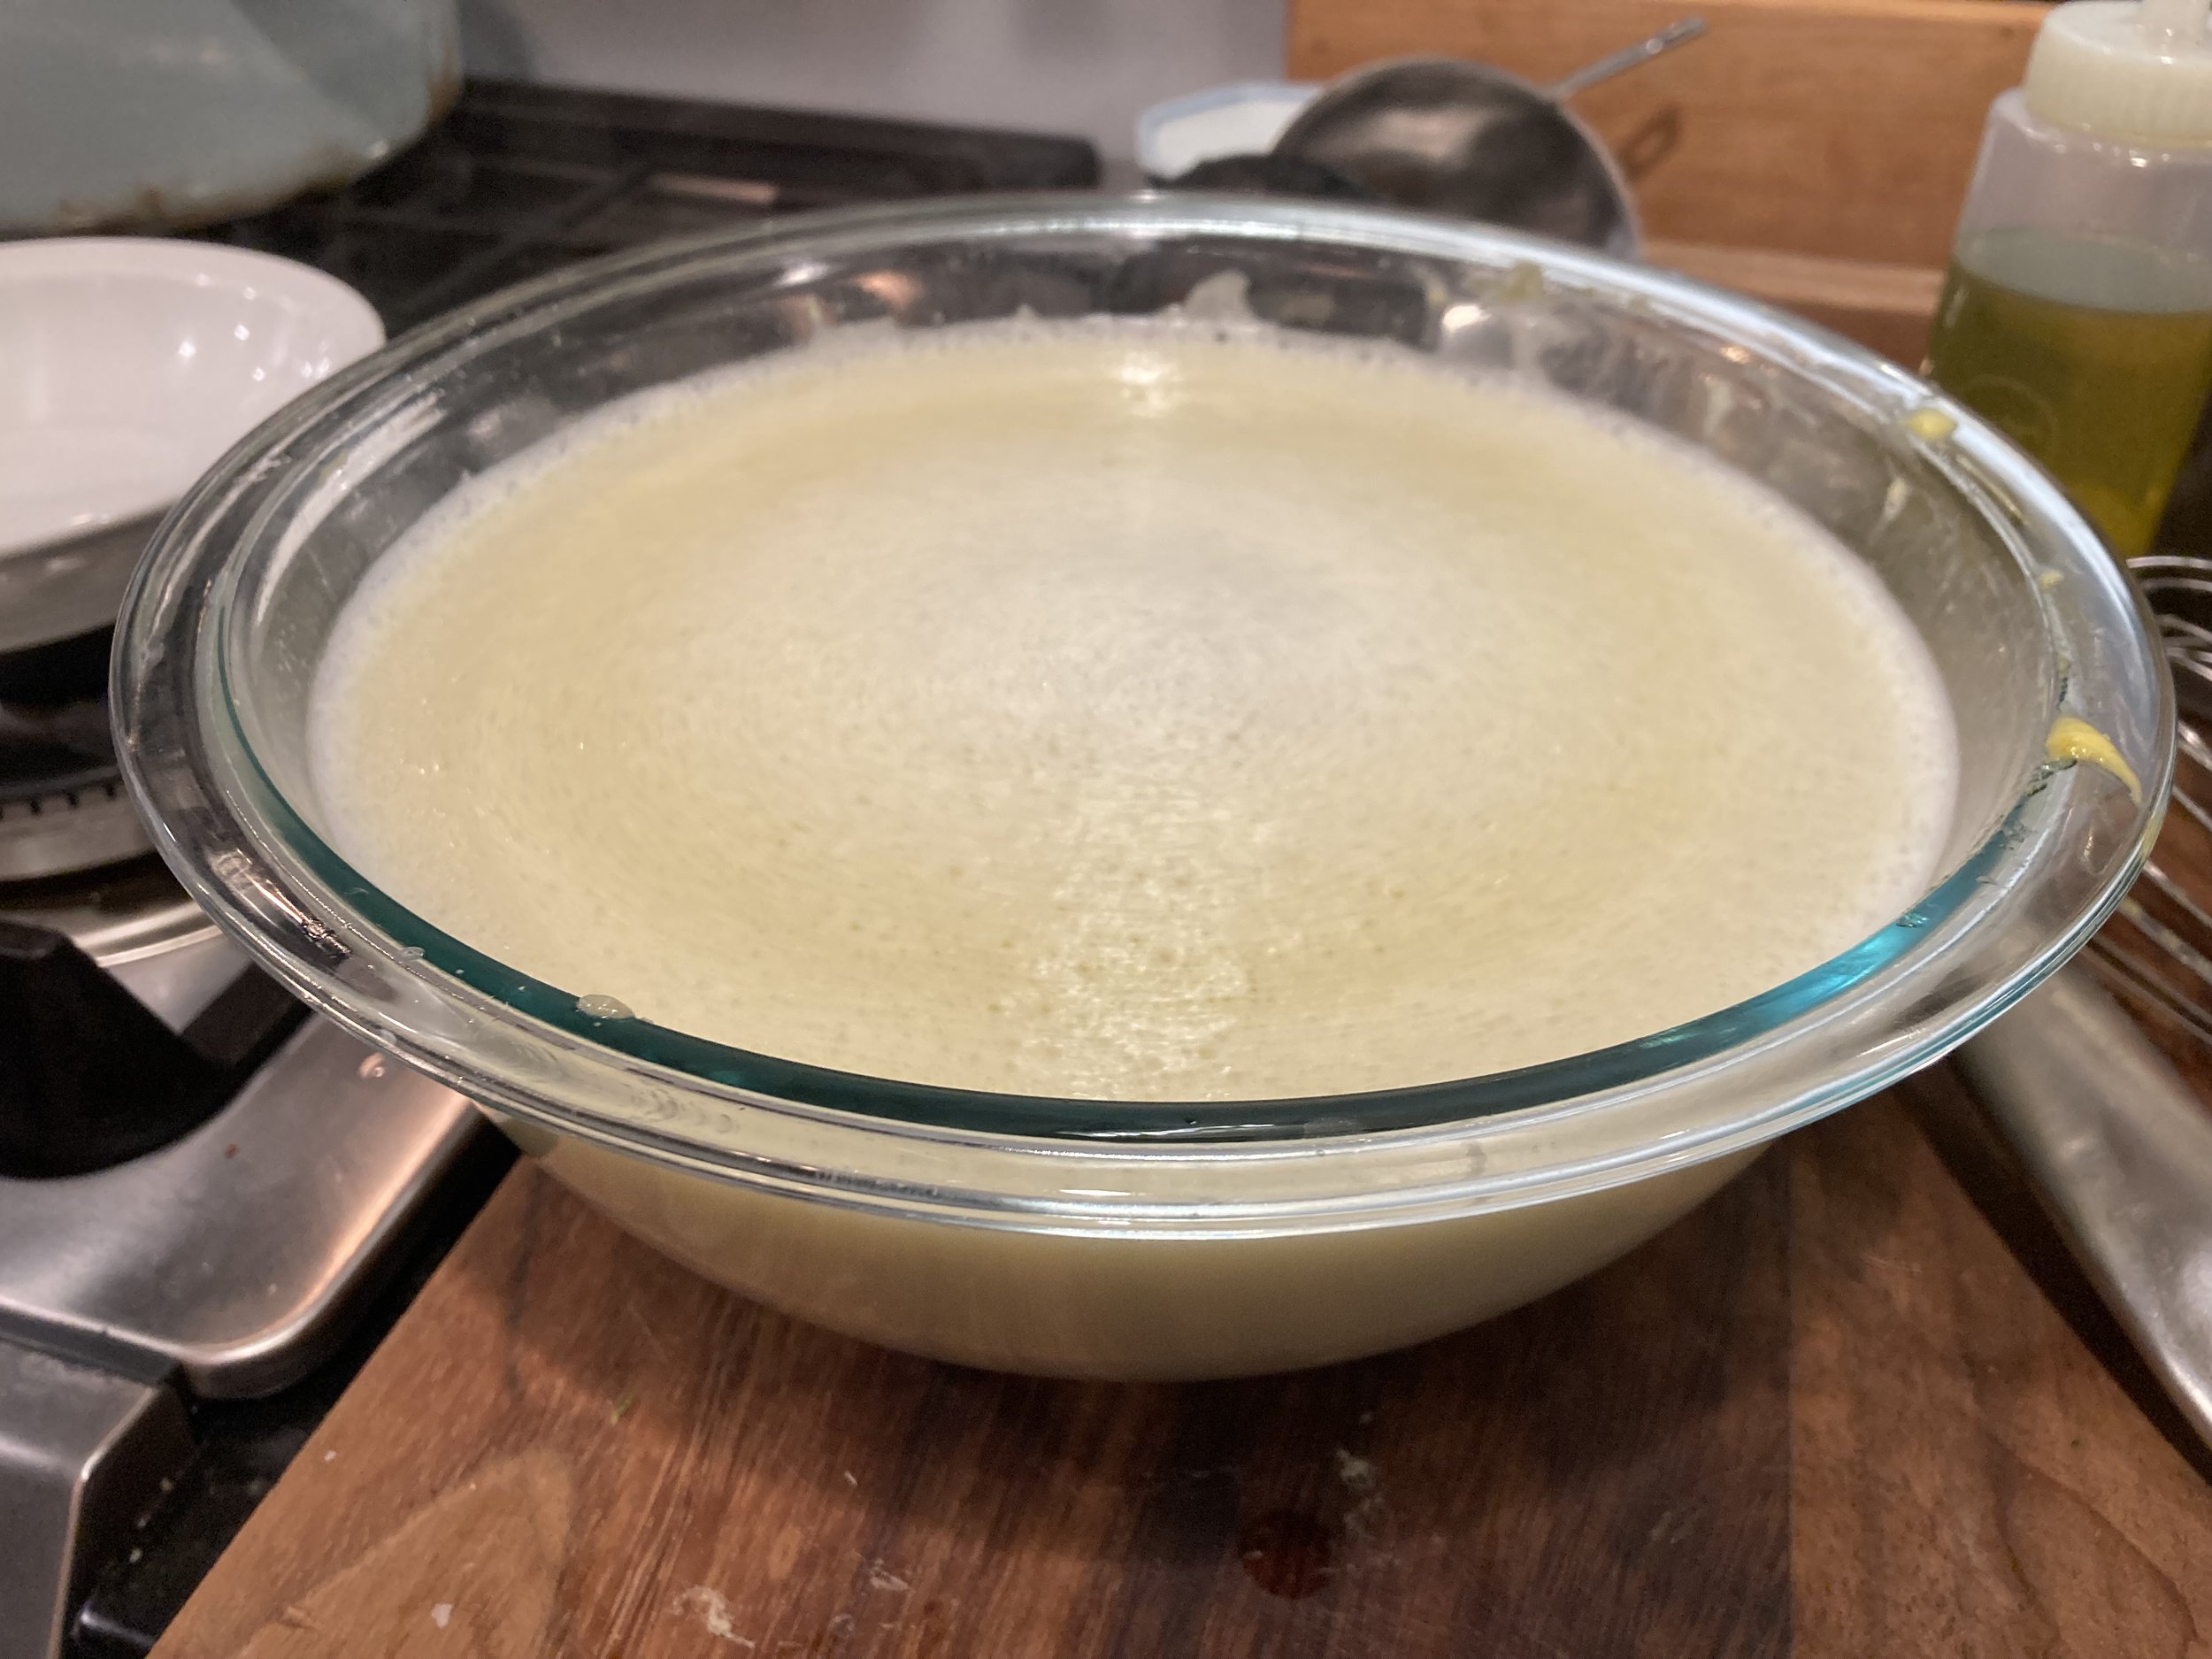
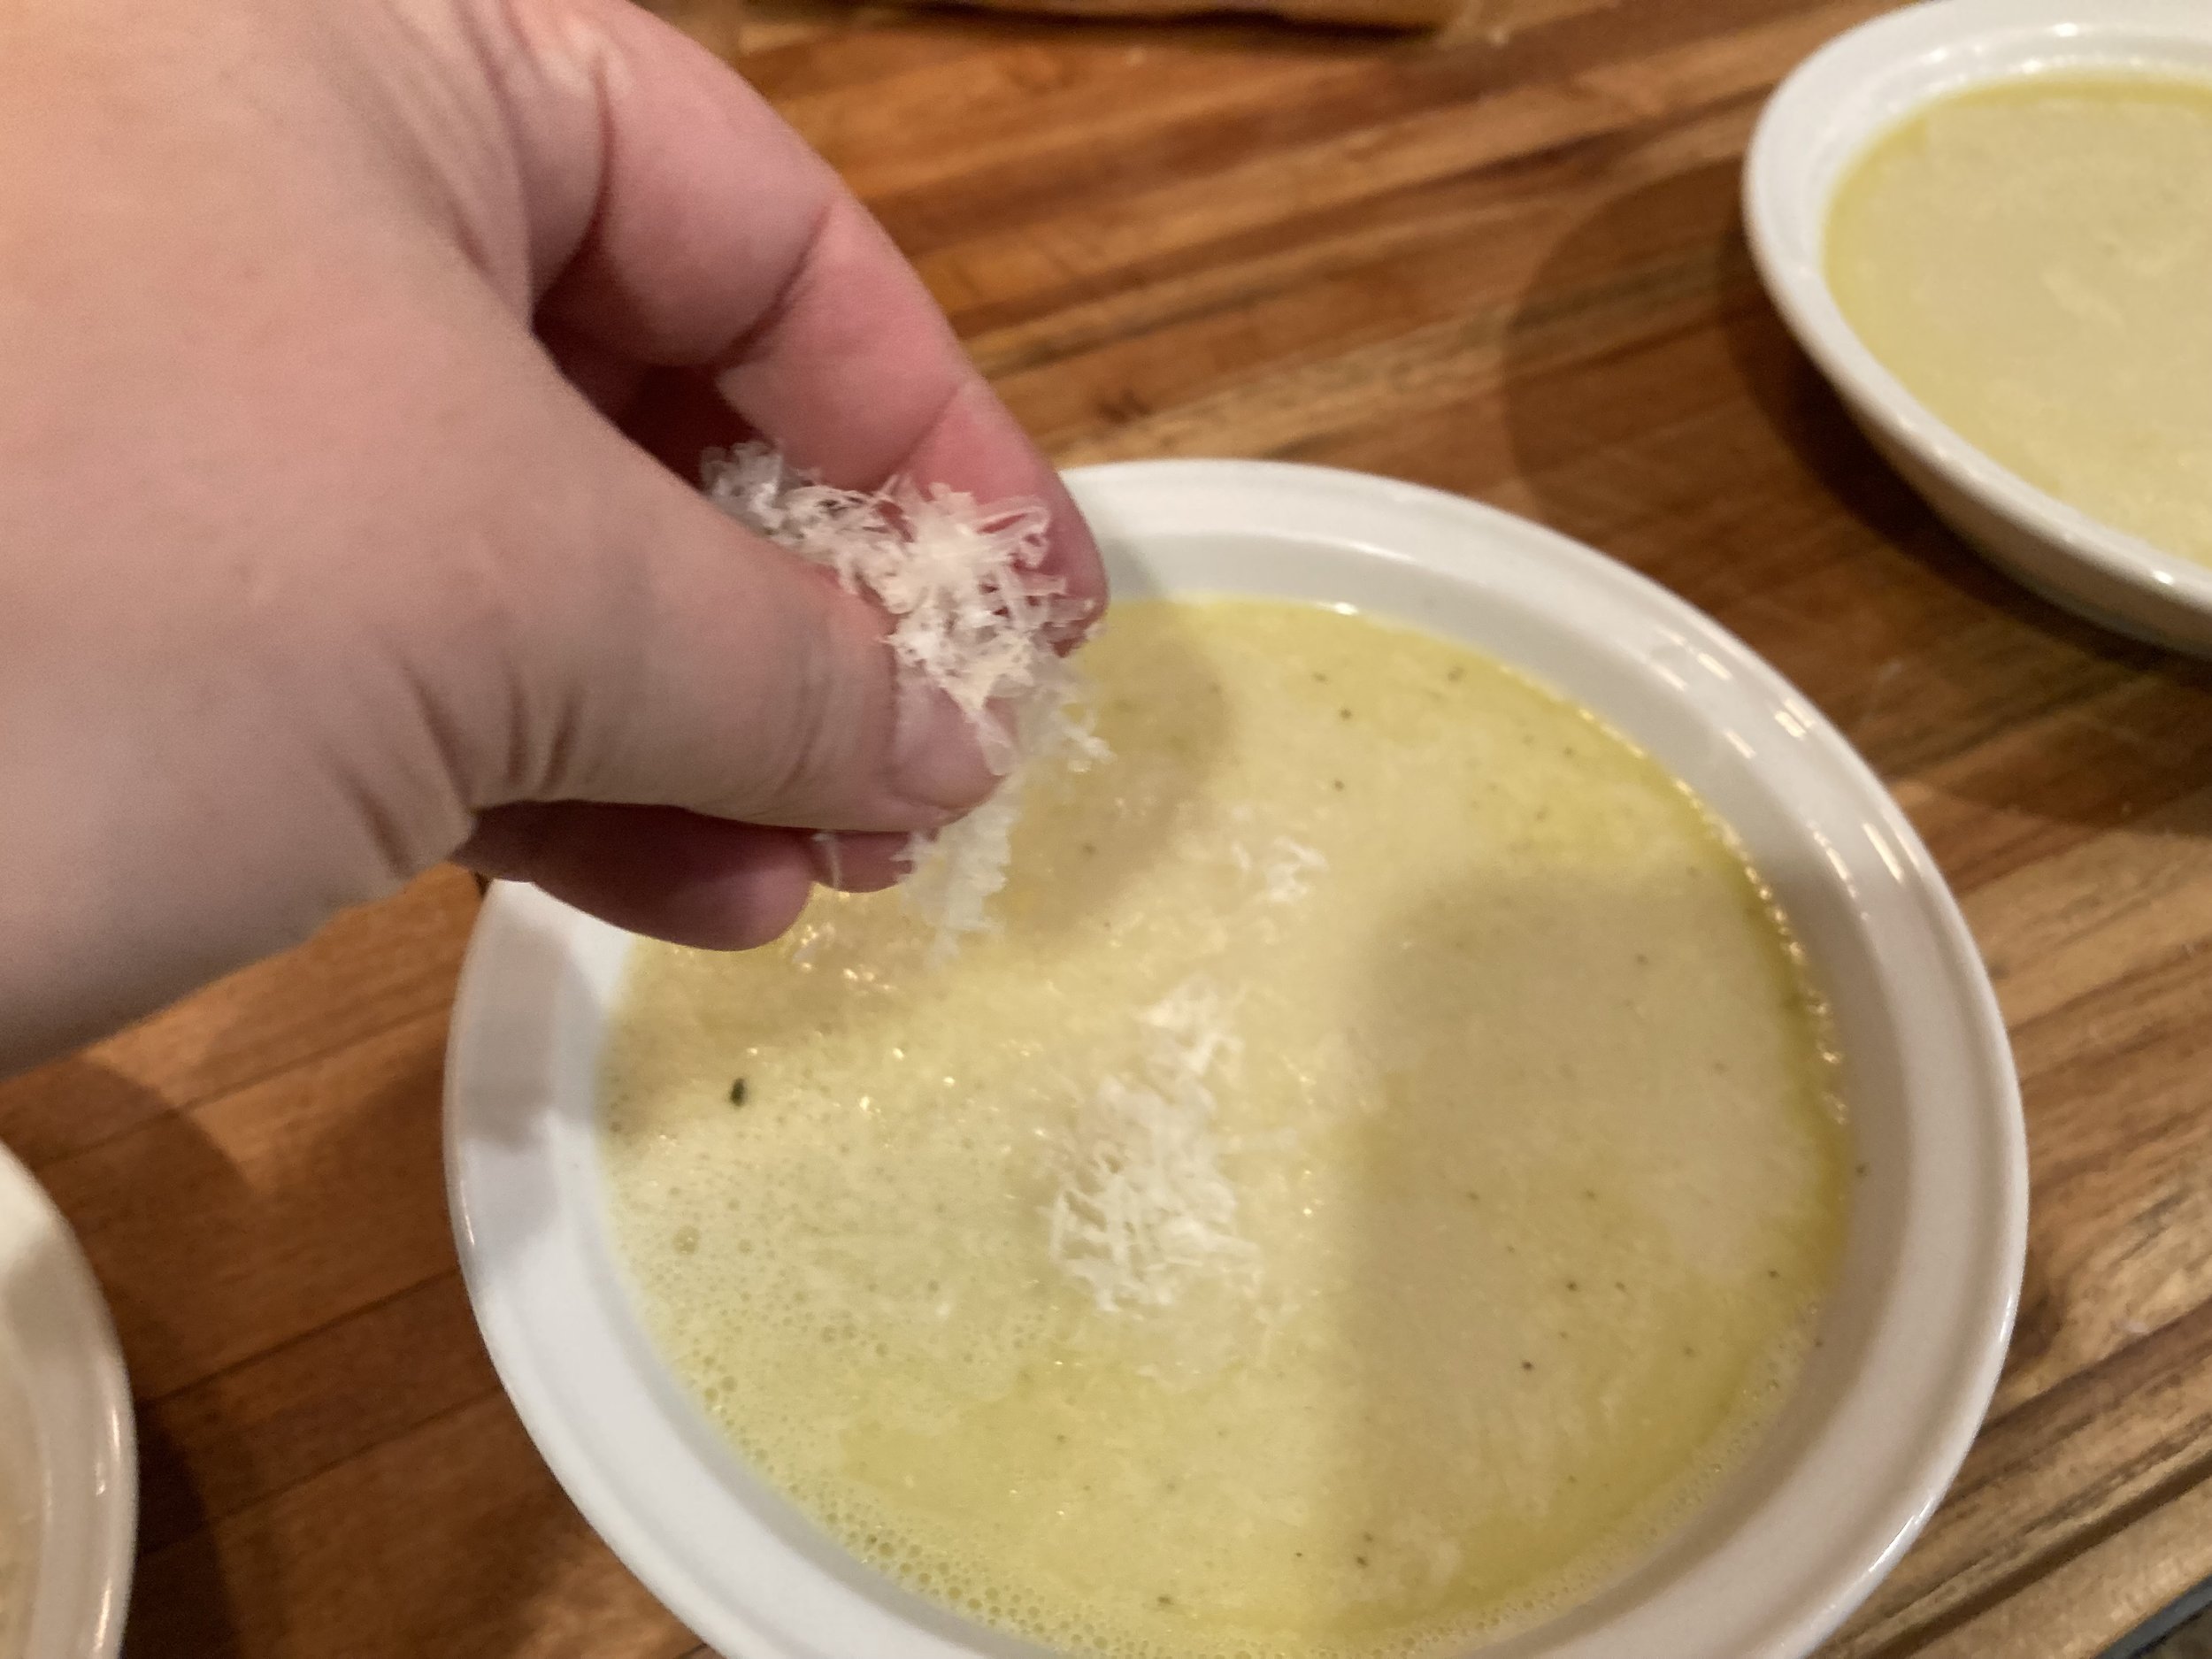
Served with the cheese and toasted baguette slices. Luke buttered ours, and added Maldon salt, which was a nice touch. Undersalting the soup a little, and letting the salt on the bread compensate was perfect.
The soup is smooth and lovely, a light buttery yellow, and what I ended up using was not too much garlic by any means. If you’re a fan, I would say go with two heads of garlic, or 3-4 oz, but mileage will vary depending on variety or type of garlic. I can see cutting the olive oil in the soup to 2T, esp considering you’re adding another 3 for serving, but 3 in the soup plus another 4 in the egg emulsion may be too much for some.
Toward that, and moving forward, Julia says of the cookbooks in her introduction to the 40th edition:
You will note this indulgence here, especially in sauces, where you can reduce them with cream or where you swirl in fresh butter a generous tablespoon at a time to render them smooth, shining and luscious. I have not changed any of these original proportions or directions, because this is the way the dishes were conceived. However, do use your own judgement as to how much or how little of the enrichments you care to use, since the amounts will not interfere with the basic recipe. In my case, for instance, I have been known to substitute a modest teaspoon for the generous tablespoon. (xv)
So I don’t know what mixing an extra Tablespoon into the “mayonnaise” mixture would have done, but it was not necessary for the soup to hold together. As you can see in the pic of the finished spoonful of soup at the very bottom, the droplets of fat are well dispersed and plentiful. I suspect that is an area in which one could skimp.
Plan for at least 2T of cheese per bowl, and a bit more could be offered. Is the cheese necessary at all? Probably not.
(Confirmed, heated up 2 days later gently in the microwave. The soup did not separate, and I served it with no cheese, just some crumbled stale ass leftover baguette, and it was still delicious.)
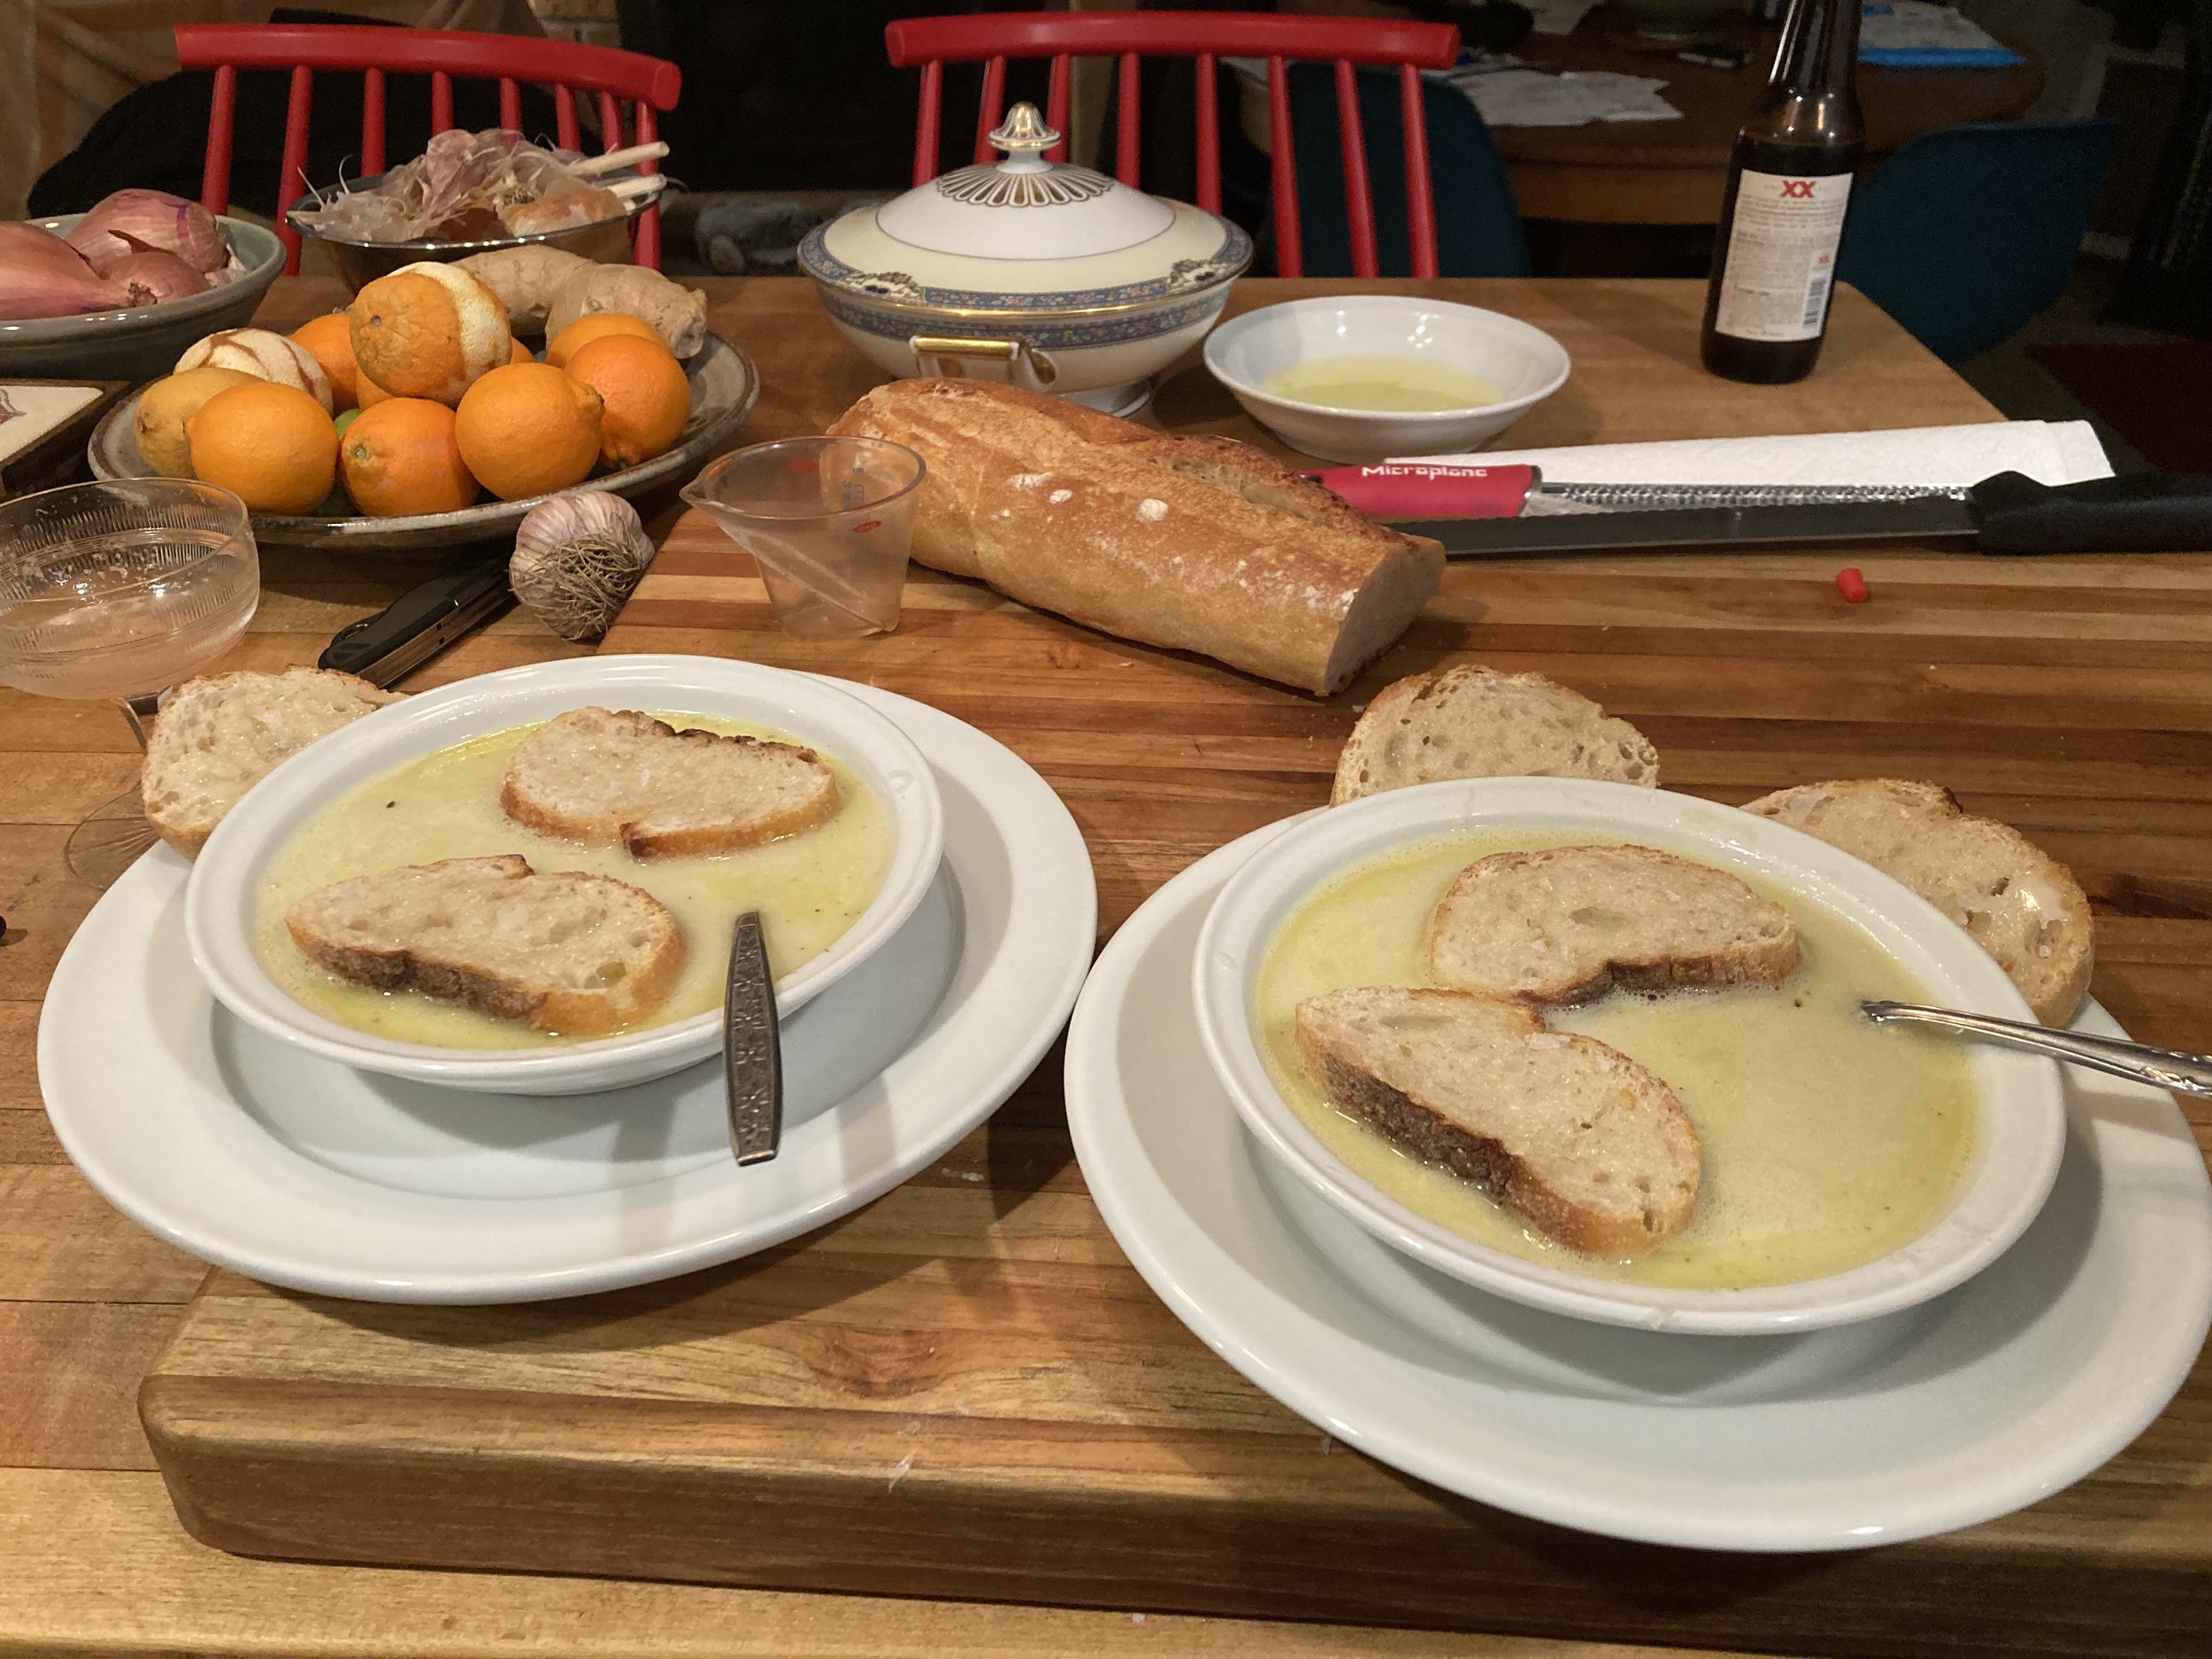
This is a lovely, bright luncheon soup, on a rainy day, or a delightful starter course. I can see adding potatoes or poached eggs to bulk it up and make it a more substantial meal. It’s a lot like the buttery broth you soak up from the bottom of a bowl of steamed mussels or clams.
Also, this soup was incredibly inexpensive and simple to make. This really felt like making something out of nothing. Getting it going on the stove took almost nothing, and the only real labor was whisking the egg emulsion in the end, so a bit of energy right before serving, and a very warming and satisfying reward.
Julia Child’s Aigo Bouido [Garlic Soup] from Mastering the Art of French Cooking
For 6-8 people (makes 2 quarts of soup)
Ingredients
1 separated head or about 16 cloves whole, unpeeled garlic (3-1/2 oz was not too much)
2 quarts water
2 tsp salt
Pinch of pepper
2 cloves
¼ tsp sage
½ bay leaf
4 parsley sprigs
3 Tb olive oil
3-4 Tb more olive oil (a candy squeeze bottle made this easier)
3 egg yolks
Rounds of hard-toasted French bread
1 cup of grated Swiss or Parmesan cheese
Equipment
3-quart saucepan, or bigger (my dutch oven was fine)
wire whip
soup tureen (or 2+ quart serving bowl if, like me, your tureen was too small)
fine-mesh strainer
strong-ass wooden spoon
bowl scraper
candy squeeze bottle for olive oil (optional)
Instructions
Blanch the unpeeled cloves of garlic in boiling water for 30 seconds, drain, run under cold water and peel.
Gather water, salt, pepper, cloves, peeled garlic, parsley, sage, bay leaf (just half a bay leaf now, don’t go crazy unless you’re driving (I see you, Jaime), and 3T olive oil, and simmer gently for 30 minutes — or until garlic is softened. (If your garlic cloves are GIGANTIC, like mine were, it may need more. I left mine on a gently simmer for 60 minute.) Taste, and correct seasoning as needed.
Beat the yolks in [your serving vessel] for a minute until they are thick and sticky. Drop by drop, beat in the olive oil as for making mayonnaise.
Just before serving, beat a ladlefull of hot soup (it’s soup now!!) into the egg mixture by droplets. Gradually strain in the rest, beating and pressing the juice out of the garlic.
Serve immediately, accompanied by the bread and the cheese. (It’ll be 2-2.5T of cheese per serving. We floated a couple slices of bread in each bowl, and served another 2 on the side. Worked quite well.)
Citation
Child, Julia, Louisette Bertholle, and Simone Beck. Mastering the Art of French Cooking. 1961. 40th Anniversary ed., Knopf, 2009.
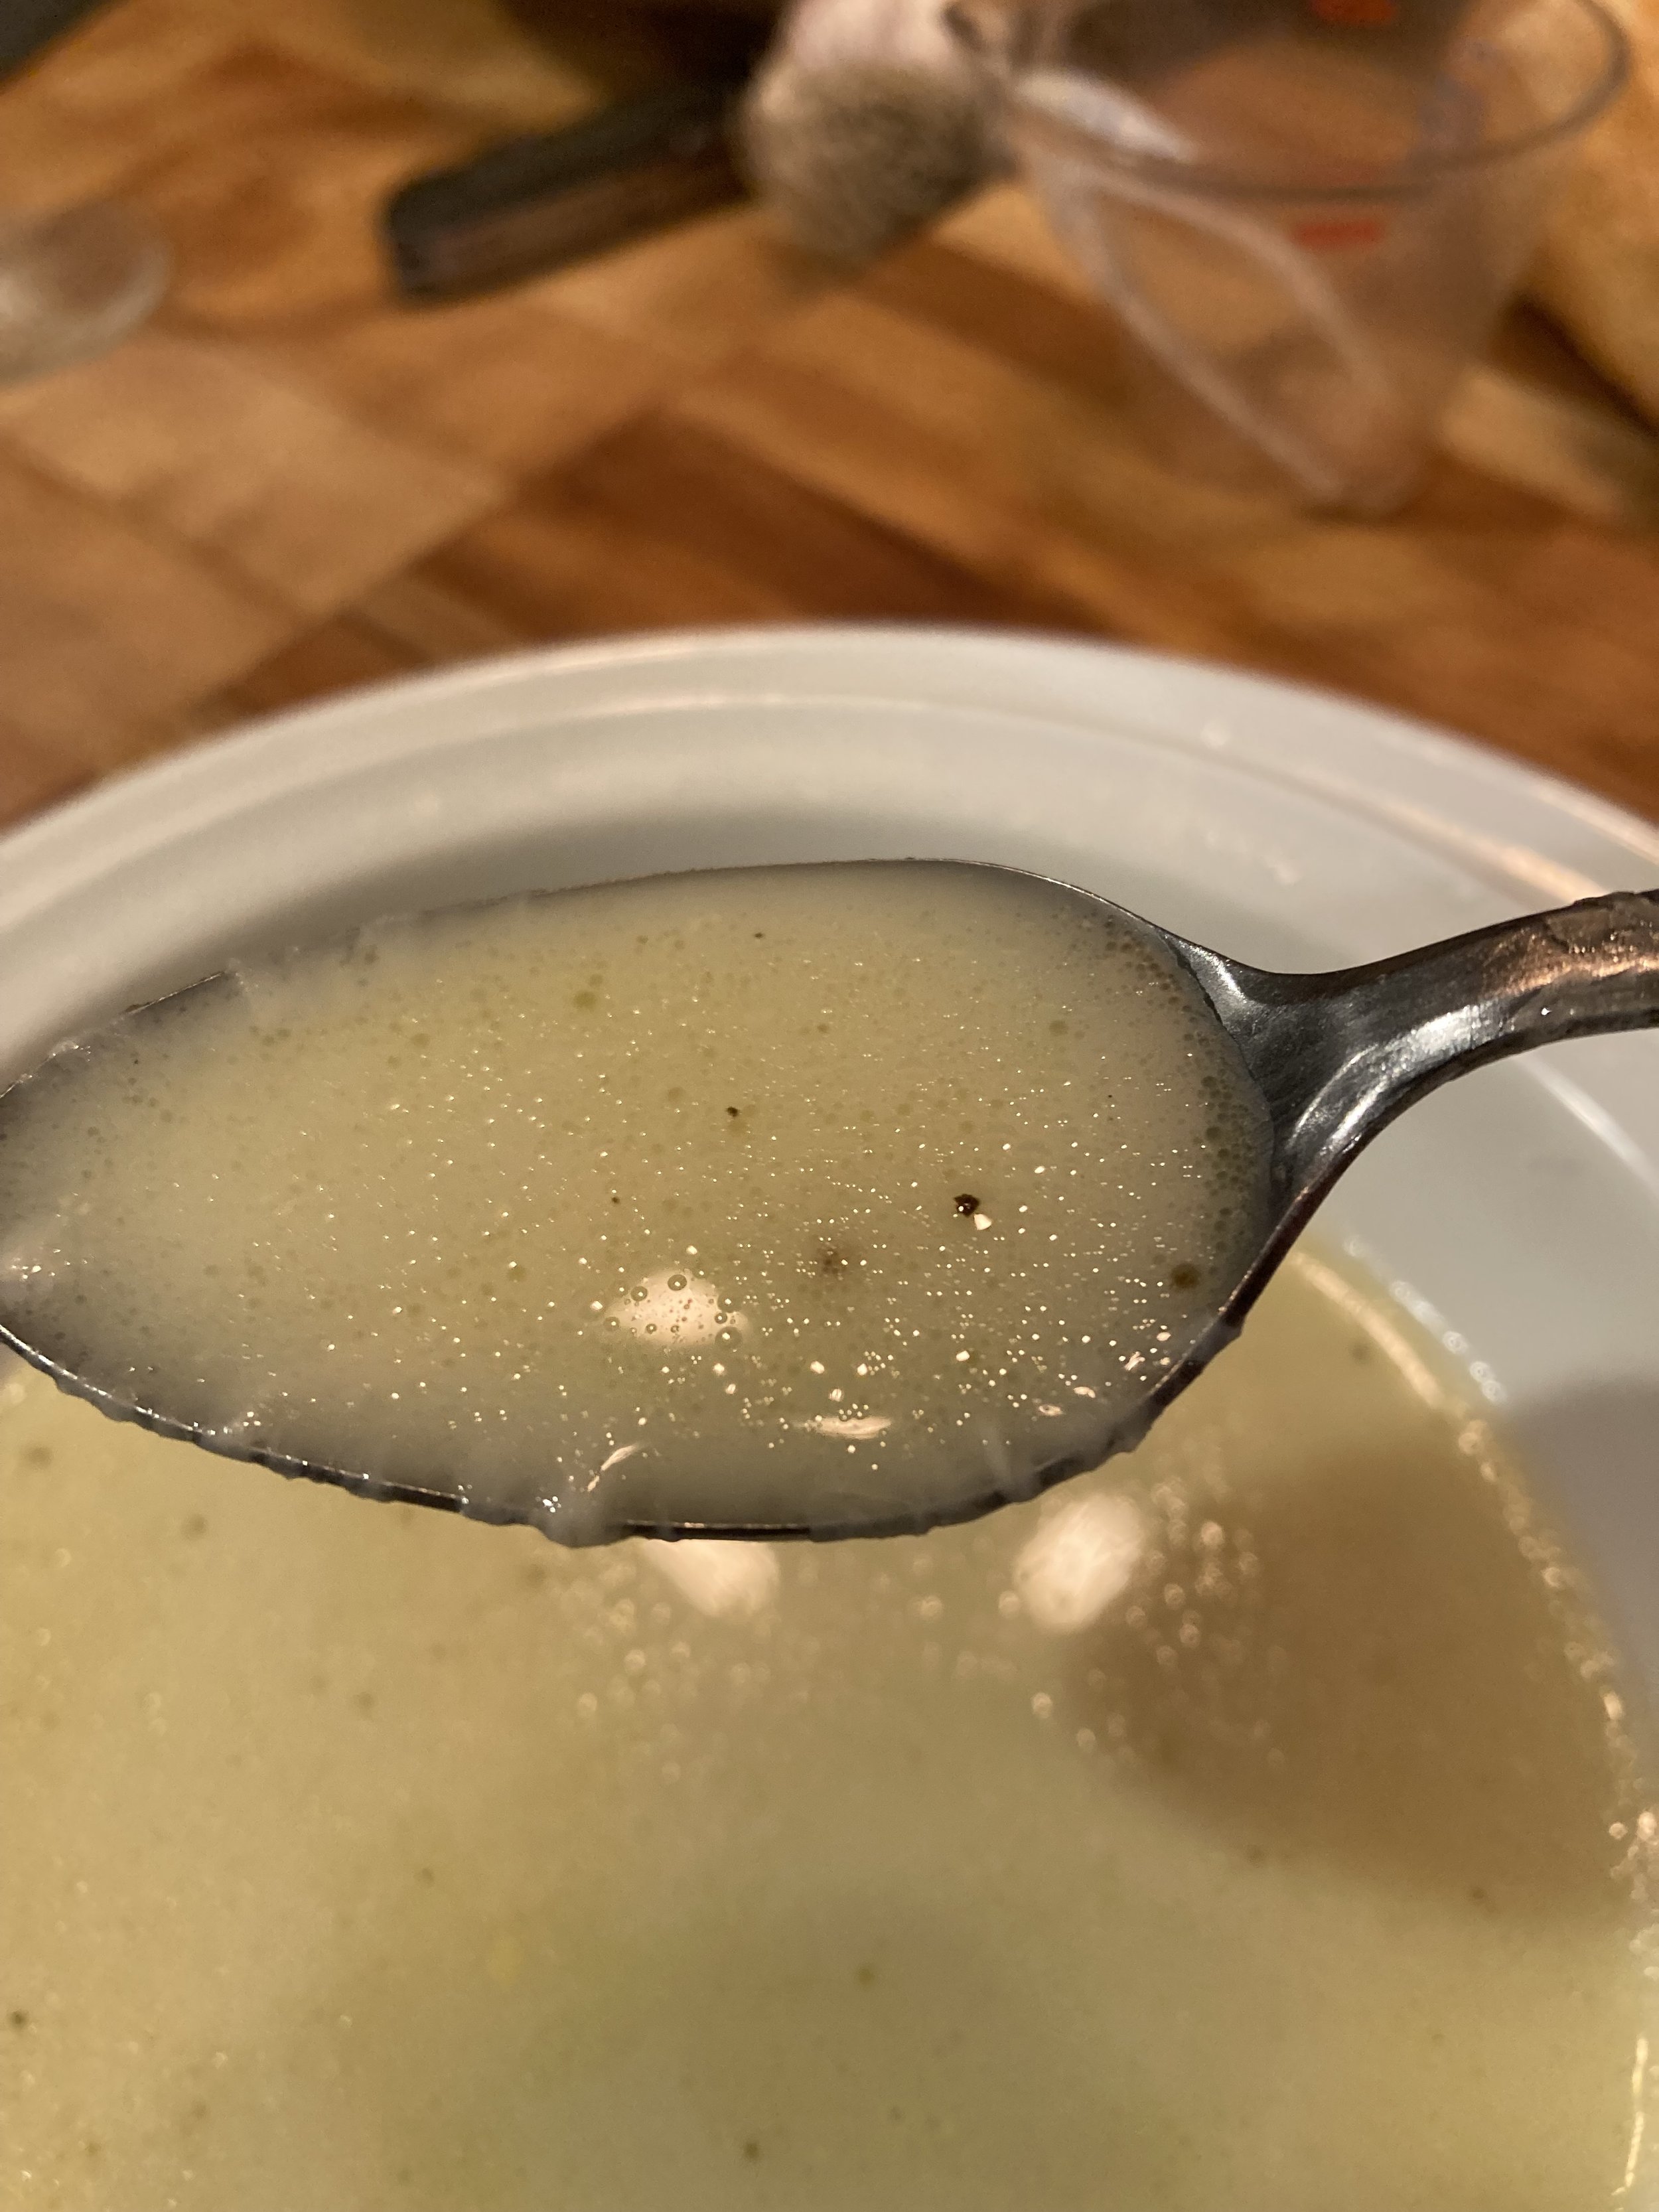

The Project, Day 1: What is the cookbook project?
I hate cooking blogs. But I love cookbooks. Love buying them, and looking at them, and then wondering if I made a mistake buying them because all the recipes seem really hard or confusing, or require a bunch of ingredients or equipment I don’t have or don’t know how to get or can’t afford. Or are those beautiful cookbooks you see that are for professional kitchens, and every ingredient needed to be prepped days or weeks or months in advance and it’s all just so extensive that I don’t know where to start.
So I get these books, and then don’t do nearly enough to use them, spend hours looking at recipes, pull out a big stack on a rainy day, get overwhelmed by choice, wait too long to go to the store, and then just cop out and find something on The NYT cooking app that uses some pantry items I already have (and read the just—chef’s kiss, no notes—comments).
But I have all of these amazing cookbooks, so this year I’m challenging myself to focus on one cookbook for a month, and cook as many things out of it as time and resources allow, and document my journey here. I’m not super into messing around with recipes and “making them my own.” I believe in the authority of pros, and will try my best to follow the recipes as written, attribute everything, and, here’s a novel notion, actually read all the stuff in the book that some amazing chef wrote with their heart and soul which I skip over way too often. And share some highlights. If you want original recipes, try going to the NYT comments section. Those people can substitute like they know what they’re doing.
Parameters: I’m not working right now, so my earliest forays will likely be time intensive, but conservative on the money. So… Julia Child’s Garlic Soup sounds right. Speaking of, I’m starting with Mastering the Art of French Cooking, because that seems like the place to start. Why? Because it’s right here, and I don’t want to walk into the other room.

And I’m going to resist the urge to buy new equipment, so no Apple Charlottes right now.
Also, I really like the way Julia lays out recipes, so even when I’m not doing one of her recipes, I think I’ll try to copy her formatting at least with the way she groups ingredients and instructions.
Ahh… I garden and try to grow as much of our produce as I can, so I’ll also be keeping things as seasonal as I can. So the recipes I choose from a given book will be largely bound by that. I have Joshua McFadden’s new (and frankly incredible) Six Seasons by me, so I’ll save that for Spring or Summer when I’m growing a lot of the veggies, but it means that when I do it, I’ll only be able to focus on one section, which is cutting a seasonal or market-style cookbook a bit of short shrift. If I’ve cooked any other recipes from that book, I’ll let you know. Six Seasons is a real banger.
It’s Winter now, and we just had a big freeze (12 degrees is big for us here in the Puget Sound area) and I don’t have ton of stuff coming out of the garden right now, but I do have a backup of homegrown garlic, and onions, and potatoes, and winter squash. And I have a lot of produce I’ve preserved in the freezer. So if Julia wants fresh tomatoes in February, I’m gonna sub in canned, or just not do that recipe. If she wants fresh kale, chances are I’ll sub in frozen harvested from before the snow hit us. I’ll make strawberry deserts when strawberries are in season. But I have some cherries I canned last Summer, so I may try subbing in canned cherries if the recipe calls for fresh. I have a dehydrator, so frankly if something just requires a mirepoix, I’ll likely throw in from my dehydrated stash.
What else. Oh I’m cooking for two. There is a Luke here, and he doesn’t like… well: licorice (which includes anything with fennel or tarragon, although I’m still working on those a bit), shellfish for the most part, duck, green olives, coconut (that one’s an allergy), cherries I guess, and a few more things I can’t recall right now. Seems like more every day, but he hands me things from the top shelf and rotates my tires, and loves/tolerates my cats LooLoo/Skrimshaw (respectively) and so I beat on.
I’ll try to include pictures, but food photography is not my forte, nor my passion, and my kitchen lighting situation does not do it any favors. But I was looking at Ina Garten’s Instagram, and it looks like she has the same deal, and she posts real food she serves Jeffery in bad lighting. I’m going to be serving food in my home, to my Luke, with the lighting I have, after dark, and actually trying to eat it while it’s hot, in an imperfect space, probably onto a tv tray so we can watch Duck Tales, and I’m not going to spend a bunch of time plating it like a pro or buying the perfect dishes, or setting up auxiliary lighting and serving cold food. This is food for us to eat, sometimes out of ingredients we grow, from cookbooks I own. Am I starting to sound a bit defensive? Have you guys seen the internet? I hate the internet. It’s the worst.
Oh, and I guess the last thing is if you’re looking for another cooking blog that starts with a 600 word essay about the first time I ate an eclaire during my travels through Luxembourg on plaid trains in heritage mini-skirts (and of course you are because who isn’t looking for more of that shit), this isn’t it. I’m cooking food from other people’s cookbooks. I’ll try to jump into it.