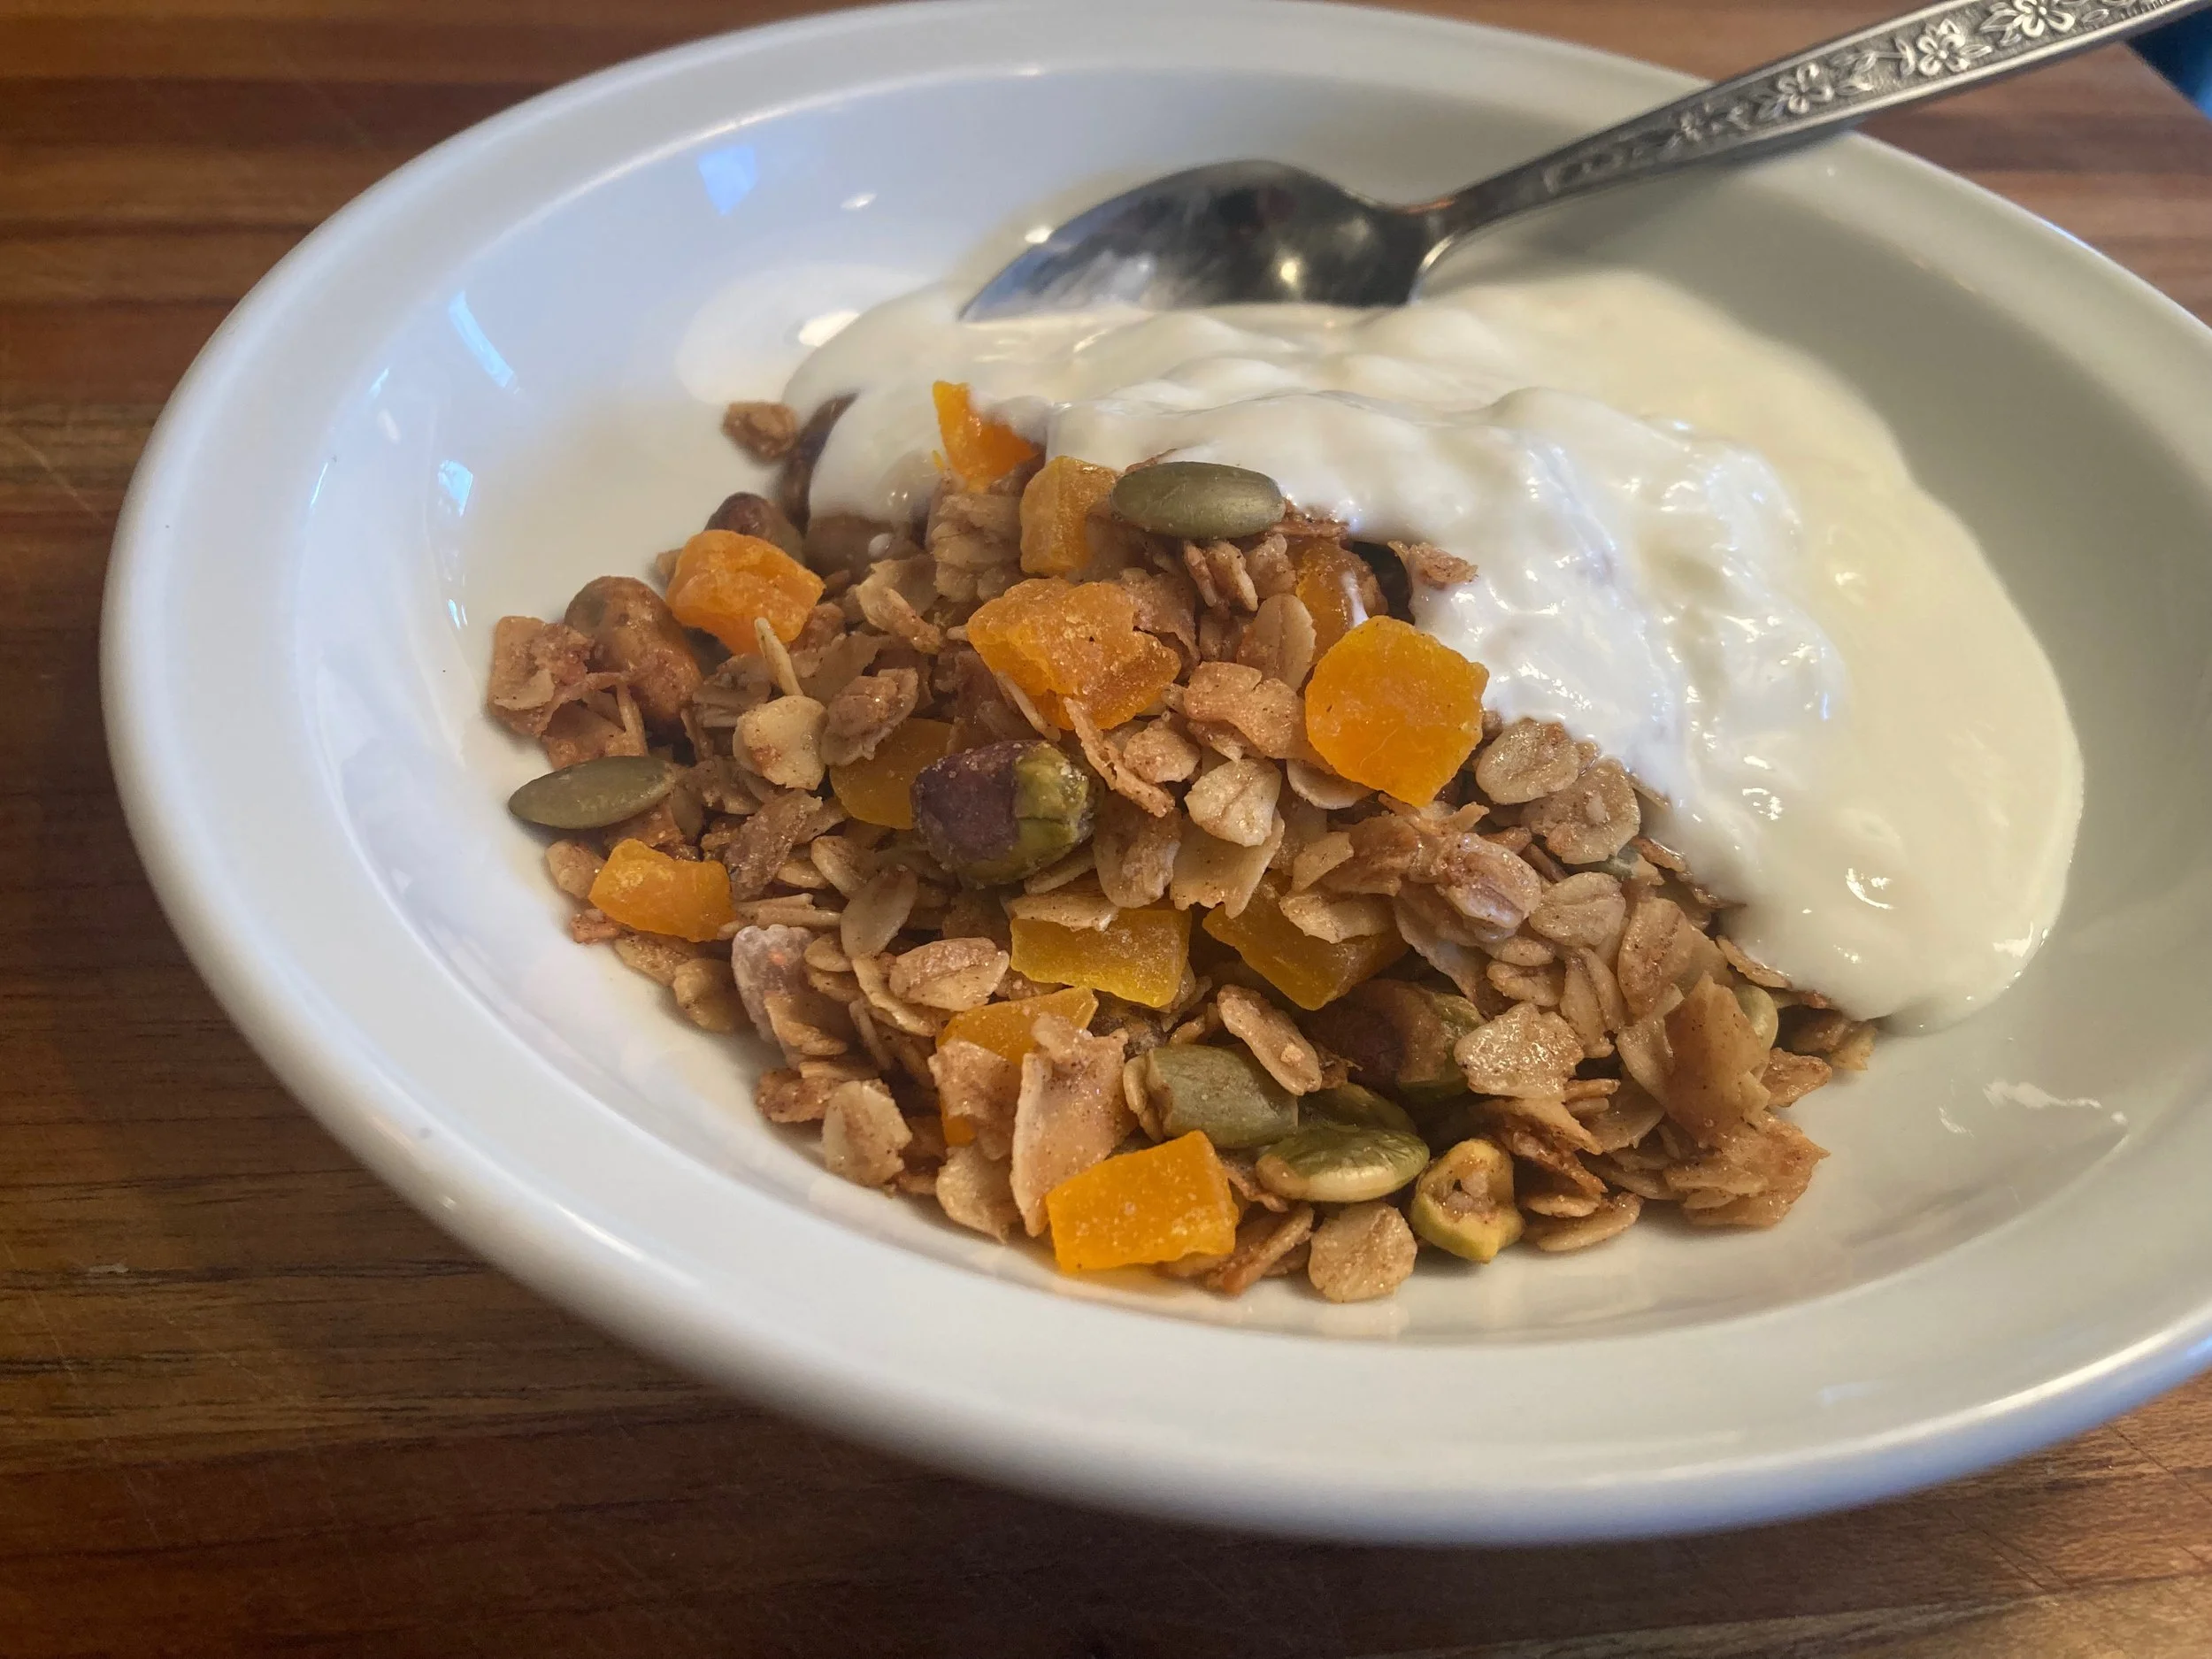
Homemade Yogurt (in an insulated cooler)
fromWild Fermentation by Sandor Katz
So, things have gotten a little better in this world in some ways, not most ways, but some. We pretty much got rid of polio there, for a while anyway. Ryan Gosling, we have him now, and he’s still excellent, at least as of my last knowledge update. And there are some fierce courtroom sketch artists drawing Grump45 falling asleep in court, which is dope, but they’re getting mean mail for it, which is less dope.
And most importantly it’s slightly easier to find full-fat yogurt at a decent grocery store now. Was a time we could only get low- and non-fat yogurt, you know? Because of the eighties and diets and, like, Almond Moms or whatever. It’s nice, the yogurt thing is. So that’s like 3.25 additions to the gold star column of nowadays. And I’m all out of barrel-fire stickers, so we won’t start a count of those.
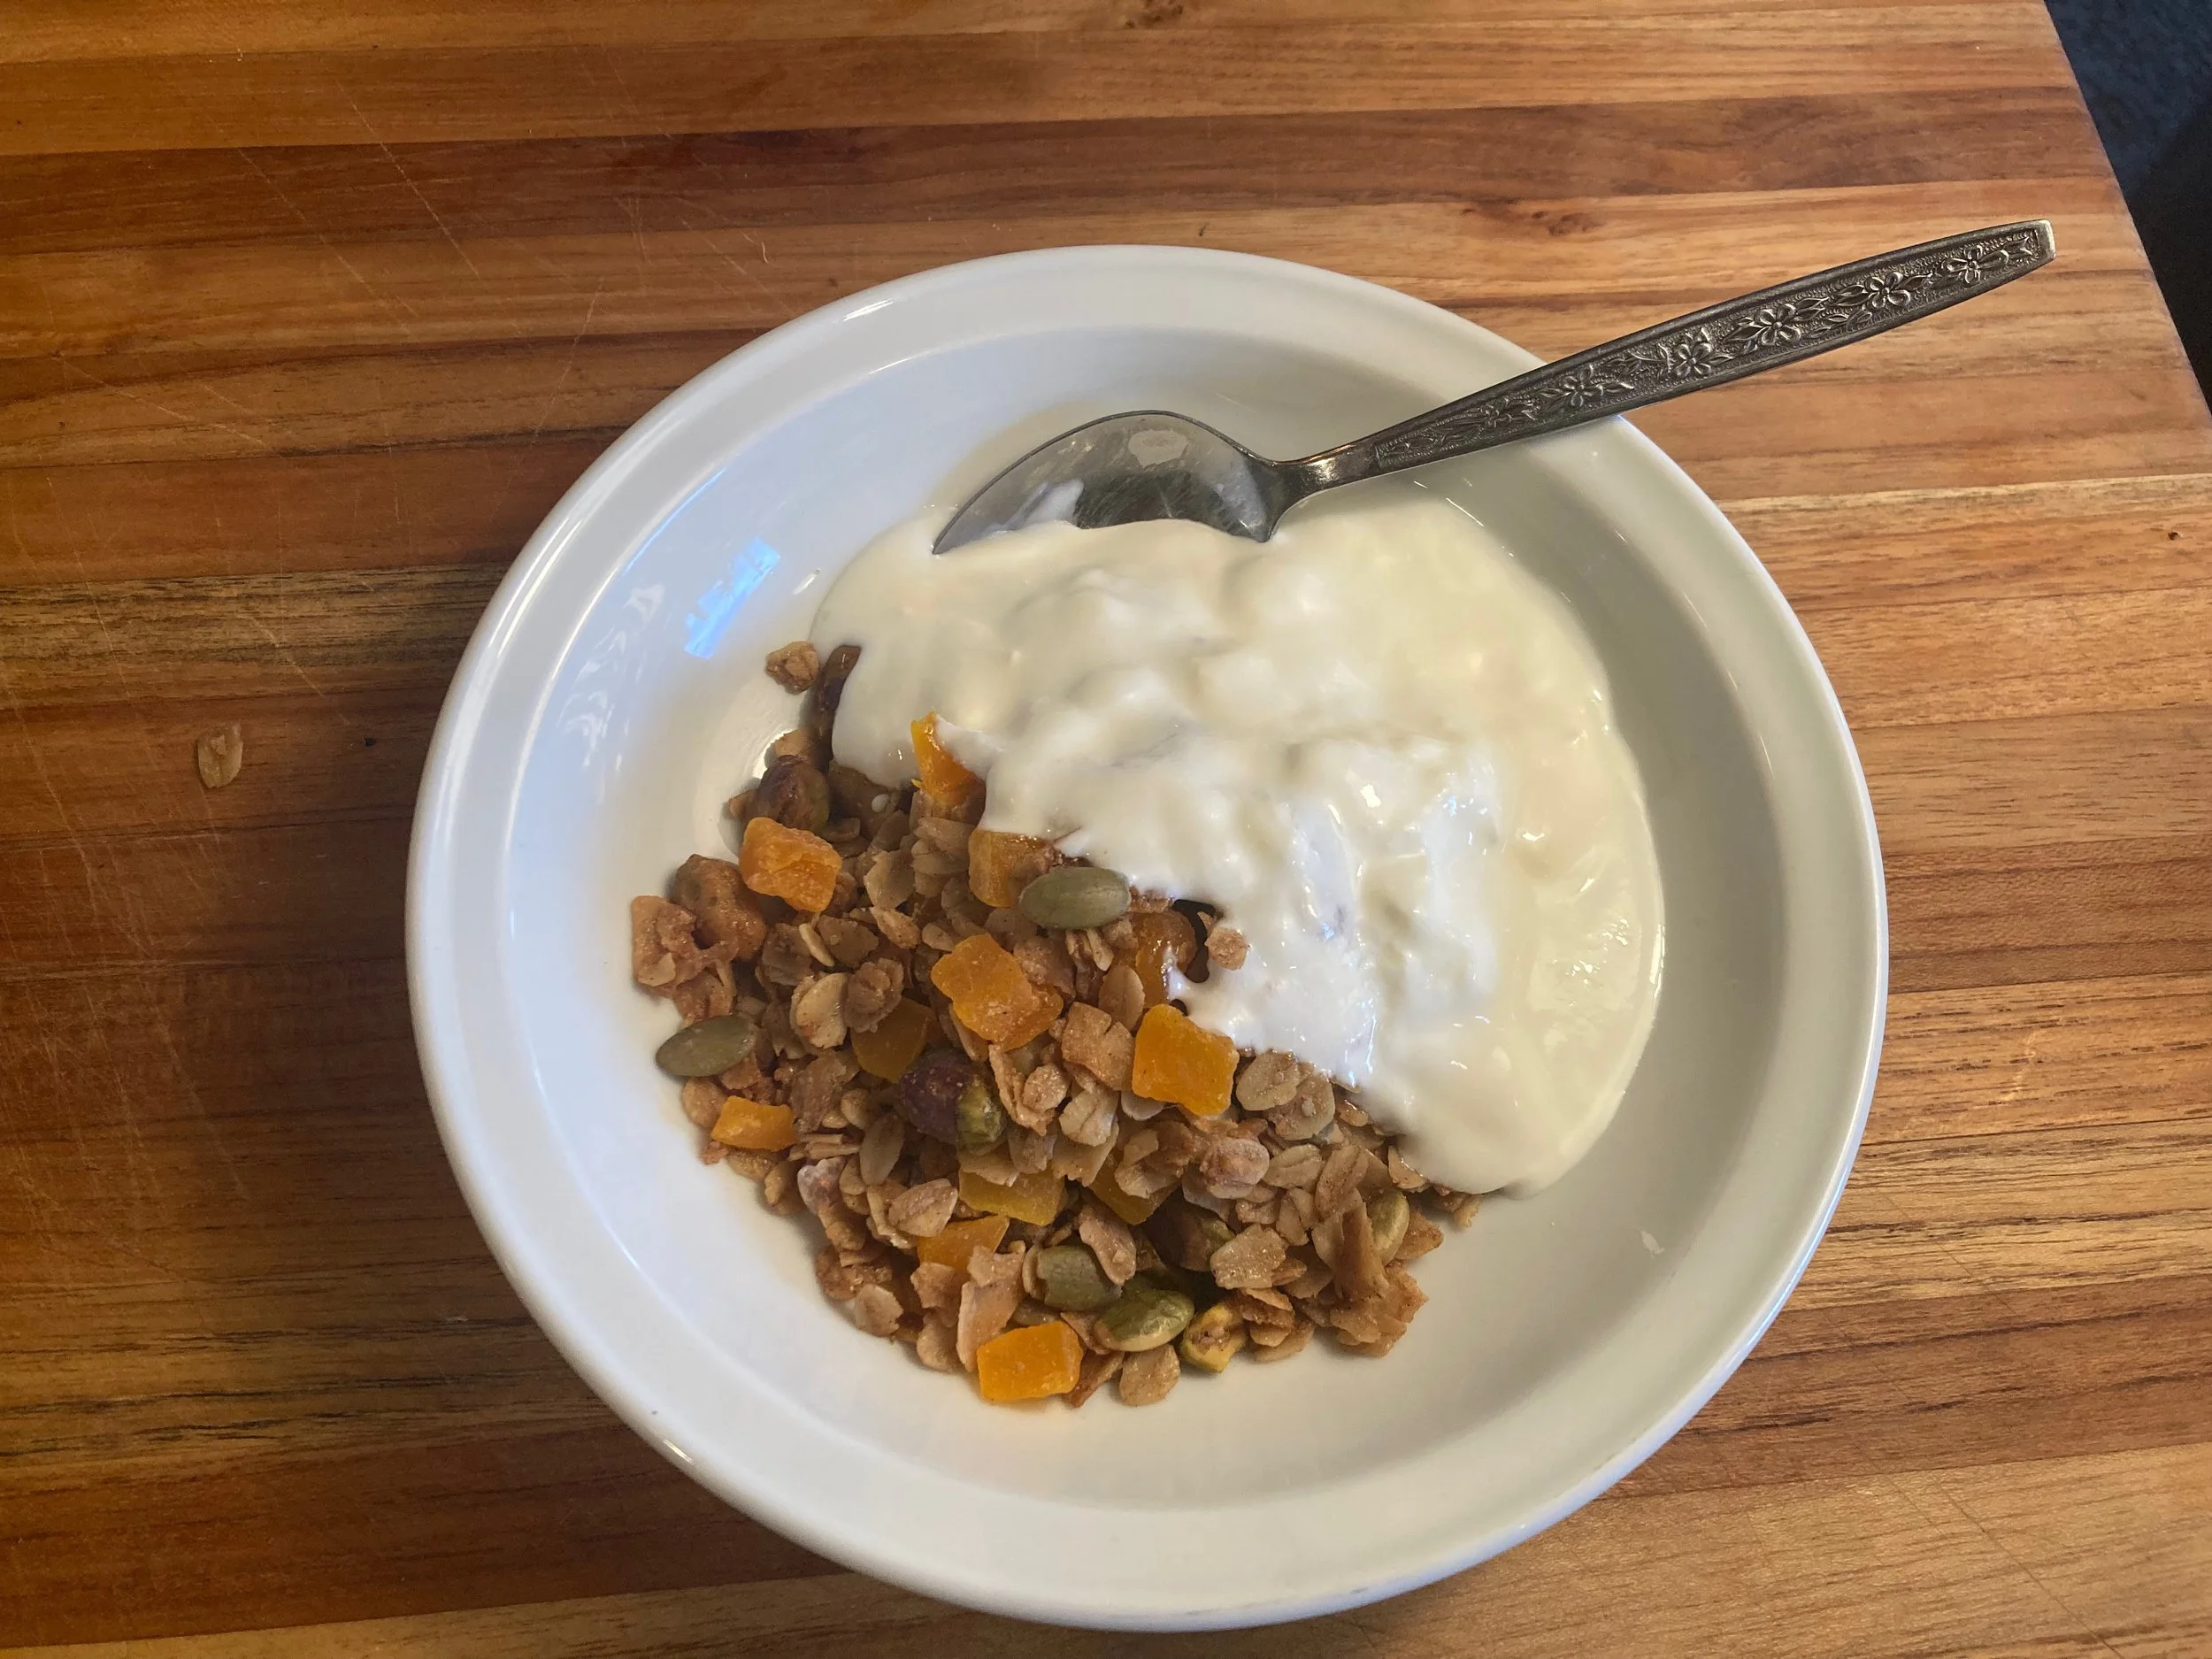
It's about fresh fruit season now, and I grow just enough berries to ensure that every few days I may have enough to top off some yogurt or granola. And that’s when I really want some homemade yogurt. That’ll be three strawberries for me and none for anyone else in the house!! Feel the bounty! Feel the savings!
Back in my fifth-floor walkup in New York, back when I couldn’t find full-fat yogurt to save my life, I made my own following Sandor Katz’s method outlined here in a Styrofoam cooler I super overpaid for. It’s been a long time, and I’ve seen a bunch of other methods out there, so I thought I would go on a journey of testing out different methods, and detail them here.
If you don’t know Sandor Katz, do. Do know him. Make it happen. Go. I’ll wait.
Katz, Sandor Ellix. Wild Fermentation: The Flavor, Nutrition, and Craft of Live-Culture Foods. Wild River Junction, Chelsea Green Publishing, 2016.
Equipment
Heavy bottomed pot or double boiler (or makeshift double boiler)
4 wide-mouth 1-pint jars* (alt: 2 wide-mouth 1-quart jars, or 2 1-quart deli containers
Insulated cooler **
Thermometer accurate in the range 110F-180F ***
* I like using glass jars because the extra weight helps stabilize the jars in the cooler in the water bath. But the deli containers are nice too, you just need to use a bit less water in your water bath before they get a little floaty. And the deli containers are easier to serve out of. Do you.
** I love my Engel cooler. I lived on a sailboat for a long time, and this cooler was my primary refrigerator. I put a block of ice in it every few days, and had it plumbed to drain into the bilge, and it kept me in half and half, tonic water, and beer, the only real sailboat-life essentials. And it doubled as a cockpit bench. I’ve inadvertently fermented all sorts of shit in this thing from not getting ice often enough. And then I worked with some dip who had never heard of Engel, and said it must be shit because it wasn’t a Yeti, and that only Yeti made real coolers and that everything else was garbage. But I will die on my Engel hill. Long live Engel coolers. (Waiting for them sponsorship deals to start rolling in. Any. Day. Now.)
But I also used to use a Styrofoam Igloo coolers, and the method still worked, though I’d have to top it up with hot water a bit more often, or stick one of those coil heaters in it to get the water bath back up to 115.
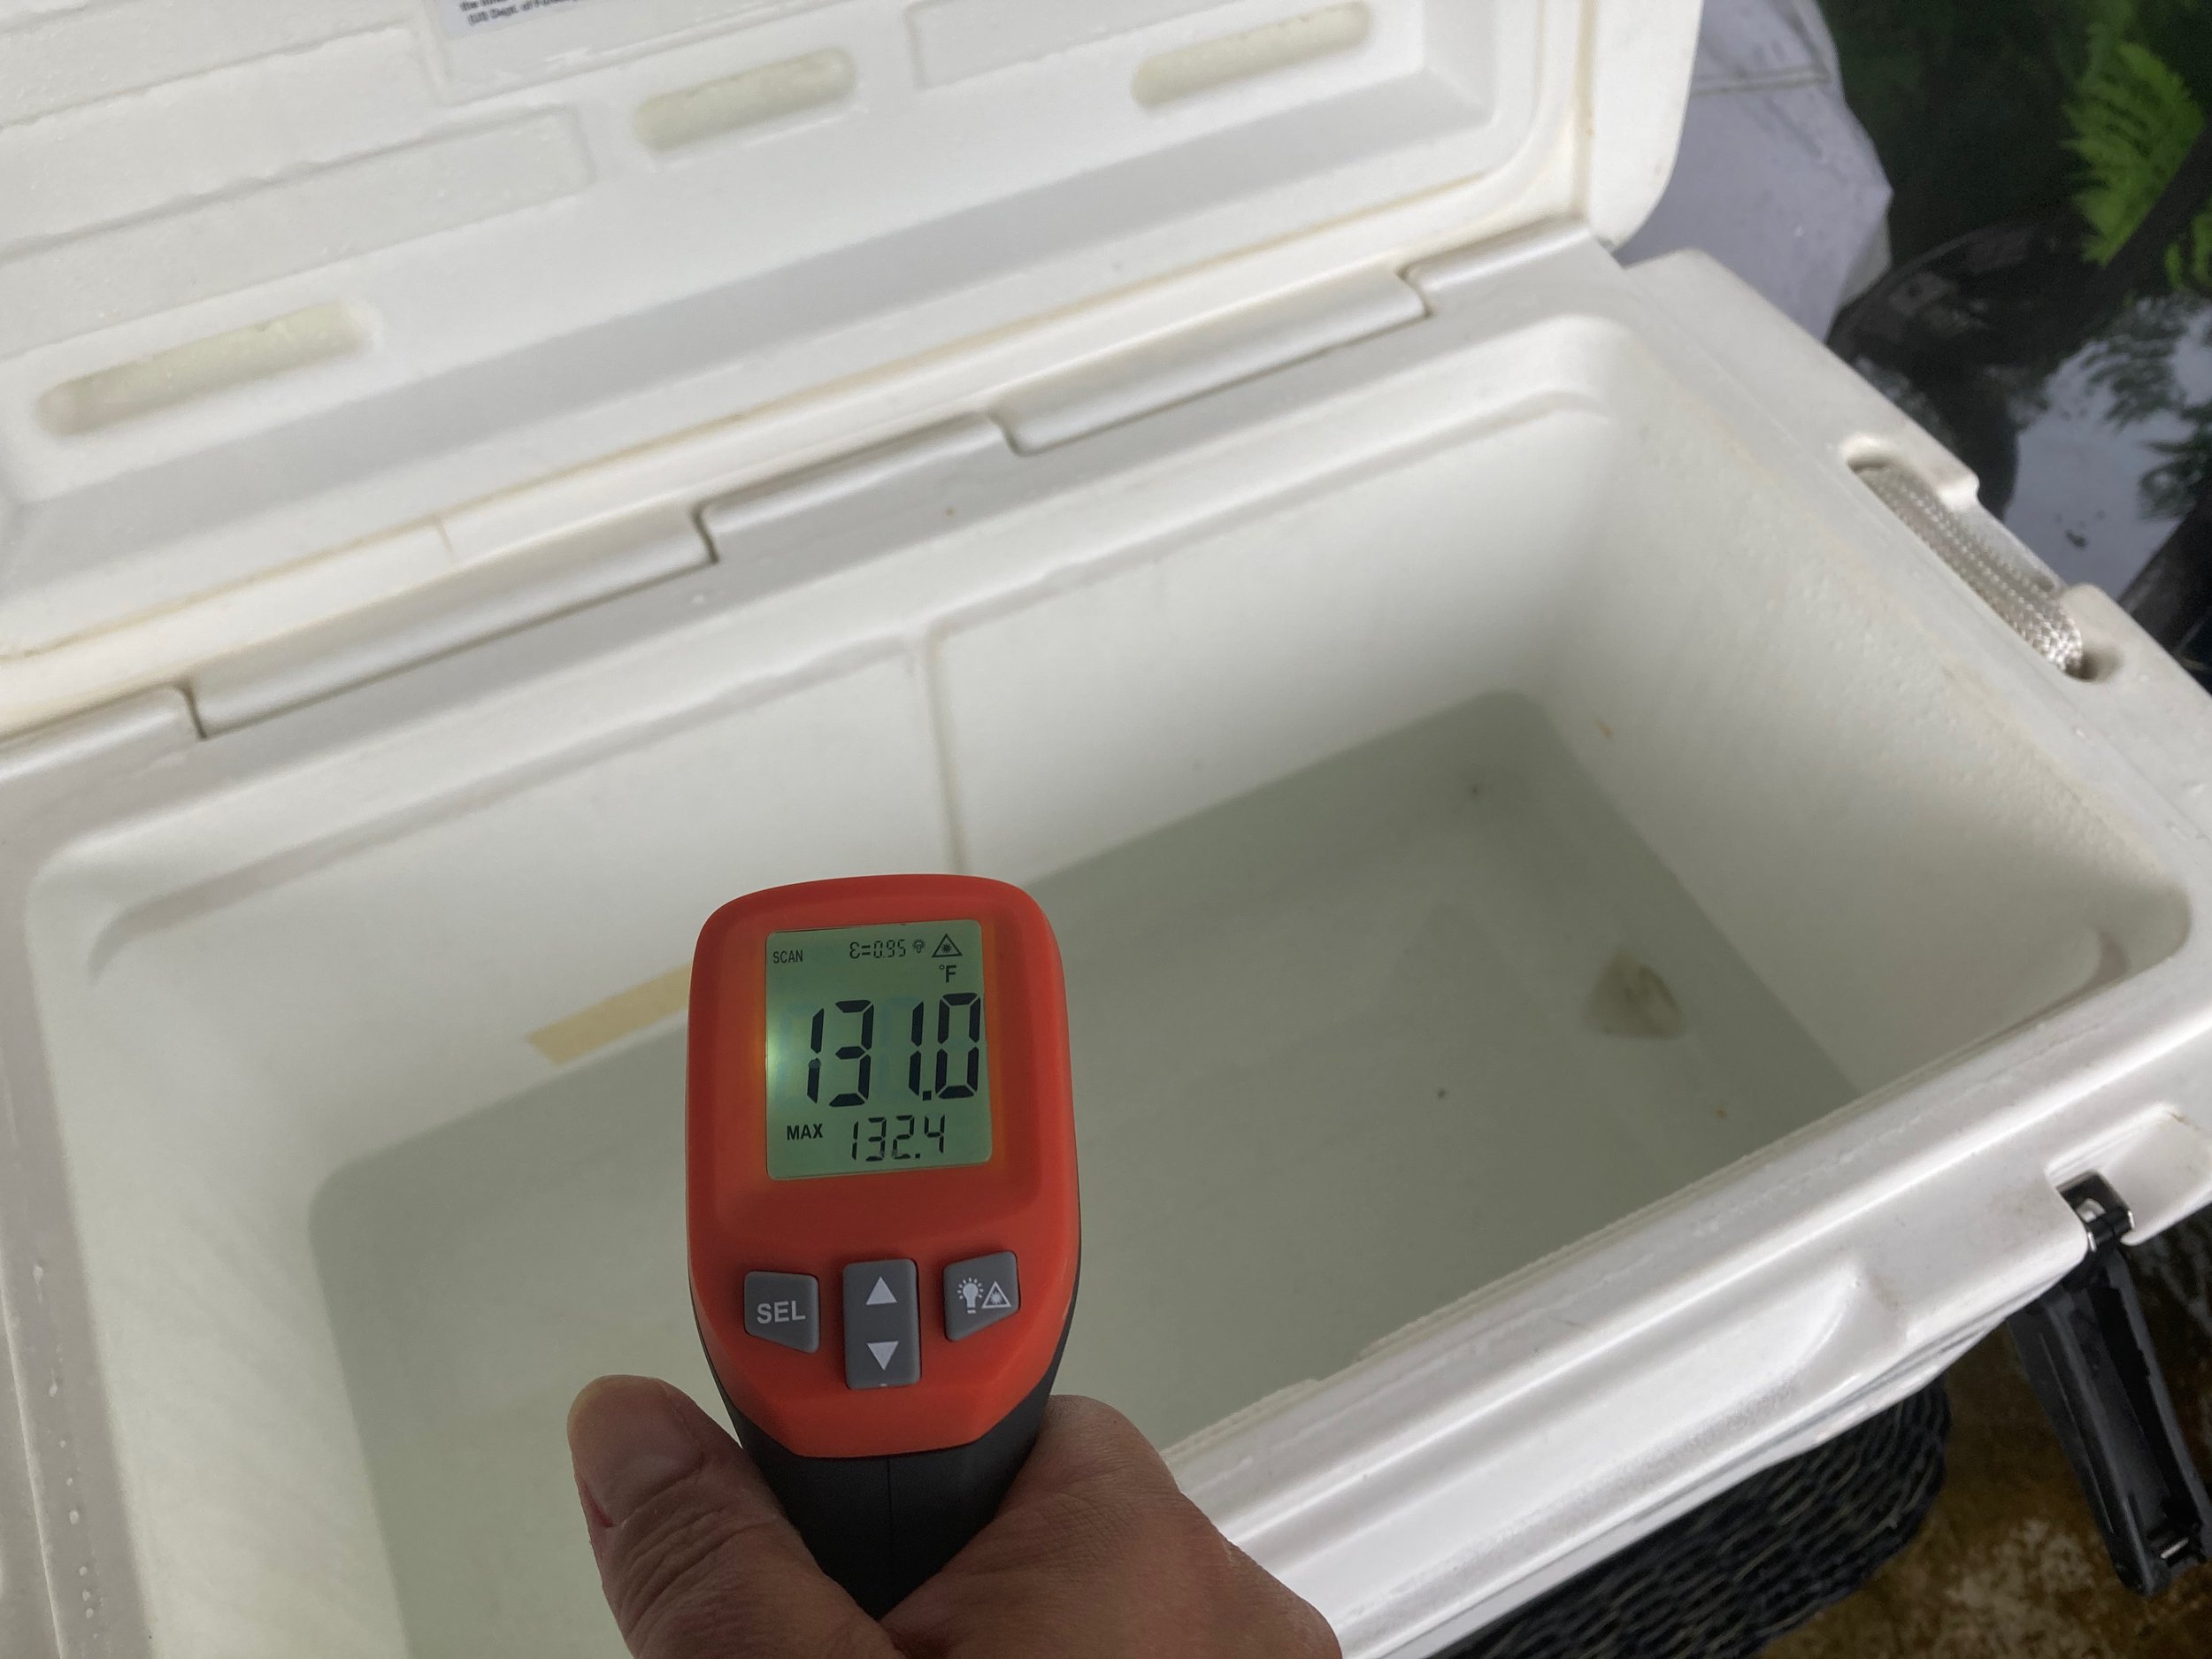
***I like the oven safe kind where I can leave the probe in the water and see it without opening the cooler. But it isn’t an essential bit of kit.
Ingredients:
2 quarts/2 liters/ half gallon Whole milk (ultra-pasteurized)
1 cup Heavy Cream (optional)
2 teaspoons fresh live-culture plain yogurt (use one from a brand of yogurt you like, or order an heirloom culture if you’re fancy lie that)
Directions:
Prep your cooler to establish your max water line. I’ve put a piece of tape on the inside of mine to show the maximum water level beyond which the jars will start to float when filled. It’s really frustrating to be trying to bail water out of your cooler when your hot lidless milk is bobbing around in the water threatening to tip. So I fill my containers with water, then fill the cooler with water until the containers start to bob/wobble a bit, and take out about 2-4 cups (as you’ll likely have to top the water up with hotter water when the incubation tank drops below 115F), then take the future yogurt containers full of water out of the cooler, and mark your max fill line.
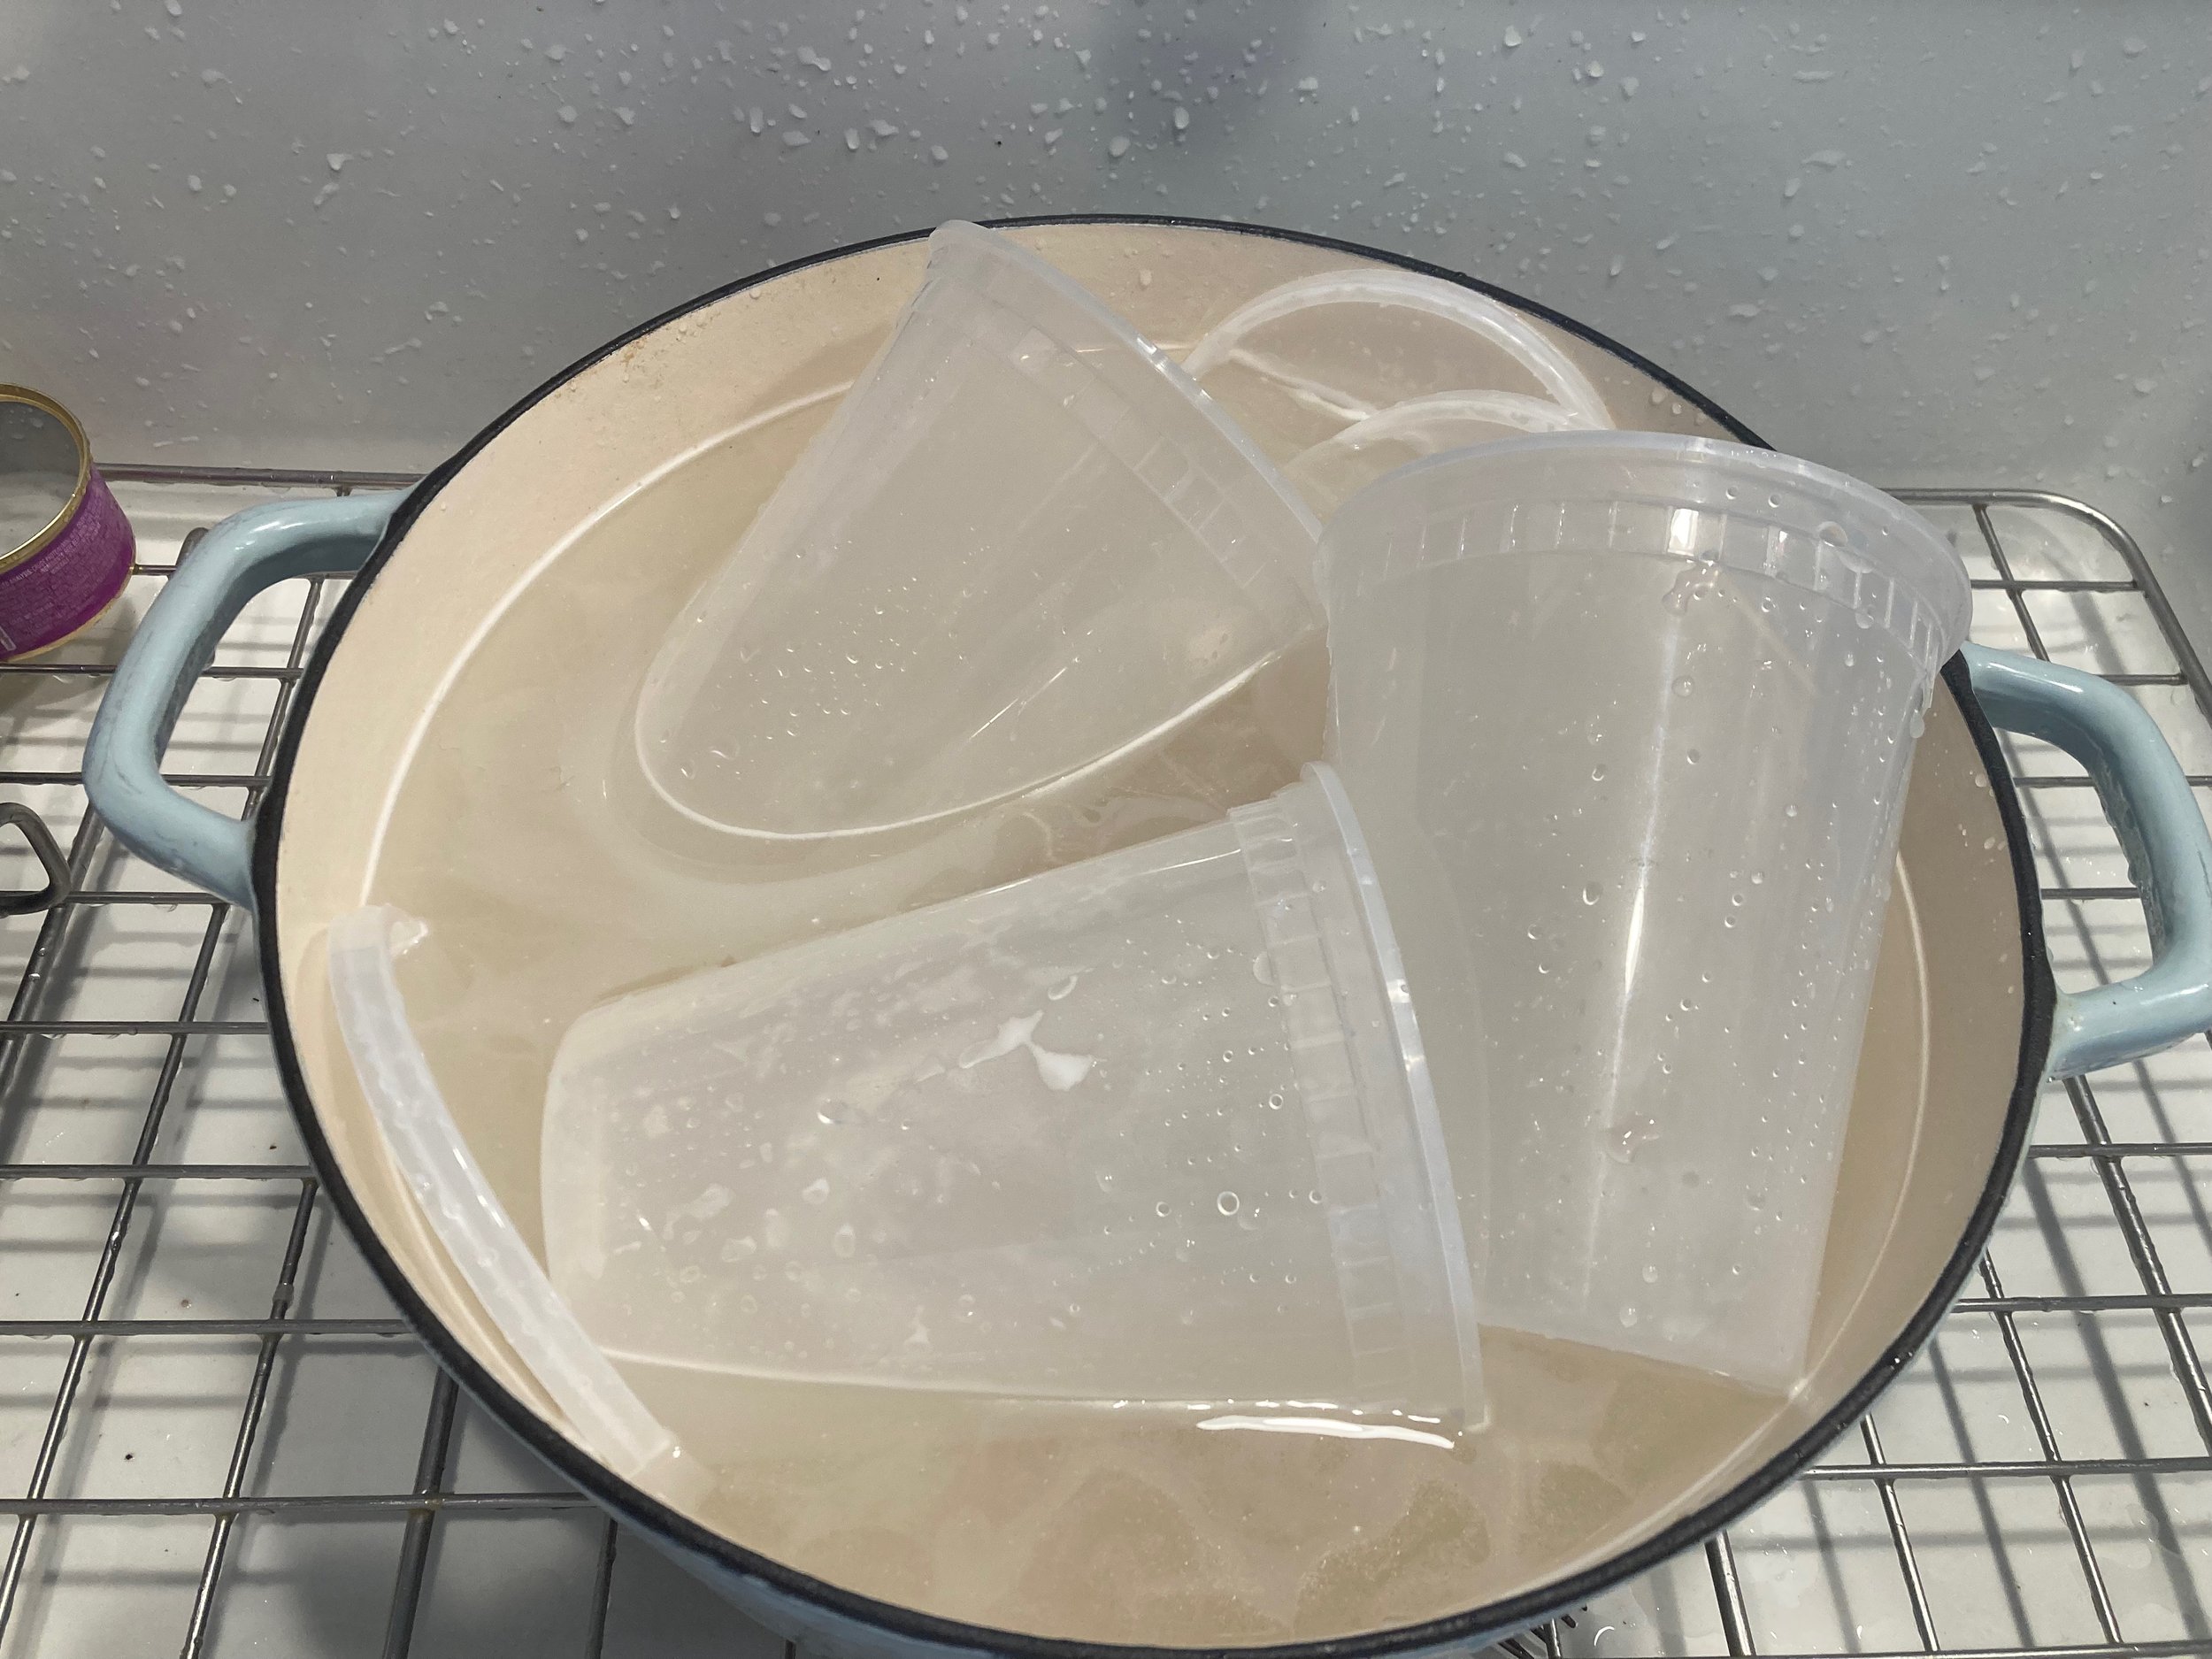
Sterilize your containers in a bath of boiling water or a sterilizing solution. I don’t actually know if this is strictly necessary as most other instructions I see don’t do it, but since we want the yogurt to be made with the yogurt culture and not our boyfriend’s sinus infection culture, I think some amount of cleanliness is best practice. You don’t have to sterilize the cooler. It’s just there to help you hold a temperature.
Boil a large pot of water to add to your cooler.
Heat the milk in a heavy bottomed pot of double boiler to 180F, or until bubbles form. Go slow, use gentle heat, and stir frequently to avoid burning the milk. Set aside to cool to 115F.
Add hot water to the insulated cooler. Close the lid and let sit while your milk cools. Add cooler (like colder) water to bring temperature to 115F and fill to your fill line.
(Start boiling more water in case your cooler temp has dropped substantially by the time you are reader to add your incubating yogurt.)
Introduce your starter culture. Mix a little warm milk into your 2t starter yogurt, stir to dissolve. Mix the starter thoroughly into the milk.
Pour the mixture into the jars, and cap the jars.
Make a final check on the water temp in your insulated cooler. Add more hot water as needed. Place your jars in the water in the insulated cooler, continuing to adjust temperature as necessary until it stabilizes at 115F, close up and walk away.
And this is where I really like the in-oven/ BBQ style thermometers because I don’t have to open the cooler to see if my temp is still good.
Place cooler in a warm spot and monitor temp. Mine goes on the patio in the sun, or near the fireplace in the cooler months. But I really prefer being able to leave the cooler outside so I can release water from the bottom drain hole when I need to remove some water to add some water. I may try putting it in the shower this time. Pics would look a lot better outside though.
Wherever you put it, it’s best to not have to move it as apparently yogurt doesn’t like to be jostled too much in its incubation stage. So sayeth the great Sandor by way of the great Joy of Cooking.
If the temp drops below 110F, remove a little water to add hotter water to bring the temp back up, while trying not to agitate the yogurt as you stir your cooler water.
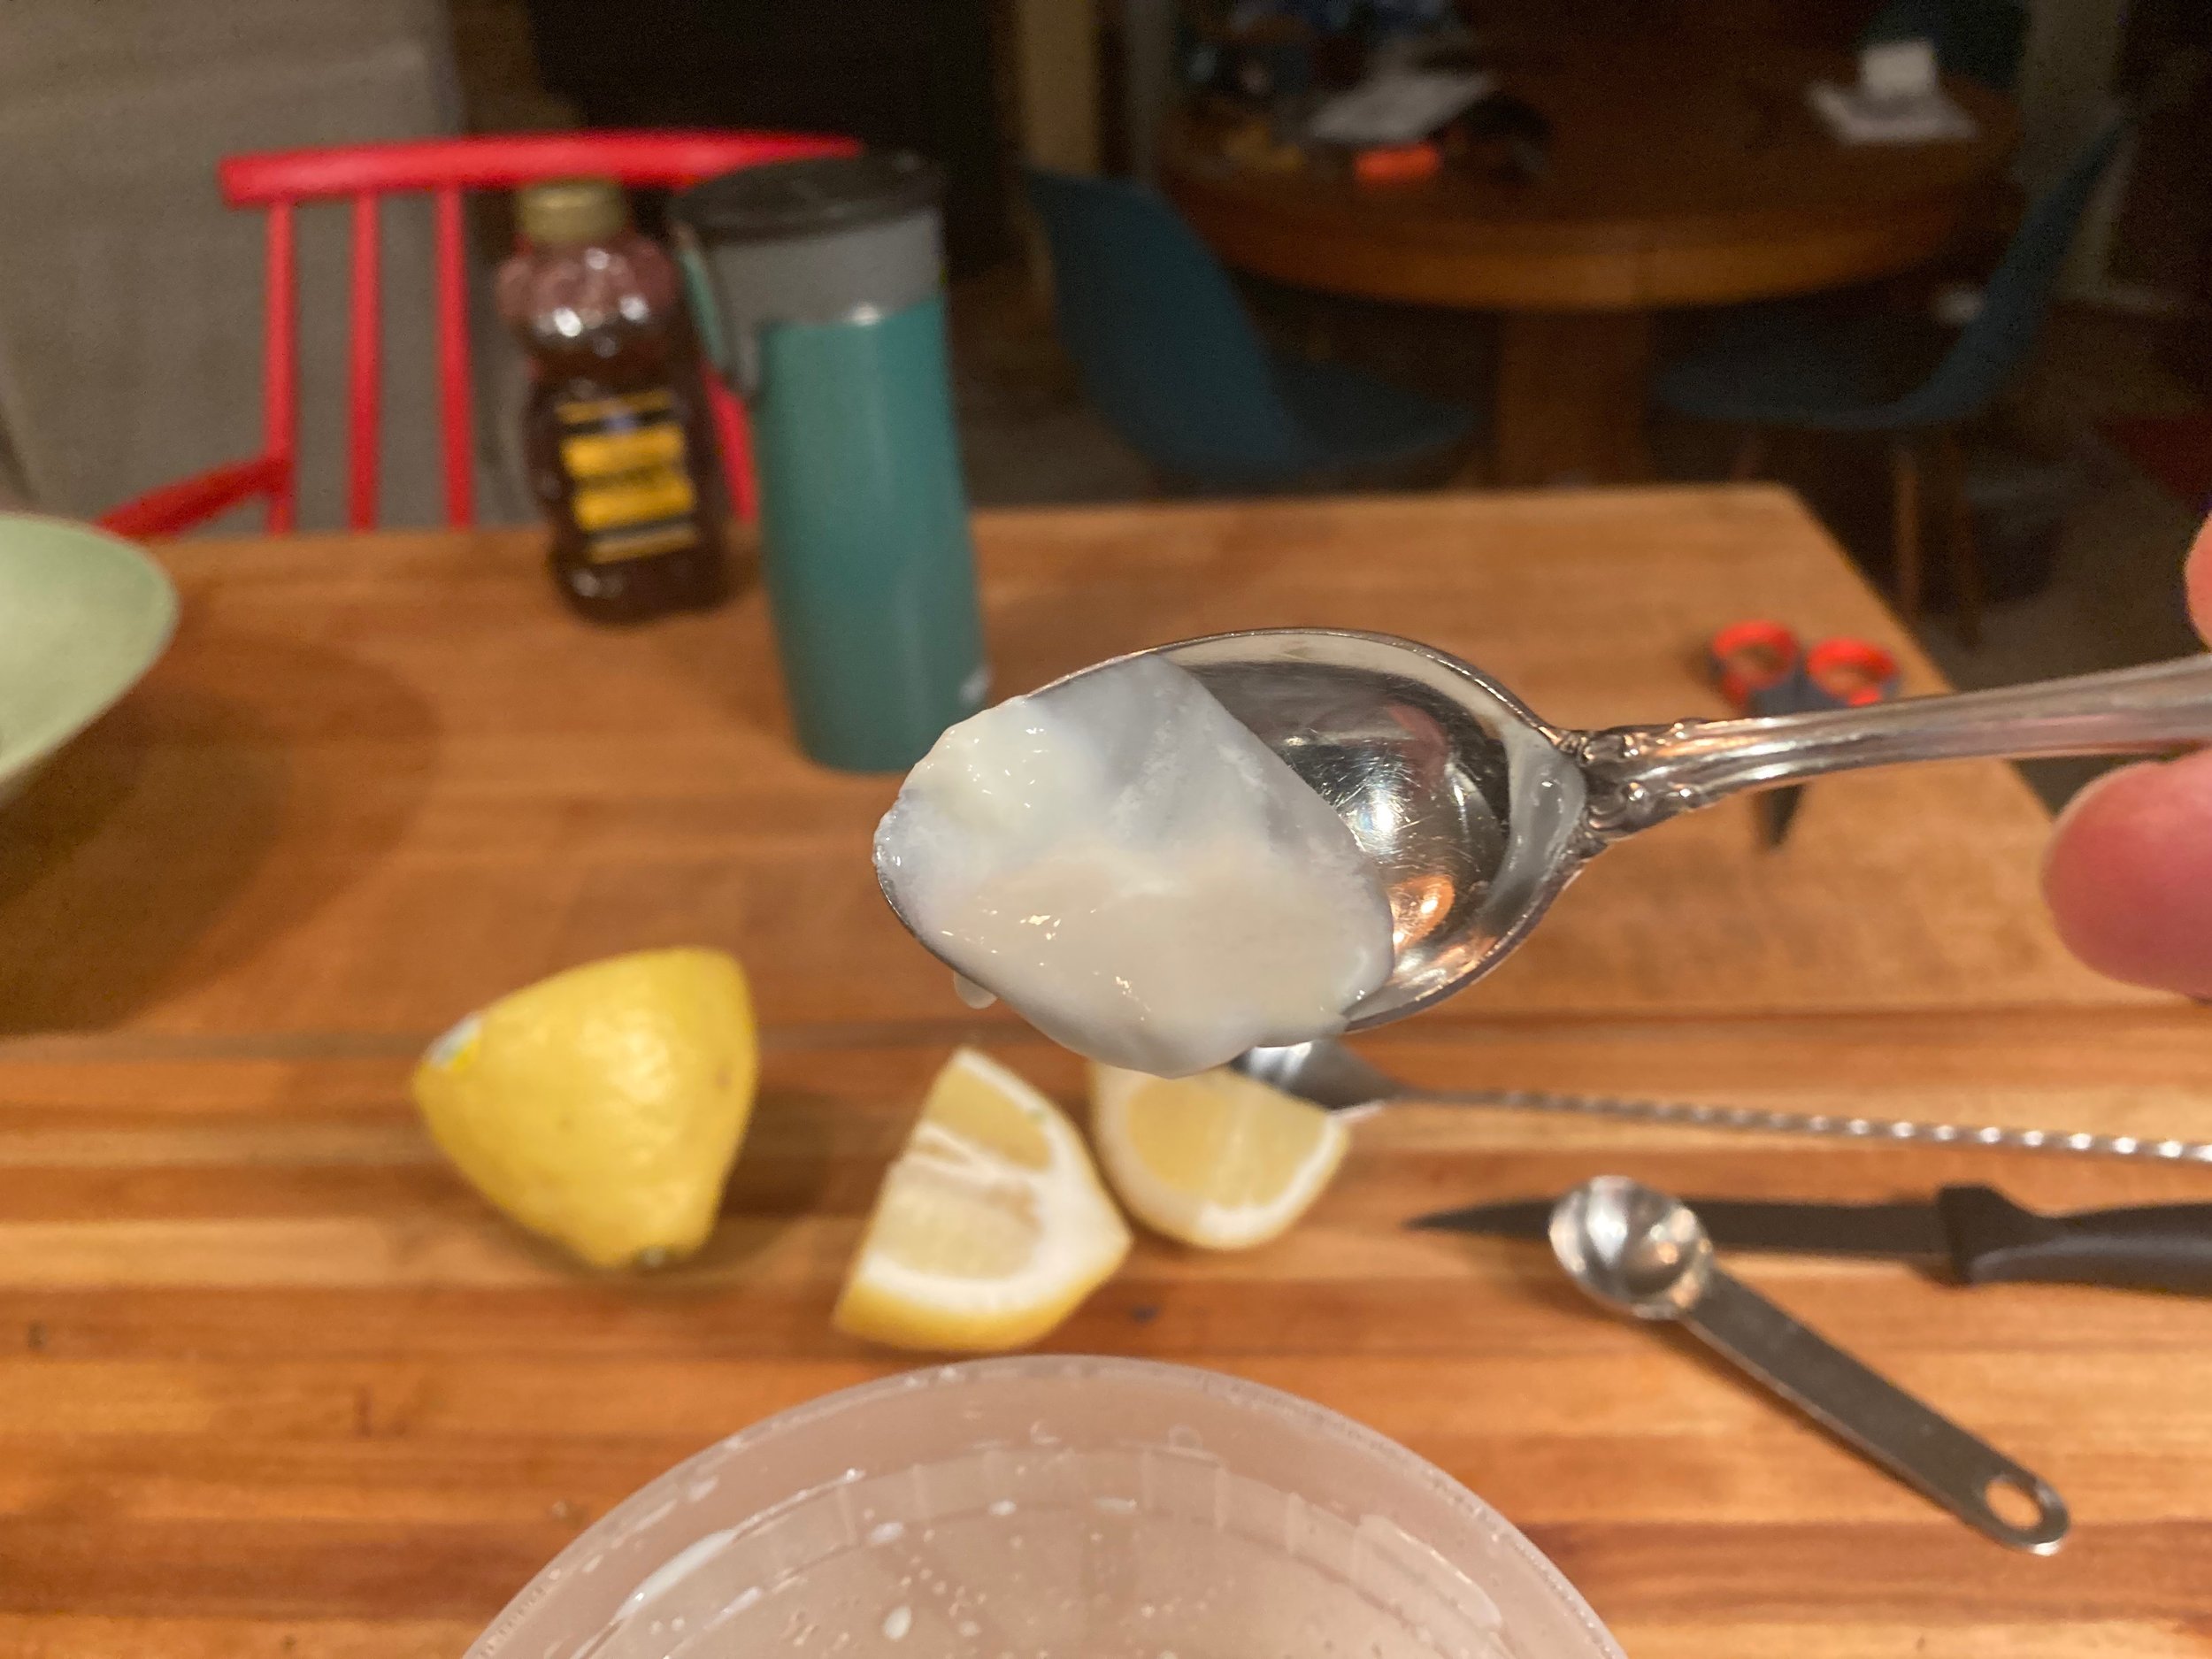
Ok and now this is where the magic happens. Katz says leave it to incubate for 4-8 hours. That’s a big time range. The yogurt will thicken the longer it incubates, and it will get more tart the longer it incubates. So if you like a less tart yogurt, start checking for gelling closer to the 4 hours. Katz says to “turn a jar sideways and observe its consistency. Ideally it should be solid enough to hold its form. If it isn’t thick (hasn’t ‘yoged’)…” (113). Snarf. The snarf is me. If it hasn’t “yoged,” bring your incubation water back up to 110/115 and leave it 4-8 more hours.
I like my yogurt on the thick and tart side, so I’m shooting for 8 total hours. But keep track of your total time because there’s no telling what combination of starter choice, milk choice, and incubation time are going to make you your favorite end-product.
I ended up thinking it was pretty thin at 8 hours, and pulling one container, but leaving the other two for another 8 hours. The thin one thickened up in the fridge, so I couldn’t tell the difference in terms of texture between the two, but the 16 hour container was more flavorful.)
The science of flavor here: “It will become sourer, as more of the milk’s lactose is converted into lactic acid. A longer fermentation period can often make yogurt digestible even for lactose-intolerant individuals” (Katz 113).
Your yogurt will store in the refrigerator for months, and will become more sour over time. It will stay fresh longest in full unopen jars (one of the reasons I like using smaller containers).
Save some of your yogurt to use as a starter for next time, or try different commercial yogurts until you find your favorite.
Also check out this episode of What’s Eating Dan? for some ideas on adding heavy cream or milk powder to your milk, or for straining your yogurt, or making frozen yogurt. I’ll try some experiments here on the blog too, but that’s down the line.
Katz, Sandor Ellix. Wild Fermentation: The Flavor, Nutrition, and Craft of Live-Culture Foods. Wild River Junction, Chelsea Green Publishing, 2016.


